
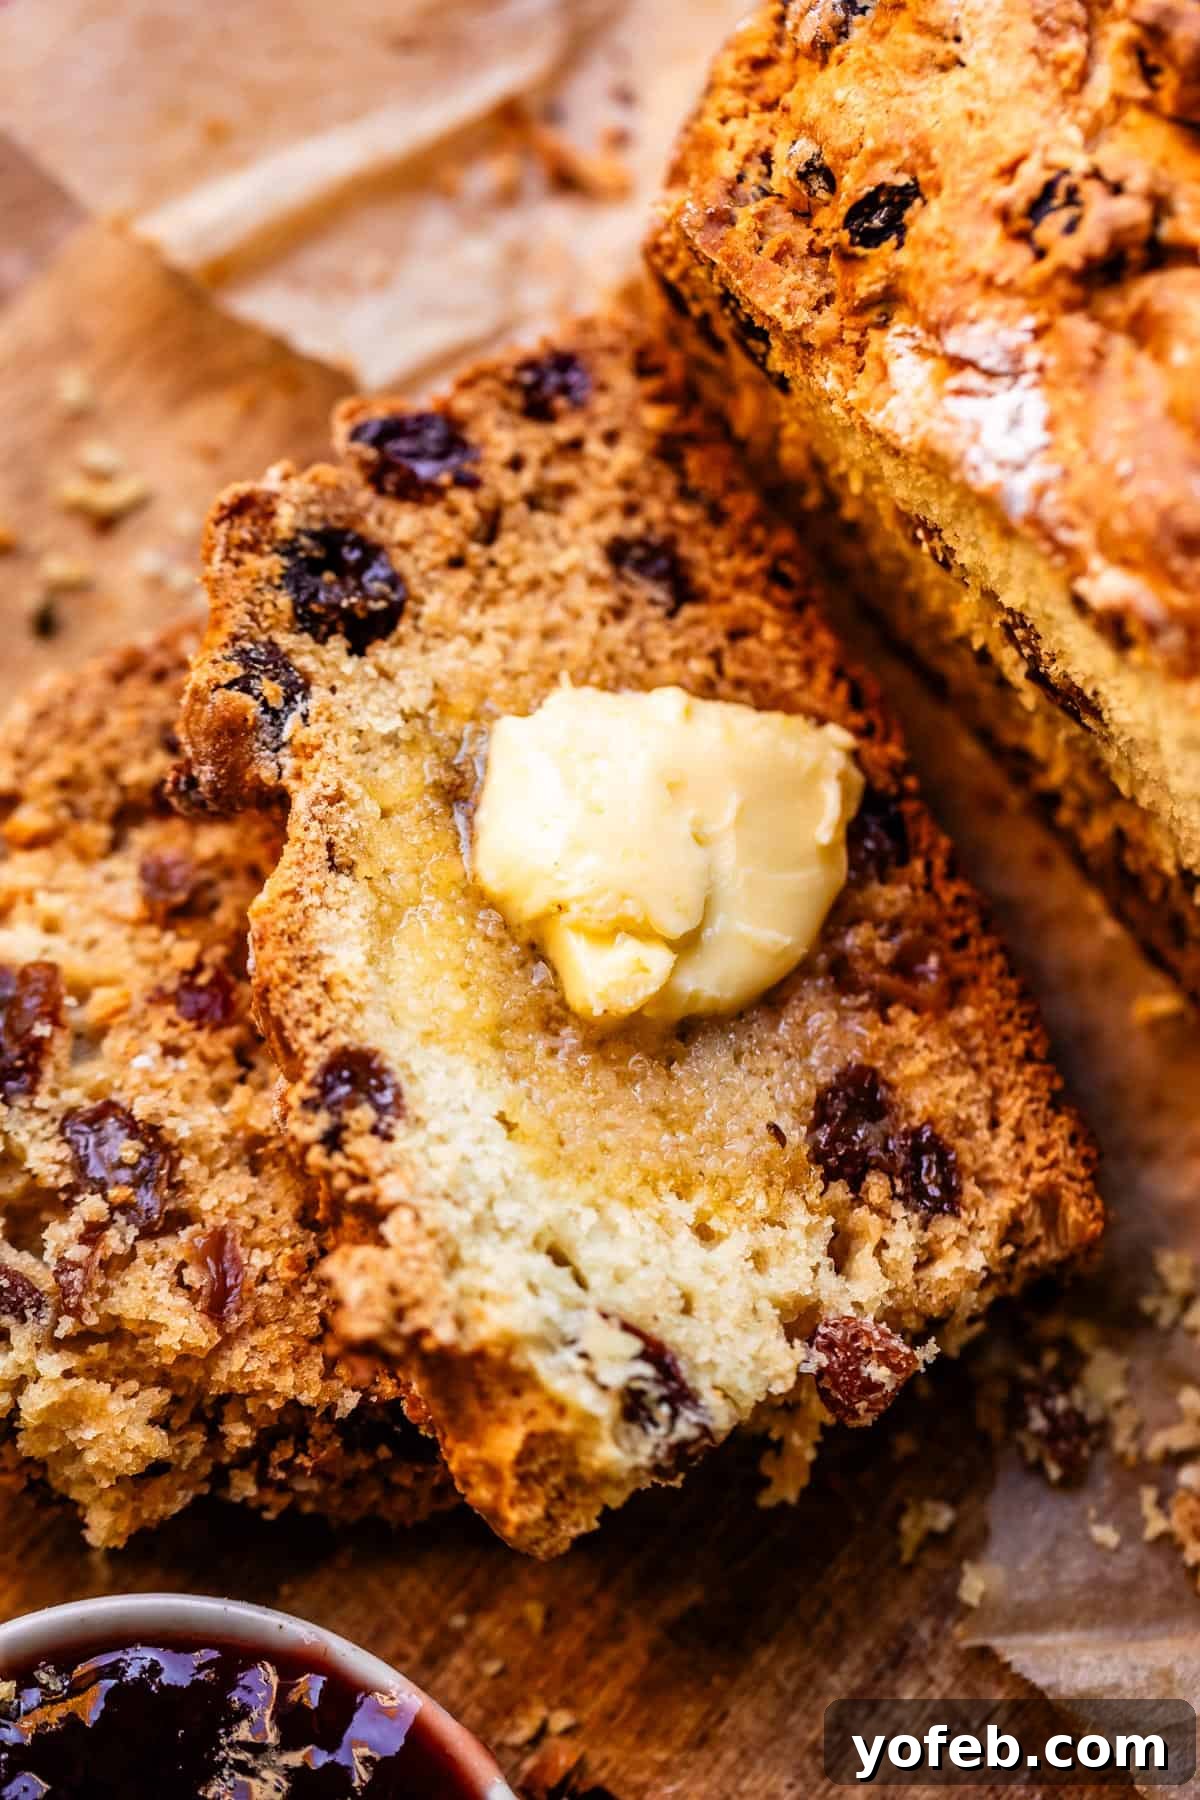
The Ultimate Irish Soda Bread Recipe: Moist, Flavorful, and Never Dry!
For years, I’ve embarked on a quest to perfect the classic Irish Soda Bread recipe. Traditional soda bread, while beloved, can often lean towards a dry, crumbly texture, tasting much like a cotton ball if not made just right. My mission was clear: transform this humble loaf into an extraordinary culinary experience. After countless attempts and thoughtful adjustments, I’ve finally cracked the code, discovering a simple yet transformative secret ingredient that elevates this traditional bread to new heights. Prepare to write home about this version, especially when generously slathered with creamy butter and your favorite fruit jam.
This perfected Irish Soda Bread is not just for breakfast or tea; it’s a versatile companion to various meals. It pairs impeccably with savory dishes like a hearty Corned Beef and Cabbage, especially when served alongside a zesty Horseradish Sauce. Whether you’re enjoying it as a comforting dinner accompaniment or a delightful snack with a warm cup of tea, this recipe promises a bread that is wonderfully moist, incredibly flavorful, and truly unforgettable. This updated recipe builds upon principles I first explored in March 2012, bringing a decade of refinement to your kitchen.
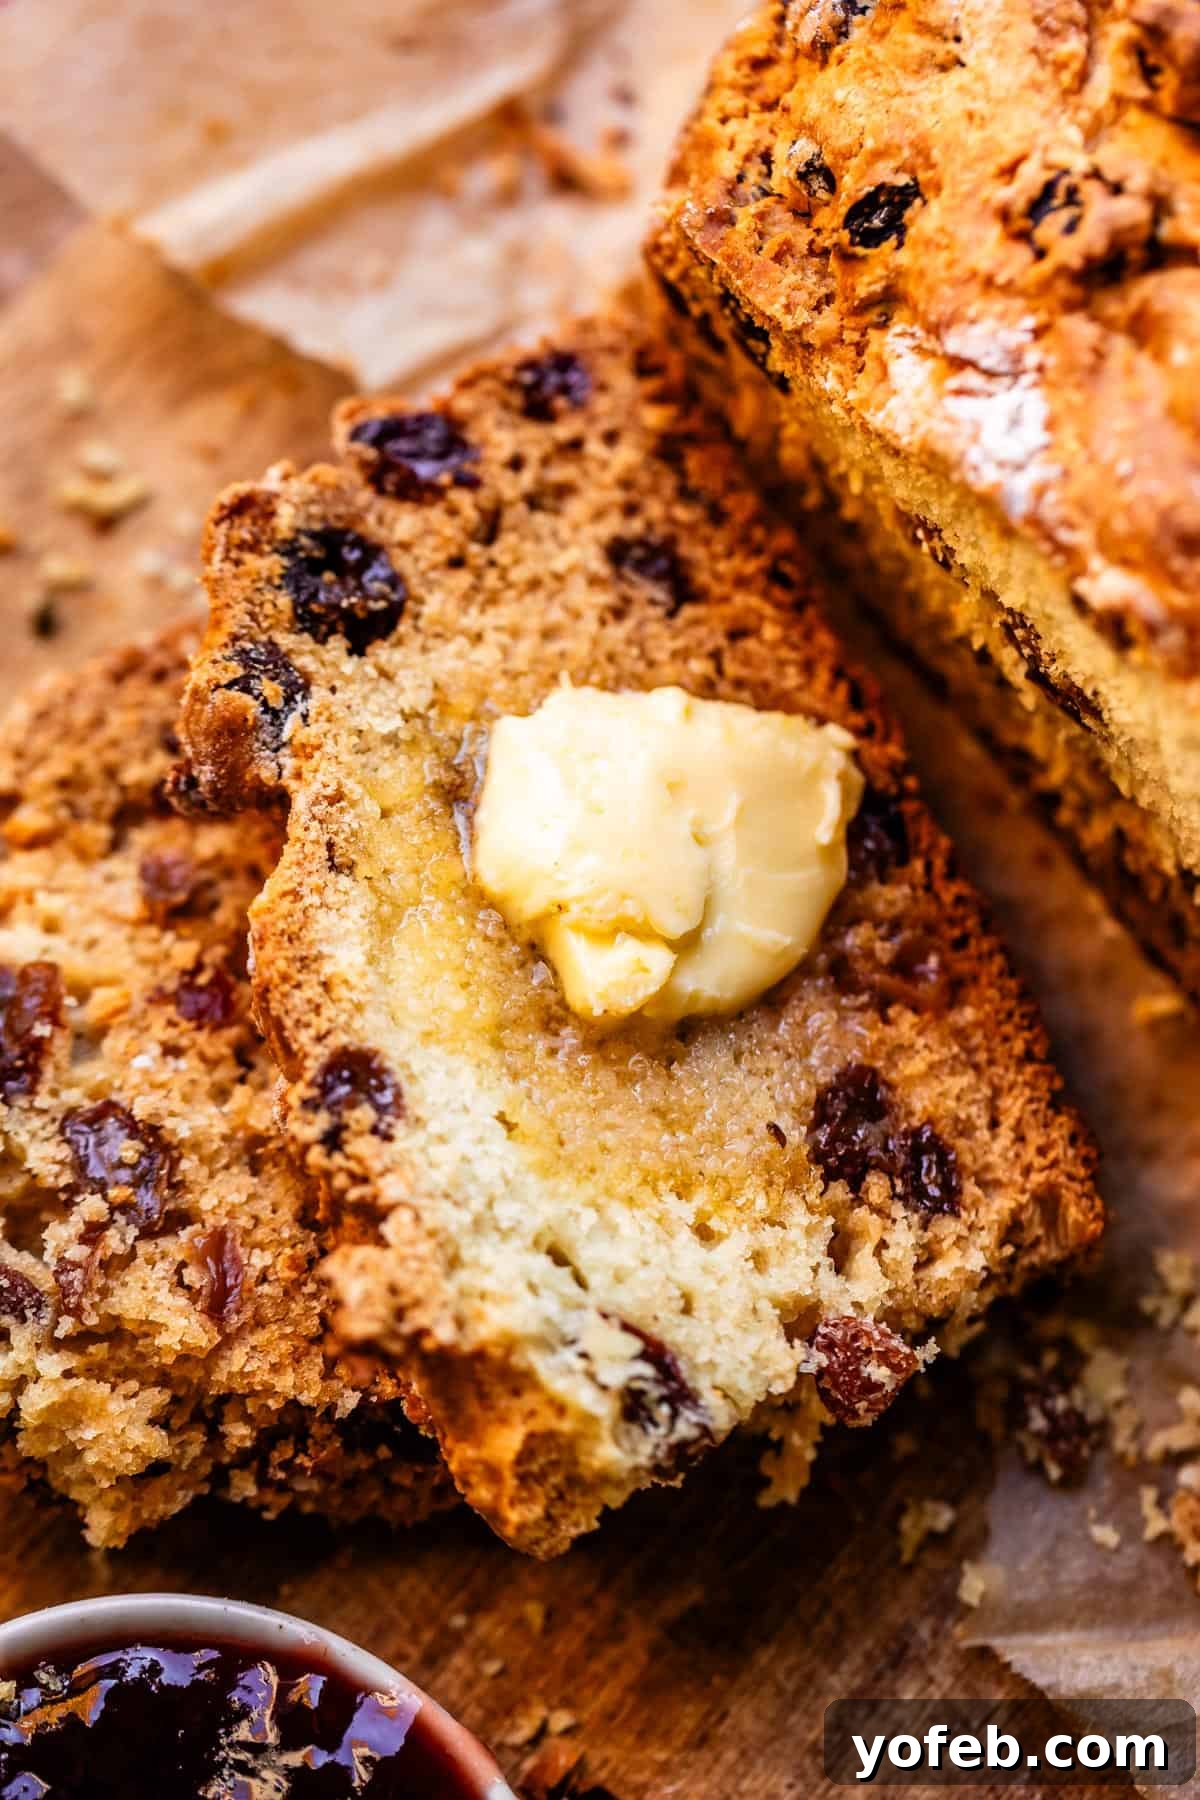
Table of Contents
- What is Irish Soda Bread, Anyway?
- The Secret Ingredient for Unbeatable Moisture
- Beyond the Basics: A Look at the Ingredients
- How to Bake the Best Irish Soda Bread with Buttermilk
- Knowing When Your Irish Soda Bread Is Perfectly Done
- Troubleshooting: Why Your Irish Soda Bread Might Fall Apart
- Solving the Soggy Middle Dilemma in Soda Bread
- Irish Soda Bread Substitutions and Flavor Variations
- Creative Serving Ideas for Irish Soda Bread
- Frequently Asked Questions
- Irish Soda Bread with Buttermilk Recipe
When I first introduced a recipe for Irish Soda Bread back in 2012, my life was a whirlwind of new parenthood and culinary experiments. It was a simpler time, filled with charming, relatable moments that often found their way into my early blog posts. While those anecdotes were a fun peek into my life, the core mission has always been to share exceptional recipes. This journey led me to continually refine this particular bread, aiming for a consistent, moist crumb that many traditional recipes often lack. I’ve learned that a truly great Irish Soda Bread can transform an ordinary meal into something truly special, a sentiment that has driven this delicious evolution.
But enough nostalgia. Let’s talk about the bread itself. This Irish Soda Bread, with its rich history and simple charm, deserves to be more than just “good.” It deserves to be amazing, and I’m confident this recipe delivers just that.
What is Irish Soda Bread, Anyway?
My first encounter with Irish Soda Bread was in 2012, at a local bakery, where I might have, shall we say, “extensively sampled” their offering. It was an instant revelation. Unlike yeast breads that require hours of rising, soda bread relies on a chemical reaction for its lift, making it remarkably quick and easy to prepare. This speed was crucial in its origins, and remains one of its most appealing qualities today.
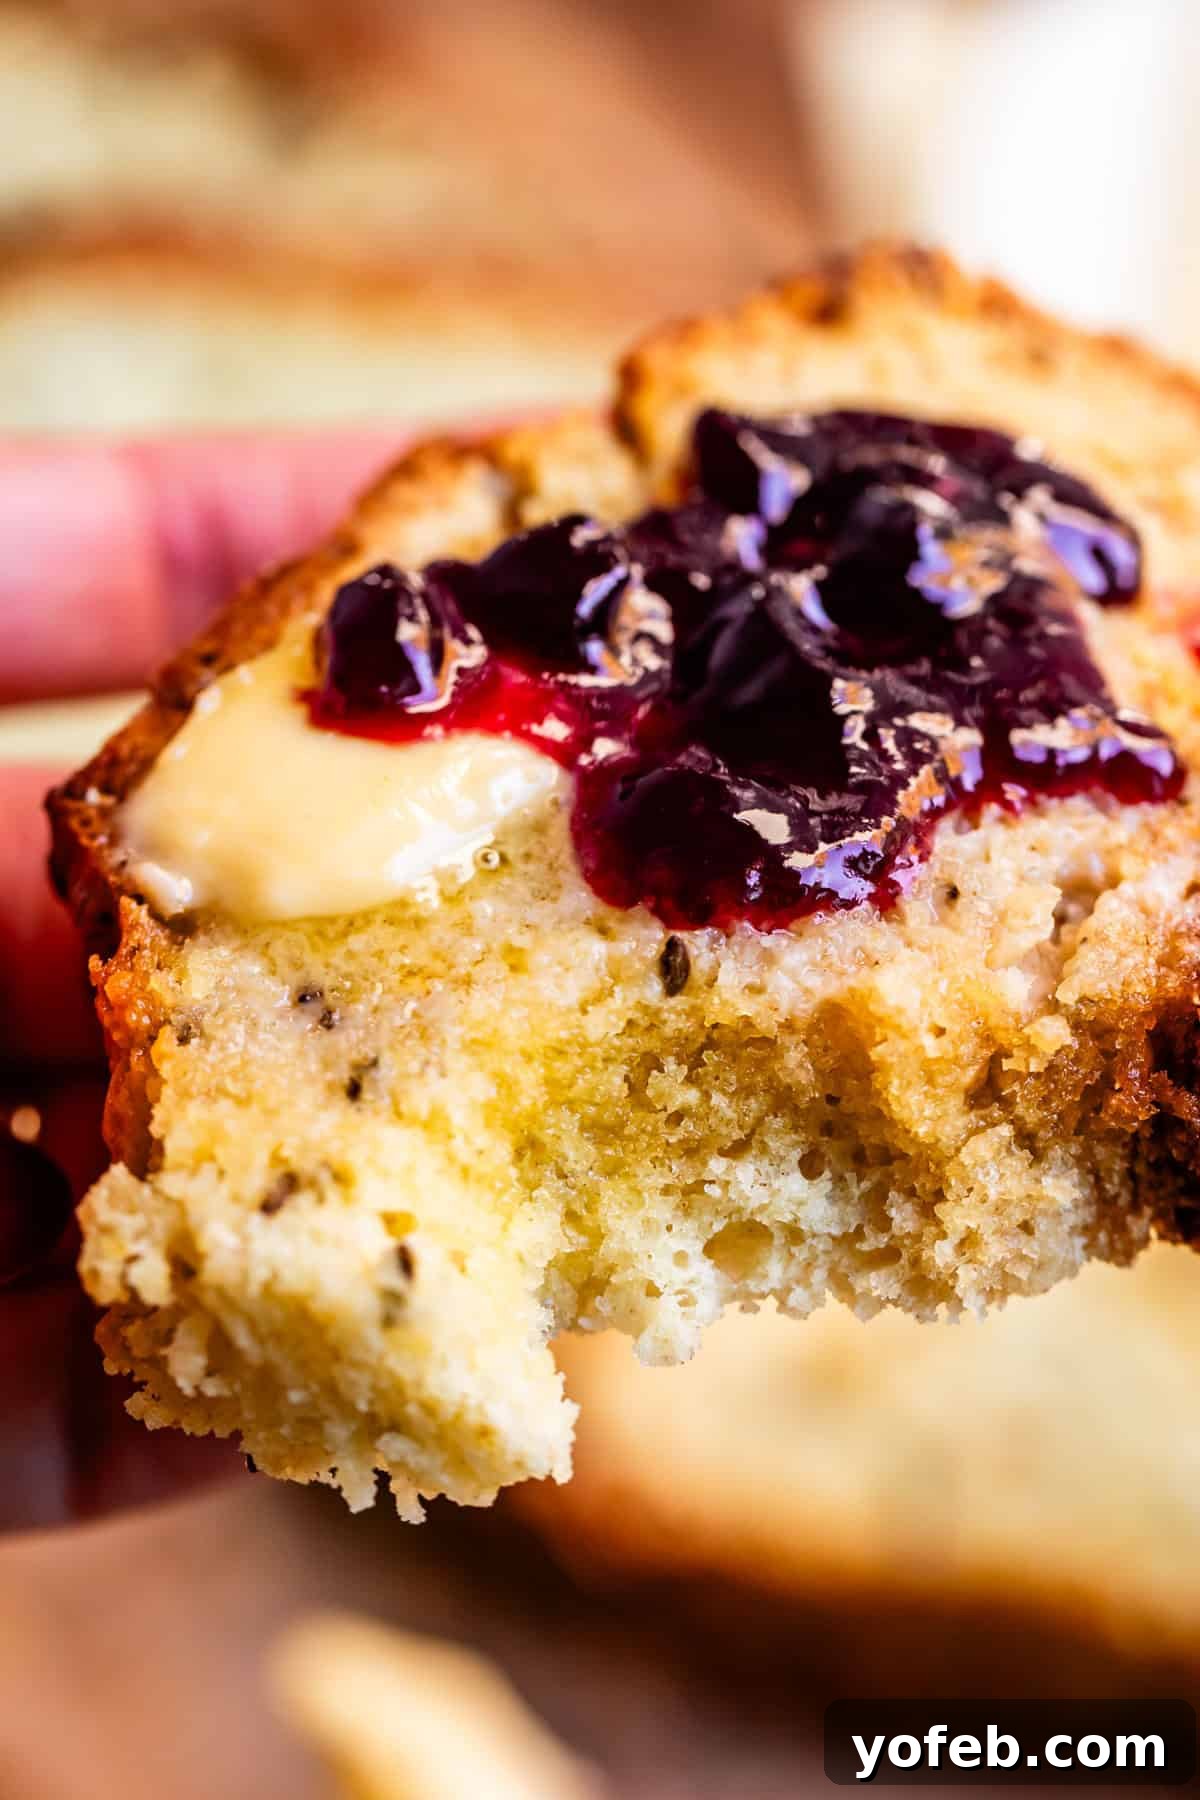
Irish soda bread boasts a history stretching back over two centuries, rooted deeply in Irish culinary tradition. Its invention was born out of necessity, as it could be quickly baked over an open fire or in simple ovens, even during times of scarcity. Historically, this bread was a staple, sustaining families with its simple yet satisfying composition. Traditionally, it contained just four core ingredients:
- Flour: The primary structural component.
- Baking Soda: The leavening agent, reacting with the acid in buttermilk.
- Buttermilk: Provides both liquid and essential acidity for the baking soda to work.
- Salt: Enhances flavor and controls the fermentation (though there is no yeast here, salt still balances taste).
This minimalist approach made it an accessible and vital food source when other ingredients were scarce. The genius of soda bread lies in its simplicity: baking soda (a base) reacts with the lactic acid in buttermilk to produce carbon dioxide gas, which then causes the bread to rise without the need for yeast or kneading. This makes it a “quick bread” in the truest sense, ready from mixing bowl to oven in minutes.
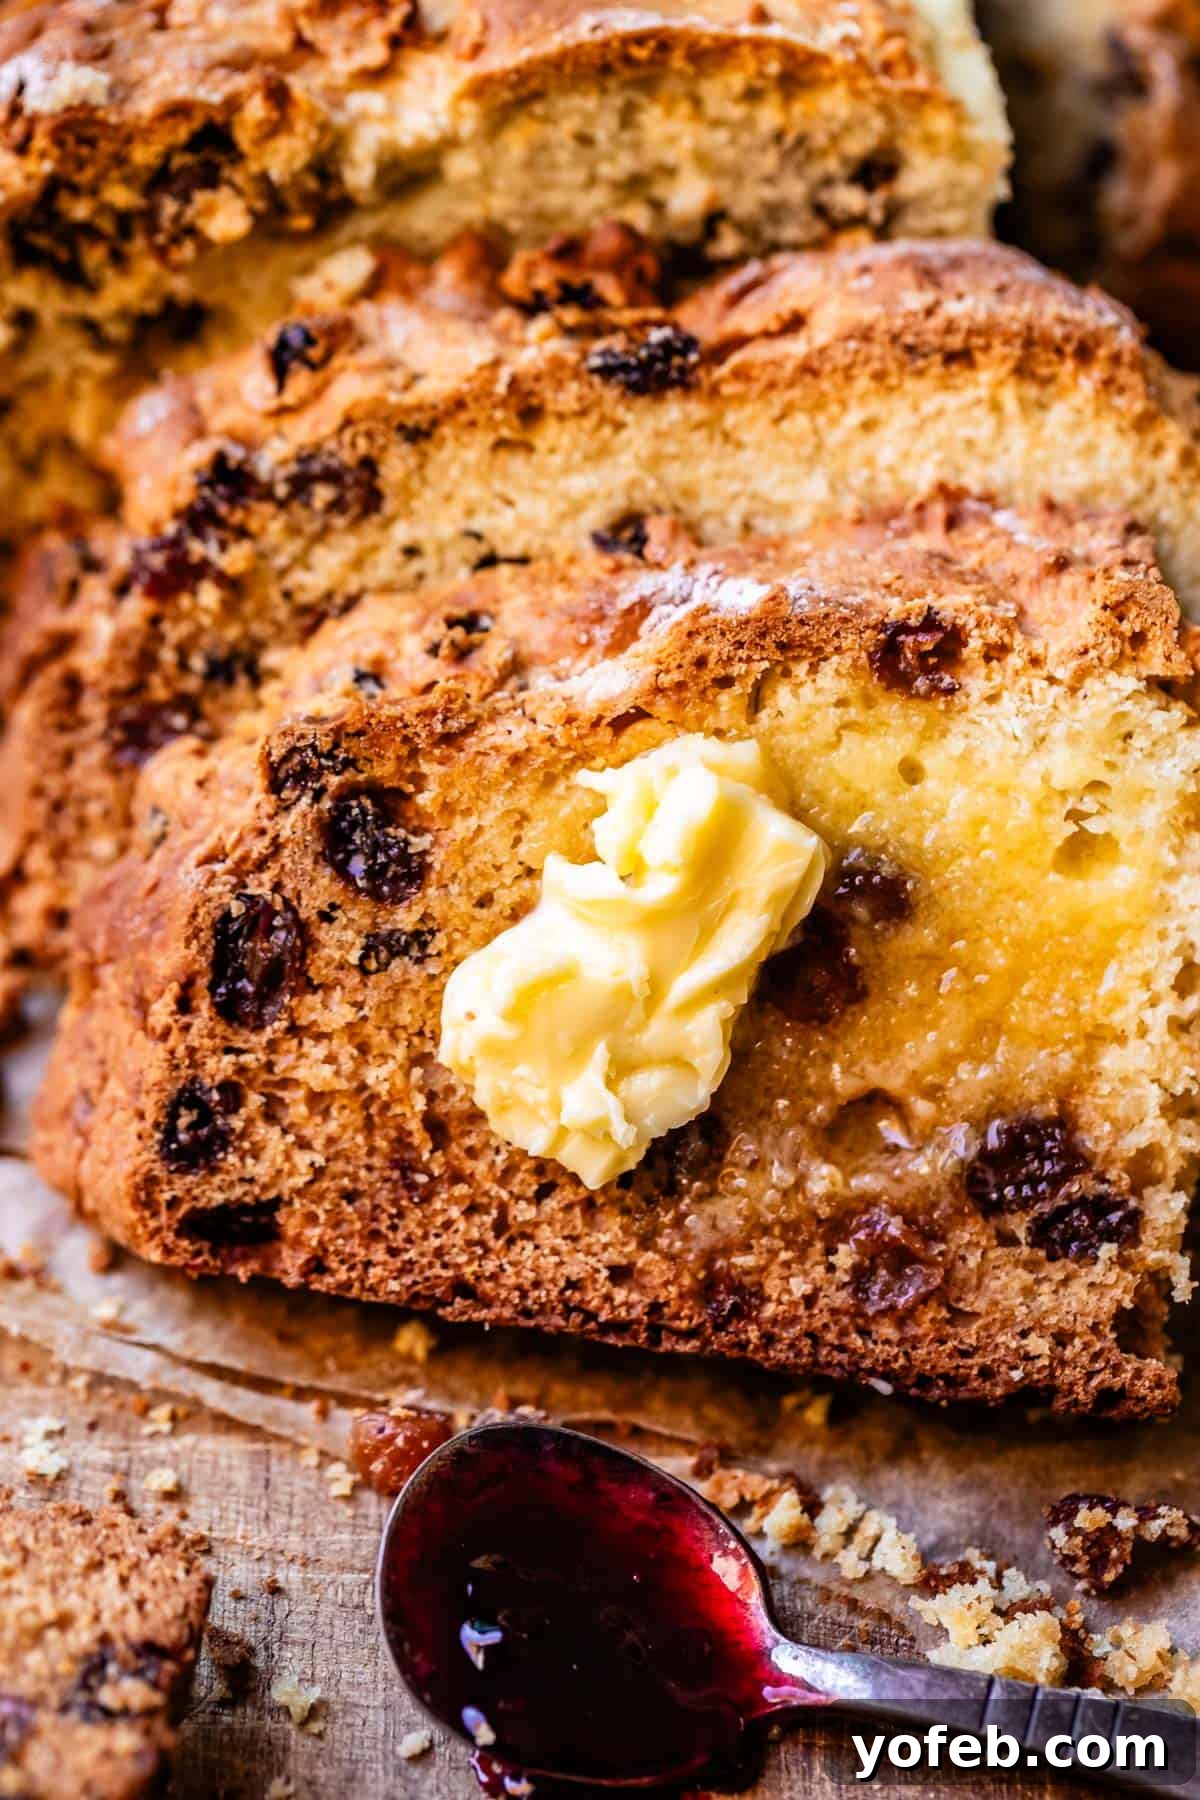
The Secret Ingredient for Unbeatable Moisture
While the four traditional ingredients form the backbone of Irish soda bread, modern variations often incorporate additional elements to enhance flavor and texture. My recipe embraces this evolution, including butter, sugar, and eggs to create a richer, more tender crumb. However, the true game-changer, the “secret ingredient” that took years to discover and perfect, is simple: oil. And let me tell you, oil, in its sweet, fatty glory, transforms this bread.
The key lies in the fat content. Butter, as delicious as it is, typically contains around 80% fat (in American varieties), with the remaining percentage being water and milk solids. Oil, on the other hand, is virtually 100% fat. This higher fat concentration in oil translates directly into increased moisture in your baked goods. Irish soda bread is notoriously prone to becoming dry and dense if overbaked even slightly. The addition of oil significantly mitigates this risk, yielding a loaf that is not only richer and more tender but also far more forgiving in the oven.
The oil works by coating the flour particles, inhibiting excessive gluten development. While gluten is essential for structure in yeast breads, too much development in quick breads like soda bread can lead to a tough, dry texture. The oil ensures a delicate, melt-in-your-mouth crumb that stays moist for days. This revelation has entirely changed my approach to Irish Soda Bread, and I wholeheartedly recommend you experience the difference for yourself. This new version is so good, it might just become your weekly baking obsession!

Beyond the Basics: A Look at the Ingredients
While my version of Irish Soda Bread does include more than the traditional four ingredients, I assure you it maintains the authentic soul of soda bread. The extra additions simply enhance its flavor and, most importantly, prevent that frustratingly dry, tooth-cracking texture (thank you, sweet oil!). Each ingredient plays a vital role in creating this superior loaf.
Here’s a quick overview of the ingredients you’ll need. For precise measurements and step-by-step instructions, please refer to the detailed recipe card below!
- All-purpose flour: Provides the fundamental structure for the bread.
- Granulated sugar: Adds a touch of sweetness and aids in browning for a beautiful crust.
- Baking soda: The essential leavening agent that reacts with buttermilk.
- Kosher salt: Balances the flavors and enhances the overall taste profile.
- Cold butter: Contributes to richness and a tender crumb, cut into the dry ingredients.
- Vegetable oil: My secret ingredient for superior moisture and a softer texture.
- Buttermilk: The acidic liquid that activates the baking soda, providing rise and tang.
- Eggs: Add richness, moisture, and help bind the dough together for a more cohesive loaf.
- Zante currants (optional): For a classic sweet-savory balance, or you can opt for raisins or other dried fruits.
How to Bake the Best Irish Soda Bread with Buttermilk
Crafting this delightful Irish Soda Bread is simpler than you might imagine. Follow these steps for a perfect, moist loaf every time.
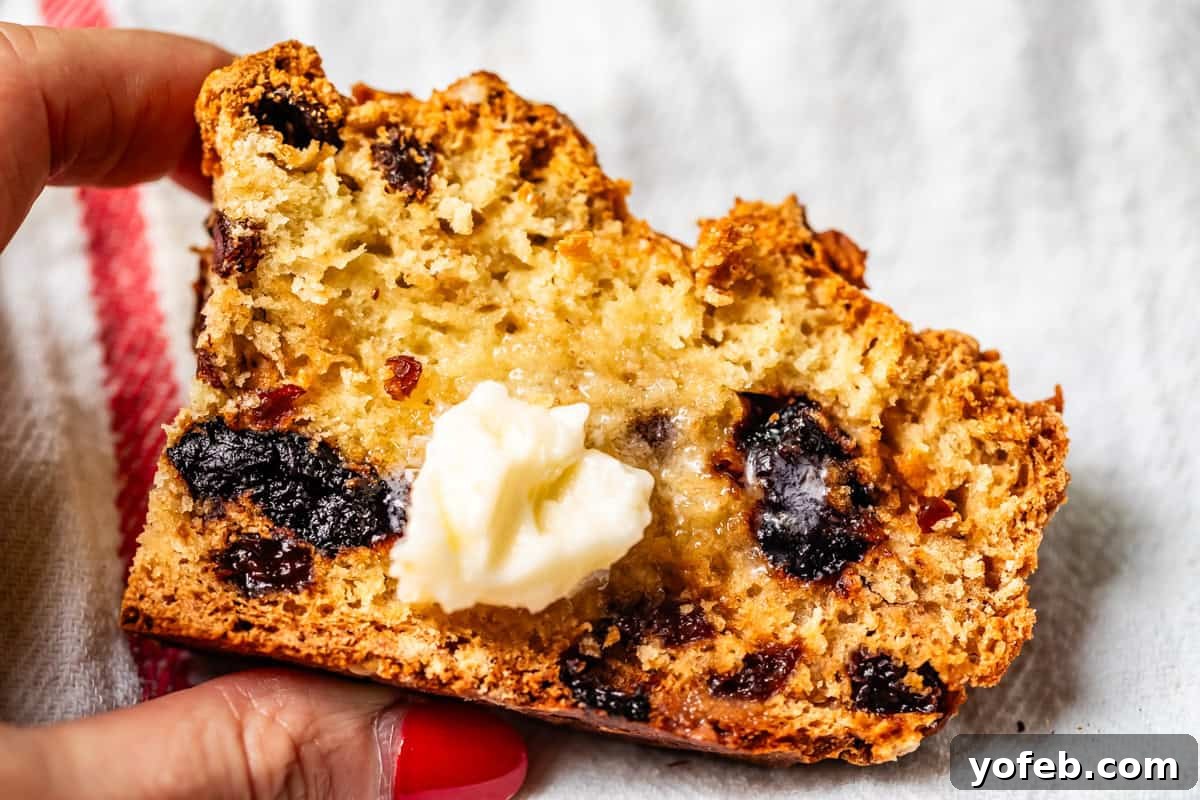
Step 1: Prepare your dried fruit (optional, but highly recommended). If you’re adding dried fruit like raisins or currants, a crucial first step is to “plump” them. Bring a small pot of water to a boil, then remove it from the heat. Add your dried fruit, cover the pot, and let them soak for about 10-15 minutes. This rehydrates them, making them juicy and tender rather than hard and chewy in the final bread. Drain them thoroughly before adding to the dough.
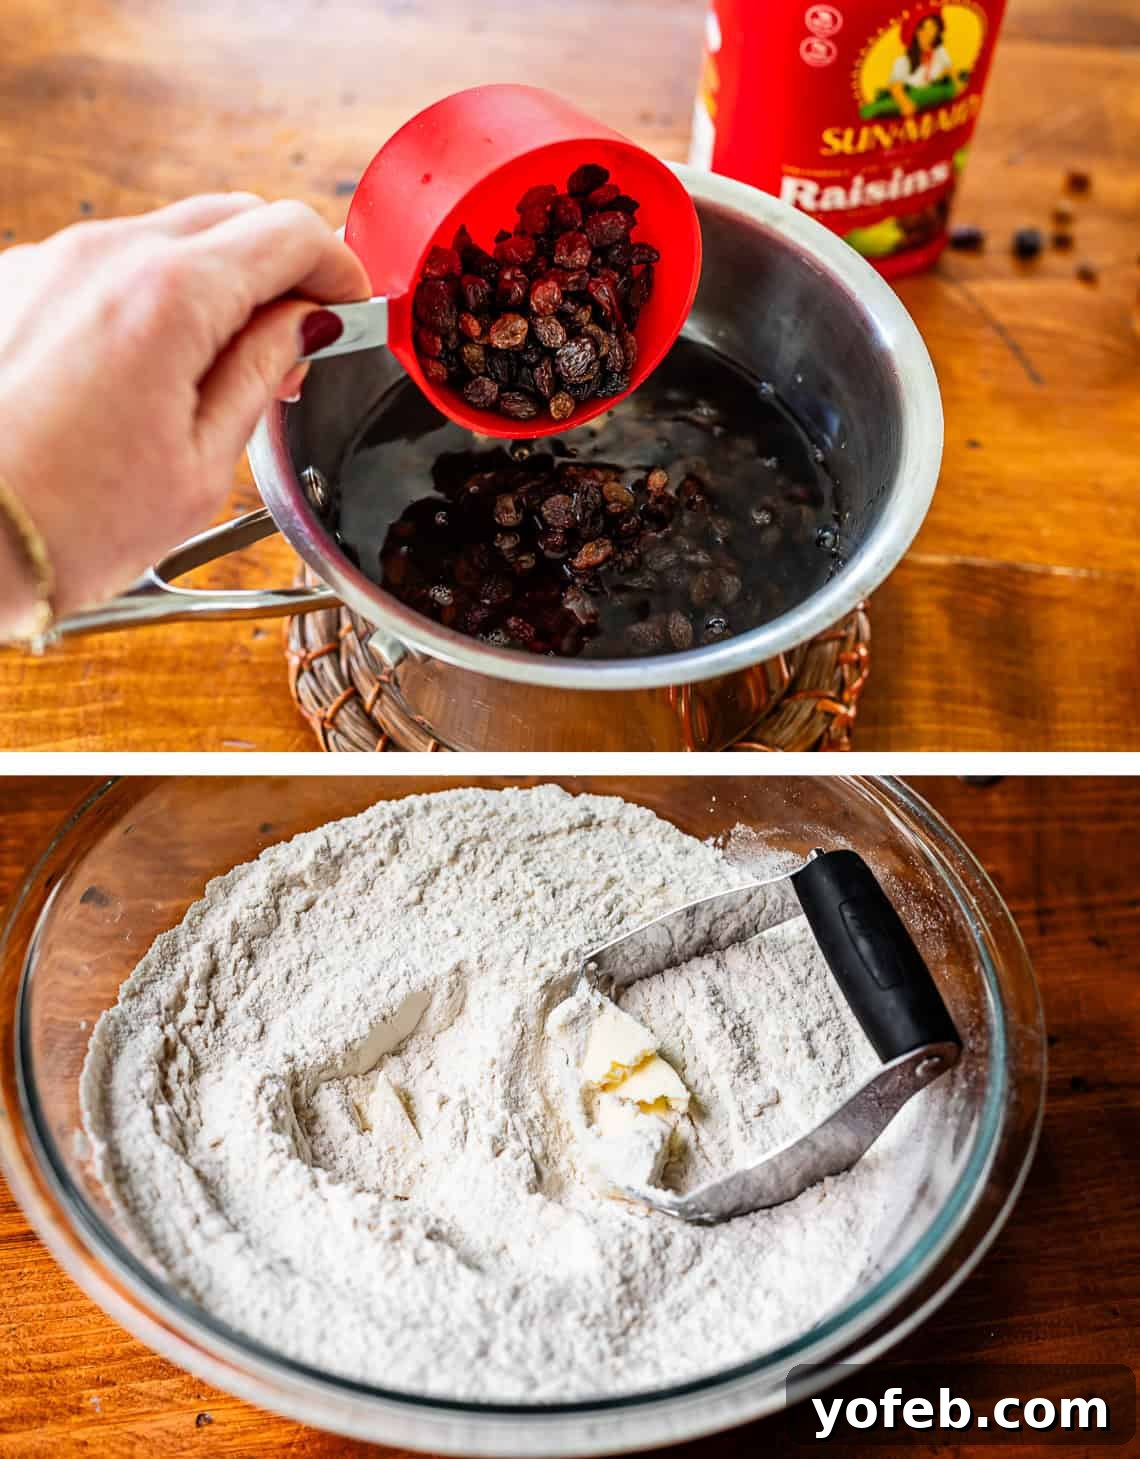
Step 2: Combine dry ingredients. In a large mixing bowl, combine your sifted all-purpose flour, granulated sugar, baking soda, and salt. Sifting the flour is a small extra step that makes a big difference, ensuring a lighter, more even texture in your finished bread. It helps prevent lumps and incorporates air, contributing to a tender crumb.
Step 3: Cut in the butter. Add the cold, cubed butter to the dry ingredients. Using a pastry cutter, two knives, or even your fingertips, cut the butter into the flour mixture until it resembles coarse meal, with pieces no larger than small peas. The cold butter will create pockets of steam during baking, contributing to the bread’s flakiness and tenderness.
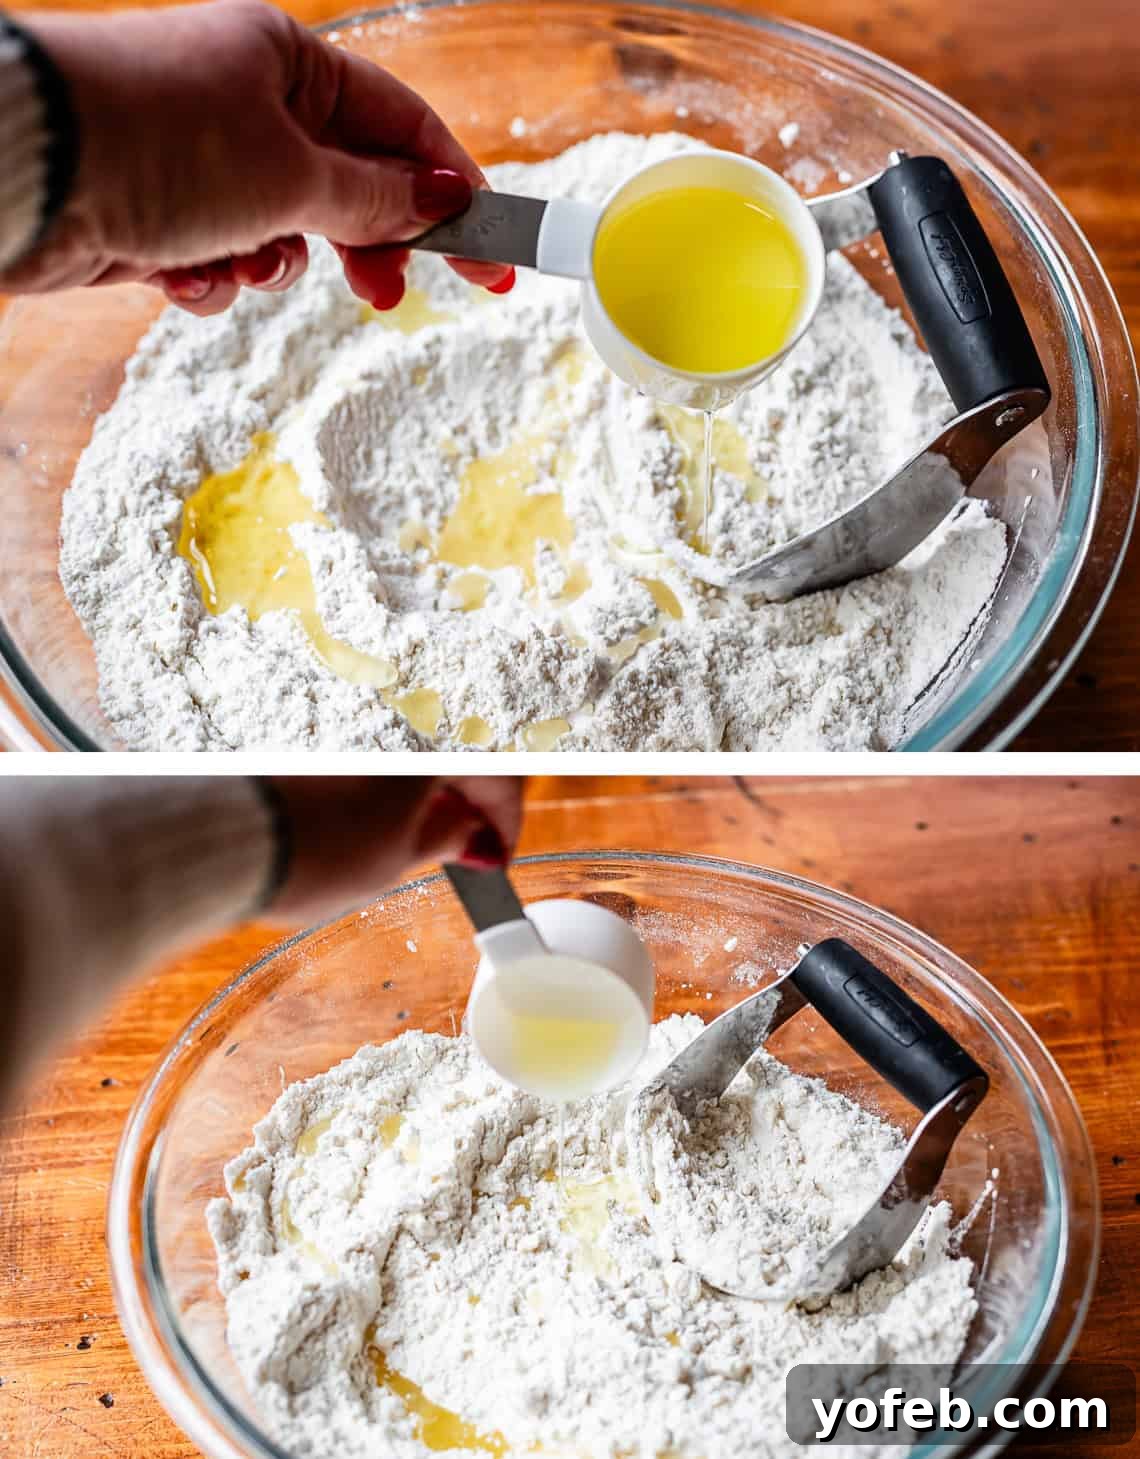
Step 4: Incorporate the oil. Now, gradually drizzle in the vegetable oil. Use your pastry cutter to “cut” the oil into the flour mixture, much like you did with the butter. Add a little oil, cut it in, then repeat. The goal is to distribute the oil evenly without overmixing or turning the flour into a paste. This step is crucial for achieving that superior moistness. Once the oil is distributed, gently toss in your plumped and drained dried fruit, ensuring they are coated with flour.
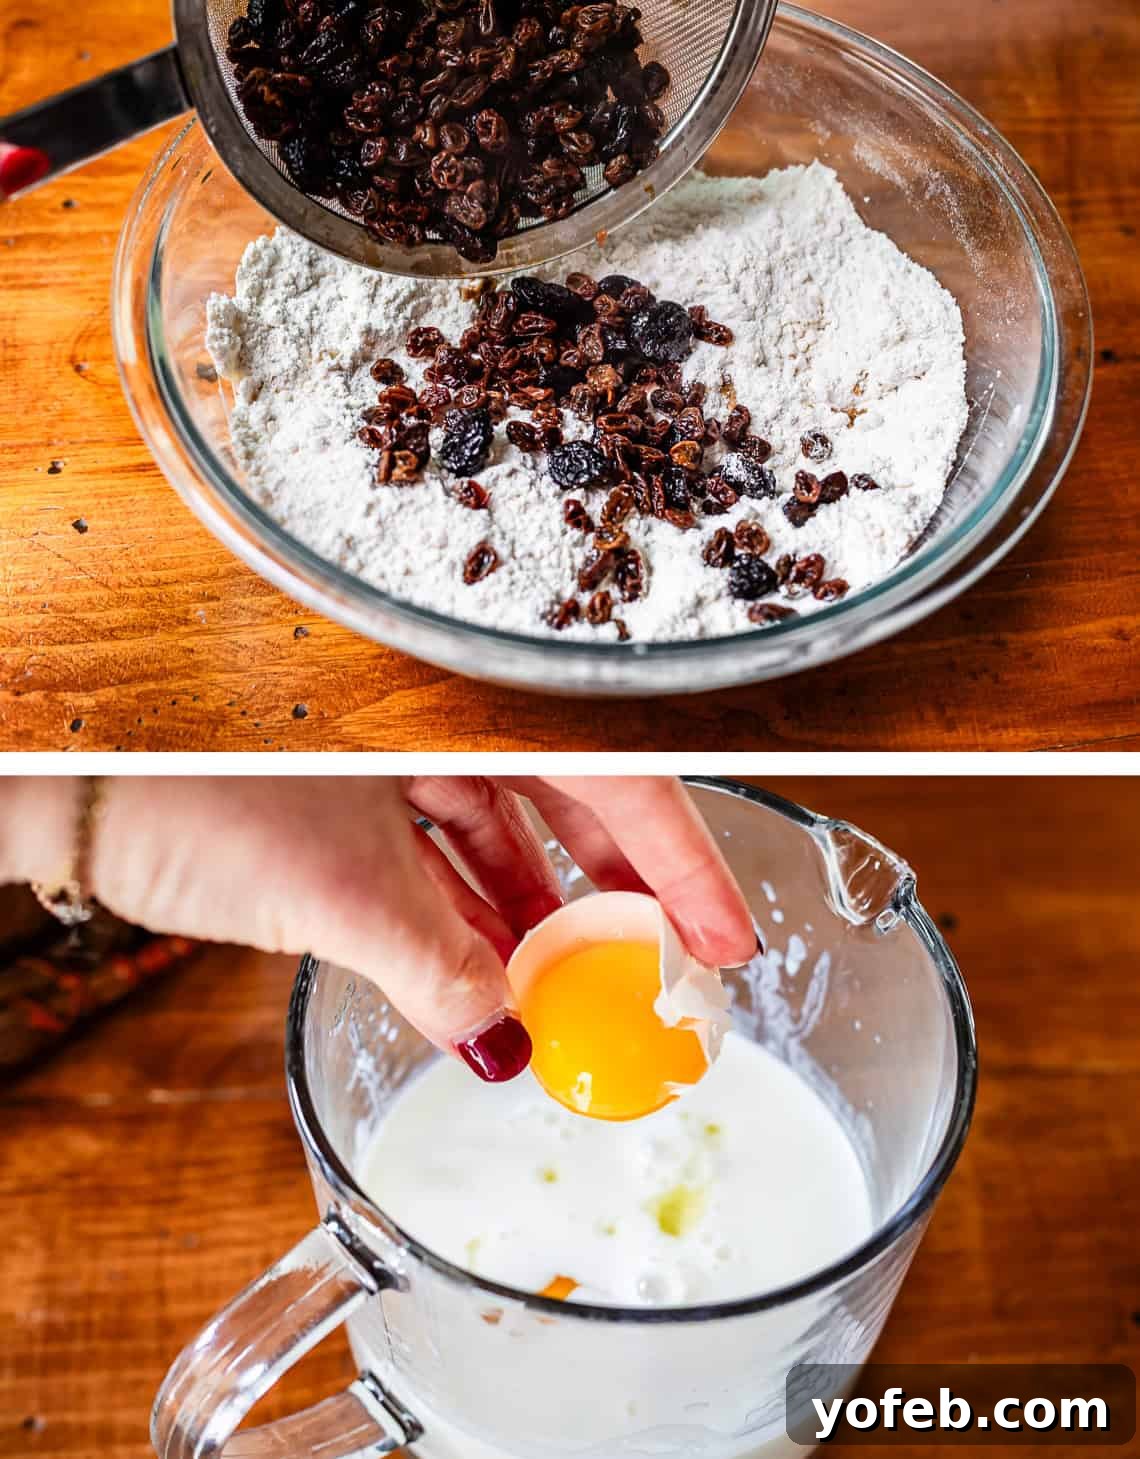
Step 5: Prepare wet ingredients. In a separate measuring cup or small bowl, whisk together the buttermilk, one large egg, and one additional egg yolk until smooth. The extra egg yolk adds richness and helps create a beautiful golden crust. (Remember to save that egg white for another use! It’s too precious to waste!)
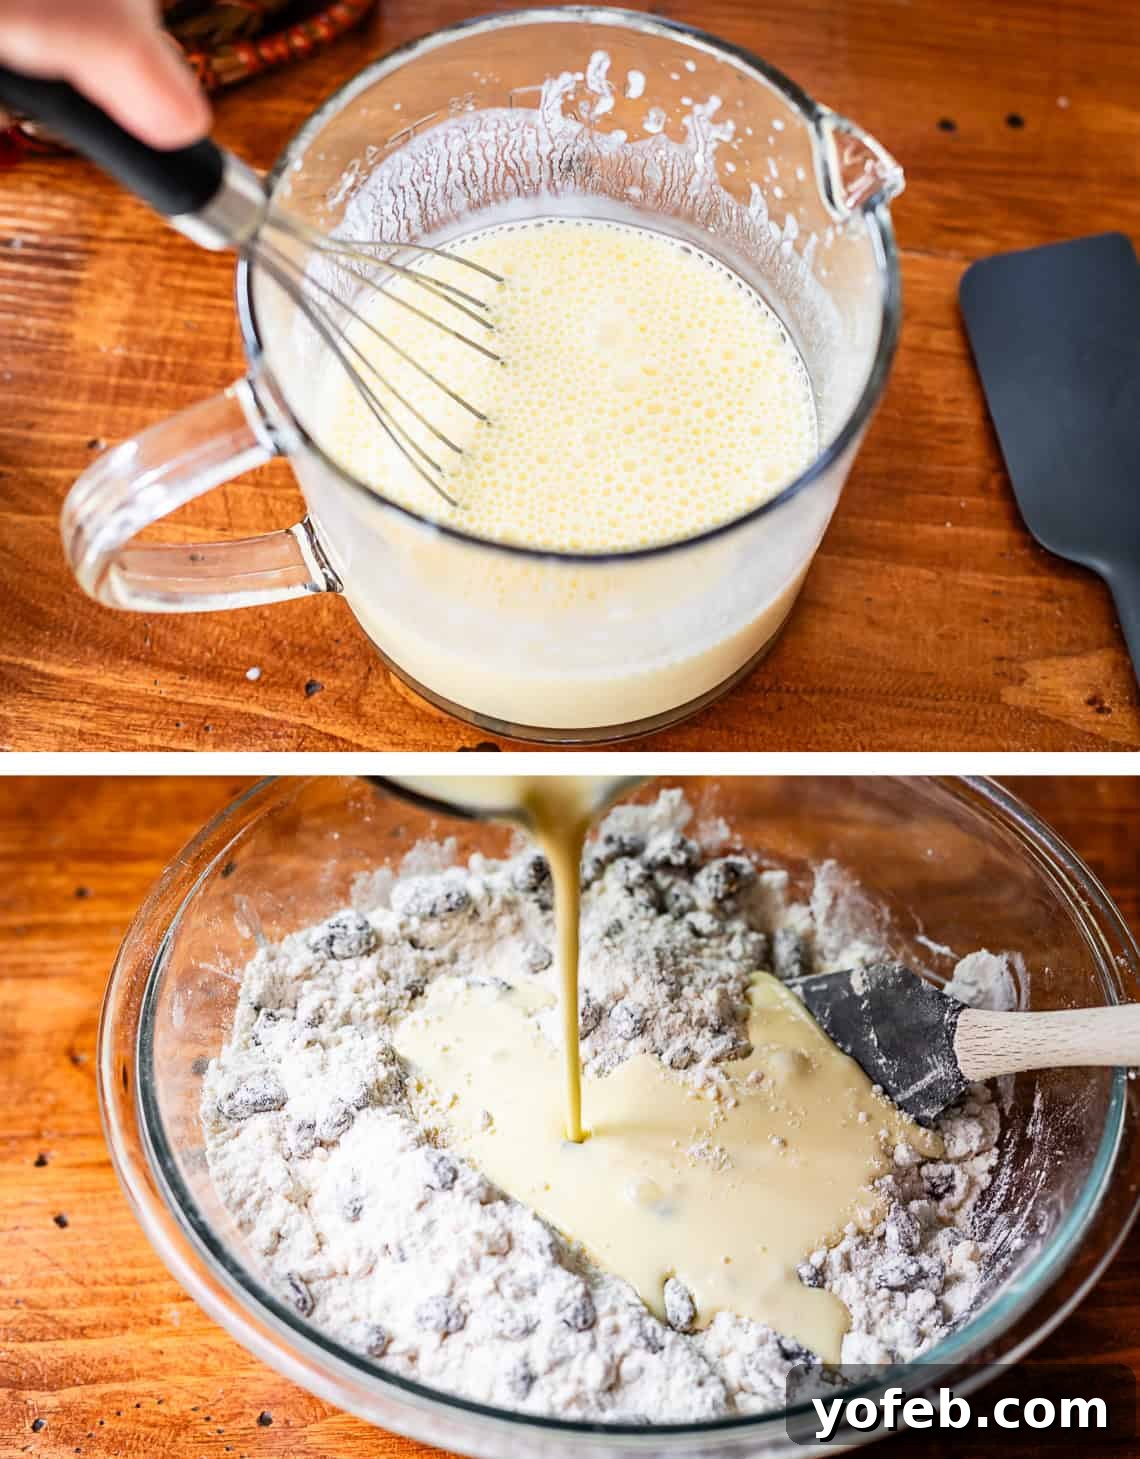
Step 6: Combine wet and dry. Pour the buttermilk and egg mixture into the dry ingredients. Using a rubber spatula, gently fold the ingredients together until just combined. The key here is to avoid overmixing. This is a quick bread, not a yeast bread, so minimal mixing is essential for a tender result. Do not knead it at this stage; simply bring the dough together.
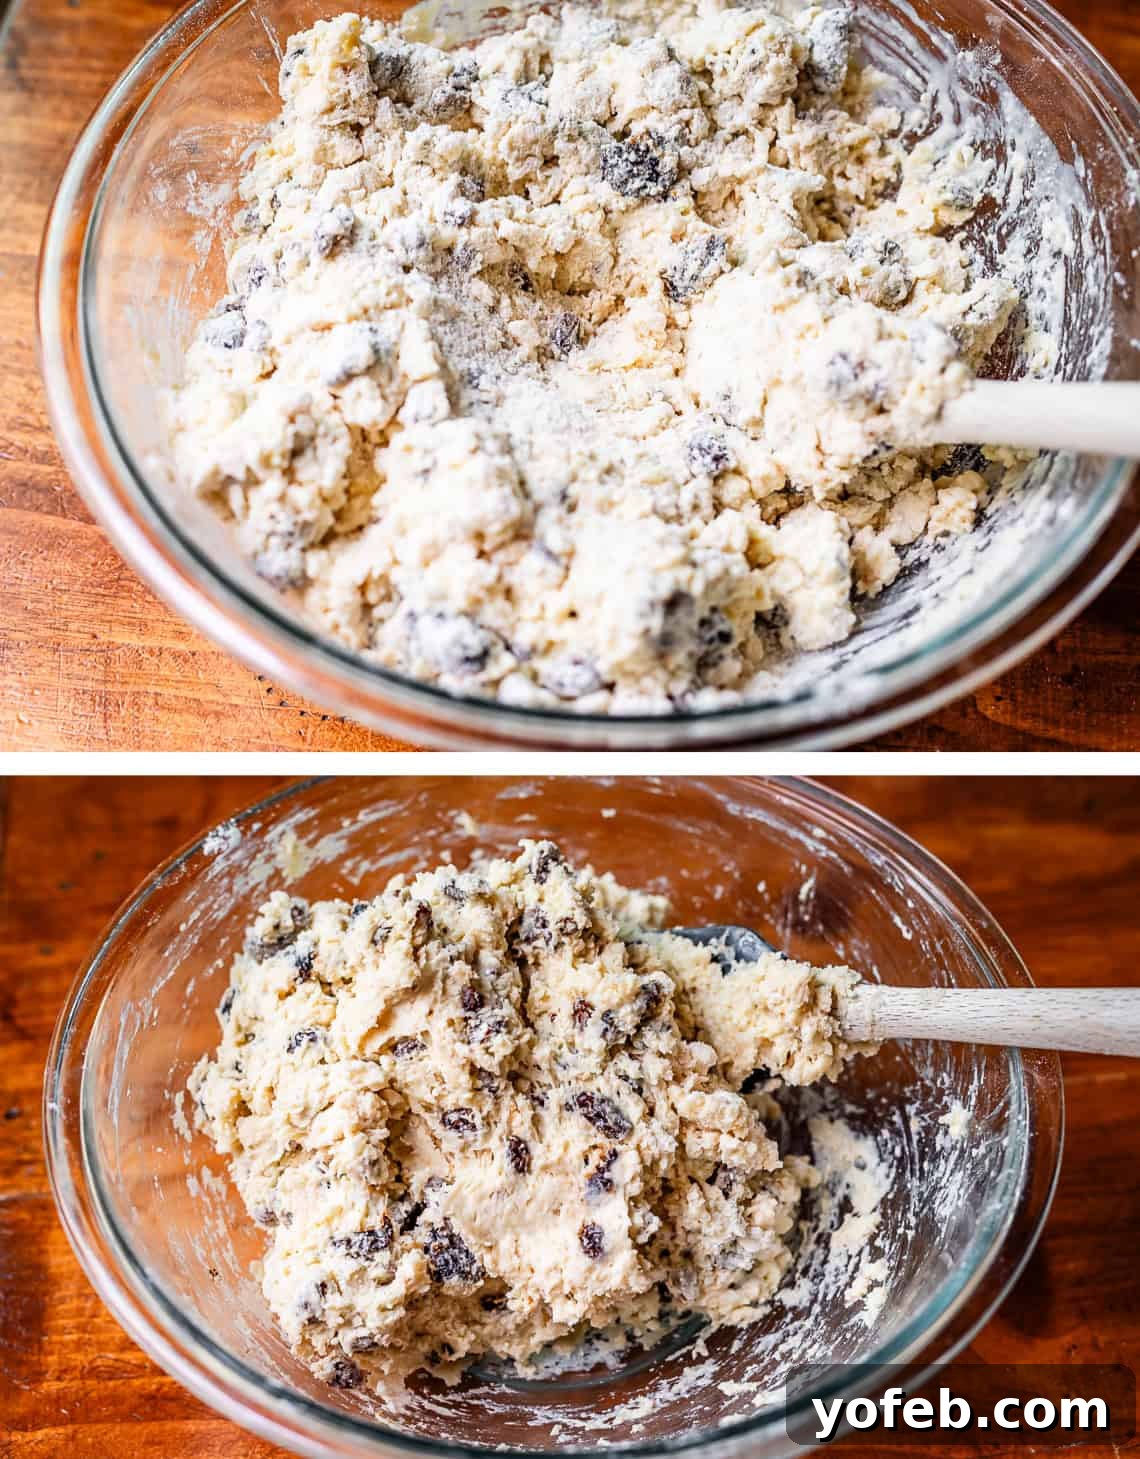
Step 7: Shape the loaf. Lightly flour a clean surface and turn out the dough. Knead it very briefly—just once or twice—to form it into a round, cohesive loaf, about 6 to 7 inches in diameter. The dough should still be a bit shaggy; over-kneading will develop too much gluten and result in a tough bread. Sometimes, if I’m feeling particularly lazy, I’ll even do this quick shaping directly in the bowl by sprinkling a little extra flour over it.
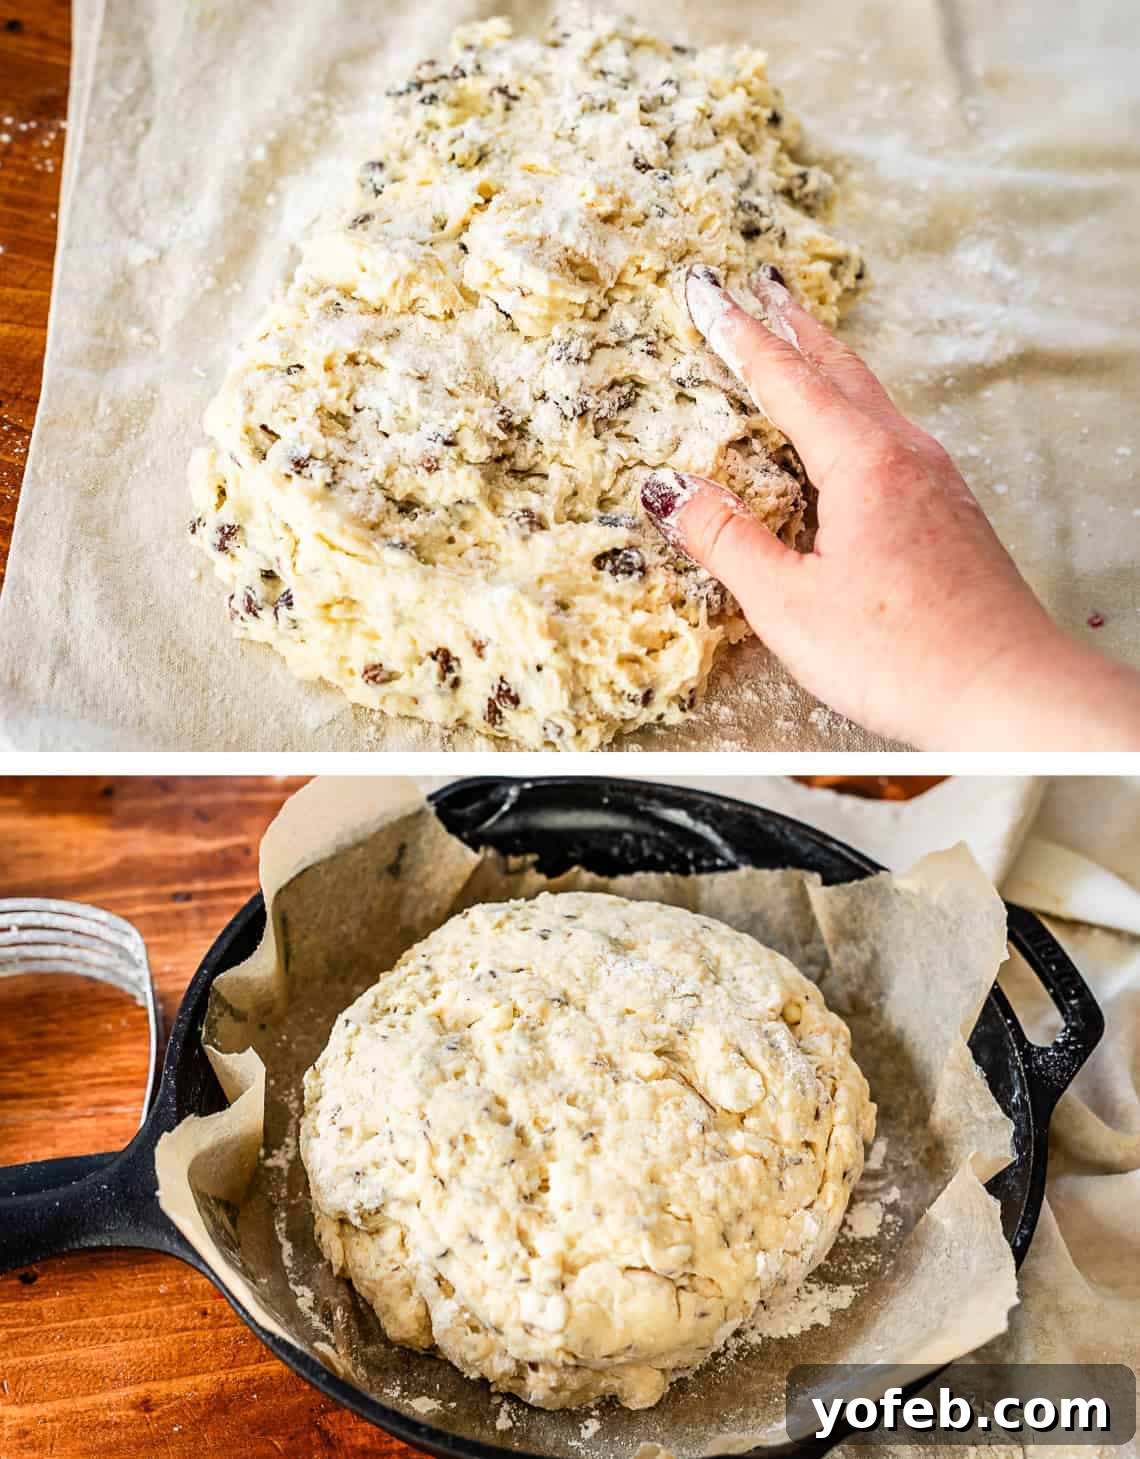
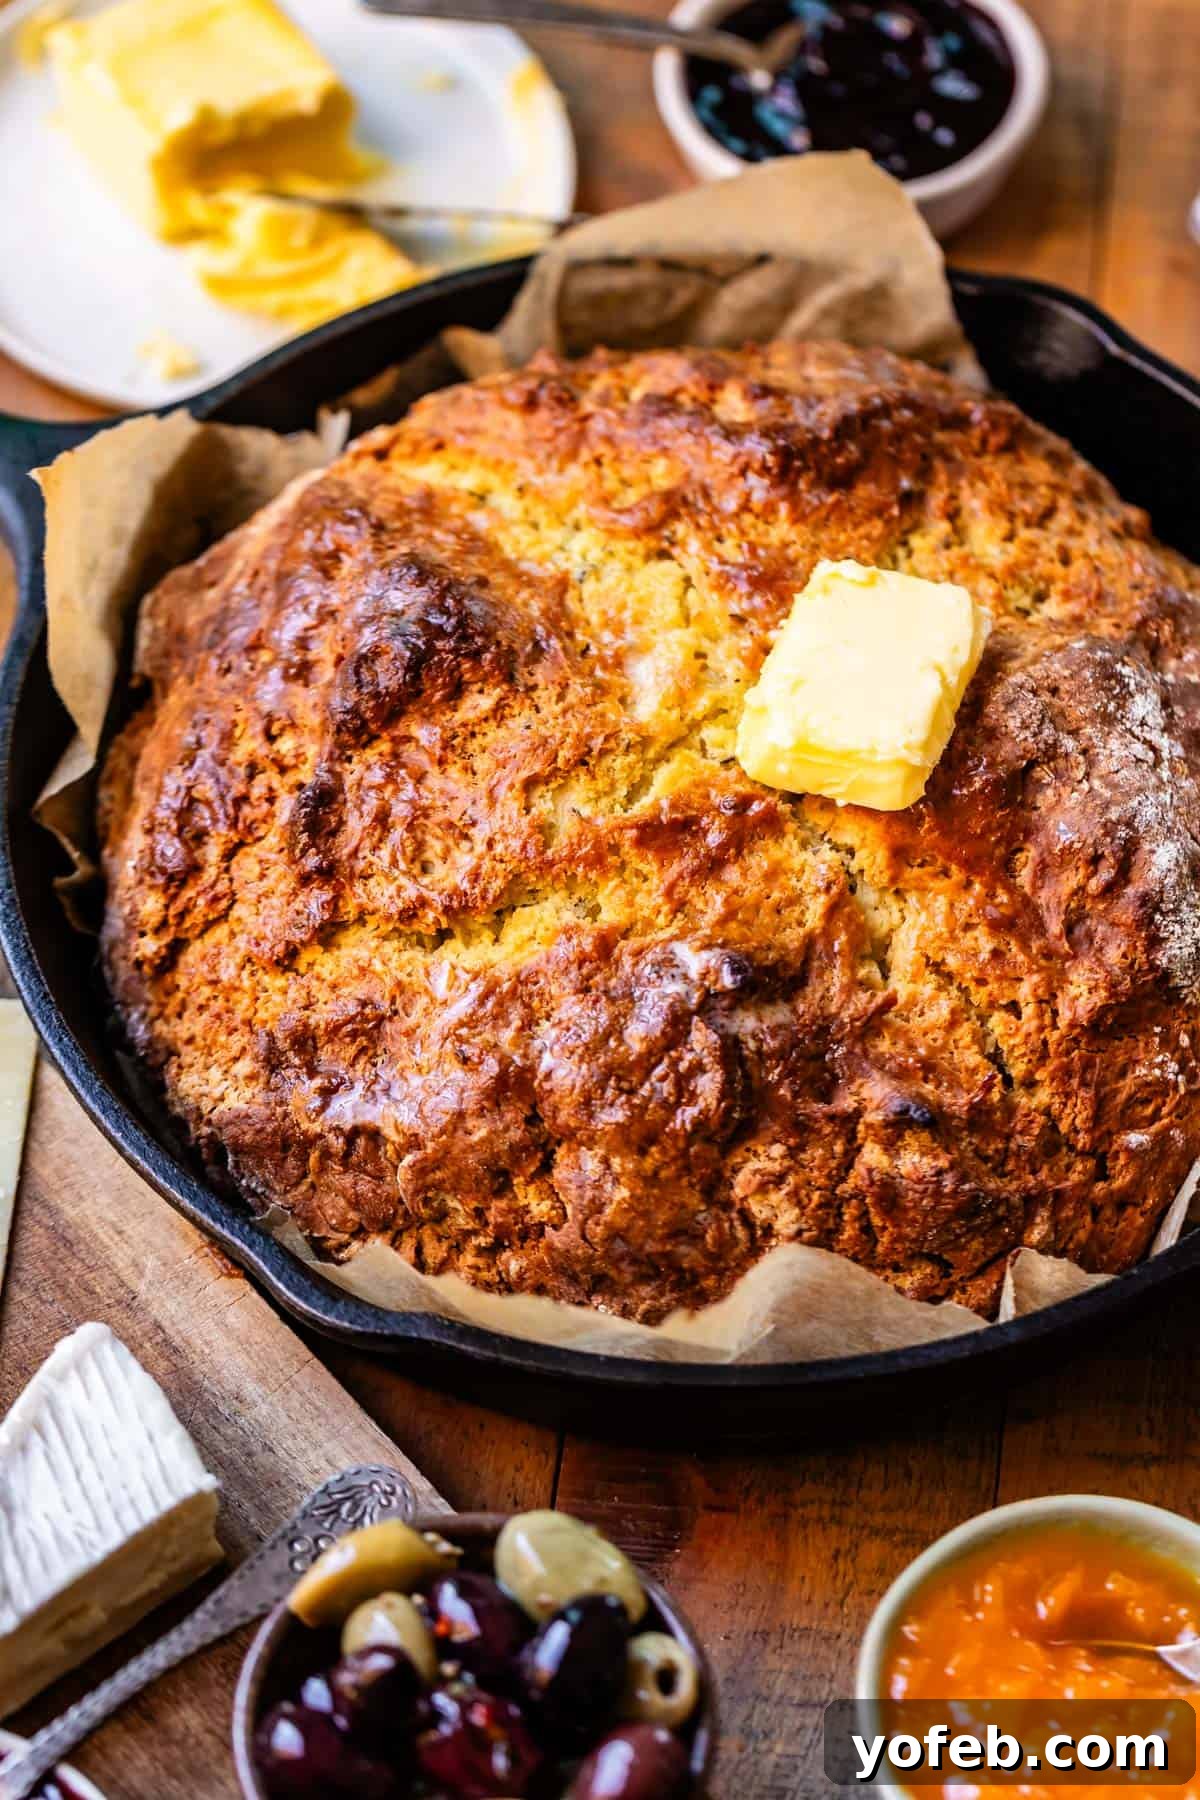
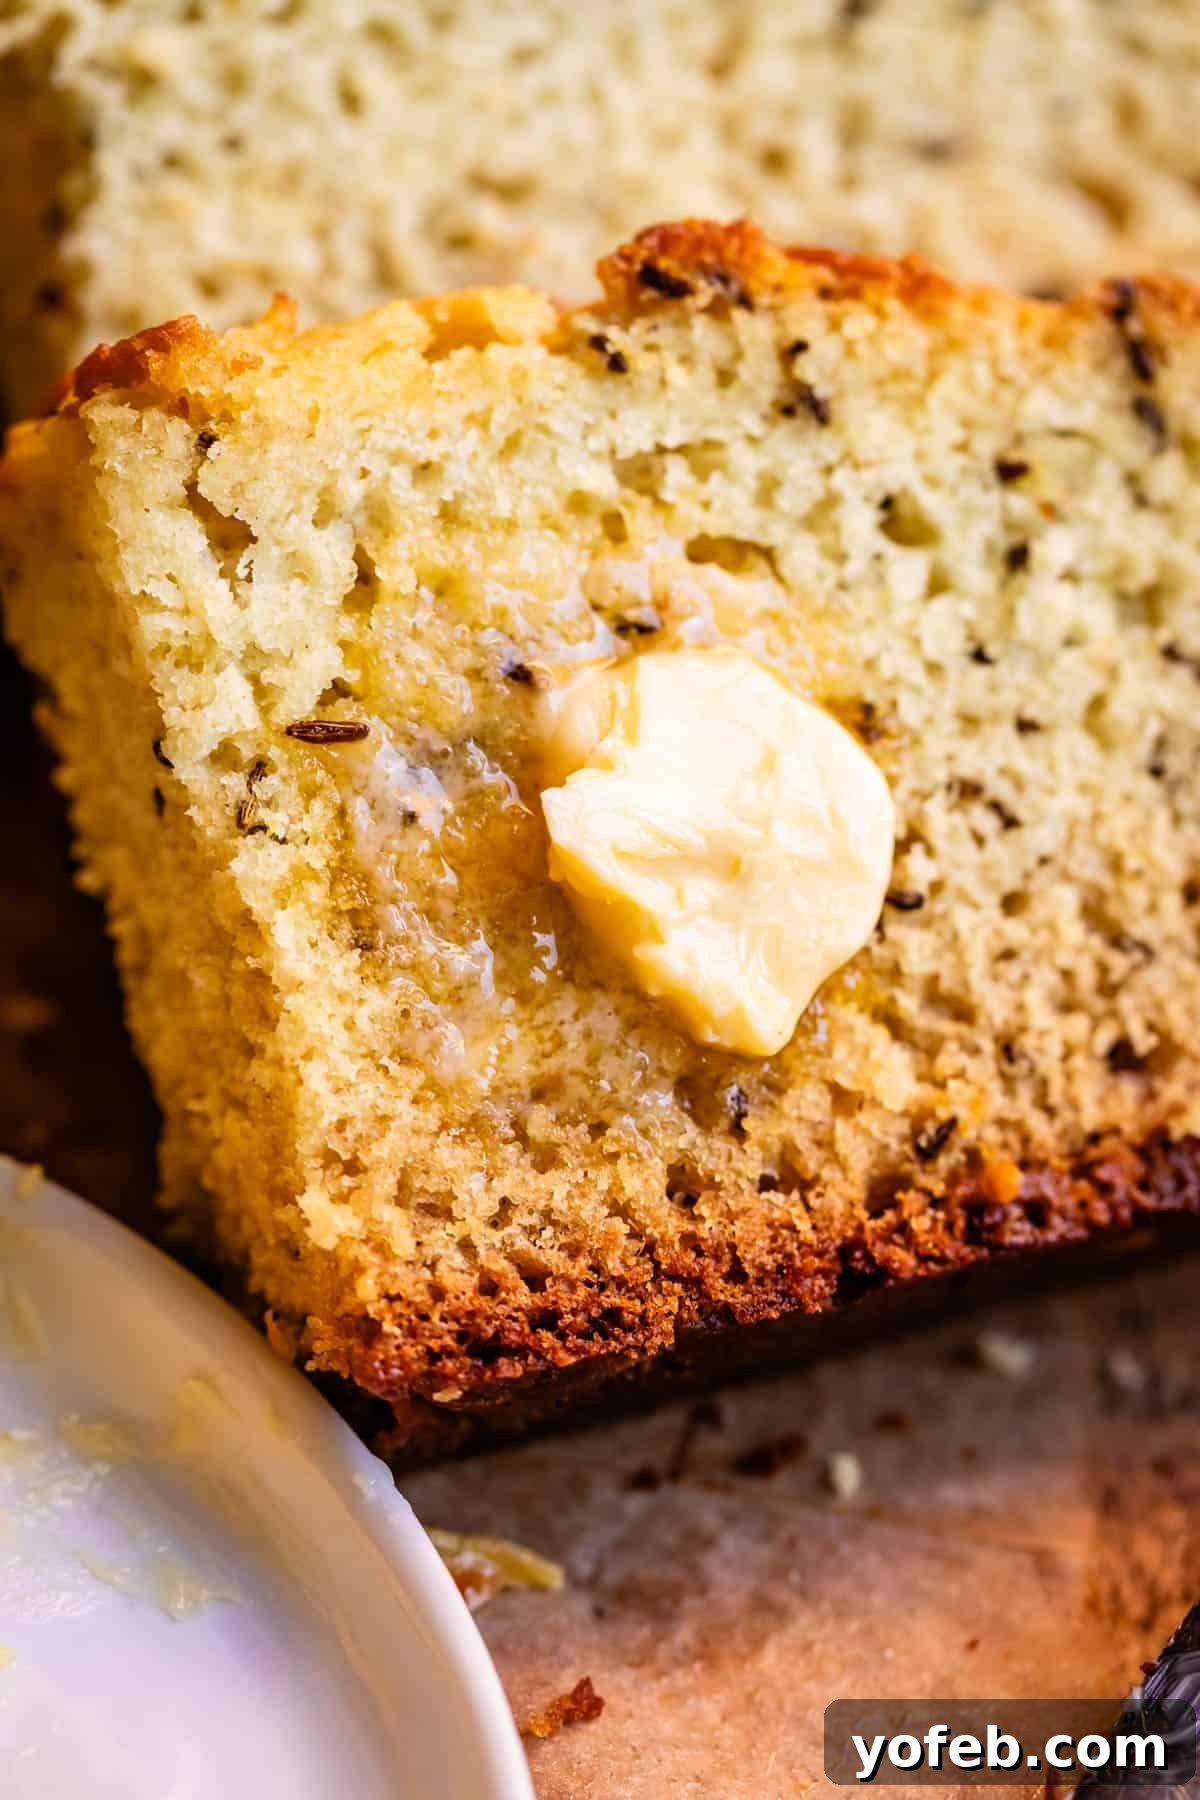
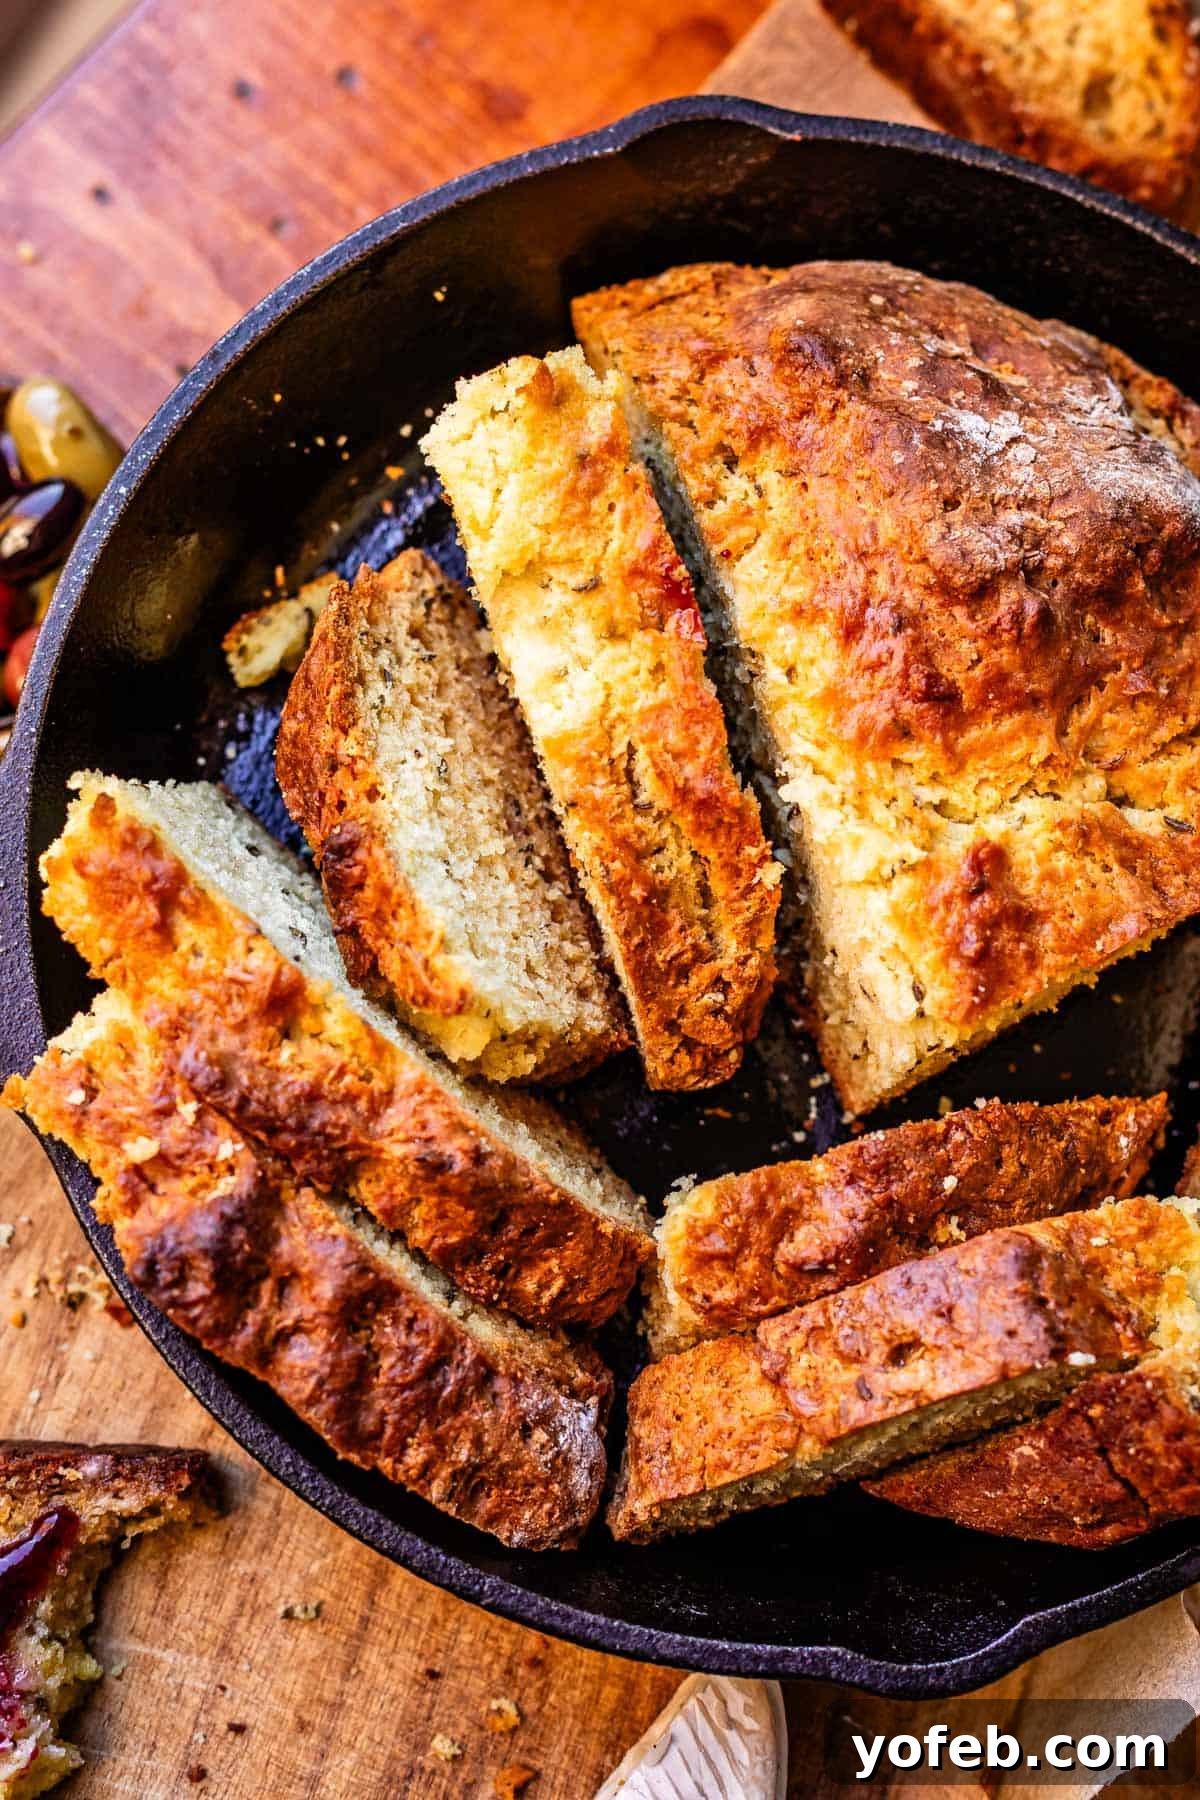
Step 8: Prepare for baking. Transfer your shaped loaf to a well-buttered cast iron skillet or a baking sheet lined with parchment paper. This bread is incredibly adaptable; an 8×8 pan or an 8-inch cake pan will also work perfectly. This specific loaf shown here was a savory test with caraway seeds instead of raisins, proving how versatile this base recipe can be.
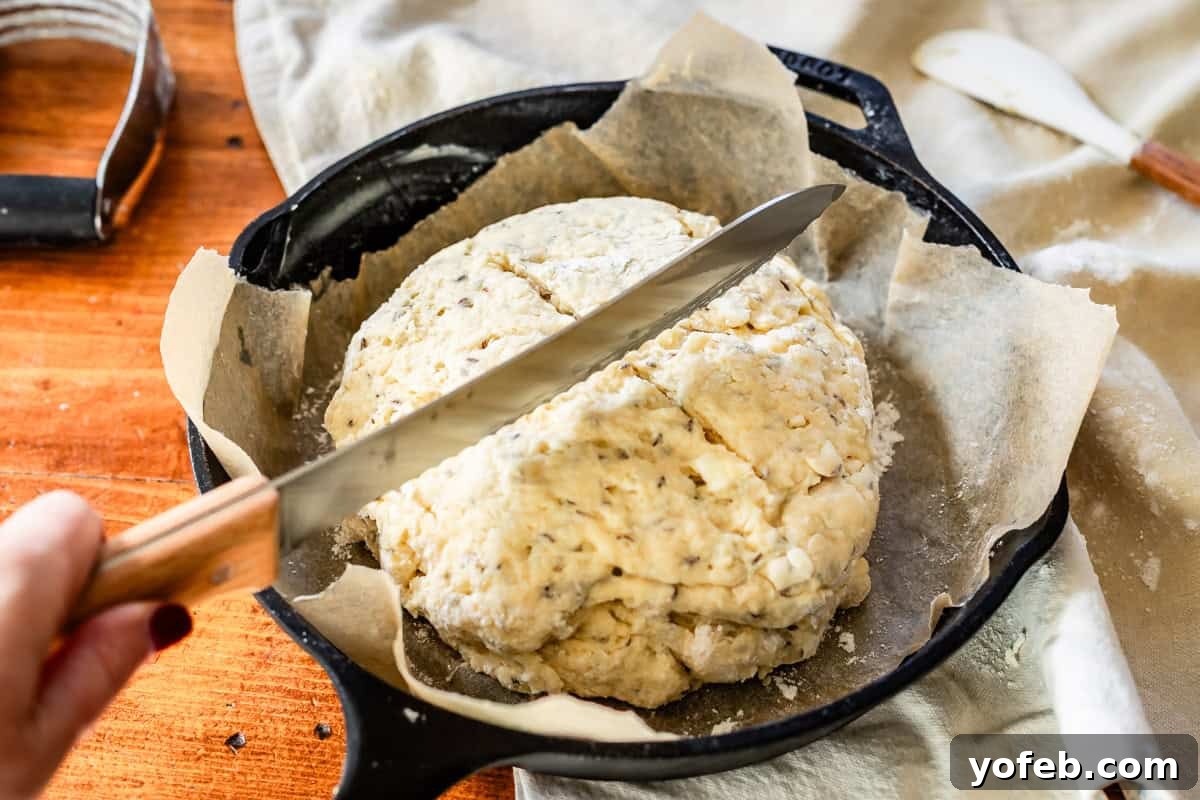
Step 9: Score the top. Using a sharp, serrated knife, cut a deep ‘X’ into the top of the loaf, extending at least an inch or two deep. Don’t be shy! In Ireland, folklore suggests this cross lets the devil out (or blesses the bread), but scientifically, it’s essential for even baking. It allows steam to escape from the center, ensuring the bread cooks thoroughly and prevents a soggy middle.
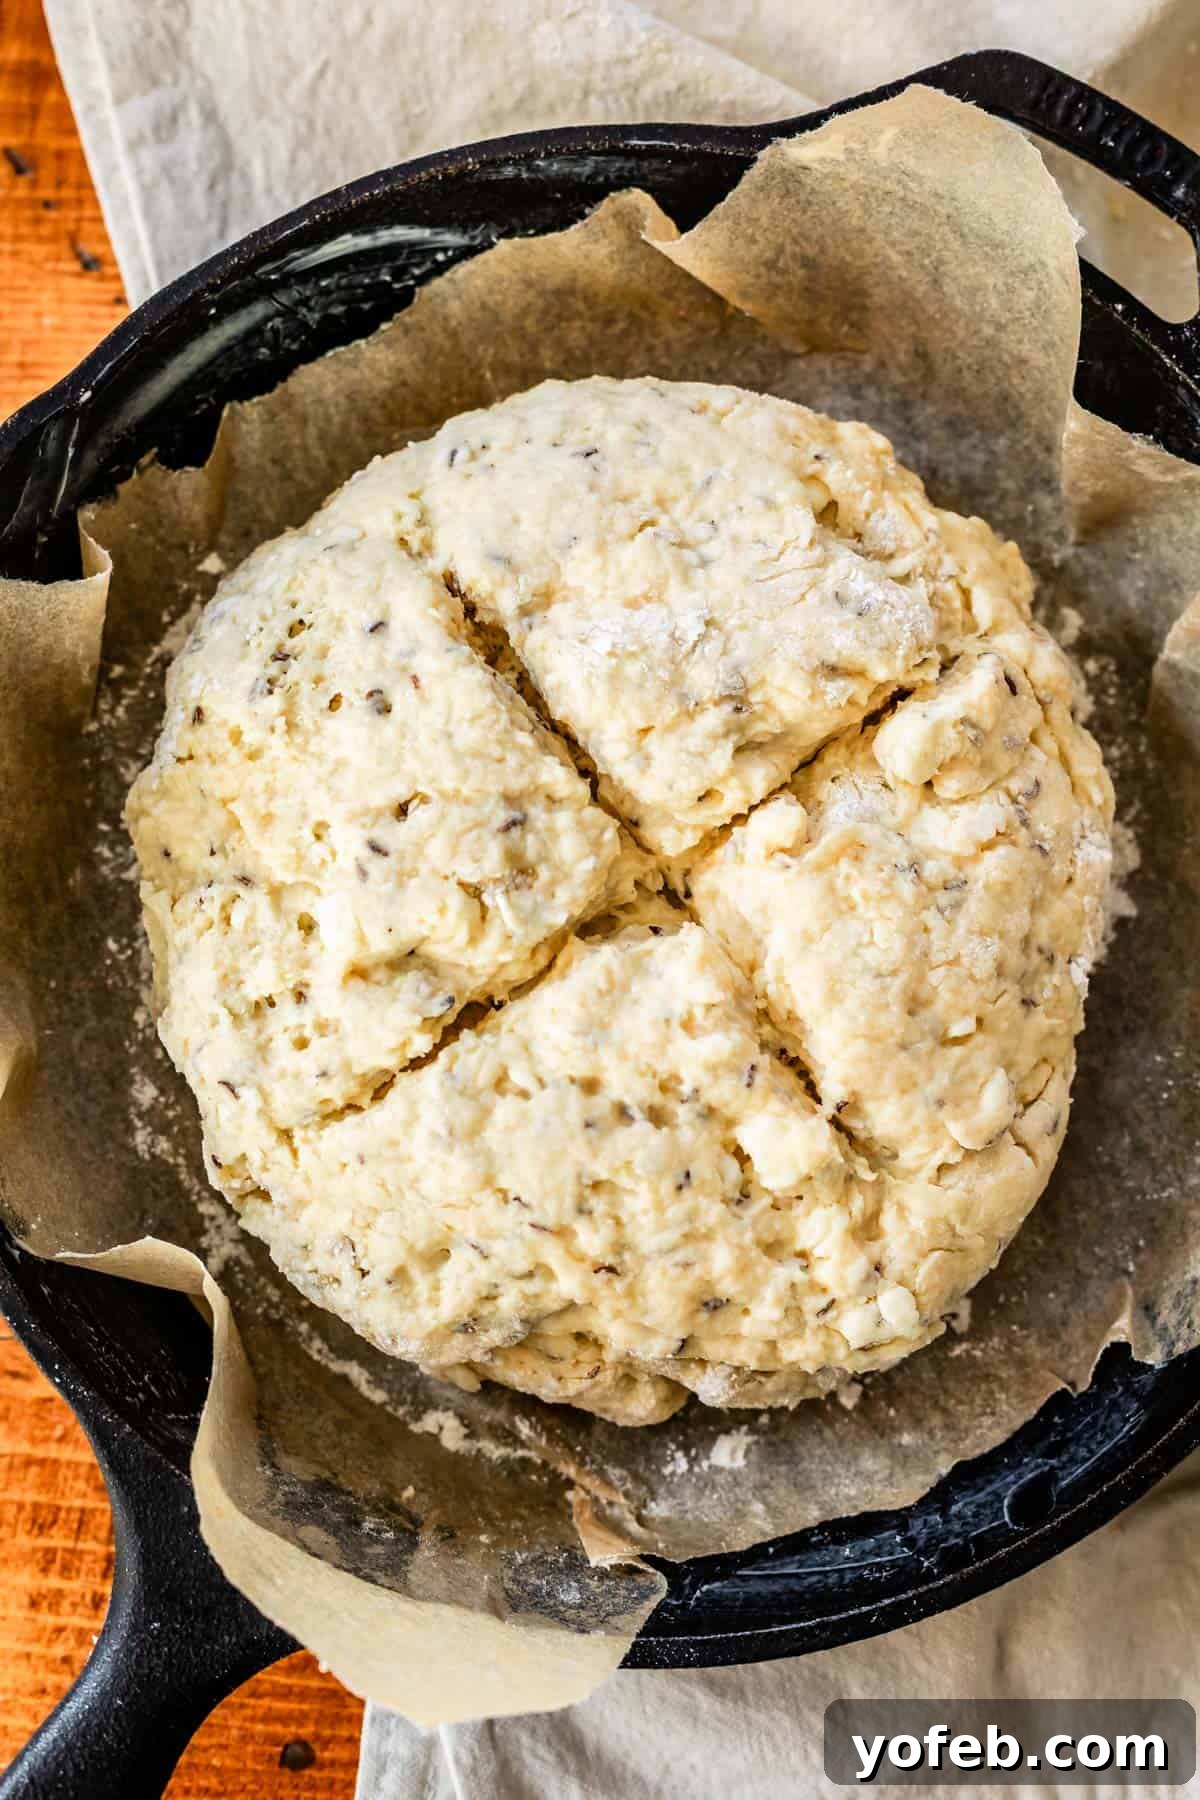
Step 10: Bake to perfection. Preheat your oven to a high temperature of 425°F (220°C). This initial high heat is similar to baking biscuits; it provides an immediate burst of heat that helps activate the baking soda, promoting a good rise and a crusty exterior. Bake for 20 minutes at this temperature, then loosely cover the top with aluminum foil to prevent excessive browning. Reduce the temperature to 375°F (190°C) and continue baking for another 30-35 minutes, or until the bread is golden brown and cooked through.
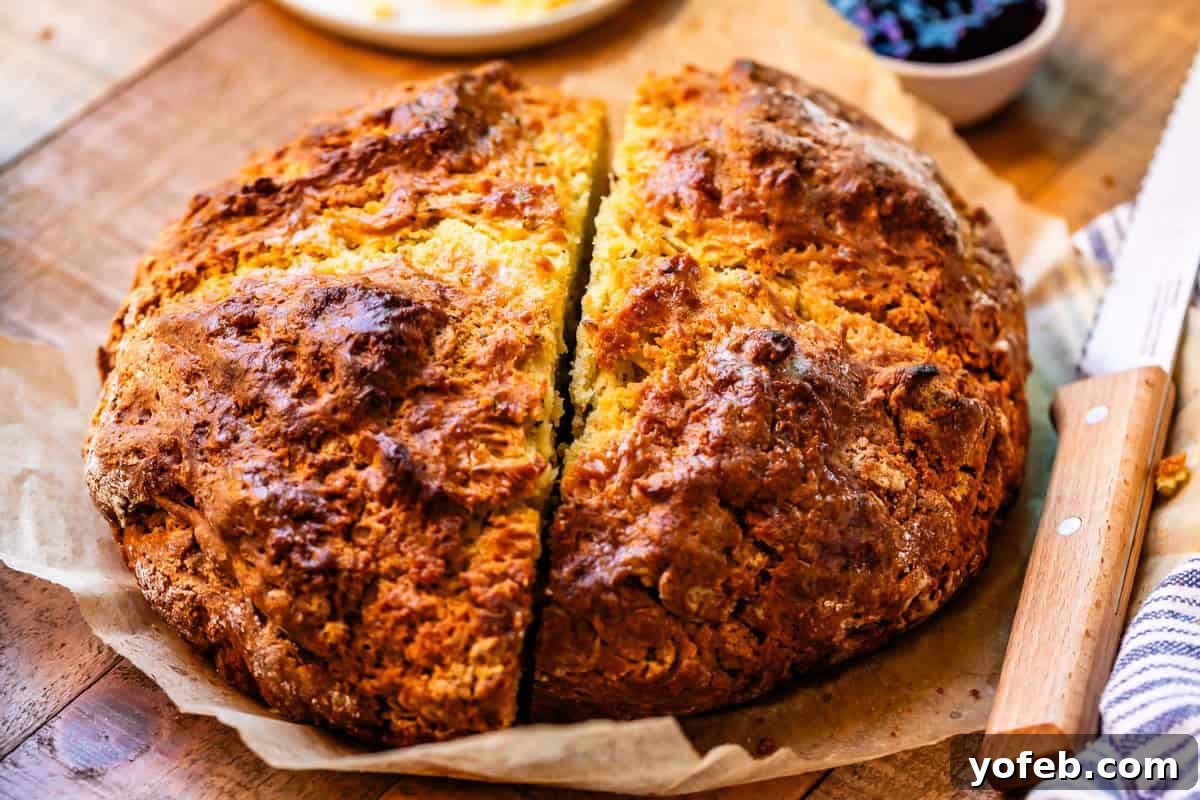
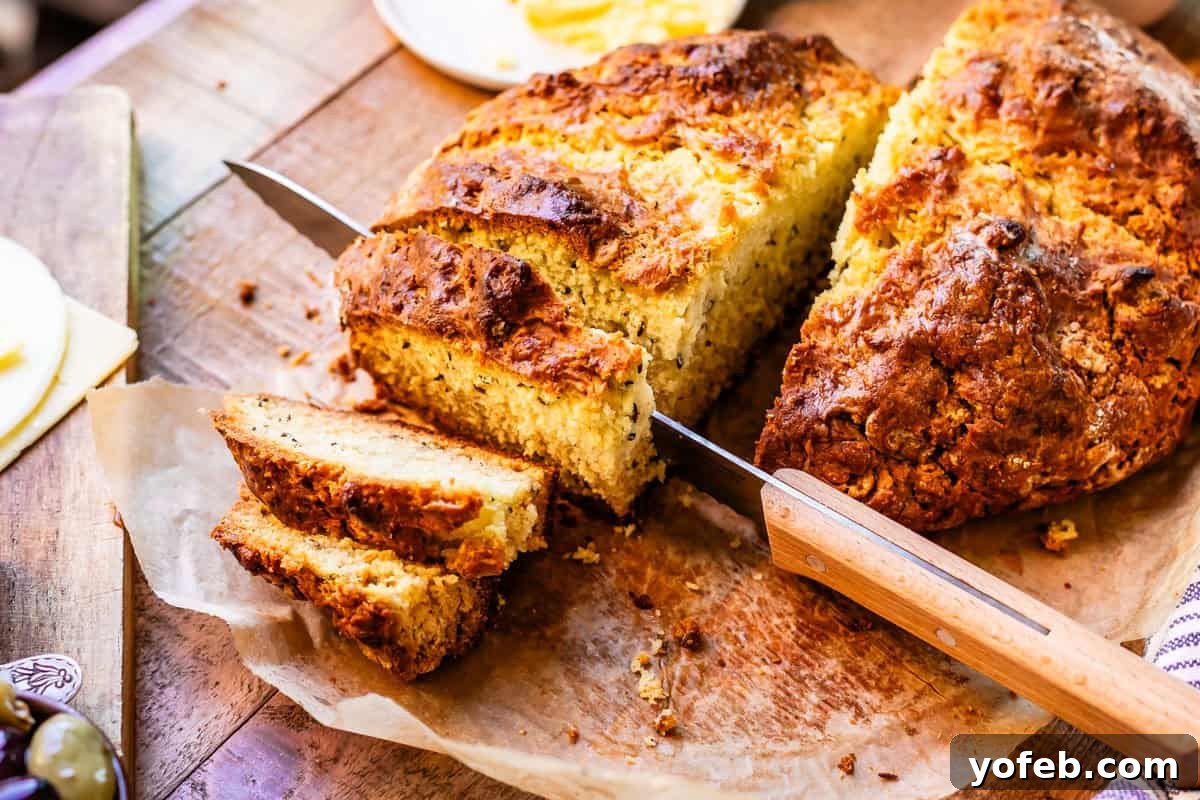
Step 11: Finish and cool. Once baked, immediately brush the top of the hot bread with more melted butter for an irresistible golden sheen and added richness. Transfer the loaf to a wire rack to cool completely before slicing. This allows the internal structure to set properly. Then, slice it in half, and then into smaller, delicious wedges. Serve warm with plenty of butter and jam!
Knowing When Your Irish Soda Bread Is Perfectly Done
Ensuring your Irish Soda Bread is fully cooked is vital for the best taste and texture. There are a few reliable methods to check for doneness:
- The Skewer Test: Insert a thin wooden skewer or a toothpick into the very center of the loaf. If it comes out clean, without any wet batter attached, your bread is likely done.
- Internal Temperature: For the most accurate measure, use an instant-read thermometer. The center of the bread should register at least 180°F (82°C). This temperature indicates that the starches have gelatinized and the bread is fully baked.
- The “Hollow Sound” Test: Gently tap the bottom of the loaf. A hollow sound suggests that the moisture has evaporated from the interior, leaving a cooked, airy crumb. A dull thud means it might still be too dense or undercooked inside.
- Visual Cues: The crust should be a beautiful golden-brown, and any cuts on top should be visibly spread open.
Combine these methods to confidently determine when your Irish Soda Bread is ready to be pulled from the oven.
Troubleshooting: Why Your Irish Soda Bread Might Fall Apart
It can be disheartening when your beautifully baked soda bread crumbles or falls apart. This usually points to one of two common issues:
- Too Much Flour: Adding excessive flour is a frequent culprit. When measuring flour, avoid packing it tightly into the measuring cup. Instead, use the “fluff and scoop” method: lightly fluff the flour with a spoon, then gently spoon it into your measuring cup until it overflows. Finally, level it off with a straight edge. This prevents compaction and ensures you’re not using too much dry ingredient, which can lead to a dense, crumbly texture.
- Over-kneading: Unlike yeast breads that benefit from extensive kneading, Irish soda bread requires very minimal handling. The gluten in the flour develops rapidly, and too much kneading can make the bread tough, dry, and prone to falling apart. After combining the wet and dry ingredients with a spatula, just turn the dough onto a lightly floured surface for a quick shape—one or two gentle kneads are all it needs to form a round. Resist the urge to work it extensively.
By being mindful of your flour measurement and handling the dough gently, you can prevent your Irish Soda Bread from falling apart and ensure a perfectly cohesive loaf.
Solving the Soggy Middle Dilemma in Soda Bread
A soggy or undercooked middle is a common complaint with soda bread, but it’s easily avoidable with one crucial step: don’t forget to slash a deep cross into the top of the loaf before baking! This isn’t just a decorative flourish or, as Irish tradition playfully suggests, a way to “let the devil out.” It serves a critical practical purpose in the baking process.
The deep cuts (at least one to two inches deep) allow steam to escape efficiently from the center of the bread during baking. Without these escape routes, moisture can become trapped, leading to a dense, gummy, or raw interior. Be bold with your knife; hesitant, shallow cuts won’t be effective. Ensure your oven is preheated to the correct temperature as well, as a properly hot oven helps activate the baking soda quickly and promotes even cooking. By making those deep slashes, you’re creating the perfect environment for a thoroughly baked, beautifully textured loaf every time.
Irish Soda Bread Substitutions and Flavor Variations
One of the joys of Irish Soda Bread is its adaptability. The base recipe is robust enough to handle various additions, allowing for delightful customization. Don’t hesitate to experiment and make it your own!
- Sweet Indulgences: Instead of traditional currants or raisins, stir in 1 to 1.5 cups of your favorite chocolate chips. White chocolate, butterscotch, or even peanut butter chips would create a wonderfully decadent version that’s perfect for a sweet treat.
- Savory Sensations: For a more savory bread, omit the dried fruit and instead fold in ½ cup each of shredded sharp cheddar cheese and crumbled, cooked bacon. A sprinkle of fresh chives or a tablespoon of caraway seeds (as I tried in one of my test loaves) would further enhance the savory profile, making it an excellent accompaniment to soups or stews.
- Fruity & Zesty: Try incorporating a cup of chopped dried apricots along with a tablespoon of fresh orange or lemon zest. The citrus zest adds a bright, aromatic note that complements the apricots beautifully.
- Nutty Additions: For added texture and flavor, gently fold in ½ cup of chopped walnuts, pecans, or almonds.
- Spice It Up: A teaspoon of cinnamon or a blend of mixed spice can add a warm, inviting aroma and flavor, especially if you’re including dried fruit.
With these variations, you can tailor your Irish Soda Bread to suit any occasion or craving!
Creative Serving Ideas for Irish Soda Bread
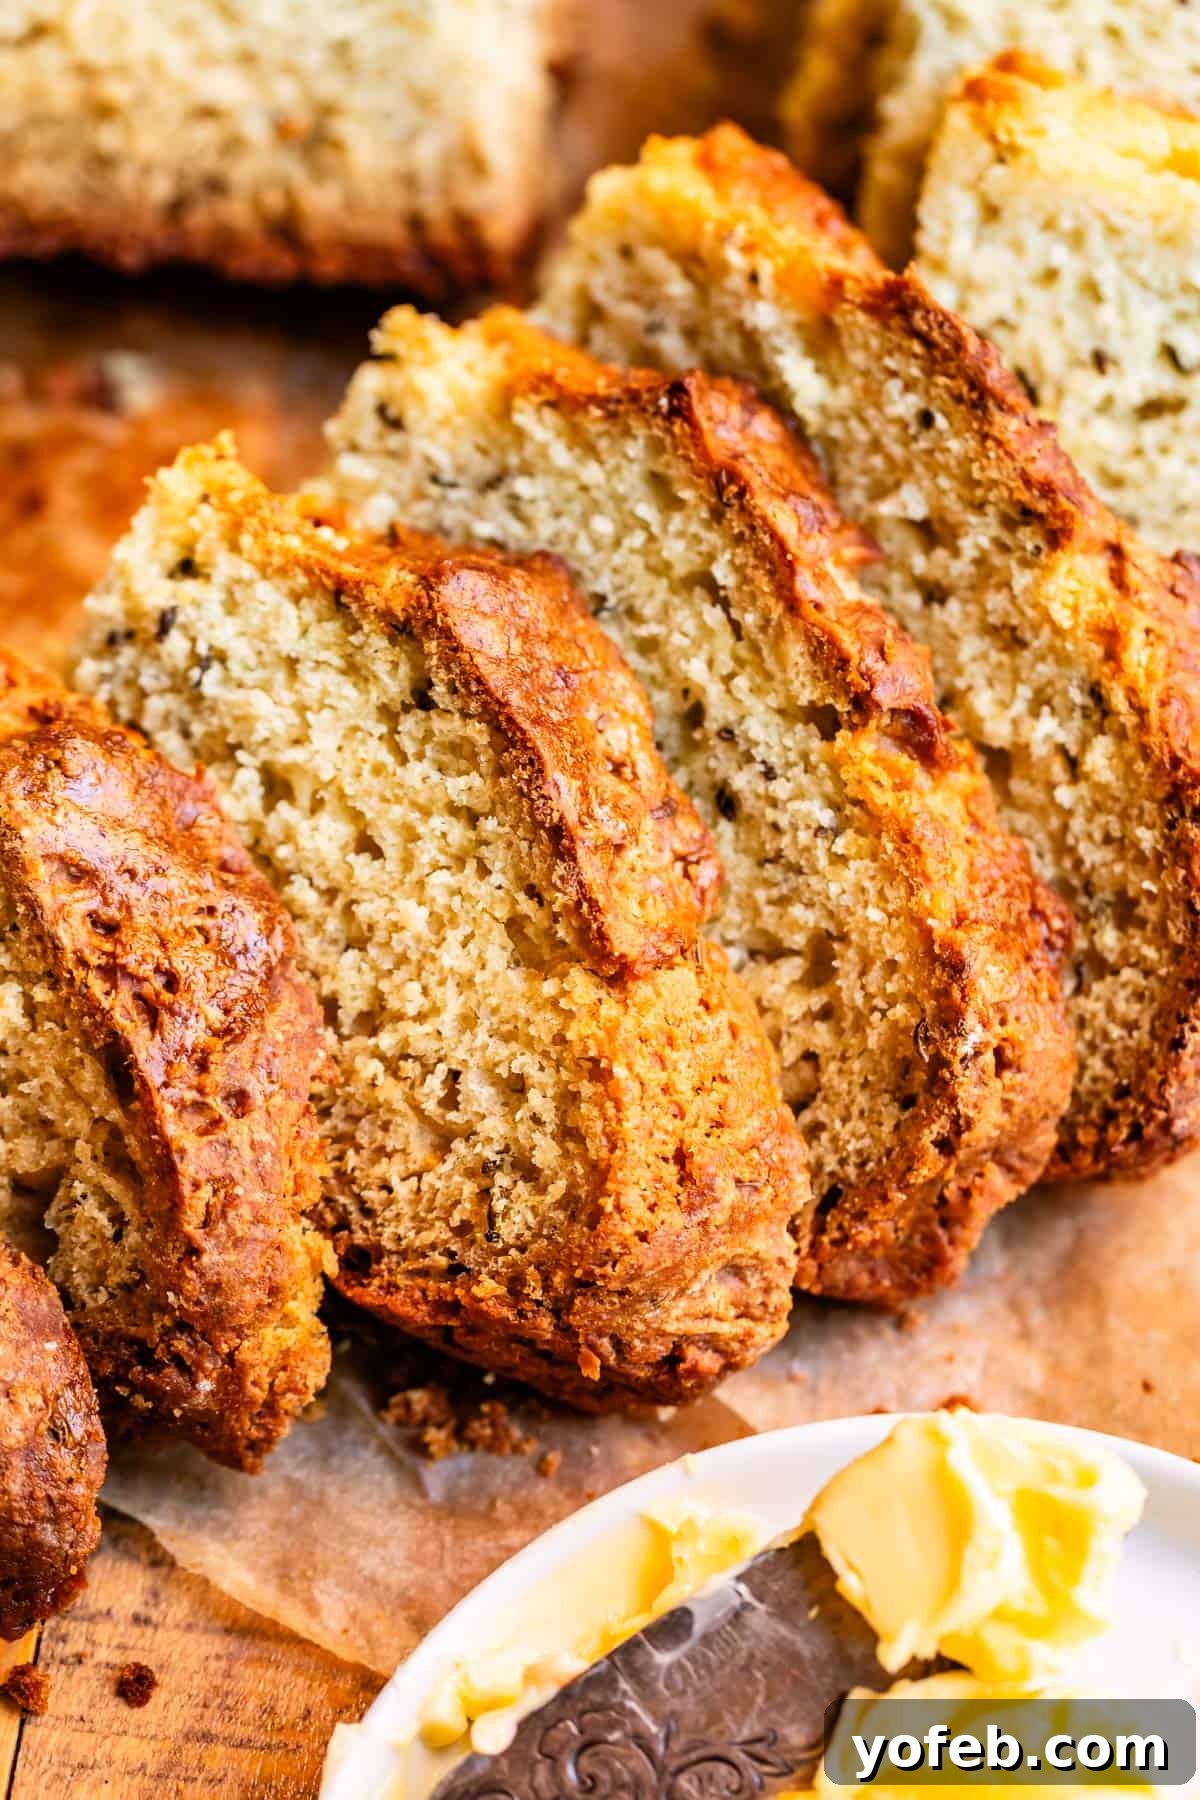
Irish Soda Bread is incredibly versatile, making it a welcome addition to any meal of the day. If you find yourself with multiple test loaves (a common occurrence in my kitchen!), you’ll quickly discover how easily it fits into various dining scenarios. For most, however, it’s a cherished snack or a delightful accompaniment.
Enjoy a slice with your morning coffee, as a comforting afternoon snack with a hot cup of tea, or as a hearty bread alongside dinner. It truly shines when served with traditional Irish fare like Corned Beef and Cabbage, especially with a dollop of Horseradish Sauce. You truly can’t go wrong as long as you involve a toaster (or any warming method) and plenty of soft, melting butter.
Should Irish Soda Bread Be Warmed?
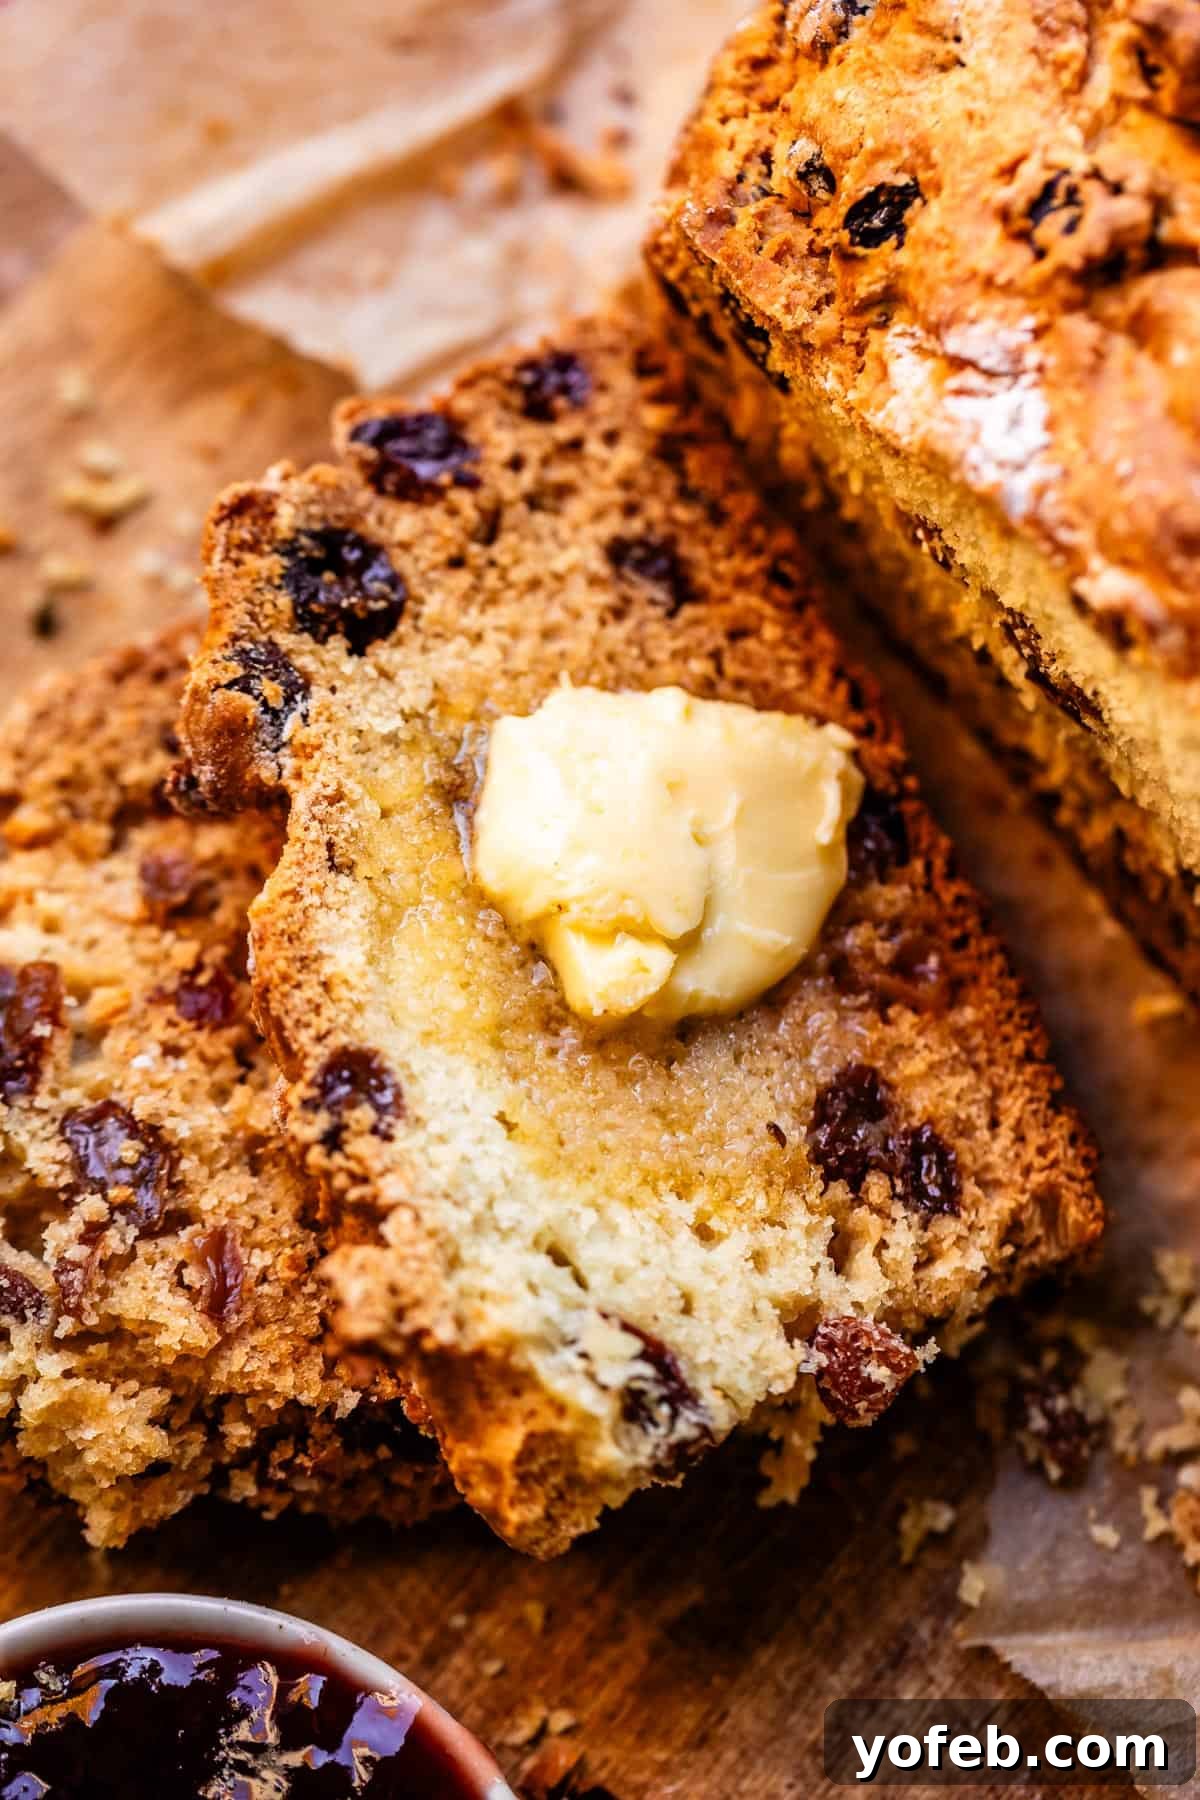
Absolutely, unequivocally, YES! Warming Irish Soda Bread is non-negotiable for the ultimate experience. The heat revitalizes the bread, making it incredibly tender and fragrant. Toast it, broil it lightly, pan-fry it in a little butter, or even a quick zap in the microwave will do the trick. A warm slice, slathered generously with butter (and maybe some jam!), is pure bliss. The butter melts into the crumb, creating a heavenly texture and flavor that’s simply irresistible.
How to Store Irish Soda Bread
Like most freshly baked goods, Irish Soda Bread is best enjoyed on the day it’s made. The crust is at its crispiest, and the interior is at its moistest. However, it remains delicious for 2-3 days when stored properly. Keep the loaf well-wrapped in plastic wrap or in an airtight container at room temperature on your counter to prevent it from drying out.
If you wish to enjoy it longer, Irish Soda Bread freezes beautifully. You can freeze the entire loaf, wrapped tightly in plastic wrap and then aluminum foil, or slice it first and freeze individual slices. This allows you to thaw just what you need. Place the wrapped bread or slices in a freezer-safe bag or airtight container. It will keep well for 2-3 months. To enjoy, simply let it thaw on the counter, then warm it up for that “freshly baked” taste.
Frequently Asked Questions
Traditionally, Irish soda bread contained only flour, salt, baking soda, and buttermilk, making it quite savory. However, modern interpretations, including this recipe, often incorporate sugar and sweet additions like currants or raisins. This gives it a lightly sweet flavor, akin to a scone or a rich biscuit, but it is definitely not a dessert bread.
In Ireland, this bread goes by several names, reflecting regional variations and ingredient choices. Common terms include “farl” (often a quartered flatbread cooked on a griddle), “wheaten bread” (referring to versions made with whole wheat flour), or simply “soda bread” or “brown bread.” The American version typically uses all white flour and tends to be sweeter than its traditional Irish counterparts.
Irish soda bread offers a mild, slightly tangy flavor, thanks to the buttermilk. Its texture is tender and dense, with a delightfully crusty exterior, similar to a very large, rustic biscuit or a British scone. It’s designed to be a vehicle for other flavors, making it perfect for slathering with copious amounts of butter, jam, honey, or even savory spreads. Its subtle taste makes it incredibly versatile.
The primary distinction of Irish soda bread lies in its leavening agent: baking soda rather than yeast. This means it requires no proofing or rising time, making it exceptionally fast to prepare. Unlike chewy, elastic yeast breads, soda bread has a tender, cake-like consistency that is easily broken or pulled apart rather than torn. This unique texture and quick preparation time set it apart from most other bread varieties.
More Irish Recipes & St. Patrick’s Day Delights
Whether it’s for St. Patrick’s Day or simply a craving for comforting Irish-inspired fare, these recipes will bring a taste of the Emerald Isle to your table:
- Corned Beef and Cabbage Recipe >> A classic comfort food, perfect whether prepared in the oven or a slow cooker.
- Roasted Red Potatoes >> While not exclusively Irish, this is undeniably one of the most delicious ways to enjoy potatoes.
- Horseradish Sauce >> An absolute must-make to serve alongside corned beef and cabbage for an explosion of flavor.
- Shamrock Shake >> A fun, festive, and non-traditional treat! This smooth, creamy mint shake makes a perfect easy dessert for “Leprechaun Day.”
- The Best Scone Recipe I’ve Ever Made >> A wonderful teatime treat, very much in the spirit of this Irish soda bread.
- Roasted Sweet Potatoes and Brussels Sprouts >> Brussels sprouts are popular in Ireland; combine them with sweet potatoes for a delicious side.
- Irish Stew from The Irishman’s Wife
- Traditional Irish Colcannon from Small Town Woman
- Irish Bangers and Mash from Christina´s Cucina
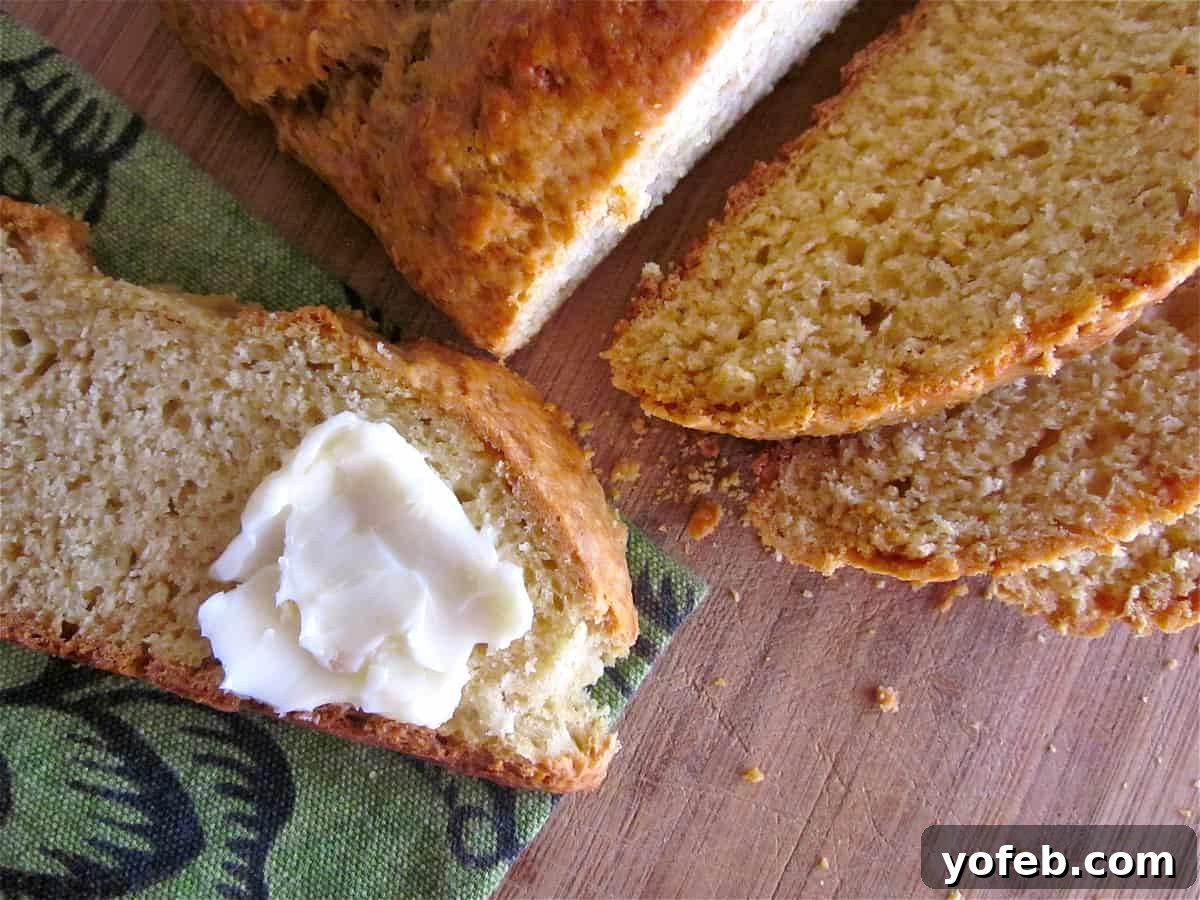
For a trip down memory lane, here’s an old photo from when I first published this recipe back in 2012. It’s fascinating to see how far the blog (and my photography!) has come. Those napkins, still in use today, bear the marks of time and countless meals shared. Time truly does fly!
Facebook | Pinterest | Instagram

Irish Soda Bread with Buttermilk
10 mins
55 mins
1 hr 5 mins
12
Rate this Recipe
Print Recipe
Ingredients
- 4 cups sifted all-purpose flour, spooned into the cup and leveled
- 1/3 cup granulated sugar
- 1 and 1/2 teaspoons baking soda, make sure it’s fresh and not out of date
- 2 teaspoons kosher salt (or use 1.25 teaspoons of table salt)
- 2 tablespoons cold butter
- 1/4 cup vegetable oil (I used light olive oil)
- 1 and 1/2 cups buttermilk
- 1 large egg
- 1 large egg yolk
- 1 and 1/2 cups zante currants, or raisins, or dried cherries (optional)
Instructions
-
Preheat the oven to 425 degrees F (220°C).
-
Plump the raisins (optional): Bring a small pot of water to a boil. Once boiling, turn off the heat, and add 1 and 1/2 cups raisins (or whatever dried fruit). Cover with a lid and let the raisins sit in the boiling water for about 10 minutes. When they are nice and plump, drain the raisins in a colander and let them drip dry for a bit.
-
Sift the flour: Spoon flour into a one-cup measuring cup and use a knife to level off the top. Add the flour to a mesh strainer set over a large bowl. Stir until the flour is sifted through. Repeat until you have 4 cups of sifted flour in the bowl.
-
Make the dough: Add 1/3 cup sugar, 1 and 1/2 teaspoons baking soda, and 2 teaspoons kosher salt to the flour. Use less salt if you don’t have kosher salt.
-
Cut in the butter: Use a pastry cutter to cut 2 tablespoons cold butter into the flour mixture until it resembles coarse crumbs.
-
Add the oil: Add 1/4 cup oil in increments. Drizzle a bit over the flour, then use the pastry cutter to cut it in. Drizzle a little more and repeat. Do not smooth the dough with a spoon or try to blend it together. Use a cutting motion. Use a table knife if you don’t have a pastry cutter.
-
Add raisins: Once the raisins have plumped and drained a bit, add them to the flour mixture and toss them in the flour. (Raisins are optional.)
-
In a glass measuring cup, add 1 and 1/2 cups buttermilk. Add in 1 egg and 1 egg yolk. Whisk together until smooth.
-
Add liquid: Pour the buttermilk mixture to the flour and combine with a rubber spatula, folding gently until it just comes together. Do not overmix.
-
Turn the mixture onto a floured surface and knead just once or twice to bring it together. Shape into a 6 or 7 inch circle. A shaggy dough is good, don’t knead too much.
-
Spread 1/2 tablespoon butter all over a cast iron skillet, or on the bottom of a baking sheet. Or you can line either pan with parchment paper.
-
Transfer the loaf to the greased baking sheet or cast iron skillet. Use a serrated knife to slice a deep X into the top, about an inch or two deep. This allows heat to penetrate to the center of the bread and steam to escape.
-
Bake at 425°F (220°C) for 20 minutes, then cover the top loosely with foil to prevent over-browning. Reduce the oven temperature to 375°F (190°C) and continue baking for another 30-35 minutes.
The total bake time should be 50-60 minutes. A skewer inserted into the center of the bread should come out with no wet batter. An instant-read thermometer should reach 180°F (82°C). The bottom of the bread will sound hollow when tapped. -
Brush the top of the bread with more melted butter. Let cool on a wire rack before slicing. Spread with butter and jam! Or leave it plain and eat with Corned Beef and Cabbage and a side of Horseradish Sauce. SO. GOOD.
Notes
Nutrition
Bread
American, European
161
bread, irish, Quick Bread, soda
Did you make this? I’d love to see it!
Mention @thefoodcharlatan or tag #thefoodcharlatan!