
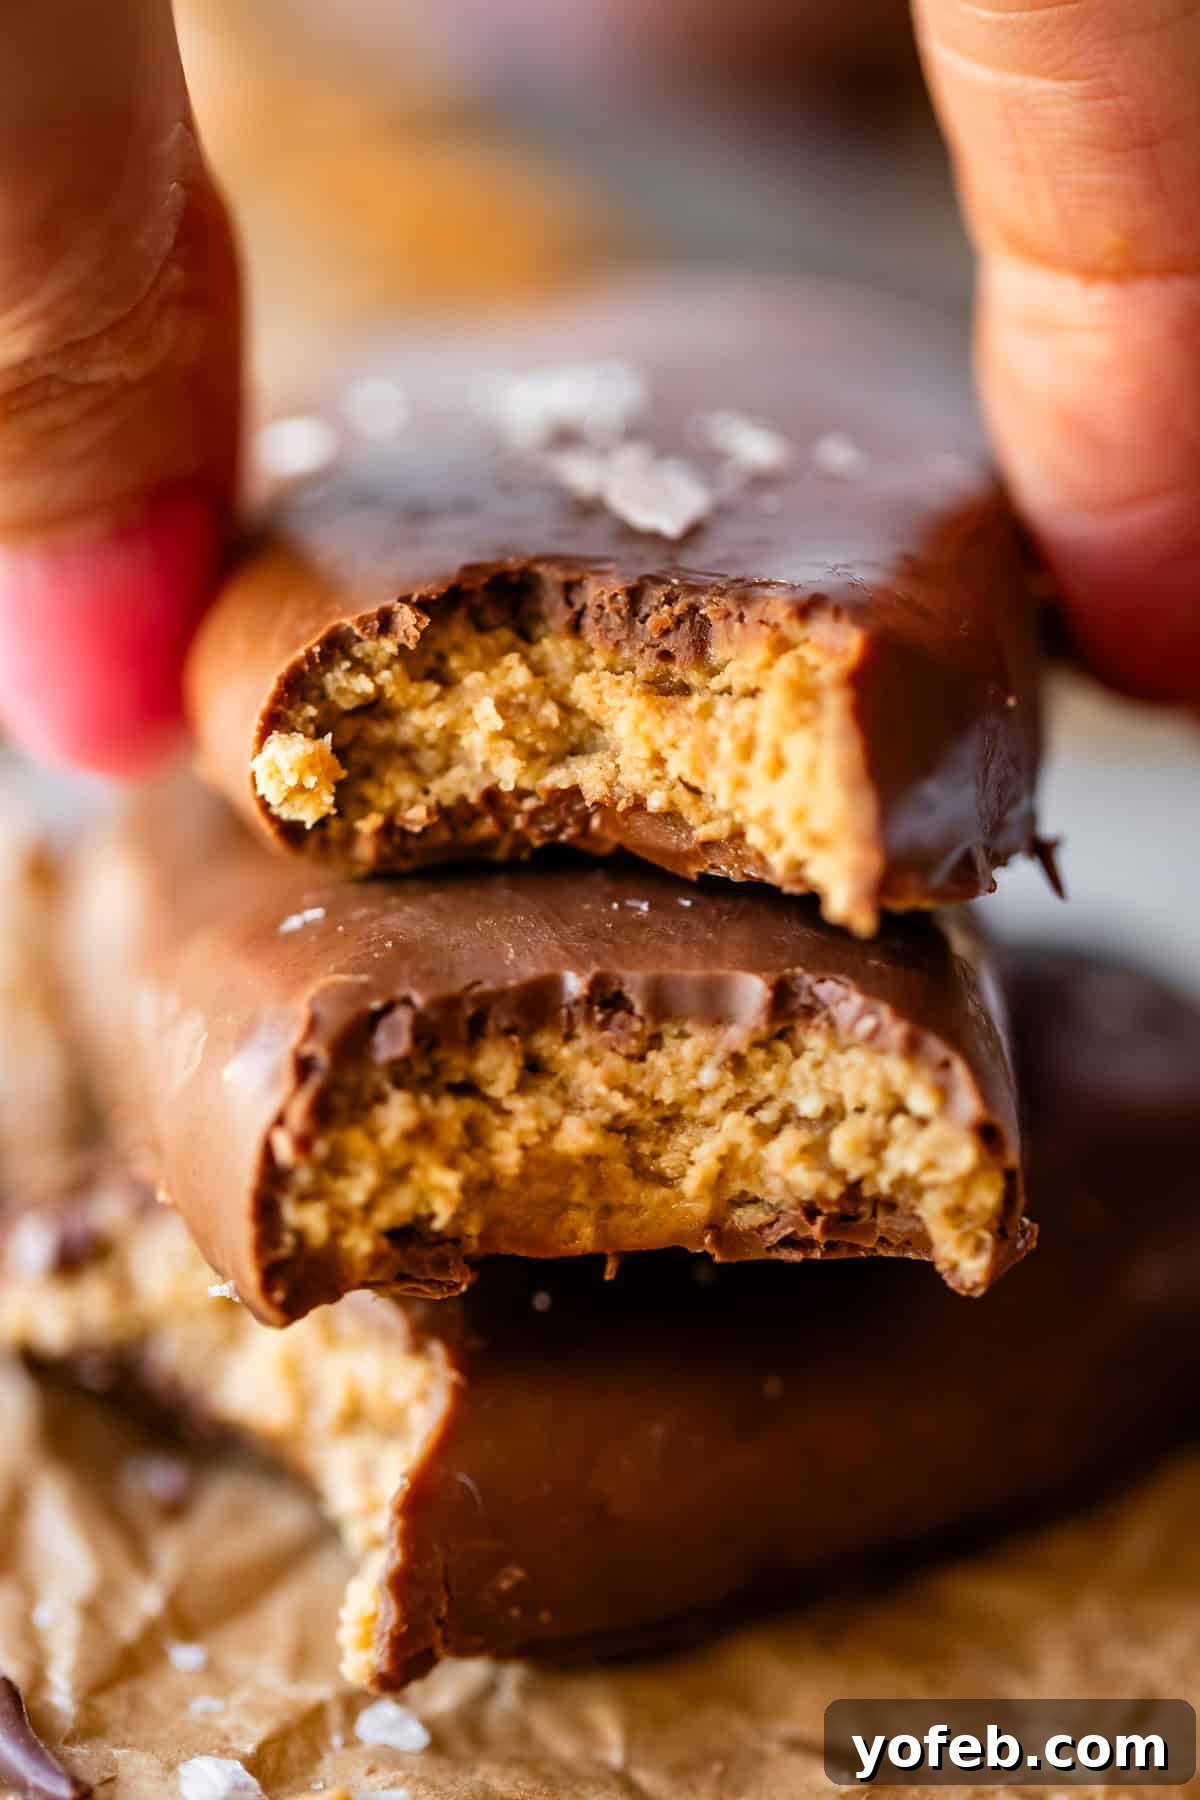
The Ultimate Homemade Reese’s Peanut Butter Eggs Recipe: Better Than Store-Bought!
For years, I’ve generously funded Mr. Reese’s enterprise, all thanks to my undeniable addiction to Reese’s Peanut Butter Eggs. Every single dollar was a worthwhile investment for that perfect combination of salty-sweet, creamy-yet-crumbly peanut butter nestled in smooth chocolate. But now, after much delicious experimentation, I’ve cracked the code! I’ve discovered how to recreate them at home, and dare I say, the homemade version surpasses the original. It truly captures that beloved crumbly, yet undeniably creamy texture we all adore. You’ll be amazed at how quickly these come together, making them an ideal treat to whip up, especially for Easter celebrations!
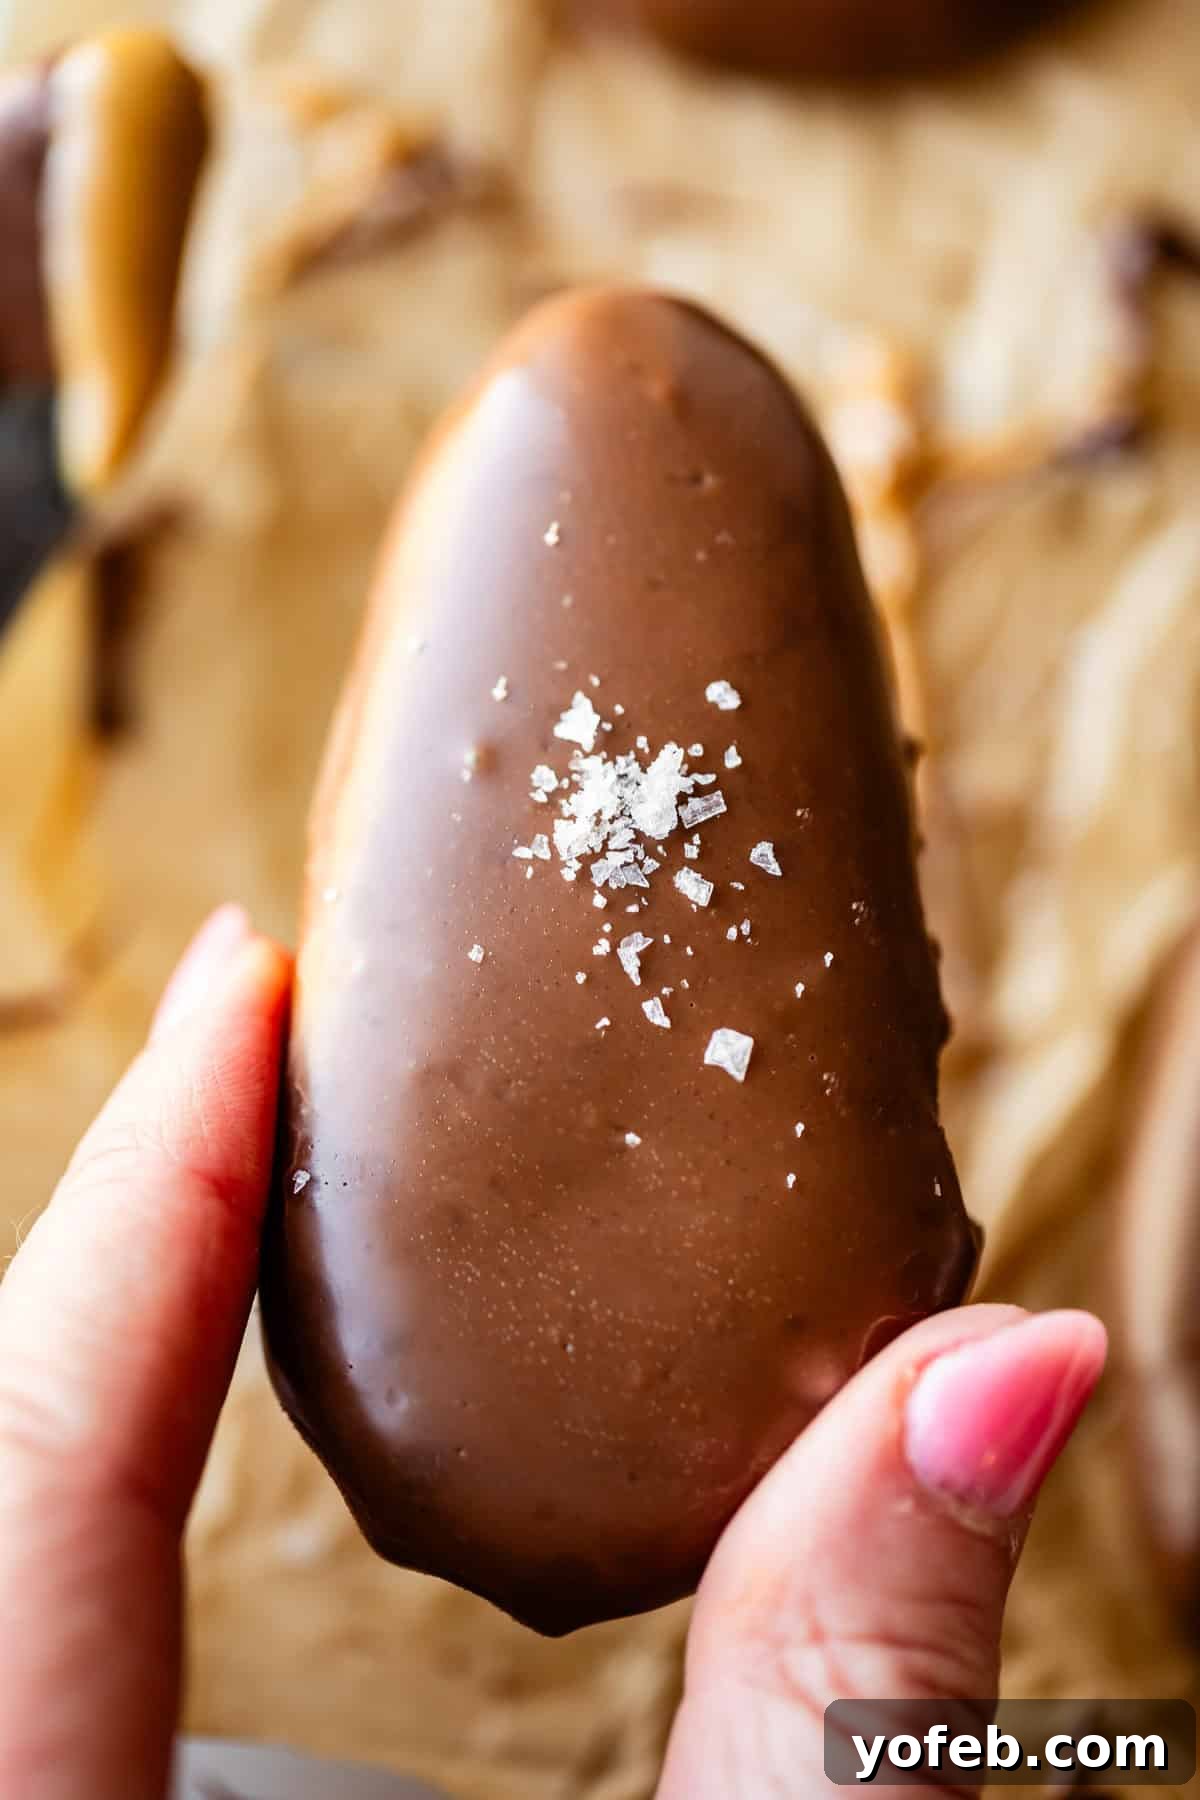
My Lifelong Love Affair with Peanut Butter and Chocolate
The arrival of spring isn’t just marked by blooming flowers or longer days; for me, it’s heralded by the vibrant display of electric yellow and orange wrappers that greet me at Target. It’s Easter season, and with it, my annual rekindling of a passionate affair with all things Reese’s. Some might say my blood is actually made of peanut butter, which would certainly explain my unwavering devotion to these iconic treats. More specifically, I’m talking about the majestic, full-sized Reese’s Peanut Butter Eggs. As the saying goes, I like big peanut butter and I cannot lie.
These aren’t just any candy; they represent a delicate art of balance. Sweet, but never cloyingly so. Salty, but perfectly seasoned to enhance, not overpower. And the peanut butter? Oh, the peanut butter is maximized to its fullest, offering an intensity that other candies can only dream of. It’s this perfect equilibrium that elevates Reese’s Eggs beyond a mere confection into a realm of pure culinary bliss.
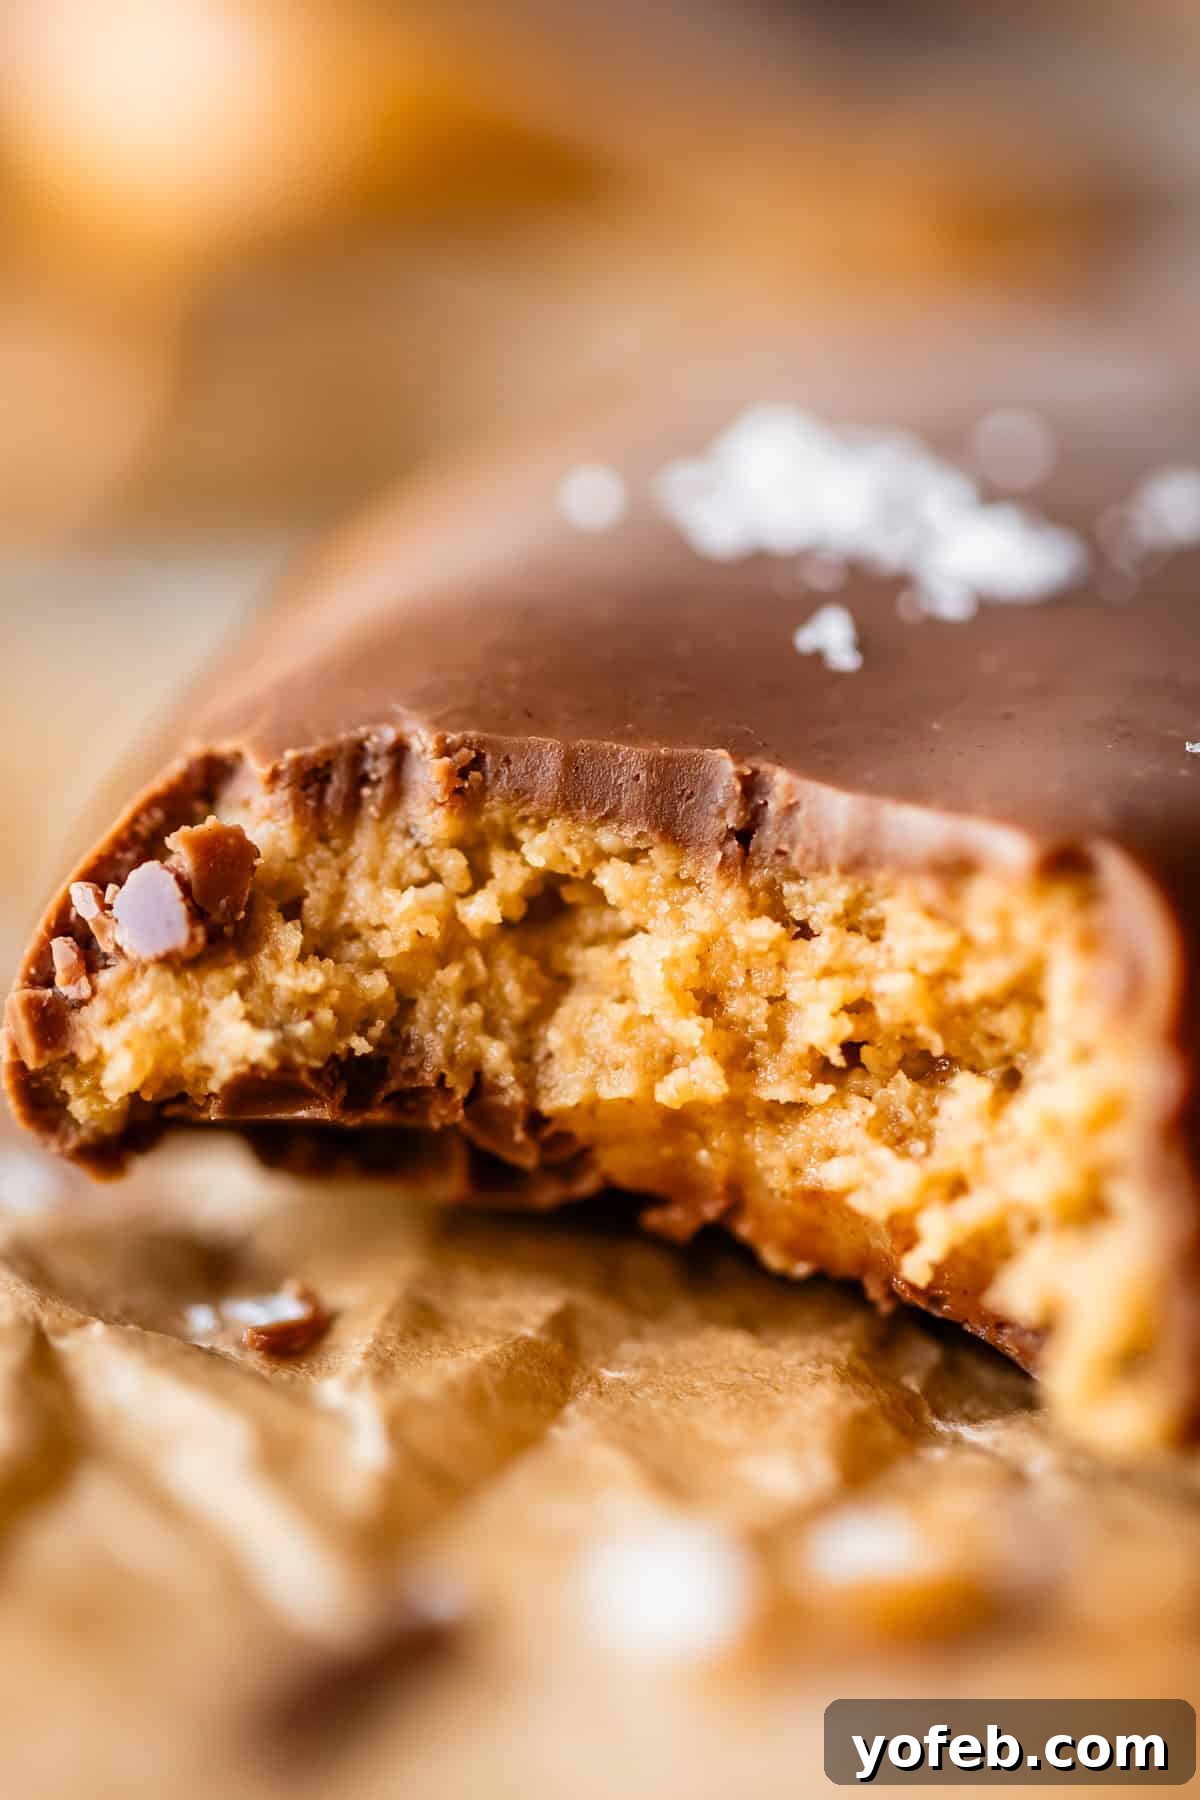
The Secret to That Irresistible Crumbly Texture
What truly sets Reese’s Peanut Butter Eggs apart from any other peanut butter and chocolate combination isn’t just the flavor, but that unparalleled texture. It’s not the uniform creaminess you find in a typical peanut butter and jelly sandwich. Instead, Reese’s boasts a distinctive crumbly texture that, combined with its underlying creaminess, is nothing short of revolutionary. This unique characteristic is precisely what transformed a simple chocolate-peanut butter pairing into a multi-billion dollar industry.
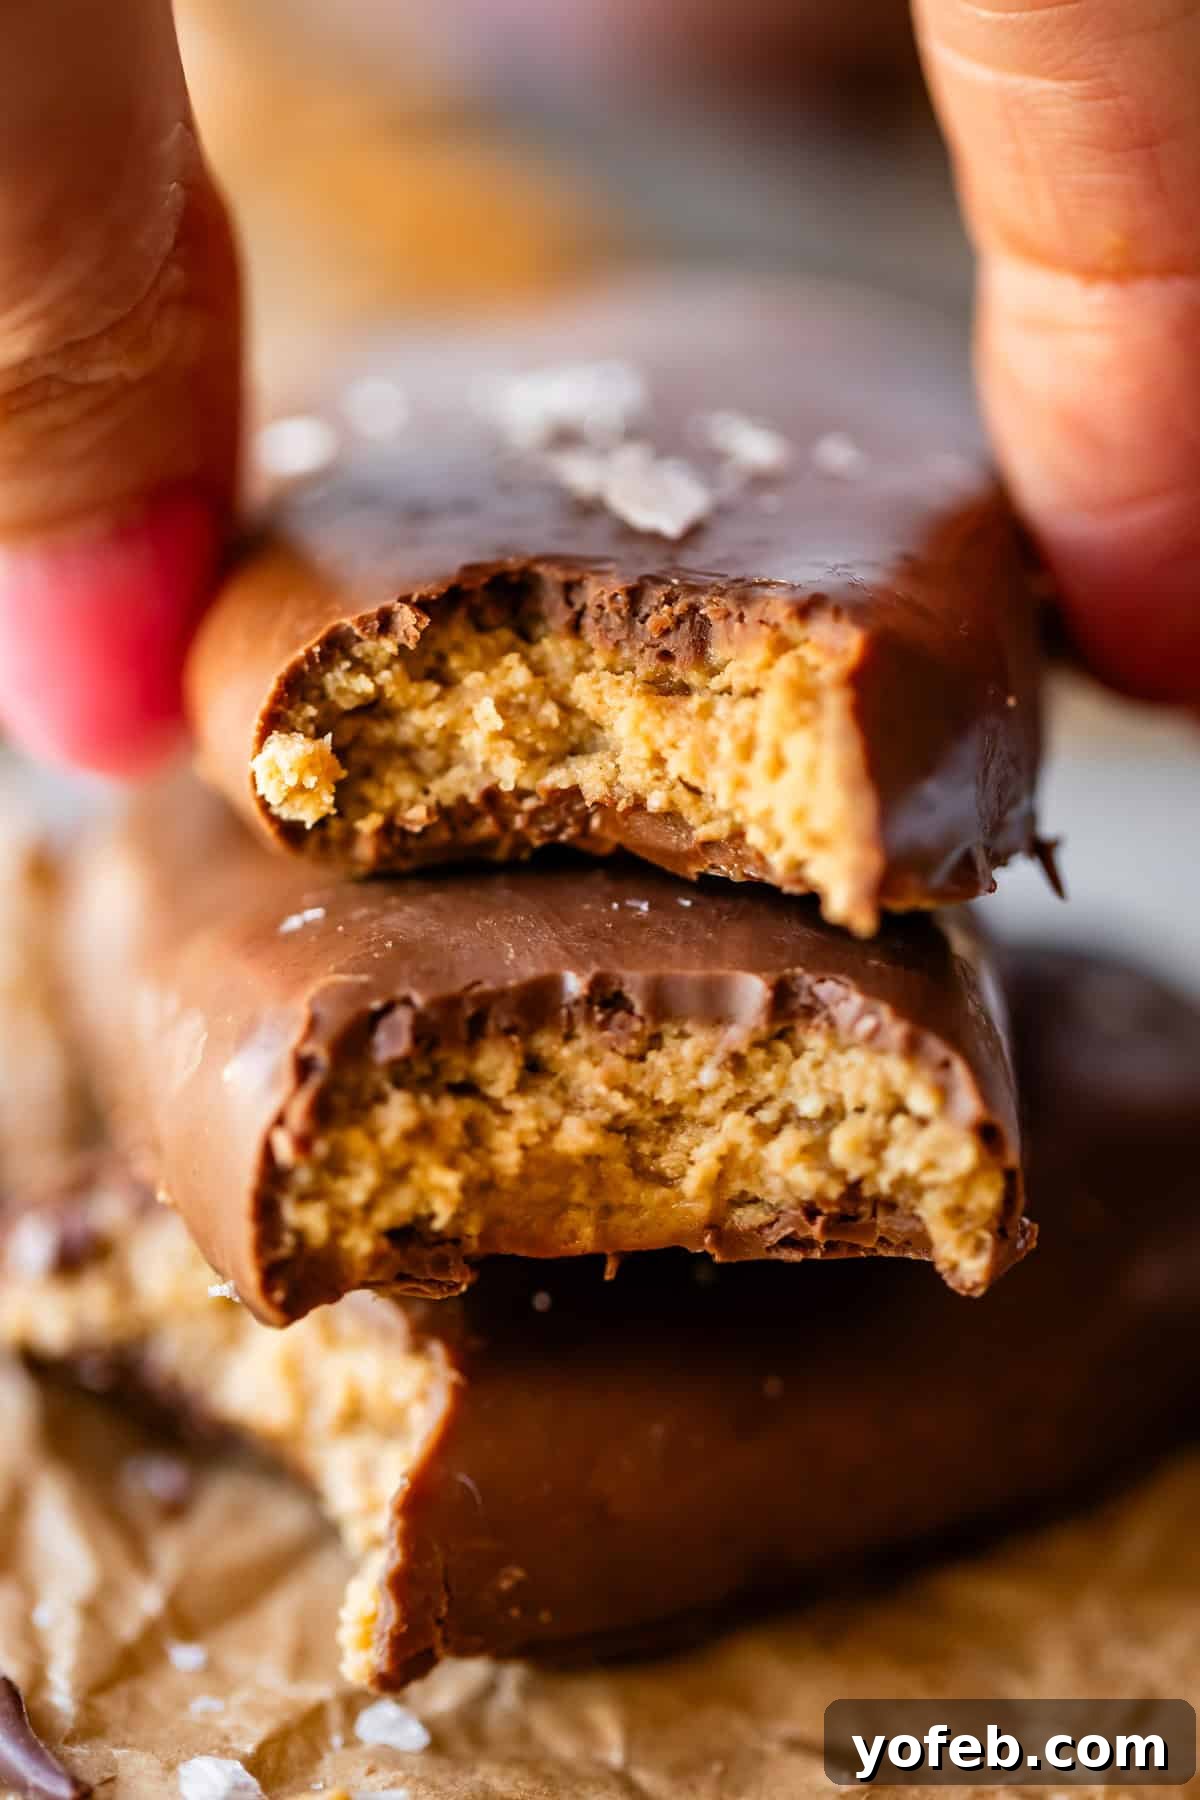
Think about it: have you ever tried a competing brand’s peanut butter cups, like Justin’s? You take a bite, and often, it’s an overly smooth, almost oozing experience. While pleasant, it fundamentally misses the mark. What we crave, what defines a true Reese’s experience, is that perfectly crumbly, even slightly grainy interior that melts in your mouth, a textural masterpiece that no other brand seems to replicate quite right. This crumbly magic is the holy grail, and it’s what makes these homemade eggs truly exceptional.
Why the Egg Shape Reigns Supreme
Beyond the texture, there’s another crucial detail that elevates Reese’s Peanut Butter Eggs above their cup-shaped counterparts: the shape itself. Yes, I’m talking about the egg. While a classic Reese’s Peanut Butter Cup will certainly do in a pinch – I’m not a monster, after all – it simply doesn’t compare. The chocolate in the cups is often too hard and too thick, especially along those iconic ridged edges.
Reese’s Eggs, on the other hand, achieve the perfect, divine ratio of peanut butter to chocolate. Their smooth, slightly tapered edges mean a softer, more yielding bite, allowing the peanut butter filling to shine without being overwhelmed by a heavy chocolate shell. These are the intricate details that keep me awake at night, pondering the mechanics of candy perfection. And rest assured, all this obsessive thought has been for *your* benefit. Behold what I’ve created:
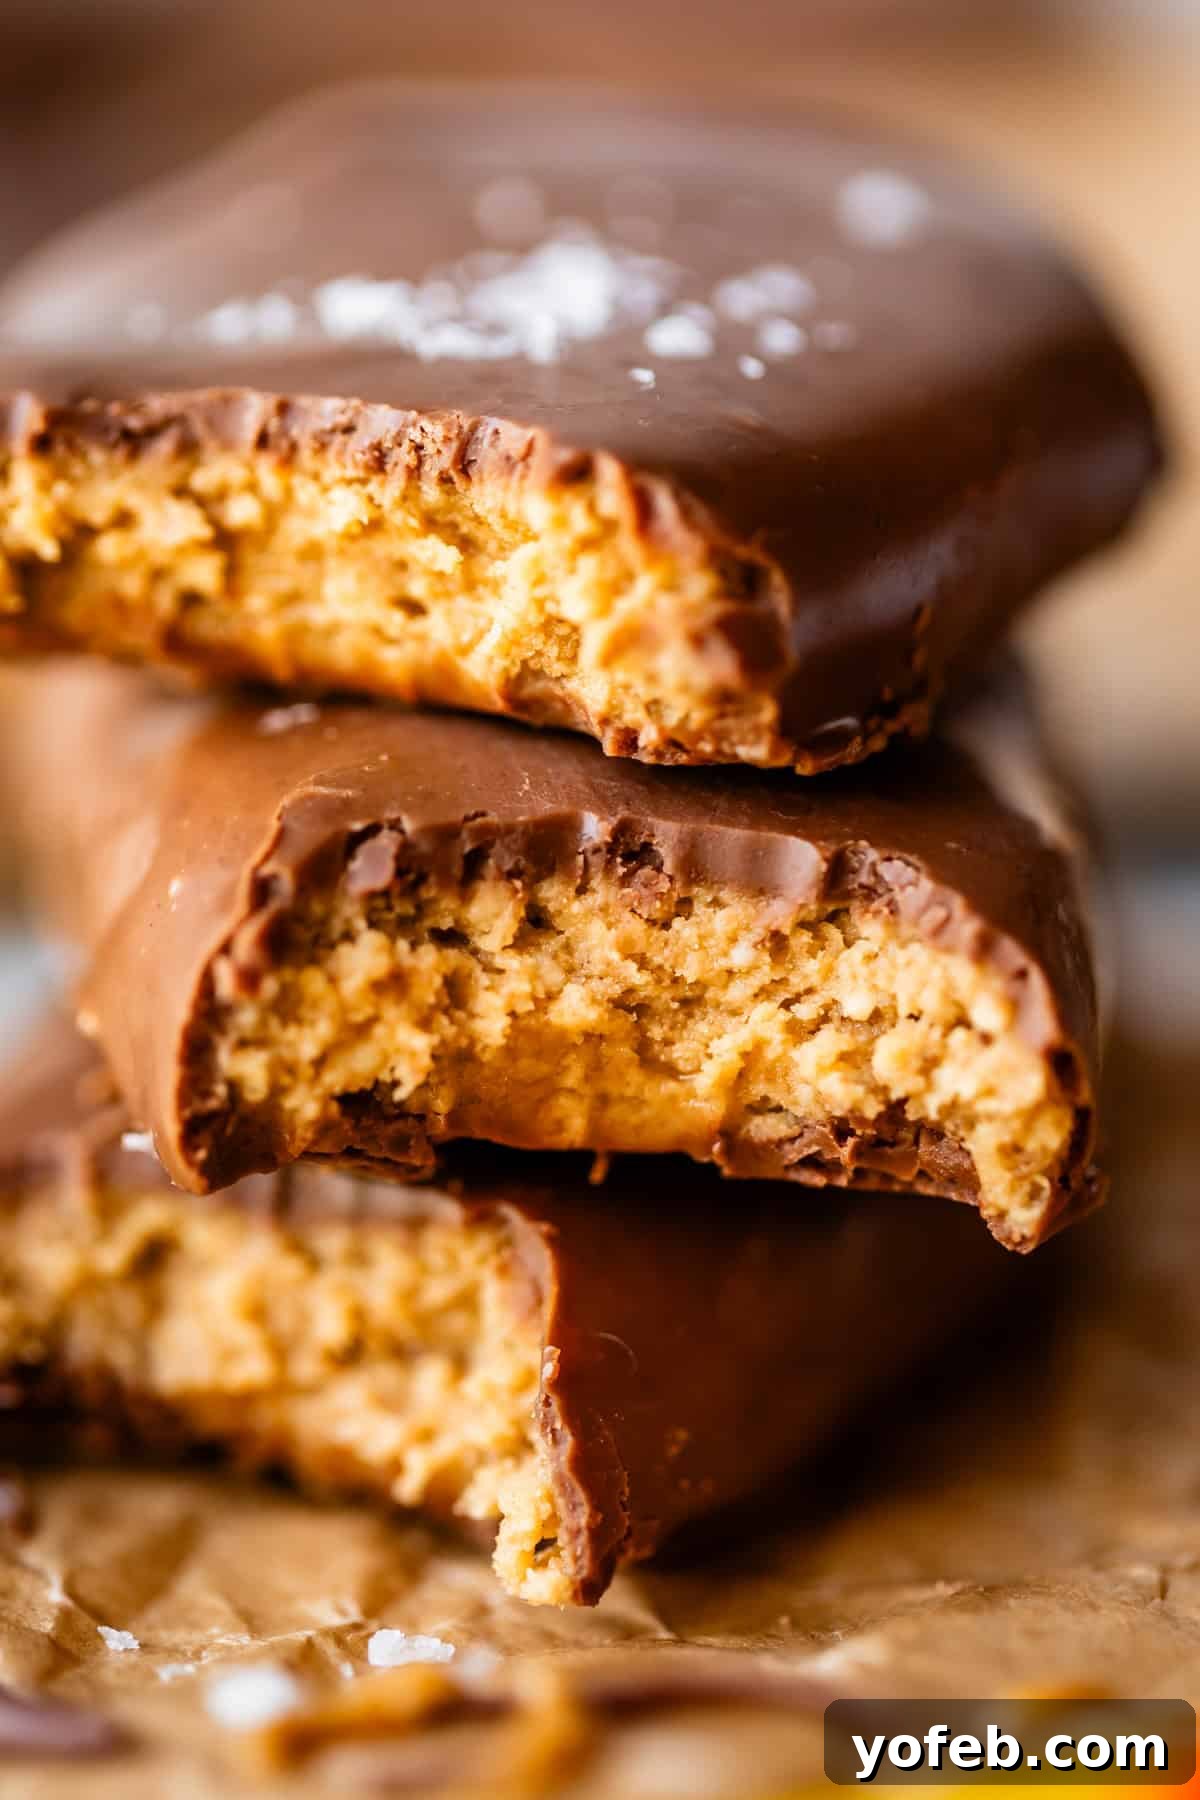
It’s clear now, isn’t it? We’ve all walked down the Reese’s egg path at some point, and now you understand precisely why they hold such a special place in our hearts (and stomachs). That unique crumbly texture combined with the perfect egg shape makes angels sing from the heavens with every single bite.
Crafting the Perfect Homemade Peanut Butter Eggs
The beauty of this recipe lies in its surprising simplicity and a key ingredient that many other homemade Reese’s recipes overlook: real peanuts! You might be astonished, as I was, by how many recipes claim to be “Reese’s copycat” but omit ground peanuts entirely. This seems like a fundamental oversight, especially since roasted peanuts are a primary ingredient listed on actual Reese’s packaging.
Most recipes typically call for just creamy peanut butter (or, heaven forbid, chunky – an abomination for a Reese’s, in my humble opinion!) and powdered sugar, with little else. The result is often more akin to peanut butter frosting than the distinct crumbly filling of a Reese’s egg. We’re aiming for authenticity here, folks, so let’s get with the program!
Our journey to perfection begins by grinding dry-roasted peanuts in a food processor. We’ll blend them until they are almost, but not quite, transforming into peanut butter. This crucial step is where the magic happens, creating that signature crumbly-yet-creamy texture. To this delightful base, we then add the rest of our star ingredients: creamy peanut butter for a smooth foundation, a touch of softened butter for richness, brown sugar to impart a deep, molasses-like flavor, and, of course, powdered sugar as the essential sweetener and thickener. This precise combination yields a filling that is truly indistinguishable from the store-bought classic, but with the undeniable freshness and quality of homemade.
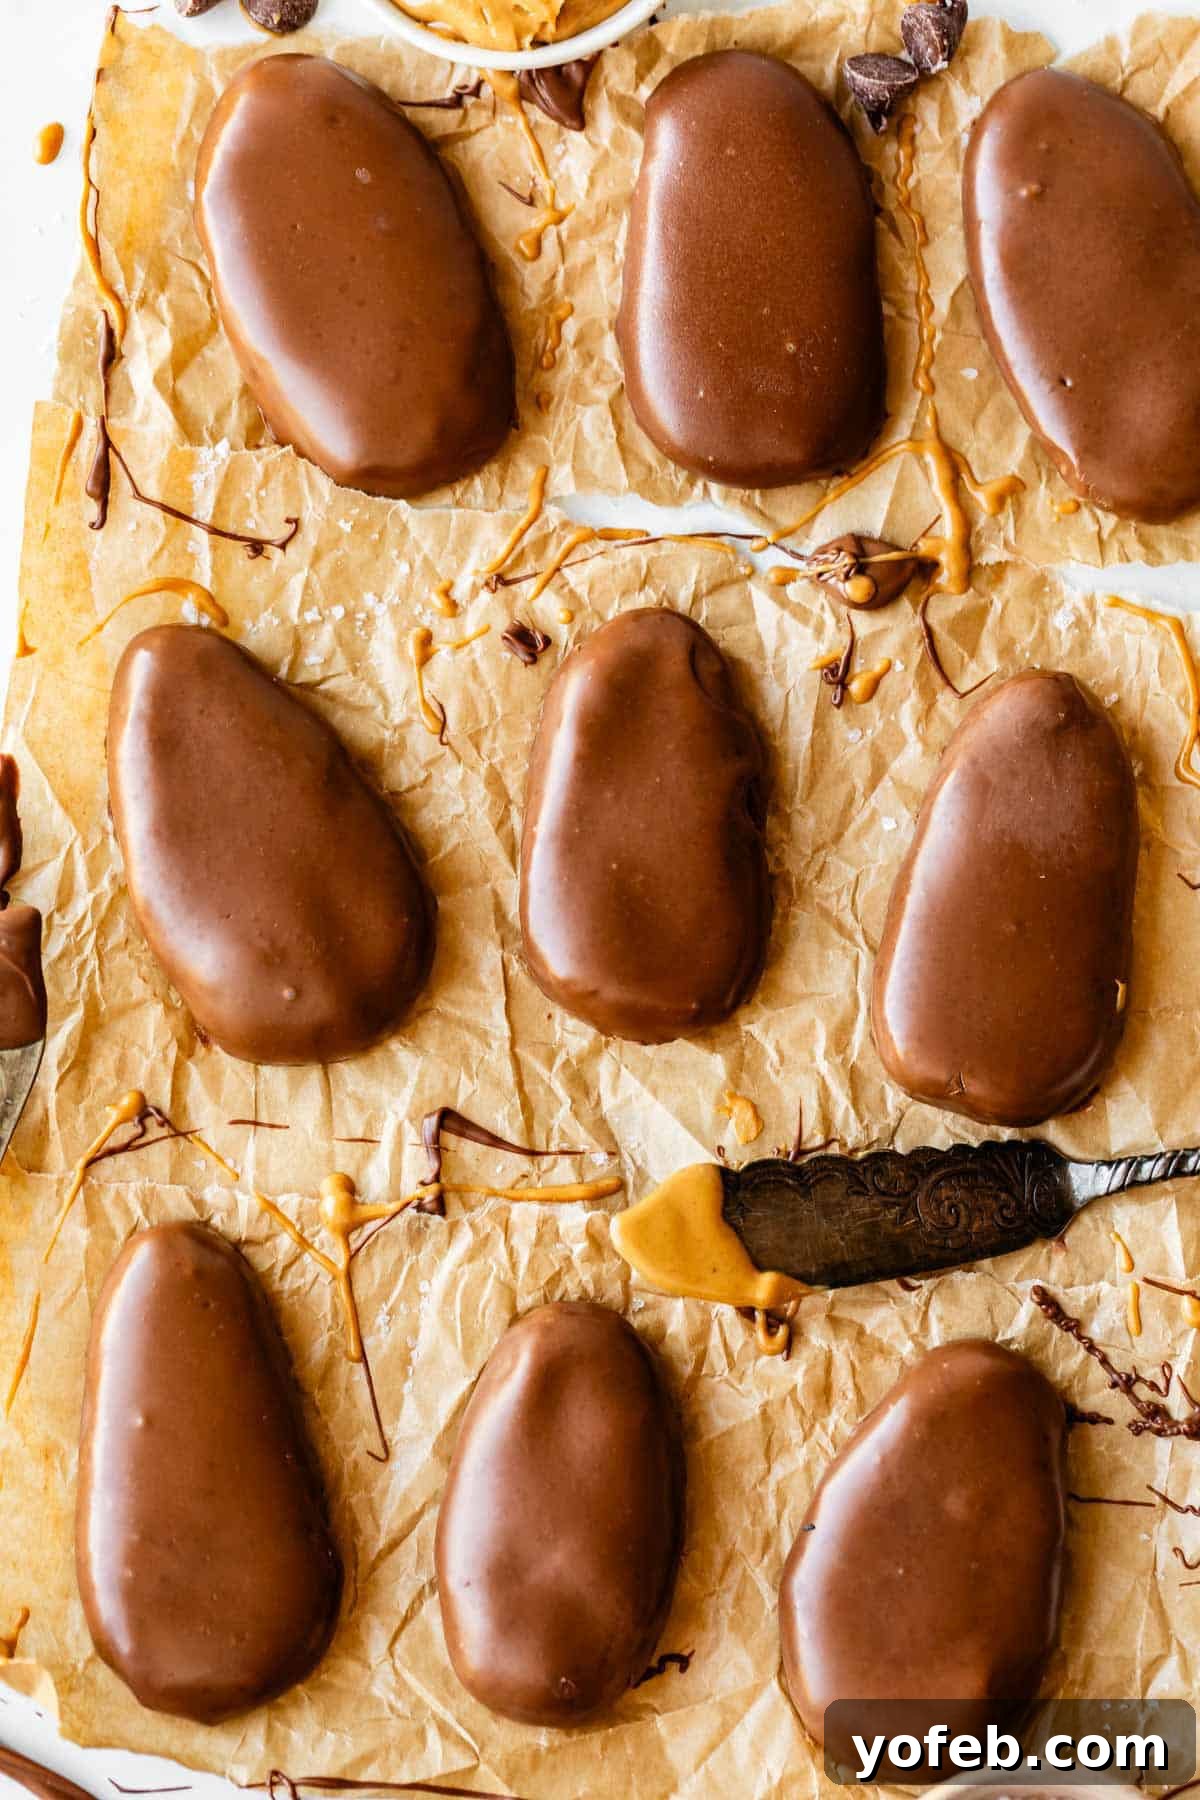
Handle with Care: The Delicate Nature of Peanut Butter Eggs
Just like their commercial counterparts, these homemade Reese’s eggs are wonderfully delicate. There’s a practical reason you never see the larger, full-sized Reese’s eggs sold loosely in bulk bags; if tossed around, they would simply crumble and fall apart. Instead, each store-bought egg is thoughtfully placed on its own special white paper tray and individually wrapped, ensuring its structural integrity until it reaches your eager hands.
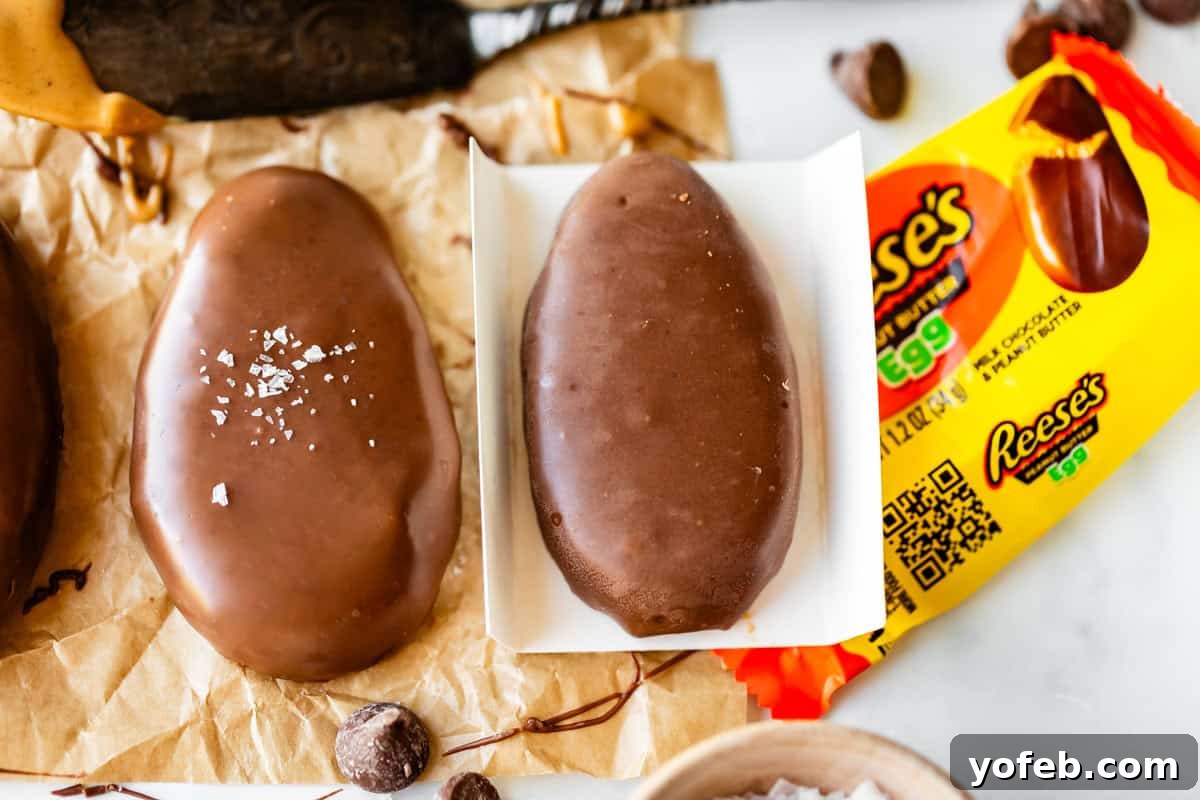
This level of care from Mr. Reese himself is a lesson we should heed for our homemade creations. These treats are meant to be savored, not handled roughly. When serving, arrange them gently on a plate or platter, avoiding stacking them directly on top of one another to prevent any sticking or damage.
Observe the comparison below: a homemade egg on the left, next to a Reese’s egg straight from its commercial package on the right:

You can clearly see that our homemade version on the left boasts a superior quality chocolate. It hasn’t endured a factory production line or lengthy shipping before reaching your kitchen. Naturally, this translates to a richer, fresher taste. While I would never speak ill of my beloved Reese’s, the truth is, the homemade chocolate simply tastes better. Beyond that, the store-bought and homemade fillings are remarkably similar in taste – minus all those preservatives that we could all benefit from consuming less of! I truly believe a blind taste test would prove them to be spot on. It’s an identical flavor profile, elevated by fresh ingredients.
The Unwavering Importance of Key Ingredients for Flavor and Texture
Achieving the perfect flavor profile for these homemade Reese’s Peanut Butter Eggs was paramount to me. After all, why go through the effort of making them from scratch unless they’re going to be the absolute best version you’ve ever tasted? There are a few essential ingredients that are non-negotiable for recreating that iconic taste and texture. Pay close attention to these rules to ensure your homemade treats are nothing short of spectacular:
- Dry Roasted Peanuts: The Texture Game Changer. This is, without a doubt, the most critical component of this recipe! You simply cannot achieve that intensely peanut-y, dense, and distinctively crumbly mouthfeel without them. Old-fashioned H.B. Reese knew this secret, using real, roasted peanuts to craft his original confections. To truly do it right, we’re taking a page directly from his genius playbook. Grind these just enough to release their oils and create tiny, irresistible bits, but stop before they become a smooth paste.
- Creamy Peanut Butter: The Binder and Base. While we get texture from the ground peanuts, creamy peanut butter provides the smooth, cohesive base that binds everything together. It gives the filling form and prevents it from being *too* crumbly, ensuring that creamy element. I exclusively use JIF for its consistently rich, classic peanut butter flavor, which is a key part of the Reese’s taste. However, you can use another high-quality creamy brand if it’s what you have on hand. A crucial warning: do NOT use natural peanut butter! Its oil separation will cause your centers to lose their shape and become greasy, completely ruining the desired texture.
- High-Quality Milk Chocolate: The Perfect Coating. The chocolate coating makes up one half of why peanut butter eggs are so incredibly delicious, so invest in the best quality you can find. I highly recommend brands like Ghirardelli or Nestle Tollhouse for their smooth melting and rich flavor. When selecting your chocolate chips or melting chocolate, always scrutinize the ingredient list. Avoid anything that mentions “chocolate liquor” as a primary ingredient. Instead, look for a combination of cocoa butter and milk powder, which indicates a superior quality chocolate that will melt beautifully and set with a wonderful snap.
- Brown Sugar: Depth of Flavor. This isn’t just for sweetness; brown sugar brings a subtle, deep molasses flavor that adds complexity and a rich, authentic taste reminiscent of the original Reese’s filling.
- Powdered Sugar: Smoothness and Structure. Essential for both sweetness and providing a smooth, velvety texture to the peanut butter filling, while also helping it firm up to be easily shaped.
How to Make Homemade Reese’s Peanut Butter Eggs: A Step-by-Step Guide
Get ready to witness firsthand just how unbelievably easy and straightforward this process is. And once you know this secret, there’s no going back – consider yourself warned! Here’s a detailed breakdown of the steps, complete with tips and tricks to ensure your success:
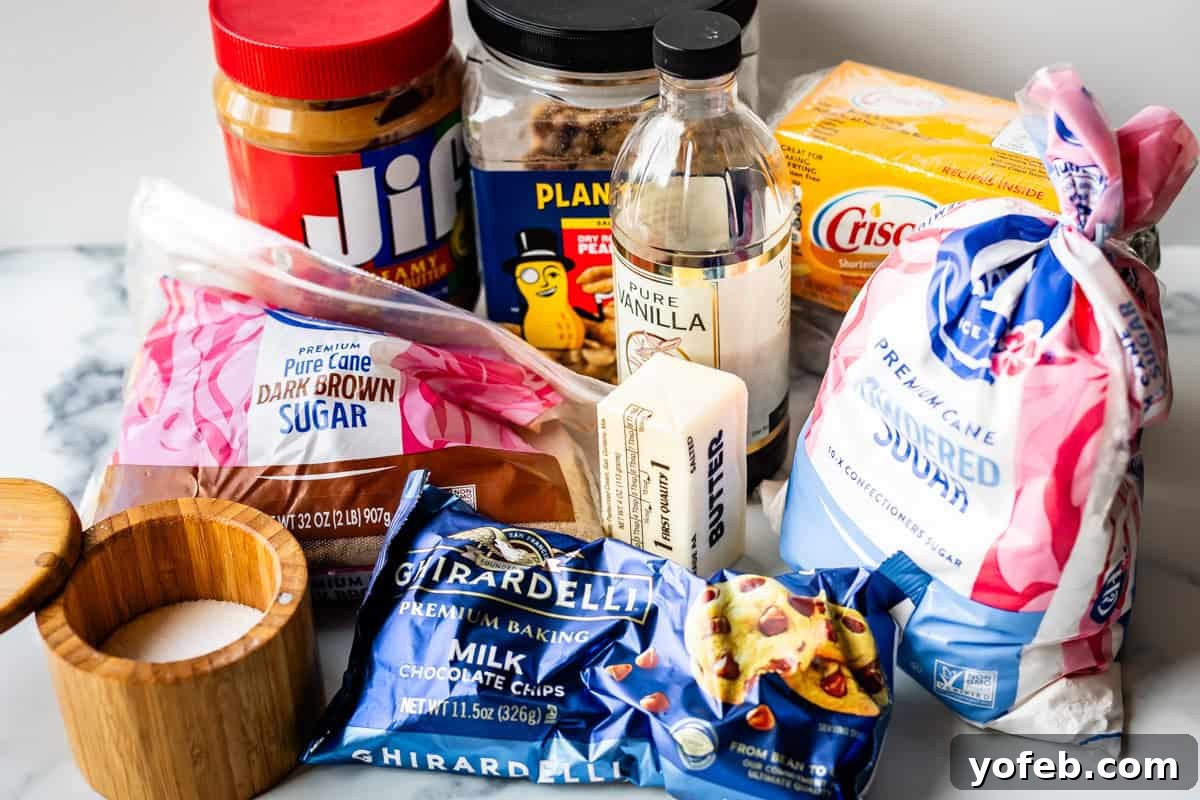
See? Mostly pantry staples! Oh, you don’t typically keep dry roasted peanuts in your pantry, waiting for your children to scatter them across their designated basket (and never clean them up)? Funny story: I actually picked up every single one of these peanuts off the pantry floor for this very photo shoot. (Just kidding, mostly! Kids are the worst… and also the best. Maybe we need a dog? Can dogs even eat peanuts? Nevermind, these peanuts are for *us*.) We’re grinding them up to give us that most amazing, irresistible crumbly texture! This photo is close, but not quite there:
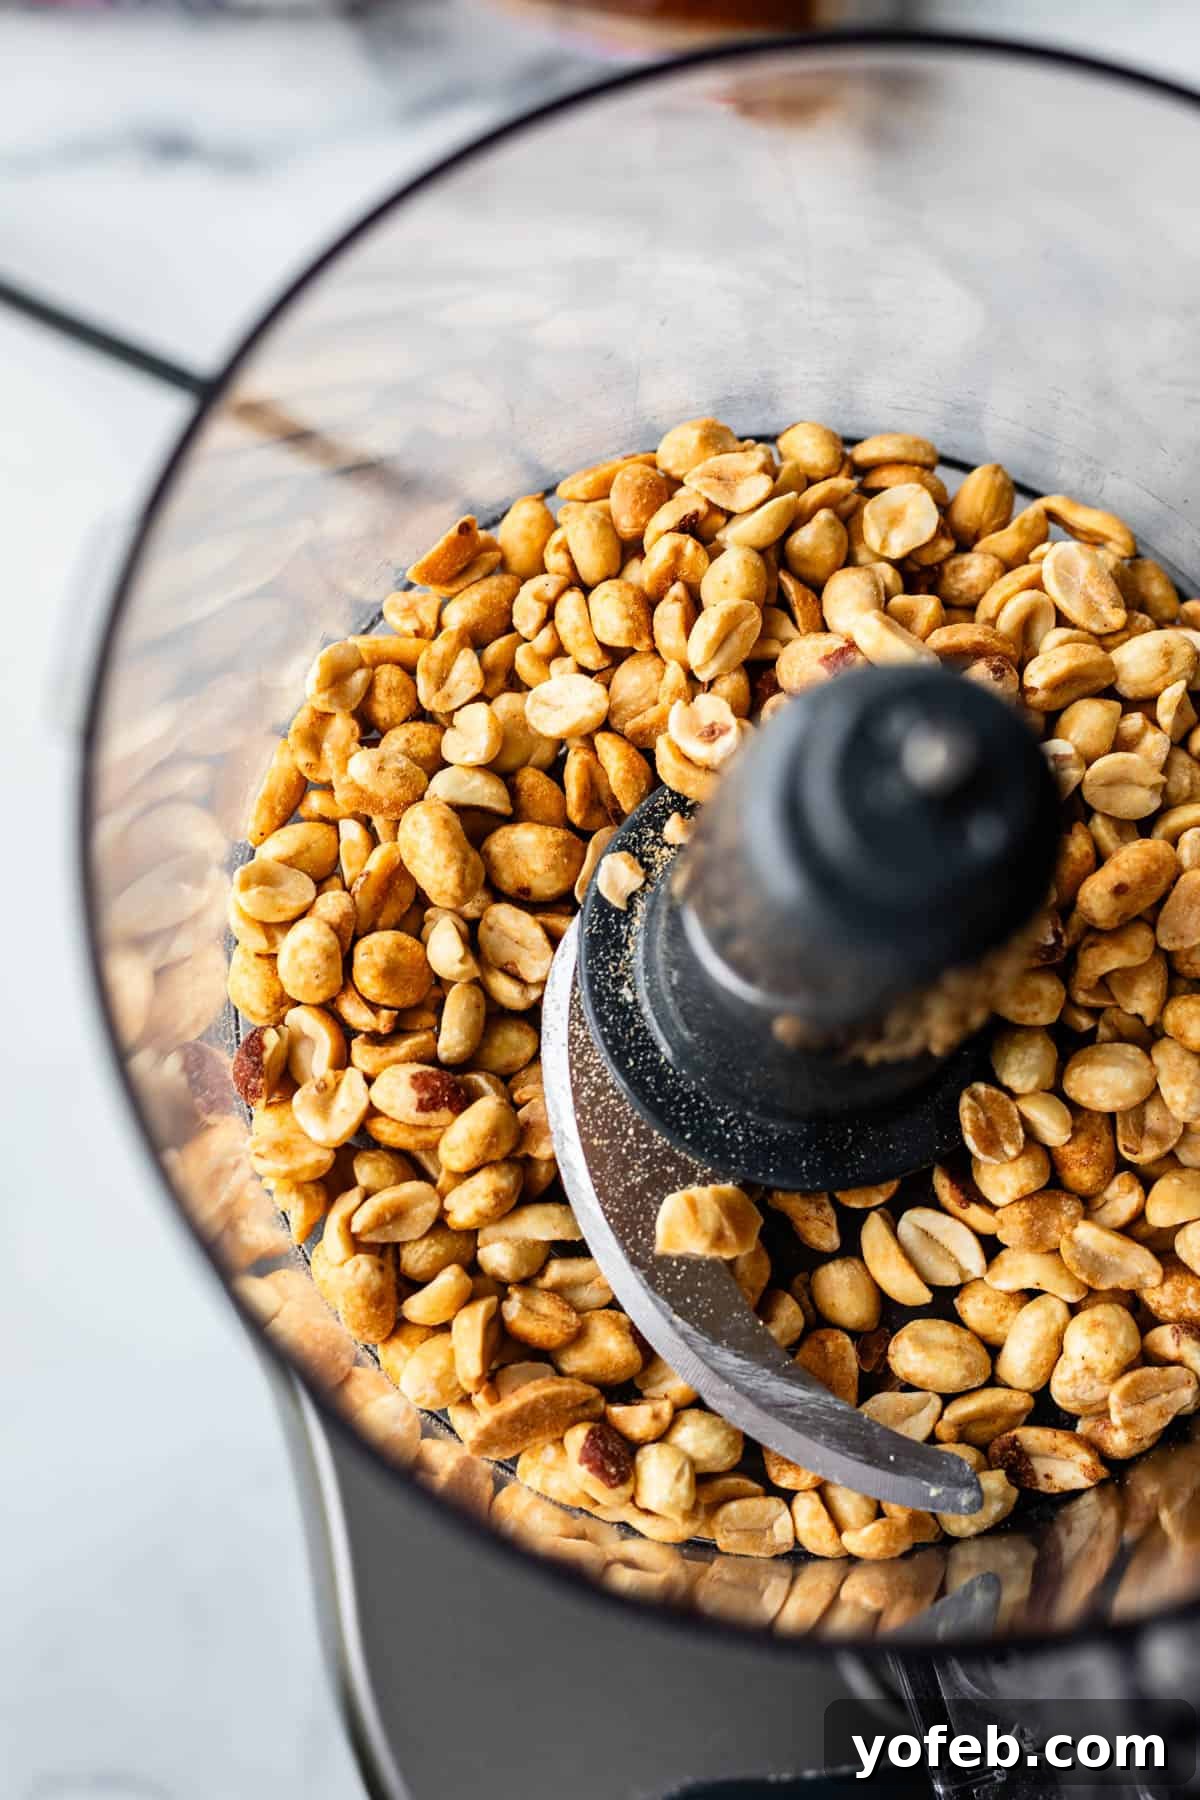
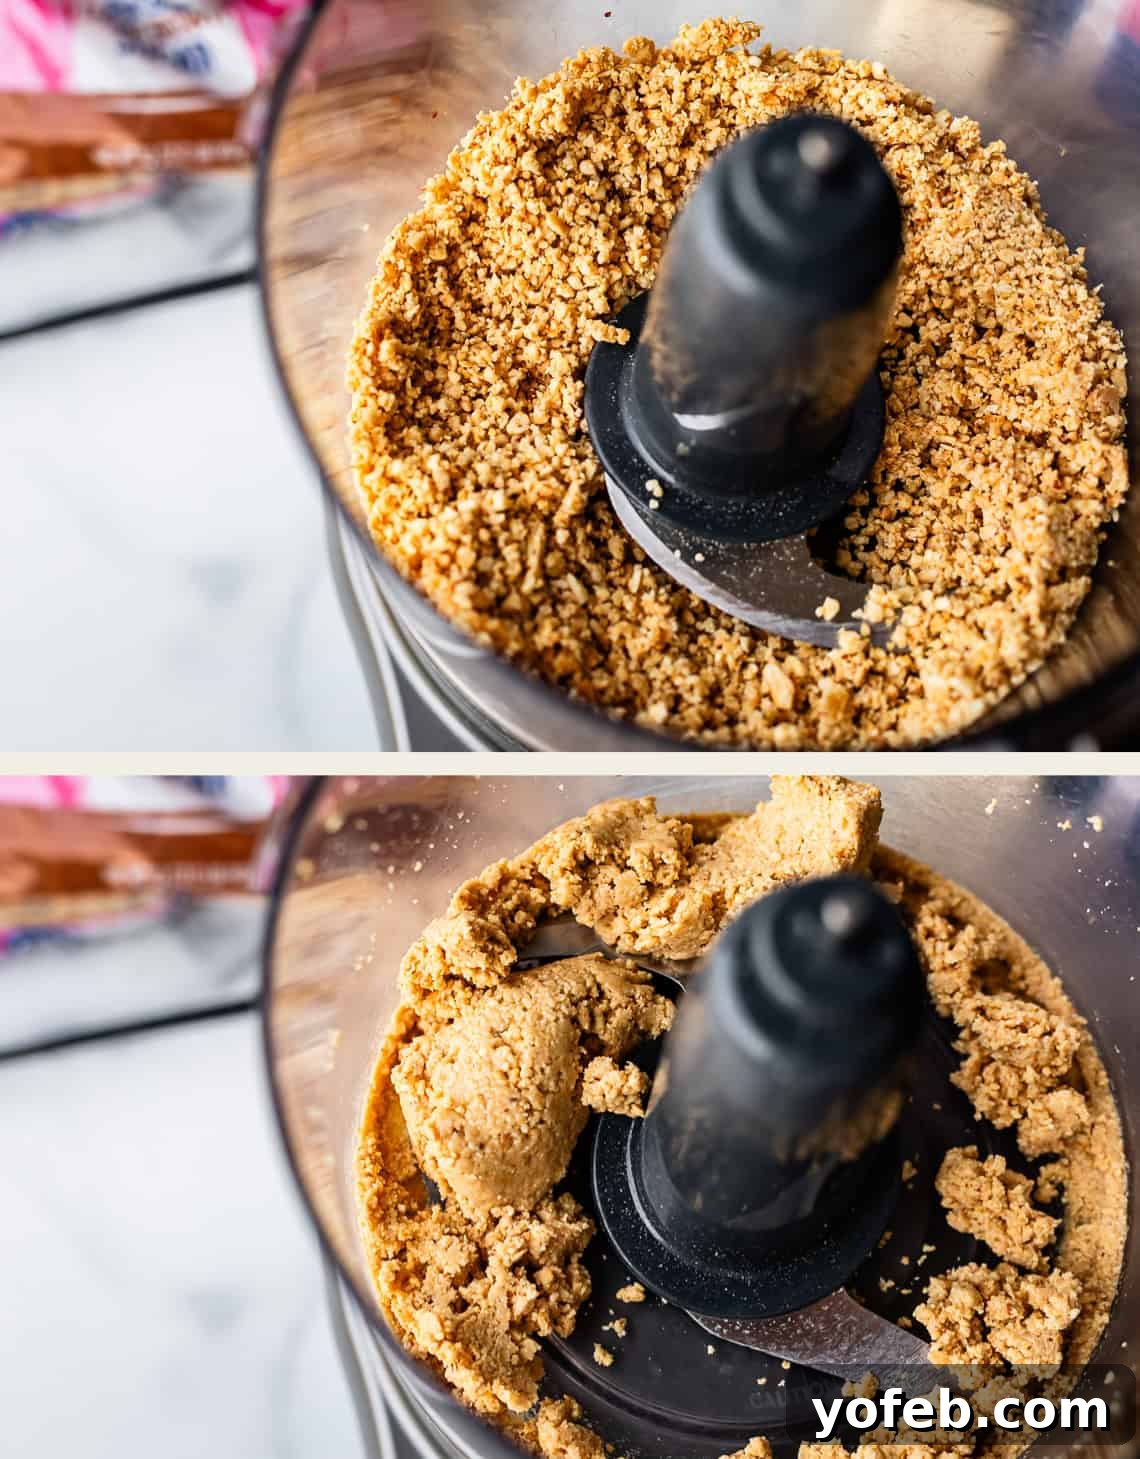
That’s much better. Can you observe how the peanuts have started to stick to the sides of the bowl, beginning to clump and form a ball? If we were to continue blending much longer, it would eventually transform into smooth peanut butter. But right at this stage, it’s absolutely perfect. It’s well on its way to becoming peanut butter, but not quite there yet, leaving us with those delightful little crumbly, nutty bits that are key to the Reese’s texture. Mmm!
I highly recommend taking a small spoonful to taste at this point. This is your chance to assess if the texture is exactly what you envision. After all, this is *your* Reese’s egg experience; don’t let a food blogger tell you what to do. Adjust to your preference!
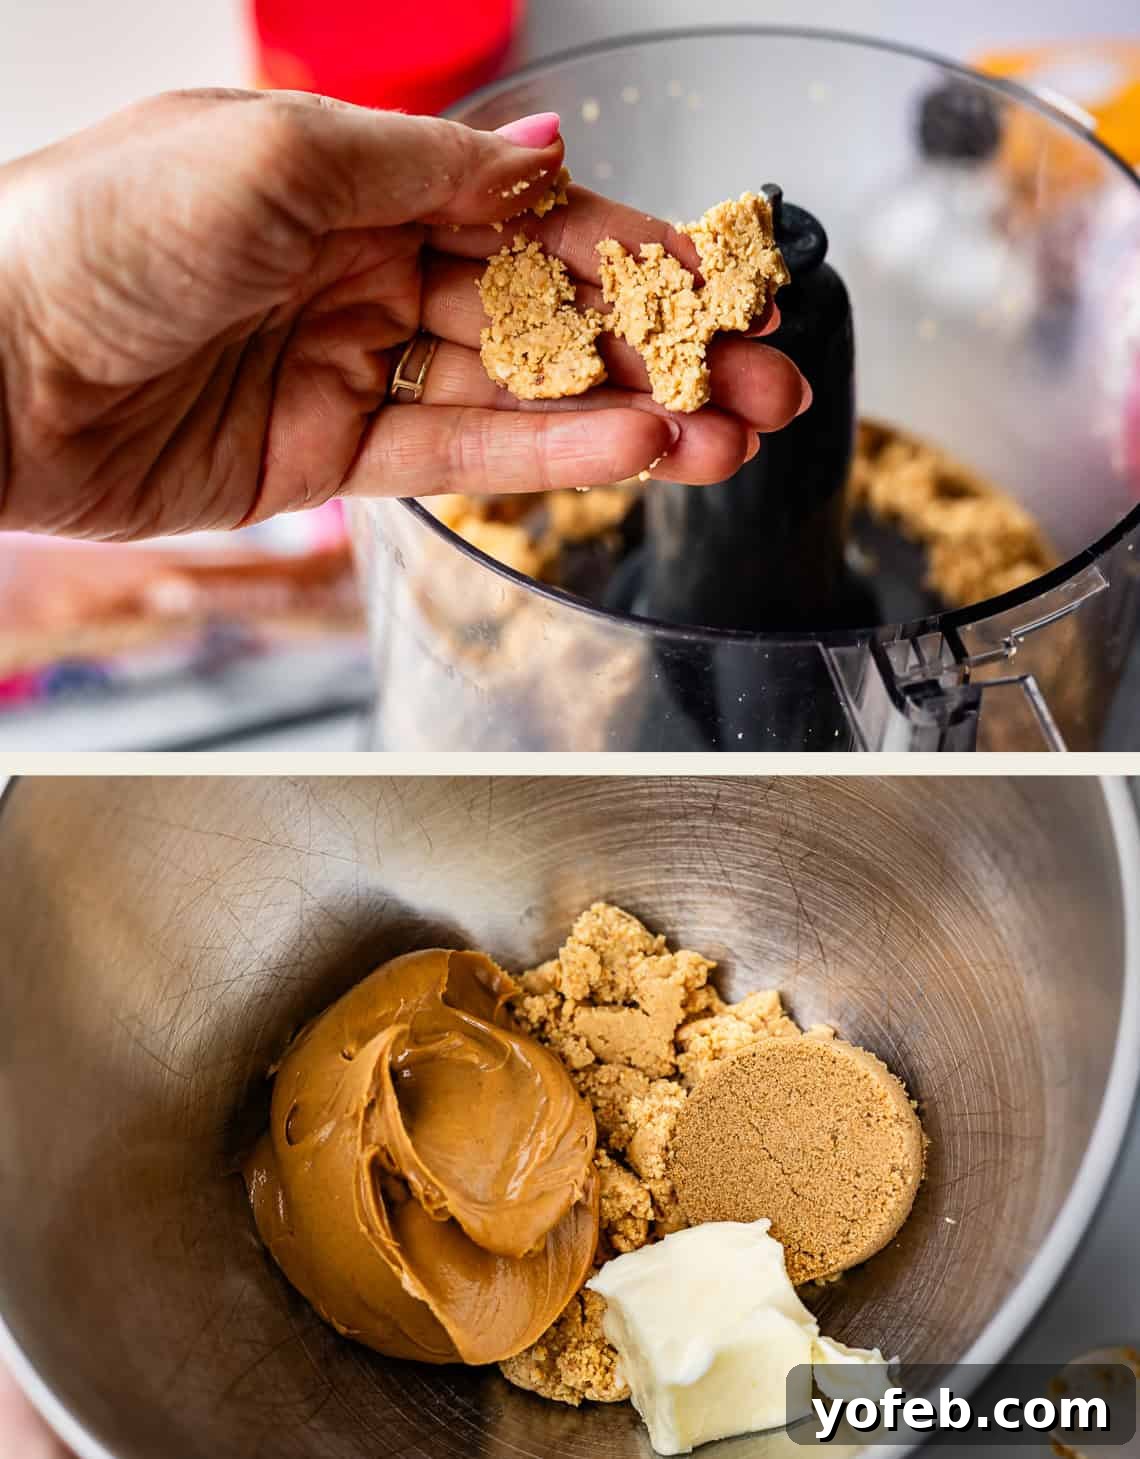
Now, carefully scrape this finely ground peanut mixture into a medium mixing bowl, or the bowl of your stand mixer. To this, you’ll add all the other delicious filling components: creamy peanut butter, rich brown sugar, finely sifted powdered sugar, and some truly super-soft butter.
A little tip (learned from personal experience): when softening butter in the microwave, make sure you don’t forget to set the power level to a low setting like “1”! Otherwise, you might end up with melted butter all over the glass plate, necessitating a full cleanup and a fresh start. Not super fun. (Seriously though, for cold butter, microwave it for about a minute on “power level 1” – it’s the fastest and best way to achieve perfect softness without melting. Just don’t mess it up like I sometimes do!)
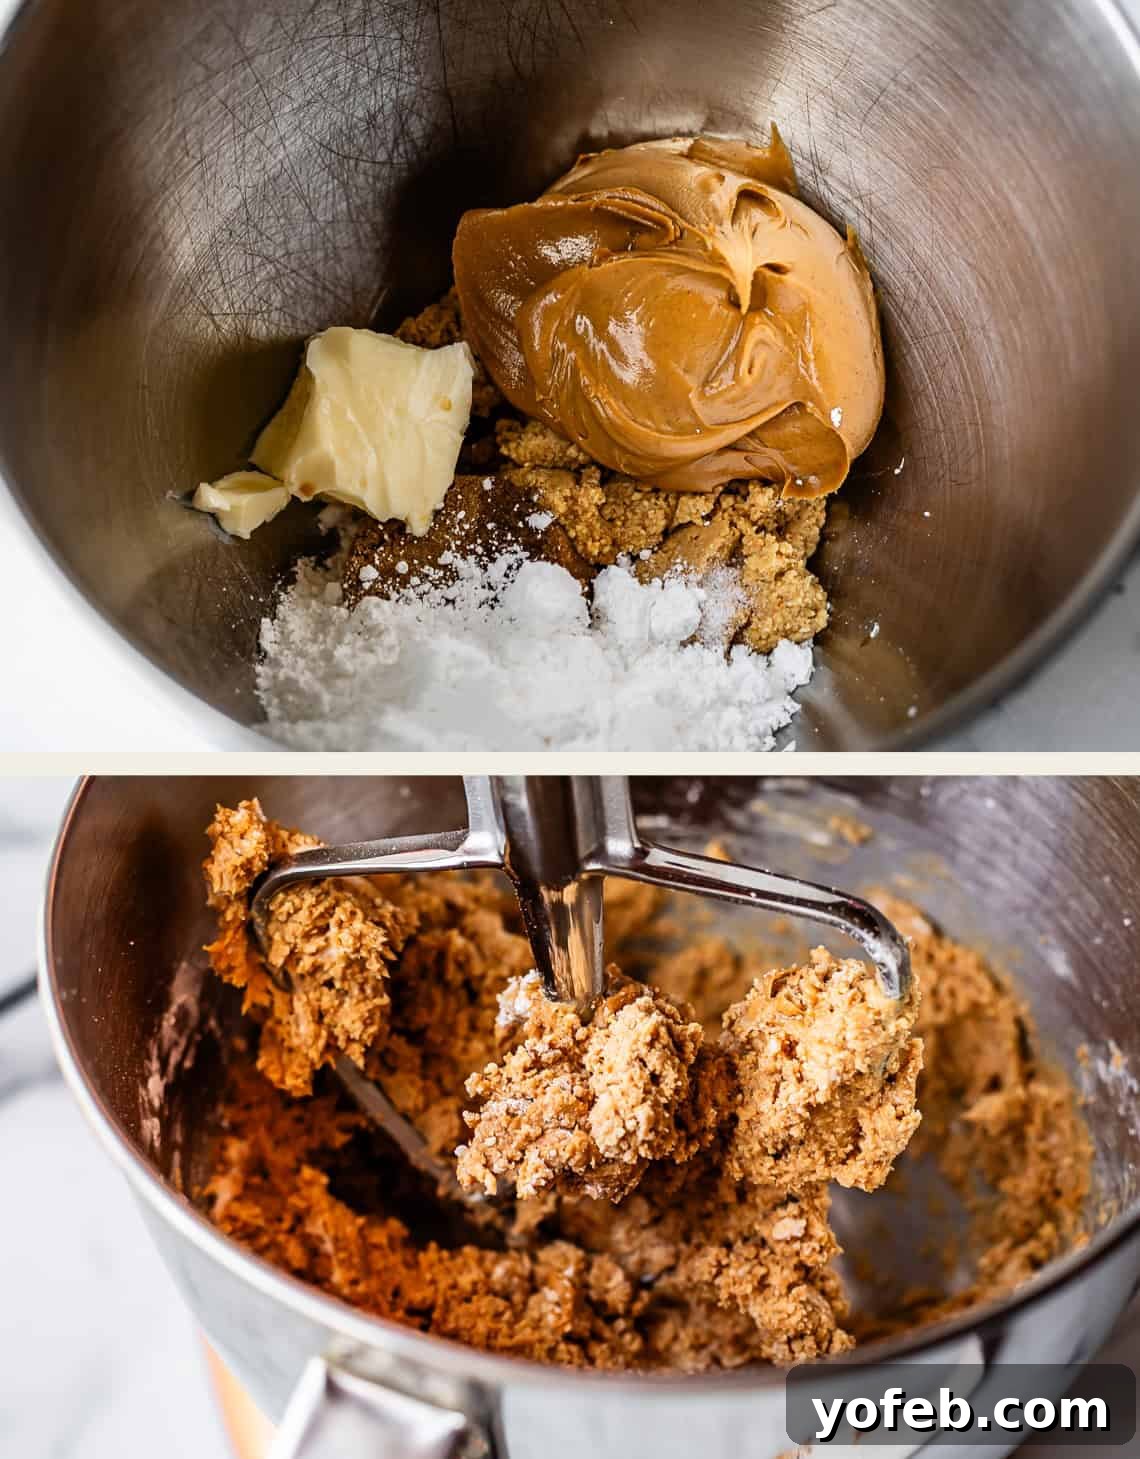
Mix everything together until it forms this glorious, cohesive peanut butter situation! At this stage, feel free to grab a spoon and indulge a little – it’s irresistibly delicious. You can also adjust the salt or sugar to your exact liking. This, my friends, is the filling I dream of!
But I promise, it’s even better when enveloped in a layer of chocolate. I even pulled out a real Reese’s egg to ensure my homemade creations were the correct size.
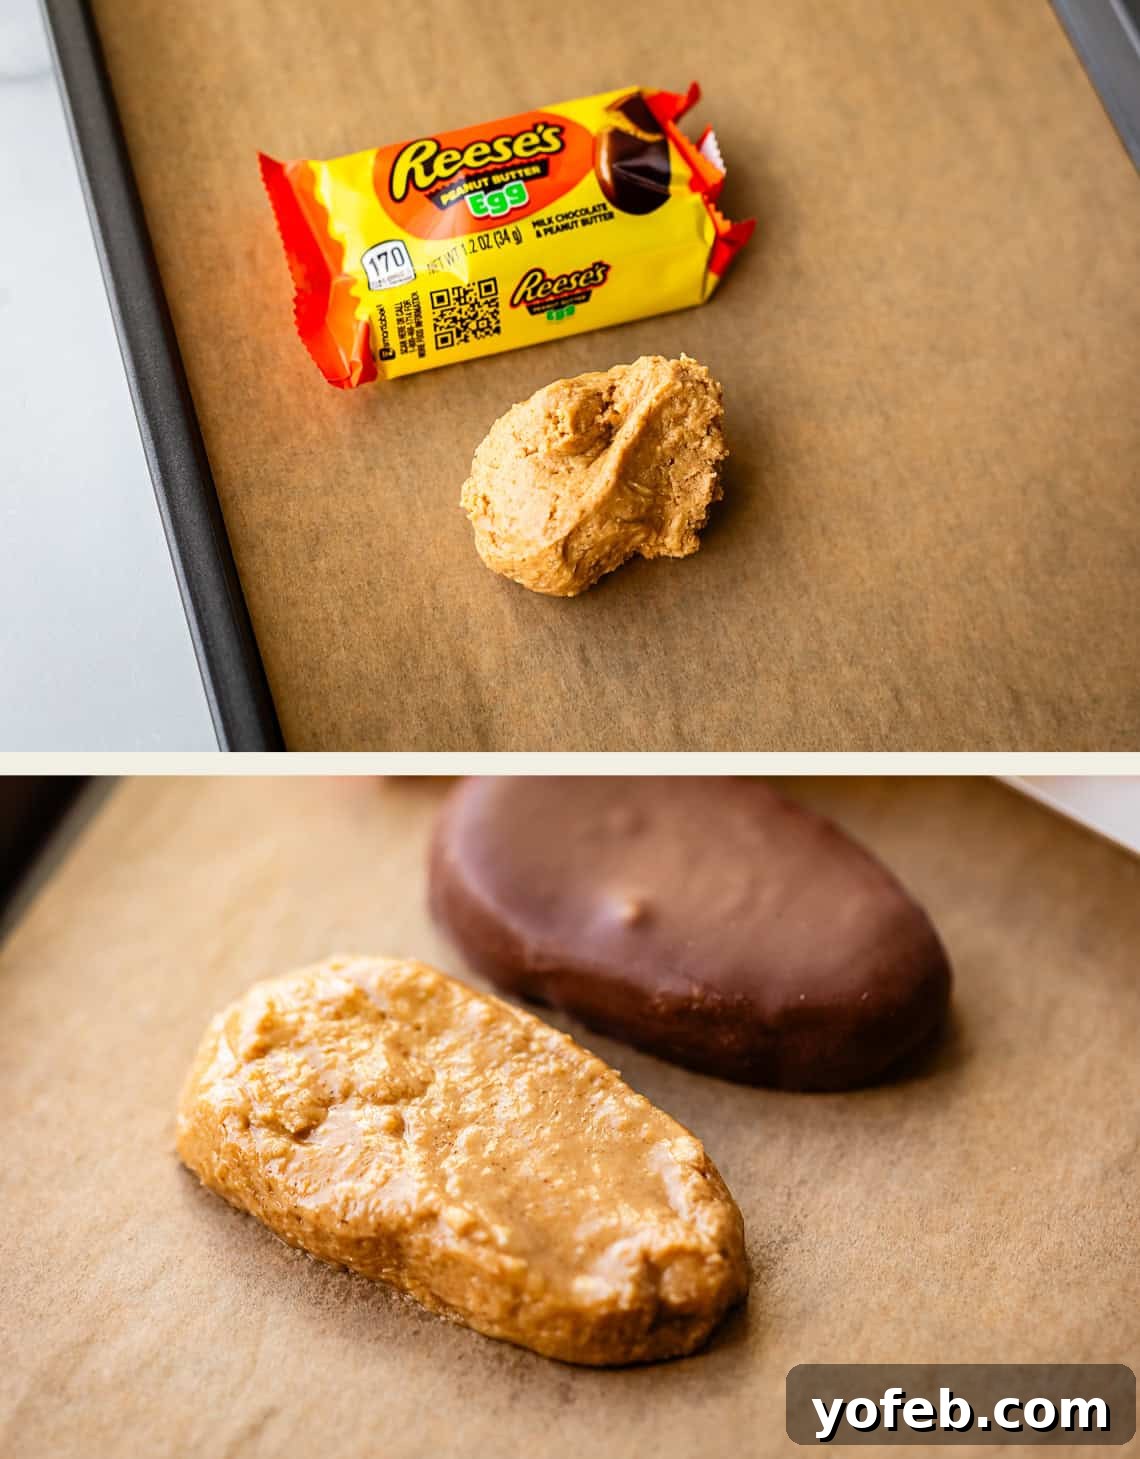
Now, using your hands, gently shape the mixture into cute little egg forms. I’m confident you’ll all do a much neater job than I typically manage!
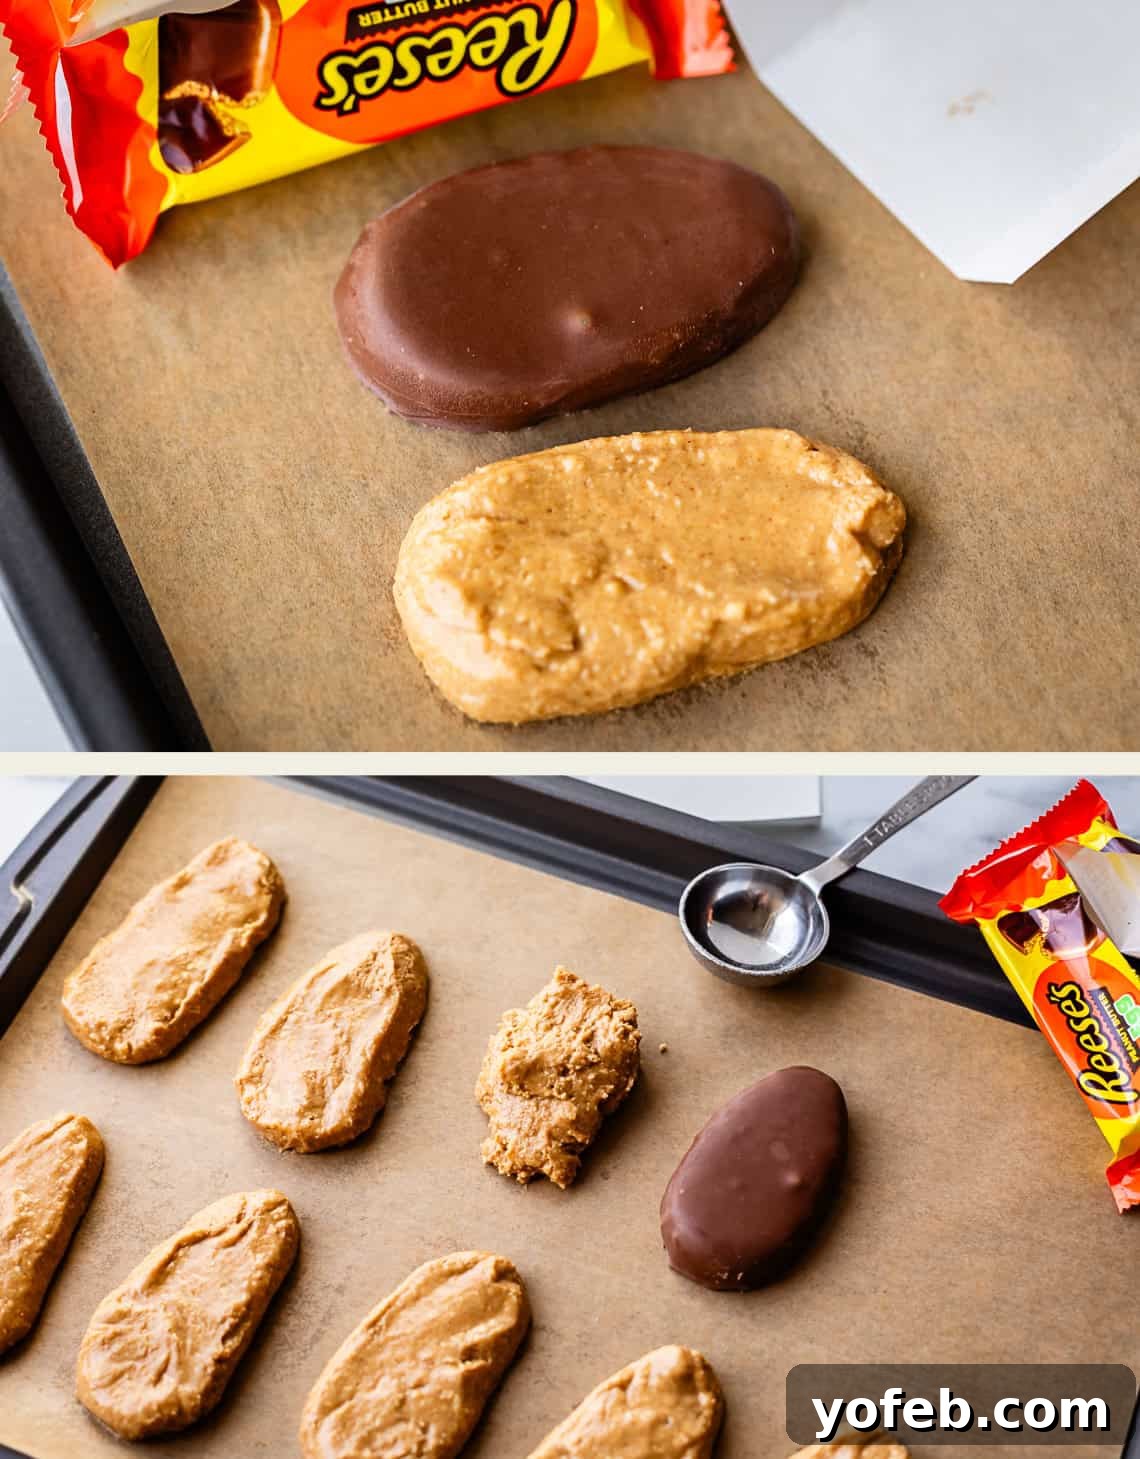
Aim for about a tablespoon and a half of peanut butter filling for each egg. Line them all up neatly on a parchment-lined baking sheet, and then pop them into the freezer for a good chill. The colder they are, the easier they’ll be to dip in chocolate without losing their shape.
Once your eggs are thoroughly chilled and firm, it’s time to prepare the luscious chocolate coating.
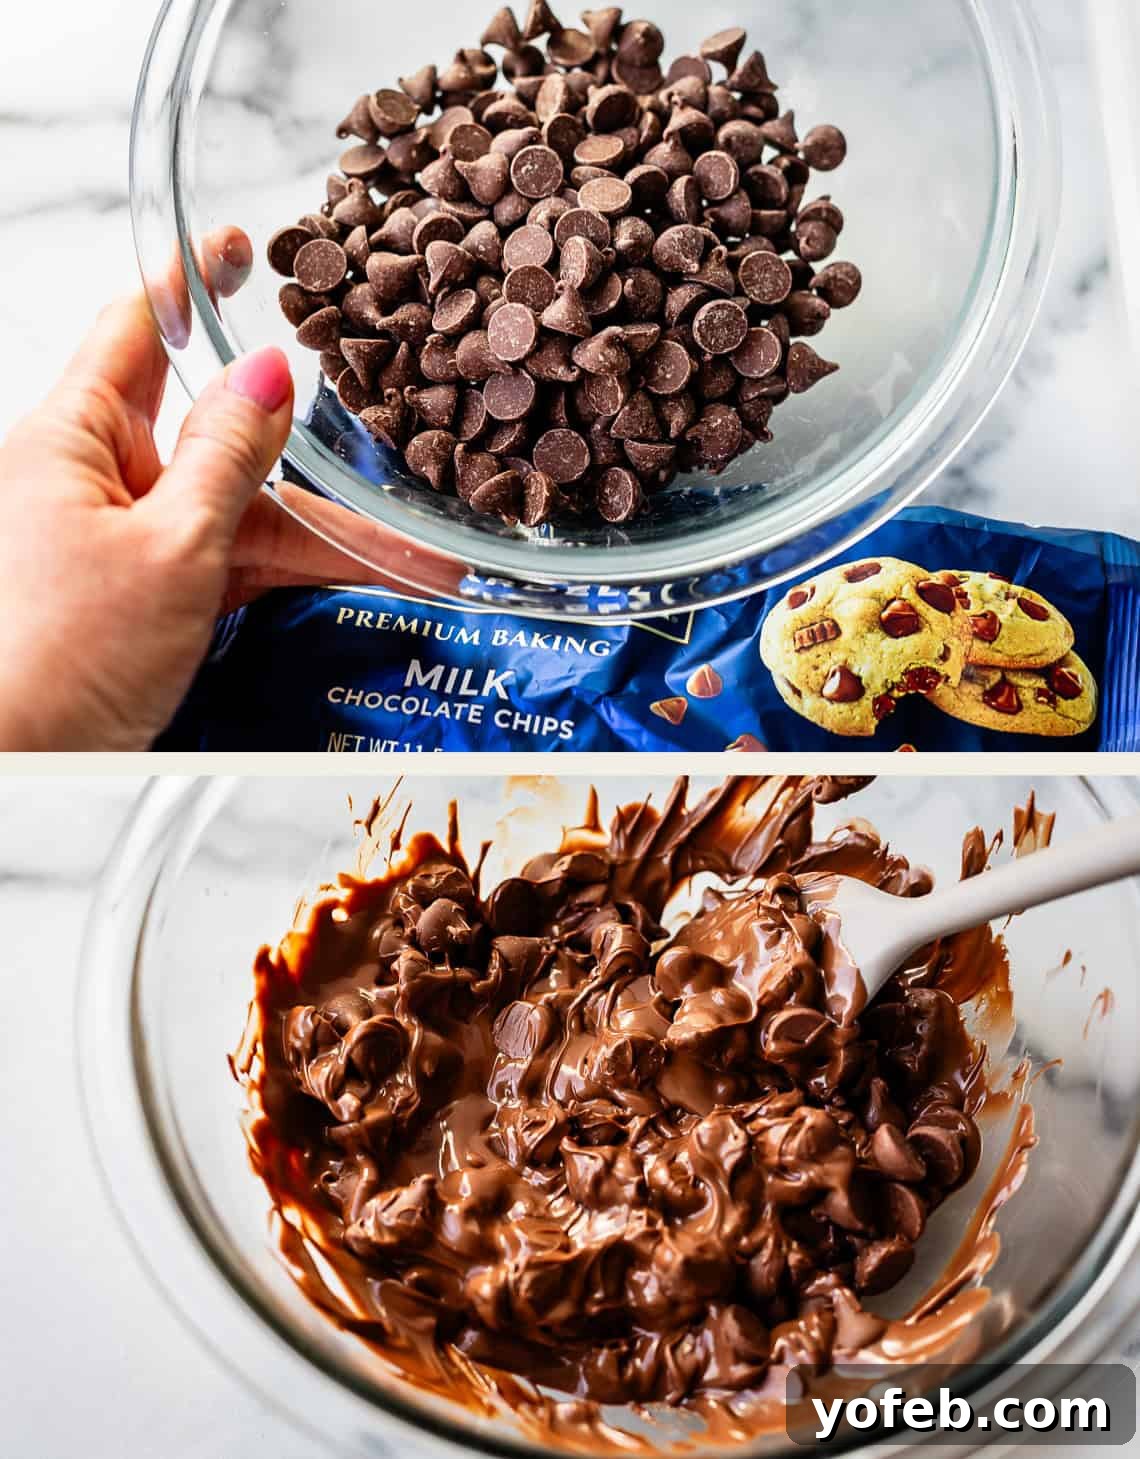
Remember, always use a high-quality chocolate. If the ingredient list mentions anything about “chocolate liquor” without cocoa butter, you should probably opt for another brand. You want real cocoa butter for the best melt and shine.
Melt the chocolate in short increments, either in the microwave or over a double boiler:
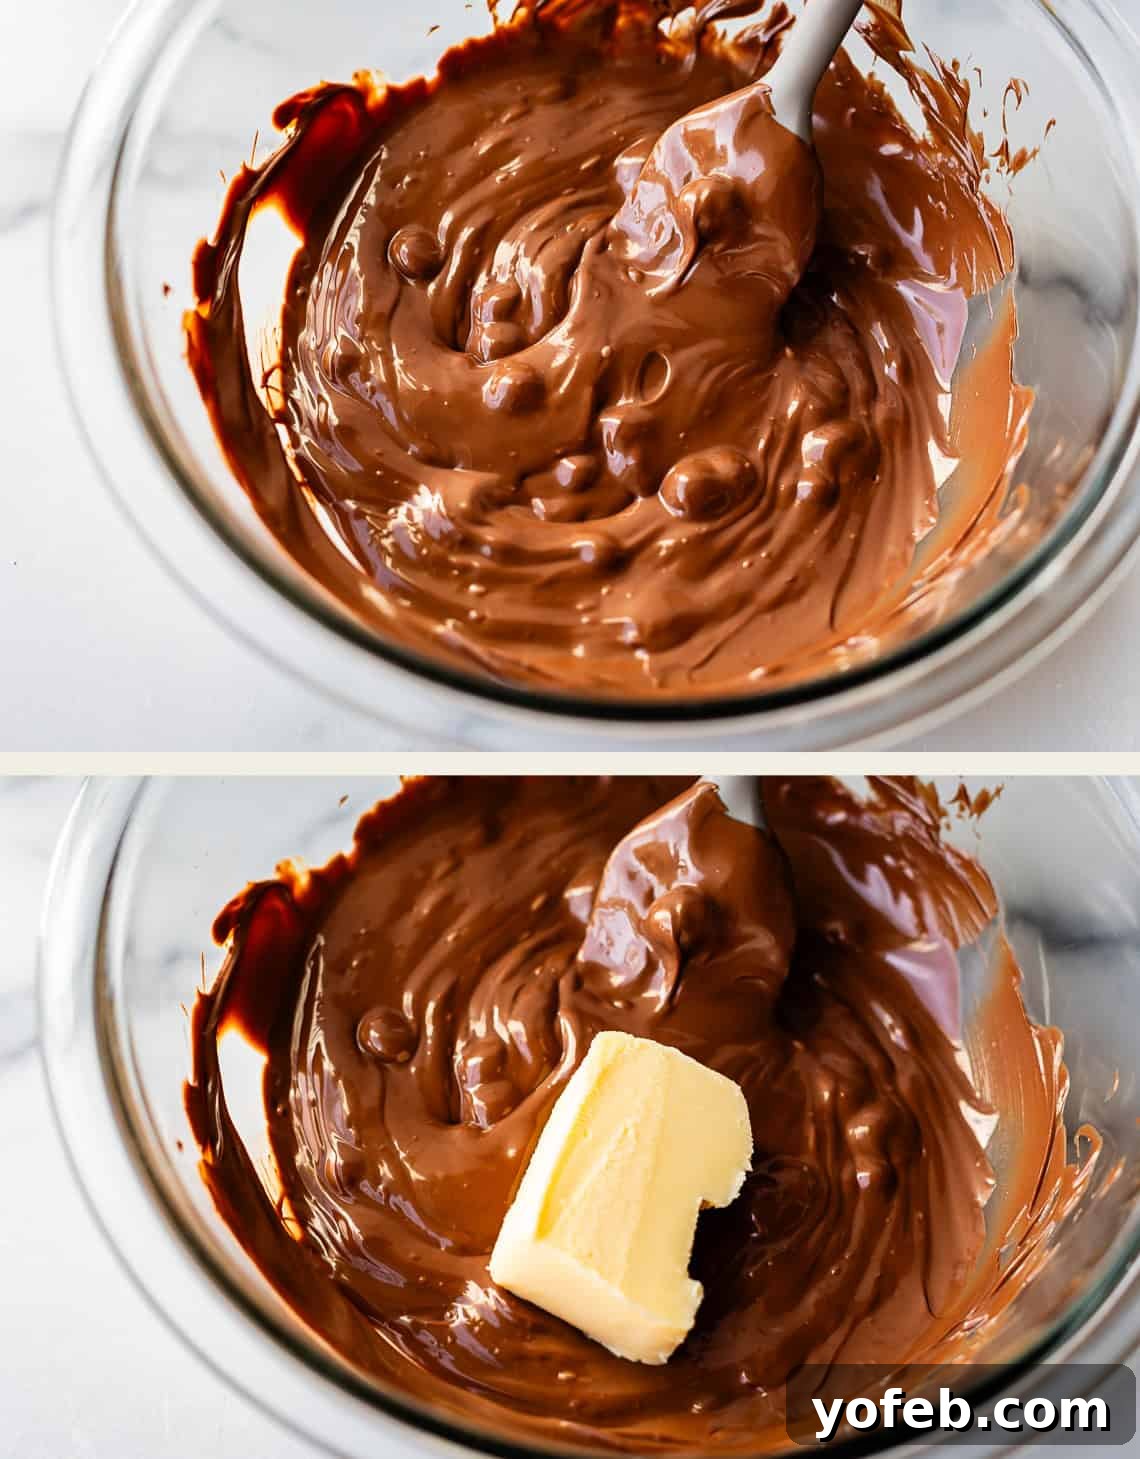
When there are still a few small lumps of chocolate visible, resist the urge to put it back in the microwave. Overheating can easily scorch or seize your chocolate, turning it grainy and unusable. The residual heat from the melted chocolate is usually enough that, with continuous stirring, the remaining chips will melt completely on their own, yielding a perfectly smooth, glossy coating.
Now, let’s set up your ultimate chocolate dipping station! This is my absolute favorite hack for maintaining the chocolate at the perfect, fluid temperature for dipping: an electric griddle! I picked up this brilliant tip years ago from my friend Dorothy at Crazy for Crust, who is truly the dessert queen! This ingenious method keeps your chocolate beautifully warm and liquid, eliminating the risk of it hardening or scorching as you work.
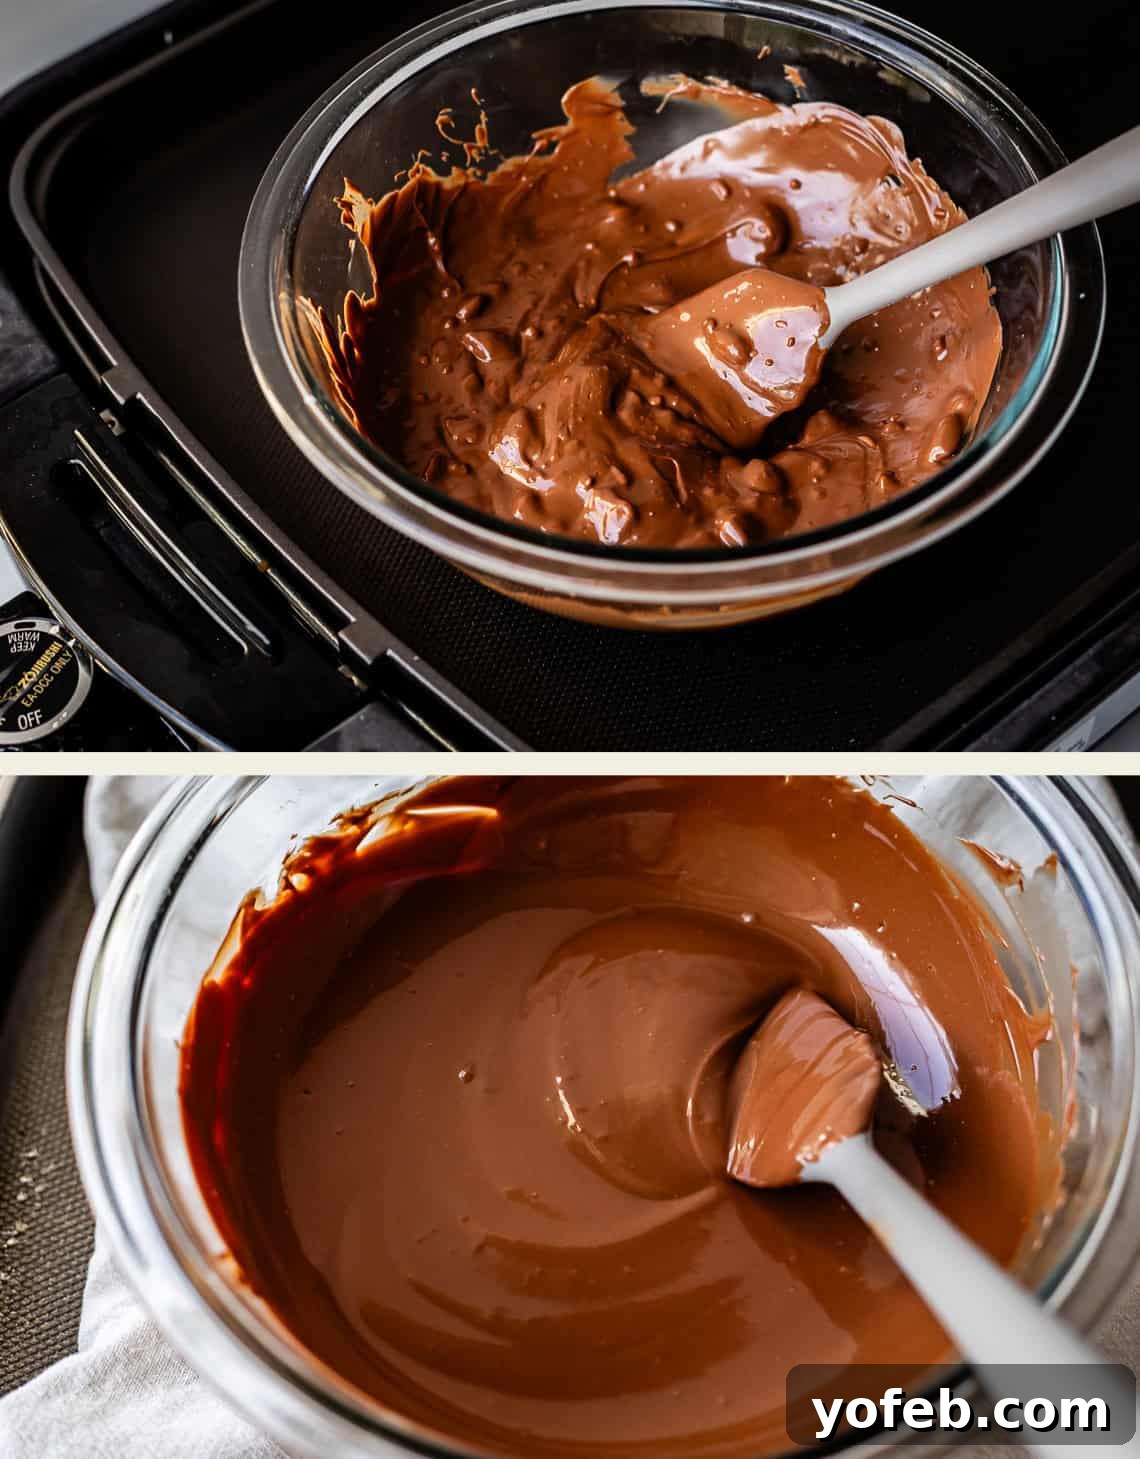
Once all the lumps have been stirred out and your chocolate is smooth, place the bowl of chocolate on a folded tea towel directly on the gently heated griddle. This provides consistent, low heat to keep it perfectly dippable.
Time to dip! Take one of your completely frozen peanut butter eggs and gently drop it into the melted chocolate.
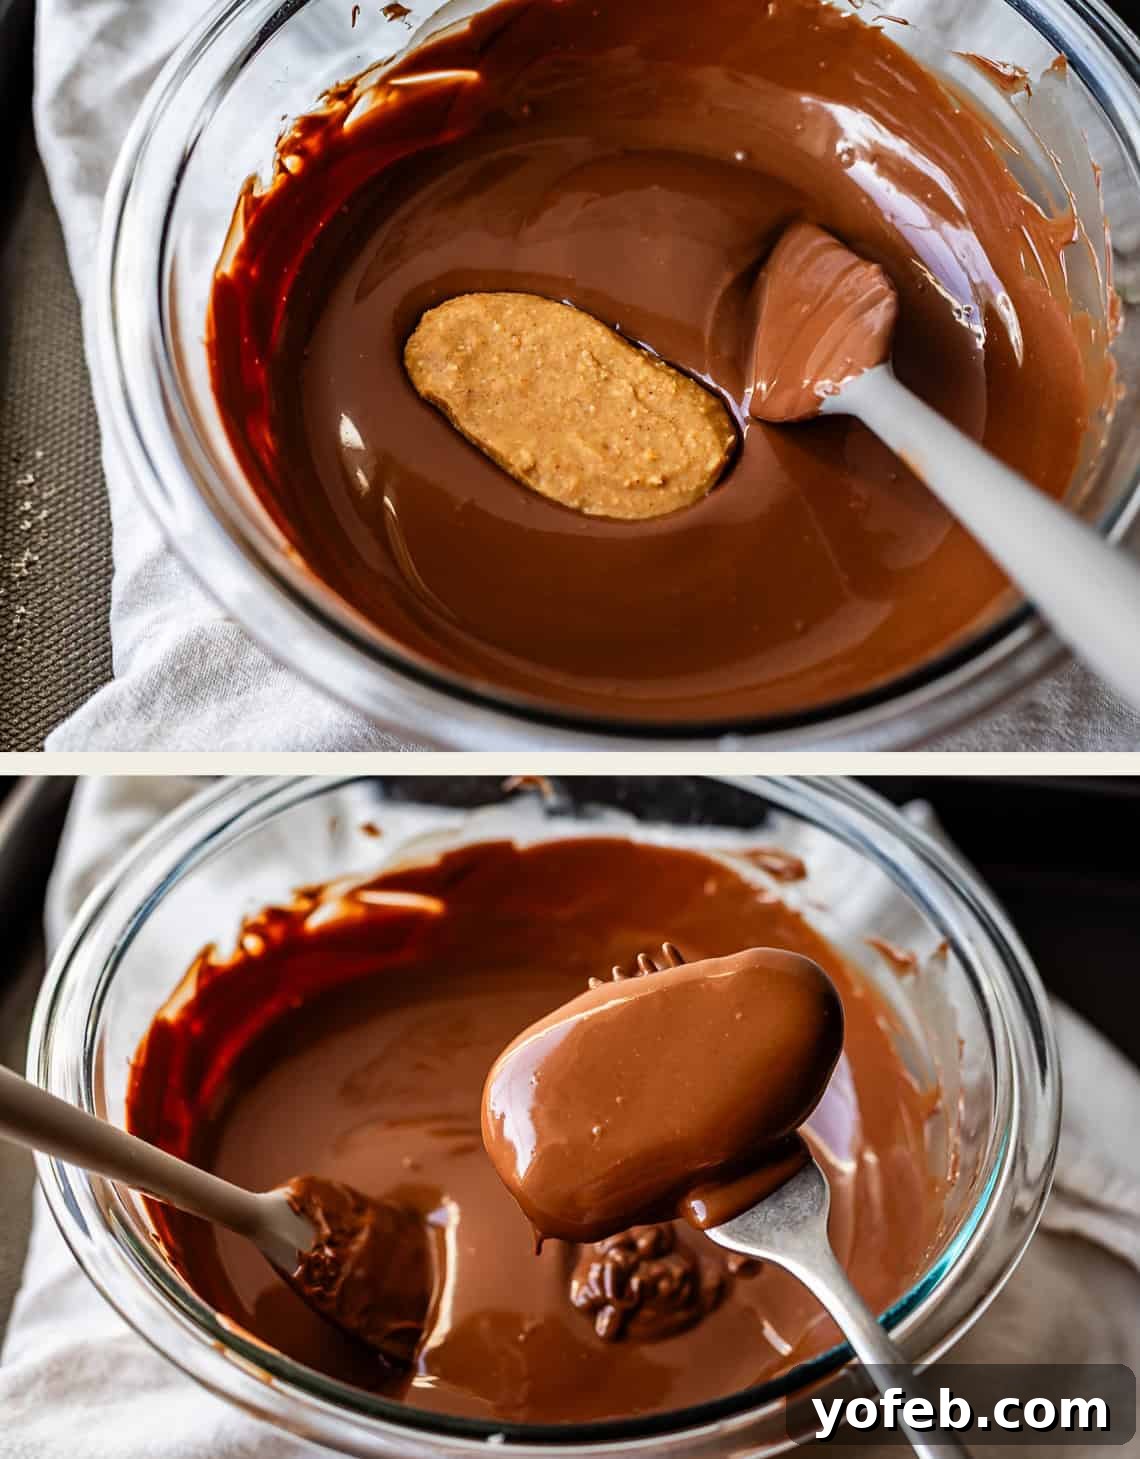
Ensure it’s thoroughly coated, then carefully lift it out with a fork. Gently tap the fork a few times against the rim of the bowl to allow excess chocolate to drip off, then lightly scrape the bottom edge of the egg along the top edge of the bowl to remove any remaining drips.
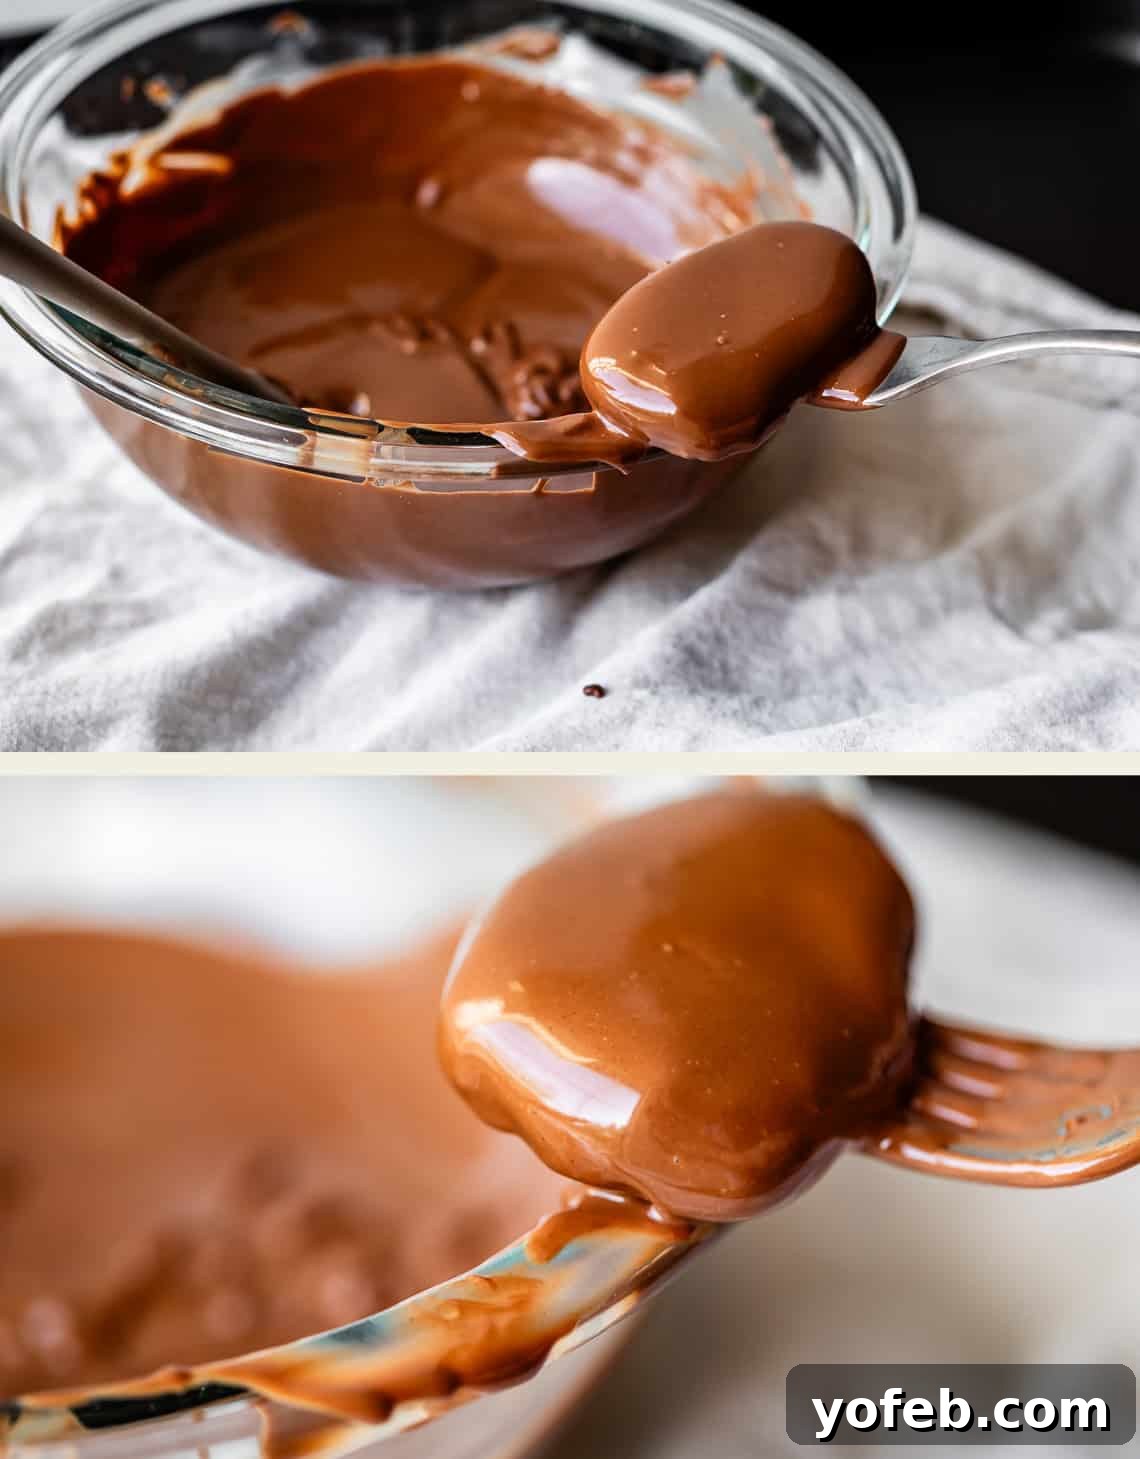
Work quickly during this process! The goal is to get the chocolate coating on and excess off before your frozen peanut butter filling starts to melt and incorporate into the warm chocolate. Speed is key to a clean, crisp coating.
Carefully place the newly coated egg onto a lined baking sheet.
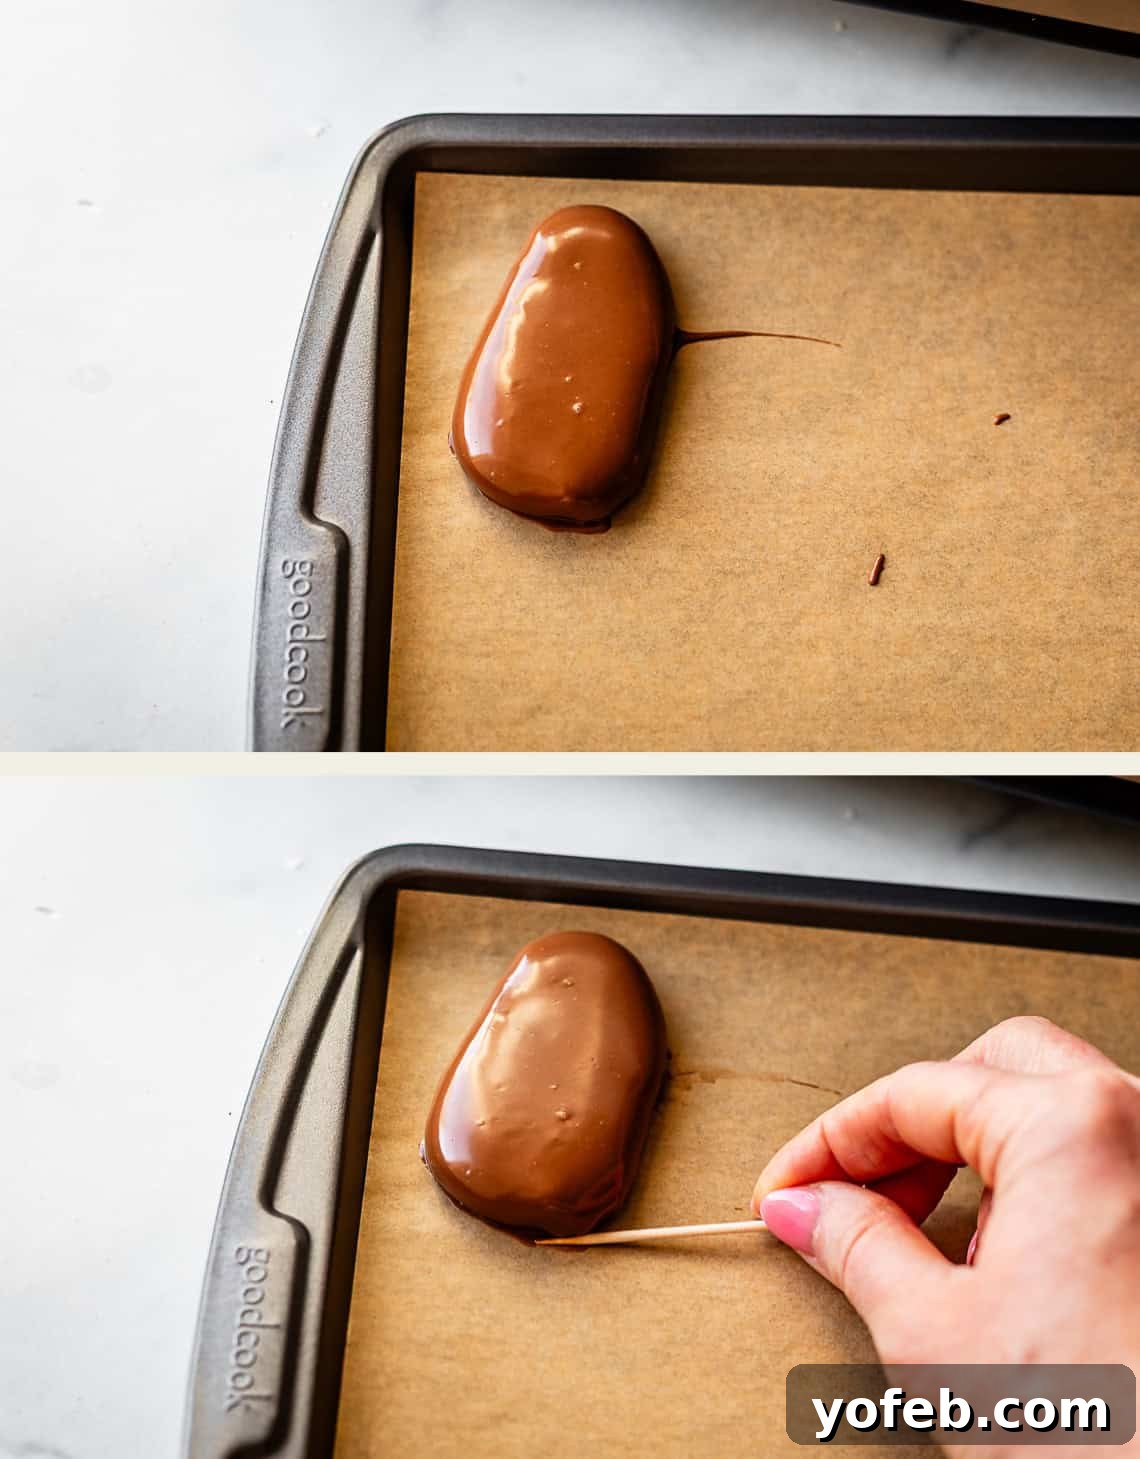
Immediately after placing it, use a toothpick to gently neaten any rough edges or smudges, creating a beautifully finished look. My most common challenge is when the egg slightly slides on the pan as I’m pulling the fork out from underneath it:
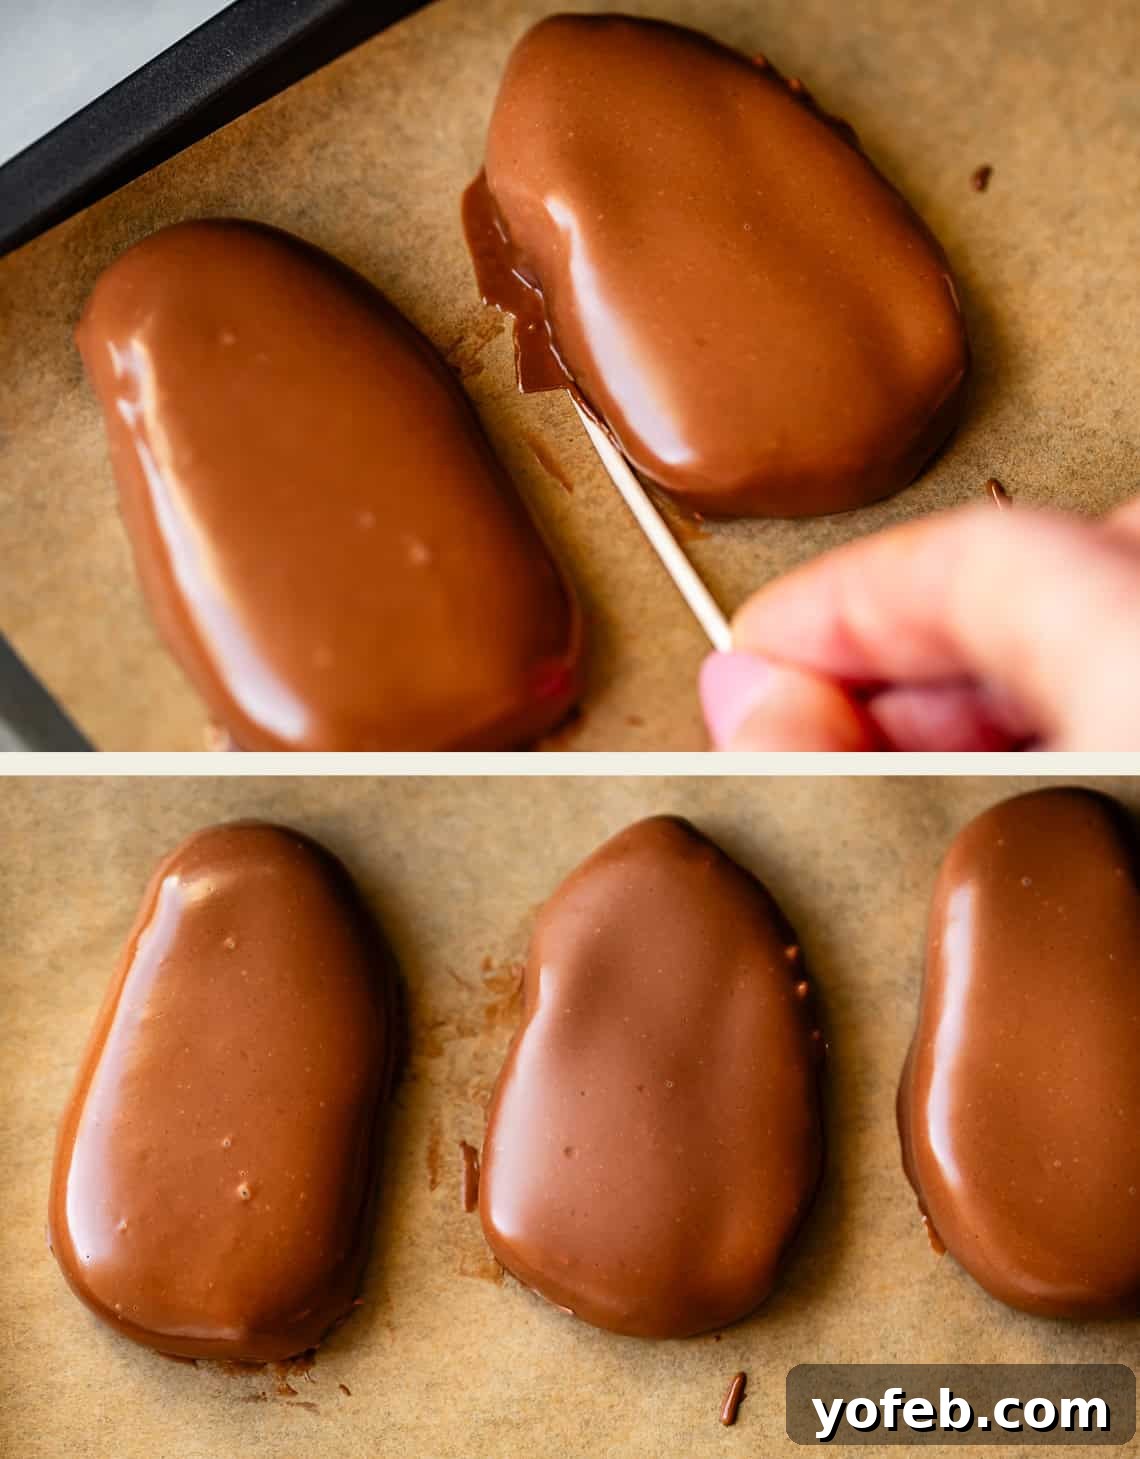
But don’t worry, it’s an easy fix! While the chocolate is still liquid, simply nudge it back to the edge with your toothpick to achieve those clean lines. Repeat this process for all your eggs until they are beautifully coated.
Finally, let your chocolate-covered eggs dry and set at room temperature. It’s crucial to avoid refrigerating them at this stage. Introducing them to a cold environment can cause moisture (condensation) to form on the chocolate, leading to “blooming,” where unsightly white spots appear. While blooming doesn’t affect the taste, it does detract from their visual appeal. Room temperature setting ensures a perfectly smooth and glossy finish.
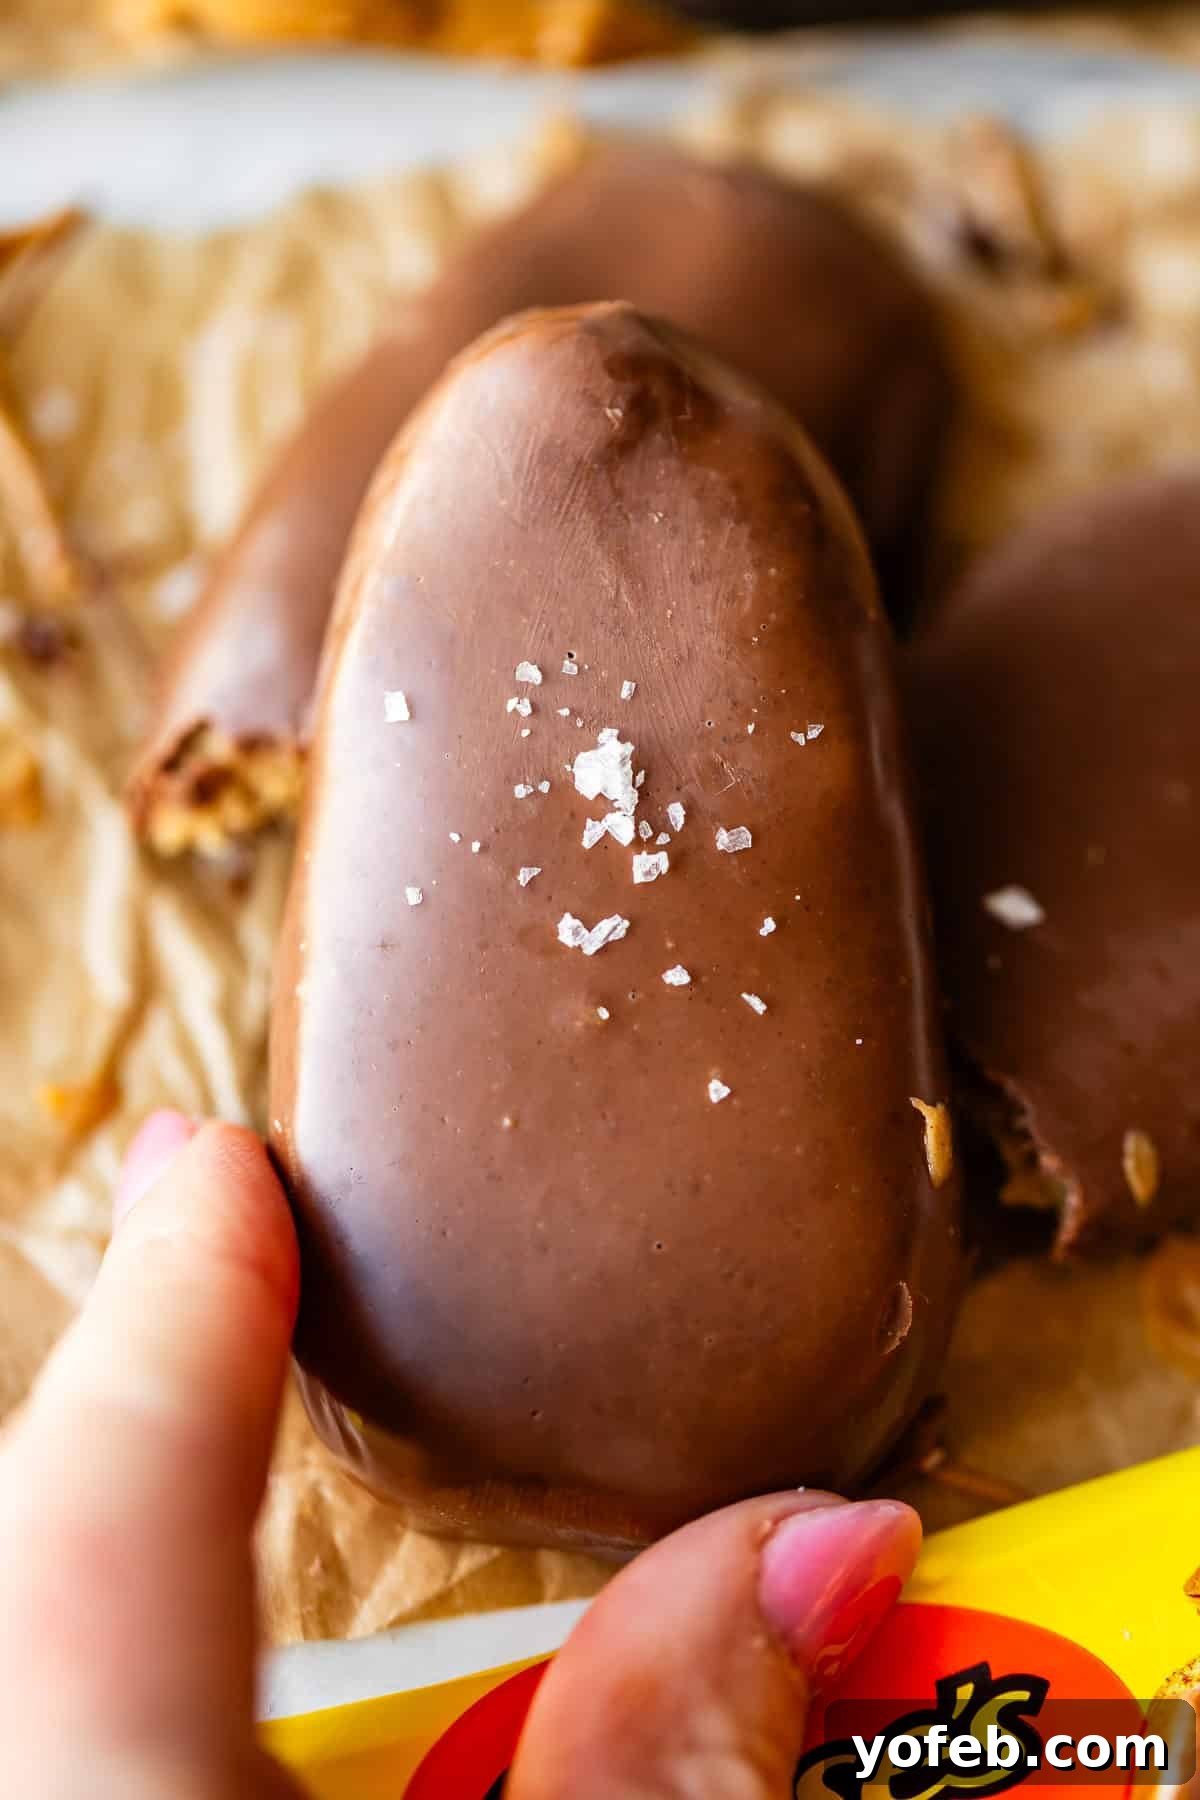
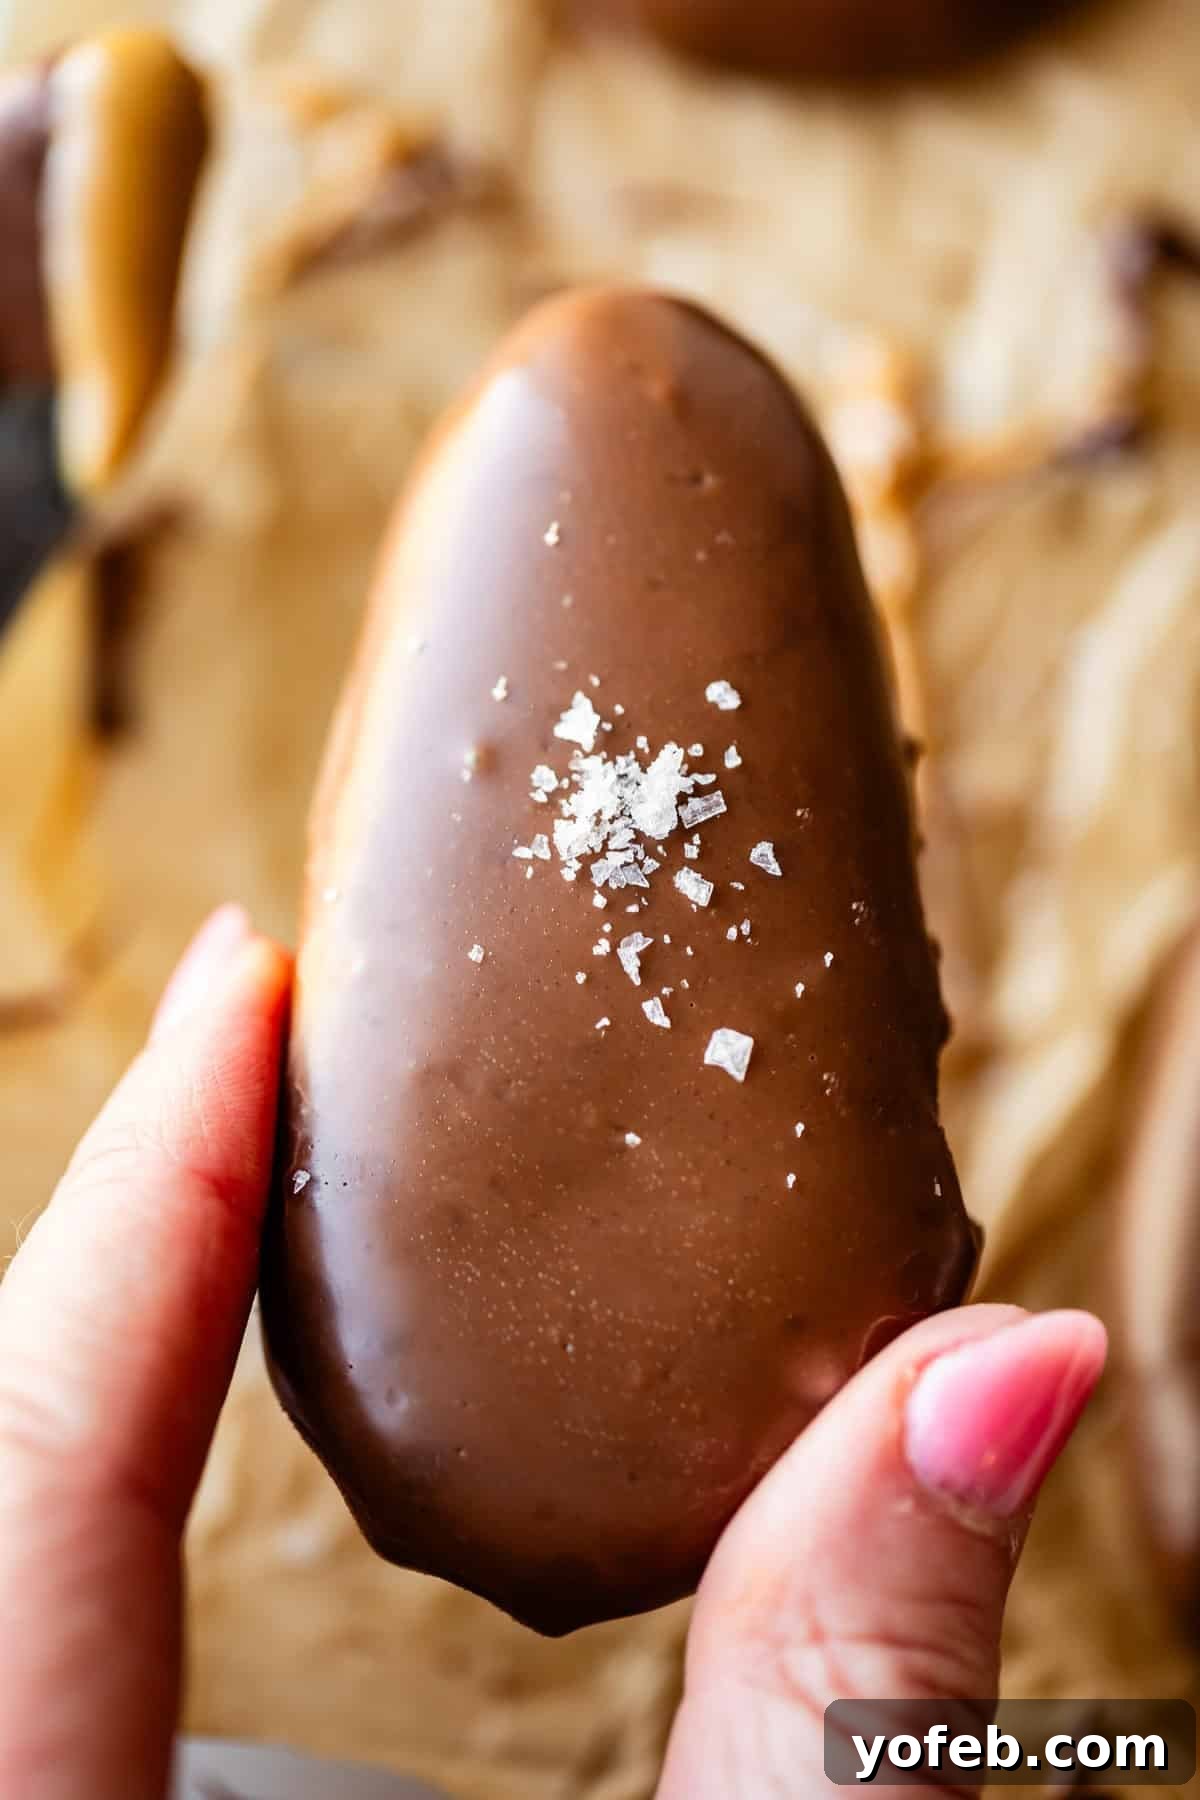
If you’re feeling fancy or snapping some pictures, a sprinkle of flaky sea salt on top makes for a beautiful focal point and adds a delightful flavor contrast. Otherwise, they’re absolutely perfect served as-is! And just like that, you have a dozen homemade Reese’s eggs. Who will you share them with? Yourself, over the next 12 days? (Or three days? No judgment here, this is a safe space for all peanut butter egg enthusiasts!)
Storage Guidelines for Freshness and Quality
If by some miracle you find yourself with leftover homemade Reese’s Peanut Butter Eggs – a rare occurrence in my household! – proper storage is key to maintaining their deliciousness. Place the eggs in a resealable ziplock bag or an airtight container and leave them on the counter at room temperature. They should remain fresh and enjoyable for 5-7 days. In my experience, they vanish so quickly that they’ve rarely made it to day five!
It’s important to remember their delicate nature: ensure the eggs are arranged in a single layer. If you absolutely must stack them, place a layer of parchment paper between each row to prevent them from sticking together and potentially damaging their delicate chocolate coating. While you *can* refrigerate them if you prefer a colder treat, be aware that this can introduce moisture and cause condensation, which often leads to chocolate bloom (those harmless but unsightly white spots). For the prettiest results, room temperature storage is recommended.
Freezing and Make-Ahead Options for Convenience
For those who love to plan ahead or wish to savor these delightful treats for longer, freezing is an excellent option. Whether you’re preparing them in advance for Easter baskets or simply want to store leftovers for a future chocolate peanut butter craving, these eggs freeze beautifully.
After your eggs have been formed and dipped in chocolate, arrange them in a single layer on a cookie sheet lined with parchment paper or a silicone baking mat (Silpat). Flash freeze them for about 30-60 minutes, just until they are firm. Once frozen, transfer the individual eggs to a freezer-safe ziplock bag or airtight container, ensuring they are well-sealed to prevent freezer burn. For optimal taste and texture, it’s best to enjoy them within 1-2 months of freezing.
To thaw, simply remove the desired number of eggs from the freezer. It’s best to let them thaw in a single layer to prevent any sticking. Allow them to sit on the counter at room temperature for a couple of hours until they have softened enough to enjoy. Do be aware that, as with refrigeration, freezing and thawing can sometimes cause the chocolate to bloom, resulting in white spots on the surface. While this doesn’t impact their incredible taste, it’s a visual consideration. Rest assured, they will still taste absolutely fabulous!
Peanut Butter & Chocolate Forever: More Irresistible Combinations
The timeless combination of peanut butter and chocolate will forever hold a special place as one of my absolute favorite dessert flavor pairings. That magical blend of salty and sweet is simply perfection in every bite! If you’re as obsessed as I am, you’ll definitely want to check out a few of my other go-to recipes where this dynamic duo takes center stage:
Brownies & Bars
Lunch Lady Peanut Butter Bars
Candy & Fudge Recipes
Buckeye Candy Recipe
Ice Cream & Frozen Treats
Frozen Peanut Butter Pie Recipe
Dessert
Reese’s Stuffed Brownies
Facebook | Pinterest | Instagram

Homemade Reese’s Peanut Butter Eggs Recipe
Rate this Recipe
Print Recipe
Equipment
-
electric griddle
-
toothpicks
Ingredients
- 1/2 cup dry roasted peanuts, ground until almost pb in food processor
- 2 tablespoons brown sugar, packed
- 2 tablespoons butter, very soft
- 1/2 cup peanut butter, not natural pb (JIF recommended)
- 2/3 cup powdered sugar
- 1/2 teaspoon vanilla extract
- small pinch kosher salt
- 1 and 1/2 cups milk chocolate chips, high quality (e.g., Ghirardelli, Nestle Tollhouse)
- 2 teaspoons shortening , or coconut oil
Instructions
-
Make the peanut butter mixture: Add 1/2 cup dry roasted peanuts to a food processor. Process on low speed for 1-2 minutes, then eventually on high speed for another minute or two. Keep blending until the peanuts have been ground up and have started to stick to the edges of the bowl, just beginning to turn into peanut butter.
-
Stop processing when there are still some bits of peanut that are not fully ground. You should be able to see tiny pieces. This is crucial for the “crumbly” texture characteristic of a Reese’s egg. Taste a spoonful and, if desired, blend a little longer for smaller pieces.
-
Transfer the ground peanut mixture to a medium mixing bowl, or the bowl of a stand mixer.
-
Add 2 tablespoons brown sugar, 2 tablespoons very soft butter, 1/2 cup creamy peanut butter (Jif recommended), 2/3 cup powdered sugar, 1/2 teaspoon vanilla extract, and a small pinch of kosher salt. Use a hand mixer or the paddle attachment of a stand mixer to beat all ingredients together until the mixture is smooth and cohesive, with no brown sugar lumps.
-
If the mixture feels too soft or sticky to handle easily, place the bowl in the refrigerator for 5-10 minutes to firm up.
-
Prepare 2 baking sheets by lining them with parchment paper or a silicone baking mat (Silpat). Ensure you have cleared enough space in your fridge or freezer to fit one baking sheet. (The freezer is ideal, as colder eggs are much easier to dip.)
-
Shape the eggs. Using your hands, form the peanut butter mixture into approximately 11 or 12 egg shapes. Use about 1 and 1/2 tablespoons of the mixture for each egg. Each egg should be roughly 3 inches long and 1 and 1/2 inches wide, mimicking the size of large Reese’s eggs.
-
Chill thoroughly. Place the baking sheet with the shaped peanut butter eggs into the fridge or freezer until they are completely firm and cold. This typically takes about 15 minutes in the freezer or 45 minutes in the refrigerator.
-
Prepare the chocolate coating: In a small, microwave-safe bowl, combine 1 and 1/2 cups high-quality milk chocolate chips and 2 teaspoons shortening (or coconut oil). Microwave in 30-second intervals, stirring well after each, until the chocolate is almost entirely melted but still has a few small lumps. Remove from the microwave and continue stirring until it’s perfectly smooth and glossy.
-
Set up your chocolate dipping station: Plug in an electric griddle and turn it to its lowest heat setting. Place a folded tea towel on the griddle, then set your bowl of melted chocolate on top of the towel. This brilliant hack helps maintain the chocolate at the ideal dipping temperature. Position your second lined baking sheet nearby.
-
Keep the pan of peanut butter eggs in the freezer until you are ready to dip each one. Remove them one at a time using your hands or a spatula. The colder the peanut butter, the easier and cleaner the dipping process will be.
-
Dip each egg. Gently place a peanut butter egg onto a fork, and submerge the egg into the melted chocolate. Swirl it around to ensure complete coverage, then immediately lift it out. Tilt the egg to allow excess chocolate to drip off, then tap the fork gently against the side of the bowl. Finally, lightly scrape the bottom edge of the egg along the top rim of the bowl to remove any remaining drips and create a neat base.
-
Carefully transfer the chocolate-covered egg to the second prepared baking sheet. Slowly and smoothly remove the fork from underneath the egg, using toothpicks if needed to assist. While the chocolate is still liquid, use toothpicks to gently nudge any displaced chocolate back into place, ensuring clean, defined edges around the egg.
-
Continue this dipping process until all the peanut butter eggs are coated in chocolate.
-
Allow the chocolate to set at room temperature. It is important to avoid placing them in the fridge or freezer at this stage. Rapid cooling can cause moisture to condense on the chocolate during the thawing process, leading to “blooming,” which manifests as white spots on the surface. While harmless, it’s less aesthetically pleasing. Room temperature setting ensures a beautiful, smooth finish.
-
Serve with care! These homemade Reese’s eggs are wonderfully delicate, much like the ones you purchase from the store. This is why commercial eggs are individually packaged; if they were tossed in a bag, they would inevitably fall apart. Treat your homemade eggs similarly. They are a little fragile and should be handled gently. Arrange them on a plate or platter in a single layer, rather than stacking them.
-
Storage: Store these homemade peanut butter eggs on the counter in an airtight container or ziplock bag for 5-7 days. As mentioned, they are fragile, so arrange them carefully in a single layer to prevent sticking or damage.
-
Freezing: To freeze, flash freeze the dipped eggs on a Silpat or parchment-lined cookie sheet for 30-60 minutes until firm. Then, transfer them to a ziplock freezer bag and seal tightly. To thaw, arrange the frozen eggs in a single layer on the counter, covered, for 1-2 hours, or until they are soft enough to eat. Be aware that frozen eggs may not retain their pristine appearance. The chocolate is prone to “blooming” (forming white spots from crystallization) as it thaws due to moisture. Despite this, they will still taste absolutely fabulous!
Notes
Melting the chocolate: If you use the microwave and overheat the chocolate, it can scorch, rendering it unusable. Alternatively, you can melt the chocolate using a double boiler. This can be a commercial double boiler or a homemade version: simply set a heat-proof bowl over a pot of gently simmering water, ensuring the bowl does not touch the water. Always use oven mitts or hot pads to protect your hands!
Avoiding crystallization on the chocolate (Blooming): When moisture (water) comes into contact with melted chocolate, it can cause the chocolate to “bloom,” or form white spots due to sugar crystallization. To prevent your dipped eggs from blooming, ensure all your dipping utensils and bowls are perfectly dry. Do not substitute butter for shortening in the chocolate coating, as butter contains water (coconut oil is a suitable alternative). If using a double boiler, ensure no steam comes into contact with the chocolate. Once the eggs are shaped and dipped, it’s best to allow them to set and store them at room temperature. If they are chilled, moisture is more likely to condense on them. On a very humid day, it might be challenging to completely avoid blooming, but I promise, they will still taste absolutely amazing!