
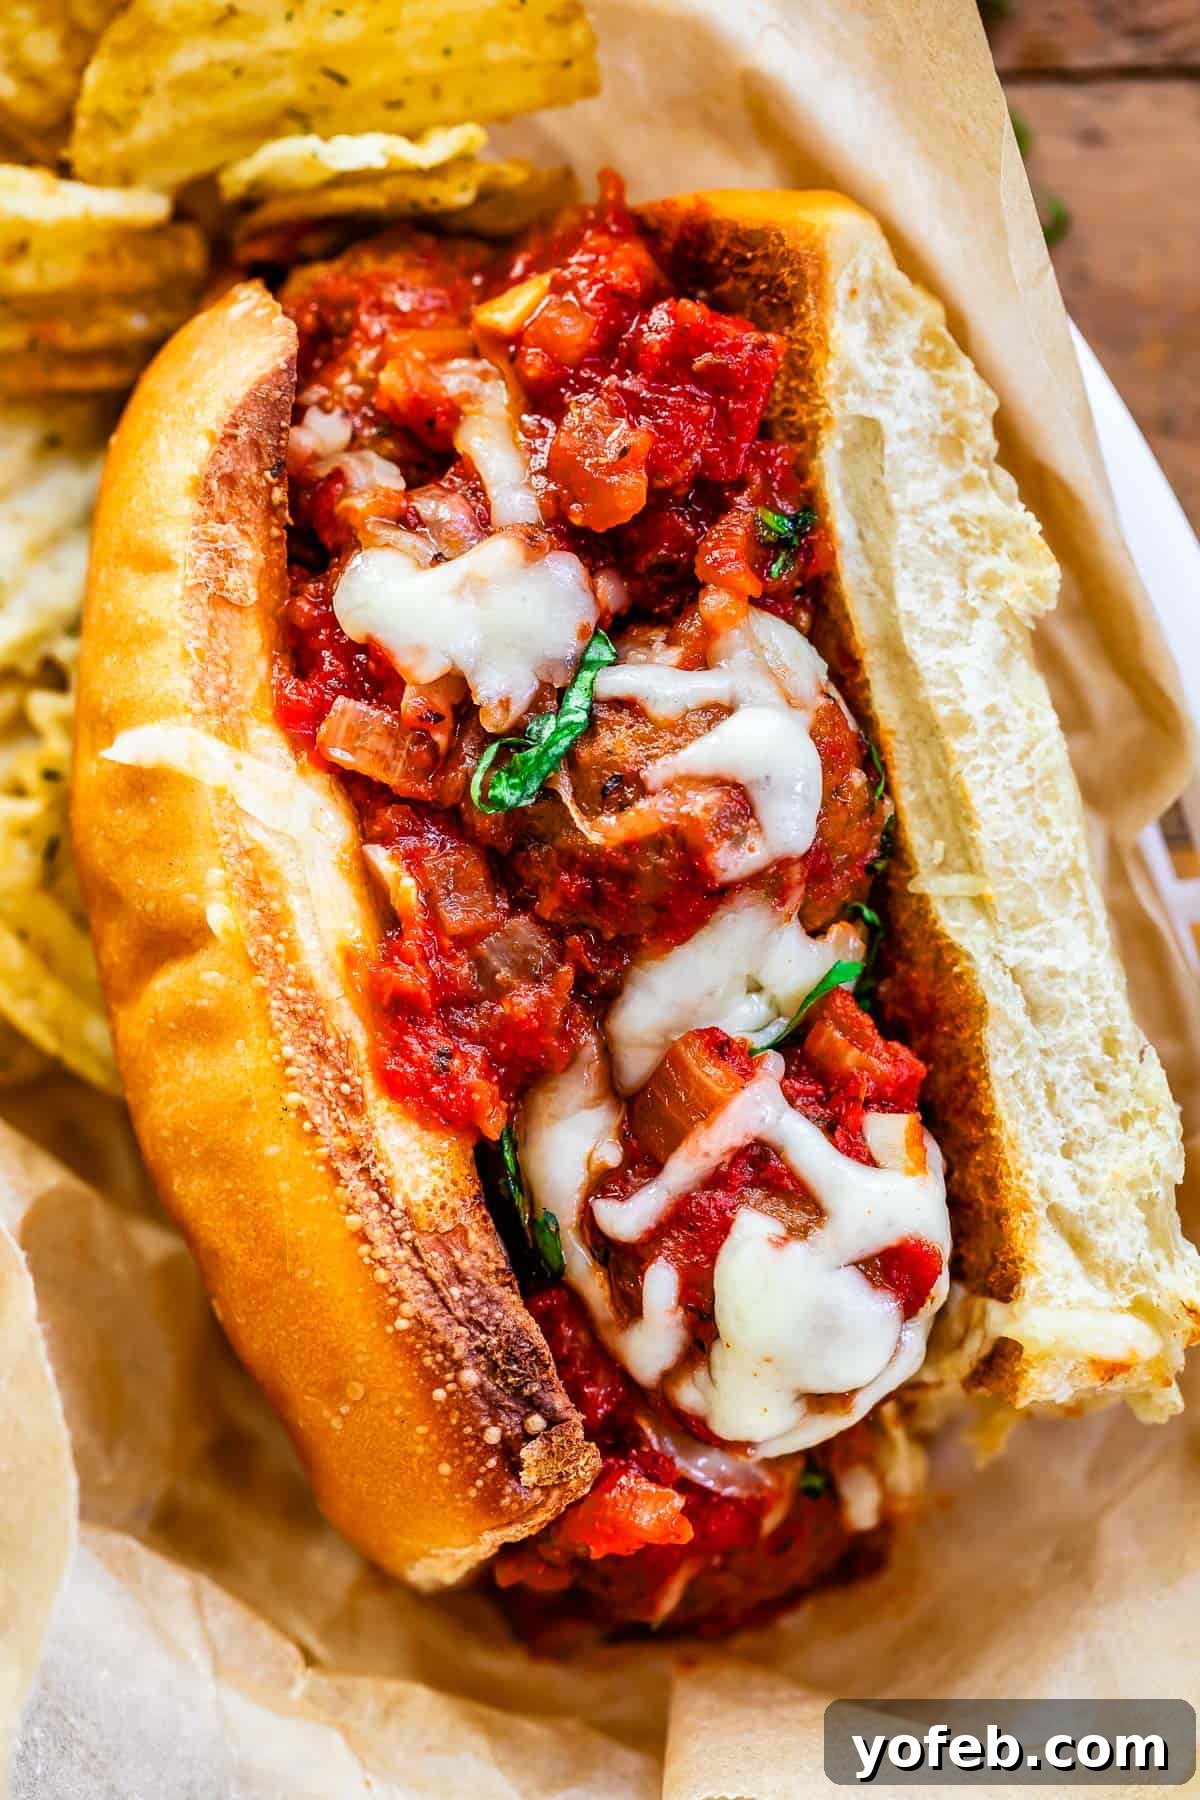
There are some dishes that instantly transport you, evoking warmth, comfort, and pure joy. For my family, that dish is my sister Laura’s incredible Meatball Sub Sandwiches. We are utterly obsessed! After years of enjoying her culinary genius, I finally convinced her to share her secret recipe, and it has quickly become our new favorite weeknight meal. These subs are incredibly versatile, perfect for busy days when made in a slow cooker, or for a more hands-on approach on the stovetop when you have a bit more time. Planning a gathering? They’re an absolute winner for feeding a crowd, making them ideal for game day or any casual get-together. Seriously, who could resist this ultimate combination of savory beefy meatballs, rich tomato sauce, and abundant melted cheese? Get your hoagie rolls ready, because I’m about to show you how to create these legendary meatball subs in your own kitchen.
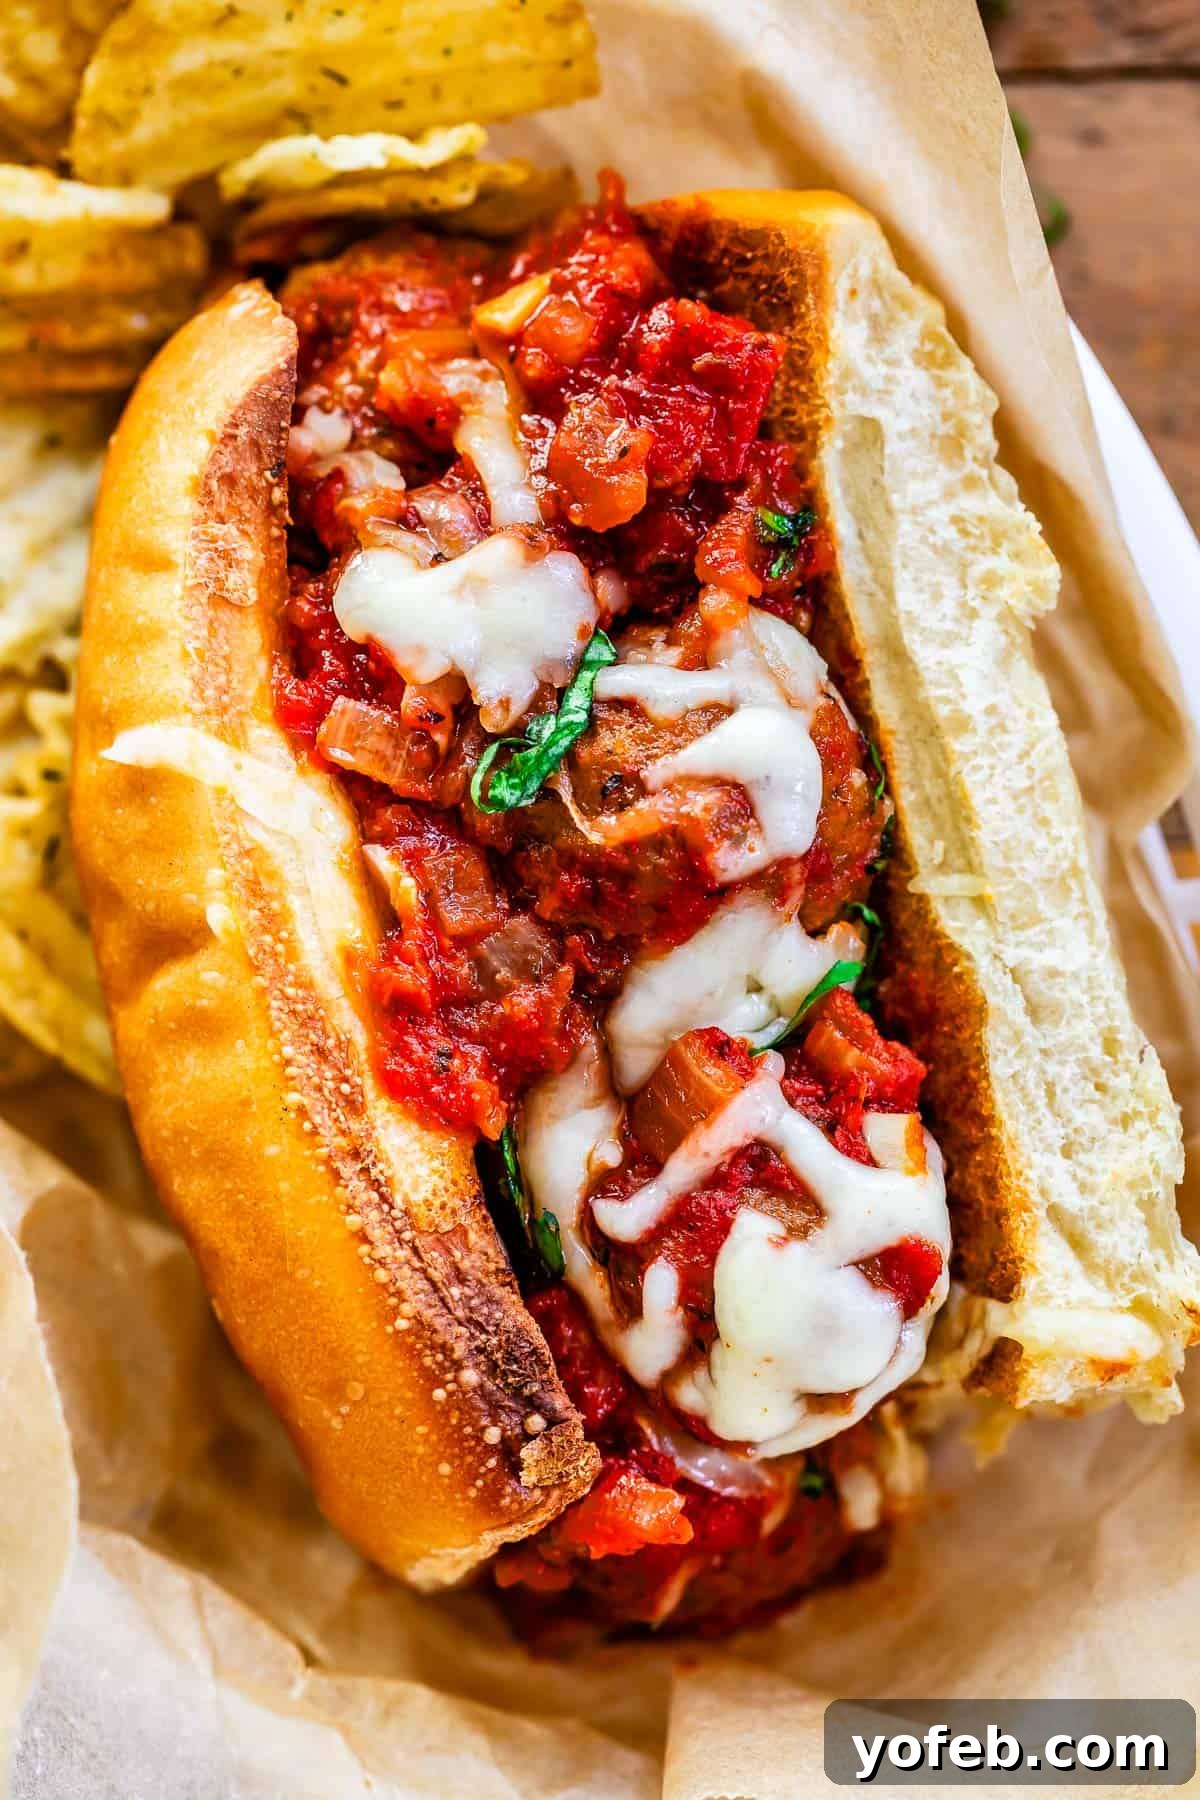
Table of Contents
- The Best Homemade Meatball Subs
- The Secret to Non-Soggy Meatball Subs
- Essential Meatball Sub Ingredients
- Step-by-Step: Crafting Your Meatball Subs
- Quick & Easy “Cheater” Meatball Subs
- Delicious Toppings for Your Meatball Sub
- Perfect Side Dishes for Meatball Subs
- Storing & Reheating Leftover Meatball Subs
- Can You Freeze Meatball Subs?
- Meatball Sub Frequently Asked Questions
- More Meatball Recipes You’ll Adore
- Effortless Slow Cooker Dinners
- Laura’s Meatball Sub Recipe
- Cheater version of meatballs and sauce
Family moments often involve good food and funny stories. Just last week, my seven-year-old daughter, Valentine, created a sweet card for our special needs friend, Calvin. He tore it up initially, only to return an hour later with all the pieces taped together, a heartfelt “XOXO I love Valentine” written on it, and a big hug, declaring, “I want to marry you, Valentine!” It was an incredibly sweet exchange. Later, Valentine, with her uncanny ability to seize a moment, asked Calvin’s mom, Mardee (who has beautiful long red hair), for a piece of her hair. It left us all wondering what delightful or mischievous plans she had. These kids, right? Full of surprises. And speaking of incredible things, my sister Laura’s Meatball Subs are a marvel unto themselves. This recipe is so good, it deserves a place on her culinary resume!
The Best Homemade Meatball Subs: A Family Obsession
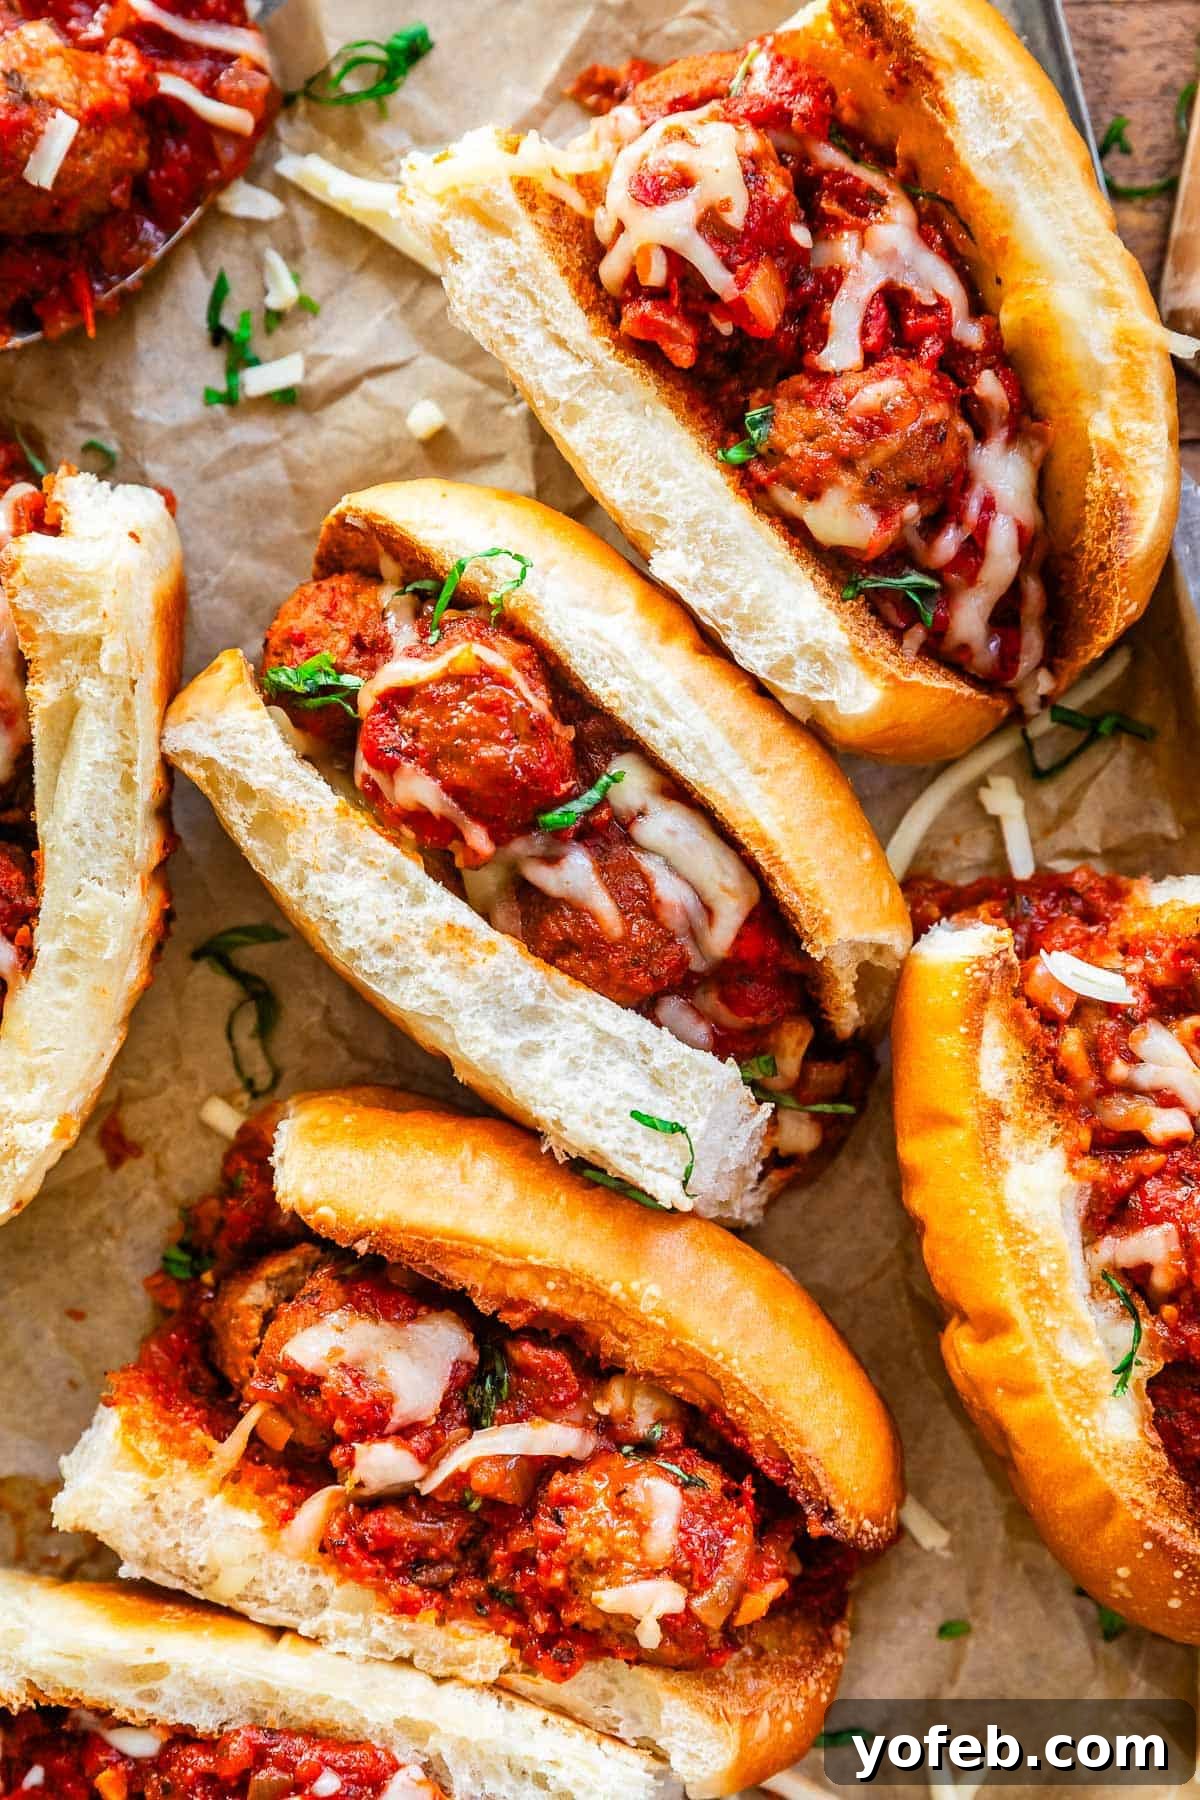
Is there anyone who can resist a truly fantastic meatball sub? I doubt it! These aren’t just any meatball subs; they are the stuff of family legends. I vividly recall a family reunion in Colorado where my sister Laura prepared a massive pot of meatballs and sauce for a build-your-own-sub feast. It was an instant, colossal hit! The following morning, after an invigorating hike, everyone practically stampeded into the kitchen, eager to claim the leftover subs. My brother-in-law, in particular, was so enamored that he practically subsisted on them for breakfast, lunch, and dinner until every last meatball vanished. That’s how good they are!
I’ve been dreaming of recreating those legendary subs for at least four years, a testament to my remarkably long food memory. Laura, with her intuitive cooking style, always seems to magically combine a little of this and a little of that to create culinary masterpieces. For this recipe, I finally pinned her down and begged her to meticulously measure every single ingredient and spice. The result is this incredible, easy-to-follow recipe that we can all enjoy. A huge thank you to Laura for sharing her amazing creation!
One of the many reasons I adore these subs is their minimal hands-on prep time, especially when utilizing the slow cooker. This kitchen hero does all the heavy lifting, transforming the sauce into a deep, complex flavor powerhouse with minimal effort on your part. It truly makes the entire process incredibly simple and rewarding.
The secret to an extraordinary meatball sub, I’ve learned, lies unequivocally in a phenomenal sauce. It needs to be rich, robust, and bursting with perfectly spiced tomato flavor. Crucially, the sauce must also be substantial and thick – no watery, runny marinara here that would turn your delicious hoagies into a soggy, disappointing mess. This recipe delivers a luxurious, thick, homemade-style marinara that clings beautifully to the meatballs and bread, creating an exquisite texture and taste experience. We’re talking seriously THICC sauce!
Equally important are the meatballs themselves. You want meatballs that are tender yet hold their shape perfectly within the luscious sauce, contributing their own delicious, beefy essence to every bite. While homemade meatballs are undeniably superb, time isn’t always on our side. This recipe is designed to be an easy weeknight solution or a lazy weekend treat, which is why I often opt for high-quality frozen meatballs. My absolute favorite store-bought option? The Kirkland Signature brand from Costco – they are consistently excellent and save so much time without compromising on flavor.
However, if you’re aiming to truly impress and crave the freshest, most vibrant flavor, I highly recommend my super easy (and no-chop!) recipe for Easy Baked Meatballs. It’s a straightforward blend of ground beef, ground pork, oats or breadcrumbs, fresh garlic, and all your favorite classic Italian spices, yielding truly irresistible results.
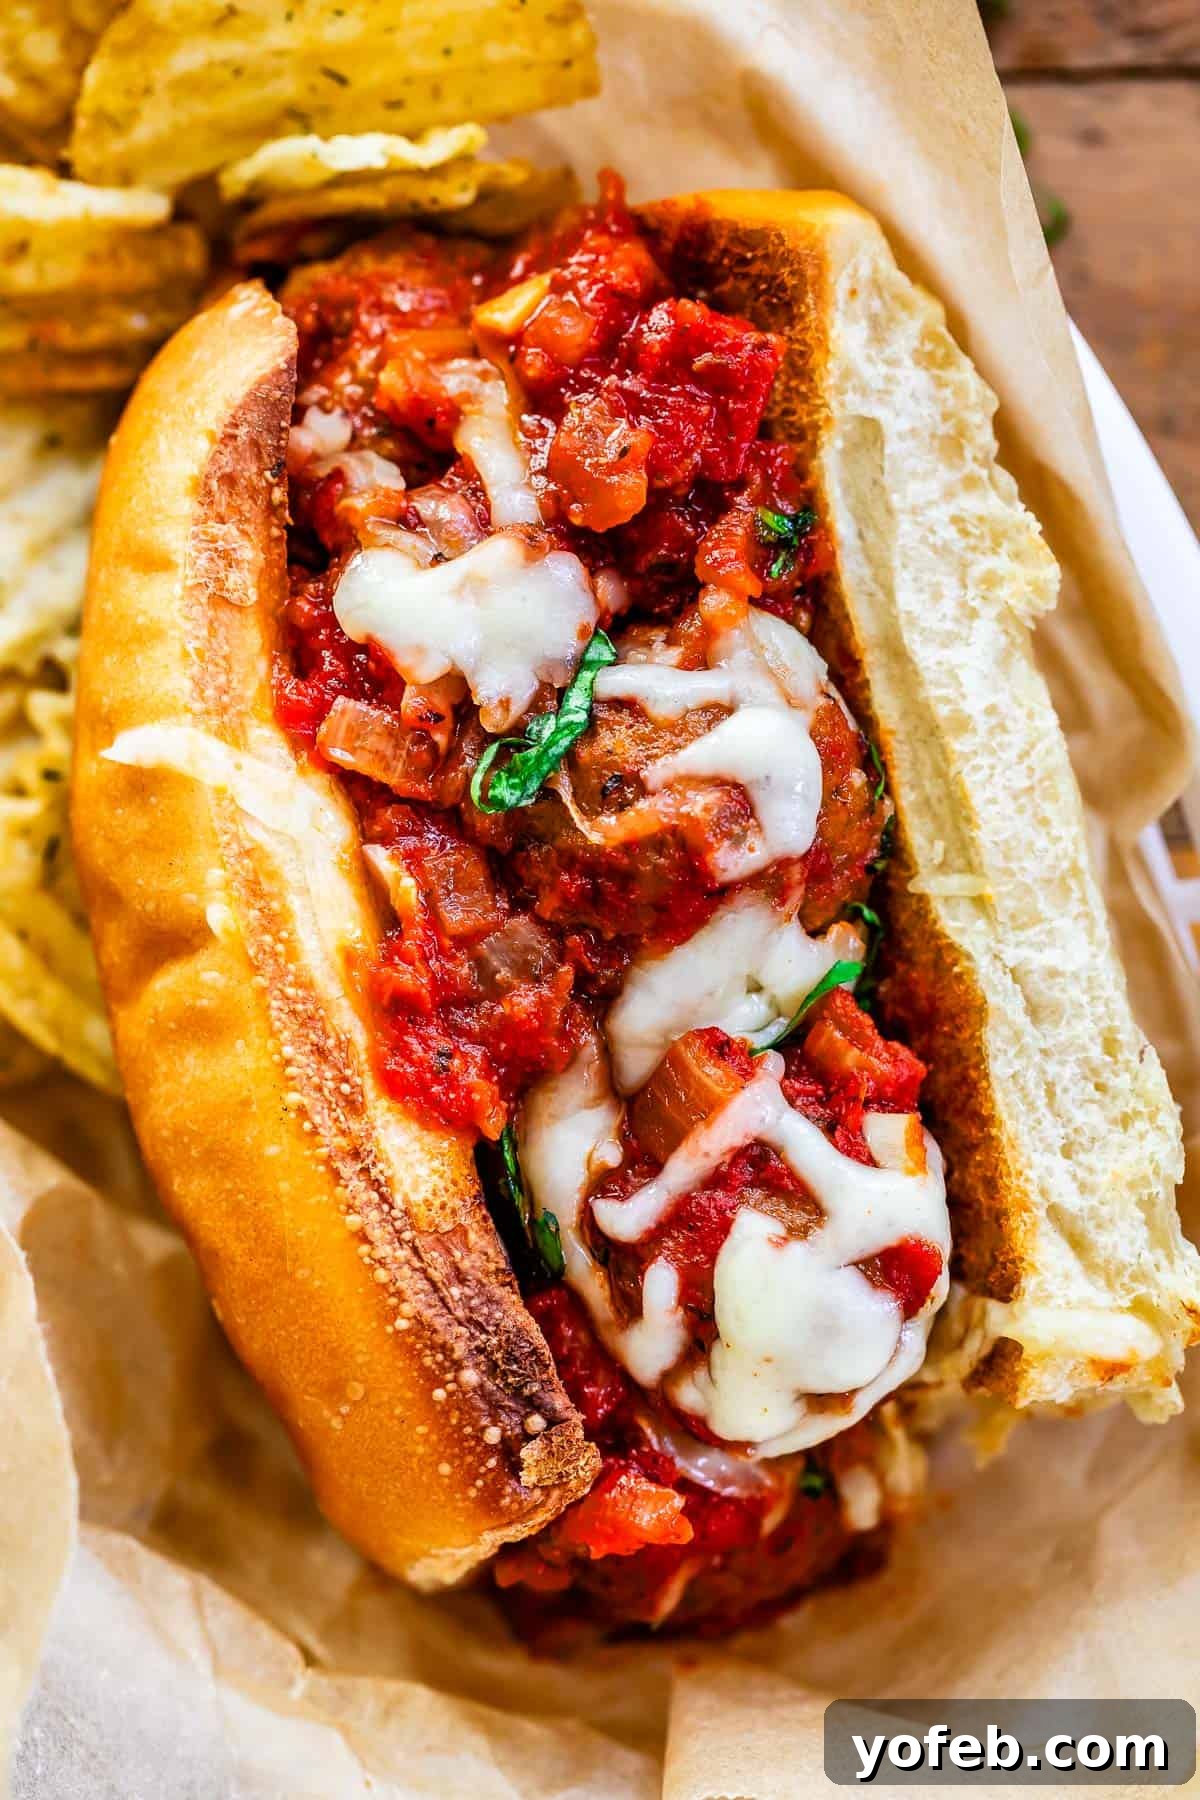
Regardless of whether you choose homemade or high-quality frozen meatballs, the ultimate reward is assembling them with this dreamy sauce into a perfectly toasted sub roll, blanketed in gooey mozzarella or Provolone. This isn’t just a sandwich; it’s an experience that transports you straight to sandwich heaven. And I firmly believe sandwich heaven is a real place, folks. If I ever arrive there and discover a distinct lack of a sandwich corner, I’ll be promptly submitting a strongly worded complaint to management!
The Secret to Non-Soggy Meatball Subs: A Double Cheese Barrier
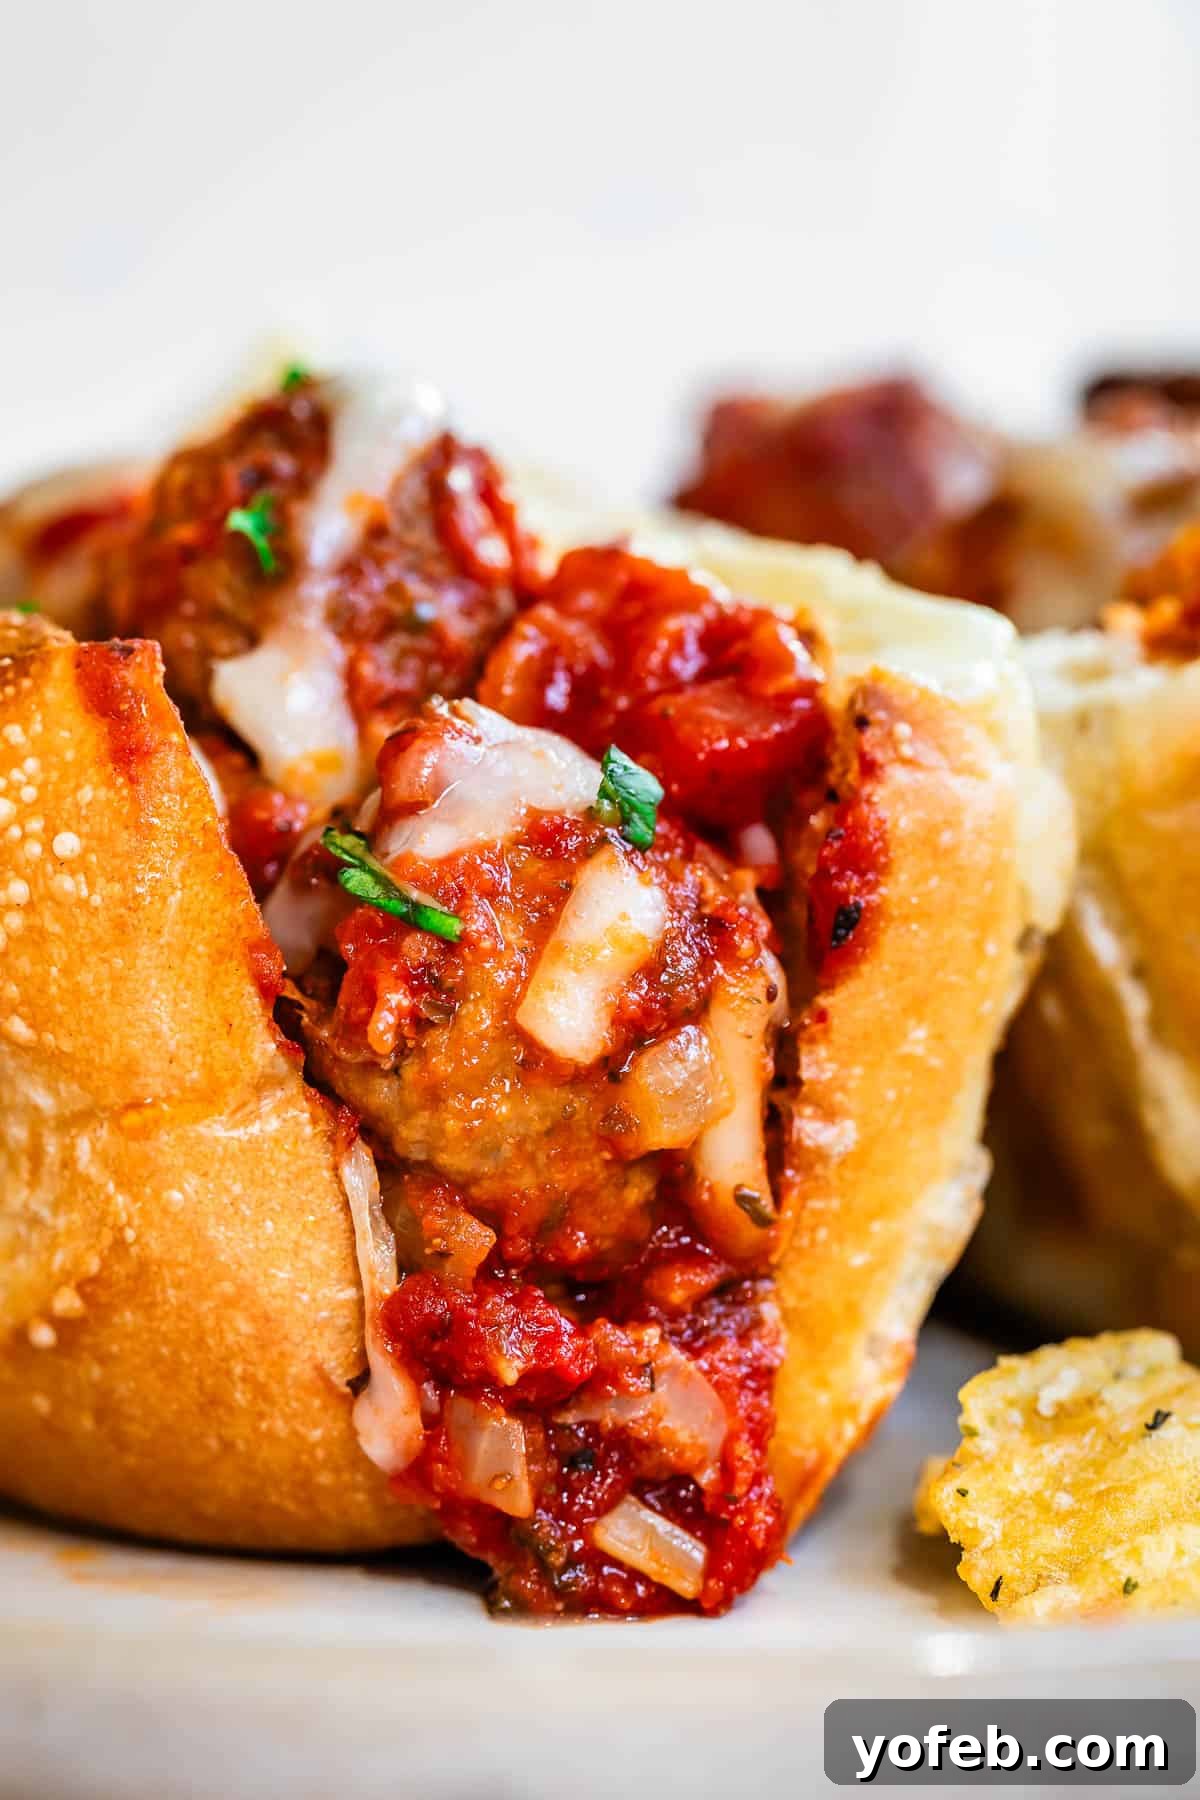
When it comes to crafting the perfect meatball sub, there’s one golden rule that separates the amateurs from the pros: always toast your bread! A common pitfall is allowing the rich, delicious sauce to soak directly into soft bread, resulting in a soggy, disappointing sandwich. To combat this, Laura shares her absolute best tip for a sub that can stand up to all that incredible sauce: broil cheese directly onto the bread *before* spooning on the sauce and meatballs. This creates a glorious double layer of cheese – a melted barrier on the bottom, and another layer on top – ensuring a sturdy, flavorful foundation for your magnificent creation. It’s pure perfection, guaranteeing every bite is substantial and satisfying, not soggy!
Essential Meatball Sub Ingredients: Gathering Your Goodies
Don’t be intimidated by what might seem like a lengthy list of ingredients for this recipe! Most of them are pantry staples – common spices and canned goods you likely already have on hand, making preparation surprisingly simple. The beauty of this recipe lies in how these accessible ingredients come together to create something truly spectacular. Here’s a convenient overview of what you’ll need to create these crowd-pleasing meatball subs. For precise measurements and more detailed instructions, be sure to jump to the full recipe card at the bottom of the post!
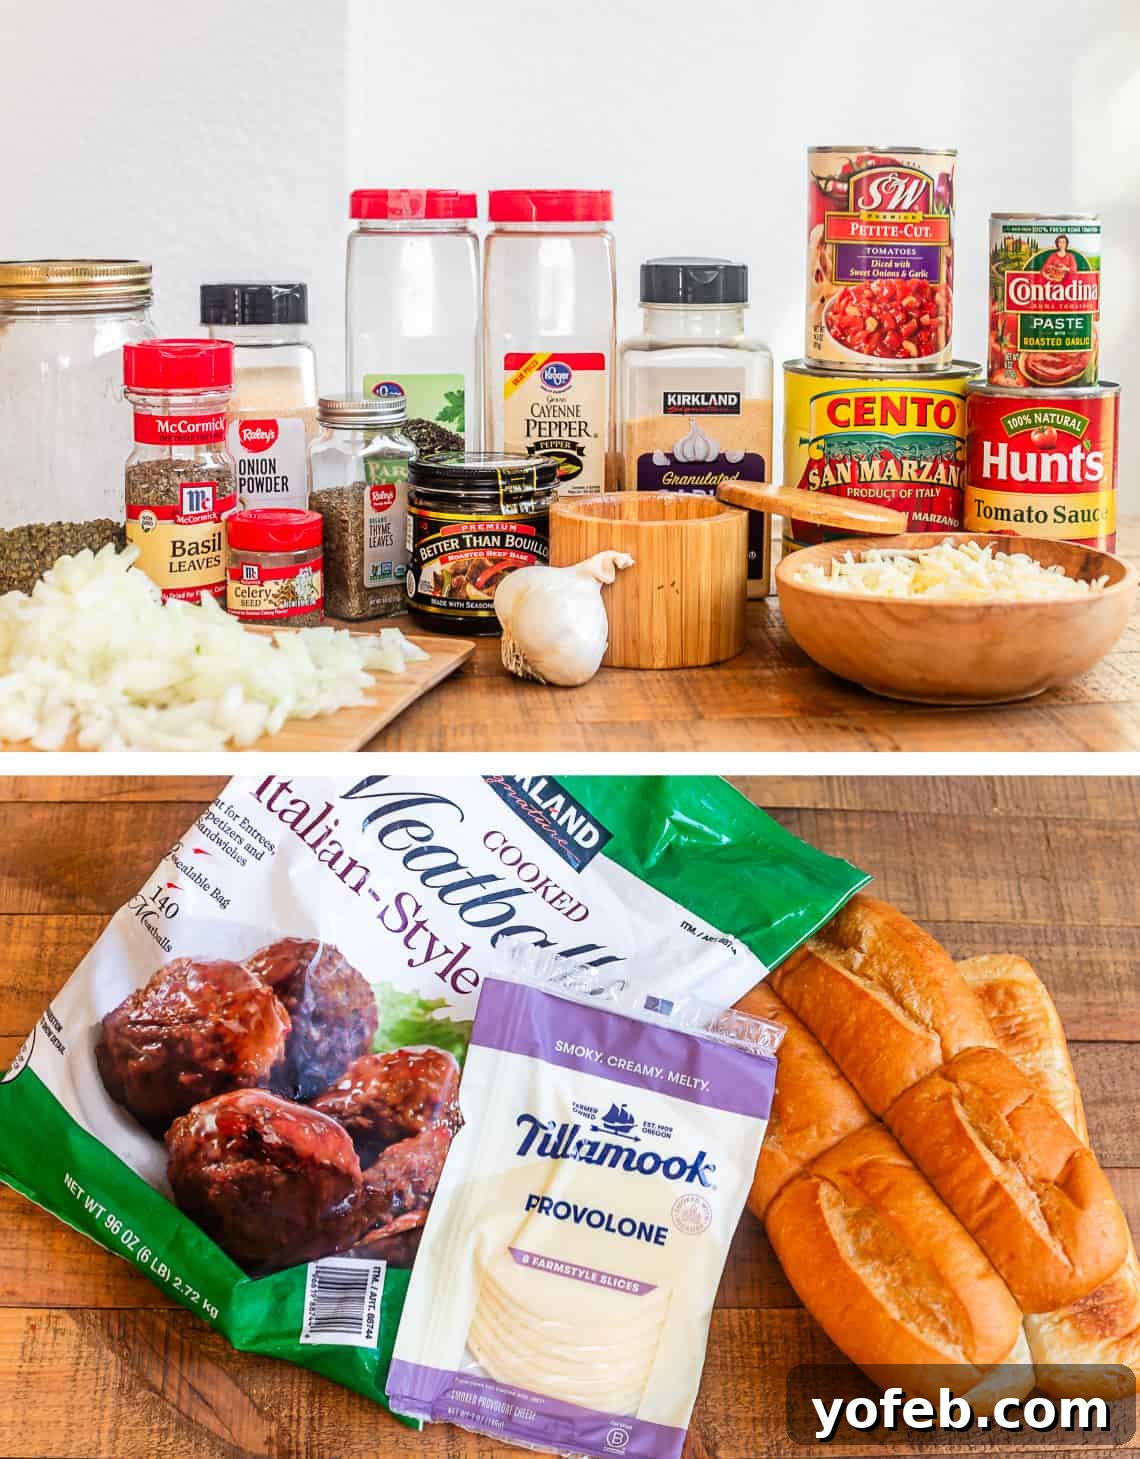
- Fresh Aromatics: Freshly chopped onion and minced garlic form the flavorful base of our sauce.
- Quality Oil: A good olive oil helps sauté the aromatics to perfection, releasing their sweet essence.
- Umami Boost: Better than Bouillon Beef Base paste adds a profound depth of savory, meaty flavor to the sauce that truly elevates it.
- Herb & Spice Blend: A carefully selected mix of dried garlic powder, fragrant parsley, aromatic oregano, savory onion powder, earthy basil, pungent thyme, robust black pepper, unique celery seed, and a hint of cayenne pepper for a subtle kick. These spices are key to that signature Italian flavor.
- Tomato Power: A combination of rich crushed tomatoes, smooth tomato sauce, and diced tomatoes provides a multi-layered tomato base that’s both hearty and flavorful.
- Your Choice of Meatballs: High-quality frozen meatballs for convenience (Kirkland Signature from Costco are highly recommended!), or homemade for that extra touch of freshness.
- Melting Cheese: Freshly shredded mozzarella or Provolone cheese, known for their excellent melting qualities and mild flavor that complements the robust sauce.
- Sturdy Bread: Hoagie rolls or sub sandwich rolls are essential. Look for rolls that are robust enough to hold up to the generous filling. I highly recommend checking out the “French Steak Rolls” at Walmart – they are perfectly sized, like mini subs, and hold up beautifully without being overly large for a single serving.
Step-by-Step: Crafting Your Meatball Subs
Let’s dive into the simple yet incredibly rewarding process of making these show-stopping meatball subs. As with many great recipes, we begin with the fundamental building blocks of flavor: a finely chopped onion sizzling gently in a glug of olive oil. There’s just something about the aroma of onions softening in a pan that signals the start of something delicious, making you feel like life is full of culinary possibilities!
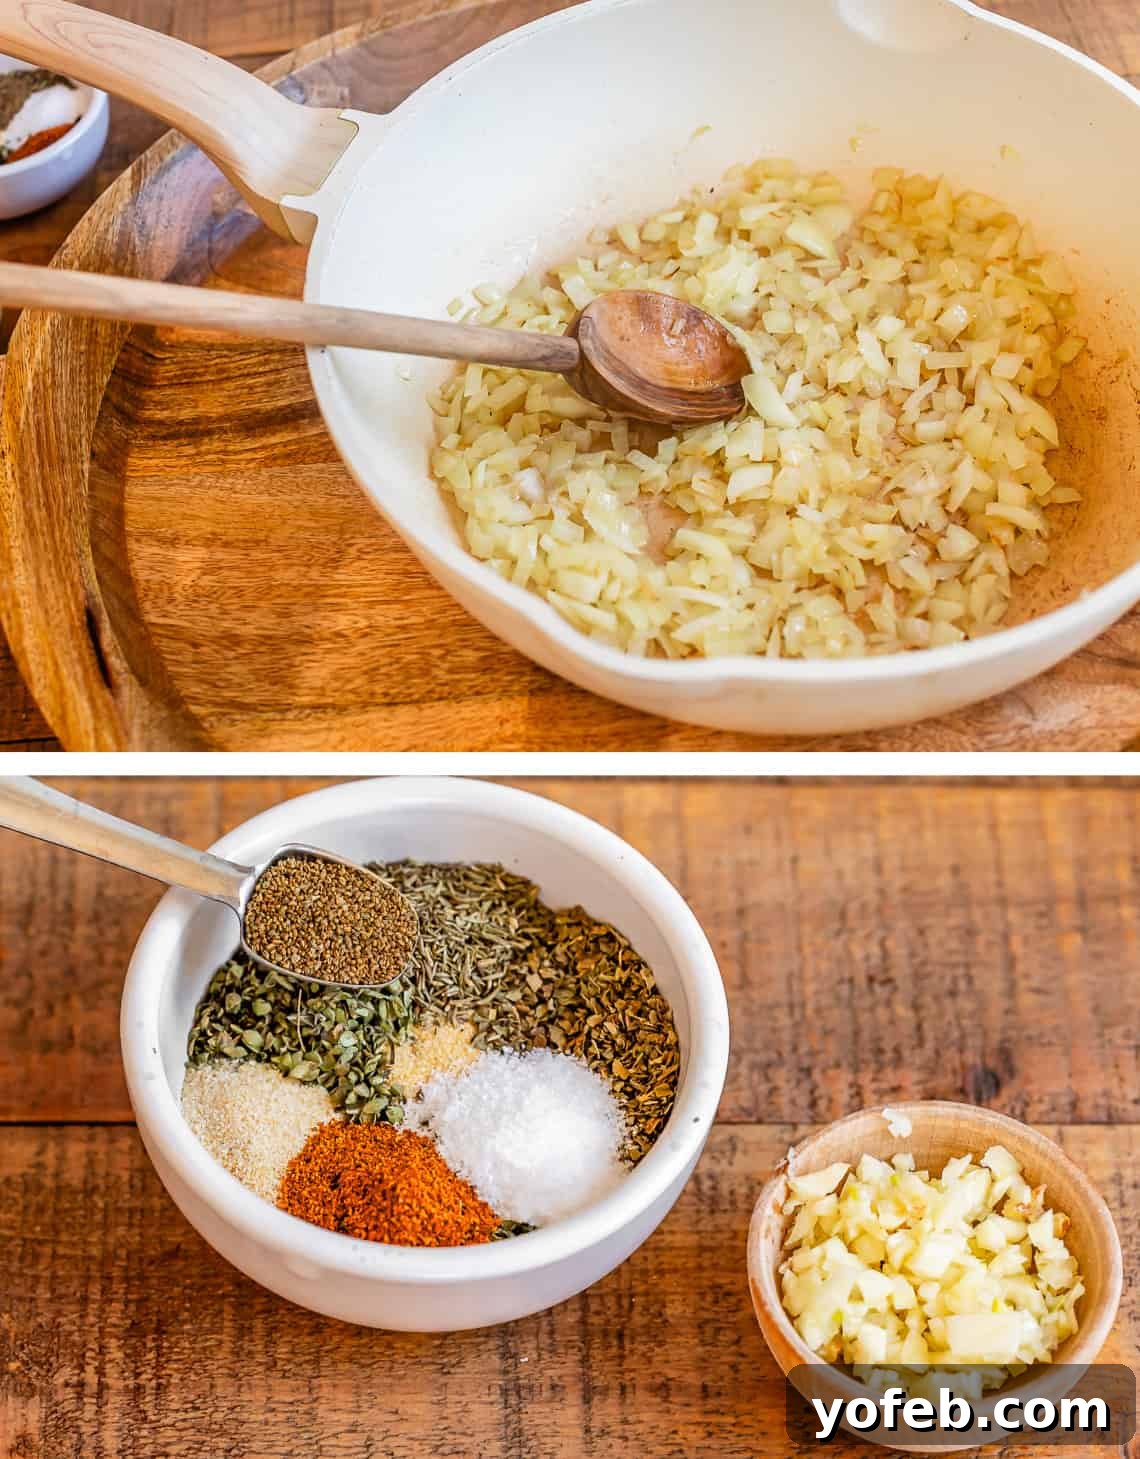
While those onions are slowly softening and caramelizing, take this time to finely mince your fresh garlic cloves. Then, in a small bowl, combine all the dried spices – the oregano, garlic powder, onion powder, parsley, basil, salt, thyme, celery seed, and cayenne pepper. Having them pre-measured and ready means you can add them to the pan all at once, ensuring even distribution and maximum flavor development. Remember to give your onions a stir occasionally to prevent burning and ensure even cooking.
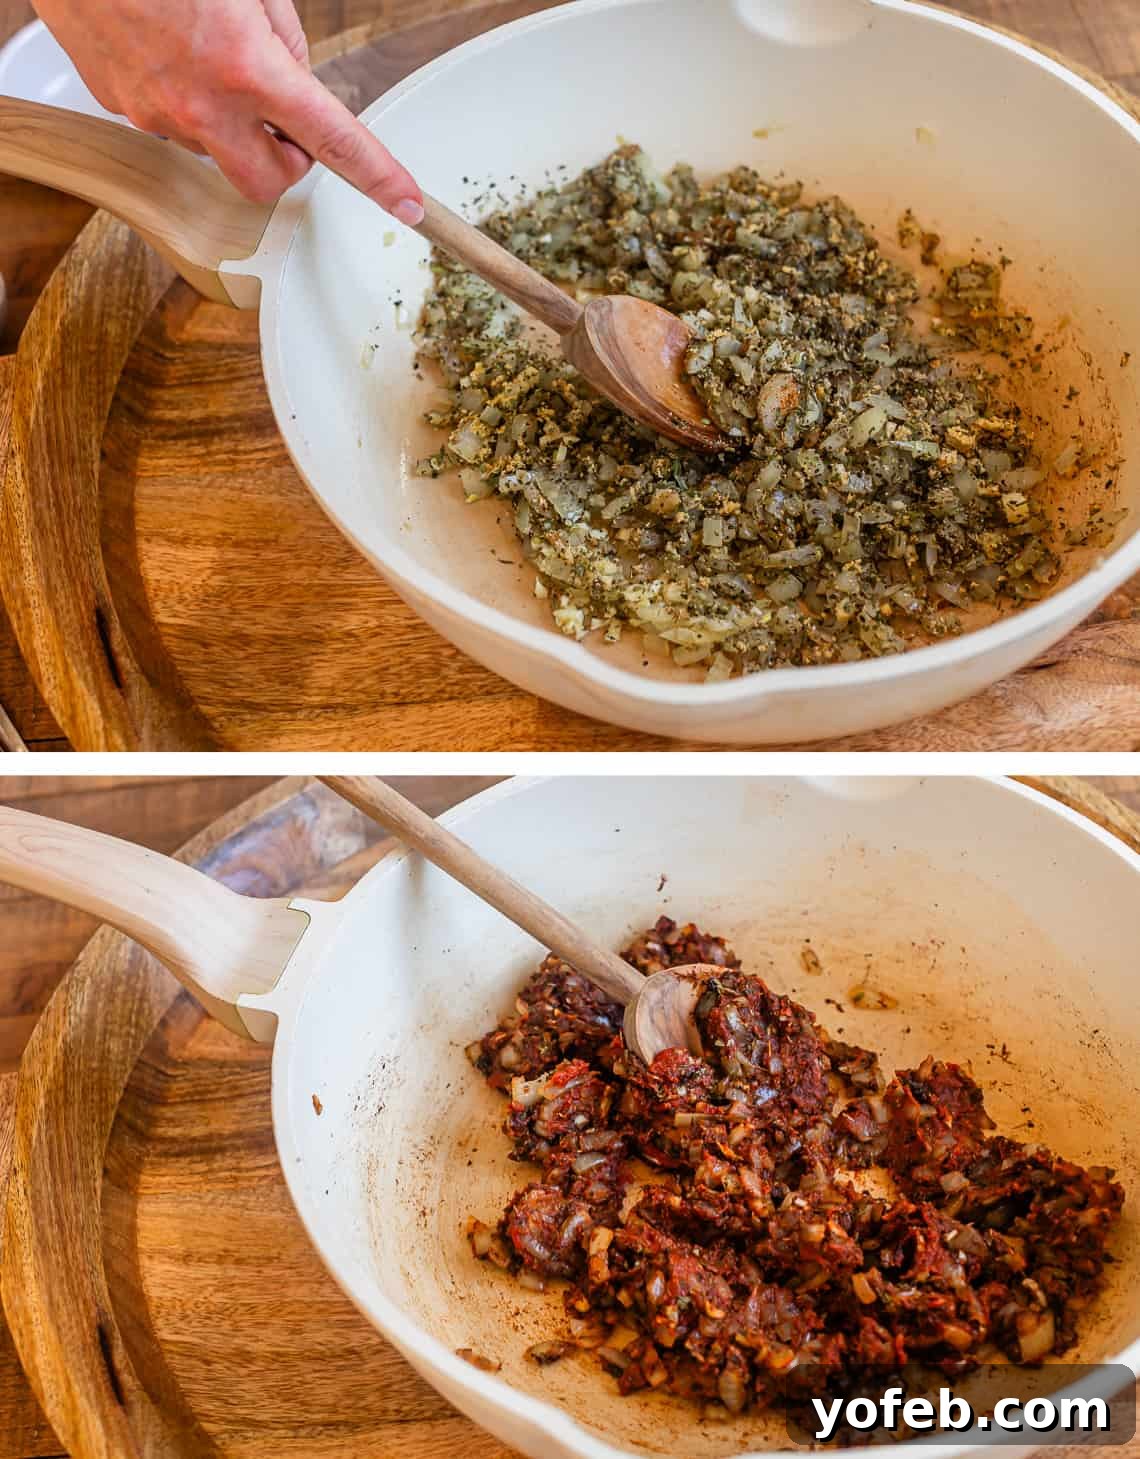
Once your onions are beautifully soft and translucent, introduce the minced garlic and your pre-mixed spices to the pan. Sauté this aromatic blend for just a minute or two over medium heat. You’ll know they’re ready when the kitchen fills with an intoxicatingly fragrant aroma. Be careful not to burn the garlic – a light toast is perfect, but burnt garlic can turn bitter. Immediately after, stir in a scoop of rich Better than Bouillon Beef Base and the entire can of tomato paste. Cook this down for another minute, stirring constantly, to deepen its flavor and color.
Pro Tip for Tomato Paste: Getting all that sticky tomato paste out of the can can be a hassle. Here’s an easy trick: use a can opener to open *both* the top and bottom of the can. Then, simply push one lid through, and the paste will slide right out the other side, clean as a whistle! No more struggling with spoons.
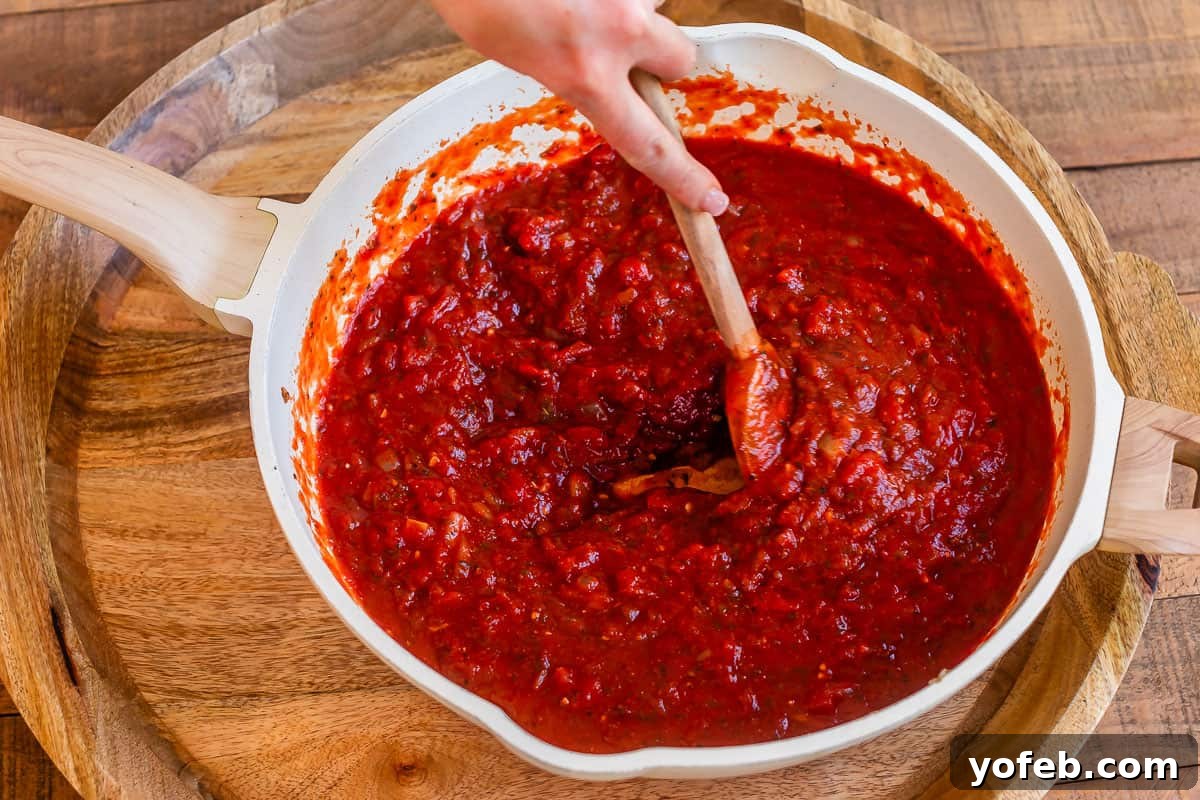
Now, pour in the crushed tomatoes. Use your spoon to gently scrape any browned bits from the bottom of the pan – those are precious flavor particles you don’t want to leave behind! Add the diced tomatoes and tomato sauce, then stir everything together thoroughly until it’s perfectly combined and smooth.
Here’s a crucial insight: at this stage, this is just the “baby sauce.” Don’t be alarmed if it doesn’t taste exactly like a finished, rich marinara yet. That’s entirely normal! It needs time to simmer and allow all those wonderful flavors to meld and deepen into the complex, irresistible sauce you’re aiming for. Patience is key here; don’t fret if it’s not quite right immediately.
For Stovetop Cooking: If you’re short on time, you can add your meatballs directly to the skillet at this point. Bring the sauce to a gentle simmer, then cover the pan and cook over low or medium-low heat for at least one hour, though two hours is even better for maximum flavor development. Remember to keep an eye on it, stirring occasionally and adding a splash of water or broth if the sauce becomes too thick.
For Slow Cooker Perfection: My preferred method for this sauce is the slow cooker, as it yields consistently perfect results with minimal fuss. Carefully transfer the entire sauce mixture from your skillet into your slow cooker. Be cautious to avoid splashes, as the sauce will be hot. Don’t hesitate to ask for an extra hand if needed!
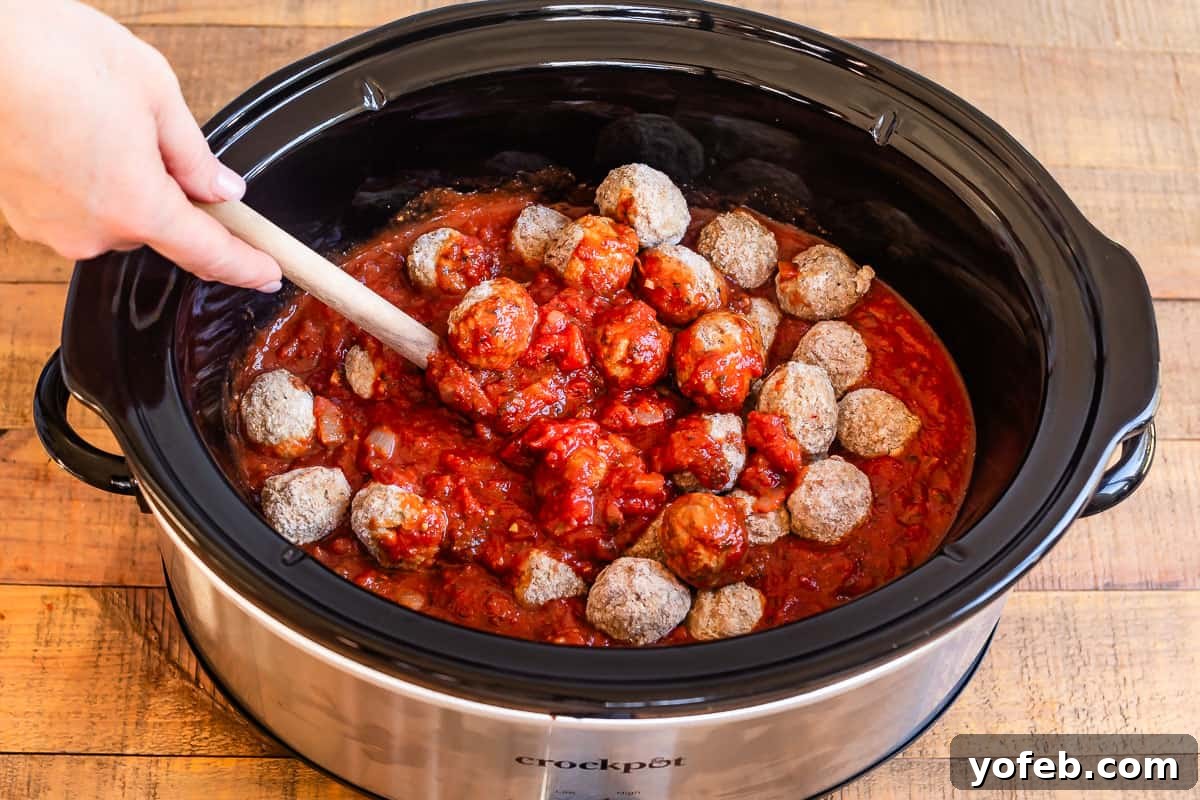
Next, add your frozen meatballs to the slow cooker, gently nesting them into the sauce. Stir everything together really well, ensuring every meatball is completely submerged and coated in the delicious sauce. Cover the slow cooker with its lid and set it to cook on high for two hours, or on low for four hours. The beauty of the low setting is its forgiving nature – Laura once cooked them on low for nearly seven hours due to a delayed appointment, and they turned out absolutely perfect. Once cooking is complete, turn the heat to “warm” if serving later, or off completely if you’re eating right away, and let them rest for about 10 minutes to settle.
Now comes the exciting part: toasting those glorious buns! The type of bread you choose is paramount for a successful meatball sub. You need a sturdy French roll or hoagie roll that can withstand the generous amount of sauce without becoming a squishy mess. I learned this the hard way after a disastrous attempt with King Hawaiian’s new sub bread – far too soft! Laura’s excellent recommendation is to look for “Steak Rolls” at Walmart. They resemble standard sub bread but are about half the size, which I love because a full-sized sub can be quite a challenge to finish. These are the rolls you see in today’s photos.
Regardless of your chosen bun, the critical first step is to broil them on their own for a few minutes. This process makes the bread delightfully crispy and firm, creating the ideal foundation to hold up against all that wonderful, hearty sauce. A proper toast is key to avoiding soggy bread and ensuring structural integrity for your sub.
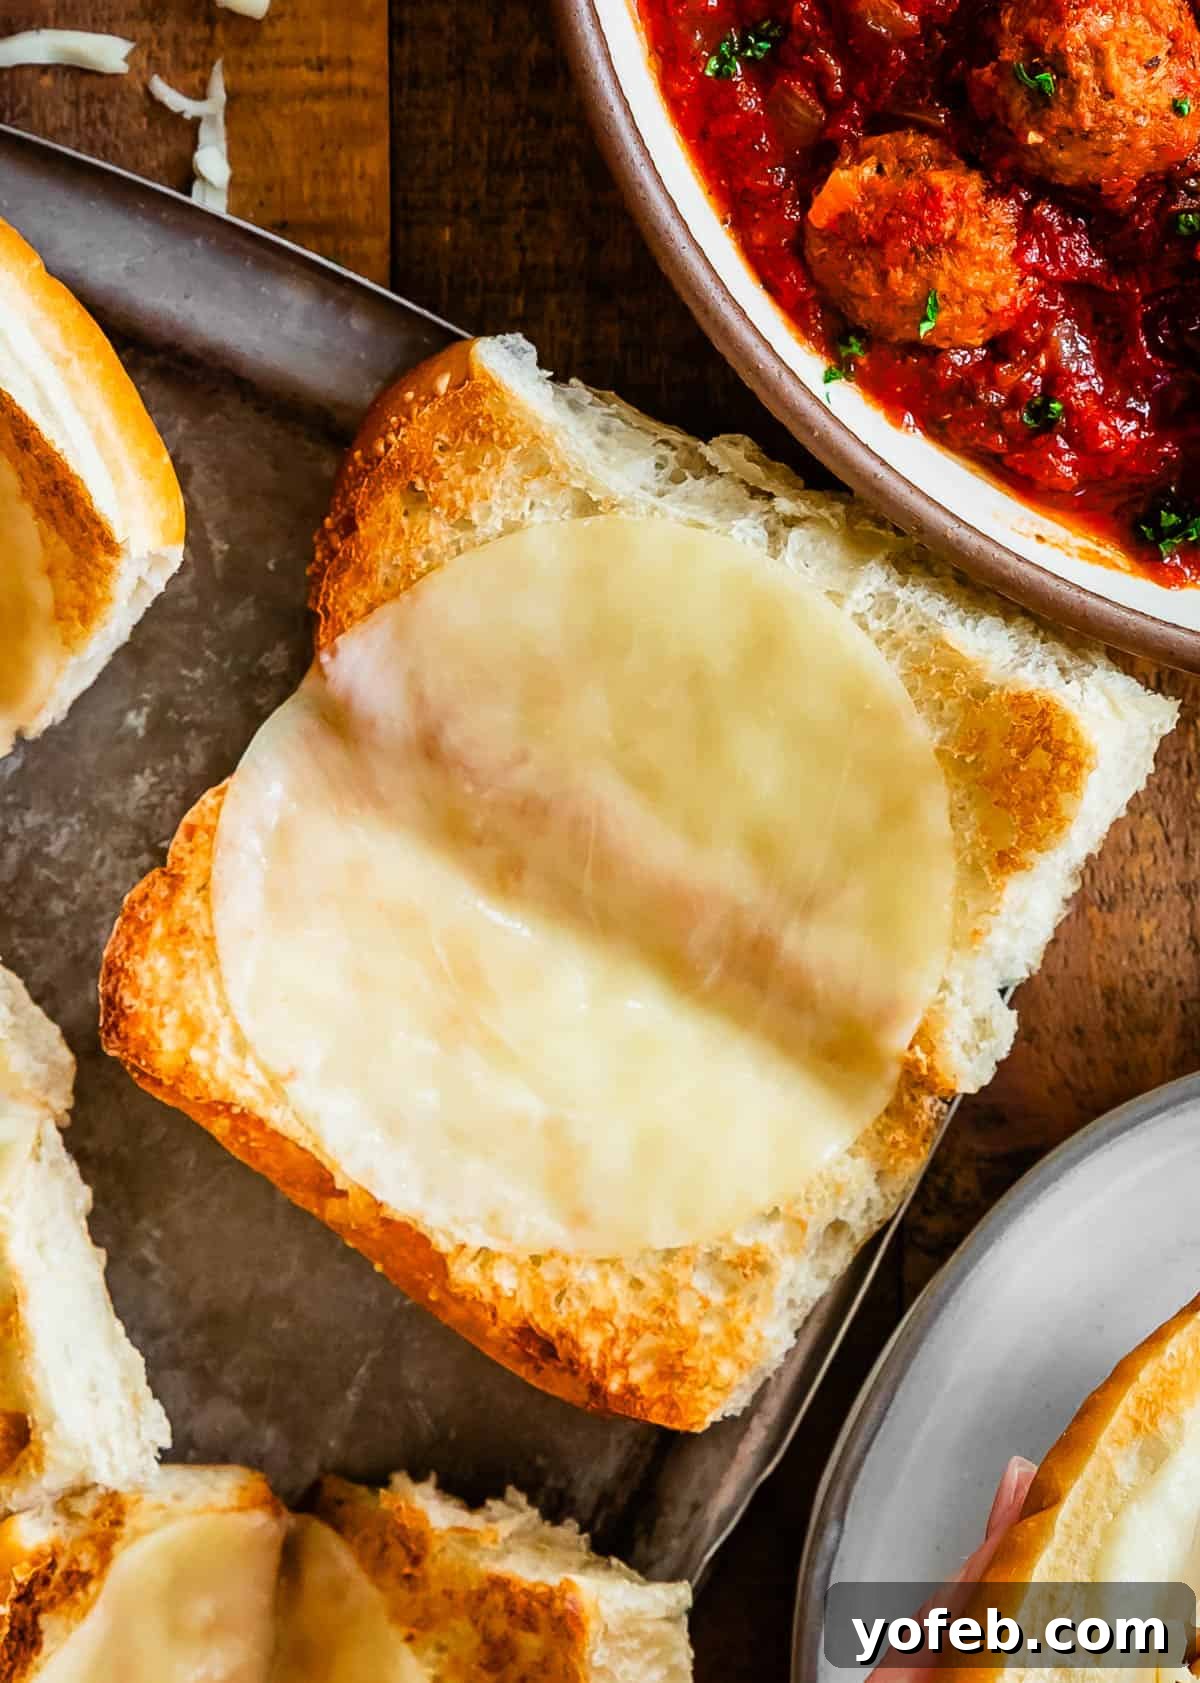
Once your bread is beautifully toasted, it’s time for the real magic! We’re going to melt a layer of cheese directly onto the interior of the rolls. This isn’t just for extra deliciousness (though it certainly achieves that!); it serves as an additional, impenetrable barrier between the bread and the saucy meatballs. This brilliant technique means you’ll enjoy a sandwich with melted cheese both on the bottom *and* on top – and I offer absolutely no apologies for this cheesy extravagance! More cheese, please, always.
Return the baking sheet to the broiler for just a couple of minutes to melt the cheese. A word of crucial caution: **DO NOT walk away from the oven during this step!** I cannot overstate how many times I’ve inadvertently set bread ablaze in similar situations. Learn from my mistakes! You can even leave the oven door slightly ajar to closely monitor the cheese as it broils to golden perfection.
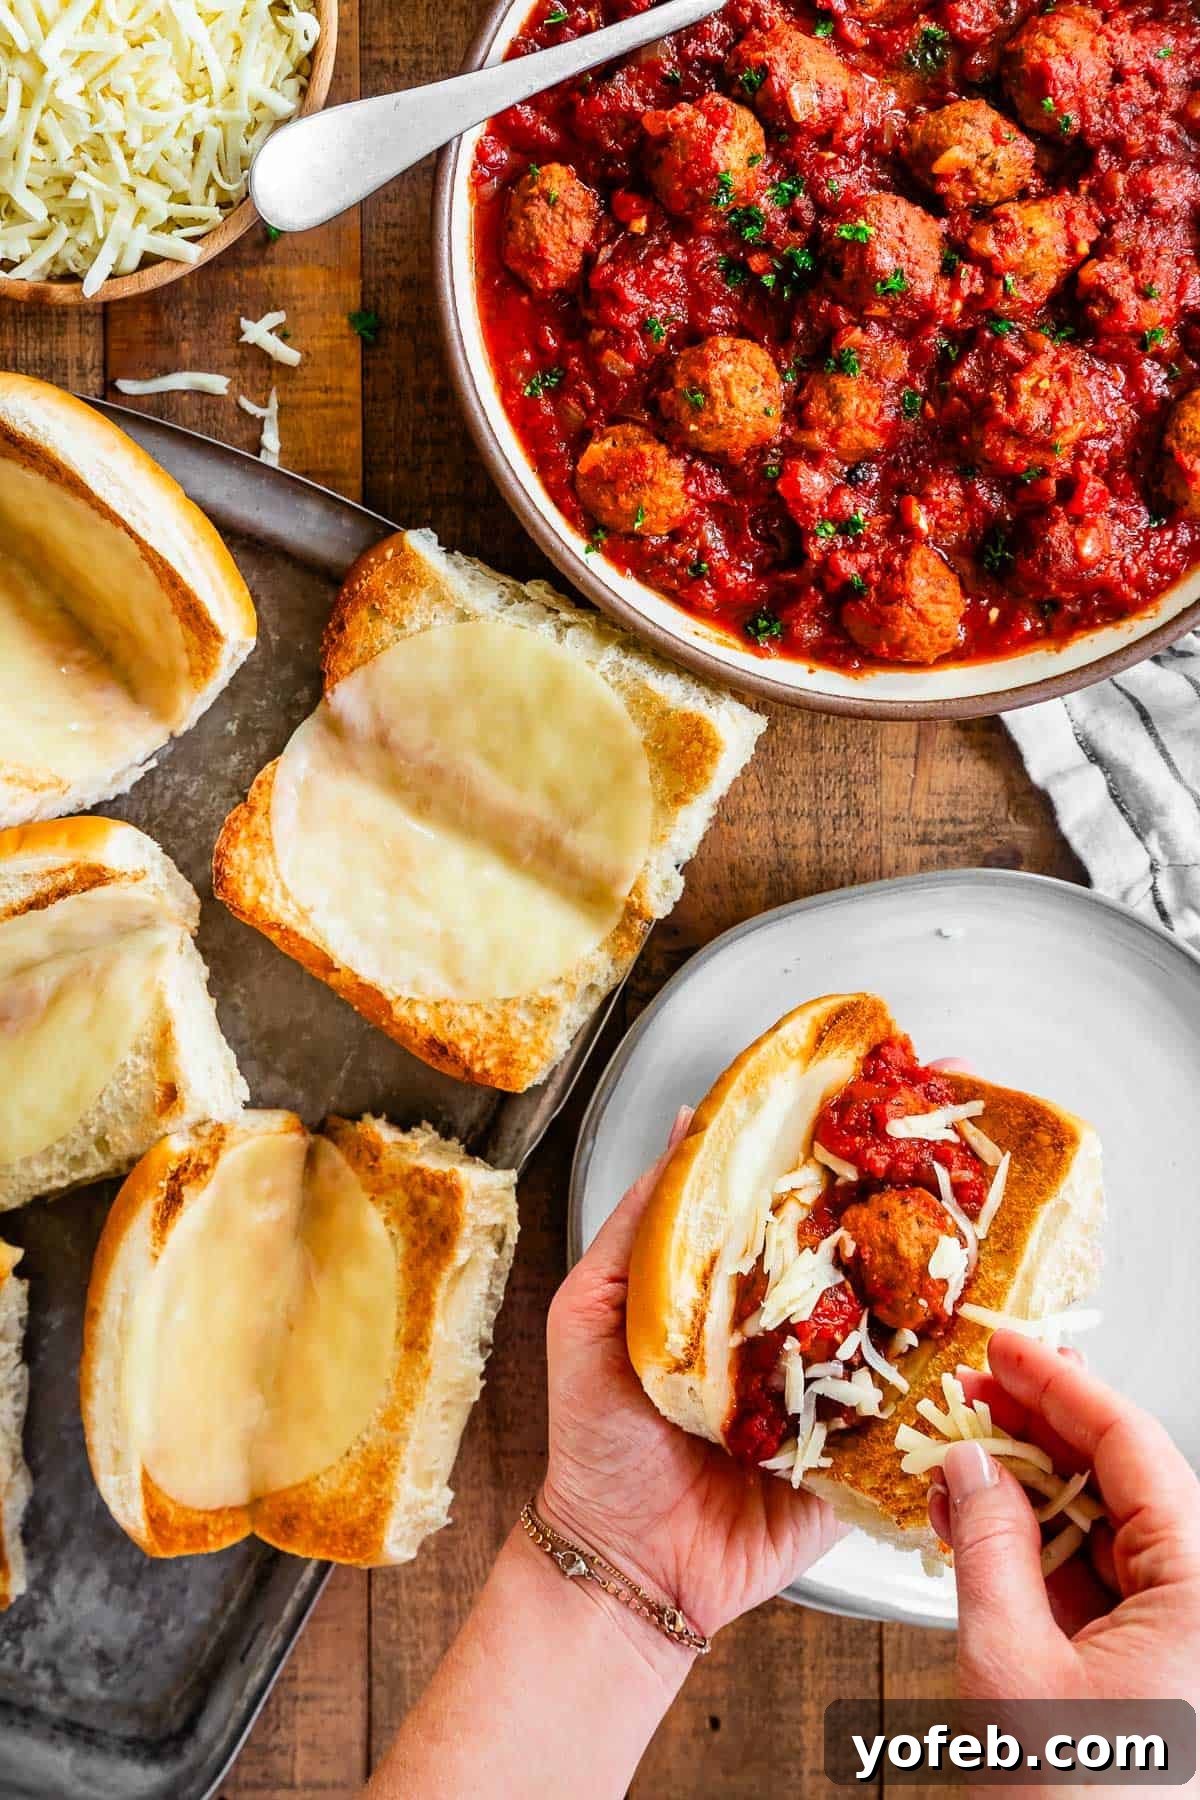
My family often prefers to serve these meatball subs buffet style, which offers wonderful flexibility. Each person can select their pre-cheesed bun, then customize their sub with their desired amount of meatballs and sauce, finishing with an extra sprinkle of cheese on top. This way, everyone gets their perfect sandwich.

Alternatively, for a more family-style presentation, you can prepare the subs yourself. Fill each of the toasted, cheesed buns with a generous portion of meatballs and sauce, then top each with a fresh layer of shredded or sliced cheese. Arrange them all in a baking dish and return them to the oven to bake until the cheese on top is beautifully melted and bubbly, perhaps even lightly browned. Again, a minute or two under the broiler is usually sufficient, so maintain a vigilant watch to prevent burning.
And that’s it! Seriously easy, yet profoundly delicious. You’ve just created the ultimate meatball subs that will have everyone raving.
Quick & Easy “Cheater” Meatball Subs for Busy Nights
We’ve all been there: those frantic weeknights when dinner plans go completely awry. Perhaps your daughter suddenly remembers a science project due tomorrow, or another child falls ill, leaving you with just 30 minutes to conjure up a meal. This is where the “cheater-style” meatball sub comes to the rescue! While nothing quite compares to the depth of flavor of the slow-cooked homemade sauce, this shortcut version is incredibly tasty and surprisingly quick. For those moments when convenience is paramount, a high-quality jarred marinara sauce can be your ultimate savior.
My go-to recommendation for a truly excellent store-bought option is Rao’s Homemade Marinara. It truly comes in CLUTCH during these moments. While the final result won’t be quite as thick or richly complex as our original slow-cooked recipe, it still delivers an incredibly satisfying and flavorful experience, getting a delicious meal on the table in about 30 minutes. You simply can’t argue with that kind of efficiency and taste when time is of the essence. Check the recipe notes below for all the specific details on how to whip up this speedy yet delicious alternative!
Delicious Toppings: What Goes Well on a Meatball Sub?
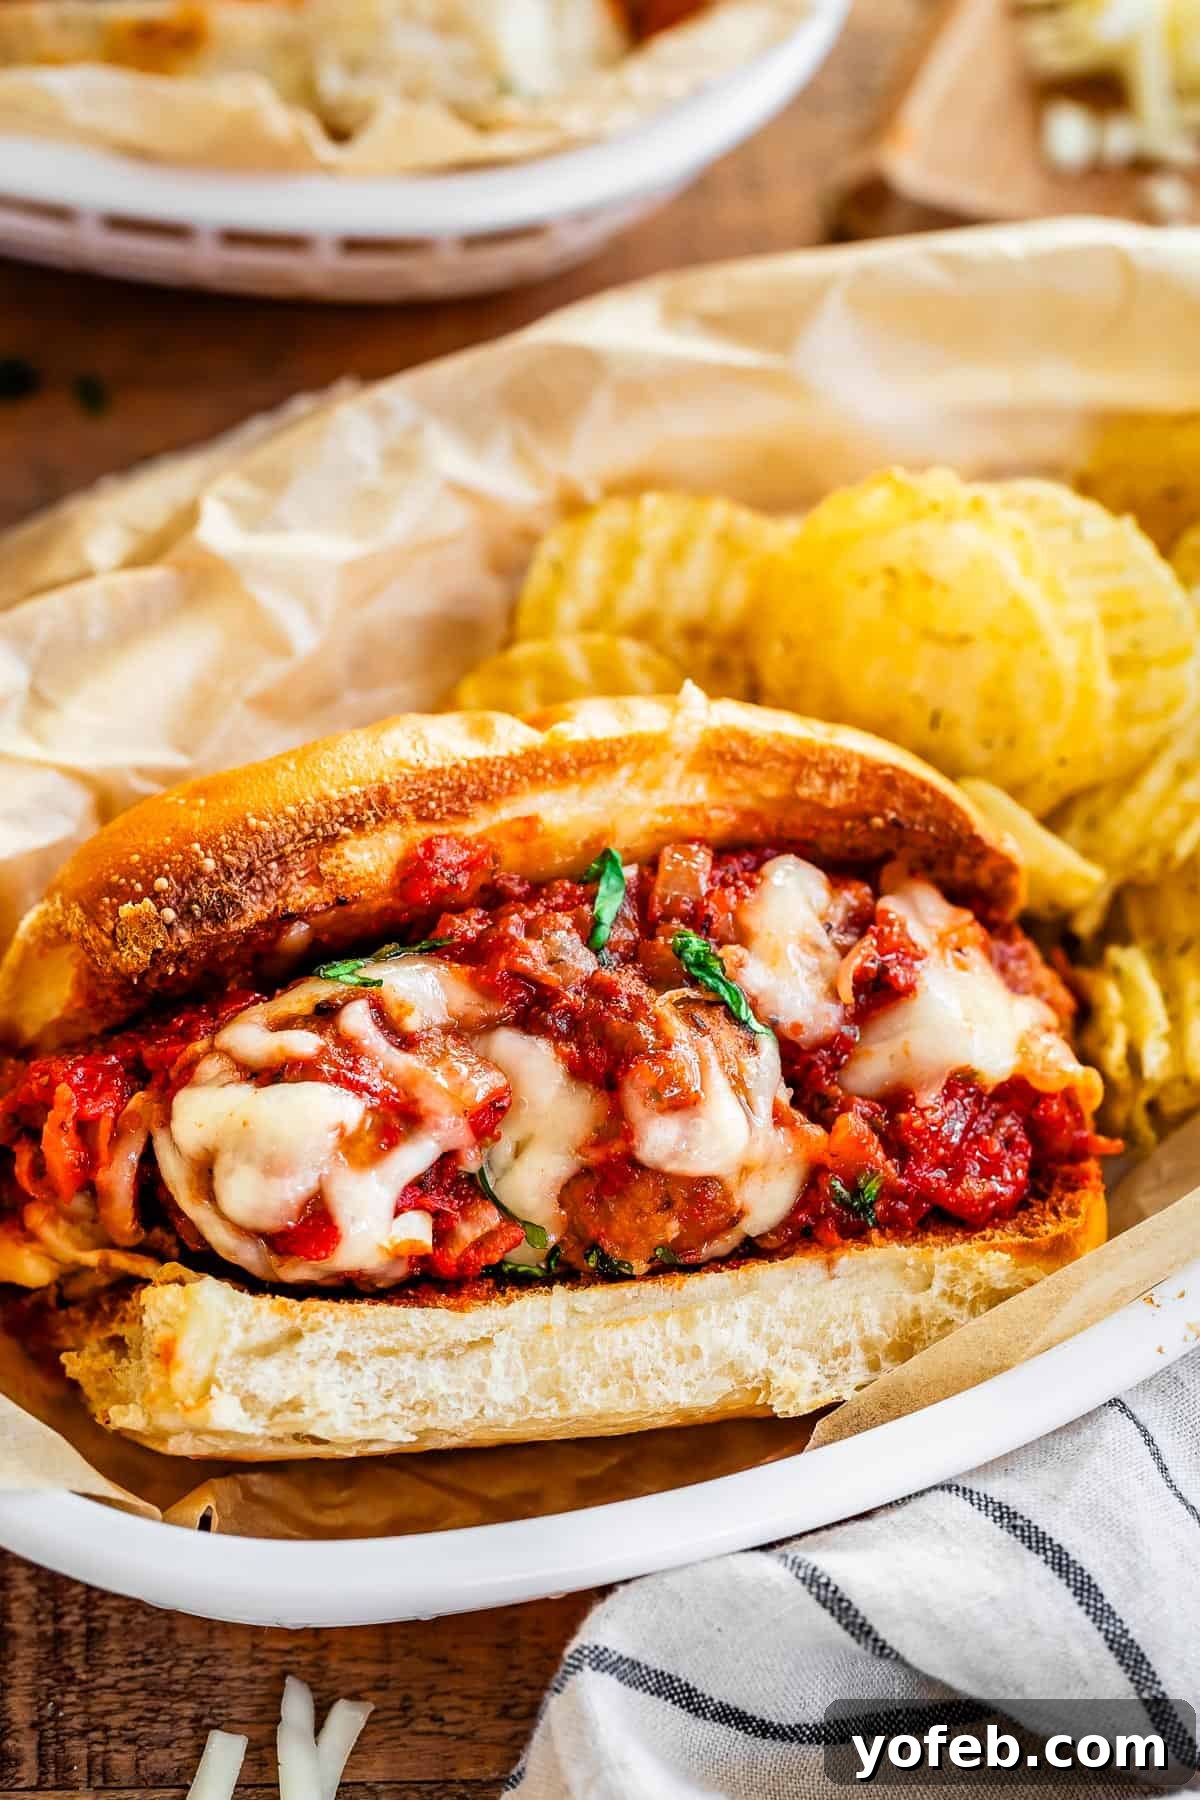
I confess, I’m generally a purist when it comes to my meatball subs – just the tender meatballs, rich sauce, and plenty of melted cheese, thank you very much! However, I know there’s a world of flavor enhancers out there, and many of you love to customize your subs with extra toppings. If you’re looking to elevate your meatball sub experience with something a little extra, here are some fantastic options to consider:
- Experiment with Cheese: While mozzarella and Provolone are classics, don’t shy away from other cheeses! Pepper jack can add a delightful kick, Monterey Jack offers a creamy, mild alternative, and sharp cheddar can provide a bold flavor. All melt beautifully. Freshly grated Parmesan or Pecorino Romano are also excellent for a salty, umami finish, though they won’t melt quite as dramatically.
- Fresh Aromatics: Thinly sliced red onions or crisp bell peppers (green, red, or yellow) add a refreshing crunch and a hint of raw zest that cuts through the richness of the meatballs and sauce.
- Sautéed & Roasted Veggies: Elevate your sub with grilled or sautéed onions, bell peppers, or earthy mushrooms. These cooked vegetables add a wonderful depth of flavor and a tender texture that complements the hot ingredients.
- A Briny Kick: For those who love a tang, sliced pepperoncini or black olives offer a delightful briny counterpoint to the rich sauce. I’m actually craving pepperoncini on mine now – it sounds incredibly good!
- Spice It Up: If you enjoy a bit of heat, sprinkle on some red pepper flakes or add thinly sliced fresh or pickled jalapeños. These will add a vibrant, spicy punch to your sub.
- Fresh Herbs: A scattering of fresh, chopped herbs like fragrant parsley or sweet basil not only adds a pop of color but also brightens the overall flavor profile.
- Creamy “Pink Sauce” Twist: For a decadent variation, try drizzling a little good quality Alfredo sauce directly into the red sauce. This creates a “pink sauce” meatball sub that’s rich, creamy, and incredibly appealing, especially to kids (and many adults!).
Perfect Pairings: What Goes with Meatball Subs?
Meatball subs are undeniably hearty, soul-satisfying comfort food that can be quite filling on their own. To create a balanced and enjoyable meal, I love to pair them with something fresh, light, or crunchy. A crisp green salad is always my go-to, but roasted vegetables also make an excellent accompaniment. Here are some of my favorite side dishes that perfectly complement the richness of these incredible meatball subs:
- Strawberry Spinach Salad: A timeless classic that offers a refreshing, sweet, and savory contrast to the robust flavors of the sub.
- Green Salad with Feta and Beets (The Fanciest No-Chop Salad Ever): This vibrant salad comes together incredibly fast and provides a bright, earthy balance with minimal effort.
- Raspberry Avocado Salad with Poppyseed Dressing: I adore how light, bright, and refreshing this salad is, with the creamy avocado and tangy raspberries perfectly cut by the sweet poppy seed dressing.
- Easy Broccoli and Bacon Salad: A versatile and crowd-pleasing salad that truly seems to go well with almost any dinner dish, including these savory subs.
- Easy Roasted Broccoli Recipe: Super simple to prepare, even from frozen, and a fantastic way to get some greens in. Plus, all my kids surprisingly enjoy it!
- How To Make Roasted Cauliflower (Brown and Crispy): Say goodbye to bland, soggy cauliflower! This recipe yields perfectly crisp, flavorful, and garlicky florets that are addictive.
- How to Make Zucchini Noodles Without a Spiralizer: If you’re looking to skip the bread and enjoy the delicious meatballs and sauce in a lighter format, serving them over a bed of these easy zucchini noodles is a fantastic, low-carb option!
- Lemon Dijon Green Beans Almondine: Bursting with flavor, these elegant green beans can be made ahead and quickly reheated, offering a sophisticated side with a zesty crunch.
- Everyday Kale Salad from Iowa Girl Eats: A nutritious and hearty salad option that stands up well to robust flavors.
- Simple Caesar Salad from Amanda Cooks and Styles: A classic choice that’s always a crowd-pleaser with its creamy dressing and crisp lettuce.
- Baked French Fries from A Couple Cooks: For those who crave something hearty and crispy alongside their sub, homemade baked fries are a healthier yet satisfying option.

Storing & Reheating Leftover Meatball Subs: Keep Them Fresh!
To maximize the life and quality of your delicious meatball subs, the absolute best storage method is to keep the components separate until you’re ready to assemble and eat. Your sturdy hoagie rolls will stay fresh for 2-3 days in a sealed bag or airtight container at room temperature. Any unused cheese can go back into the refrigerator, where it will happily last for 2-3 weeks. The star of the show – your meatballs and their luscious sauce – should be transferred to an airtight container and refrigerated, where they’ll remain perfectly good for 4-5 days.
When you’re ready to enjoy leftovers from the fridge, simply toast the inside of your sub bread in a toaster oven or under the broiler until it’s nice and crispy. Sprinkle a little fresh cheese on top of the toasted bread if you like. Gently warm the meatballs and sauce in a saucepan over medium heat on the stove for 5-10 minutes, stirring occasionally until heated through. Alternatively, for a quicker reheat, place a portion in a microwave-safe bowl, cover it (to prevent splatters!), and cook on 50% power for 2-4 minutes, stirring halfway.
As for already-prepared meatball sandwiches that have been sitting around? Honestly, my primary suggestion is to devour them immediately! Or, if that’s not possible, find a grateful recipient. The truth is, the shelf life of an assembled meatball sandwich is quite limited. Even with our clever melted cheese barrier, the sauce will eventually penetrate the bread, making it soggy and less enjoyable. To avoid this predicament, I highly recommend serving these subs buffet-style when entertaining or if you’re unsure about how much everyone will eat. This way, you can easily store all components separately and maintain their optimal freshness and texture.
Can You Freeze Meatball Subs? Yes, the Best Way!
The good news is that the meatballs and sauce from this recipe are absolutely perfect for making ahead and freezing! This is a game-changer for meal prep and ensures you always have a delicious, homemade option ready for those incredibly busy days (like when that last-minute science project inevitably pops up!). This recipe yields a generous amount, so I often double it, purposely packaging up extra meatballs and sauce to tuck away in the freezer for future easy meals.
To freeze them successfully, allow the meatballs and sauce to cool completely to room temperature first. Then, transfer them into sturdy ziplock freezer bags or freezer-safe containers. Be sure to leave a little bit of headspace at the top of the bag or container, as the sauce will expand slightly as it freezes. Properly stored, your frozen meatballs and sauce will maintain their excellent quality for about 4-6 months. When you’re ready to use them, simply thaw the mixture in the refrigerator overnight. Then, warm them gently in a saucepan over medium-low heat for 20-30 minutes, whisking the sauce between the meatballs as it heats to ensure even thawing and consistent texture.
You can also freeze sub sandwich rolls separately. Stored in a sealed freezer bag, they should stay fresh for 1-2 months. Just thaw them at room temperature before toasting and assembling your subs.
However, let’s be clear: do not, under any circumstances, attempt to freeze already-assembled meatball sandwiches. Have some self-respect! They will inevitably become a soggy, unappetizing mess upon thawing, and you (and your taste buds) deserve better than that. Stick to freezing the components separately for the best results.

Meatball Sub Frequently Asked Questions (FAQs)
At its heart, a meatball sub is wonderfully straightforward yet incredibly satisfying. The core components typically include a robust, elongated bread roll (often called a hoagie, hero, or sub roll), generously filled with succulent meatballs simmered in a flavorful red tomato sauce, and crowned with a layer of gooey, melted cheese. For the best experience, the bread is usually toasted before assembly, and sometimes, after the cheese is added, the entire sandwich gets a final quick broil in the oven to ensure that perfect melty, bubbly cheese finish.
The best cheese for a meatball sub is one that melts beautifully and has a mild flavor that won’t overpower the rich meatballs and sauce, but rather complement them. Mozzarella is a top contender for its excellent stretch and creamy texture when melted, making it a perennial favorite. Provolone cheese also gives mozzarella a good run for its money, offering a slightly sharper, yet still delicate, flavor and wonderful melting characteristics. Both are fantastic choices for achieving that perfect cheesy pull.
Making a meatball sandwich (which is essentially another term for a meatball sub) involves a few key steps to ensure delicious results. Start with selecting good quality, sturdy bread, typically a toasted hoagie or sub roll. Next, prepare your meatballs in a rich, red tomato sauce – whether homemade or high-quality store-bought. Finally, generously layer the meatballs and sauce into the toasted bread, topping it all off with your favorite melty cheese. The critical step for preventing sogginess is toasting the bread and even melting a layer of cheese onto the bun *before* adding the sauce and meatballs. For a comprehensive, step-by-step guide, be sure to refer to the full recipe card provided in this post!
If you’re not whipping up your own sauce from scratch – and truly, no judgment here, as convenience often reigns supreme! – my strongest recommendation for a jarred sauce that elevates your meatball subs is without a doubt Rao’s Homemade Marinara. It consistently stands out as one of the best-tasting store-bought options on the market. Rao’s boasts a rich, savory profile, perfectly balanced with just the right hint of sweetness, and crucially, it avoids that overly processed or artificial taste that can plague other brands. It’s a fantastic shortcut that delivers exceptional flavor.
More Meatball Recipes You’ll Adore
What’s not to love about a good meatball? Their incredible versatility makes them a staple in so many cuisines and preparations. Whether you’re craving Italian classics, Swedish comfort, or something with a spicy Mexican twist, meatballs always deliver on flavor and satisfaction. Here are some more of our favorite meatball recipes that are cherished around here:
- Easy Baked Meatballs: This is my ultimate go-to, basic meatball recipe. It’s incredibly straightforward, making it perfect as a base for countless dishes, and about as easy as a homemade meatball recipe can possibly get!
- Grandma Prudy’s Swedish Meatballs: A true, traditional classic that graces our family table every Christmas Eve with Eric’s family. Rich, creamy, and utterly comforting.
- Easy Baked Mexican Meatballs: You simply can’t go wrong with the unexpected crunch of Fritos mixed into these meatballs, all smothered in a vibrant red enchilada sauce. Absolutely delicious!
- Raspberry Balsamic Meatballs (Slow Cooker): These sweet and tangy meatballs are an appetizer sensation. Bring them to any gathering, and watch them disappear in an instant!
- Spanish Meatballs from Bibbys Kitchen: A flavorful journey with traditional Spanish spices and rich tomato sauce.
- Mozzarella Stuffed Meatballs from Mashed: Who doesn’t love a gooey, cheesy center in their meatballs? These are a delightful surprise.
- Sesame Ginger Meatballs from So Much Food: A wonderful Asian-inspired twist, bursting with aromatic sesame and spicy ginger.
Effortless Slow Cooker Dinners: More Easy Meals!
The slow cooker is truly a marvel of modern kitchen convenience, a true thing of beauty for anyone seeking delicious meals with minimal effort. Imagine simply tossing a few ingredients in, setting it, and then magically, dinner is ready after hours of you living your life, unburdened by constant stirring and monitoring. It’s pure genius! If you’re as enamored with this time-saving appliance as I am, you’ll love exploring some of my best and easiest slow cooker recipes:
- Slow Cooker Pulled Pork (Oven Roasted Option): Achieve melt-in-your-mouth tender pulled pork with almost zero hands-on effort. Perfect for sandwiches, tacos, or just about anything!
- Slow Cooker Basil Chicken Coconut Curry Recipe: This super easy coconut curry is packed with an incredible depth of aromatic flavors, making it a weeknight winner.
- The Best Chili Recipe Ever! (Slow Cooker): I boldly claim this is the absolute best chili recipe to ever come from my kitchen. Rich, hearty, and cooked to perfection in your slow cooker.
- Easy Fall-Apart Crock Pot Roast with Carrots (Slow Cooker): Look like a culinary pro with this simple pot roast recipe that consistently turns out incredibly tender and flavorful, every single time.
- Slow Cooker Asian BBQ Wings from Marion’s Kitchen: Irresistibly sticky and flavorful wings that practically cook themselves.
- Slow Cooker Cabbage and Sausage from Budget Bytes: A hearty, comforting, and budget-friendly meal that’s perfect for colder evenings.
- Sweet Hawaiian Crockpot Chicken from Little Bit Recipes: A delightful sweet and savory chicken dish that’s incredibly easy and always a family favorite.

Facebook | Pinterest | Instagram

Laura’s Meatball Sub Recipe
Ingredients
- 1 medium onion, chopped
- 1 tablespoon olive oil
- 4 cloves garlic, smashed and finely minced
- 2 tablespoons dried oregano
- 1 tablespoon garlic powder, I love the granulated garlic from Costco
- 1 and 1/2 teaspoons onion powder
- 1 and 1/2 teaspoons dried parsley, or 1.5 tablespoons chopped fresh parsley
- 1 and 1/2 teaspoons dried basil, or 1.5 tablespoons chopped fresh basil
- 1 teaspoon kosher salt
- 1 teaspoon ground thyme, or 1.5 teaspoons fresh thyme leaves
- 1/2 teaspoon celery seed
- 1/2 teaspoon cayenne powder
- 1/2 teaspoon sugar, add another 1/2 teaspoon if it tastes bitter
- 1 tablespoon Better than Bouillon Beef Base
- 1 (6 oz) can tomato paste
- 1 (28 oz) can crushed tomatoes
- 1 (14.5 oz) can diced tomatoes, I like petite diced
- 1 (15 oz) can tomato sauce, or 2 (8 oz) cans
- 32 ounces frozen meatballs , or make Homemade Meatballs
- 16 ounces mozzarella or Provolone cheese
- 12 French Rolls sandwich buns, or smaller French “steak rolls” if you can find them
Instructions
-
Make the Sauce: Begin by finely chopping one medium onion. In a large, high-sided 12-inch skillet, heat 1 tablespoon of olive oil over medium-low heat.
-
Once the oil is shimmering, add the chopped onions to the skillet. Sauté them gently for about 5-8 minutes, stirring occasionally, until they become beautifully translucent and very soft, releasing their natural sweetness.
-
While the onions are cooking, finely mince your 4 cloves of garlic and set them aside. In a small bowl, combine the following dry spices: 2 tablespoons dried oregano, 1 tablespoon garlic powder (I highly recommend the granulated garlic from Costco if you have it!), 1½ teaspoons onion powder, 1½ teaspoons dried parsley (or 1.5 tablespoons chopped fresh parsley), 1½ teaspoons dried basil (or 1.5 tablespoons chopped fresh basil), 1 teaspoon kosher salt, 1 teaspoon ground thyme (or 1.5 teaspoons fresh thyme leaves), ½ teaspoon celery seed, ½ teaspoon cayenne powder, and ½ teaspoon sugar. Remember to stir your onions periodically to ensure even cooking and prevent them from burning.
-
When the onions are soft and tender, add the minced garlic and all the mixed spices to the pan. Stir and cook for 1-2 minutes over medium heat until the garlic and spices become wonderfully fragrant. Immediately reduce the burner heat to low to prevent the garlic from scorching, which can turn bitter.
-
Stir in 1 tablespoon of Better than Bouillon Beef Base and the entire 6 oz can of tomato paste. Break up the tomato paste with your spoon and mix it thoroughly into the onions and spices for about one minute, allowing it to cook down slightly and deepen its flavor.
-
Pour in the 28 oz can of crushed tomatoes. Use your spoon to diligently scrape any browned bits from the bottom of the pan – these small bits are packed with concentrated flavor! Add the 14.5 oz can of diced tomatoes (petite diced work wonderfully) and the 15 oz can of tomato sauce (or two 8 oz cans). Stir everything together really well until the sauce is completely blended and uniform.
-
Stovetop Instructions (for a quicker meal): If you’re cooking on the stovetop, add the 32 ounces of frozen meatballs to the sauce now and stir to combine. Cover the skillet and let it simmer over low or medium-low heat for at least 1 hour (2 hours is ideal) to allow all the rich flavors to fully meld and the meatballs to heat through. Stir occasionally to prevent sticking.
-
Slow Cooker Instructions (for maximum ease and flavor): Carefully transfer the prepared sauce from your skillet into your slow cooker. Work slowly to avoid any splashing, and enlist help if needed as the sauce will be hot. Once the sauce is in, add the 32 ounces of frozen meatballs and stir gently until all the meatballs are completely coated and submerged in the delicious sauce.
Set your slow cooker to low. The meatballs and sauce will be perfectly ready in about 4 hours. The beauty of slow cooking on low is its flexibility; the mixture can happily simmer for as long as 6-8 hours without any problems. If you’re in a hurry, you can set the slow cooker to high and cook for 2 hours. Once cooking is finished, switch the cooker to “warm” if you plan to serve it later, or turn it off completely if you’ll be eating immediately.
-
Prepare Your Sandwiches (The Toasting & Cheesy Barrier): First, preheat your oven to broil. Adjust the oven rack to be a few inches below the heat source for optimal toasting. While the oven preheats, grate or thinly slice your 16 ounces of mozzarella or Provolone cheese and set it aside.
-
If your 12 French rolls or sandwich buns aren’t already split, carefully slice them open horizontally. Arrange them, cut-sides-up, on a baking sheet. Place the baking sheet into the preheated oven and broil for about 1-3 minutes until the bread is nicely toasted. This step is critical for preventing soggy subs, so **do not walk away from the oven!** Broilers can vary wildly, so watch them very carefully to prevent burning. They are perfectly toasted when you see faint golden-brown spots just beginning to appear.
-
Remove the baking sheet from the oven. Immediately and generously sprinkle some of your grated or sliced cheese onto the toasted insides of the buns. Even a thin layer will suffice – this cheese will melt and form a crucial barrier, acting as a shield to prevent the bread from getting soggy from the sauce. For extra meltiness, you can return the pan to the broiler for just about 1 minute to fully melt the cheese, again, watching very carefully.
-
Buffet-Style Serving (Recommended for customizability and leftovers): At this point, you have the perfect setup for a buffet-style meal. Arrange your toasted buns (with the melted cheese barrier), a bowl of the hot meatballs in sauce, and an extra bowl of grated cheese for sprinkling. Each person can then choose their own roll, add their preferred amount of meatballs and sauce, and top with as much additional cheese as their heart desires! This method ensures everyone gets their sub exactly how they like it.
-
Family-Style Serving (for immediate, collective enjoyment): If you prefer to assemble all the sandwiches at once, arrange the toasted, cheesed buns in a glass baking dish. The size of your dish will depend on the number and size of the rolls you’re preparing; you want them nestled fairly close together to help contain the meatballs and sauce. Generously fill each sub roll with meatballs and sauce, then top each with a final layer of sliced or grated cheese. Place the baking dish back into the oven under the broiler until the cheese is beautifully melted, bubbly, and perhaps lightly browned. Again, keep a close eye on them to prevent burning.
-
Serve: These delectable meatball subs are incredibly satisfying on their own, but pair beautifully with a light side. Consider serving them alongside a simple green salad, such as this refreshing Raspberry Avocado Salad with Poppyseed Dressing, or a dish of healthy Easy Roasted Broccoli. If you’re truly aiming for minimal fuss, a bag of baby carrots and some crispy potato chips make for a quick and fun accompaniment!
-
Storage Tips: To keep your leftovers at their best, store the meatballs and sauce in an airtight container in the refrigerator for 4-5 days. Buns can be stored at room temperature in a sealed bag for 2-3 days.
-
Freezing Instructions: The meatballs and sauce freeze beautifully! Once cooled to room temperature, transfer them to ziplock freezer bags, leaving a little space for expansion. They’ll last 4-6 months in the freezer. To use, thaw overnight in the fridge, then gently reheat in a pan over medium-low heat, stirring occasionally.
Notes
Quick & Easy “Cheater” Version of Meatballs and Sauce (30-Minute Meal!)
For those truly hectic nights when you need delicious meatball subs on the table in about 30 minutes, this simplified “cheater” recipe for the meatballs and sauce is your savior. It’s not quite as thick or richly developed as the slow-cooked version, but it’s incredibly flavorful and satisfying in a pinch!
Here’s what you’ll need for the quick sauce:
-
- 1 (28 oz) jar Rao’s Homemade Marinara Sauce (or your favorite high-quality jarred marinara)
-
- 1 medium onion, finely chopped
-
- ½ tablespoon olive oil
-
- 2 cloves garlic, finely minced
-
- 1 (14.5 oz) can diced tomatoes (petite diced are great here)
-
- 1 tablespoon Better than Bouillon Beef Base paste
-
- 32 ounces of your favorite high-quality frozen meatballs
Instructions for the Cheater Sauce:
1. Take your frozen meatballs out of the freezer and set them aside on the counter to begin thawing while you prepare the sauce.
2. Finely chop the medium onion. In a large saucepan, heat the ½ tablespoon of olive oil over medium heat. Add the chopped onion and sauté for about 5 minutes until it’s soft and translucent.
3. Add the finely minced garlic to the pan and stir for just one more minute until fragrant. Be careful not to burn it!
4. Pour in the entire jar of Rao’s Homemade Marinara, the 14.5 oz can of diced tomatoes (undrained), and the 1 tablespoon of Better than Bouillon Beef paste. Stir everything together really well until all the ingredients are fully combined and the bouillon paste is dissolved.
5. Carefully add the 32 ounces of slightly thawed frozen meatballs to the saucepan. Stir gently until all the meatballs are completely covered in the delicious sauce.
6. Bring the sauce to a gentle simmer, then cover the pan and cook over medium heat for approximately 20-25 minutes, or until the meatballs are thoroughly hot and cooked through. Stir occasionally to prevent sticking and ensure even heating.
7. During the last 10 minutes of the meatballs cooking, follow the instructions for toasting buns and assembling sandwiches as described in steps 9 through 13 of the main recipe card above. The assembly process will be exactly the same for both versions!
How to Store Leftover Meatball Subs for Best Quality
To ensure your leftover meatball subs remain delicious and maintain their texture, the optimal storage strategy is to keep the components separate. The hoagie or sub buns should be stored in a sealed bag or an airtight container at room temperature, where they will stay fresh for 2-3 days. Any extra cheese can be returned to the refrigerator and will be good for at least 2-3 weeks. The meatballs and their rich sauce should be transferred to an airtight container and refrigerated, lasting for a good 4-5 days. To reheat from the fridge, simply toast the interior of your sub bread in a toaster oven or under the broiler until crispy. You can sprinkle a bit more cheese on top for extra gooeyness. Warm the meatballs and sauce in a saucepan over medium heat for 5-10 minutes until heated through, or microwave them in a covered bowl on 50% power for 2-4 minutes, stirring partway through.
If you happen to have already-assembled meatball sandwiches left over, honestly, my best advice is to eat them immediately! Or, find someone who will happily take them off your hands. The reality is that pre-made meatball sandwiches have a very short shelf life. Even with our clever melted cheese barrier, the sauce will eventually make the bread soggy, significantly reducing the enjoyment factor. To prevent this, if you’re uncertain about how many sandwiches will be consumed, it’s always better to serve them buffet-style so you can store all the components individually and keep them fresher for longer.
Can You Freeze Meatball Subs? Yes, the Smart Way!
The fantastic news is that the meatballs and sauce from this recipe are PERFECT candidates for advance preparation and freezing! This recipe makes a generous quantity, so I often make a double batch and portion out the leftovers into freezer-safe containers or ziplock bags. This way, I have convenient, homemade meals ready for future busy moments – like when the next last-minute science project surprise hits!
To freeze the meatballs and sauce, allow them to cool completely to room temperature first. Then, transfer them into ziplock freezer bags or rigid freezer containers, ensuring you leave a little bit of air space at the top as the sauce will expand when frozen. The meatballs and sauce will maintain their quality in the freezer for approximately 4-6 months. To use them, simply thaw the frozen mixture in the refrigerator overnight. Once thawed, you can warm it gently in a saucepan over medium-low heat for 20-30 minutes, stirring occasionally, until it is heated through and the sauce is smooth.
You can also freeze uncooked or cooked sub sandwich rolls. In a sealed freezer bag, they should stay fresh for 1-2 months. Just be sure to thaw them completely before toasting and assembling your subs.
However, a critical piece of advice: do not even attempt to freeze already-assembled meatball sandwiches. Seriously, save yourself the disappointment and maintain your self-respect. They will inevitably turn into a soggy, unappetizing mess upon thawing, and you are far better than that culinary heartbreak. Stick to freezing the meatballs and sauce separately for truly delicious results.