
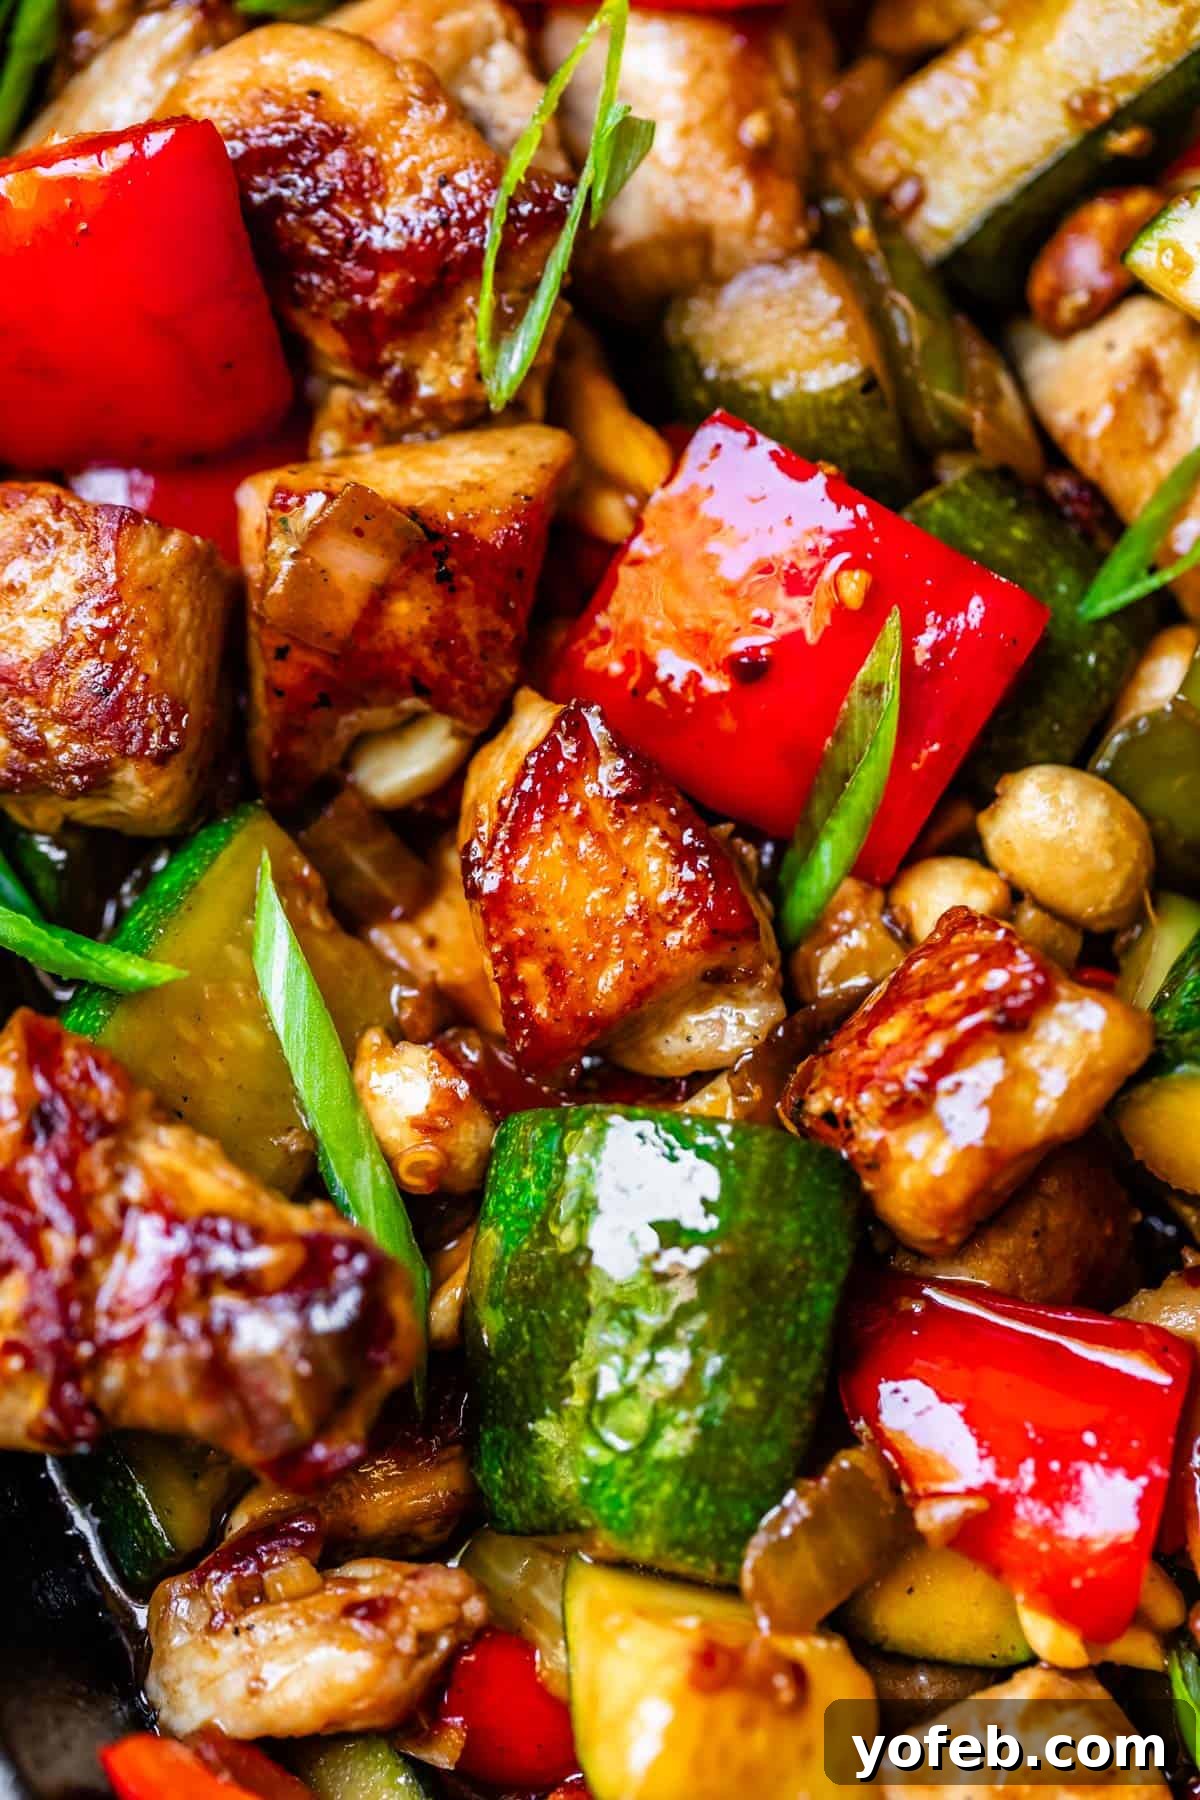
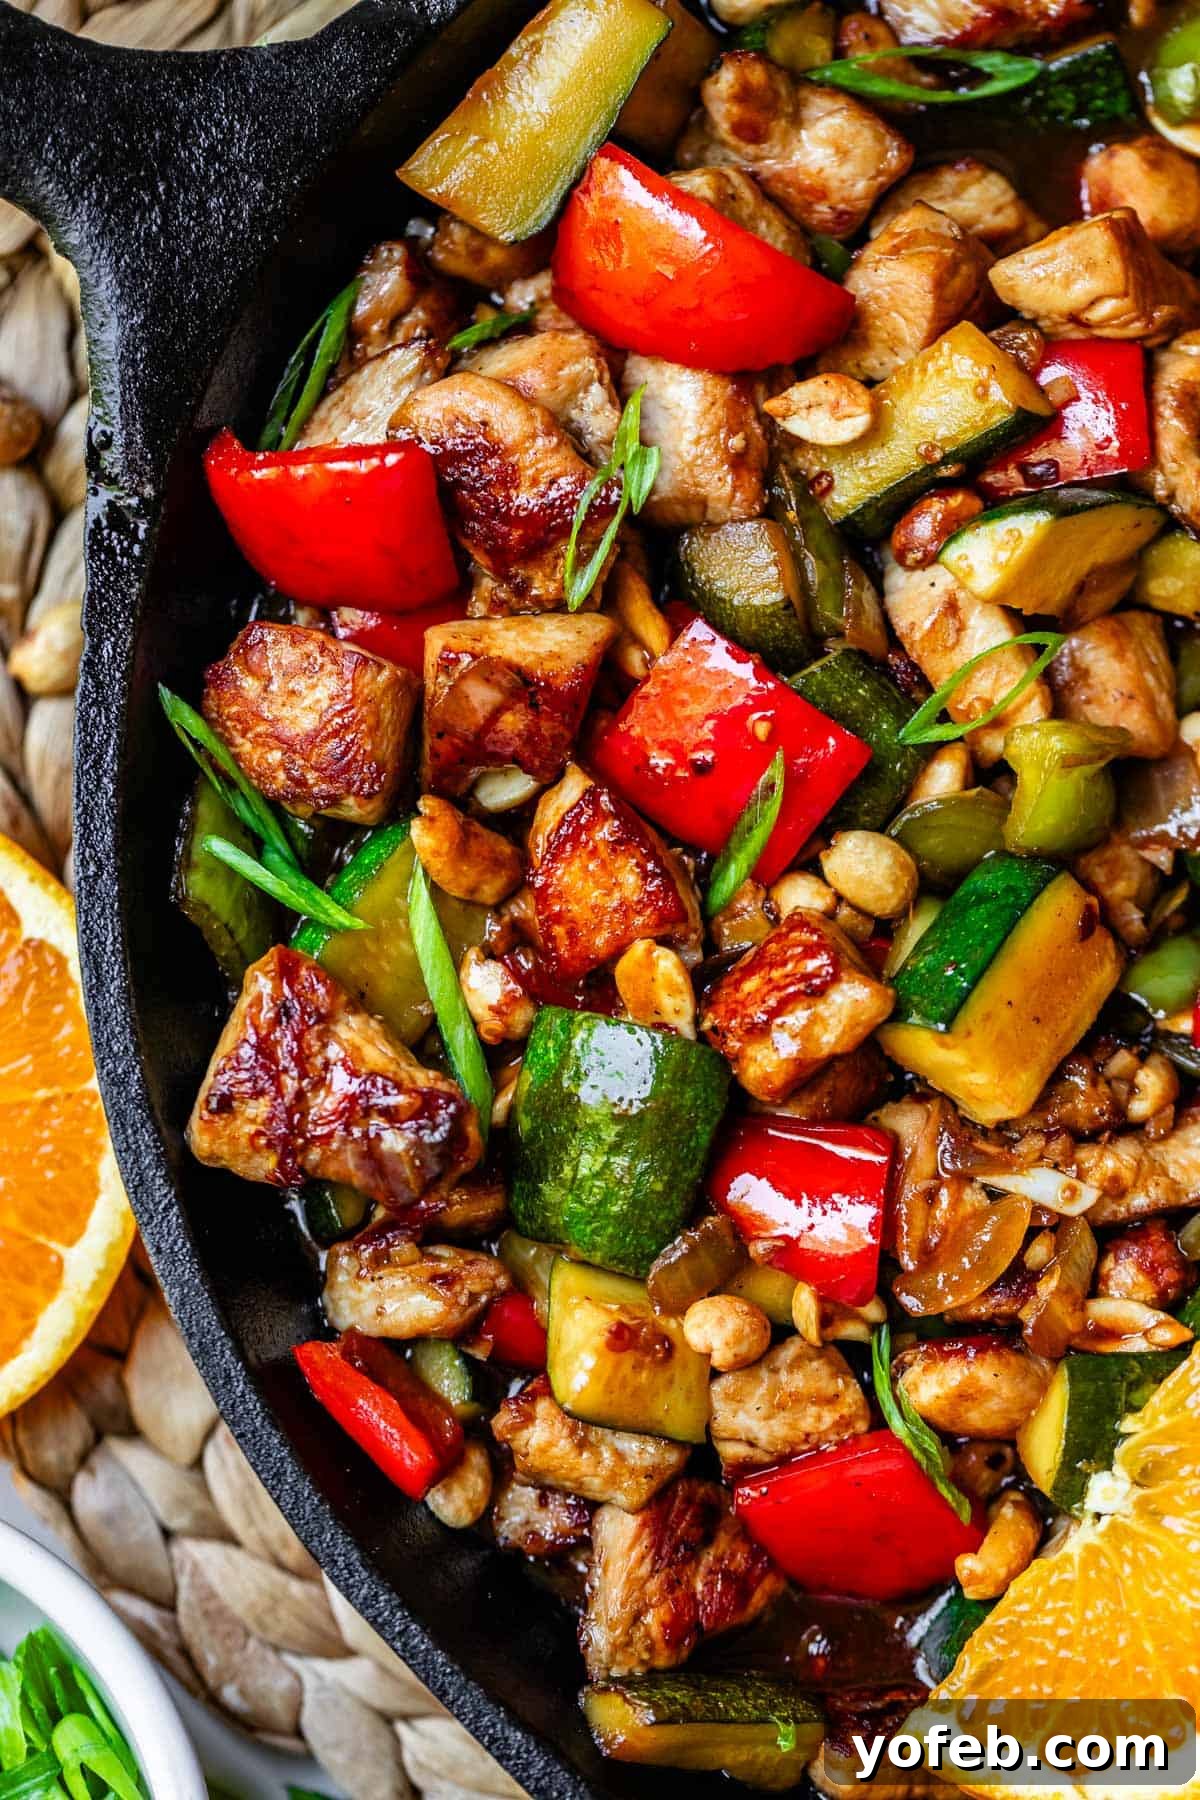
Kung! PAO! This chicken may not have a black belt in karate, but it’s certainly here to deliver a delicious kick to your taste buds. Forget bland weeknight meals; this recipe is a vibrant, healthy stir-fry featuring tender chicken, crisp bell peppers, succulent zucchini, and the satisfying crunch of peanuts, all coated in a fiery yet balanced orange-chili sauce. It’s got just the right amount of heat and an abundance of truly incredible Asian flavor, largely thanks to the magical addition of chili crisp. This condiment is so irresistibly good, you’ll find yourself drizzling extra on every plate. Pair this easy, flavorful stir-fry with perfectly cooked rice, aromatic coconut jasmine rice, wholesome brown rice, or a low-carb alternative like cauliflower rice, and dinner is officially DONE. This timeless recipe was originally shared on December 9, 2011, and has been a favorite ever since.
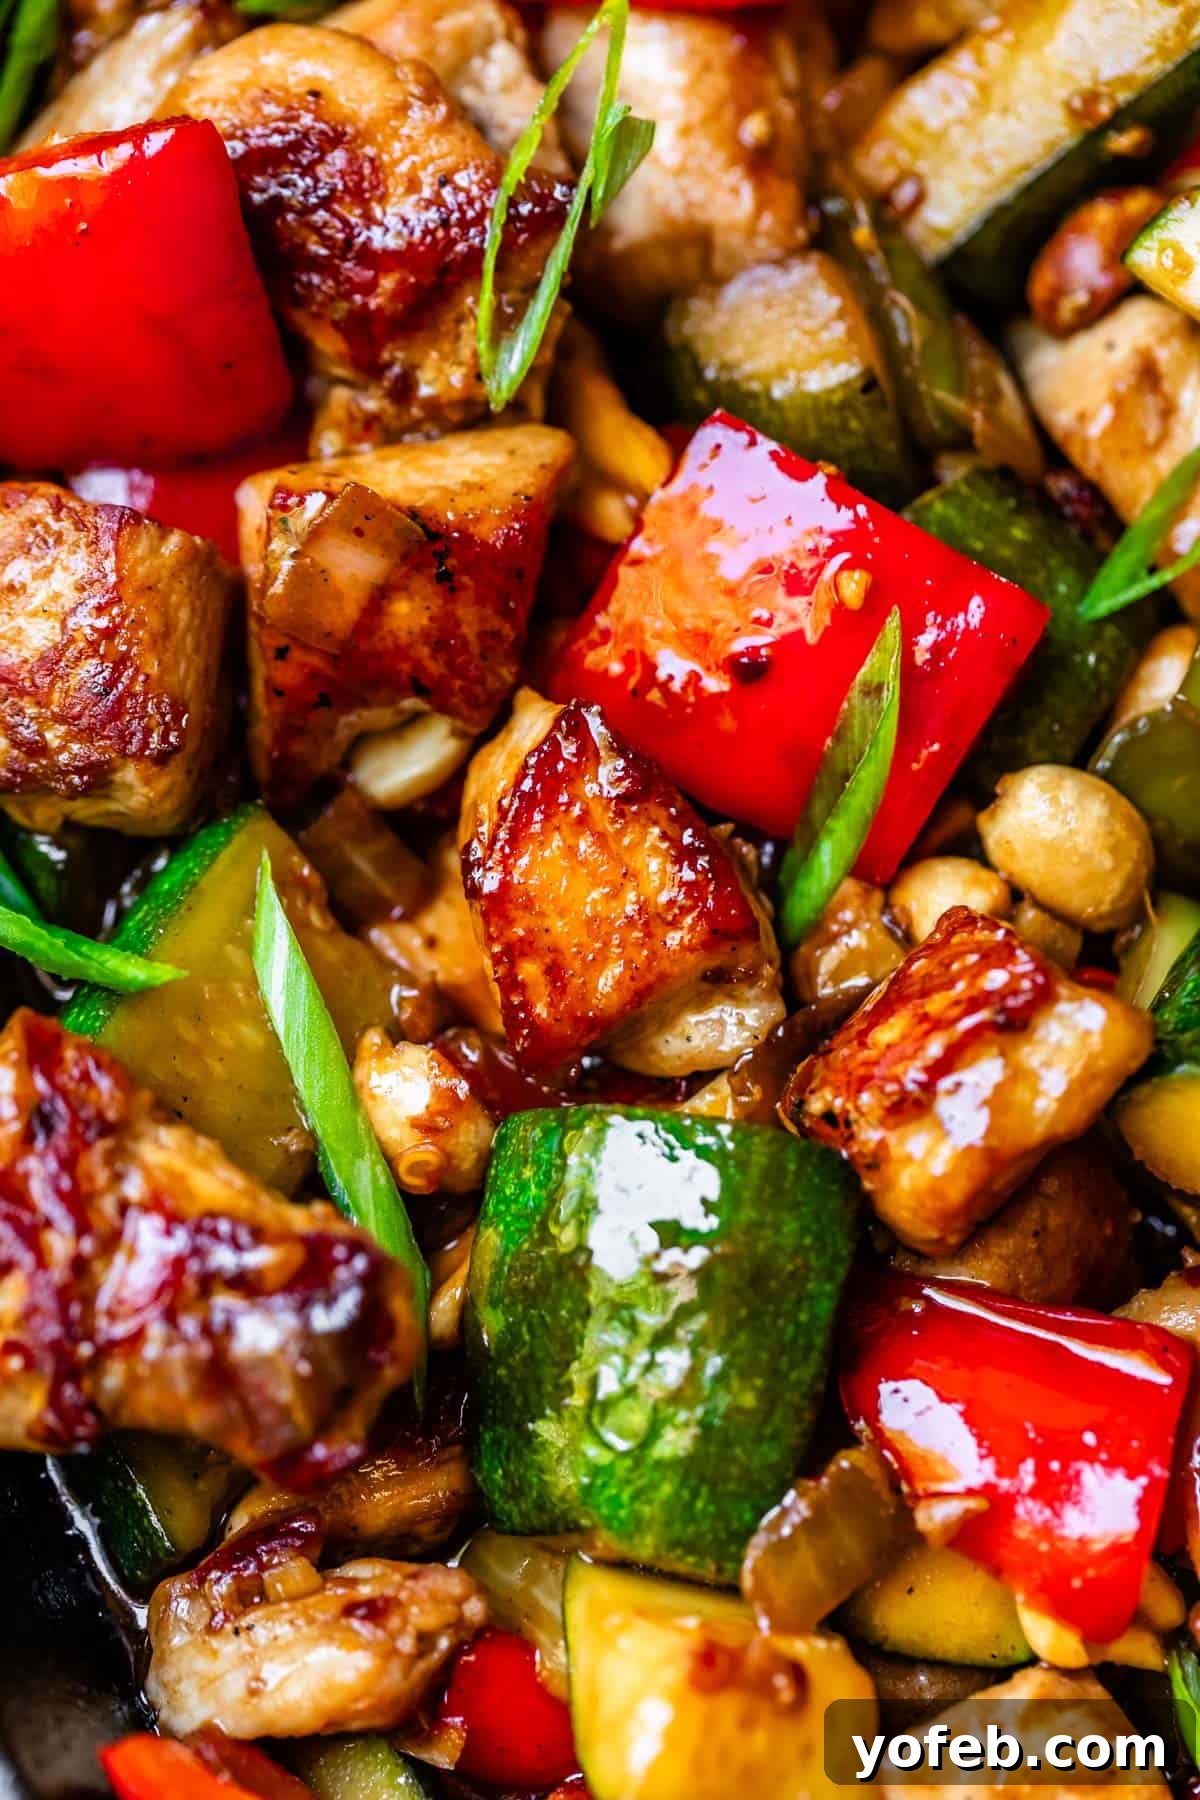
Table of Contents
- A Brief Travel Tale
- Kung Pao Chicken: A Timeless Favorite
- What is Kung Pao Chicken, Unpacked?
- The Magic of Chili Crisp
- Essential Ingredients for Your Kung Pao Chicken
- How to Master Homemade Kung Pao Chicken
- Easy Kung Pao Chicken Recipe Variations and Customizations
- What to Serve Alongside Your Kung Pao Chicken
- Storing Your Kung Pao Chicken for Maximum Freshness
- Can You Freeze Kung Pao Chicken?
- More Irresistible Asian Flavors to Explore
- Kung Pao Chicken Recipe Card
- A Blast From The Past: Kung Pao From Yesteryear
A Brief Travel Tale
Just last night, around 9 PM, my dad sent a rather cryptic text to our family chat, simply stating they had a “minor emergency over here.” The rest of the message was oddly garbled, as if the voice-to-text feature had malfunctioned. Or, my anxious mind immediately leaped to, perhaps he was in a hostage situation, and this was all he could manage before being apprehended and shoved into the back of a van!
I’m not typically one to succumb to anxiety, but my parents are currently enjoying a vacation overseas, and I always harbor a lingering worry that something might happen to them. It’s truly a peculiar stage of adulthood when you find yourself fretting over your parents’ safety, rather than the other way around. The roles have certainly reversed!
As it turns out, the full story emerged after a few frantic text clarifications. My mom had, in fact, gotten herself stuck in a bathroom stall at a hotel in Kyrgyzstan. Yes, Kyrgyzstan! My parents are truly incredible world travelers, always seeking out new adventures! She was perfectly fine, but you know that moment when you’re trying to leave a tricky bathroom stall, and the lock just won’t budge? The claustrophobia tends to kick in almost immediately!
This particular stall was exceptionally secure, with only a couple of inches of clearance at the bottom, and far too tall to even consider climbing over. Thankfully, someone from the hotel arrived with a screwdriver, and she was liberated in a jiffy. Honestly, I’m a little bummed she wasn’t forced to crawl out underneath. The only thing funnier than picturing my mom trapped in a locked bathroom stall in Kyrgyzstan would be a photo of her attempting to crawl out. (Dad, please be on standby to capture such a moment if any more tricky locks are encountered on future trips!)
Kung Pao Chicken: A Timeless Favorite
Have you ever had the pleasure of trying Kung Pao Chicken? I first shared this incredible recipe many years ago, back in 2011, making it one of the very first recipes to grace this blog. If you scroll down past the full recipe card, you’ll even find an old photo and my original post from when I was a mere 24-year-old! It’s quite a trip down memory lane. This recipe, however, has truly stood the test of time, proving itself to be a classic stir-fry that remains a go-to for countless reasons.
I absolutely adore this dish because it’s not only packed with flavor but also incredibly efficient, getting a delicious meal on your table in under 45 minutes from start to finish. The majority of the effort involved is preparation: a quick marinade for the chicken, chopping the vibrant vegetables, and whisking together an effortless sauce. Your stove time will be minimal, making it an ideal choice for sizzling summer evenings when you want to avoid heating up the kitchen, or for those busy autumn nights when you have a precious 60-minute window between school pickups and evening activities. It’s a versatile and satisfying meal that never disappoints.
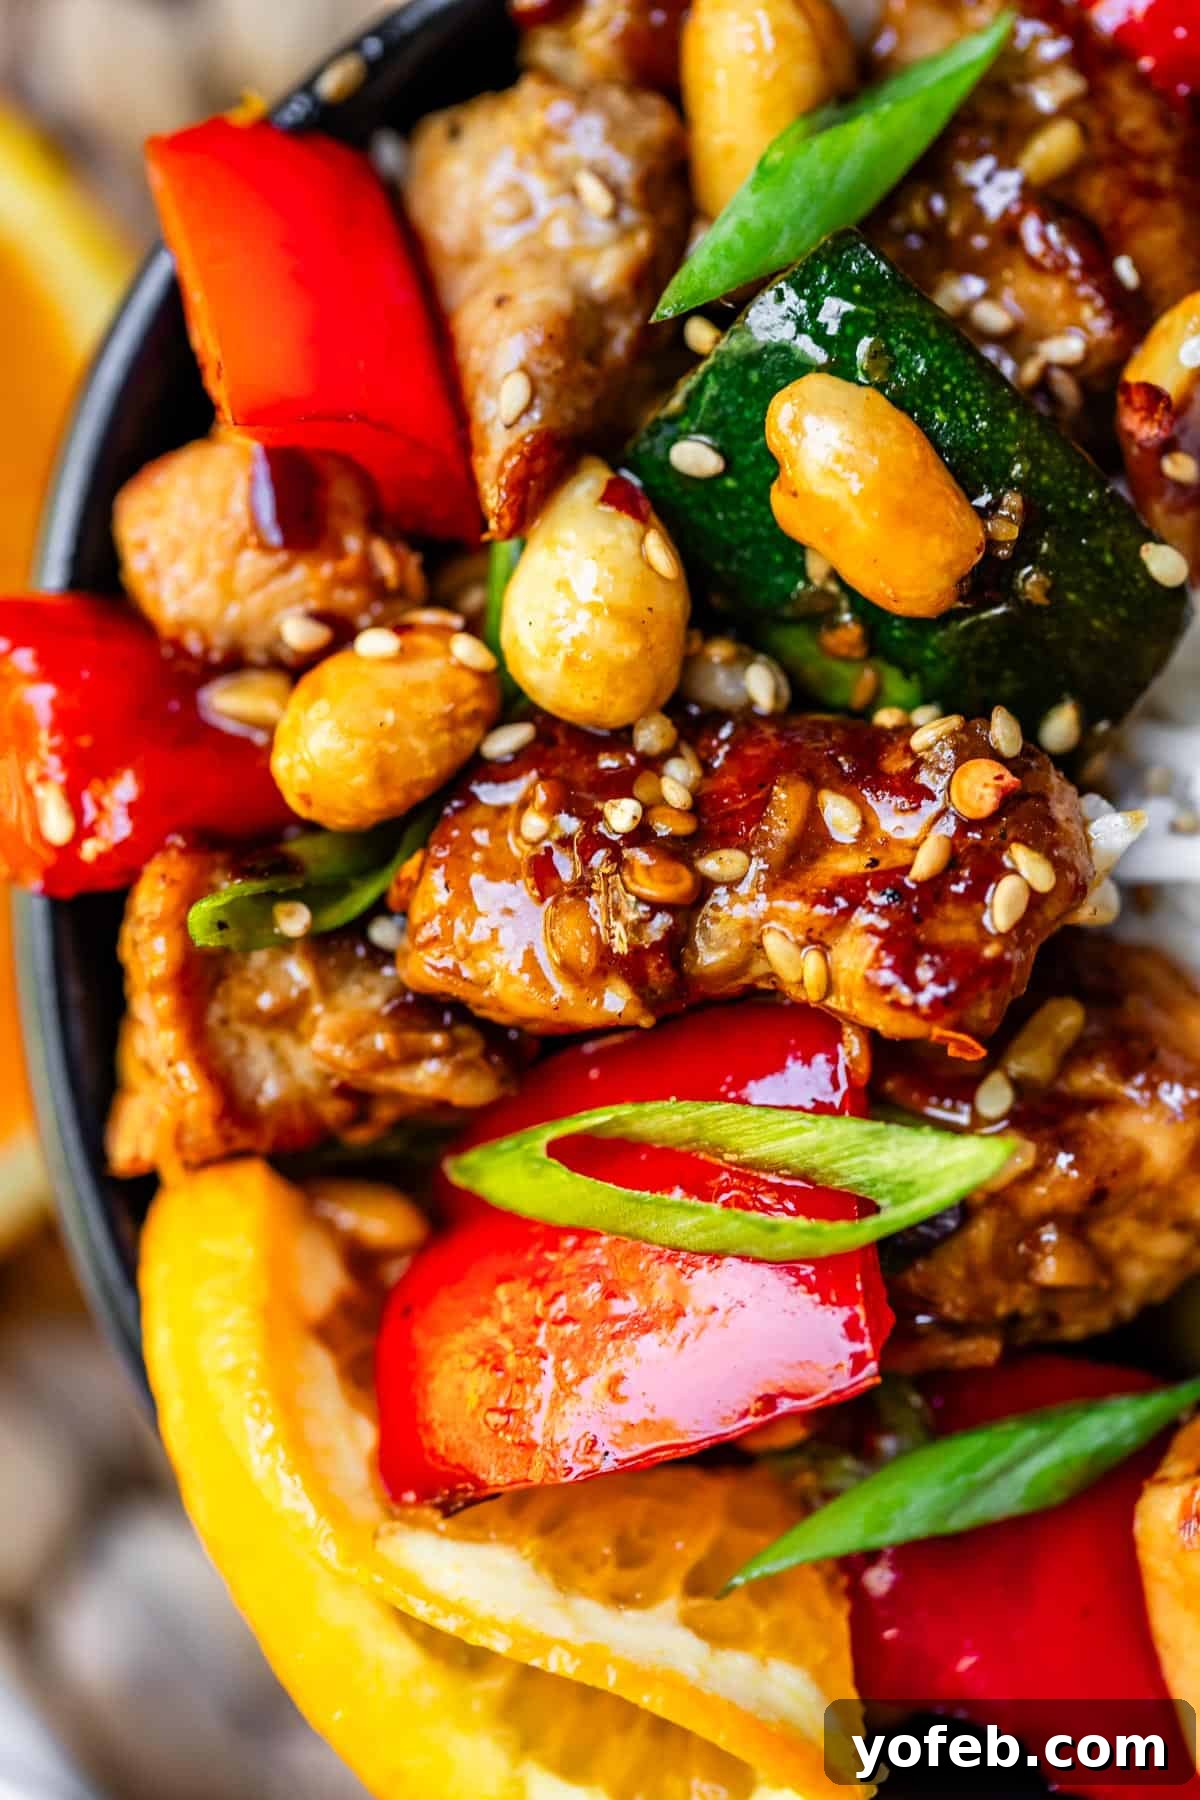
What is Kung Pao Chicken, Unpacked?
At its heart, Kung Pao Chicken is a straightforward yet incredibly dynamic stir-fry. It traditionally features succulent pieces of chicken, fiery chili peppers, an assortment of crisp vegetables, and crunchy peanuts, all brought together by a wonderfully balanced sweet and tangy sauce. This iconic dish hails from the Szechuan (also spelled Sichuan) province of China, renowned for its bold and often spicy culinary traditions.
My particular version, of course, is a lovingly Americanized adaptation – and perhaps a touch “Karen-ized,” as it’s my personal take! Instead of traditional dried chili peppers, which can sometimes deliver an intense heat that requires copious amounts of water on a busy weeknight, I opt for an absolute game-changer: chili crisp. This brilliant condiment provides a delightful warmth and an incredible depth of flavor without overwhelming the palate. It’s a fantastic way to enjoy the essence of Kung Pao’s spice profile in a more approachable and equally delicious manner.
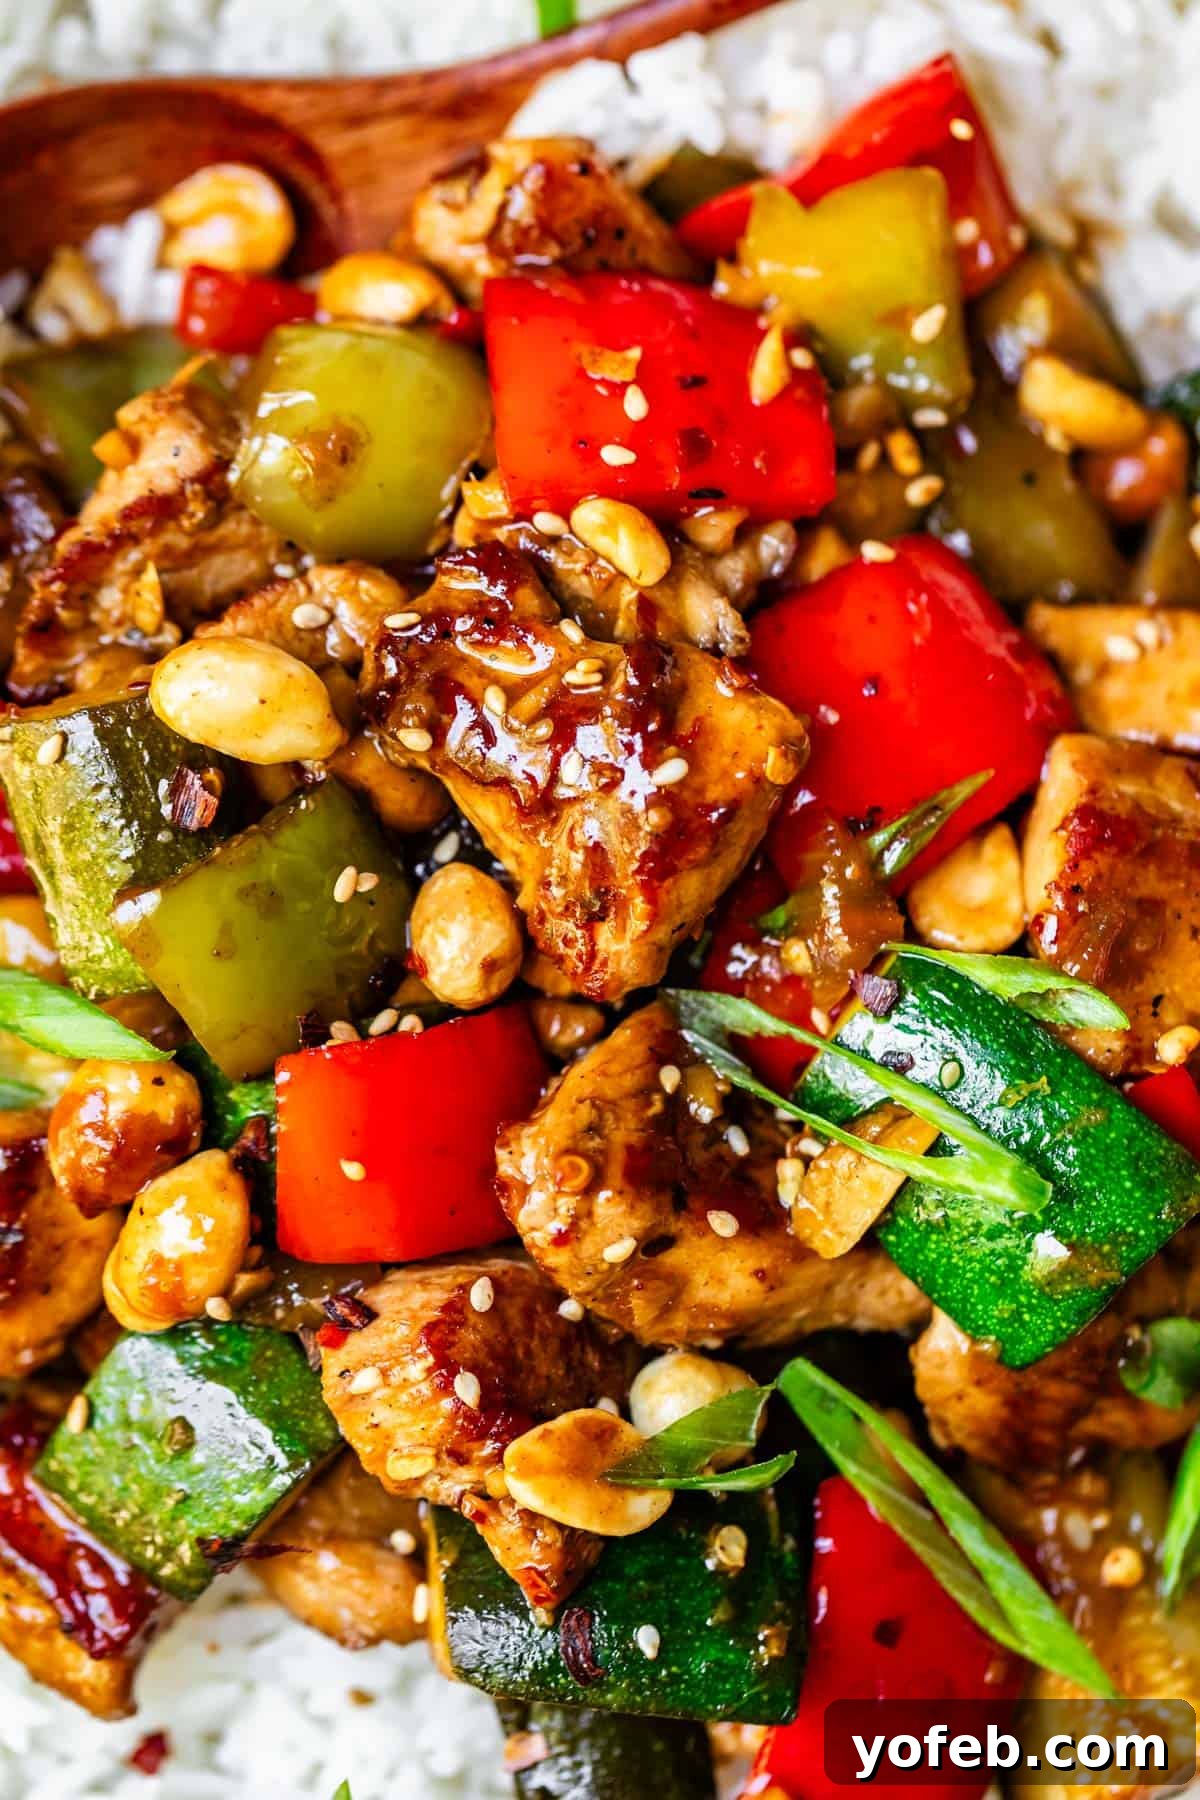
The Magic of Chili Crisp
My introduction to the wonders of chili crisp came courtesy of Eric, who thoughtfully gifted me a jar of Fly By Jing a few years ago for Mother’s Day. A spicy condiment instead of flowers? It’s almost as if he knows the direct route to my heart! (Just kidding, he absolutely bought flowers too. Ladies, truly, find yourself a man like my Eric.)
Fly By Jing stands out as one of the finest condiments I’ve ever encountered. Its unique recipe often incorporates the subtly numbing and incredibly aromatic Sichuan peppercorns, along with dried black beans, contributing to a flavor and texture profile that is truly distinct and utterly captivating. It’s a culinary revelation! Chili crisp has become incredibly popular recently, and I can confidently say you’ll likely find a good brand at any grocery store boasting a decent international or Asian food selection. While any brand of chili crisp will work beautifully in this Kung Pao recipe, I wholeheartedly recommend giving Fly By Jing a try someday – its exceptional quality is well worth it.
Essential Ingredients for Your Kung Pao Chicken
Crafting this easy and incredibly flavorful weeknight dish requires a straightforward list of ingredients, many of which you might already have in your pantry. Below is a quick overview of what you’ll need. For a comprehensive list with precise measurements and detailed notes, please refer to the recipe card further down the page.
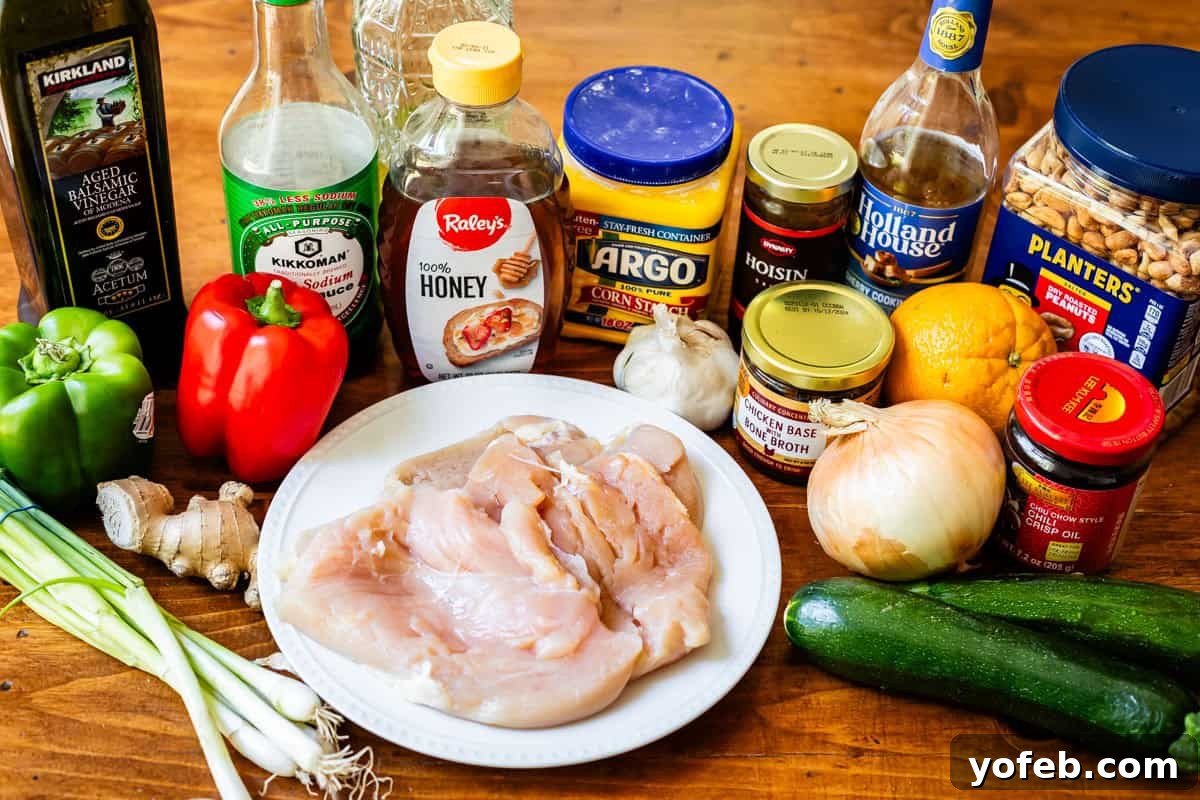
- Chicken: Boneless, skinless chicken breasts are ideal, but chicken thighs can be a fantastic, more succulent alternative.
- Marinade Base: Low sodium soy sauce and cornstarch for tenderizing and flavor.
- Wine: Dry sherry, or for an authentic touch, Shaoxing wine if you can find it.
- Vinegar: Balsamic vinegar, which offers a good approximation of Chinese black vinegar, or classic rice vinegar.
- Sweetener: Honey provides a natural sweetness that balances the spice.
- Hoisin Sauce: A rich, sweet, and savory essential for authentic flavor.
- The Spice Factor: Chili crisp, any brand will deliver that wonderful texture and heat.
- Citrus Brightness: Fresh orange juice and zest for a delightful, aromatic lift.
- Broth: Chicken broth to form the base of the sauce.
- Colorful Veggies: Red and green bell peppers for sweetness and crunch.
- Green Goodness: Zucchini, adding a tender yet firm texture.
- Aromatics: Onion, garlic, and fresh ginger (or ginger paste for convenience).
- Crunchy Topping: Roasted salted peanuts are traditional, but roasted salted cashews make an excellent and equally delicious alternative!
How to Master Homemade Kung Pao Chicken
Let’s dive into the simple steps to create this incredible Kung Pao Chicken at home. The process is streamlined, ensuring maximum flavor with minimal fuss.
First things first, prepare your chicken. Whether you opt for chicken breasts or thighs, cut them into uniform 1-2 inch pieces. Both cuts work wonderfully in this recipe; use whatever you have on hand or prefer. Once chopped, immerse your chicken in the easiest marinade you’ll ever make.
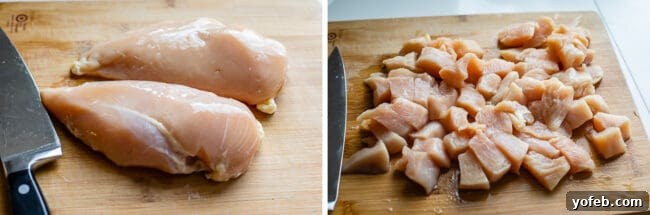
This effortless marinade requires only three key ingredients: low sodium soy sauce, cornstarch, and dry sherry. For those seeking a truly authentic flavor profile, Shaoxing wine, a traditional Chinese rice wine, is the superior choice. If you can’t find Shaoxing wine at your local grocery store (it’s often available at international markets or online), dry sherry makes an excellent and readily available substitute. Allow the chicken to marinate for a brief period while you tackle the vegetable preparation.
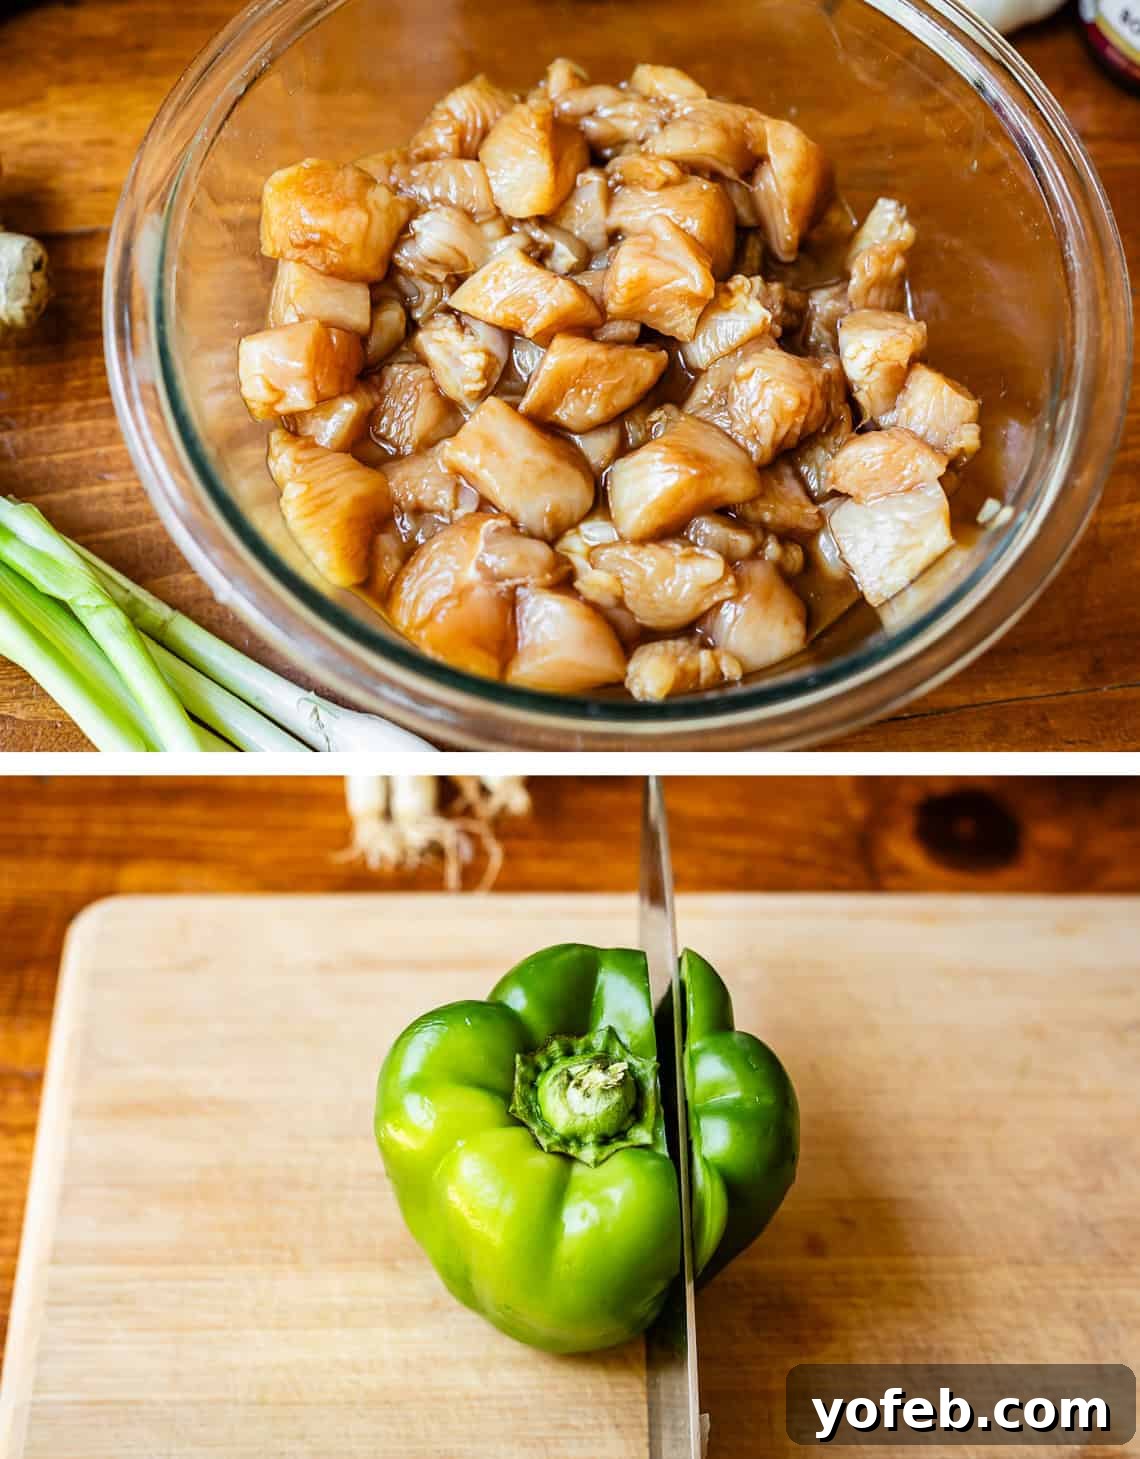
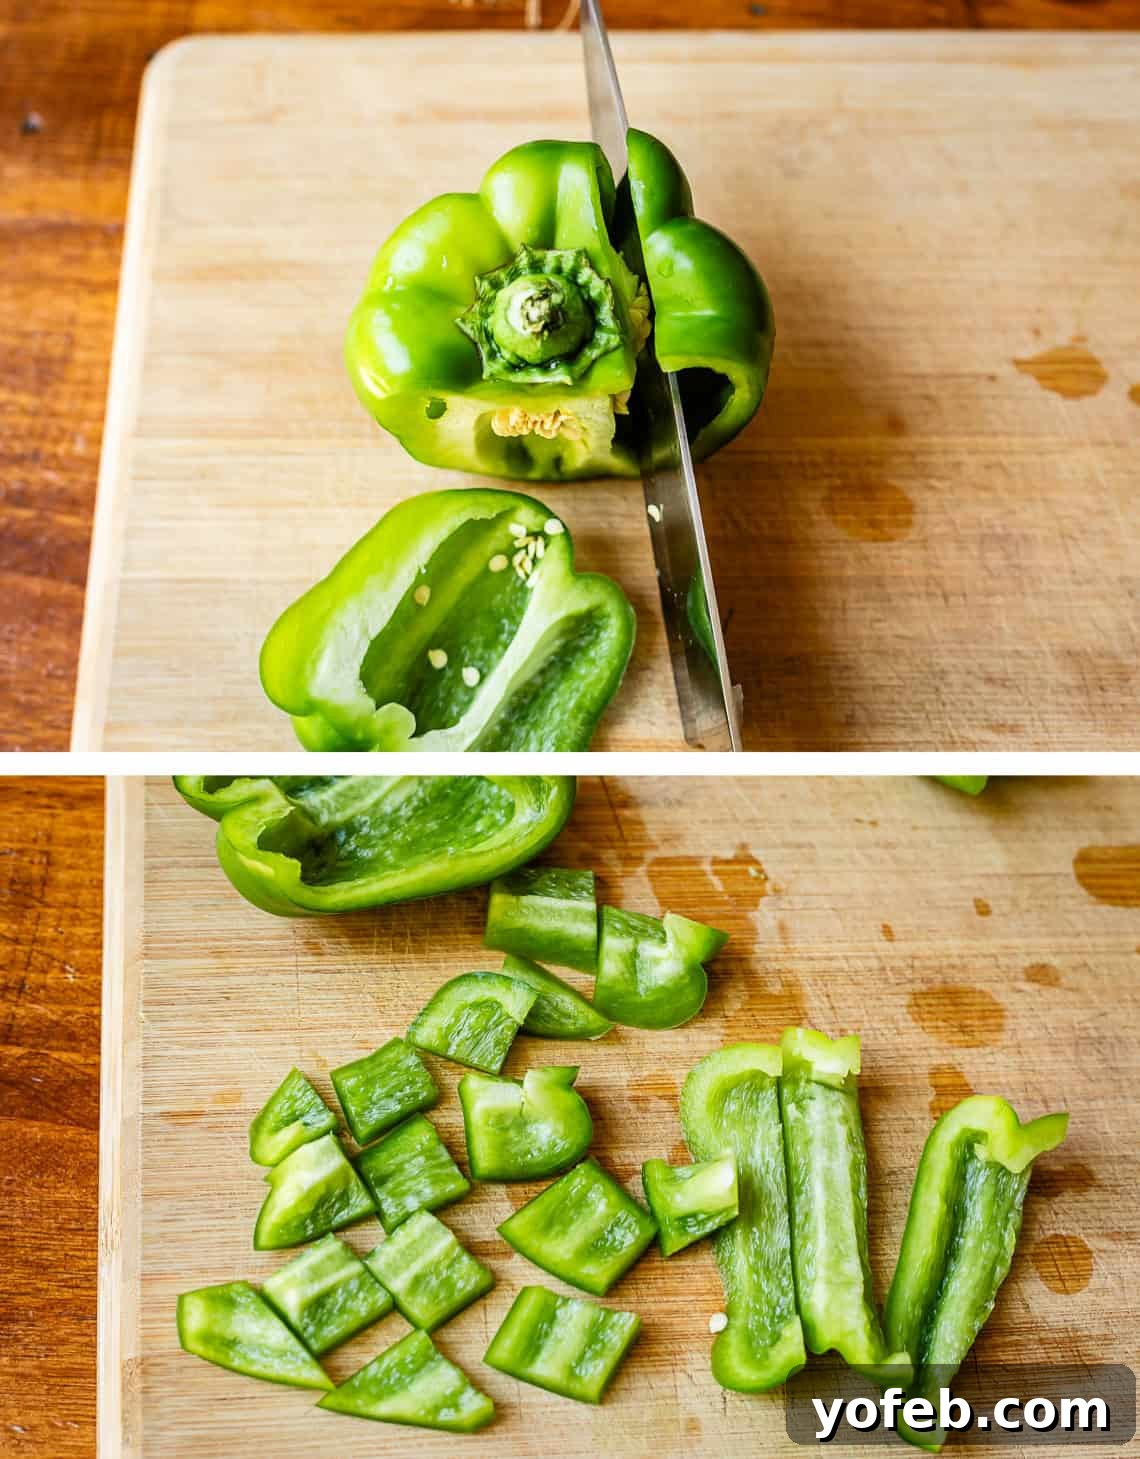
When it comes to the bell peppers, we’re not aiming for a fine dice. Instead, cut them into substantial, rustic squares. This specific cut is characteristic of traditional Kung Pao, offering a satisfying bite and ensuring they hold their texture during the stir-fry process. I always find it fascinating that green bell peppers are essentially red bell peppers picked at an earlier stage of ripeness. This explains their typically lower price point, as they don’t require as much time on the vine as their more colorful counterparts. While they are less sweet, I love using a mix of red and green peppers for a visually appealing dish. Any color combination will work perfectly.
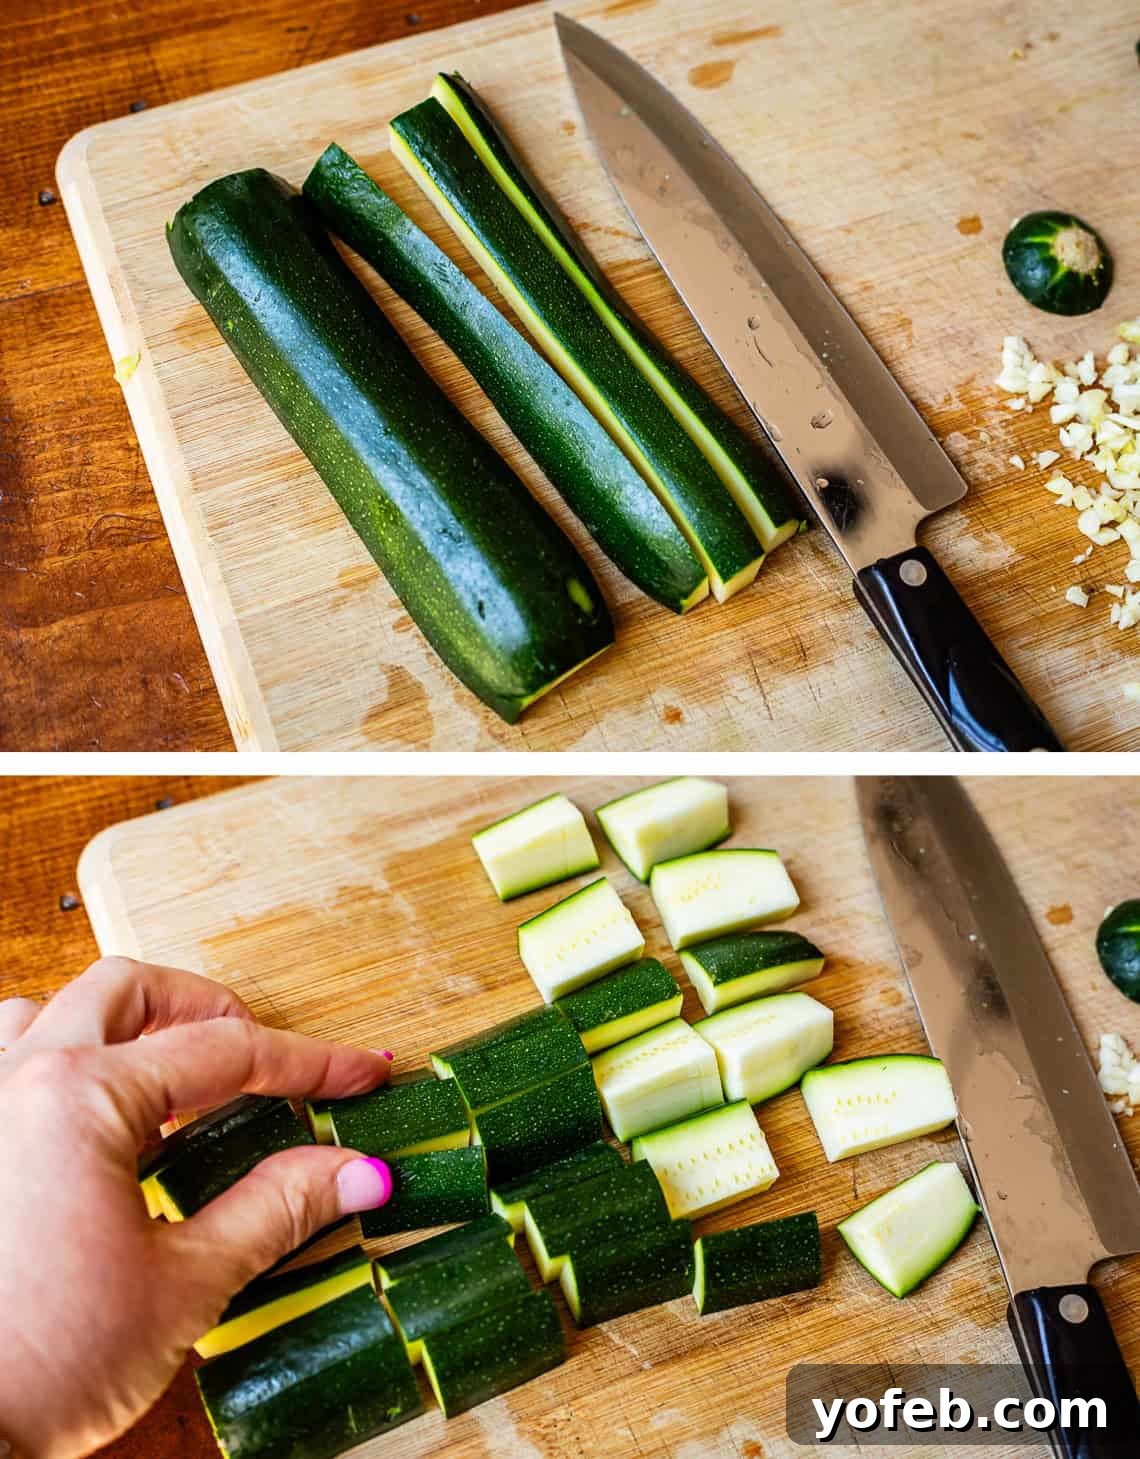
Next, move on to your zucchini. It’s best to cut the zucchini into fairly large, robust pieces. This ensures they cook evenly alongside the peppers, which typically require a bit more time. Smaller zucchini pieces tend to overcook quickly and can disintegrate into the sauce, losing their pleasant texture. By keeping them larger, you guarantee a delightful crisp-tender bite in your finished dish.
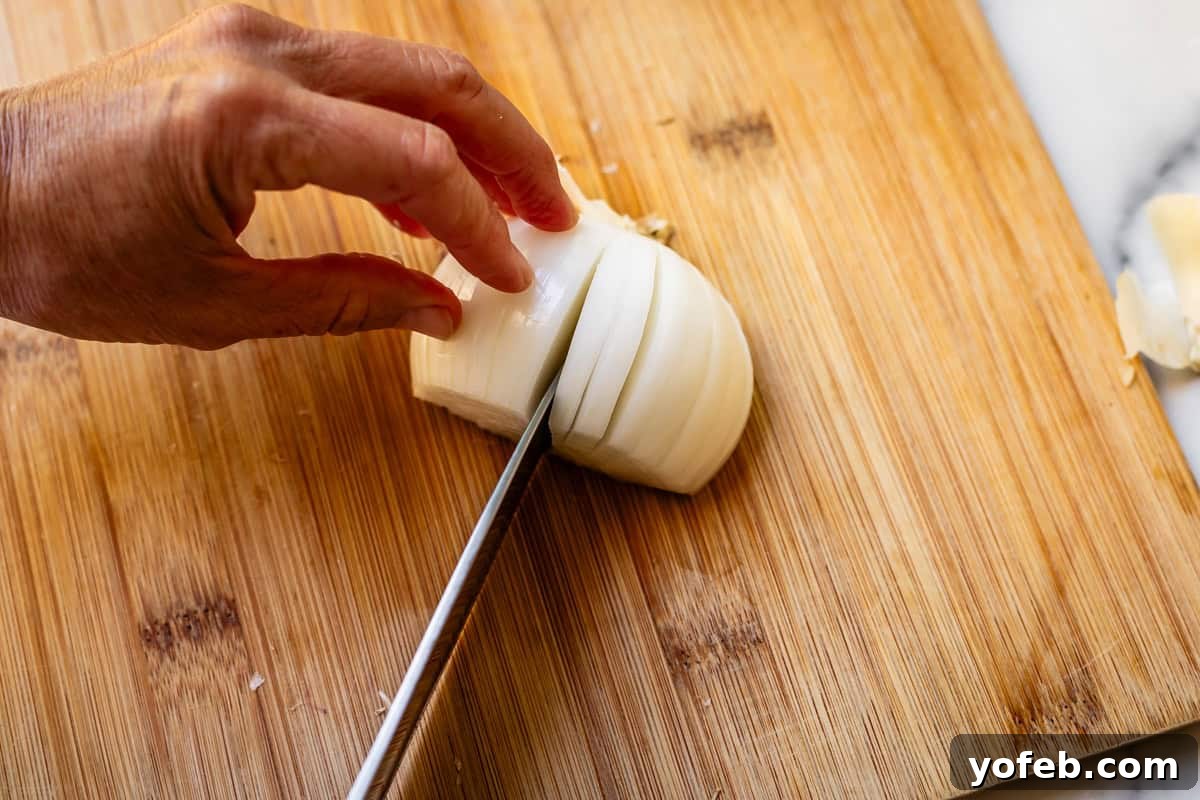
For the onion, you’ll only need about half a cup. I recently wrote an entire post on how to cut an onion and humorously realized I’d been doing it “wrong” my whole life! Regardless of your preferred chopping method, once you have your half cup, consider tossing the remainder into a freezer-safe bag. Future you will thank yourself when a recipe calls for a small amount of onion and you have pre-chopped pieces ready to go!
With your veggies prepped and ready, set them aside for a moment. It’s time to cook that perfectly marinated chicken!
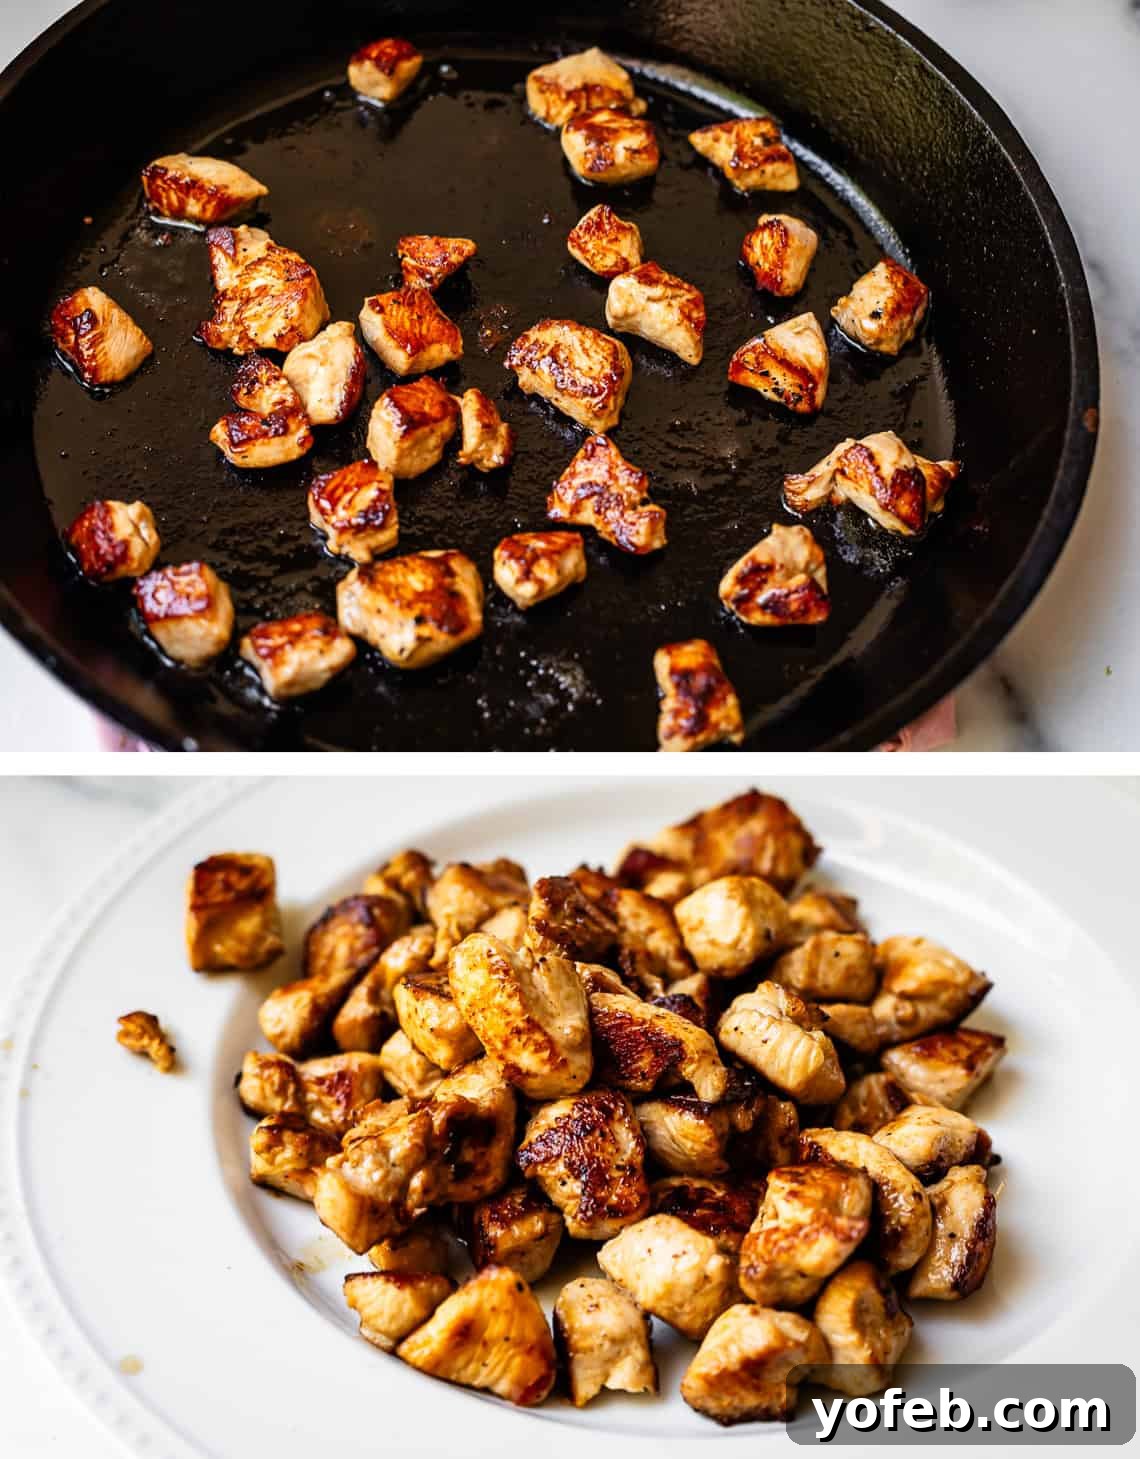
Heat a large skillet or wok (a cast iron skillet works wonderfully here) over medium-high heat until it’s sizzling hot. Add a tablespoon of vegetable oil, and once it shimmers, carefully place the marinated chicken pieces into the pan, ensuring there’s plenty of space between each piece. This is crucial for achieving a beautiful sear rather than steaming the chicken. You’ll likely need to cook the chicken in 2-3 batches. Allow each batch to cook undisturbed for 2-3 minutes until deeply browned and caramelized on the bottom. Flip each piece to sear the other side for about 1 minute. If your chicken pieces are larger, reduce the heat to medium and let them finish cooking through for a few more minutes. Once cooked, transfer the chicken to a clean plate and repeat with any remaining batches.
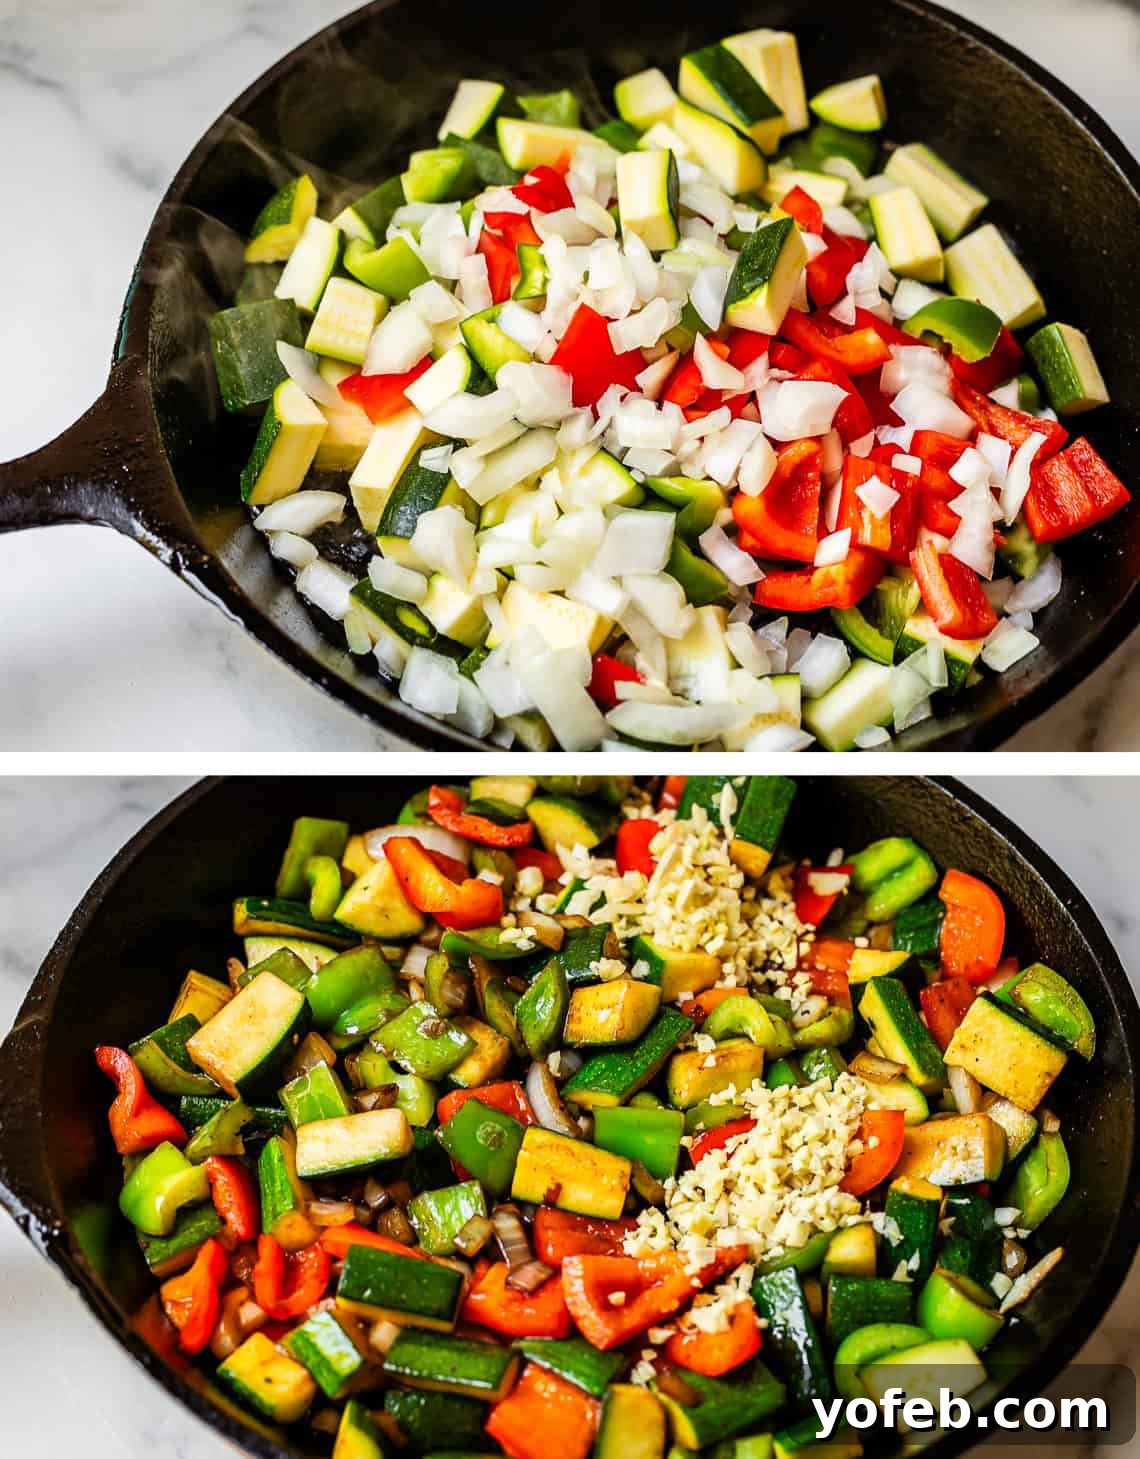
Now, it’s the vegetables’ turn! Add a little more oil to the same skillet and crank the heat back up to medium-high. Dump all your prepared bell peppers, onions, and zucchini into the hot pan. Sauté them for about two minutes, allowing them to become crisp-tender, maintaining their wonderful texture. After a couple of minutes, add the minced garlic and grated ginger, stirring them in to release their incredible aroma. Continue to cook for another 1-3 minutes, adjusting the time based on your preference for softer or crisper vegetables. Traditionally, Kung Pao chicken features vegetables that are distinctly crisp-tender, so avoid overcooking them, as they will continue to soften slightly even after the heat is removed.
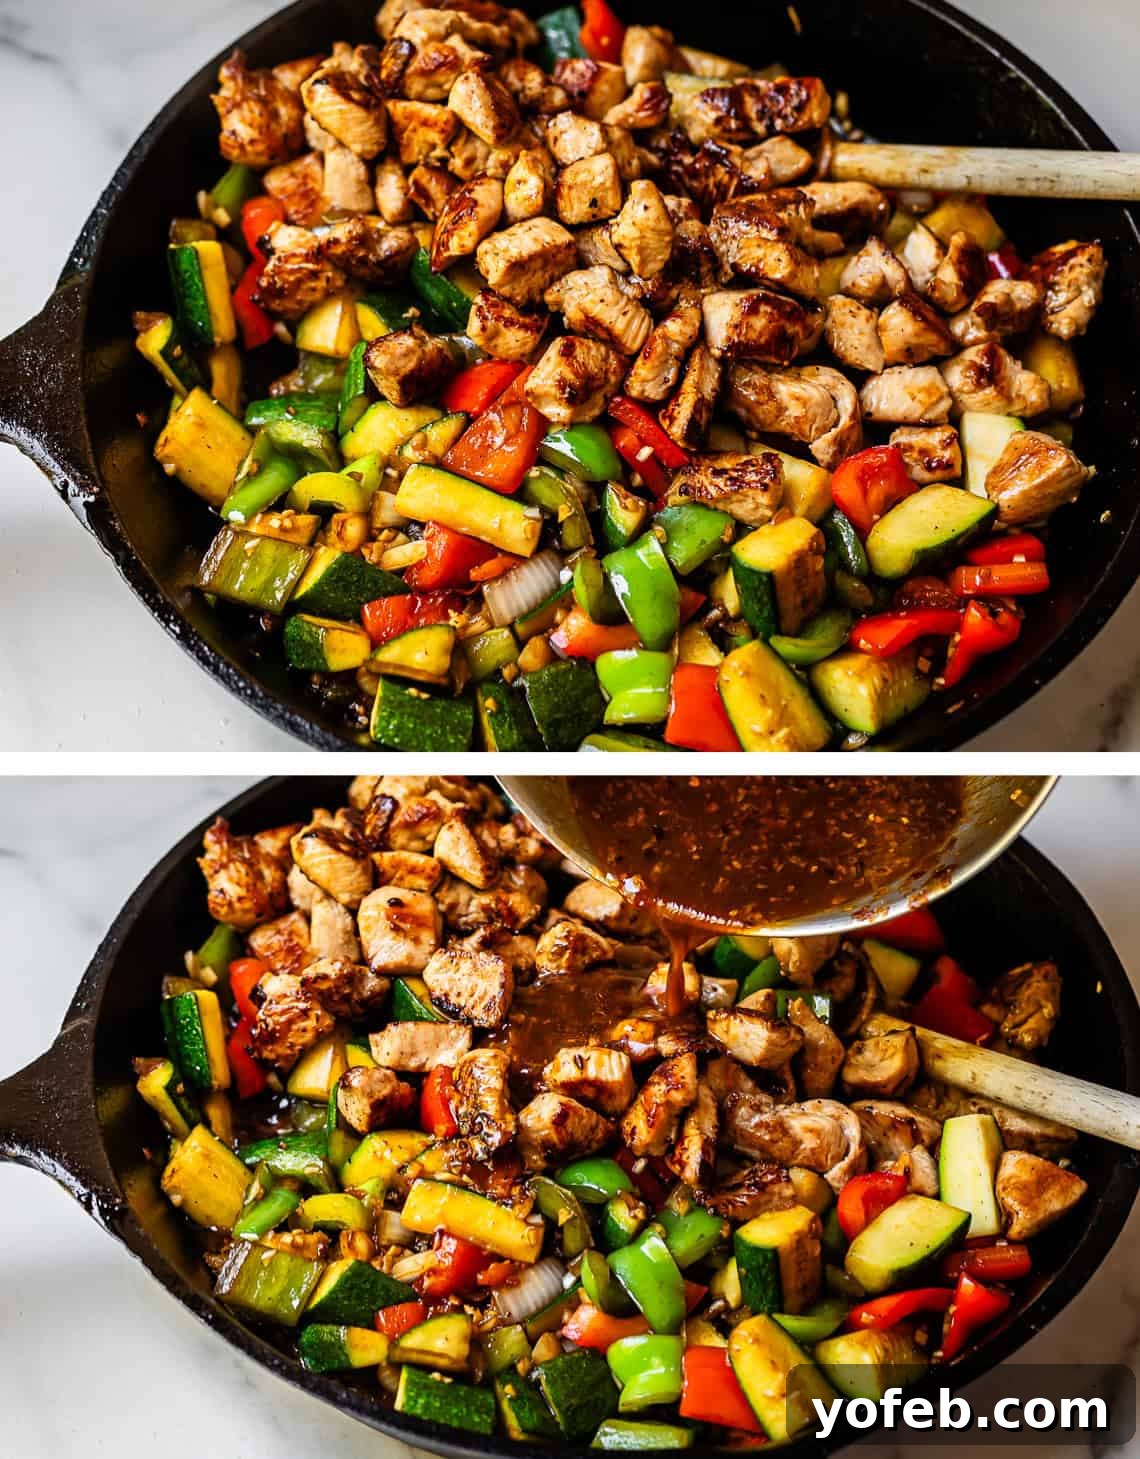
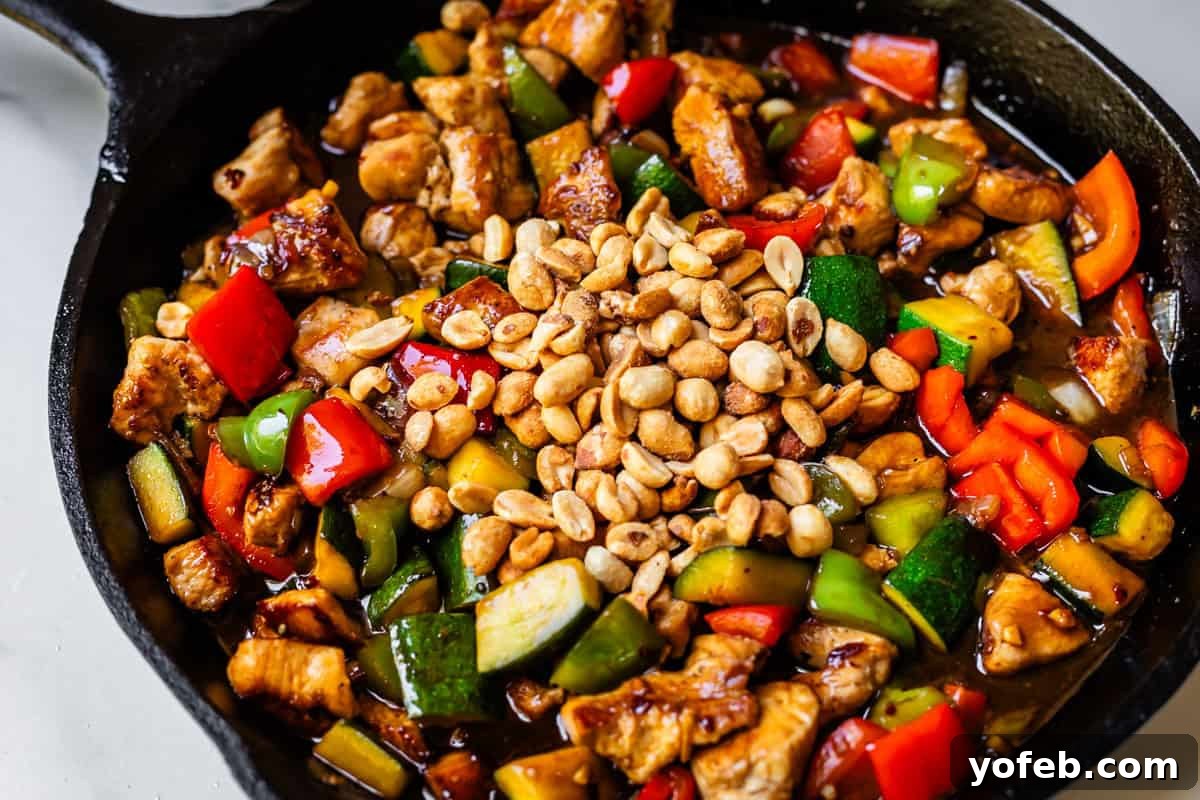
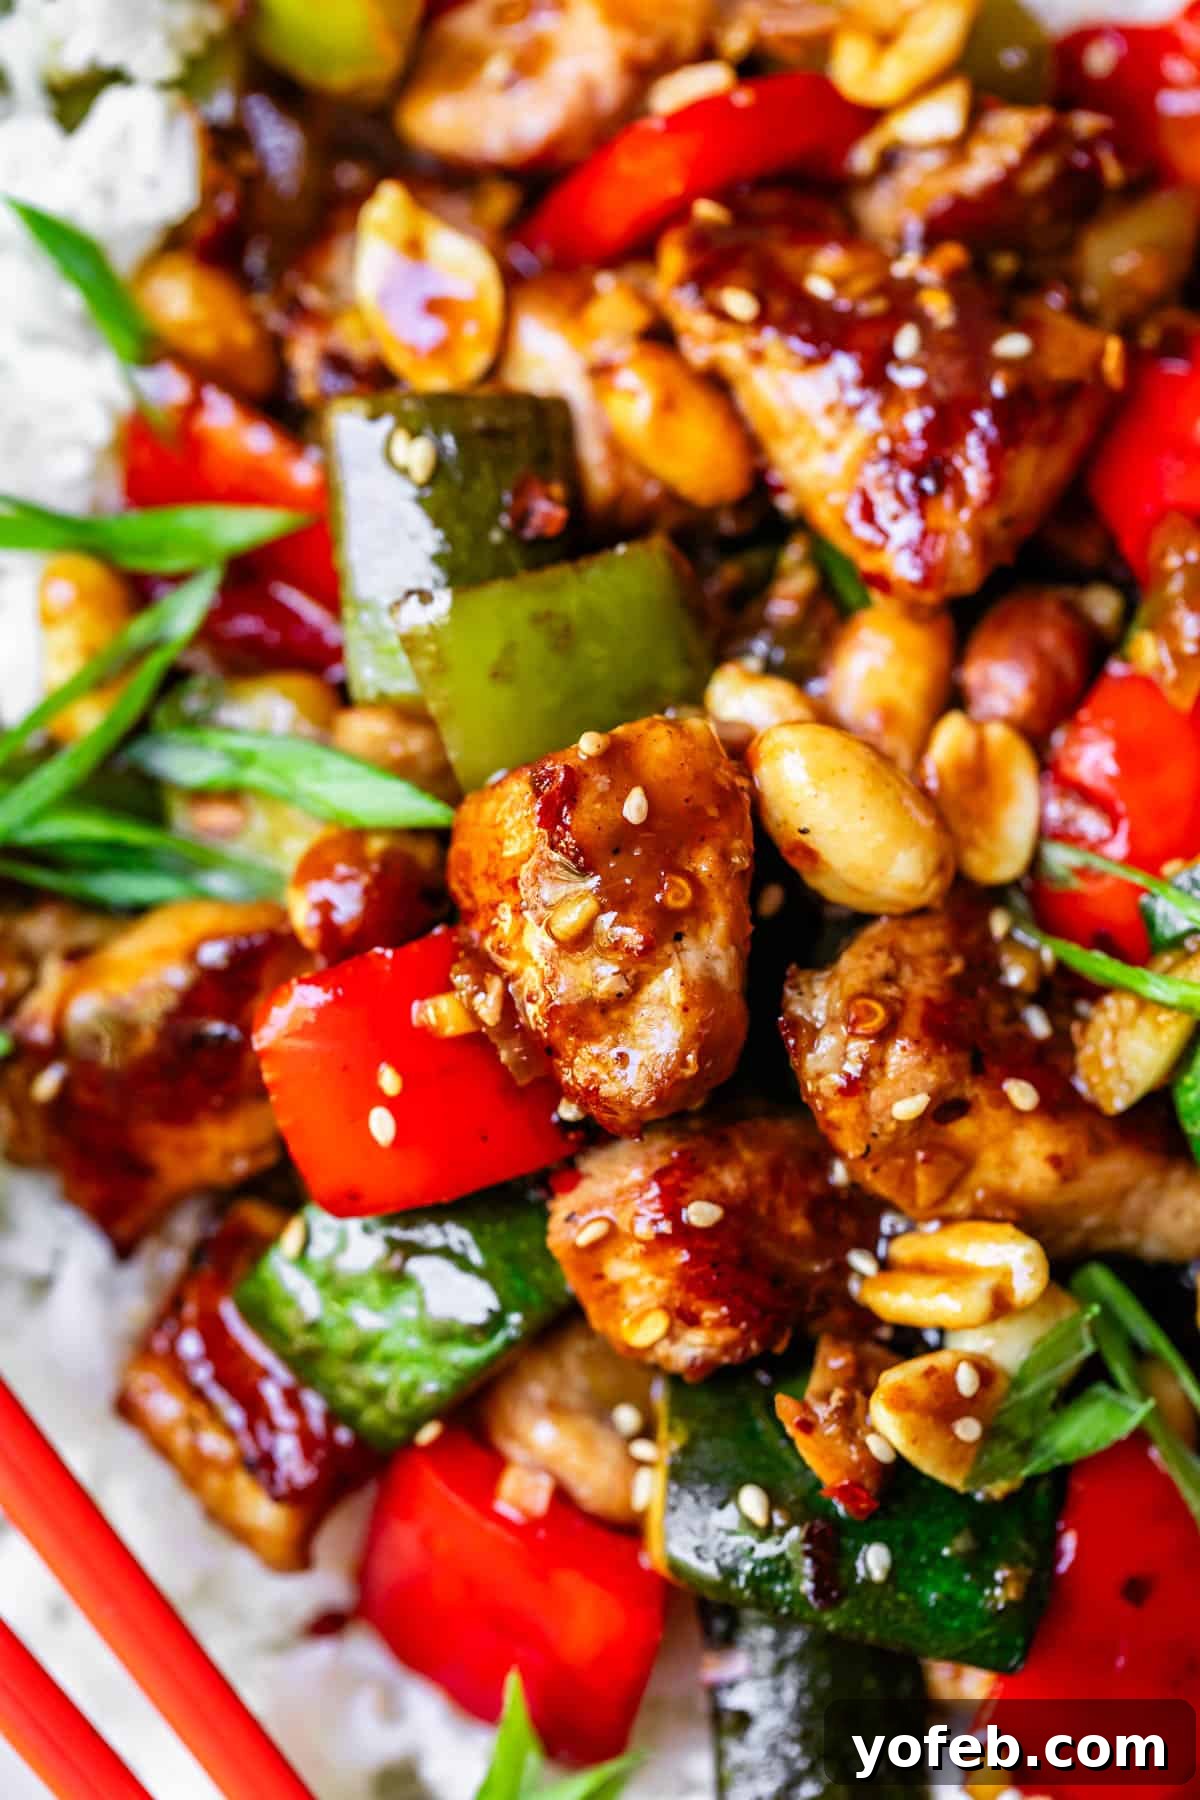
Finally, return the cooked chicken and any accumulated juices to the pan with the vegetables. Give your pre-made sauce one last quick whisk (to ensure the cornstarch is fully incorporated) and pour it over the chicken and veggies. Stir everything together briskly for just about a minute, making sure to scrape up all those delicious browned bits from the bottom of the pan – that’s where extra flavor hides! Don’t forget to stir in the roasted peanuts at the very end; they provide that perfect, essential crunch that completes the dish. Remove the pan from the heat immediately. The sauce will thicken beautifully, coating everything in a glossy, irresistible sheen.
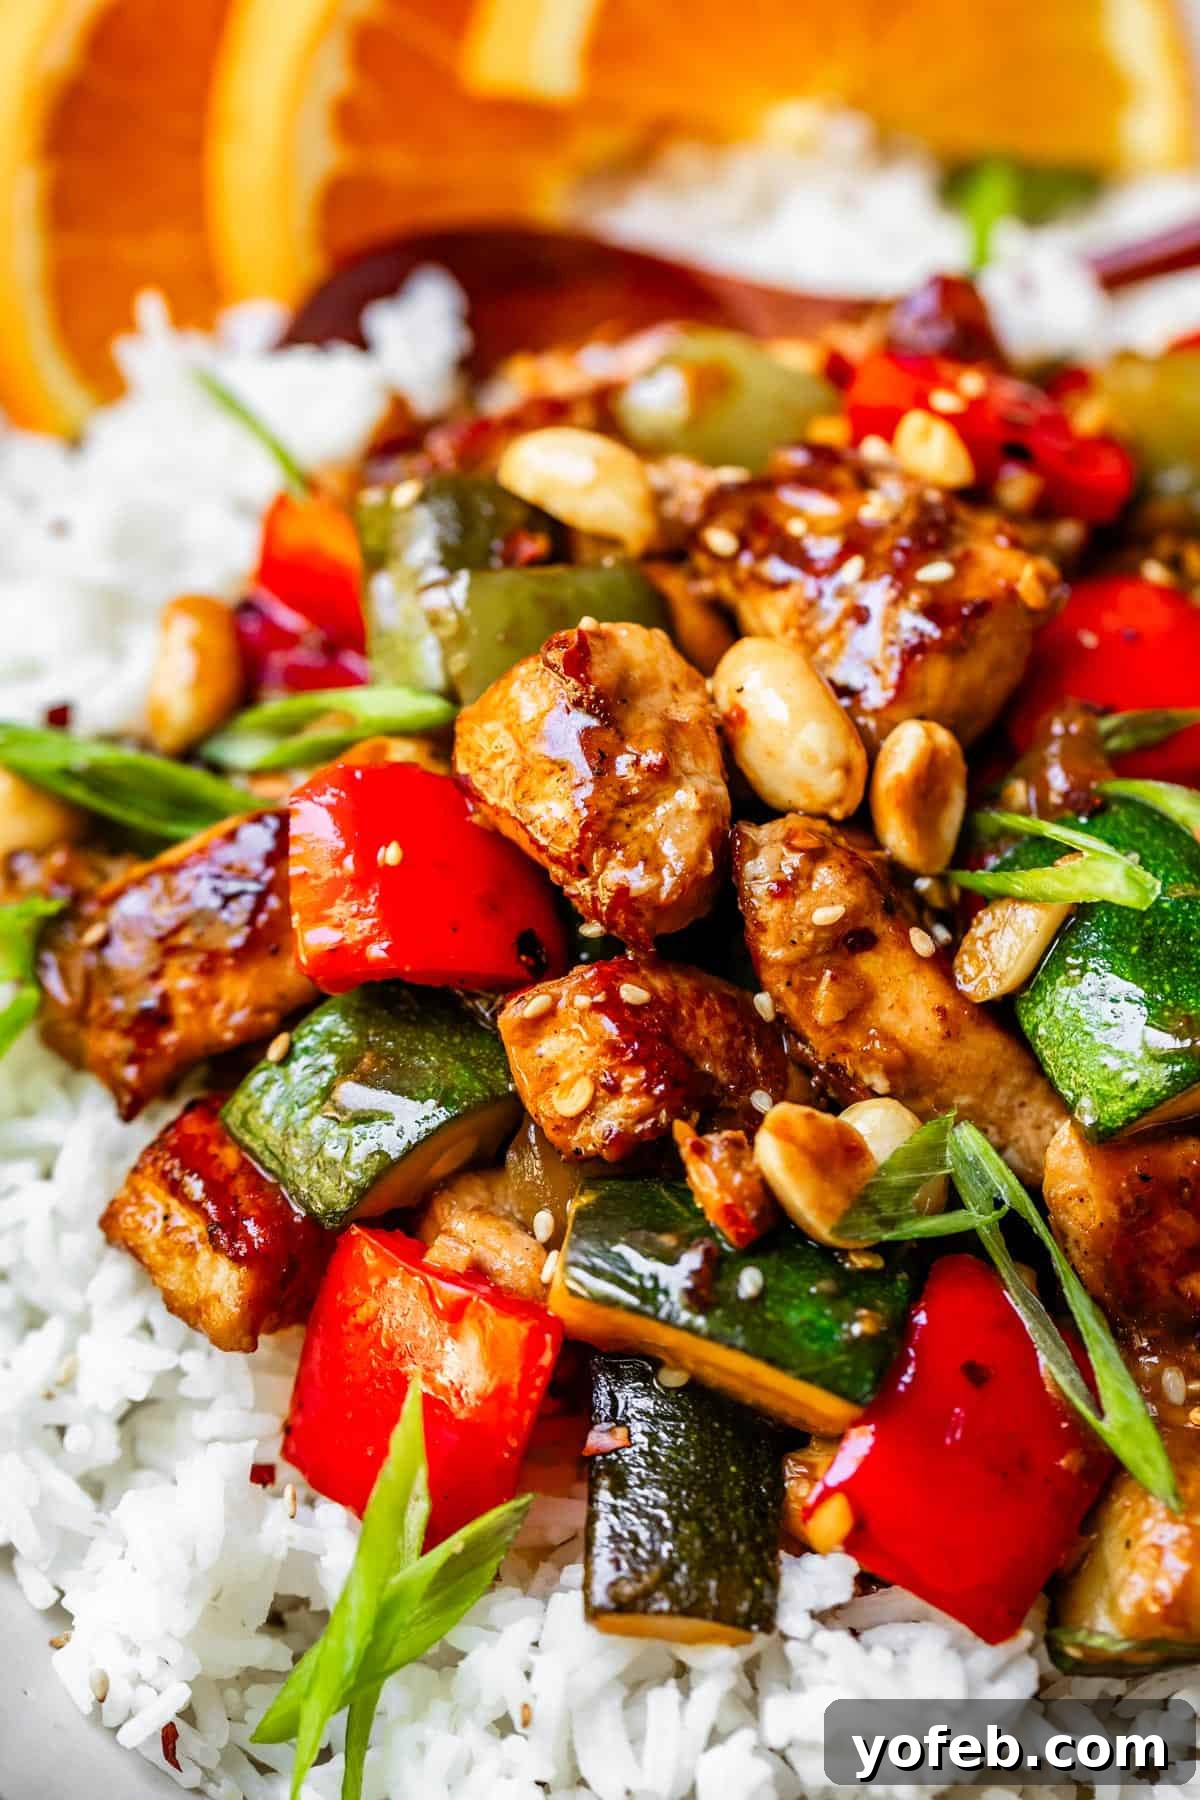
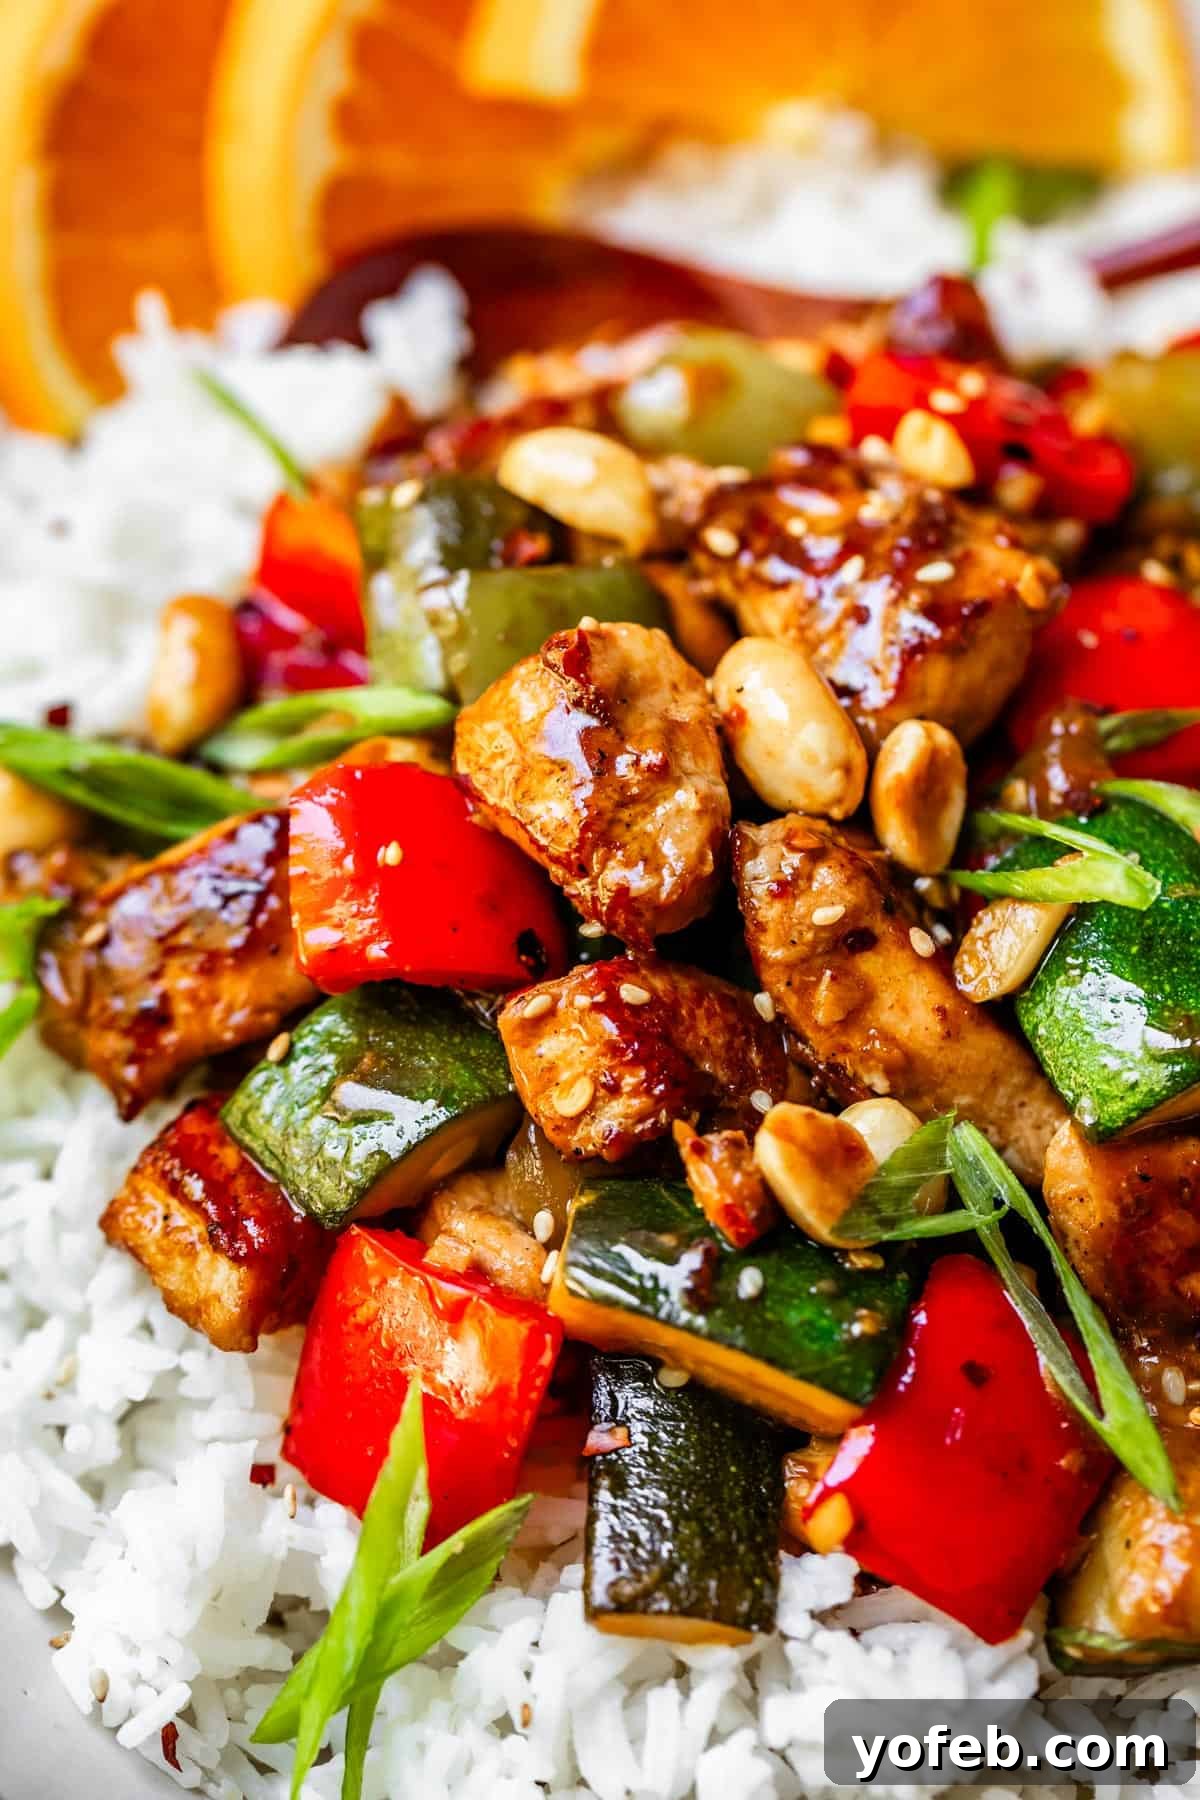
Serve this culinary delight immediately with some hot, steamy rice! While classic white rice is always a fantastic choice, you could also opt for wholesome brown rice, our go-to low-carb cauliflower rice for weeknights, or even Basmati rice. I vividly recall one time Eric accidentally made Basmati instead of our usual rice (literally just grabbed the wrong bag and didn’t notice), and then he slightly burned the bottom. Not charred, but just a beautiful golden crisp. It was unexpectedly SOOO good – those little bits of crispy, aromatic rice paired with this killer orange chili sauce? Absolute YUM!
Easy Kung Pao Chicken Recipe Variations and Customizations
Like any beloved classic that has gracefully withstood the test of time, Kung Pao Chicken is ripe for personalization. There are countless ways to adapt this recipe to suit your taste preferences and what you have on hand. Here are a few creative ideas to make this dish uniquely your own:
- Nut Swaps: While peanuts are traditional, try adding roasted cashews instead for a slightly different nutty crunch and flavor profile.
- Wine Alternatives: For a more authentic depth, use Shaoxing wine in place of dry sherry. If you can’t find either, a dry white wine or even chicken broth can work in a pinch, though the flavor will differ slightly.
- Vinegar Choices: Instead of balsamic vinegar, which I use for its resemblance to Chinese black vinegar, feel free to use classic rice vinegar. Both will provide that essential tangy counterpoint to the sweetness.
- Add More Veggies: Enhance the nutritional value and texture by incorporating other stir-fry friendly vegetables. Broccoli florets, snap peas, sliced carrots, or crunchy water chestnuts would all be delicious additions. Just be mindful of cooking times for different vegetables.
- Amp Up the Heat: If you’re a true spice fiend (unlike me, a bit of a baby when it comes to extreme heat!), consider adding 5-10 small dried red chilies, such as Tien Tsin chilies or chiles de arbol. Fry them in hot oil for about 30 seconds before searing the chicken to release their potent oils, then remove them before cooking the chicken. Add them back into the pan just before serving. But be warned: you’ll want to have a glass of milk at the ready!
- Orange Essence: I personally adore the bright hint of orange zest and juice in this chicken; I believe it really elevates the flavor. However, it’s not a strictly traditional ingredient. If citrus isn’t your preference, feel free to omit both the orange juice and zest – the dish will still be incredibly delicious without it.
What to Serve Alongside Your Kung Pao Chicken
I’m a firm believer in simplicity, especially for weeknight dinners. When I’m in charge, Kung Pao chicken is almost always served with rice because, hello, stir-fry vegetables are already abundant! If my kids eat it, that’s a win in my book. However, if you’re feeding a larger crowd or simply wish to expand your meal, here are some delightful ideas. If rice isn’t a favorite, this stir-fry also pairs wonderfully with various noodle options. Explore these family-favorite additions:
- Simple Green Salad or Asian Greens: A crisp green salad with a light vinaigrette or lightly sautéed Asian greens like baby bok choy would provide a refreshing counterpoint.
- Marinated Asian Cucumber Salad: This vibrant and refreshing salad is especially perfect for summer, offering a cool, tangy crunch.
- How to Cook Rice: Master the basics with this easy, step-by-step guide to perfectly fluffy rice every time.
- Coconut Jasmine Rice with Cilantro: Elevate your rice game with the aromatic flavors of coconut and cilantro. You might never go back to plain rice!
- How to Cook Brown Rice in an Instant Pot: Let your Instant Pot do the heavy lifting, yielding perfectly cooked, healthy brown rice with minimal effort.
- How to Make Riced Cauliflower: A fantastic low-carb alternative that we enjoy regularly, even the kids approve!
- Asian Cauliflower Rice: Building on the riced cauliflower, this version is seasoned to perfection, making it an ideal pairing for any Asian-inspired dish.
- How to Make Zucchini Noodles Without a Spiralizer: If you’re looking to skip the rice, these healthy and delicious veggie noodles would be a wonderful base for your Kung Pao.
- Copycat P.F. Chang’s Lettuce Wraps: Have you tried these? They are incredibly addictive and make a great appetizer or light side.
- Crab Rangoon from Rasa Malaysia: A classic takeout appetizer that’s surprisingly easy to make at home.
Storing Your Kung Pao Chicken for Maximum Freshness
One of the many advantages of homemade Kung Pao chicken is its excellent shelf life, making it perfect for meal prepping or enjoying as leftovers. Once cooled, transfer your Kung Pao chicken to an airtight container and store it in the refrigerator for 3-5 days. It’s an ideal candidate for meal prepping: simply portion out your desired ratios of chicken and rice (or cauliflower rice) into individual containers. When you’re ready to enjoy your leftovers, reheat your serving in the microwave, stirring every 30 seconds to ensure even heating and prevent any undesirable hot spots.
Can You Freeze Kung Pao Chicken?
Absolutely, you can freeze leftover Kung Pao chicken, but it’s important to adjust your expectations regarding texture, especially for the vegetables. The bell peppers, onions, and zucchini will likely become quite soft upon defrosting. If you don’t mind this change in texture, freezing is a convenient option. Store it in an airtight container or a freezer-safe ziplock bag (and don’t forget to label it clearly to avoid any mystery meal situations!). I recommend defrosting the frozen dish overnight in the refrigerator, then re-warming the desired portion in the microwave, stirring every 30 seconds until heated through.
More Irresistible Asian Flavors to Explore
If you’ve fallen in love with the vibrant flavors of this Kung Pao Chicken, you’ll be thrilled to discover more Asian-inspired culinary adventures awaiting you. From classic takeout favorites reimagined for the home cook to fresh and easy weeknight meals, here are some other recipes you might enjoy:
- Better Than Panda Orange Chicken: Move over, takeout! This homemade orange chicken is a serious contender for your new favorite.
- Banh Mi Sandwich: Discover the incredible flavors of Vietnam with this homemade Banh Mi sandwich – you’ll be obsessed!
- Easy Sesame Noodles with Spring Veggies: A truly fantastic and refreshing summer dinner, packed with delightful spring vegetables.
- Asian Seared Chicken with Stir-Fried Green Beans: An easy weeknight meal bursting with vibrant Asian flavors.
- Sheet Pan Chicken Fried Rice: Fried rice made for a crowd, conveniently prepared in the oven for minimal fuss.
- Easy Pork Ramen Recipe (Slow Cooker): Love ramen? This comforting bowl comes together effortlessly in your Crockpot.
- Easy Curry Beef Recipe: A hearty and comforting curry-style dish perfect for a cozy meal.
- Thai Peanut Lettuce Wraps with Crispy Fish: A light and fresh summer meal featuring crispy fish fillets and a savory peanut sauce.
- Sweet and Spicy Stir Fry Noodles from She Likes Food: A delicious noodle dish with a perfect balance of sweet and heat.
- Beef Rendang from Manila Spoon: Explore the rich, complex flavors of this traditional Indonesian beef curry.
- Sweet and Sour Chicken from Tiffy Cooks: A popular Chinese American dish, perfectly balanced between sweet and tangy.
Facebook | Pinterest | Instagram

Kung Pao Chicken
Rate this Recipe
Print Recipe
Ingredients
For the marinade:
- 1/4 cup low sodium soy sauce
- 1 tablespoon cornstarch
- 1 tablespoon sherry, or better yet, Shaoxing wine
- 1 and 1/2 pounds chicken breasts, or chicken thighs, cut into 1-2 inch pieces
- 1 tablespoon vegetable oil, plus more, for searing the chicken
For the veggies:
- 1 tablespoon vegetable oil, for sauteing the veggies
- 1 red bell pepper
- 1 green bell pepper
- 2 small zucchini
- 1/2 cup onion, chopped
- 4 cloves garlic, smashed and minced
- 1 and 1/2 inches fresh ginger, about 1 tablespoon grated or minced (or 1 tablespoon ginger paste)
For the sauce:
- 2 teaspoons cornstarch
- 2 tablespoons balsamic vinegar
- 2 tablespoons honey
- 2 tablespoons low sodium soy sauce
- 1 tablespoon hoisin sauce
- 1 tablespoon chili crisp, or more, or less!
- 1/2 cup chicken broth*
- 1 teaspoon orange zest, from 1 orange
- 3 tablespoons fresh orange juice, from 1/2 an orange
To serve:
- 1/2 cup roasted salted peanuts, or roasted salted cashews
- green onions, chopped, for garnish
- white sesame seeds, for garnish
- hot rice, for serving
Instructions
-
Marinate the chicken. Add the marinade ingredients to a medium bowl: 1/4 cup low sodium soy sauce, 1 tablespoon cornstarch, and 1 tablespoon Sherry wine (or Shaoxing wine). Whisk together until smooth.
-
Chop the chicken breast (or thighs) into 1-2 inch cubes. Add the chicken to the bowl with the marinade, stir to coat evenly, and set aside at room temperature for 15 minutes. This brief marination ensures tender and flavorful chicken.
-
Chop the veggies: Chop both the red and green bell peppers into large, distinct squares (refer to photos for visual guidance). Slice 2 zucchini in half lengthwise, then slice each half lengthwise again, and chop these strips into 2-inch pieces. Chop an onion and measure out 1/2 cup (store any remaining onion in the freezer for future use). Set these prepared vegetables aside.
-
Smash 4 cloves of garlic with the side of your chef’s knife, then peel and finely mince the garlic. Peel a 1 and 1/2 to 2-inch piece of fresh ginger, then finely mince or grate it. Keep the ginger and garlic separate from the other chopped vegetables for now.
-
Make the sauce. In a small bowl, combine all the sauce ingredients: 2 teaspoons cornstarch, 2 tablespoons balsamic vinegar, 2 tablespoons honey, 2 tablespoons low sodium soy sauce, 1 tablespoon hoisin sauce, 1 tablespoon chili crisp (adjust to your preferred spice level, you can always add more as a garnish later), 1/2 cup chicken broth*, 1 teaspoon zest from one orange, and about 3 tablespoons fresh orange juice (typically from half an orange). Whisk everything together until smooth. Leave the whisk in the bowl so you can give it a final mix right before adding it to the skillet.
-
Sear the chicken. Heat a 12-inch cast iron skillet** (or a wok) over medium-high heat for 2-3 minutes, until it is very hot. Add 1 tablespoon vegetable oil to the hot pan and swirl to coat the bottom; it should shimmer immediately.
-
Using tongs, add the chicken pieces to the pan in a single layer, ensuring ample space between each piece. You will likely need to do this in 2-3 batches to avoid overcrowding. Allow the chicken to cook undisturbed for 2-3 minutes until completely browned on the bottom. Flip each piece and sear the other side for about 1 minute until browned. If your chicken pieces are large, reduce the heat to medium and allow them to finish cooking through for a couple more minutes. (For smaller pieces, medium-high heat is fine throughout.) Once the chicken is cooked through (internal temperature of 160 degrees F, or visually confirm no pink remains), remove it to a plate. Repeat this process for all remaining chicken.
-
Cook the vegetables. Once all the chicken is cooked and removed, add 2 more tablespoons of olive oil to the same skillet and turn the burner back up to medium-high heat. Add the chopped bell peppers, onions, and zucchini all at once. Sauté for about 2 minutes, stirring occasionally, until they are crisp-tender.
-
After approximately 2 minutes, add the minced garlic and ginger, stirring them into the vegetables. Continue to cook for another 1-3 minutes, depending on your preferred level of vegetable tenderness. Traditional Kung Pao chicken features very crisp-tender vegetables, so keep in mind they will continue to soften slightly even after you turn off the heat.
-
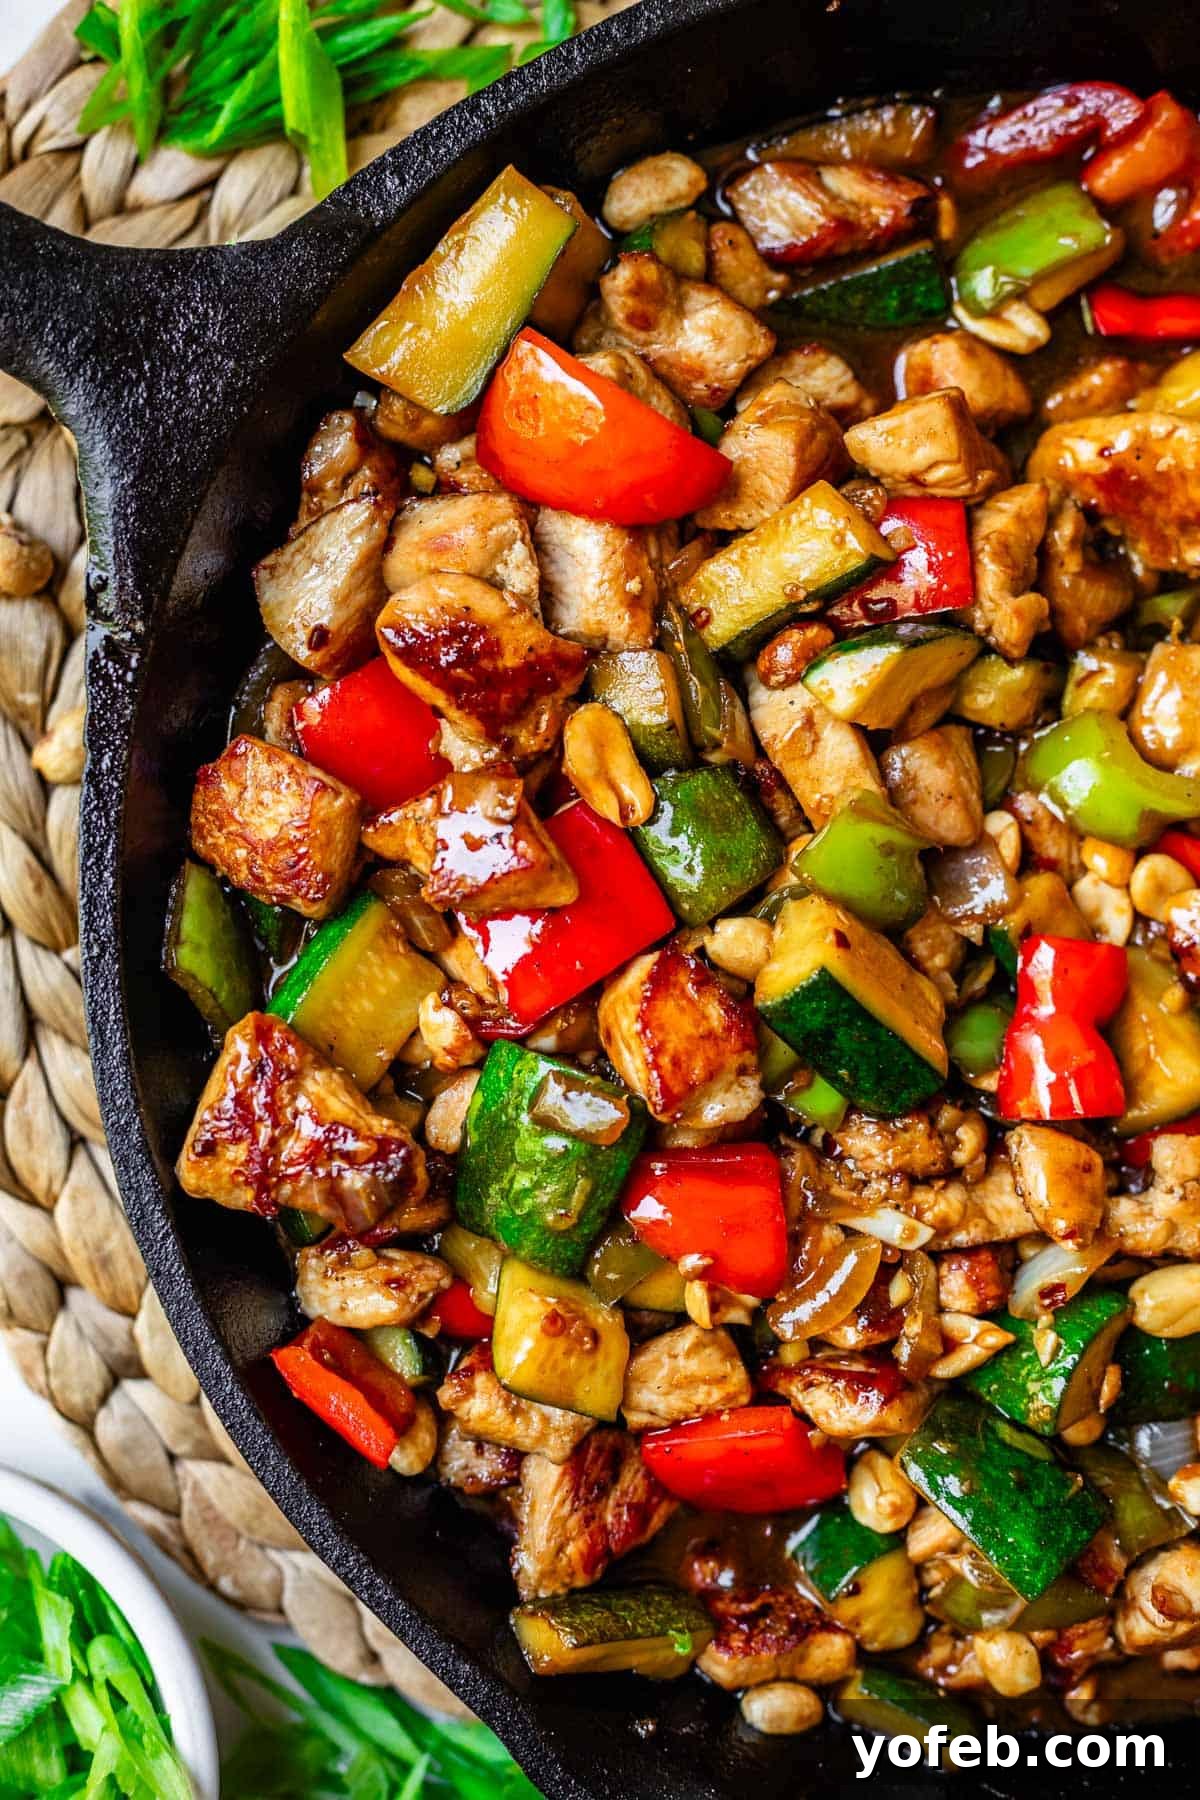
Combine chicken and sauce. Scrape the cooked chicken and any juices that have collected on the plate back into the pan with the vegetables. Give the orange chili sauce a final whisk and pour it over the contents of the pan. Stir everything thoroughly, ensuring all the browned bits from cooking the chicken are scraped up and incorporated into the sauce. Add 1/2 cup of roasted peanuts (or cashews) and stir until everything is well coated with the glossy sauce. Remove the pan from the heat.
-
Garnish the finished Kung Pao chicken with chopped green onions and toasted sesame seeds for added freshness and visual appeal. For those who enjoy an extra kick, pass additional chili crisp sauce at the table.
-
Serve this recipe with rice of some kind for a complete meal. It’s especially decadent with Coconut Jasmine Rice, but regular white rice is also amazing. Other excellent options include Brown rice, Cauliflower Rice (our weeknight go-to for a low-carb option), or Basmati rice.
Notes
**If you don’t have a cast iron pan, use your heaviest skillet or a large wok.
Nutrition facts do not include rice.
Nutrition
A Blast From The Past: Kung Pao From Yesteryear
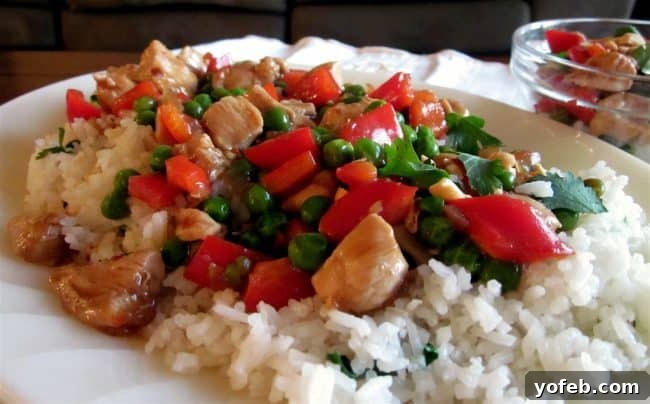
I originally published a version of this Kung Pao Chicken recipe on December 9, 2011, a mere two months after embarking on my blogging journey! The rather “atrocious” photo below serves as irrefutable proof of those early days. What follows is a truly silly story that I included in that original post (in all its double-space-after-the-period glory) about my very first foray into a Zumba class. I was just 24 at the time:
“What happens when you combine sexy Latin hip-shaking with aerobics and an awkward, rhythm-less Karen? Love. Love is what happens.
My friend Lauren invited me to go to a free Zumba class she was taking. I’d heard people bear their testimonies about Zumba before, but had never actually seen it. I now enthusiastically join their throngs. It. Was. Awesome.
It’s kind of like learning a line dance, but instead of doing the electric slide and a lasso at every turn, you’re shaking your booty for all you’ve got. But it’s more about the exercise than the intricate dance, so instead of repeating the same step over and over until you master it, you just seamlessly move right on to the next dynamic move.
The absolute best part? The amazing Latin-techno music blaring as loud as the speakers will go. It was especially awesome because these sexy Latin songs inevitably feature Latin men hissing and whistling suggestively, and listening to that while trying to imitate sexy Latin dance moves – and failing miserably – is truly hilarious.
Seriously, I am simply not a dancer. I love it, but I’m just not good at it. I once decided to take a ballet 101 class for “fun” during my first semester in college, after my sister-in-law convinced me it would be a good idea. I remember thinking, A dance class. How hard can it be? On the very first day, we all sat around in a circle, and everyone had to explain their dance experience. I, being honest, stated: I took a jazz class for a few months when I was 7! Everyone else? I’m a clogging major. I’m taking ballet to improve my form. Or: I’ve been taking modern dance since I was 3. Or: I’ve been dancing since I was in the womb. Probably in the preexistence, too.
Needless to say, I was by far the worst in the class. I possess absolutely no grace, no inherent rhythm, and I even lack the basic memory for recalling dance steps. It was a humbling experience.
In spite of this rather disastrous history, I still absolutely loved Zumba. If anyone were to ever watch a video of me Zumba-ing (please, pray that you never do), I am quite sure it would bear little to no resemblance to what the instructor was actually doing. This is probably because I broke down laughing after about every third step. I genuinely think I burned more calories laughing at my valiant attempts to do sexy shimmy-shaking than I did actually shimmying.
The worst steps in Zumba, for me, are always the ones that involve clapping. For most normal moves, it’s relatively easy to pretend no one notices that I’m horribly off-beat. But the clapping? That’s what truly gives me away. My claps are invariably a half-beat or more behind everyone else’s, making it impossible to hide. My brain also, in its frantic attempt to catch up, feels it’s absolutely necessary to get in as many claps as I heard, even if I am severely late. So, if there are three successive claps and I’ve just missed all of them, in my frenzy to catch up, I will still clap three times in rapid fire, while everyone else in the room has gracefully moved on to a completely silent spin-step. And then, inevitably, I break down in laughter and completely miss the next three moves.
This [Kung Pao Chicken] is truly one of my favorite recipes. It’s super quick to prepare and absolutely delicious. I never use snow peas in my version because they can be quite expensive, but I’m sure it would be wonderfully good that way too. I honestly don’t know if it tastes entirely authentic because I’ve never ordered it in a restaurant, so no haters please if it’s not a perfect replica. If, by chance, you find yourself disappointed, just do some shimmy-shakes until you feel better!