
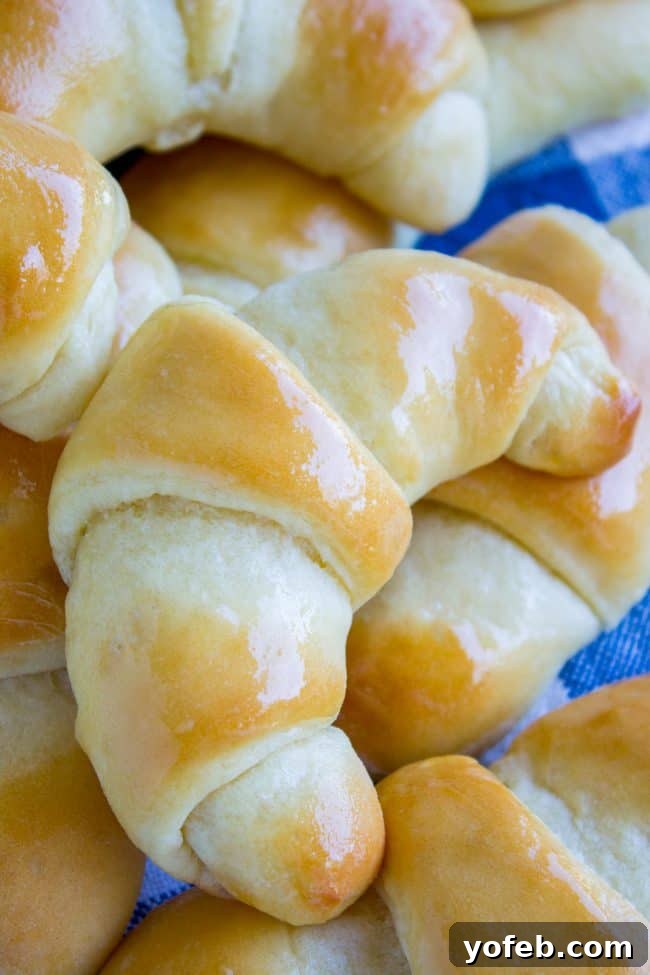
Prepare to experience the finest crescent rolls of your life! These aren’t just any rolls; they’re substantial, incredibly soft, and have a rich history spanning over three decades. For ten years, I’ve cherished and perfected this recipe, originally passed down by my mother-in-law, Kris, who has been baking them for thirty. This tried-and-true formula consistently yields perfectly fluffy, light, and utterly delicious results that are surprisingly easy to achieve.
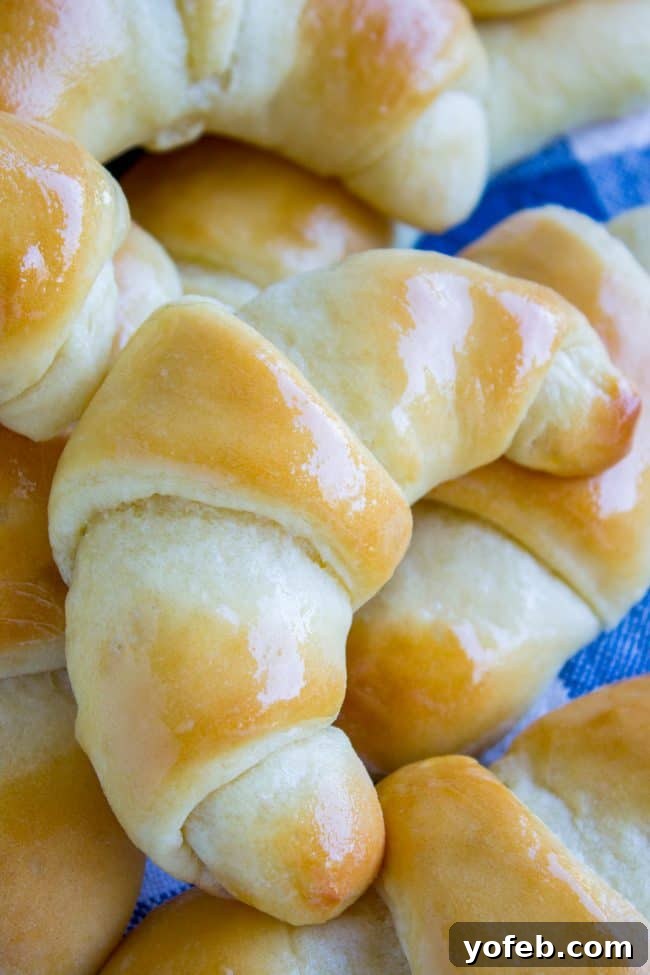
This cherished recipe first graced my blog on February 1, 2012. Over the years, its popularity has only grown, prompting a thorough update on November 7, 2018, which included fresh photos and more detailed instructions. Many of my most beloved recipes were shared in the early days of this blog, long before a wider audience discovered them. These big, fluffy crescent rolls deserve all the attention they can get!

Crafting the Ultimate Crescent Rolls: A Step-by-Step Guide
Have you ever experienced the joy of baking homemade crescent rolls? There’s truly nothing quite like the aroma of fresh yeast bread wafting through your home. This particular recipe, a gift from Eric’s mother, Kris, when I joined the family, has been a staple in her kitchen since 1987. It’s a testament to its unwavering perfection and the delight it brings to every meal.
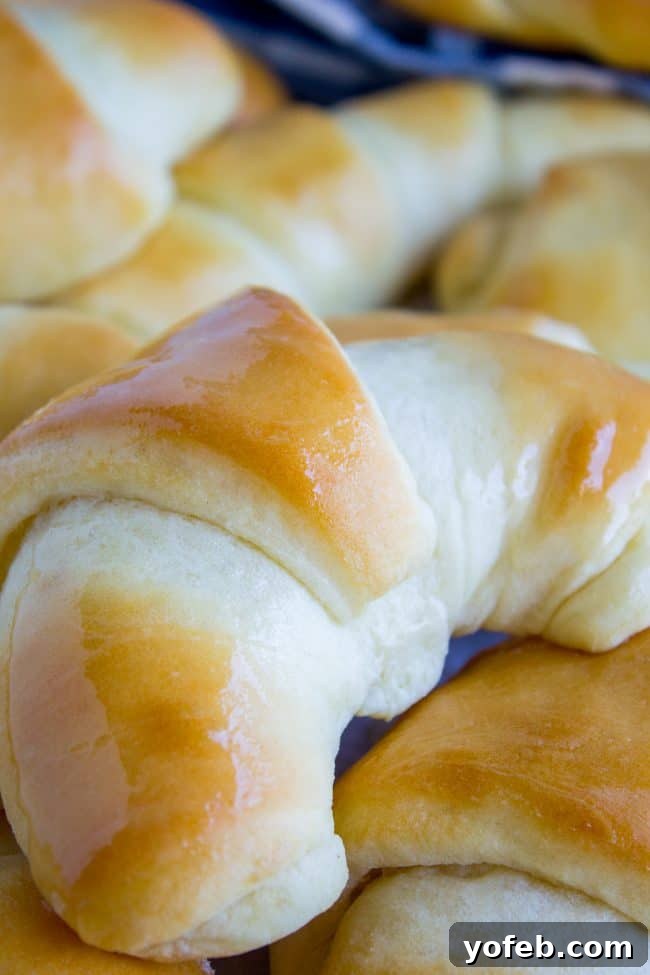
These rolls are more than just a side dish; they’re an experience. I can easily devour a dozen in one sitting—they are that addictive! Every bit of effort invested in their creation is generously rewarded, and anyone you share them with will wholeheartedly agree. They boast an incredibly light and airy texture, a rich buttery flavor, and a golden-brown crust that’s simply irresistible. This recipe is particularly beloved for holiday gatherings like Thanksgiving, but it’s equally perfect for any family dinner where you want to add a touch of homemade warmth and comfort.
The original name, “Big Fat Crescent Rolls, yeah,” came from Eric, who initially transcribed the recipe via email as his mom dictated it over the phone. While I’ve tidied up some of the more colloquial instructions, the spirit of that original, enthusiastic title remains. It perfectly captures the generous size and indulgent nature of these rolls.
Activating the Yeast: The Foundation of Fluffy Rolls
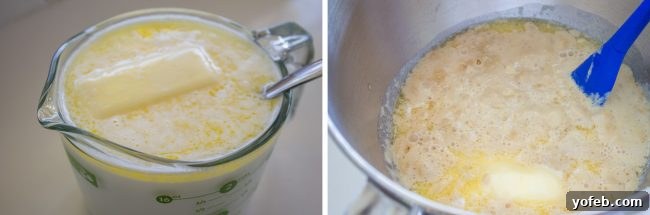
The first step in achieving truly spectacular crescent rolls is ensuring your active dry yeast is properly activated. Combine the yeast with warm water—think lukewarm bathwater, around 105°F (40°C). If the water is too hot, it will kill the yeast; too cold, and it won’t activate. Let it sit for about 5 minutes until it becomes beautifully foamy and bubbly. This foam is your assurance that the yeast is alive and ready to work its magic, giving your rolls their signature airy texture.
Mixing and Rising: Patience is Key
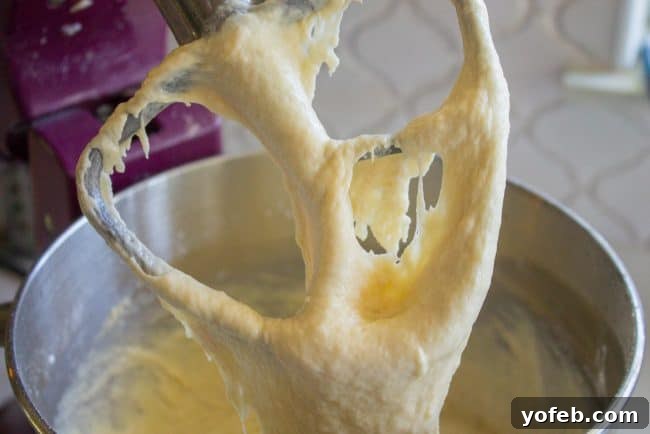
Next, you’ll incorporate warm milk, softened butter, sugar, salt, and eggs into your yeast mixture. The key here is to ensure your milk is warm, not hot, mirroring the yeast water’s temperature to prevent shocking the yeast. Gradually add the all-purpose flour, mixing thoroughly after each addition. Don’t be alarmed by the dough’s consistency at this stage; it will be quite loose and sticky, far from forming a firm ball. This soft, pliable dough is essential for the light and tender crumb of the finished rolls. Mix it on medium speed for about 2 minutes to develop the gluten. Once mixed, cover the bowl with a greased plastic wrap and let it rise in a warm place for about an hour. Resist the urge to leave the house during this crucial rising time – a common mistake! Keep an eye on it to prevent it from overflowing as it expands beautifully.
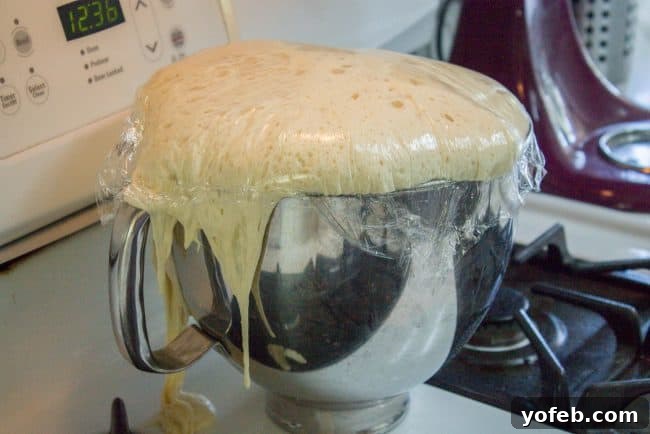
After its first rise, the dough will be wonderfully voluminous. Gently punch it down to release the air. You’ll notice it’s a massive amount of dough, enough to feed a crowd or freeze for future enjoyment.
How to Perfectly Roll Crescent Rolls
Shaping yeast rolls can sometimes feel intimidating, but with a few simple techniques and plenty of visual guidance, you’ll master it in no time. This section provides detailed steps and imagery to help you achieve beautifully layered crescent rolls.
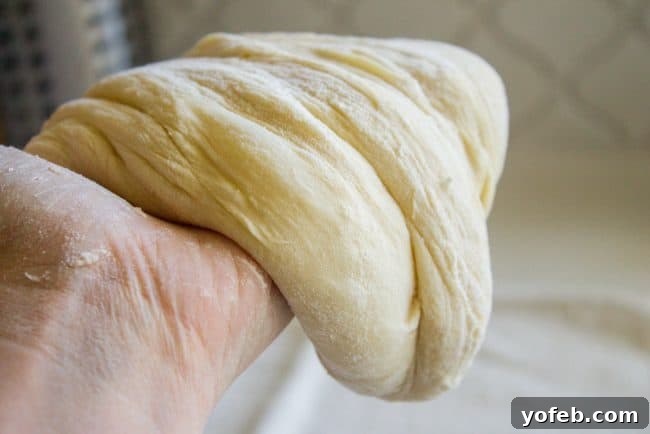
Preparing the Dough for Shaping
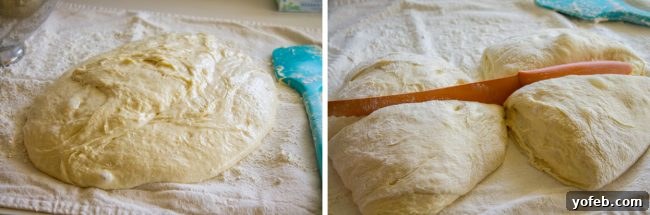
First, generously flour your work surface. And when I say generously, I mean it – dump at least half a cup of flour and spread it out. This dough is incredibly soft and tends to be quite sticky, so don’t hesitate to flour your hands well. Knead the dough a few times on the floured surface until it becomes more manageable. You can add a little more flour if needed, but remember, its inherent stickiness is part of what makes these rolls so tender. Use a serrated knife, also dusted with flour, to divide the dough into four equal portions. Place three portions aside, covered with a tea towel, while you work with the first.
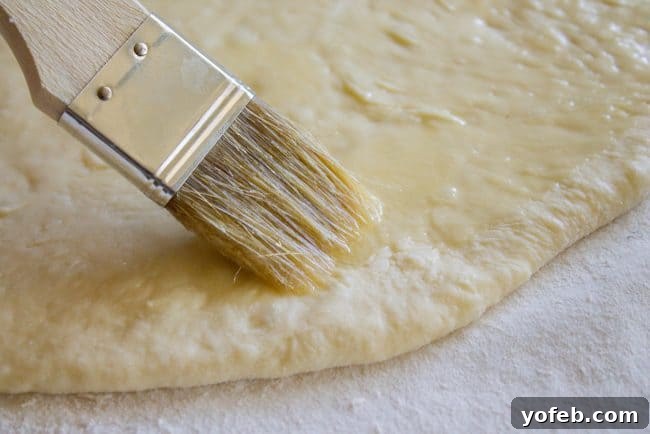
Rolling and Buttering
Take one quarter of the dough and roll it into a 12-inch circle on your well-floured surface. Be careful not to make it too large, as this could result in overly long rolls. Once rolled, melt half a cup of butter in a small bowl. Using a pastry brush, generously spread this melted butter all over the surface of the dough circle. This butter layer is crucial for the flaky, layered texture of the finished crescent rolls.
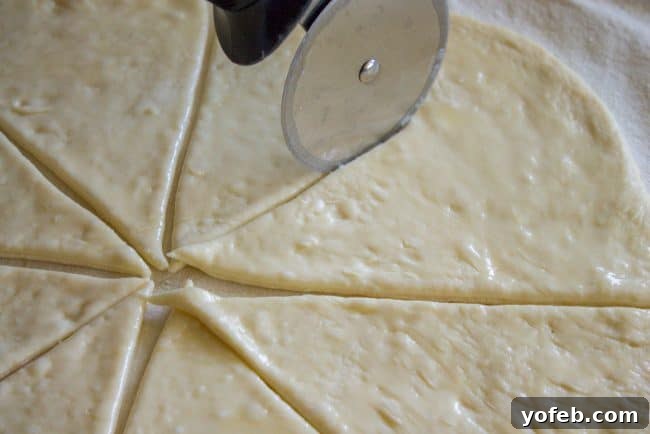
Cutting and Shaping the Crescents
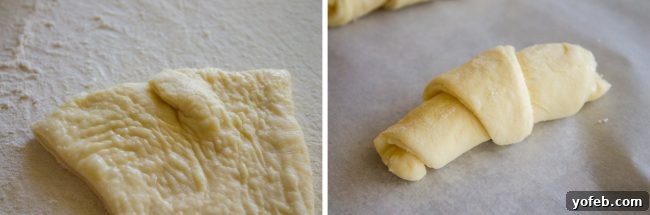
Now, using a pizza cutter, slice the buttered dough circle into eight equal triangles, just as you would slice a pizza. For the characteristic crescent shape and beautiful layers, start from the wider end of each triangle and roll it up, butter-side facing outwards. A little trick I love is to gently stretch the skinny end of the dough as you roll. This elongates the tip, creating more elegant layers. If the wider end of your triangle seems too long, which would make for a very stretched-out roll, you can make a small snip in the middle of that wide end and fold it inwards on itself before rolling. This will result in a fatter, more substantial roll instead of a long, thin one. Don’t forget to curl the edges of the rolled dough on the baking sheet to form that classic crescent moon shape before the second rise.
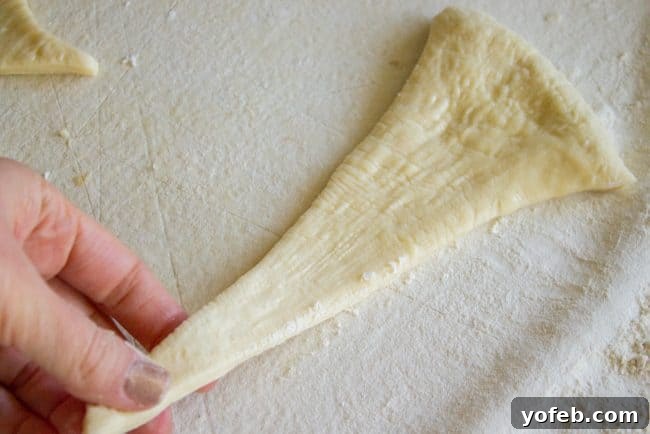
Place the shaped rolls on baking sheets lined with parchment paper or silicone mats, ensuring they are about 2 inches apart. Cover them with a tea towel and allow them to rise for at least another half hour, or longer if your kitchen is cool. This second rise is vital for achieving that incredible lightness.
Baking and Finishing Touches
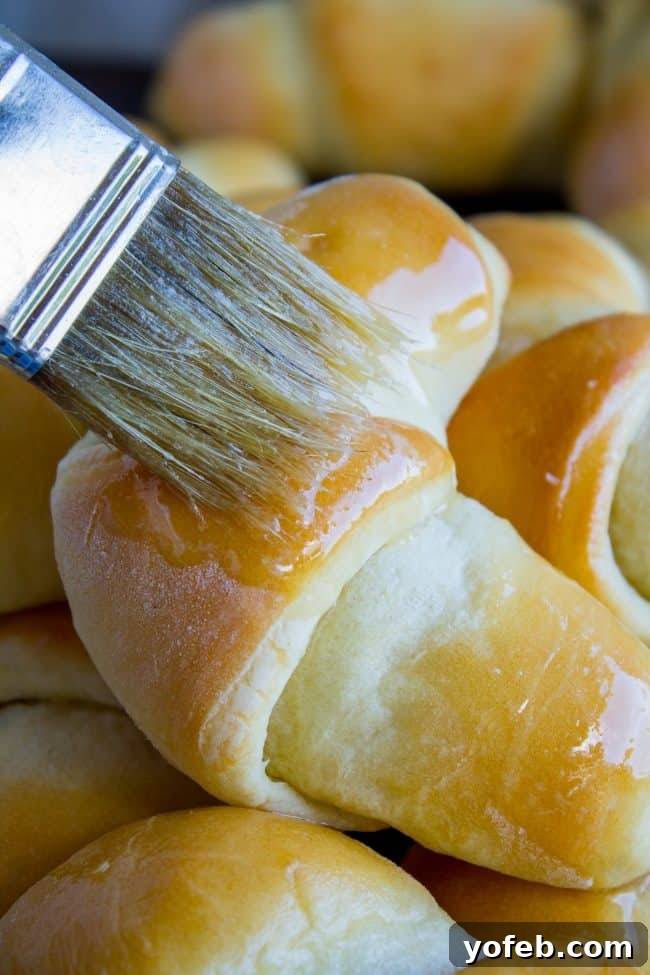
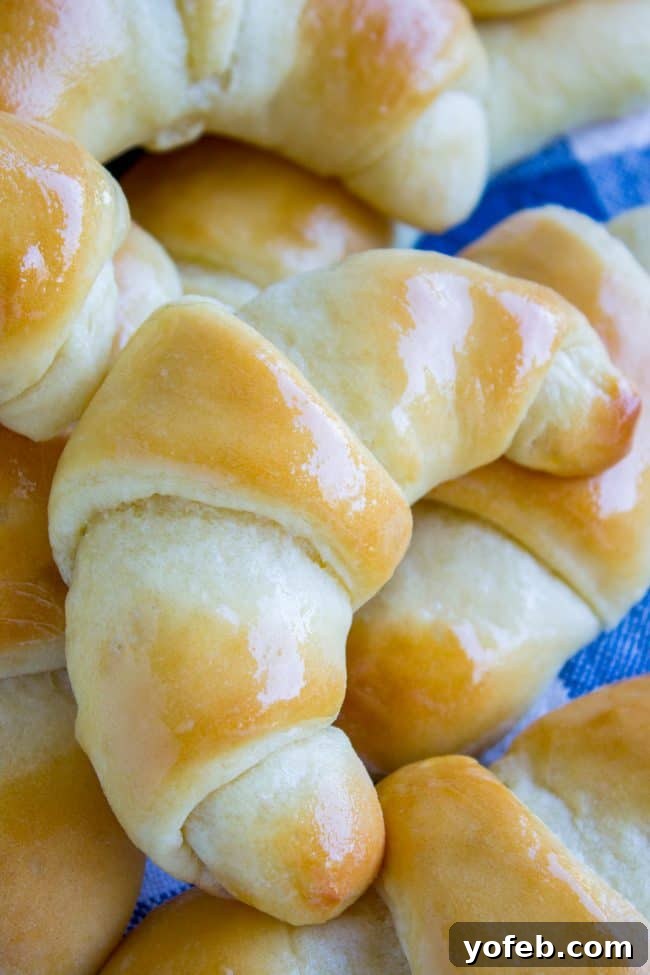
Preheat your oven to 375°F (190°C). Bake each pan of rolls for 12-15 minutes, or until they puff up beautifully and turn a rich, golden brown on both top and bottom. As Kris always says, “They puff up real nice!” If you’re baking two pans at once, rotate them halfway through (moving the top pan to the bottom and vice versa) to ensure even baking. As soon as the rolls emerge from the oven, brush them generously with more melted butter. This adds an extra layer of flavor and gives them a beautiful sheen. And then, without delay, grab one and enjoy its warmth and deliciousness!
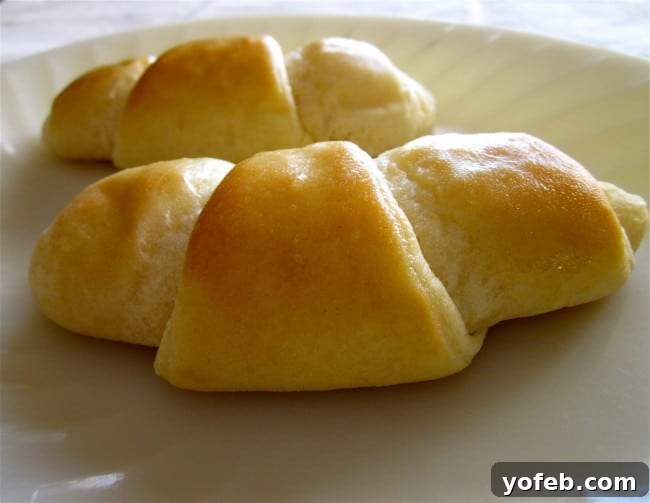
Here’s a look back at one of the original photos of this recipe from 2012, showcasing its enduring appeal:
Tips for Perfect Crescent Rolls Every Time
- Yeast Temperature is Critical: Always ensure your water and milk are warm (105-115°F or 40-46°C), never hot, to keep the yeast active. A thermometer can be helpful here.
- Don’t Over-Flour: The dough is meant to be soft and sticky. Adding too much flour can make the rolls tough. Only add extra flour sparingly when kneading on the work surface.
- Warm Rising Environment: A warm spot in your kitchen (like near a preheating oven, but not too close) will help the dough rise effectively.
- Generous Buttering: Don’t skimp on the melted butter before rolling; it’s key to those beautiful layers and rich flavor.
- Second Rise Matters: Allow adequate time for the second rise on the baking sheets. This contributes significantly to the rolls’ lightness.
- Golden Brown is Best: Bake until they are truly golden brown. This ensures they are cooked through and have a slight crispness on the outside.
Serving Suggestions
These crescent rolls are incredibly versatile. They are an absolute must-have for Thanksgiving dinner, complementing turkey, mashed potatoes, and gravy perfectly. Beyond the holidays, they are fantastic with any meal: try them with a hearty soup or stew, alongside a simple weeknight roast chicken, or even as a breakfast roll with some jam. Their buttery goodness makes them a welcome addition to any table.
Storage and Freezing
These rolls are best enjoyed fresh and warm from the oven. However, leftovers can be stored in an airtight container at room temperature for up to 2-3 days. To reheat, simply warm them in an oven preheated to 170°F (75°C) for 5-10 minutes. For longer storage, these rolls freeze beautifully in ziplock bags for up to 3 weeks. Thaw them in the closed bag on the counter, then follow the reheating instructions. If you plan to freeze them, I recommend waiting to brush them with melted butter until just before serving after reheating for the freshest appearance.
I know you will fall in love with this recipe! Whether for Thanksgiving, another special occasion, or just a delightful family dinner, these rolls are guaranteed to impress. Consider making them ahead of time and freezing them to simplify your preparations on a busy day.
Facebook | Pinterest | Instagram
One year ago: Aunt Shirley’s Famous Creamy Mashed Potatoes << I always make these for Thanksgiving
Three years ago: Slow Cooker Brown Butter Carrots <

Big Fat Crescent Rolls
30
15
1
1 45
32 rolls
Ingredients
- 2 tablespoons active dry yeast
- 1/2 cup water, warm, not hot
- 2 cups milk, warm, not hot
- 1/2 cup butter, 1 stick
- 1/4 cup sugar
- 2 teaspoons salt
- 2 large eggs
- 7 cups all purpose flour
- 1/2 cup butter, 1 stick melted, for brushing
Prevent your screen from going dark
Instructions
-
In a large bowl or stand mixer, combine yeast and warm water. Touch the water with your wrist; it should feel like lukewarm bath water, about 105 degrees F (40°C). Let sit for 5 minutes and check to make sure it’s getting bubbly. If not, your yeast may be dead or the water was too hot/cold. Dump it and start over!
-
In a glass measuring cup, add 2 cups milk and a stick of butter. Warm in the microwave in 30-second intervals until the milk is warm (not hot!) It should be about the same temperature as the water. The butter will not melt completely but will be soft enough to stir in.
-
Add the warm milk and butter mixture to the bowl with the activated yeast.
-
Add the sugar and salt and stir with the paddle attachment, if you are using a stand mixer, until well combined.
-
Add the eggs and beat thoroughly into the mixture.
-
Gradually add about 7 cups of all-purpose flour, one cup at a time. Mix with the paddle attachment after each addition until fully incorporated. (There is no need to switch to a dough hook. If using a hand mixer, you will eventually need to stir in the remaining flour by hand.) The dough will be very loose and sticky; it is not meant to form a firm ball. Mix it for 2 minutes on medium speed to develop the gluten.
-
Remove the paddle attachment, cover the bowl with a greased sheet of plastic wrap, and let the dough rise for one hour in a warm environment. Keep an eye on it to ensure it doesn’t overflow the bowl.
-
While the dough rises, prepare 4 large baking sheets. Line them with silicone baking mats or parchment paper, or spray them generously with nonstick spray.
-
After the first rise, use the mixer or a sturdy spoon to gently punch down the dough and release the air.
-
Scrape the dough onto a very well-floured work surface. You’ll need at least half a cup of flour spread on the counter. Flour your hands well and knead the dough a few times until it becomes manageable. You can add a little more flour if absolutely necessary, but remember it is supposed to be pretty sticky and loose for optimum tenderness. Sometimes up to half a cup more flour is needed depending on humidity. Use your best judgment!
-
Use a serrated knife, dusted with flour, to divide the dough into 4 equal pieces. Place 3 of the pieces on a floured surface and cover them with a tea towel to prevent drying.
-
On a well-floured surface, roll the first quarter piece of dough into a 12-inch circle. Avoid rolling it too thin or too large, as this can make your rolls too long.
-
Melt 1/2 cup butter in a small bowl. Use a pastry brush to spread melted butter generously all over the surface of the rolled dough circle.
-
Use a pizza cutter to cut the dough (like a pizza) into 8 equal triangles.
-
Starting from the large end of each triangle, roll the triangle upwards, butter side up. For more beautiful layers, gently use your fingers to pull and stretch the skinny end of the dough a bit before rolling. If the large end of your triangle seems too wide, which would result in a very long roll, you can make a small snip in the middle of that wide end and fold it in on itself. This technique creates a fatter, more uniform roll rather than a long, slender one.
-
Place the rolled crescent rolls on the prepared baking sheets, ensuring they are about 2 inches apart. Position the tip of each triangle on the bottom to help it hold its shape. Gently curl the ends to create the classic crescent shape. Cover the baking sheets with a tea towel and let the rolls rise for at least another half hour, or longer if your kitchen is cool. This second rise is crucial for light, airy rolls.
-
Preheat your oven to 375 degrees F (190°C).
-
Continue rolling and shaping the rest of the dough portions following steps 11-15. Remember to keep track of which pan started rising first, as it will take you several minutes to roll out each quarter of the dough, affecting their individual rising times.
-
Bake each pan of rolls at 375°F (190°C) for 12-15 minutes. The rolls should puff up beautifully and reach a lovely golden brown color on top and bottom.
-
You can bake 2 pans at a time. After approximately 6-7 minutes of baking, rotate the pans (placing the top pan on the bottom rack and vice versa) to ensure even cooking and browning.
-
As soon as the rolls are removed from the oven, brush them generously with more melted butter. This adds flavor and a beautiful sheen. For best presentation, brush just before serving. (If brushed too early and left to sit, they may appear a little wrinkled.)
-
To reheat these delicious rolls, preheat your oven to 170 degrees F (or use a “keep warm” setting). Place them on a baking sheet and warm for 5-10 minutes until heated through.
-
These rolls can be frozen in ziplock bags for up to 3 weeks. To serve from frozen, allow them to thaw completely in the closed ziplock bag on the counter, then follow the reheating instructions. For optimal freshness and appearance, wait to brush the tops with melted butter until just before serving after reheating.
Notes
This exceptional recipe is proudly shared from my wonderful mother-in-law, Kris!
Nutrition
Serving:
1
roll
|
Calories:
171
kcal
|
Carbohydrates:
23
g
|
Protein:
4
g
|
Fat:
7
g
|
Saturated Fat:
4
g
|
Polyunsaturated Fat:
1
g
|
Monounsaturated Fat:
2
g
|
Trans Fat:
1
g
|
Cholesterol:
28
mg
|
Potassium:
58
mg
|
Fiber:
1
g
|
Sugar:
2
g
|
Vitamin A:
219
IU
|
Vitamin C:
1
mg
|
Calcium:
25
mg
|
Iron:
1
mg
Bread
American
171
crescent rolls
Did you make this? I’d love to see it!
Mention @thefoodcharlatan or tag #thefoodcharlatan!
More Irresistible Roll Ideas for Your Holiday Table!
Aunt Shirley’s Famous Buttery Dinner Rolls << A timeless classic and my absolute go-to for any dinner occasion!
Garlic Knots << Bursting with incredible flavor thanks to generous garlic butter. A must-try!
Garlic and Rosemary Skillet Bread << Save precious time this Thanksgiving by making this rustic, flavorful skillet bread as an alternative to individual rolls!
Discover More Delicious Thanksgiving Roll Recipes from Fellow Bloggers!
- Best Homemade Dinner Rolls from Wishes n Dishes
- Rosemary Sea Salt Sweet Potato Rolls from Country Cleaver
- Bretzel Rolls from Amanda’s Cookin’