
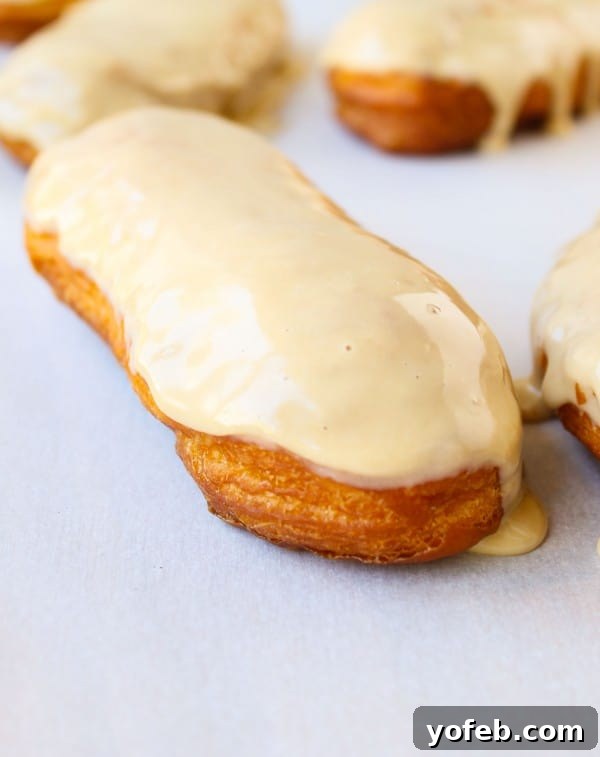
Easy 30-Minute Maple Bars: Quick & Delicious Homemade Donuts from Canned Biscuits
Unlock the secret to amazing Maple Bar doughnuts in just 30 minutes, using a surprising ingredient: canned biscuits! Yes, it’s really that simple to enjoy bakery-quality treats at home.
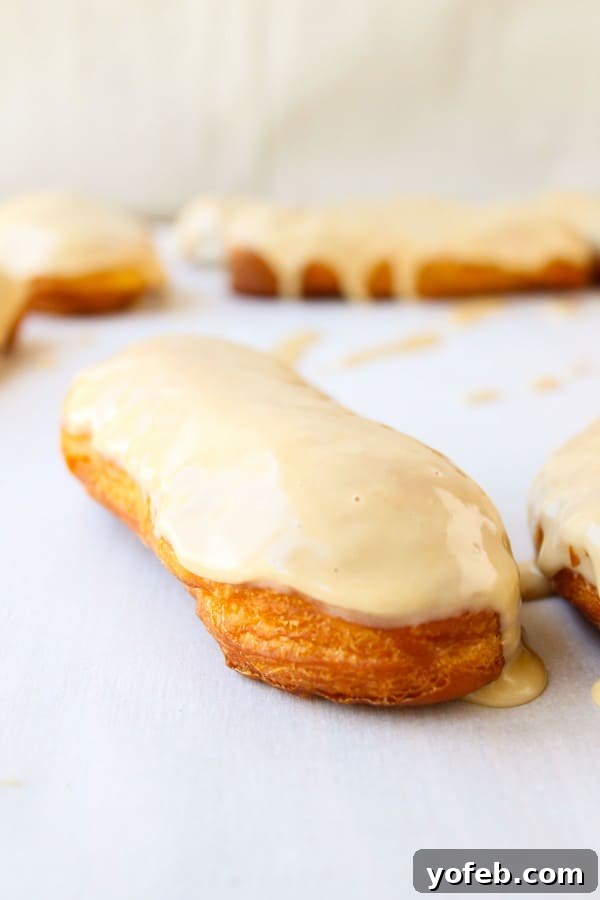
The Lure of the Maple Bar: A West Coast Obsession
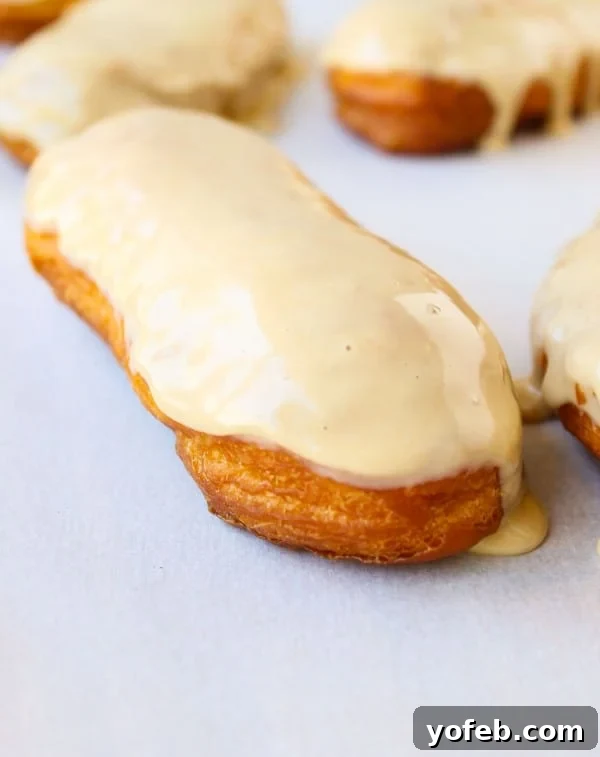
Maple Bars hold a special place in the hearts of West Coast residents, almost a culinary institution you’d find proudly displayed in every local donut shop. These aren’t just any donuts; they are a delightful symphony of soft, airy fried dough crowned with a rich, glossy, and impossibly sweet maple glaze. Their elongated shape, often referred to as a “bar,” distinguishes them from traditional round donuts and makes them perfect for dipping into a morning coffee or enjoying as a satisfying treat.
For those of us who grew up with the comforting presence of Maple Bars, moving to other regions of the country can be a jarring experience. East Coast or even Midwest donut shops often lack this beloved staple. The search for an authentic Maple Bar can feel like a quest for a mythical creature, leaving you longing for that specific combination of tender dough and the distinct, warm sweetness of maple. This geographical scarcity only heightens their allure and makes their rarity a source of genuine disappointment for many.
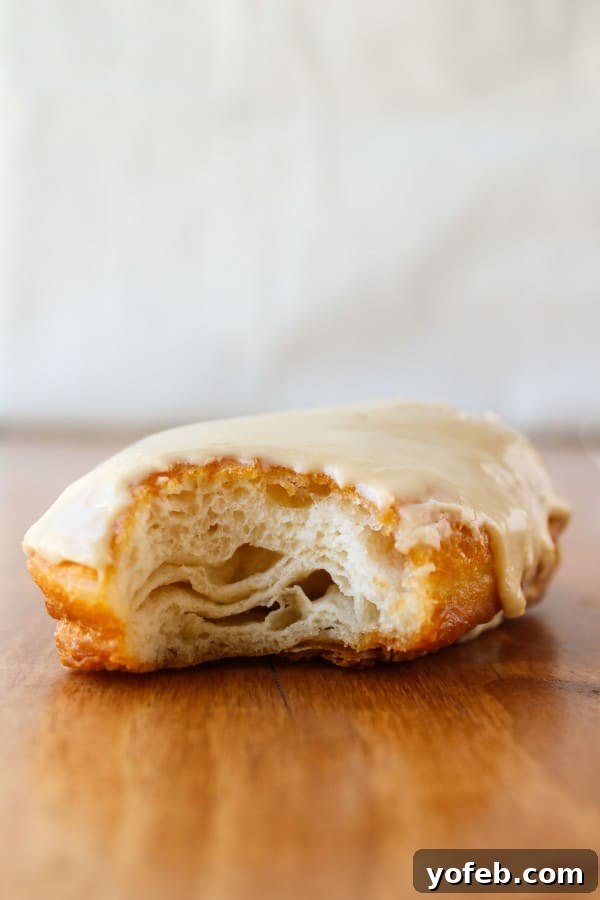
But what exactly makes a Maple Bar so captivating? It’s not just the maple glaze, although that’s certainly a major player. It’s the textural contrast: a slightly crispy exterior from the frying, giving way to an incredibly light and fluffy interior. The glaze isn’t merely sugar; it’s infused with the deep, earthy notes of maple, often enhanced with a touch of extract to amplify its flavor profile. Each bite is a nostalgic embrace, a perfect balance of sugary sweetness and delicate dough that truly rules the donut kingdom for its devotees. For too long, the only way to get this experience outside its native region was to embark on a multi-hour, from-scratch baking project – until now.
From Scratch to Speed: My Maple Bar Journey (and a Confession!)
Life, as they say, is all about balance. Every Monday, our family gathers for a night of learning and activities. Recently, the topic of healthy eating habits came up, a direct (and perhaps necessary) intervention after our daughter Charlotte’s recent culinary protest, where she politely refused everything but the crust of her Chicken Pot Pie. My husband, Eric, even unearthed a rather strange but hilarious food pyramid video to underscore the message. One memorable line stood out: “My friend John is fat because he keeps eating and he does not play.” The visual accompaniment of “Fat John” was certainly impactful.
A chill ran down my spine. “Keeps eating and does not play.” That phrase, in a nutshell, pretty much sums up my current relationship with life’s delicious pleasures. And, if I’m being entirely honest, the irony of teaching healthy eating while secretly dreaming of my next maple-glazed indulgence was not lost on me. In fact, as I type these very words, I confess that my fingers are slightly sticky with maple glaze, having just devoured what might have been my fourth or fifth donut of the day. The exact number is a blur; I haven’t even dared to check the dwindling pile of remaining treats. Perhaps Charlotte will learn from her mother’s shining example… or perhaps she’ll simply learn to embrace the joy of a truly amazing donut.
My previous Maple Bars recipe, while absolutely fabulous, a true star-and-rainbow-worthy creation, was also a monumental commitment. We’re talking five hours of rising, rolling, and shaping – a labor of love that I’ve even undertaken at 10 PM while 37 weeks pregnant, simply because a craving cannot be denied. But never again will I suffer through cankle-numbing hours in the kitchen just to get my Maple Bar fix. Because these beauties? They take a mere 30 minutes. Hallelujah!
The 30-Minute Miracle: How Canned Biscuits Revolutionized My Donut Game
Apparently, I’ve been living under a rock. I was completely oblivious to the magical secret that canned biscuit dough could be transformed into incredible, fluffy donuts. When I excitedly shared this revelation with a few friends, they simply replied, “Yeah, duh.” (We’re still friends, but seriously, who keeps such an amazing culinary hack to themselves? Just kidding, Sandi.) This simple trick, however, is nothing short of revolutionary for anyone who loves homemade donuts but lacks the time or patience for traditional yeast doughs.
The beauty of using canned biscuit dough lies in its convenience and pre-made leavening. It’s essentially a shortcut to a wonderfully tender and flavorful base that fries up beautifully. When dropped into hot oil, these humble biscuits puff up, creating a texture that is crispy on the outside and incredibly soft and airy on the inside – exactly what you want in a perfect donut. Paired with a luscious maple glaze, these quick donuts genuinely taste like legitimate Maple Bars, fooling even the most discerning donut connoisseur. And the best part? The entire process, from dough to glazed perfection, truly takes just 30 minutes. It’s a game-changer for spontaneous cravings or last-minute breakfast treats.
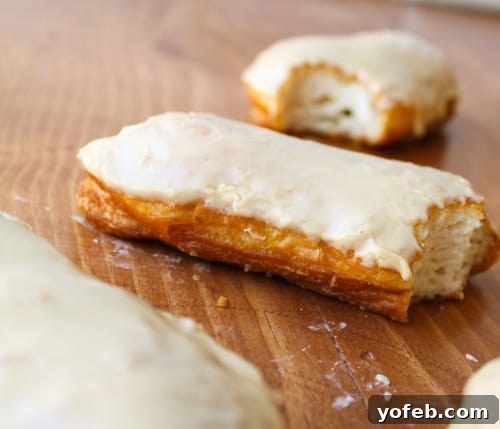
Crafting Your Quick Maple Bars: Tips for Perfection
Making these easy 30-Minute Maple Bars is straightforward, but a few key tips will ensure your homemade donuts turn out perfectly every time.
The Dough: Choosing and Preparing Your Biscuits
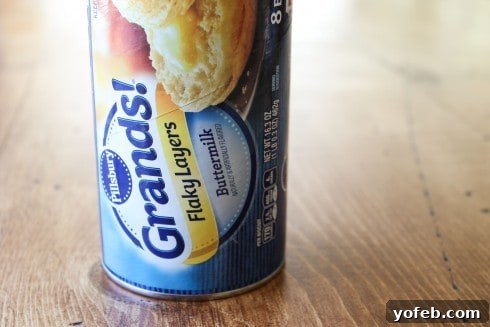
For the best results, opt for a good quality refrigerated buttermilk biscuit dough. I personally recommend Pillsbury Grands for their size and texture, which translates beautifully into a donut. Once you pop open the can, gently separate each biscuit.
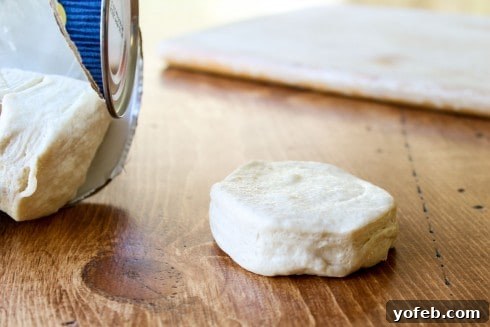
The trick to achieving the classic “bar” shape is in the stretching. Use your fingers to gently pull and stretch each biscuit into an oval, aiming for a length of about 5 to 6 inches, roughly the size of a dollar bill. You want them to be elongated and relatively thin, not round and flat. Over-flattening will result in thicker, rounder donuts, which are still delicious but won’t give you that quintessential Maple Bar shape (and might remind you a bit too much of “Fat John”).
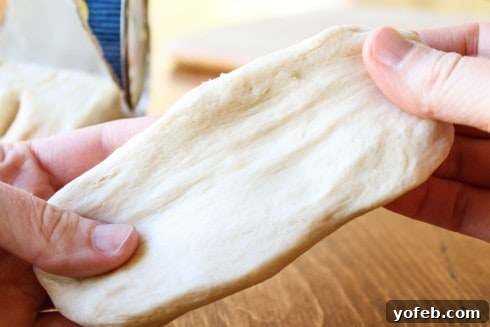
Stretch out that dough…
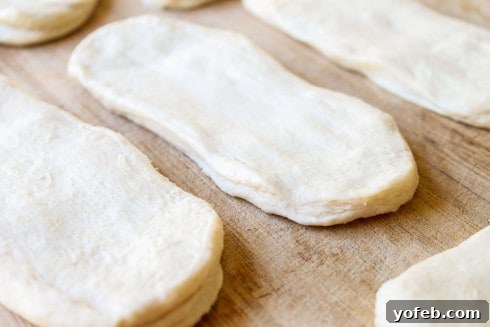
Til it’s about 6 inches long.
Frying Fundamentals: Achieving Golden Perfection
The right oil temperature is crucial for perfectly fried donuts. In a high-sided skillet, add about 1½ to 2 inches of peanut oil. While you can use regular vegetable oil, peanut oil tends to impart less of an oily taste to the finished product. Heat the oil over medium heat for at least 5 minutes, or until it reaches 350°F (175°C). If you don’t have a thermometer, you can test the oil by dropping a small piece of dough into it; if it immediately bubbles vigorously, it’s ready. Resist the urge to crank up the heat; a steady medium temperature is key to cooking the donuts thoroughly without burning the outside.
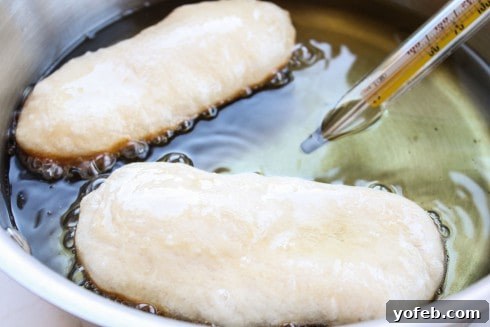
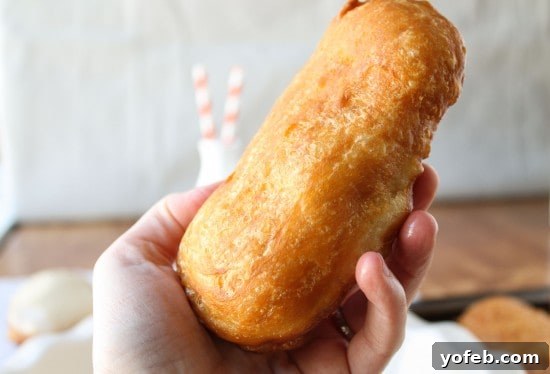
Fry the stretched biscuit dough two at a time to avoid overcrowding the pan, which can drop the oil temperature. Cook for about 2 minutes on the first side, then use tongs to carefully flip them. Continue cooking for another 1½ to 2 minutes, or until they achieve a deep, beautiful golden color on both sides. Once cooked, transfer them to a paper-towel-lined plate to drain any excess oil. Repeat this process with the remaining dough.
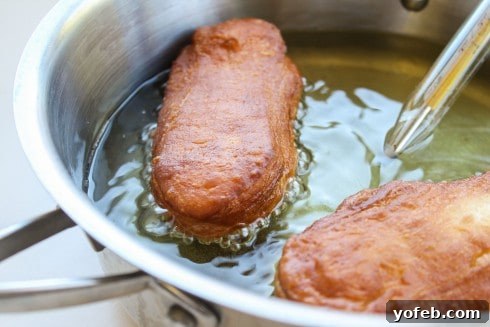
Aaaand flip.
The Irresistible Maple Glaze: Sweetness Defined
While your donuts cool slightly (they don’t need to be completely cold, just cool enough to handle), prepare the star of the show: the maple glaze. In a shallow bowl or pie plate, whisk together powdered sugar, light corn syrup (for that signature shine and smooth texture), a pinch of salt, vanilla extract, and, most importantly, maple extract. The maple extract is critical for achieving that authentic, deep maple flavor that makes these bars so irresistible. Start with the specified amount of hot water and add more, a tiny bit at a time, if needed, until you reach a smooth, pourable consistency that is still thick enough to coat the donuts. The glaze will set relatively quickly, so be ready to dip.
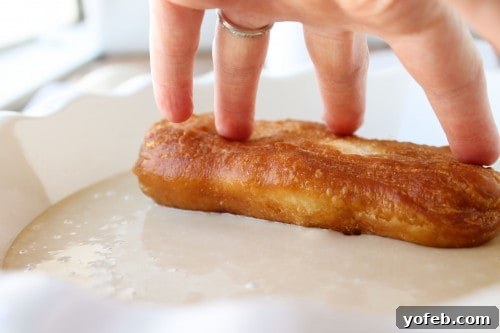
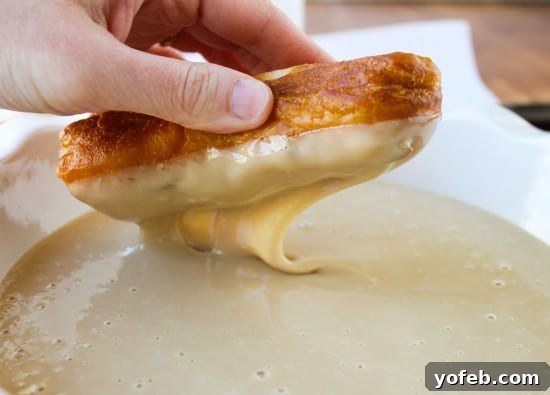
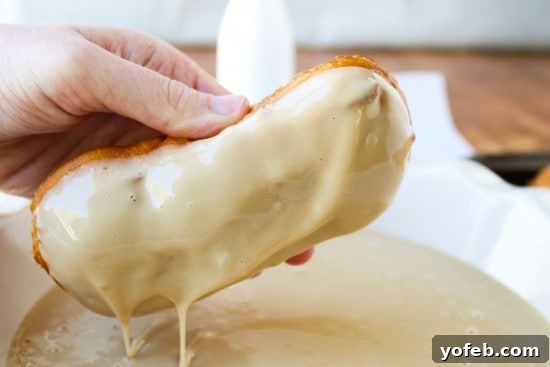
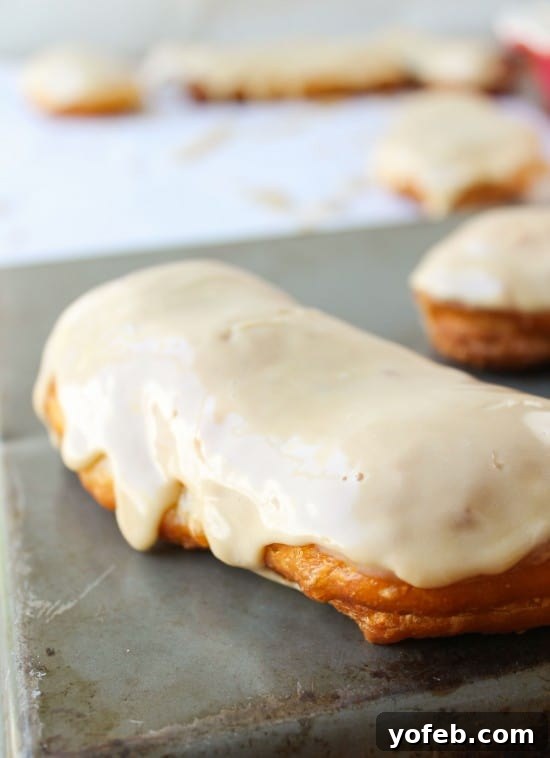
Dip the puffiest side of each donut into the glaze. Work quickly, as the glaze begins to harden almost immediately upon contact with the cooler donut. Place them on a wire rack or back on a plate (lined with parchment paper for easy cleanup) to allow the glaze to set. Cover any remaining glaze with plastic wrap if you need a moment before finishing the batch. Then, the best part: EAT! You’ll be amazed at how these simple biscuit donuts, enhanced by that perfect maple glaze, truly taste like the real deal.
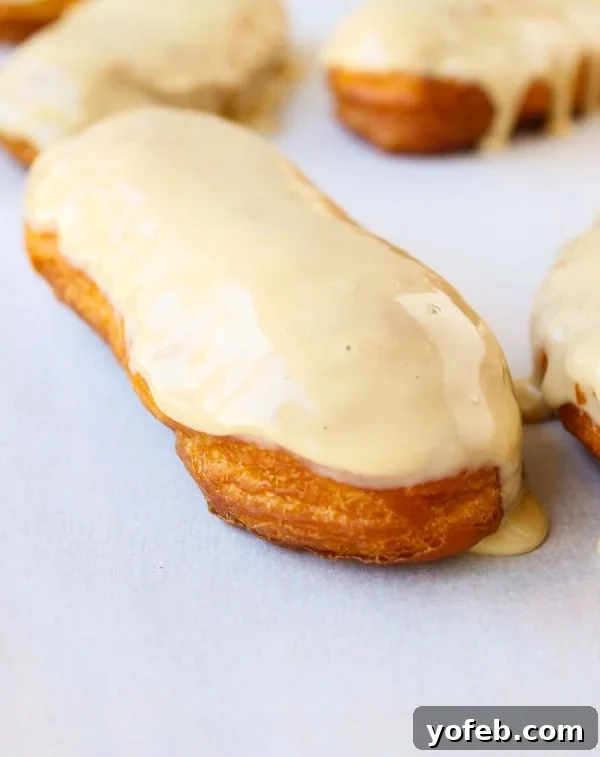
And helloooooooo Maple Bars.
Beyond Maple: Creative Variations for Your Biscuit Donuts
While the maple glaze is undeniably classic, the beauty of this quick biscuit donut hack is its versatility. Once you’ve mastered the basic fried biscuit dough, the possibilities for customization are endless. Here are a few ideas to get your creative juices flowing:
- Cinnamon Sugar: Immediately after frying and draining, toss the warm donuts in a bowl of cinnamon sugar for a simple yet classic treat.
- Chocolate Glaze: Melt some chocolate chips with a tablespoon of milk or cream, then dip the cooled donuts for a rich, decadent finish. Add sprinkles for extra fun!
- Powdered Sugar: A light dusting of powdered sugar offers a delicate sweetness and elegant presentation.
- Lemon Glaze: Whisk powdered sugar with a few tablespoons of lemon juice for a bright and zesty topping.
- Vanilla Glaze: Combine powdered sugar with milk and a touch of vanilla extract for a simple, sweet vanilla coating.
These variations are perfect for pleasing diverse palates or simply for when you’re in the mood for something different. The base donut is so good, it truly shines with almost any topping.
Freshness is Key: Enjoying Your Homemade Treats
Like most homemade donuts, these 30-Minute Maple Bars are absolutely best enjoyed fresh, ideally within a few hours of making them. The crispy exterior and melt-in-your-mouth interior are at their peak shortly after glazing. While they are still delicious the next day, they will lose some of their crispness, becoming softer overall. If you happen to have any leftovers (which is a rare occurrence in our house!), store them in an airtight container at room temperature. A quick zap in the microwave for 10-15 seconds can slightly revive their warmth and softness, though the glaze might become a bit stickier.
Your New Go-To Dessert?
So, there you have it: a lightning-fast, incredibly simple, and utterly delicious way to make authentic-tasting Maple Bars right in your own kitchen. Whether you’re a West Coast transplant yearning for a taste of home, a busy parent looking for a quick breakfast treat, or simply a donut enthusiast seeking an easier path to homemade goodness, this recipe is for you. Prepare to impress your family and friends with these seemingly gourmet donuts that take minimal effort. Get ready to indulge in the warm, sweet embrace of maple, and discover your new favorite 30-minute recipe!
More Maple Magic to Explore:
Facebook | Pinterest | Instagram | Twitter

30-Minute Maple Bars
Rate this Recipe
Print Recipe
Ingredients
For the doughnuts:
- Peanut oil*
- 1 16.3-oz can buttermilk biscuit dough, refrigerated, I like Pillsbury Grands
For the glaze:
- 2 cups powdered sugar
- 3/4 teaspoon light corn syrup
- 1/8 teaspoon table salt
- 1/4 teaspoon vanilla extract
- 1/2 teaspoon maple extract
- 3 tablespoons hot water
Instructions
-
In a high-sided skillet, add about 1 1/2 to 2 inches of peanut oil. Turn the heat on to medium and let the oil heat for at least 5 minutes, or until a thermometer reads 350 F. If you don’t have a thermometer you can test the oil by dropping in a small piece of dough: if it bubbles, it’s ready. Don’t be tempted to turn up the heat; medium is the temperature you want.
-
Open the can of biscuits and separate them out. Use your fingers to pull each biscuit into a large oval, about the size of a dollar bill (5 or 6 inches). You want it to be kinda long and skinny; if you flatten it out too much the other way you will end up with fat donuts. (Kinda like Fat John.)
-
Drop the dough into the hot oil 2 at a time. Cook for 2 minutes, then flip them over with tongs. Cook for another 1 1/2 to 2 minutes or until they are a deep golden color. Remove to a paper-towel-lined plate. Continue with the rest of the donuts.
-
When the donuts have cooled, make the glaze. In a shallow bowl or pie plate, whisk together all the glaze ingredients. Add more water if necessary.
-
Dip the puffiest side into the glaze. Move fast, the glaze starts to harden right away. Cover any remaining glaze with plastic wrap. EAT!
Notes
I should mention that these donuts are best eaten right away. Even after just a couple hours they aren’t crispy anymore. Which is how most donuts are, I suppose, so maybe that’s not a bad thing.
Source: Refrigerated dough idea from Big Bear’s Wife; icing recipe from the original Maple Bars.