
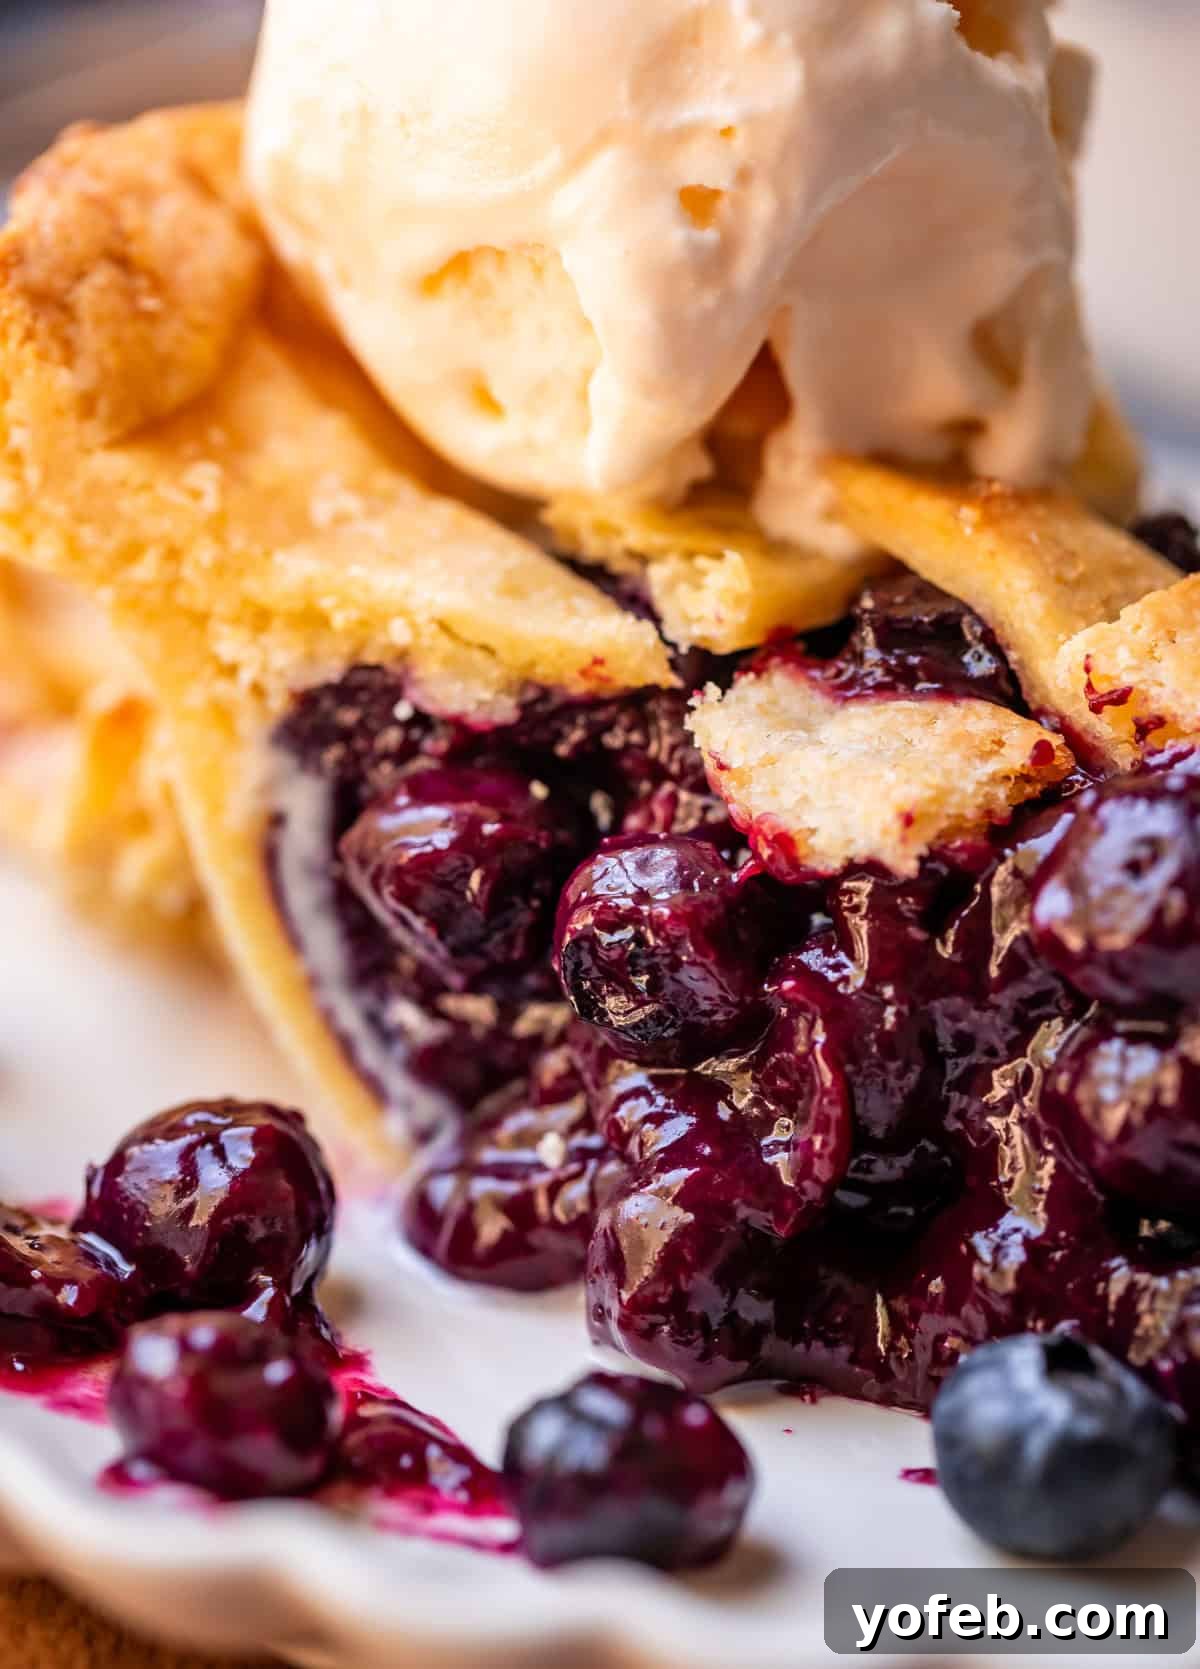
Once relegated to the very bottom of my favorite pie list, Blueberry Pie has experienced a dramatic transformation, all thanks to this groundbreaking recipe. Forget everything you thought you knew about this classic American dessert. When you learn how to expertly balance the inherent sweetness of blueberries with a vibrant burst of tang—hello, cornmeal cream cheese crust!—you will, without a doubt, achieve the most exquisite Blueberry Pie of your life. There’s simply no turning back once you experience this perfect harmony of flavors and textures. Let me guide you through each step to create this unforgettable dessert. (Originally published May 28, 2022, and significantly updated in May 2025 to reflect refined techniques and expanded insights.)
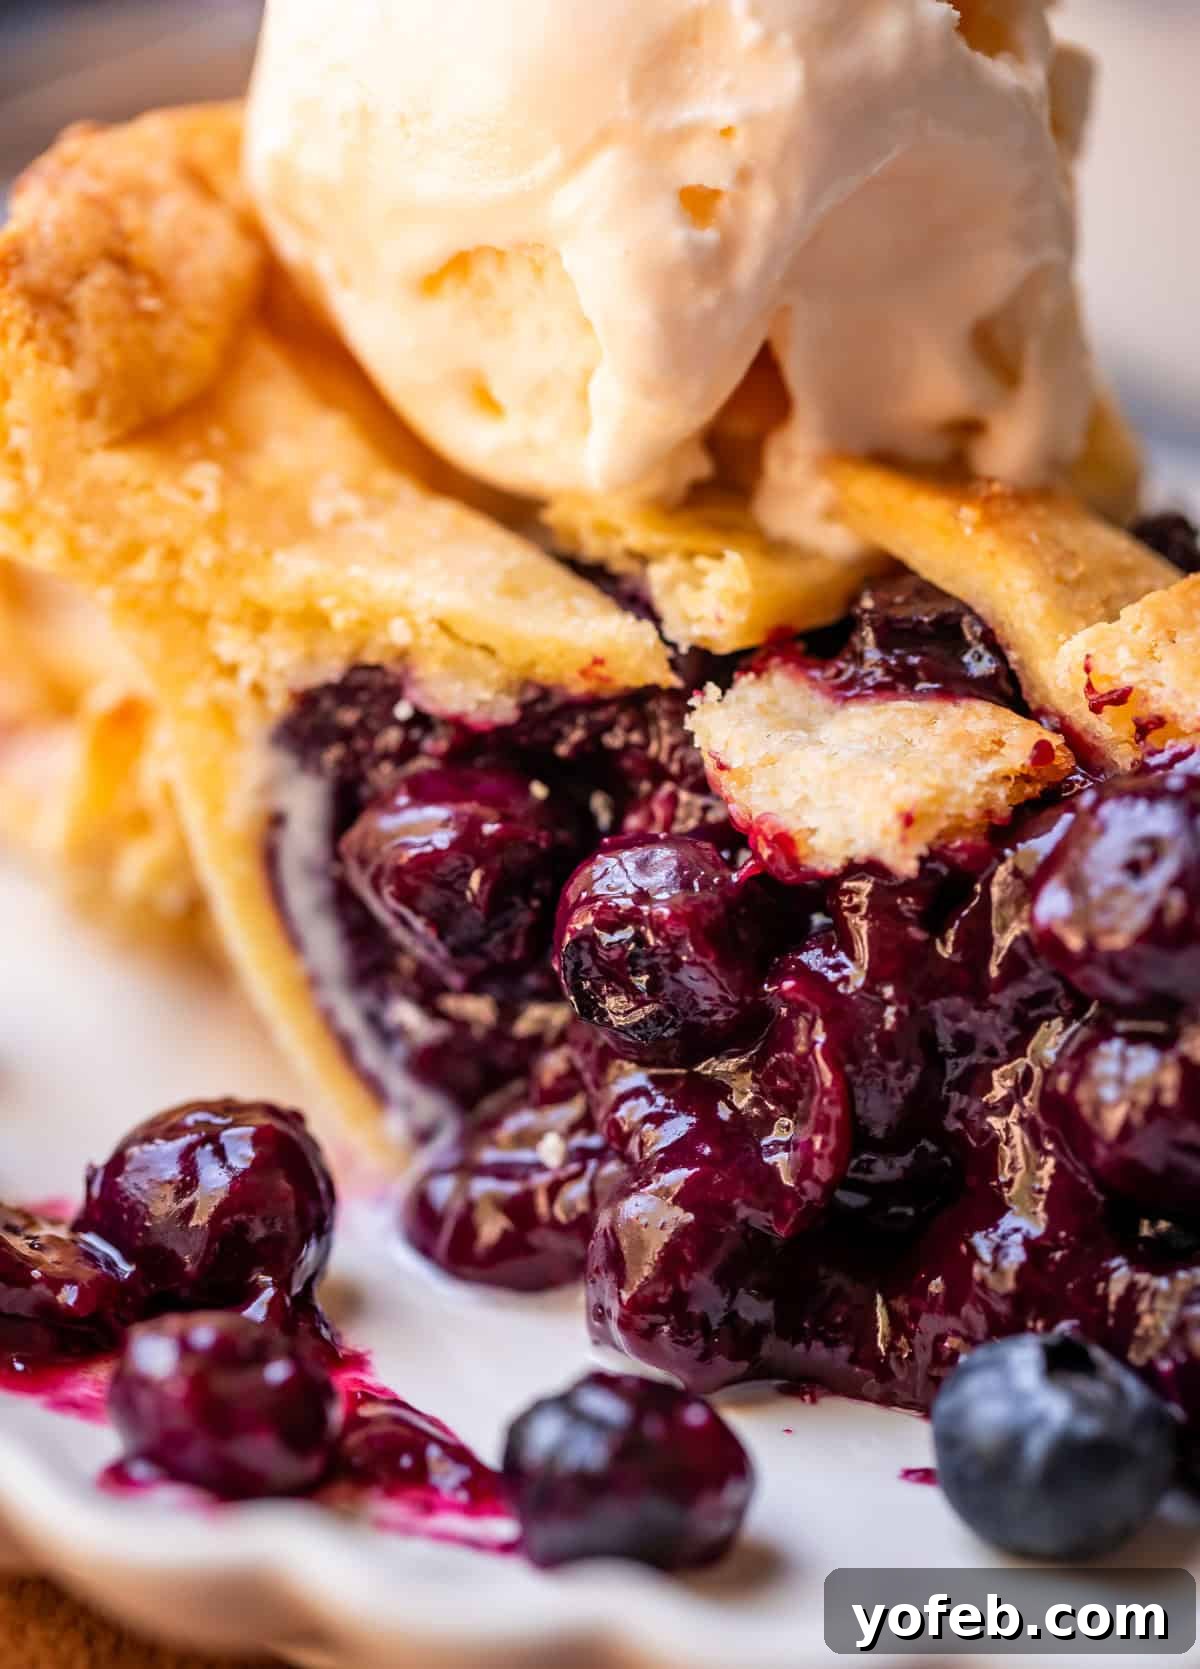
Table of Contents
- The Misconception of Blueberry Pie: Addressing Common Disappointments
- Why Traditional Blueberry Pies Often Fall Short: Too Sweet, Too Mushy
- What Makes This Blueberry Pie Recipe Truly Exceptional
- Essential Ingredients for Your Homemade Blueberry Pie
- Understanding Blueberries: Cultivated vs. Wild
- Step-by-Step Guide: How to Make the Best Blueberry Pie
- Crafting the Perfect Blueberry Pie Filling
- Mastering the Lattice Crust: A Visual Delight
- Baking Blueberry Pie: For Flaky Crust and Set Filling
- Preventing Over-Browning: Achieving a Golden Crust
- Avoiding a Soggy Bottom: The Secret to a Firm Berry Pie
- Storing Your Blueberry Pie: Freshness and Longevity
- Can You Freeze Blueberry Pie Filling for Future Baking?
- Freezing an Entire Blueberry Pie: Baked or Unbaked?
- Blueberry Pie FAQs: Your Questions Answered
- More Irresistible Blueberry Recipes to Explore
- More Pie Recipes to Perfect Your Baking Skills
- Best Blueberry Pie Recipe
Life, much like baking, often involves navigating unexpected challenges. Currently, my family is in the midst of a move, a monumental task that brings with it a whirlwind of emotions and an endless list of chores. Packing up seven years’ worth of memories and possessions has been an eye-opening experience, revealing the surprising abundance of items that seemed to multiply in our closets when we weren’t looking. The transition to a new home, even one just 20 minutes away, means embracing new routines, new schools, and new neighbors. It’s a process that calls for patience, resilience, and perhaps, a comforting slice of pie to soothe the soul.
In times of upheaval, comfort food becomes a necessity, and what could be more comforting than a homemade pie? This particular blueberry pie recipe has become my go-to for moments that require a truly exceptional treat. It’s a pie that I’ve spent weeks perfecting, battling preconceived notions about what blueberry pie should be, and emerging victorious with a recipe that defies expectations. And I’m confident it will win over even the most skeptical palates.
The Misconception of Blueberry Pie: Addressing Common Disappointments
Blueberry pie holds a revered place in American culinary history. The very mention of its name evokes images of idyllic summer days, warm kitchens, and nostalgic comfort. It’s a symbol of homemade goodness, a classic dessert often associated with beloved grandmothers and wholesome traditions. Yet, for all its iconic status and comforting associations, traditional blueberry pie can, surprisingly, be a letdown. Have you ever cut into a slice, only to find a bland, overly sweet, or disappointingly soggy filling?
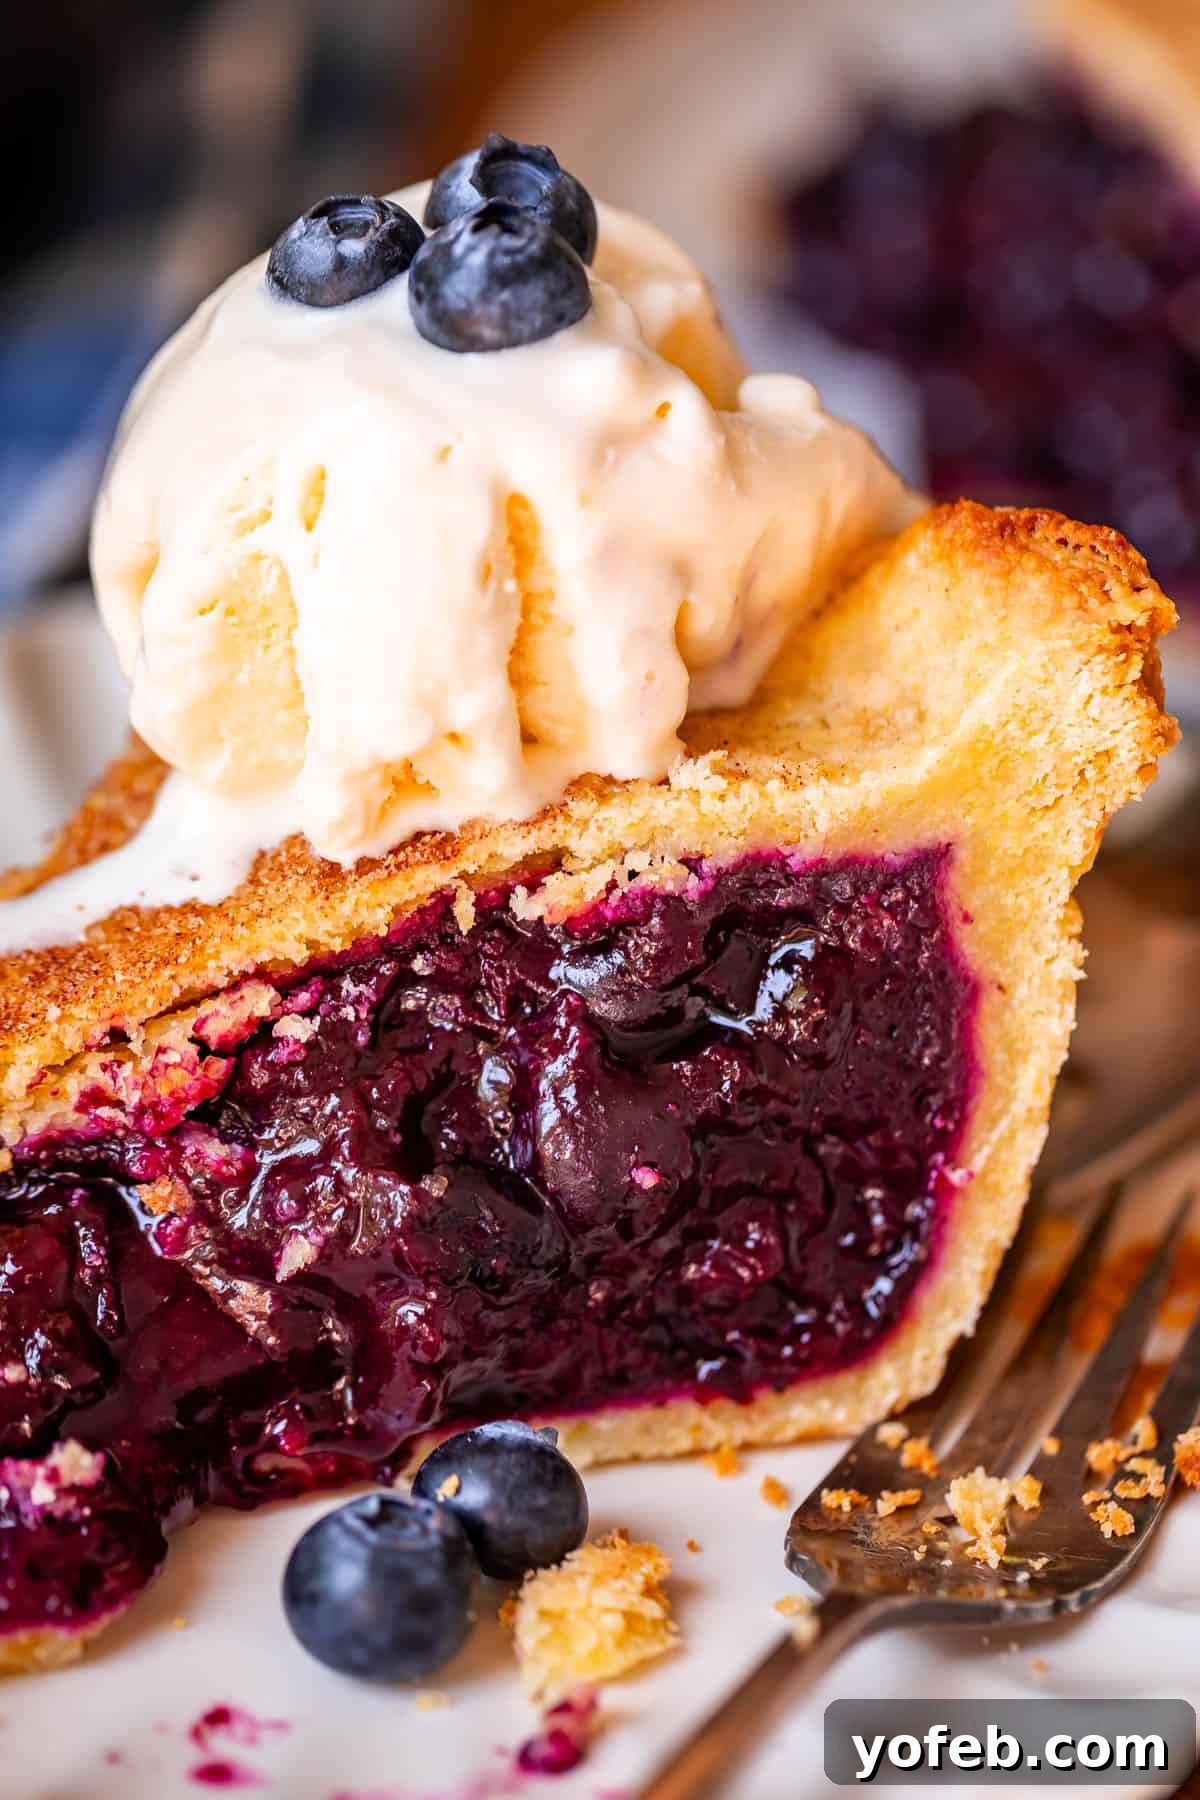
Before discovering this recipe, I confess I was a blueberry pie skeptic. It sat near the bottom of my personal pie rankings, often overshadowed by fruit pies with more vibrant, complex flavor profiles. This wasn’t due to a dislike of blueberries themselves, but rather the way they were traditionally handled in pie. The typical result was often a cloyingly sweet, one-note dessert lacking the crucial balance that elevates a good pie to a great one. My brother once perfectly articulated this sentiment, questioning why one would “ruin the perfect balance of blueberry flavor by adding sugar.” And honestly, I completely understood his point.
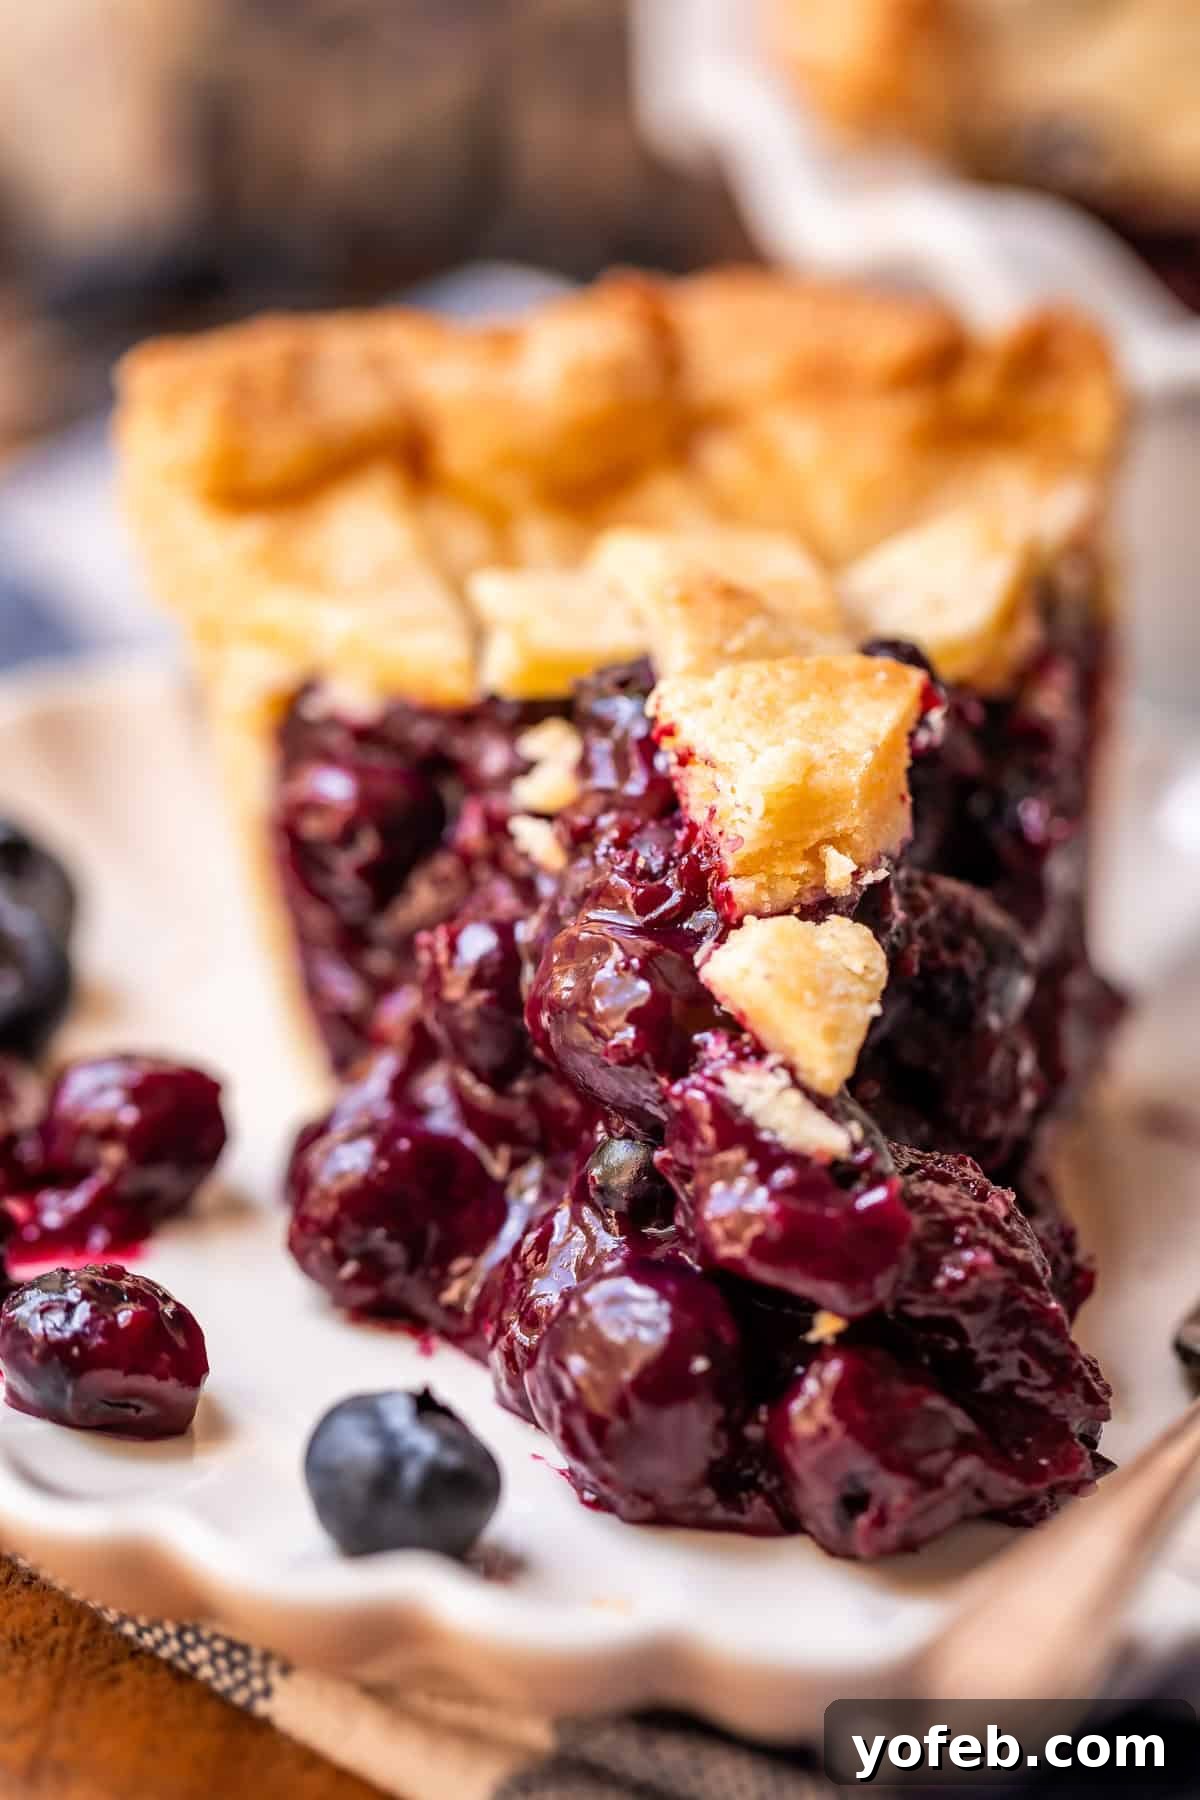
Why Traditional Blueberry Pies Often Fall Short: Too Sweet, Too Mushy
The core issue with many blueberry pie recipes lies in their failure to counteract the natural sweetness of the berries. Blueberries, especially the large, cultivated varieties commonly found in supermarkets, are indeed sweet. When baked with additional sugar and a simple thickener, they often produce a filling that lacks depth and character. The result can be a “mushy pile of boring,” as I used to describe it – saccharine to a fault, with little to excite the palate. This oversight often leads to a pie that tastes more like a generic berry jam than a vibrant fruit dessert.
Beyond the sweetness, there’s the problem of texture. Too often, blueberry pies emerge from the oven with a watery, unset filling and a limp, soggy bottom crust. This is largely due to the high water content of blueberries and an inadequate thickening strategy, leading to a pie that collapses when sliced, rather than holding its appealing form. For a long time, I believed this was simply the fate of blueberry pie, resigning myself to mediocre versions. But a classic like blueberry pie deserves better, and I was determined to find a way to elevate it.
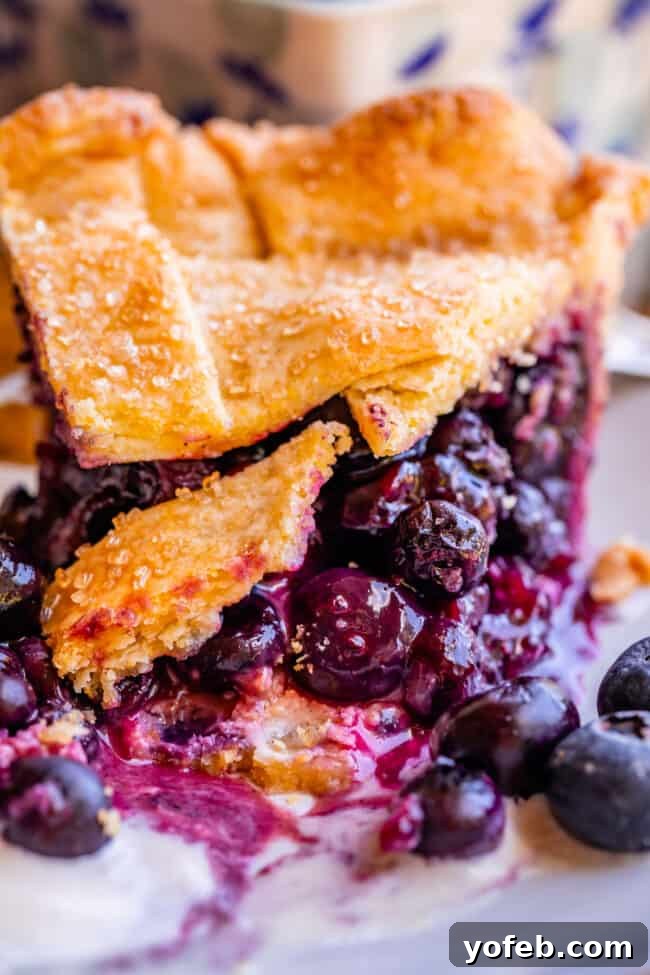
What Makes This Blueberry Pie Recipe Truly Exceptional
This blueberry pie recipe stands apart because it brilliantly tackles the aforementioned issues by focusing on two critical elements: balancing acidity and sweetness, and ensuring a perfectly set, yet juicy filling. My quest for the ideal blueberry pie led me to explore the vital role of acid in cooking, particularly after reading Samin Nosrat’s insightful book Salt, Fat, Acid, Heat. Most traditional blueberry pie recipes offer little variation—usually just blueberries, cornstarch, white sugar, a touch of lemon, and maybe cinnamon. This recipe, however, takes a different, more dynamic approach to flavor and texture.
Here’s how we achieve that winning balance and consistency:
- Cream Cheese in the Pie Dough: This isn’t just any pie crust; it’s a game-changer. Incorporating cold cream cheese into the pie dough not only contributes rich fat for an incredibly flaky texture but also imparts a subtle, much-needed tanginess. This tart note in the crust serves as a delightful counterpoint to the sweet berries, elevating the overall flavor profile of the pie. The addition of cornmeal further enhances this, providing a unique texture and a rustic, wholesome flavor that complements the blueberries beautifully.
- Ample Lemon Zest and Juice: We’re not shy with the lemon here! This recipe calls for the zest and juice of at least two lemons, infusing the filling with a bright, zesty acidity that cuts through the sweetness of the blueberries. Lemon zest carries potent aromatic oils that provide a vibrant burst of flavor, while the juice adds a liquid tang, creating a truly dynamic and refreshing filling.
- Pre-Cooking a Blueberry Mixture on the Stove: This technique is perhaps the most crucial innovation in achieving a perfectly set, non-soggy pie. Instead of merely combining raw berries with thickeners, we first create a thickened blueberry sauce on the stovetop. A portion of the blueberries is puréed and cooked with sugar, cornstarch, and flour until it forms a luscious, thick base. Fresh, whole blueberries are then folded into this cooked mixture. This method, inspired by my Grandma Georgia’s exceptional Blackberry Pie, ensures that the thickeners are fully activated before baking, preventing a watery filling and creating those delightful pockets of juicy, intact berries that burst with flavor in every bite. This pre-cooking step is a secret weapon for achieving consistent results and a superior texture, similar to the method used in my wildly popular Apple Pie recipe.
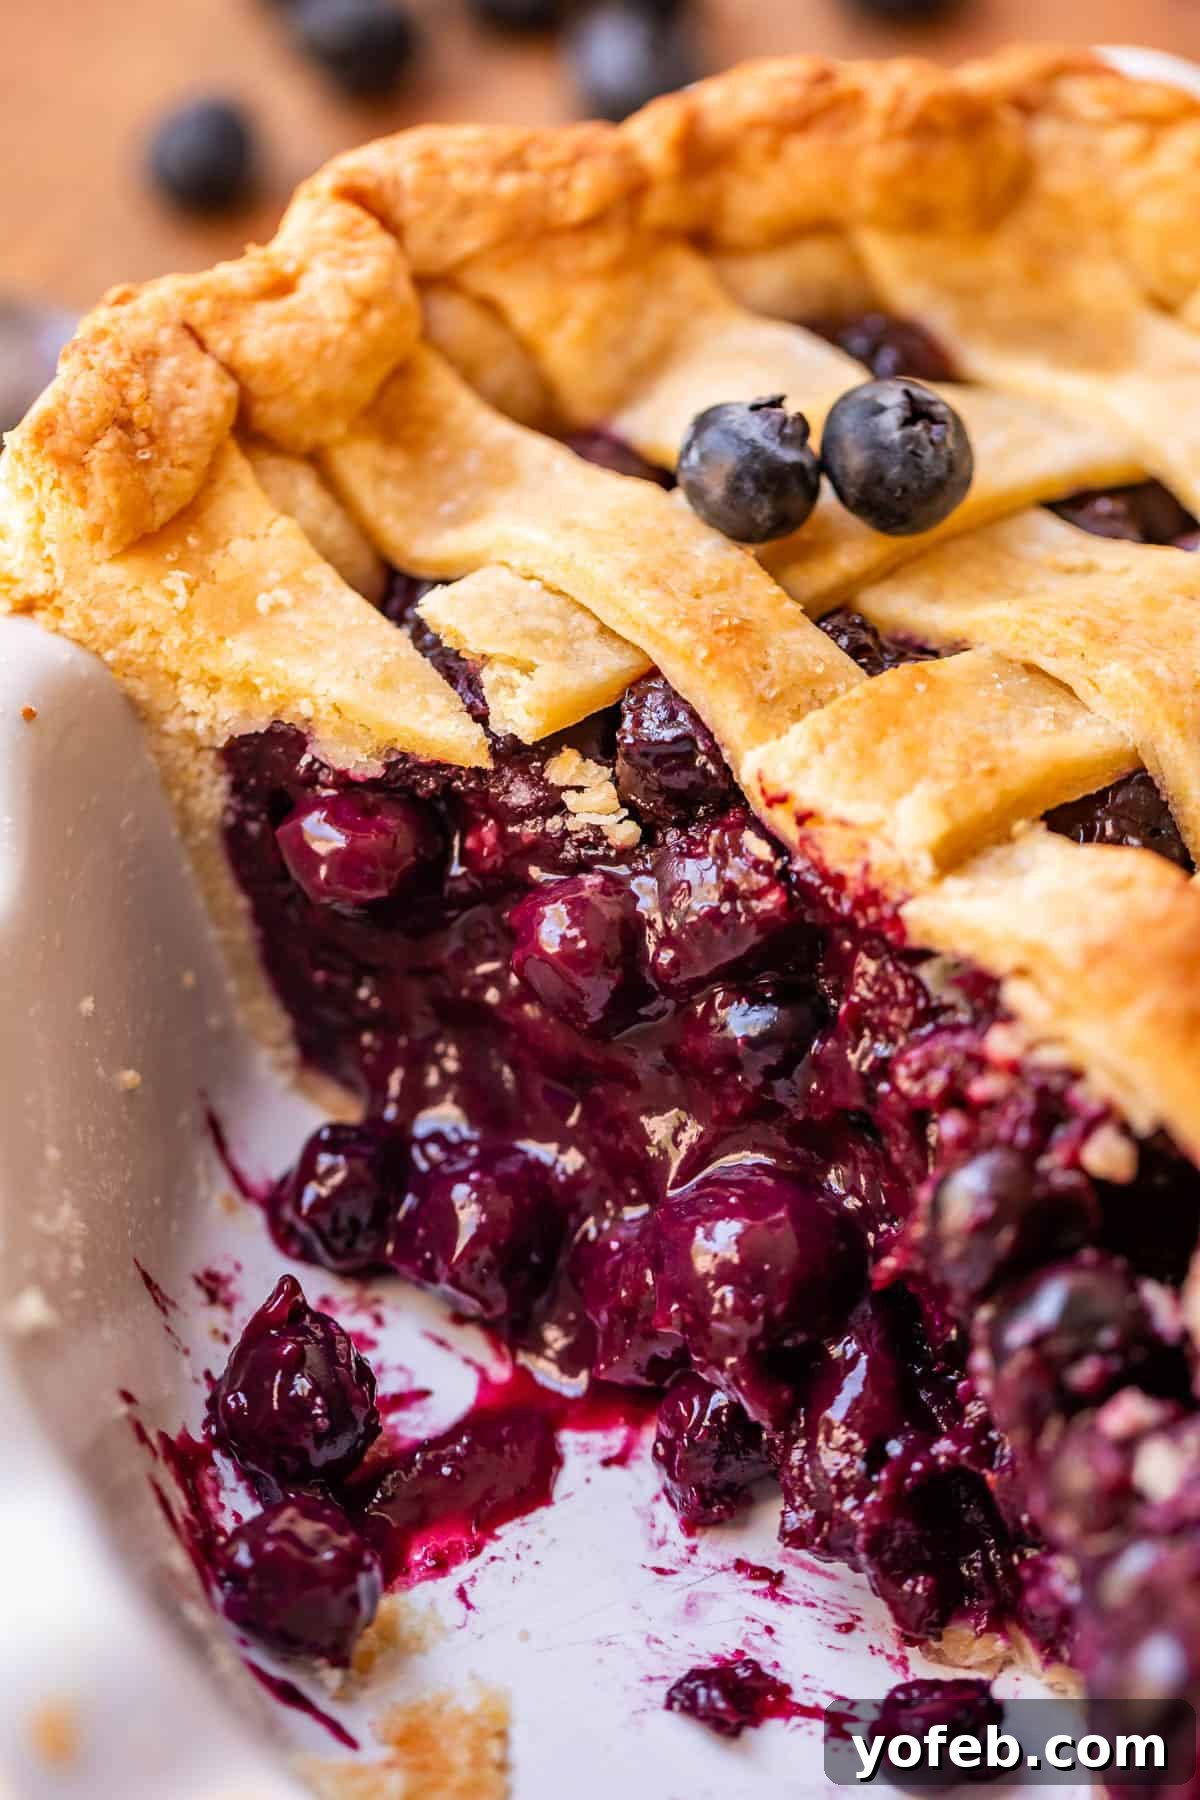
The result is a pie filling brimming with juicy, mostly-whole blueberries that retain their individual pop. It’s a far cry from the overly gelatinized, manufactured taste of store-bought pies. The filling may not hold a perfectly rigid slice, but that’s not an apology – it’s a promise of a truly succulent, deeply flavorful experience. This is juicy, slurp-worthy pie at its finest, just as Grandma Georgia intended!
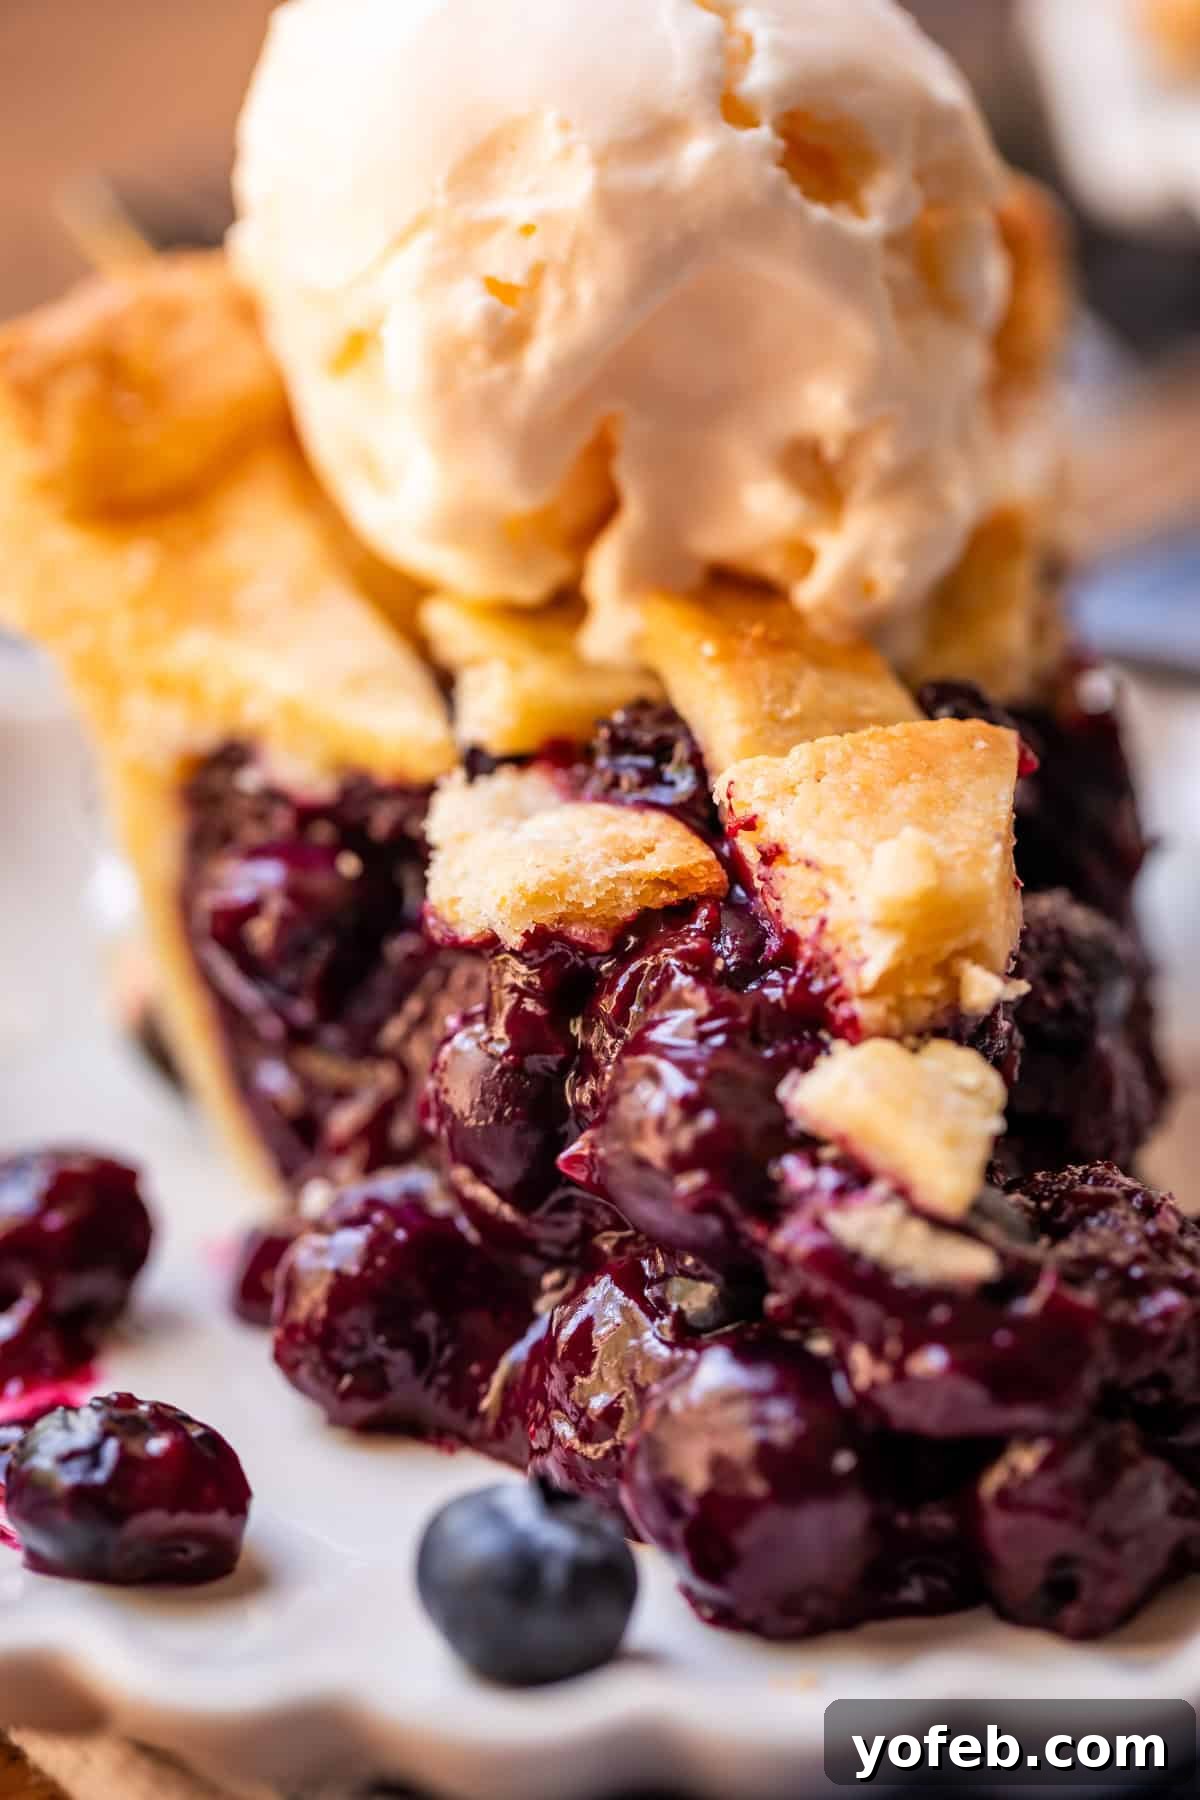
Essential Ingredients for Your Homemade Blueberry Pie
Gathering the right ingredients is the first step towards creating this extraordinary blueberry pie. Here’s a detailed shopping list to ensure you have everything on hand. For precise measurements and step-by-step instructions, please refer to the comprehensive recipe card at the bottom of this article.
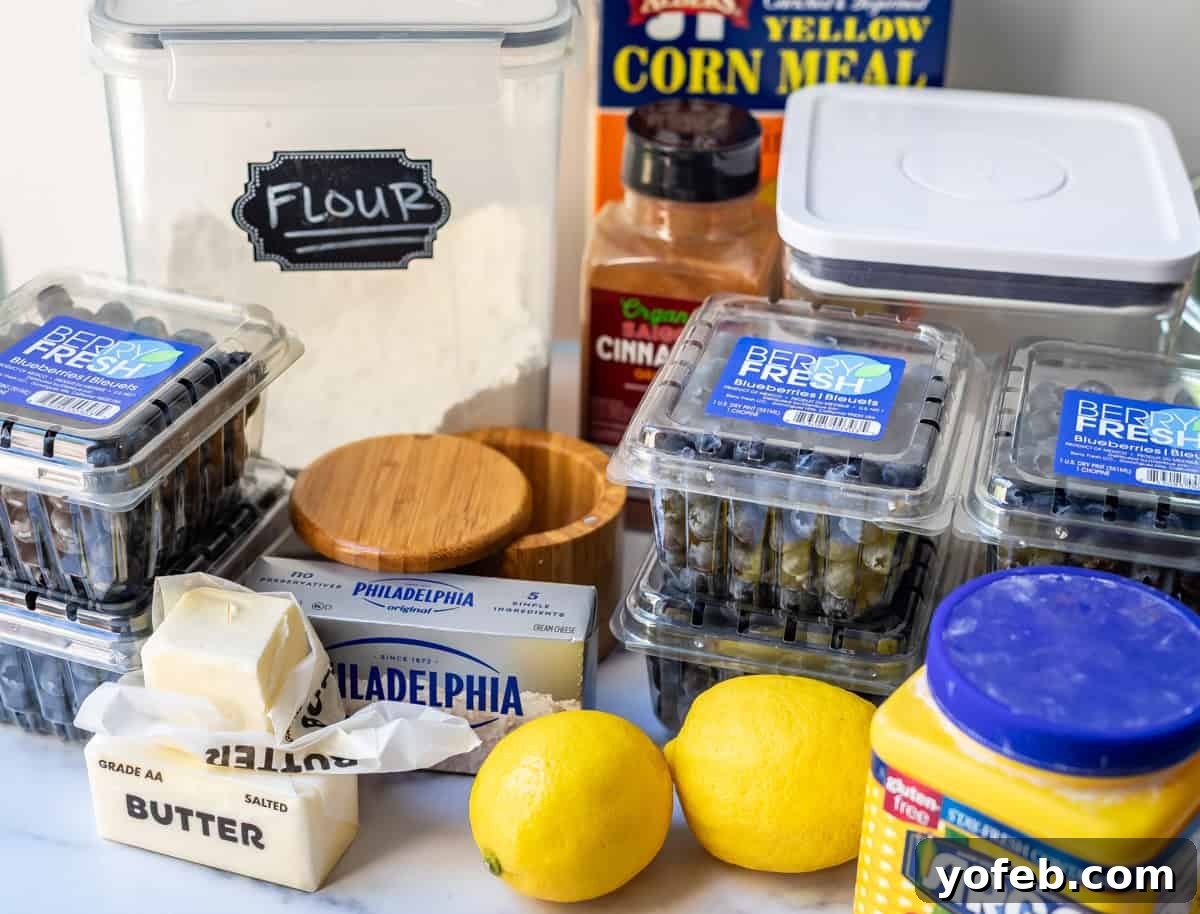
For the Cornmeal Cream Cheese Crust:
- Cornmeal: Provides a subtle, earthy flavor and delightful texture that pairs wonderfully with blueberries.
- All-purpose flour: The foundation of our flaky crust, offering structure and tenderness.
- Granulated sugar: A touch of sweetness for the crust, balancing the tang from the cream cheese.
- Kosher salt: Essential for enhancing all the flavors in the crust.
- Unsalted butter: Must be very cold, cut into small pieces, to create pockets of steam for flakiness.
- Cream cheese: Cold and cubed, this is our secret ingredient for a tender, tangy, and rich crust.
- Beaten egg: Acts as a binder, helping the dough come together.
- Ice water: Crucial for hydrating the dough without developing too much gluten, ensuring a tender crust.
For the Vibrant Blueberry Filling:
- Blueberries (fresh or frozen): A combination of puréed and whole berries is key. Fresh are ideal, but frozen work beautifully with a slight adjustment. Choosing “wild” varieties, if available, can add natural tartness.
- Lemons: You’ll need plenty of zest and juice to infuse the filling with bright, tangy flavor that counteracts sweetness.
- Granulated sugar: Sweetens the filling, but in moderation, allowing the natural berry and lemon flavors to shine.
- Cornstarch and All-purpose flour: A dynamic duo for thickening. Cornstarch provides strong gelling, while flour offers a smoother texture, preventing an overly gummy consistency. This combination ensures a juicy, yet sliceable pie.
- Cinnamon: A warm spice that complements the blueberries, adding a hint of comforting aroma.
- Kosher salt: A pinch enhances all the other flavors, making them pop.
- Milk (or egg wash): For brushing the top crust, encouraging beautiful golden browning.
- Raw sugar: Sprinkled on the top crust for a delightful sparkle and a textural crunch.
- Vanilla ice cream or whipped cream: Absolutely non-negotiable for serving! The creamy, cold contrast to the warm, tangy pie is pure bliss.
Understanding Blueberries: Cultivated vs. Wild
The type of blueberries you choose can significantly impact your pie’s flavor and texture. Most of us are familiar with the plump, juicy, grape-sized blueberries found in grocery stores—these are “cultivated blueberries.” While excellent for snacking, their inherent sweetness and high water content can pose challenges in pie making. Using them in a traditional pie with just sugar and cornstarch often results in a filling that’s overly sweet and watery, leading to the dreaded “Sugary-Water Pie” scenario. We aim to avoid this by design.
On the other hand, “wild blueberries” are smaller, more intensely flavored, and typically much tarter, with less water content. If you have access to these, perhaps by foraging them yourself or finding them frozen, they would make an absolutely stellar pie. Their natural acidity contributes significantly to a balanced flavor profile, requiring less intervention. However, since wild blueberries aren’t readily available to everyone, this recipe is specifically designed to transform those sweeter supermarket cultivated blueberries into a perfectly balanced, vibrant pie.
Can You Use Frozen Blueberries? Absolutely!
Yes, indeed! Frozen blueberries are a perfectly acceptable and convenient alternative, allowing you to enjoy this pie year-round. There are just a couple of crucial adjustments to ensure the best results, which are detailed thoroughly in the recipe card notes. The most important step when using frozen berries is to thaw them first, and crucially, save the delicious juice they release! This liquid gold will be incorporated into our cooked blueberry sauce, maximizing flavor and ensuring proper thickening. After thawing, proceed with the recipe as usual; no changes to baking time or temperature are required.
Step-by-Step Guide: How to Make the Best Blueberry Pie
Let’s embark on the journey of creating this exceptional blueberry pie, starting with our unique crust. While a standard flaky pie crust works beautifully (and you can find detailed instructions in my Flaky Pie Crust recipe), I highly recommend embracing the cornmeal cream cheese crust for an unparalleled experience.
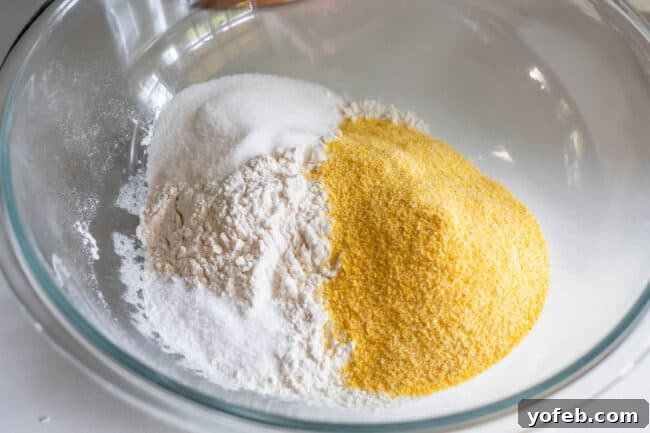
Our crust begins by whisking together cornmeal, all-purpose flour, sugar, and kosher salt. This blend lays the foundation for both flavor and texture. The cornmeal not only adds a rustic charm but also contributes a delightful corn-like flavor that harmonizes surprisingly well with the sweet-tart blueberries. It’s a match made in culinary heaven!
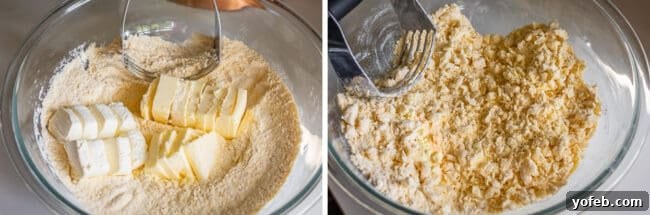
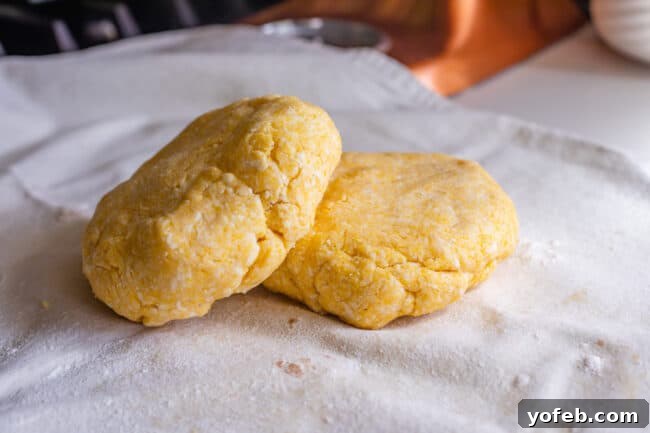
The next “secret” ingredient for our phenomenal crust is cold cream cheese. Paired with equally cold butter, the cream cheese adds a rich, creamy texture and, crucially, a tangy flavor that is absolutely perfect for balancing the sweetness of the blueberries. These cold fats are cut into the flour mixture, creating pea-sized pieces that will transform into flaky layers during baking. After incorporating a beaten egg and a splash of ice water, the dough is gently kneaded just until it comes together, then divided and chilled. Chilling is vital for developing flavor and ensuring the dough is firm enough to roll without tearing. You can find more visual guidance on this process in my Flaky Pie Crust Recipe, as the method remains consistent even with slightly different ingredients.
Crafting the Perfect Blueberry Pie Filling
The heart of our exceptional blueberry pie lies in its filling, which is prepared using a unique method that ensures both flavor and texture perfection. You’ll need a substantial amount of blueberries for this recipe—approximately 7.5 cups in total. Whether you opt for fresh or frozen, the key is to ensure they are high quality and ripe.
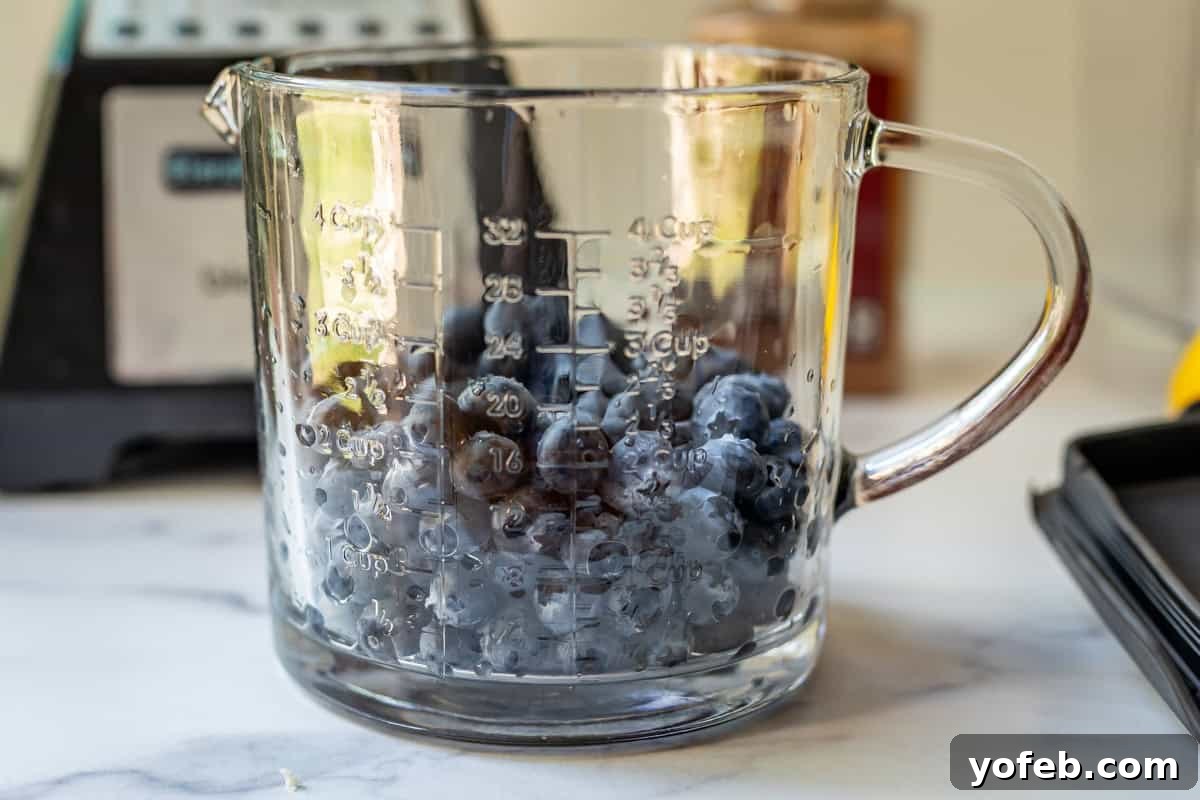
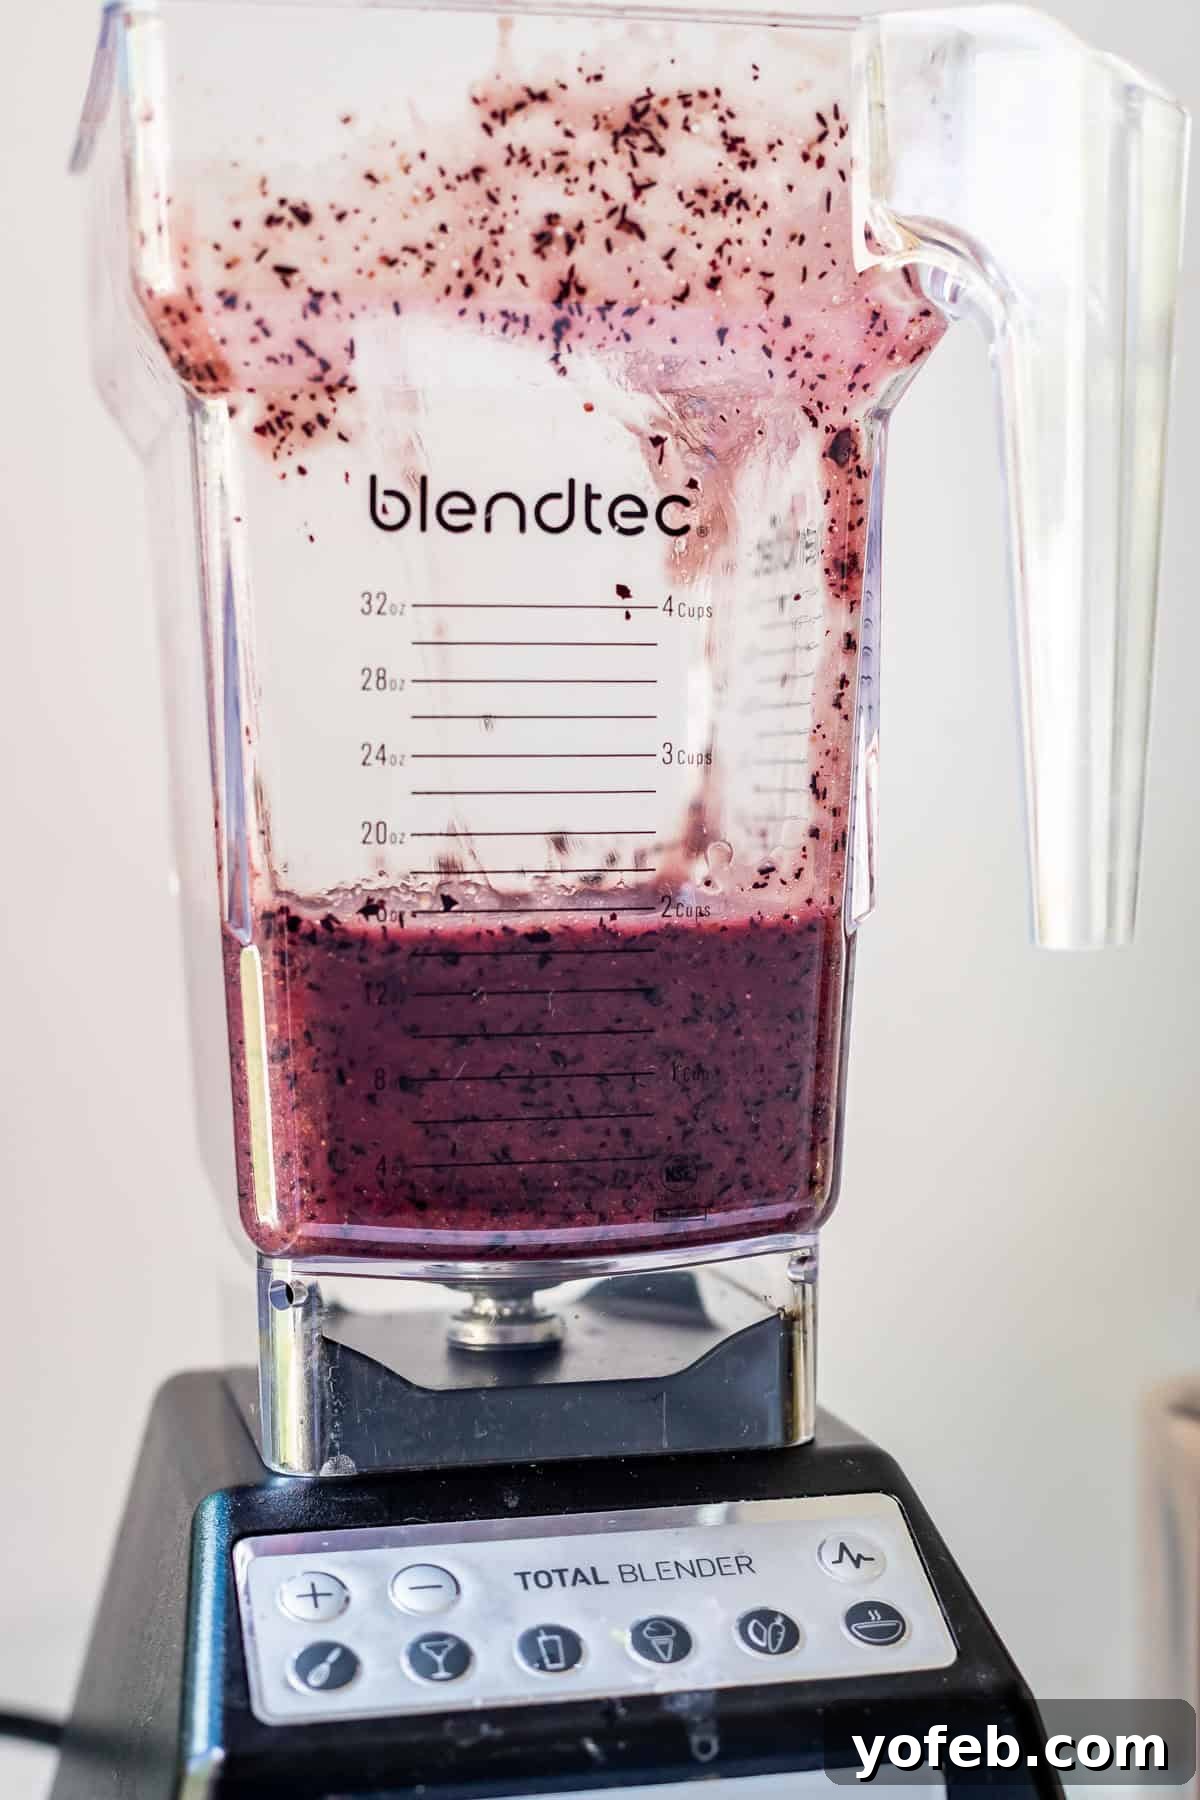
To begin the filling, take about 2 cups of blueberries and blend them until they are completely liquefied. Aim for approximately 1 ¾ cups of this vibrant blueberry purée. If your blend yields less, simply add a few more blueberries and blend again. If you’re short on whole berries for the next step, you can supplement the purée with a little water or fruit juice to reach the desired volume.
Pour this liquid blueberry into a saucepan. Add the granulated sugar, cornstarch, flour, cinnamon, and kosher salt. It’s crucial to whisk all these ingredients together thoroughly BEFORE you turn on the heat. This prevents any lumps of cornstarch or flour from forming, ensuring a smooth, evenly thickened sauce.
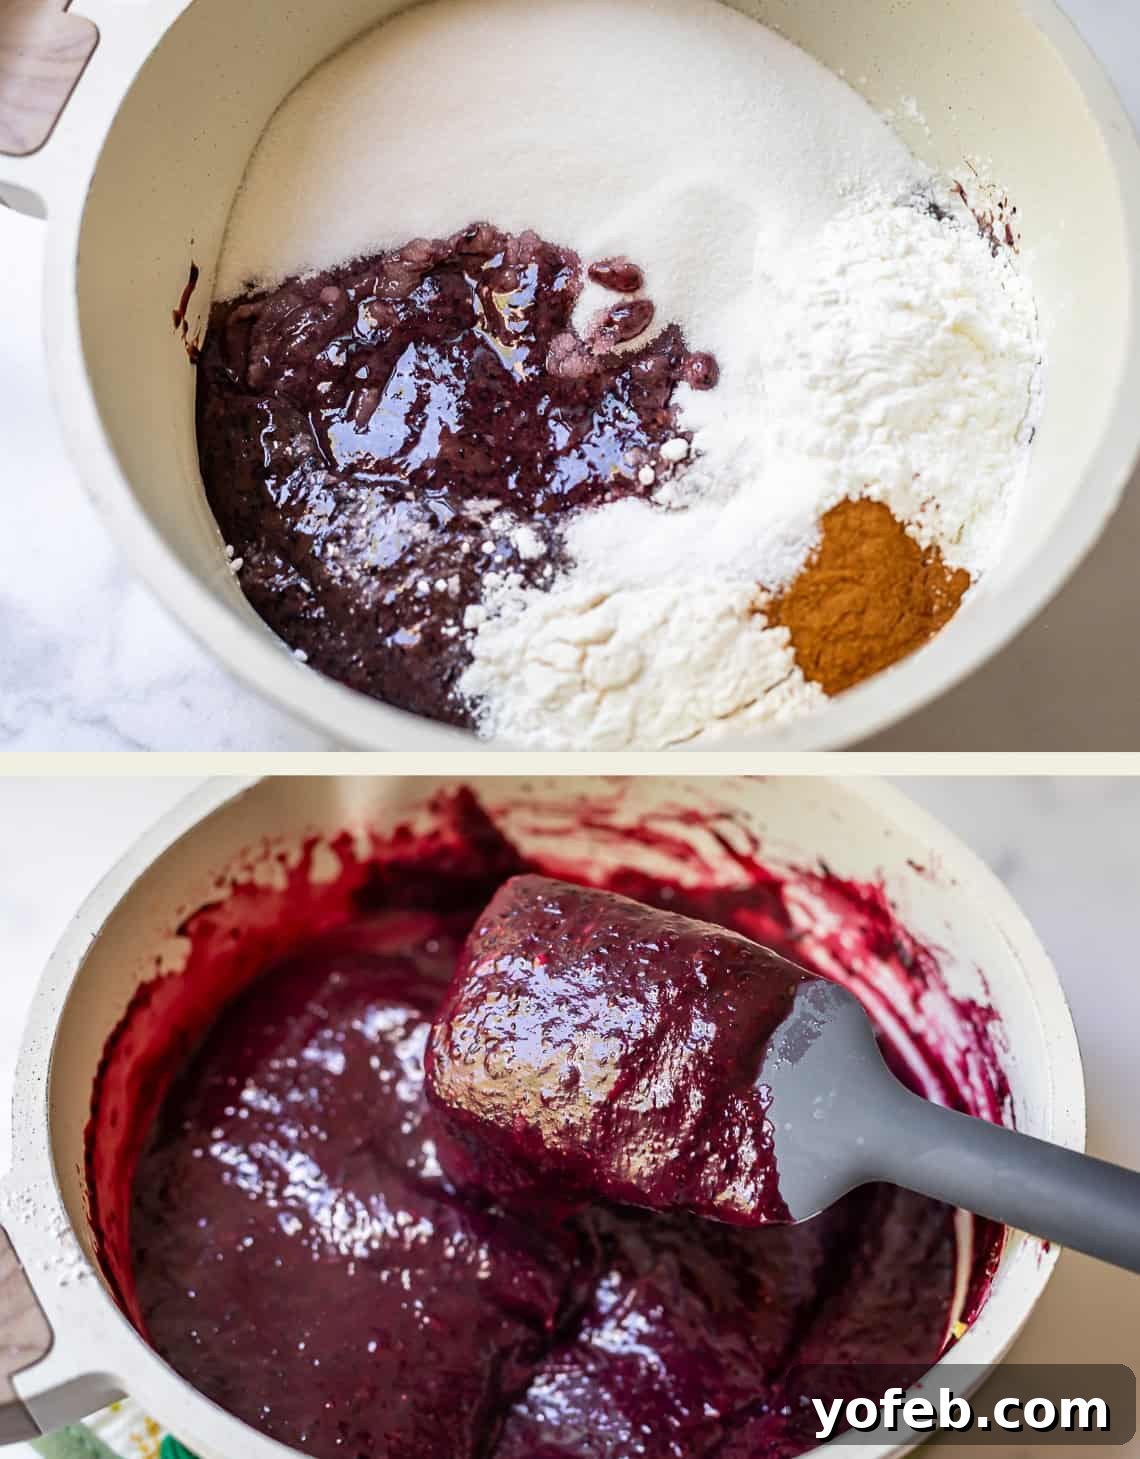
Cook this mixture over medium heat, stirring occasionally, for just a few minutes until it begins to thicken. You’ll notice it transforming into a luscious, glossy sauce. As soon as it reaches this consistency, remove the pan from the heat to prevent over-thickening.
Now for the essential tang: stir in the copious amounts of lemon juice and zest. We’re talking 3 tablespoons of juice and 1 tablespoon of zest (from about two lemons) to ensure that vibrant tartness. This generous addition of lemon is what truly makes this blueberry pie exceptional, cutting through the sweetness and brightening every bite.
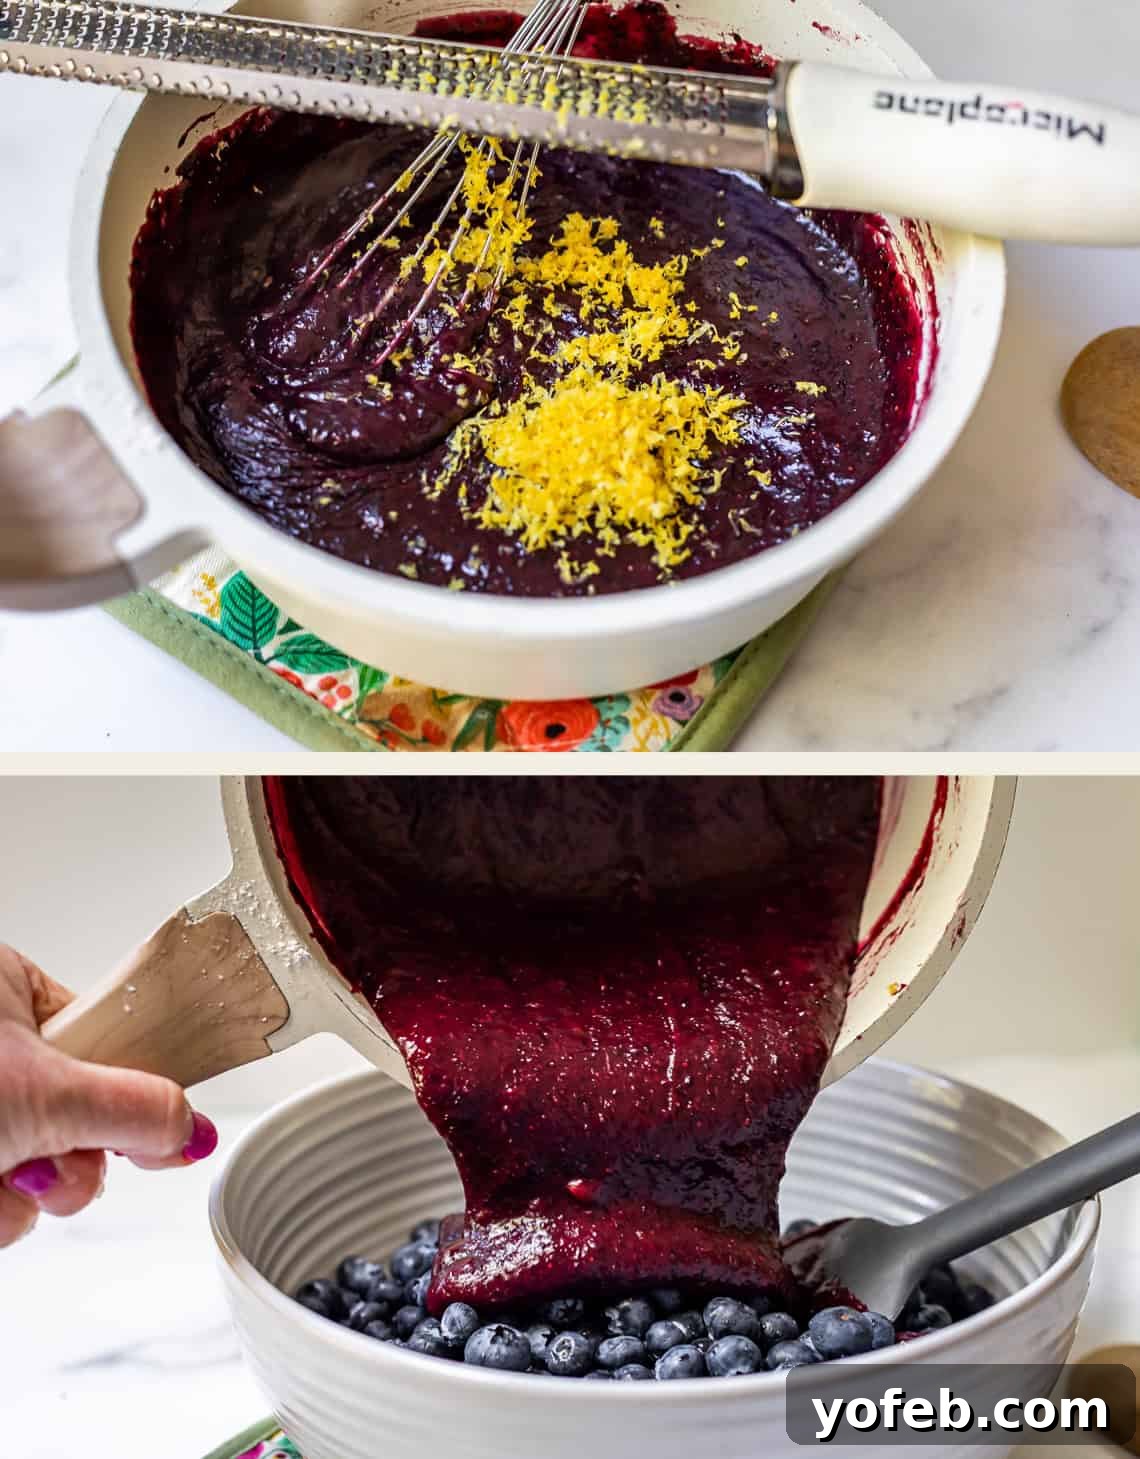
Finally, gently fold this cooked mixture into 5 cups of fresh, whole blueberries (or thawed frozen ones – refer to the recipe notes for specific frozen berry instructions). This technique preserves the integrity of the whole berries while ensuring a perfectly thickened, flavorful base. Take a moment to taste a spoonful—it’s already delicious, and baking will only enhance its incredible depth of flavor.
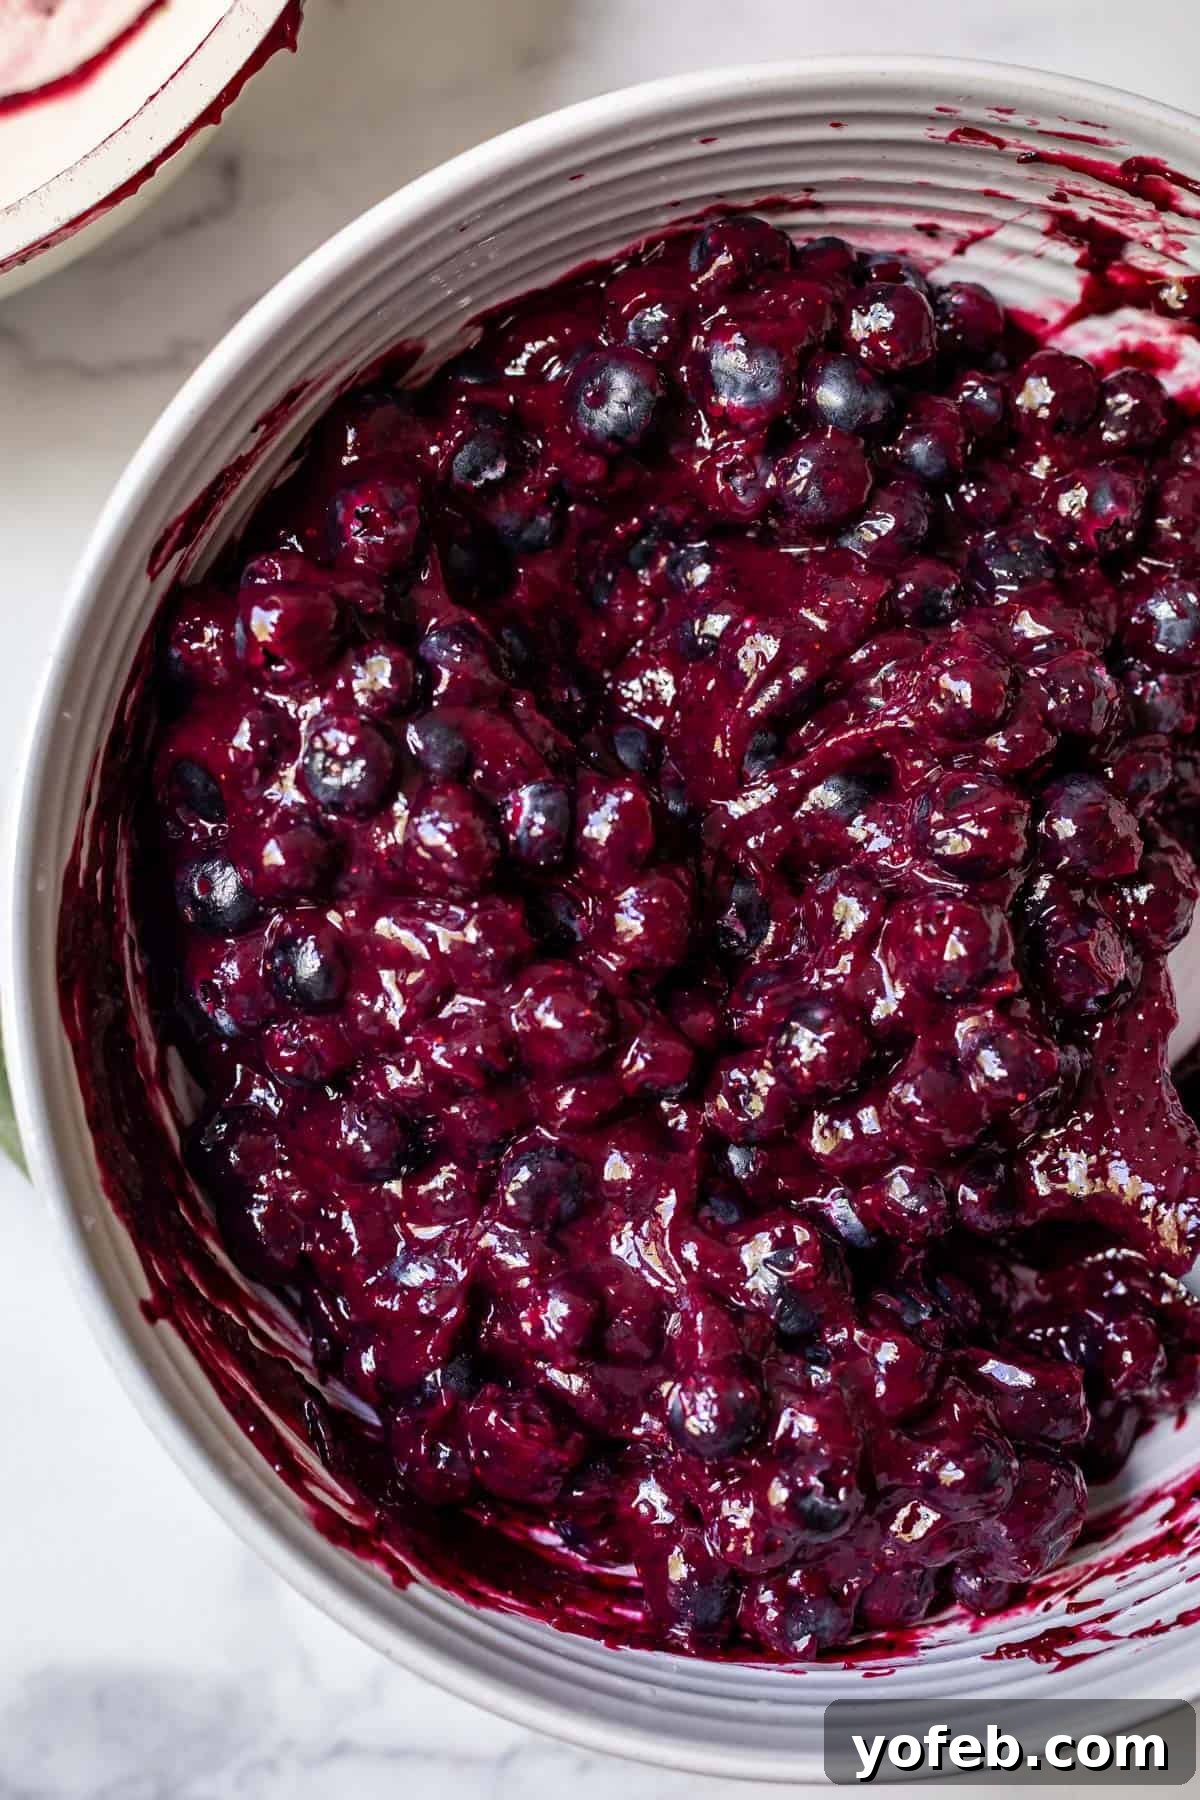
Assemble the Blueberry Pie
Once your pie dough discs are sufficiently chilled, it’s time to assemble. Roll out one disc on a well-floured surface and carefully transfer it to a 9-inch pie pan, allowing the edges to overhang. If the dough has softened, place the pie pan back in the fridge or freezer for a few minutes to firm up. Cold dough is essential for a flaky crust.
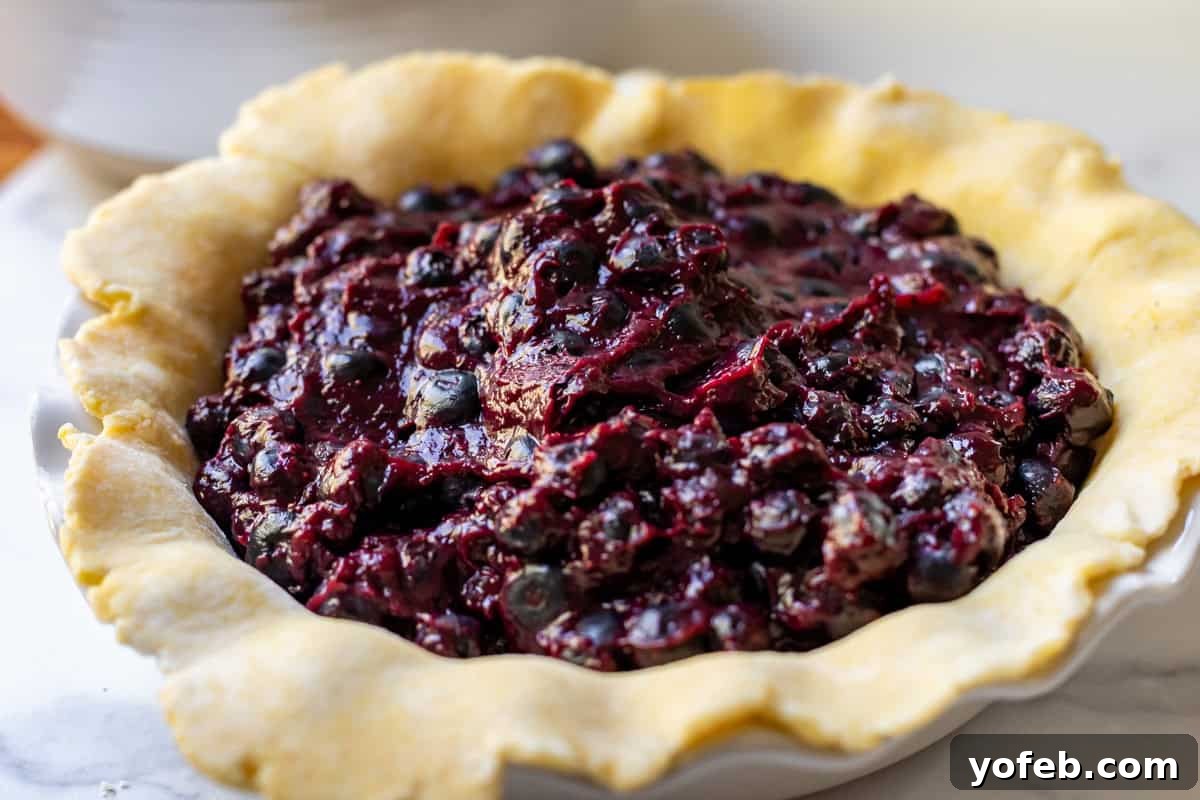
Pour the completely cooled blueberry filling into the prepared crust, mounding it slightly in the center. The filling must be cold to prevent the bottom crust from becoming gummy during baking. While the pie chills again with its filling, roll out the second disc of dough for the top crust.
Mastering the Lattice Crust: A Visual Delight
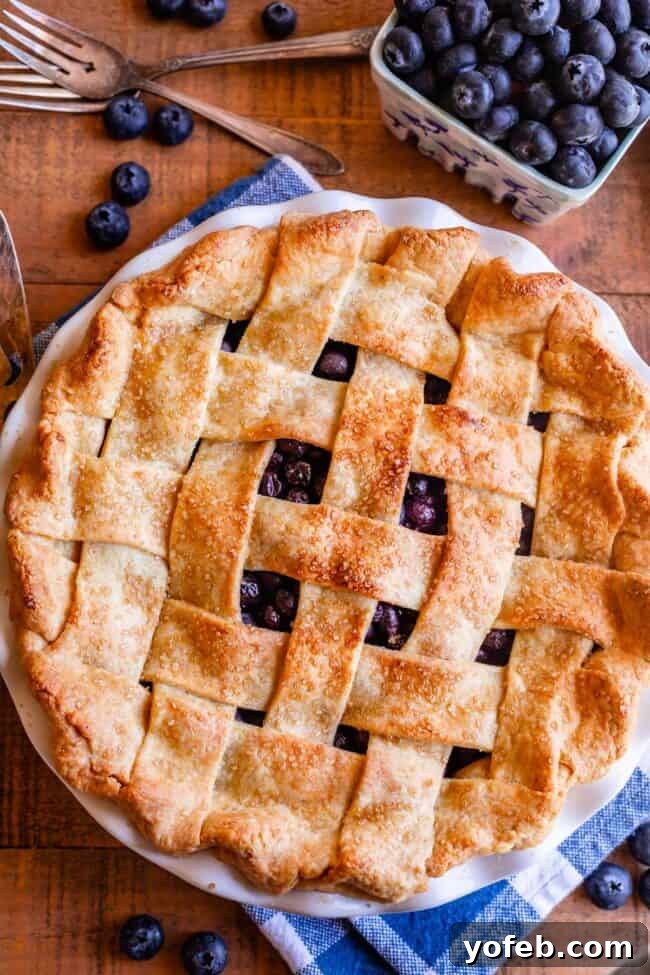
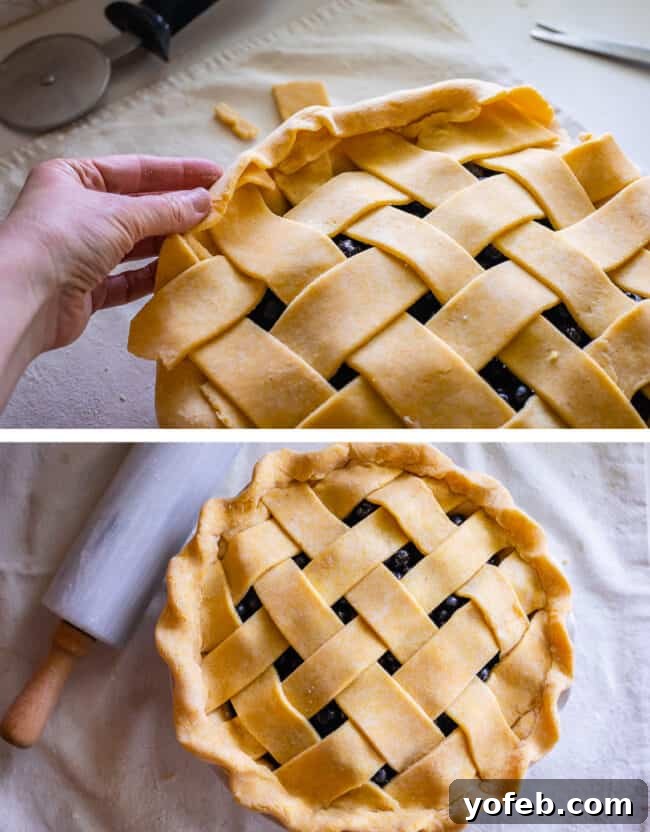
A lattice crust adds an irresistible homemade touch and elegant visual appeal to any pie, and it’s particularly charming for a blueberry pie. While it may look intricate, it’s easier than you think to create. I’ve included some images here to guide you, but for a more in-depth, step-by-step visual tutorial, I highly recommend consulting my dedicated Lattice Pie Crust post. Even seasoned bakers sometimes appreciate a visual reminder!
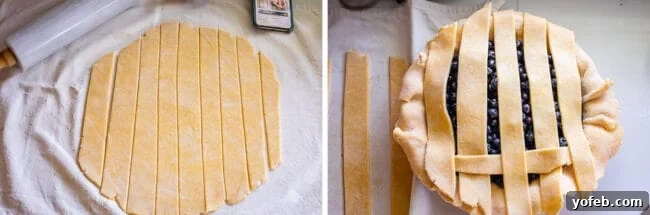
Remember, keeping your pie dough cold at every stage is paramount. Cold dough ensures a tender, flaky crust. Once the lattice is woven (or if you opt for a full top crust, remember to cut vents for steam), carefully trim any excess dough, leaving about an inch of overhang. Fold this overhang underneath to create a neat edge, then crimp with your fingers or a fork to seal the pie. This not only looks professional but also prevents the filling from bubbling out.
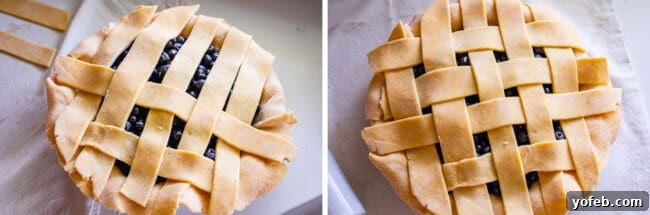
Before baking, place the entire assembled pie in the freezer for about 20 minutes (or 30 minutes in the fridge if freezer space is tight). This final chill is a non-negotiable step for achieving an ultra-flaky, perfectly structured crust. While your pie chills, preheat your oven to 425°F (220°C) with a baking sheet placed on the center rack. A hot baking sheet helps set the bottom crust quickly, preventing sogginess.
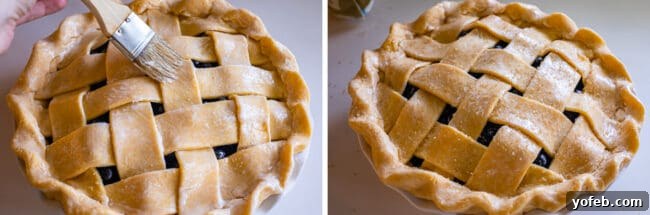
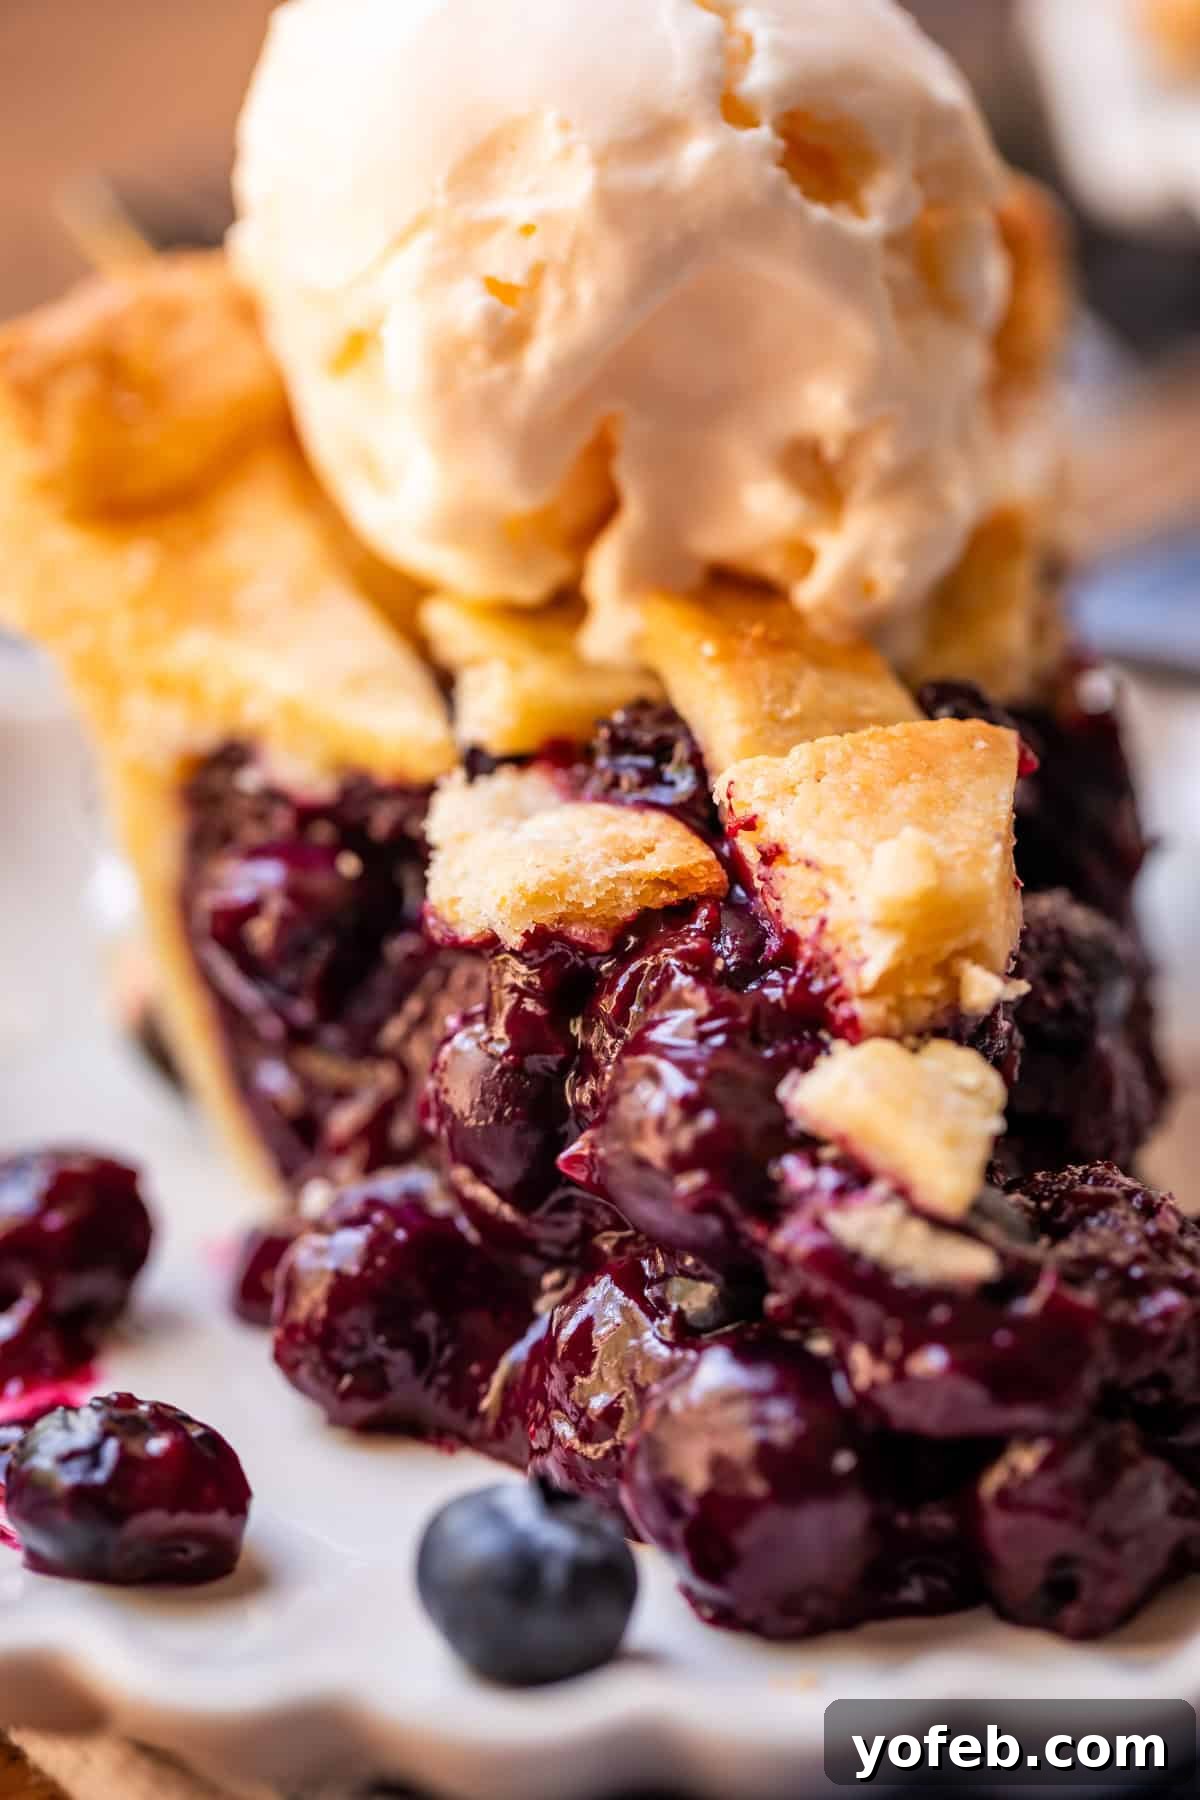
Just before it goes into the oven, brush the top crust with a little milk (or an egg wash for extra shine) and sprinkle generously with raw sugar. This step is vital for achieving that beautiful golden-brown finish and a delightful crunch on the surface of your pie. My mom often uses cinnamon-sugar, which adds another layer of warm spice – a tradition I deeply cherish and highly recommend trying!
Baking Blueberry Pie: For Flaky Crust and Set Filling
Baking this blueberry pie involves a strategic temperature shift to ensure both a perfectly flaky crust and a beautifully set filling. Begin by placing your chilled pie onto the preheated baking sheet in a screaming hot oven set at 425°F (220°C) for the initial 15 minutes. This high temperature is crucial because it rapidly evaporates the water content in the butter within the pie crust. This quick evaporation creates steam, which in turn lifts the layers of fat, resulting in those coveted airy pockets that define a truly flaky pie crust. The intense heat also helps to swiftly activate the thickeners in the filling, giving it a head start on setting.
After this initial burst of high heat, reduce the oven temperature to 350°F (175°C) and continue baking. This lower temperature prevents the crust from over-browning or burning while allowing the filling to gently finish cooking and fully set. The pie is considered done when its edges are a rich golden brown, and the center of the crust exhibits a lighter golden hue. Because our filling was pre-cooked and the thickeners already activated on the stovetop, you’re primarily waiting for the crust to achieve its ideal color and crispness. There’s no need to worry about the internal filling being raw or unset at this point. When your pie looks as beautifully browned and golden as you desire, it’s ready to be removed from the oven.
Preventing Over-Browning: Achieving a Golden Crust
One common challenge in pie baking is achieving an evenly golden-brown crust without the edges burning before the center is done. Our two-stage baking temperature (high then low) is the first line of defense. However, an additional indispensable trick is the use of a pie shield. After the initial 15 minutes at high heat, when you reduce the oven temperature, it’s the perfect time to employ this protective measure.
A pie shield is a simple yet effective tool: it’s a piece of foil (or a reusable metal/silicone guard) that covers just the circular edge of your pie crust, leaving the center exposed to continue browning. While specialized pie shields are available, I find that a homemade foil shield works exceptionally well. To make one, simply take a square of aluminum foil, fold it in half, then in half again. Cut out the center of the folded square to create a ring. When unfolded, you’ll have a perfect foil ring to place over your pie crust edges. Gently crimp it around the crust to hold it in place, ensuring the entire edge is covered. This prevents premature browning or burning, allowing the rest of the pie to catch up. For visual instructions on crafting a foil shield, refer to my Pie Crust Recipe post. Once the shield is in place and the temperature lowered to 350°F (175°C), continue baking for another 40-50 minutes, or until the center of the pie is beautifully golden.
Avoiding a Soggy Bottom: The Secret to a Firm Berry Pie
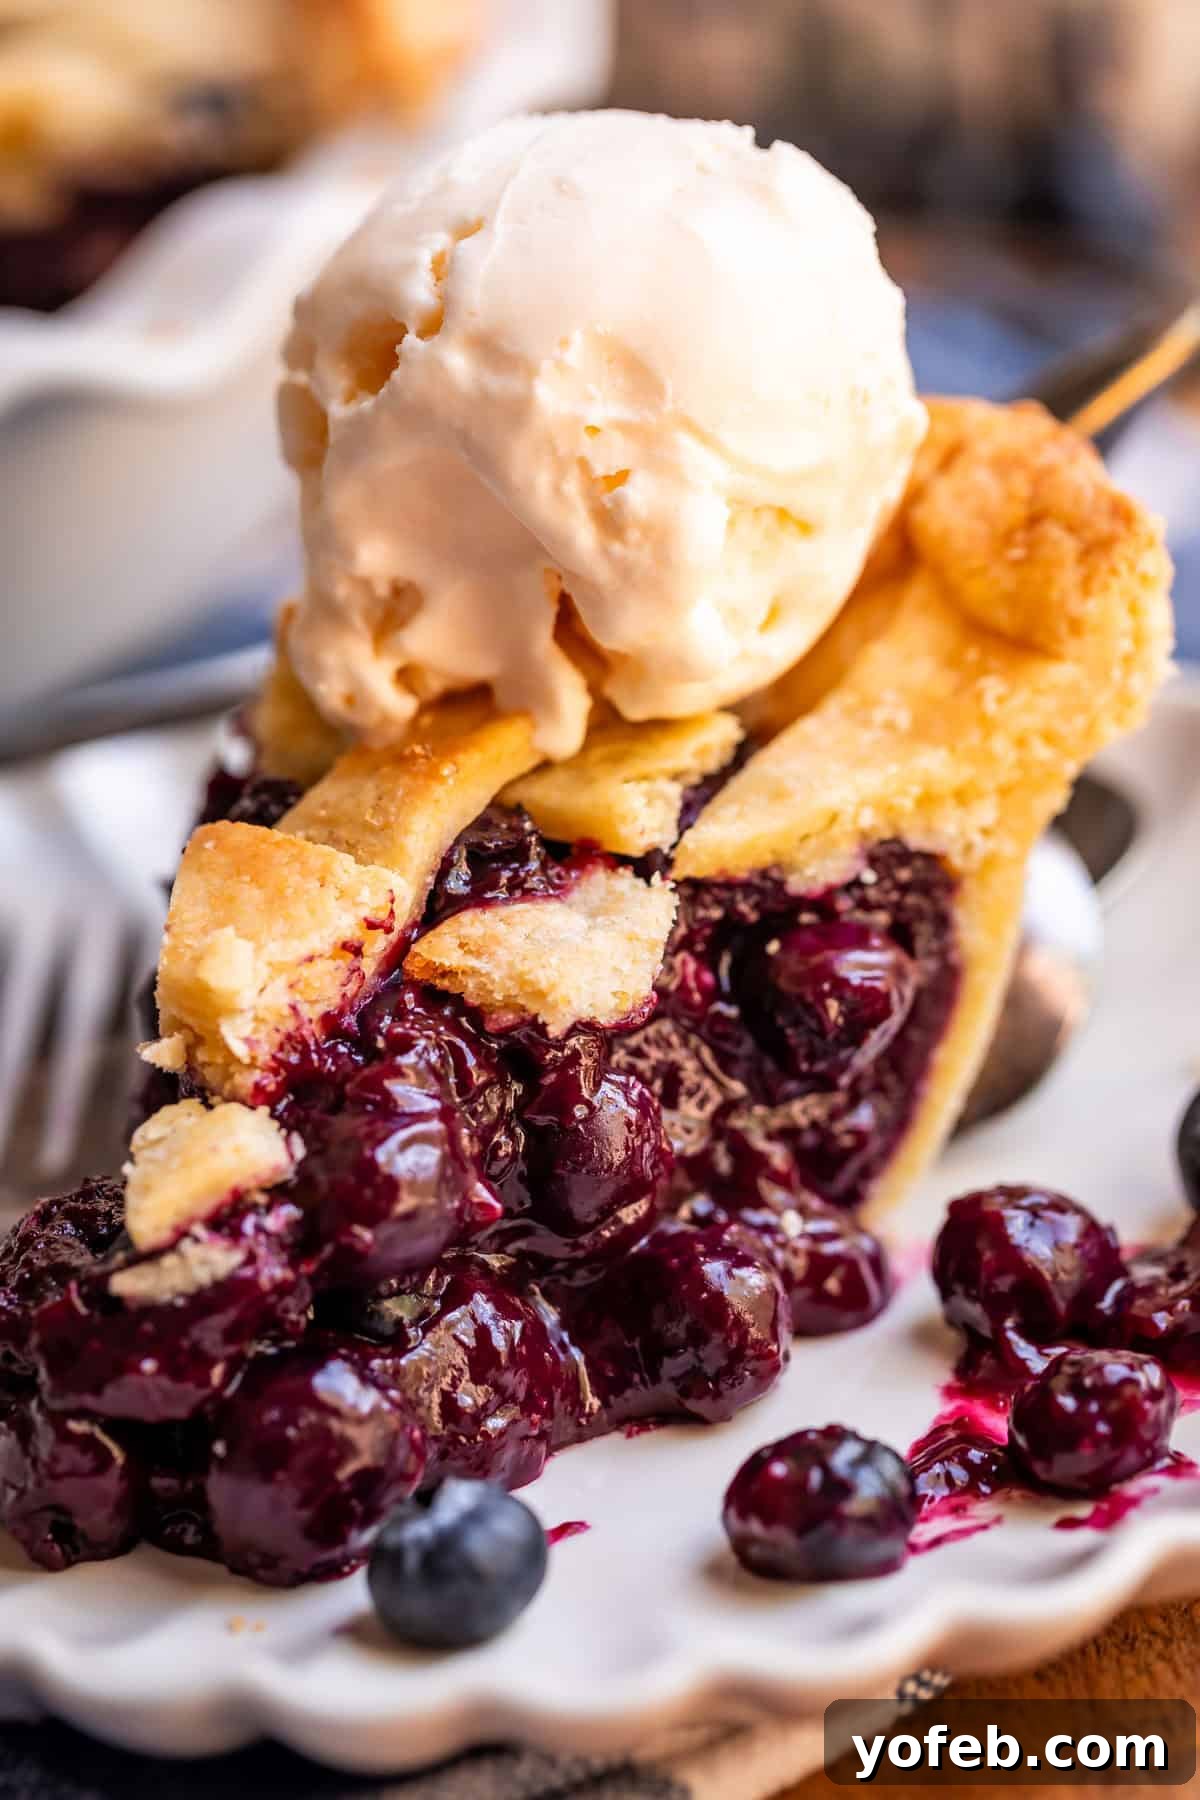
You’ve baked a magnificent blueberry pie, but here comes the true test of patience: resisting the urge to slice into it immediately. This is arguably the hardest part of the entire process, but it’s absolutely crucial for a perfectly set, non-soggy pie. You must allow your pie to cool on a wire rack for a minimum of 4 hours, ideally until it reaches room temperature. When the pie is fresh out of the oven, the filling is still very hot and liquid-like. Cutting into it prematurely will result in a runny, messy slice where the juices escape, leaving your crust soggy and your presentation lacking. Cooling allows the filling to fully set and firm up as the starches continue to gel and the fruit pectins release.
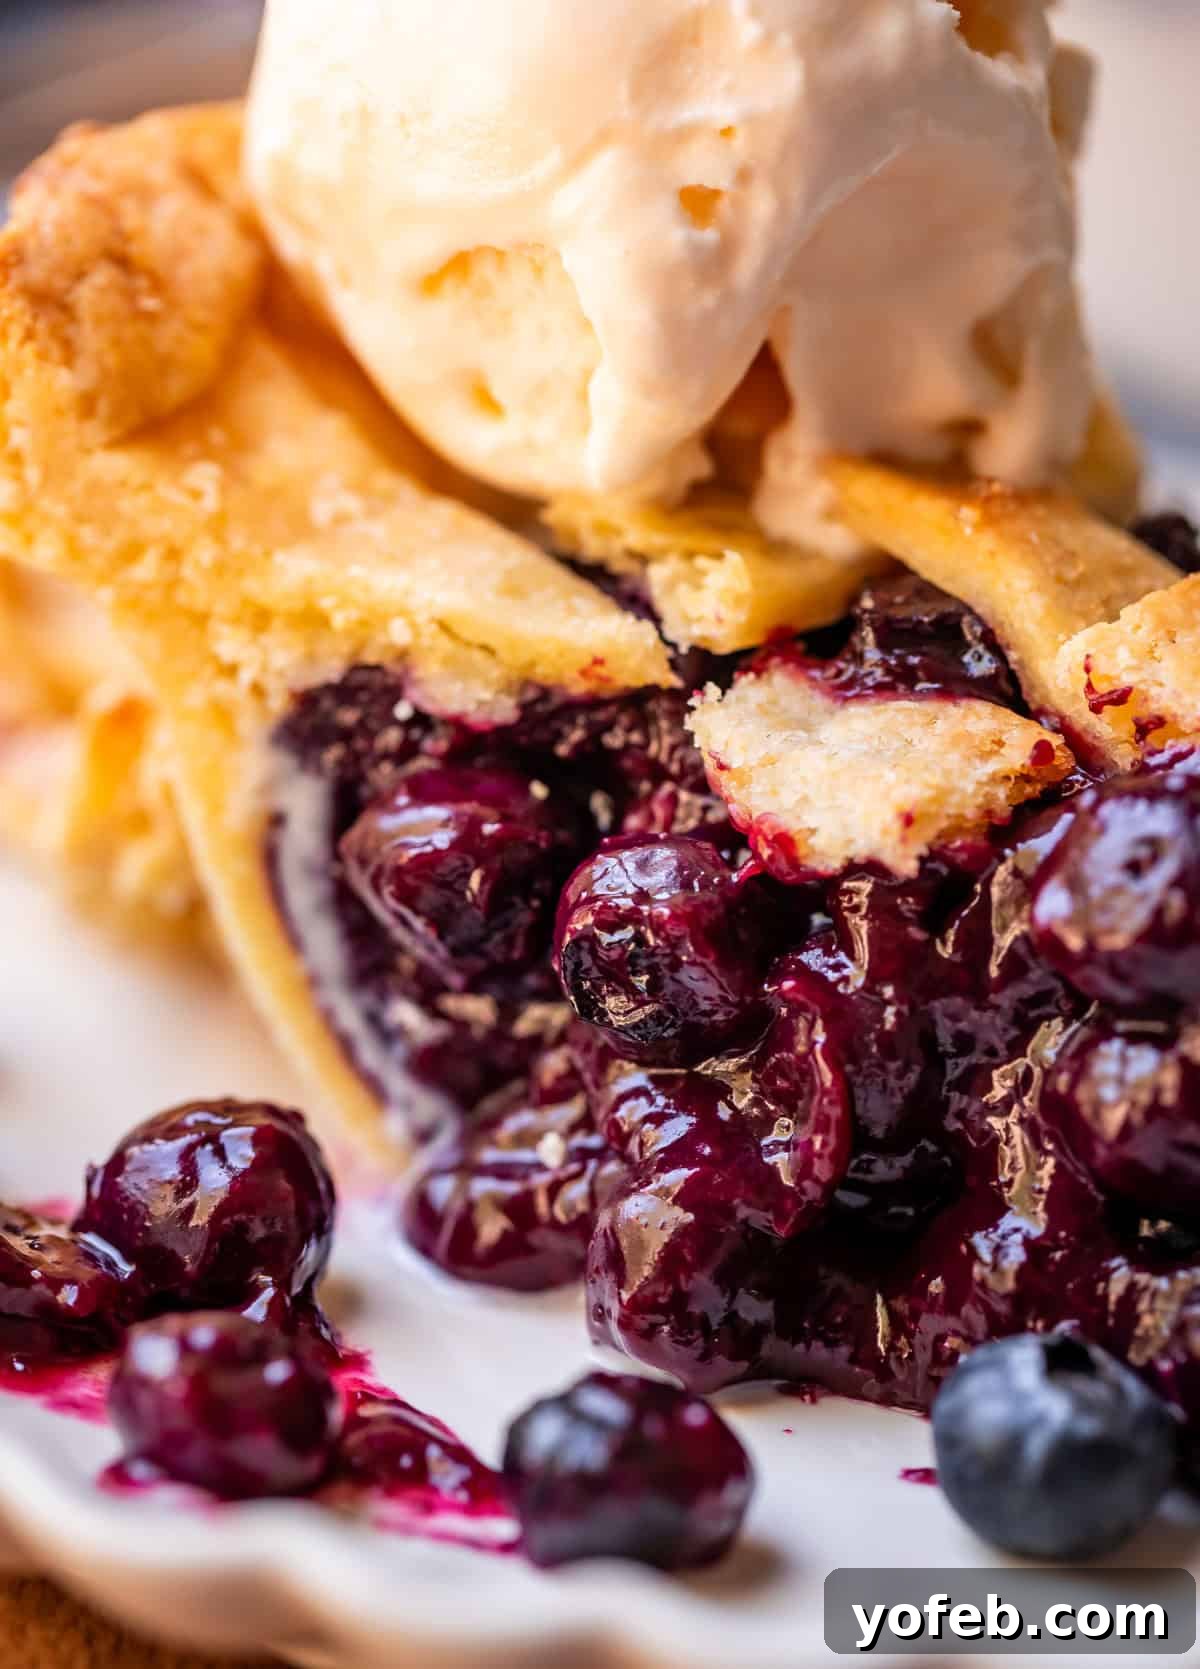
While I strive for a pie that is sliceable, I also embrace a filling that is gloriously juicy rather than overly-jellified or artificially firm. This recipe is specifically developed to deliver a rich, succulent filling that holds its shape reasonably well but still offers that luscious, bursting-berry experience. If, despite your best efforts and patience, your pie ends up a little too juicy for your preference, don’t despair! Simply scoop it into a bowl, top it with a generous dollop of vanilla ice cream or whipped cream, and spoon those delectable juices right over the top. It’s a heavenly indulgence, regardless of perfect structural integrity!
Storing Your Blueberry Pie: Freshness and Longevity
Proper storage ensures your delicious homemade blueberry pie remains fresh and enjoyable for as long as possible. For the first day or two after baking, your pie can safely be left on the counter at room temperature. The high sugar content acts as a natural preservative, keeping the pie fresh. Simply cover it loosely with plastic wrap or use a dedicated pie cover to protect it from air exposure. After two days, to extend its shelf life, transfer any remaining pie to the refrigerator. Stored in the fridge, your blueberry pie will stay delicious for an additional 2 to 3 days. Always ensure it’s well-covered to prevent it from drying out or absorbing other food odors.
Can You Freeze Blueberry Pie Filling for Future Baking?
Absolutely! Freezing blueberry pie filling is an excellent way to prepare ahead and enjoy homemade pie with minimal effort later. You can fully prepare the blueberry pie filling as instructed in the recipe, allowing it to cool completely. Once cooled, transfer the filling into a freezer-safe ziplock bag or an airtight container. For added convenience, place the bag of filling inside the pie plate you intend to bake it in and freeze it in that shape. This clever trick ensures the frozen filling will perfectly fit your pie crust when you’re ready to bake. Once completely frozen, you can remove the pie plate and store the shaped filling in the freezer for up to 3 months. When the craving strikes, simply roll out your pie crust, place the frozen filling inside, and bake directly from frozen, following the recipe’s temperature and time guidelines (you might need a few extra minutes for the frozen filling to heat through).
Freezing an Entire Blueberry Pie: Baked or Unbaked?
Freezing an entire blueberry pie is a fantastic option for meal prep or for saving a holiday dessert. For the best results, I highly recommend freezing an unbaked pie rather than a baked one. Unbaked pies tend to maintain a much better crust texture upon baking, whereas previously baked and frozen crusts can sometimes become soggy or crumbly.
To Freeze an Unbaked Blueberry Pie:
Assemble the pie completely with both the bottom and top crusts, including the lattice if desired. However, do NOT brush it with milk or egg wash, and do NOT sprinkle it with sugar at this stage. Place the assembled pie in the freezer for about an hour to flash freeze it. This prevents the plastic wrap from sticking to the delicate crust. Once firm, tightly wrap the pie first in plastic wrap, then again in another layer of plastic wrap, and finally, encapsulate it securely in aluminum foil. Ensure it’s as airtight as possible to prevent freezer burn. Label with the date and freeze for up to 3 months.
When you’re ready to bake, simply remove the frozen pie from the freezer. Brush the top crust with milk or egg wash, sprinkle with raw sugar, and bake it directly from frozen. Use the same temperature and time guidelines provided in the recipe; no thawing is necessary. You may need to add about 10-15 minutes to the baking time to ensure the filling is bubbling hot and the crust is golden brown.
Freezing a Baked Blueberry Pie:
While you *can* freeze an already baked whole pie, the texture of the crust often suffers, potentially becoming soggy and less flaky. If you choose this method, allow the pie to cool completely before wrapping it tightly, following the same plastic wrap and foil instructions as for an unbaked pie. Reheat gently in the oven until warmed through. However, for that truly fresh, flaky crust experience, freezing before baking is always the superior choice.
Blueberry Pie FAQs: Your Questions Answered
Yes, absolutely! This is a cornerstone technique for achieving a superior blueberry pie, one I learned from my Grandma’s legendary Blackberry Pie. We start by puréeing a portion of the berries and cooking them into a thick, flavorful sauce with the thickeners and sugar. Then, we fold in the remaining whole berries. This method ensures the thickeners are fully activated and the filling is perfectly set, vibrant, and juicy, without becoming watery or mushy.
Yes, it is crucial to thaw frozen blueberries before incorporating them into this pie recipe. Thawing allows the berries to release their excess liquid, which we then save and incorporate into our cooked sauce. This prevents a watery filling and ensures the correct consistency. Make sure to drain the thawed berries well, but always reserve that flavorful juice!
For this recipe, we use a combination of cornstarch and all-purpose flour. Cornstarch is a powerful gelling agent, providing robust thickening. However, using too much can sometimes lead to a slightly gummy texture. By combining it with flour, which offers a slightly milder thickening power and a more natural taste, we achieve a perfectly balanced, juicy, and set filling that’s never overly starchy or artificial-tasting.
A watery blueberry pie is typically caused by insufficient thickening agent, or by the fruit releasing too much liquid during baking without the thickeners being properly activated. Blueberries naturally have a high water content. This recipe effectively combats sogginess by pre-cooking a portion of the blueberry filling with the thickeners (cornstarch and flour) on the stovetop. This ensures the thickeners are fully activated before the pie even enters the oven, largely preempting any issues with excess moisture and resulting in a beautifully set, juicy pie.
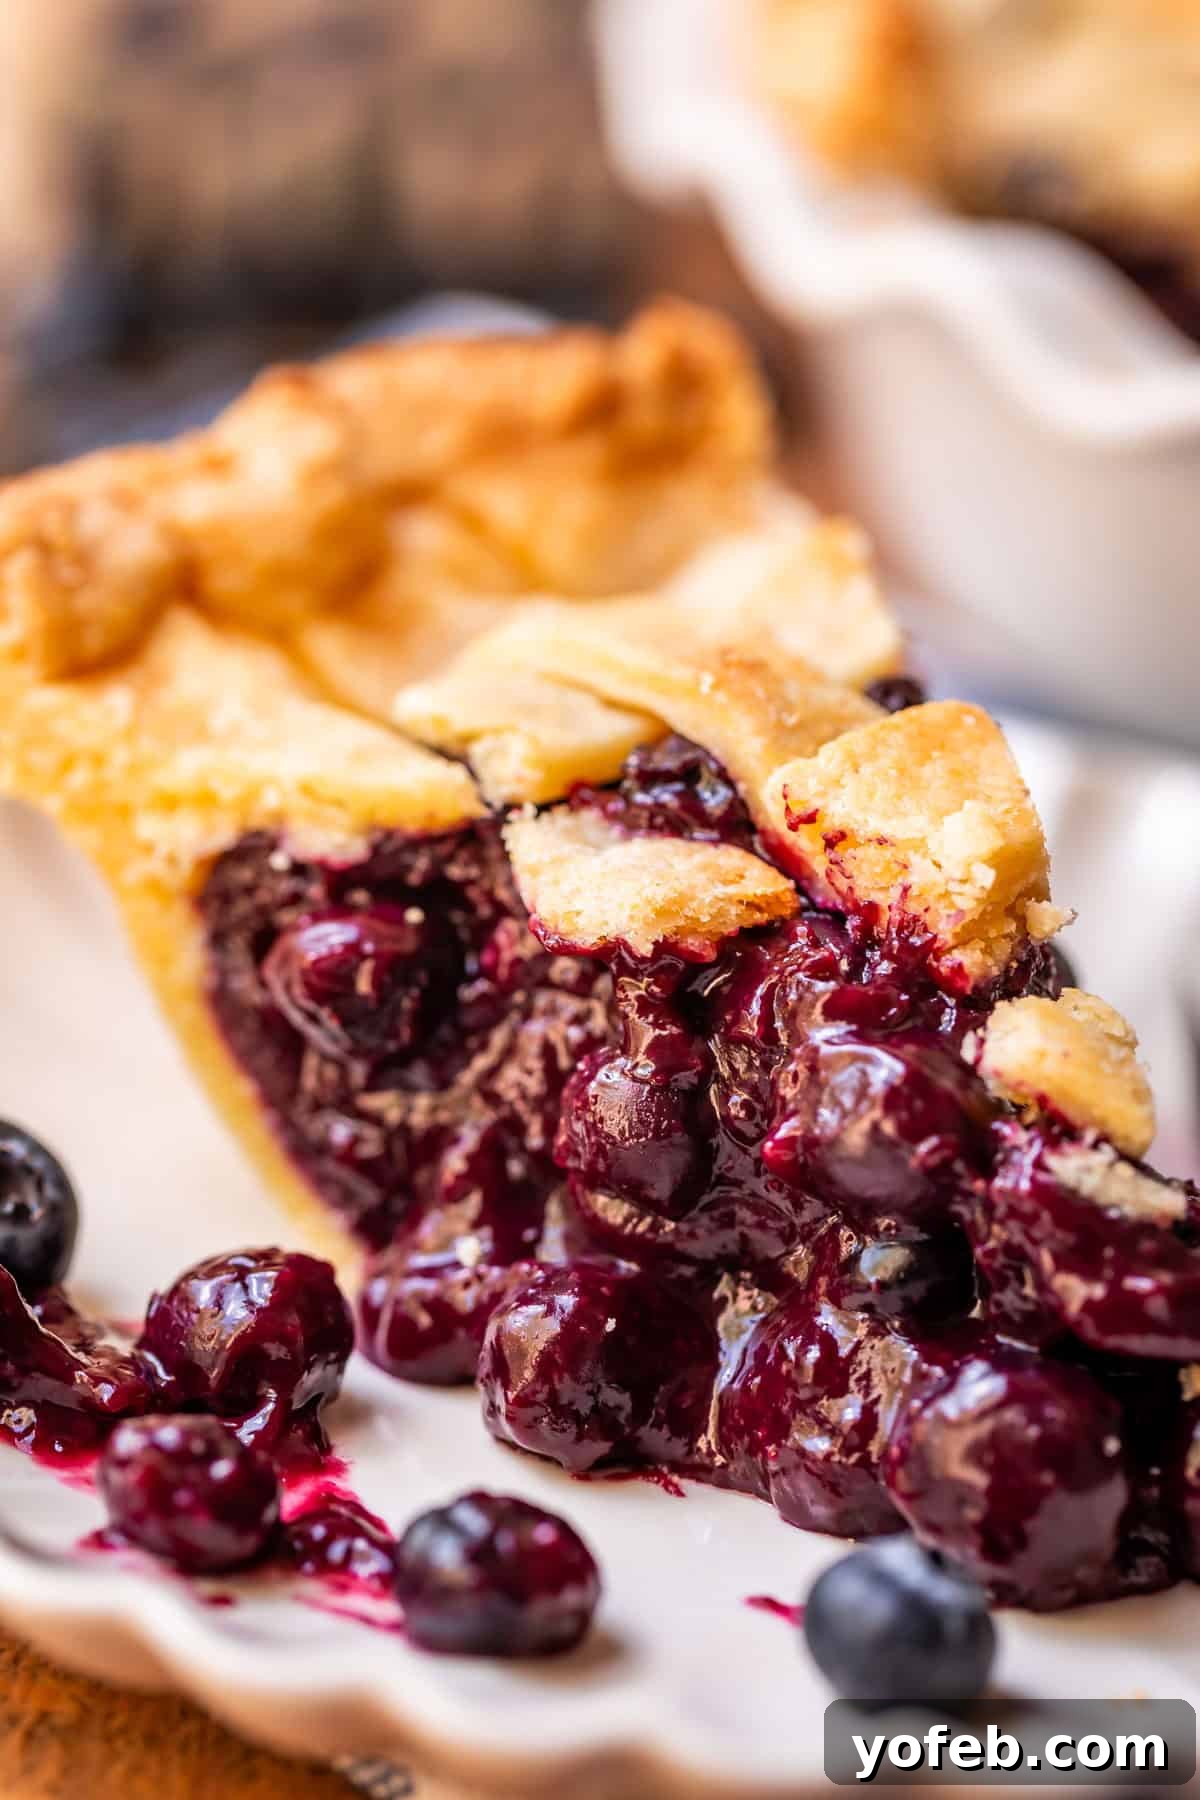
And there you have it – everything you need to know to bake a truly magnificent blueberry pie! If you’re already a fan of blueberry pie, prepare to be even more delighted by this refined version. And if, like my former self, you’ve been a blueberry pie skeptic, this is the recipe that will undoubtedly change your mind. I eagerly await hearing about your baking adventures and hope you’ll share your experience once you try it out!
More Irresistible Blueberry Recipes to Explore
- The Easiest Mixed Berry Cobbler You’ll Ever Make >> A quick, delightful dessert ready in just 5 minutes of prep.
- Overnight Blueberry French Toast Casserole >> Buttery, fruity, and perfect for a stress-free breakfast or brunch.
- Blueberry Buttermilk Pancake Muffins >> Irresistible little bites, especially with a drizzle of maple syrup!
- Vibrant Purple Chewy Blueberry Cookies >> From Fresh Flavorful, marvel at the incredible color and chewiness of these cookies!
More Pie Recipes to Perfect Your Baking Skills
- How to Make the Best Homemade Apple Pie << A timeless classic, truly the best apple pie you’ll ever bake.
- Strawberry Rhubarb Pie << A beloved seasonal favorite with an incredible crumb topping.
- Easy Homemade Cherry Pie Bars << One of my absolute go-to recipes for a quick, delicious cherry treat.
- Peach Apricot Slab Pie << The perfect way to utilize abundant summer stone fruits for a crowd.
- Strawberry Glacé Pie << A refreshing, fruit-forward pie. Don’t miss my Blackberry Glacé Pie too!
- Dreamy Coconut Cream Pie with Caramel Layer << I promise you, this is the best coconut cream pie you will ever taste.
- Raspberry Banana Pie from Taste and Tell, an exciting flavor combination you have to try!
And for those seeking to master the foundational elements of pie making, here are two invaluable guides:
- How to Make Flaky Pie Crust << All the detailed tips and tricks you need for a consistently perfect, flaky crust. You can adapt this method for the cornmeal crust ingredients in today’s recipe.
- How to Make a Lattice Pie Crust << Elevate your pie presentation! It’s an elegant touch that’s surprisingly achievable.
Facebook | Pinterest | Instagram

Best Blueberry Pie Recipe
50 minutes
1 hour
5 minutes
4 hours
50 minutes
6 hours
45 minutes
10
Ingredients
For the cornmeal crust
- 3/4 cup cornmeal
- 1 & 3/4 cup all-purpose flour, spooned and leveled
- 2 tablespoons granulated sugar
- 1 teaspoon kosher salt
- 6 ounces butter, cold (this is 3/4 cup, or 1 and 1/2 sticks)
- 4 ounces cream cheese, cold (half of an 8-ounce package)
- 2 tablespoons beaten egg, half of one egg
- 1/4 cup ice water
For the filling
- 2 and 1/2 cups fresh blueberries, to puree (see note for frozen blueberries)
- 5 cups fresh blueberries, to leave whole (see note for frozen blueberries)
- 1 cup granulated sugar, packed
- 1/4 cup cornstarch
- 2 tablespoons flour
- 1/2 teaspoon cinnamon
- 1/2 teaspoon kosher salt
- 1 tablepoon lemon zest, from about 2 lemons
- 3 tablespoons lemon juice
- 1 tablespoon milk, for brushing on pie
- 1 tablespoon raw sugar, for sprinkling on top crust
- vanilla ice cream, or whipped cream, for serving, not optional 😉
Instructions
-
Make the pie dough. For detailed visual guidance on pie dough techniques, refer to my Flaky Pie Crust post.
-
In a large bowl, whisk together 3/4 cup cornmeal, 1 3/4 cup all-purpose flour (spooned and leveled), 2 tablespoons granulated sugar, and 1 teaspoon kosher salt.
-
Slice 6 ounces (3/4 cup or 1 1/2 sticks) of COLD butter into small pats. Chop 4 ounces (half of an 8-ounce package) of COLD cream cheese into chunks. Add the cold butter and cream cheese to the bowl with the dry ingredients.
-
Using a pastry cutter, cut the butter and cream cheese into the flour mixture until pea-sized bits of fat are distributed throughout. Variability in fat piece sizes is ideal for flakiness.
-
In a small bowl, lightly beat an egg. Measure out 2 tablespoons of beaten egg into another small bowl (reserve any remaining egg for brushing the pie later, if desired).
-
Combine 1/4 cup ice water with the 2 tablespoons of beaten egg. Add this mixture to the flour bowl. Use a rubber spatula to gently mix, hydrating the flour as much as possible.
-
Lightly flour your hands and gently knead the dough within the bowl. Press the dough together, incorporating any dry bits. If the dough remains too dry to come together, add additional ice water sparingly, 1 teaspoon at a time. Stop kneading as soon as the dough forms a cohesive ball to avoid developing excess gluten, which can lead to a tough crust.
-
Divide the dough ball in half and shape each portion into a flattened disc. Wrap each disc tightly in plastic wrap and chill in the refrigerator for at least 30 minutes, or up to 24 hours.
-
Make the filling. (Refer to notes for frozen blueberry instructions) Add 2 1/2 cups of fresh blueberries to a blender and blend until fully liquified. This should yield approximately 1 3/4 cups of blueberry pulp. If needed, add a few more blueberries and blend again to reach the desired volume. (If a blender is unavailable, manually crush 2 cups of blueberries in a large glass measuring cup using a potato masher.)
-
Pour the 1 3/4 cups of pureed blueberries into a 3-quart saucepan. Add 1 cup granulated sugar, 1/4 cup cornstarch, 2 tablespoons all-purpose flour, 1/2 teaspoon cinnamon, and 1/2 teaspoon kosher salt. Whisk vigorously until all ingredients are thoroughly combined and there are no lumps of powder.
-
Place the saucepan over medium heat. Whisk the mixture occasionally for about 3-5 minutes, until it comes to a very light boil and visibly thickens. Immediately remove the pan from the heat once thickened.
-
Stir in 5 cups of whole fresh blueberries (or thawed frozen berries), 1 tablespoon lemon zest, and 3 tablespoons lemon juice into the hot blueberry mixture. Stir until everything is well combined. Taste the filling; if it’s too sweet, add a few more fresh blueberries if available. If it’s too tart, stir in an extra tablespoon or two of sugar.
-
Chill the filling. This step is critical: allow the blueberry mixture to cool completely before adding it to the pie crust. I often place it in the refrigerator to expedite this process. Hot pie filling will compromise the flakiness of your bottom crust, leading to a gummy texture.
-
Roll out the pie crust. On a generously floured work surface or pastry cloth, roll out one chilled disc of pie dough into a circle large enough to fit your 9-inch pie pan with an overhang. Carefully transfer the rolled-out crust to the pie pan, letting the excess dough hang over the sides. If the dough has become warm, place the pie pan in the fridge or freezer for about 15 minutes to re-chill.
-
Add the chilled blueberry filling. Pour the cooled blueberry pie filling into the prepared pie crust, mounding it slightly in the center.
-
Roll out the second pie crust. You can choose to create a beautiful lattice top (refer to my Lattice Pie Crust tutorial for guidance) or simply place the rolled-out crust on top as a whole piece. If using a whole top crust, remember to cut several vents into the dough with a sharp knife to allow steam to escape during baking.
-
Trim any excess pie dough around the edges, leaving about a 1-inch overhang for both the top and bottom crusts. Fold this overlapping dough underneath itself to create a clean, thick rim. Then, crimp the edges firmly with your thumb and fingers (or a fork) to seal the pie and create a decorative finish.
-
Preheat the oven. Place a baking sheet on the center rack of your oven and preheat to 425 degrees F (220°C). Allow it to preheat for at least 20-25 minutes to ensure the baking sheet is thoroughly hot, which is crucial for a crisp bottom crust.
-
Freeze the pie. While the oven and baking sheet heat, place the entire assembled pie into the freezer for 20 minutes. If freezer space is limited, the refrigerator for 30 minutes will suffice. This final chill is key to achieving an exceptionally flaky crust.
-
Brush the top of the pie. Just before placing the pie in the oven, lightly brush the entire top crust with approximately 1 tablespoon of milk. Alternatively, you can use any leftover beaten egg mixed with 1 tablespoon of milk from the crust preparation. Milk helps the crust achieve a matte, golden brown finish, while an egg wash (egg with milk/water) will give it a beautiful glossy shine.
-
Generously sprinkle the entire top crust with 1 tablespoon of raw sugar for a lovely crunch and sparkle. Regular granulated sugar also works wonderfully. For an extra touch of warmth, my mom’s tradition of sprinkling with cinnamon-sugar is highly recommended!
-
Bake the pie. Carefully place the chilled pie onto the hot baking sheet in the preheated oven. Bake at 425 degrees F (220°C) for 15 minutes. During this time, the edges of the crust should begin to turn a light golden brown.
-
While the pie bakes, prepare a foil pie shield. Take a square of aluminum foil the same size as your pie. Fold it in half, then in half again. Cut out the center of the folded foil to create a ring. When unfolded, you will have a perfect circular shield for your pie crust edges. (See my pie crust post for visual instructions).
-
Reduce the heat to 350 degrees F (175°C). Remove the pie from the oven (and quickly close the oven door to retain heat!). Carefully place the prepared foil shield over the edges of the pie crust, loosely crimping it to ensure all the edges are covered while the center remains exposed. This prevents the crust edges from burning.
-
Return the pie to the baking sheet in the oven and continue baking at 350 degrees F (175°C) for an additional 40-50 minutes. The pie is done when the edges are deep golden brown and the center of the crust is a lighter golden hue.
-
Let the pie cool on a wire rack for approximately 4 hours. This lengthy cooling period is essential! Cutting into the pie too soon will result in a molten-hot, runny filling. The pie needs ample time to cool to room temperature for the filling to fully set and achieve its proper luscious, yet sliceable, texture. Patience truly is a virtue in pie making!
-
Once completely cool, slice and serve! Remember this wise advice: Blueberry Pie reaches its peak of perfection when served with a generous scoop of vanilla ice cream or a dollop of fresh whipped cream. This accompaniment is not optional; it’s an essential part of the experience. Treat yourself right!
-
Store the pie at room temperature on the counter, covered with plastic wrap, for up to 2 days. After that, transfer any leftovers to the refrigerator, where it will keep for another 2-3 days.
Notes
*PIE CRUST OPTIONS: While the method is similar, today’s cornmeal cream cheese crust differs from my standard Flaky Pie Crust recipe. However, the step-by-step photos in that post are incredibly helpful for visualizing the dough-making process. If the cornmeal crust isn’t to your taste, feel free to use the traditional ingredients from my Flaky Pie Crust post, applying the same method described here.
**FROZEN BLUEBERRIES: Making this pie with frozen blueberries is simple, but requires a critical adjustment:
- Increase the cornstarch to 6 tablespoons total when using frozen berries.
Remember, the goal is to have about 1 3/4 cups of puréed or liquid blueberry and approximately 5 cups of whole blueberries.
Frozen Blueberry Method: Place about 7 cups of frozen blueberries in a large bowl and microwave on 50% power for a few minutes until they are partially thawed but still hold their shape. Drain the blueberries through a colander, making sure to SAVE all the released liquid. Add this liquid to a blender. Supplement with additional thawed blueberries until you have about 1 3/4 cups of puréed liquid after blending.
Proceed with the recipe exactly as instructed for the filling, making one change: use 6 tablespoons of cornstarch in total. Cook the puréed blueberries with the dry ingredients (including the increased cornstarch and flour) on the stovetop until thickened. Then, stir in the remaining 5 cups of thawed, whole blueberries. Note that defrosted blueberries deflate considerably, so you might need to add a few extra (slightly thawed) berries to reach 5 cups; otherwise, you may not have enough filling to support your pie crust, which could cause it to sink. Continue with the recipe as written from this point!
***PIE PLATE: To safely handle the abrupt temperature change (from freezer to hot oven), I recommend using a ceramic pie pan or a glass pie pan with borosilicate glass construction. While I’ve personally never had an issue with lower-quality glass pans, there’s always a risk of shattering if not using the correct type of heat-resistant glass.
Refer back to the main post for comprehensive instructions on how to freeze an entire blueberry pie.
Nutrition
Carbohydrates: 70g |
Protein: 6g |
Fat: 19g |
Saturated Fat: 11g |
Polyunsaturated Fat: 1g |
Monounsaturated Fat: 5g |
Trans Fat: 1g |
Cholesterol: 59mg |
Potassium: 180mg |
Fiber: 5g |
Sugar: 35g |
Vitamin A: 656IU |
Vitamin C: 13mg |
Calcium: 32mg |
Iron: 2mg