
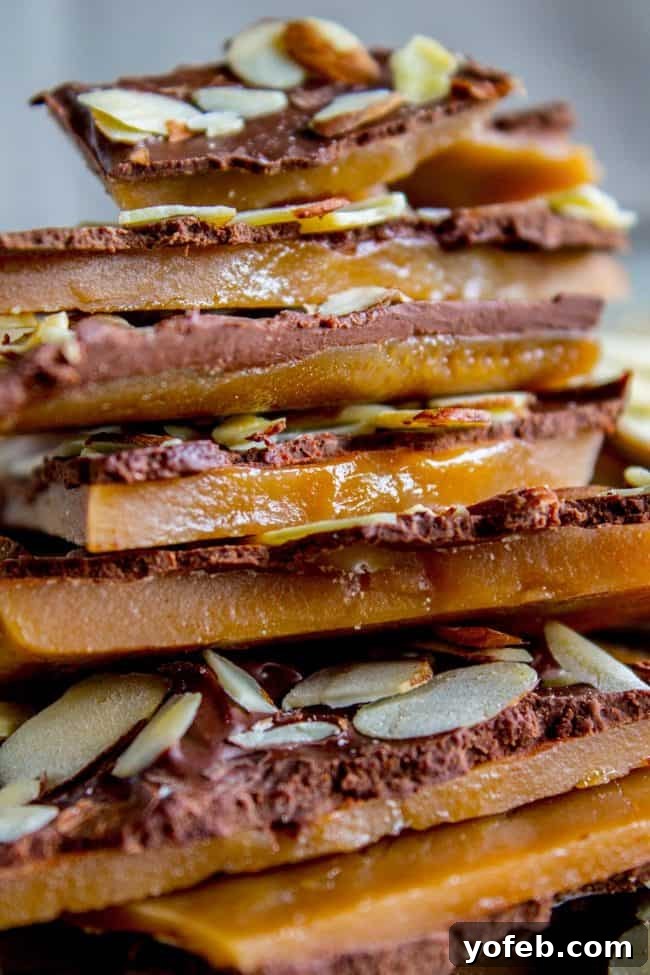
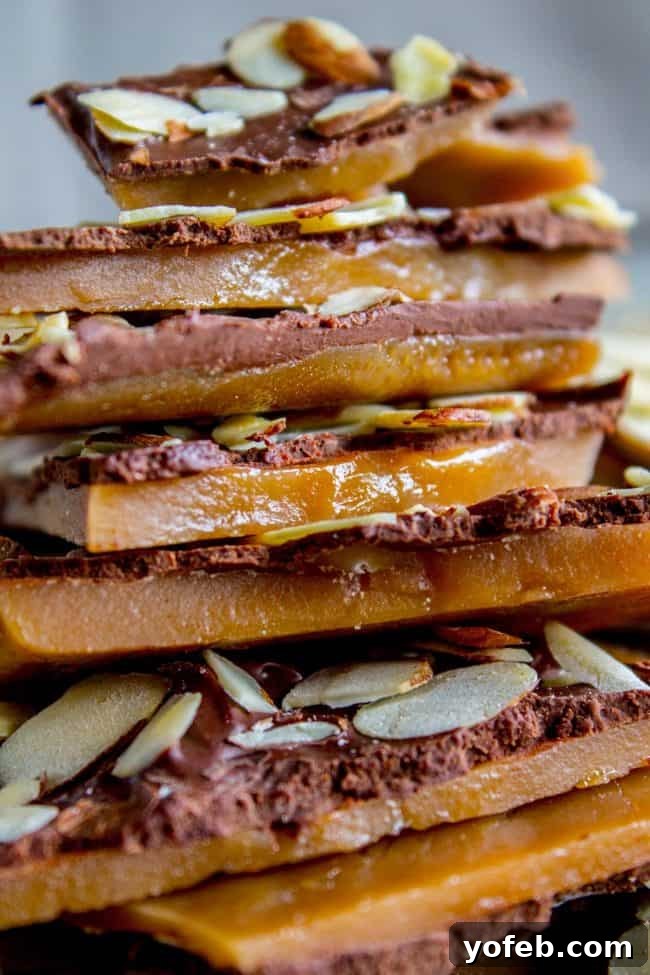
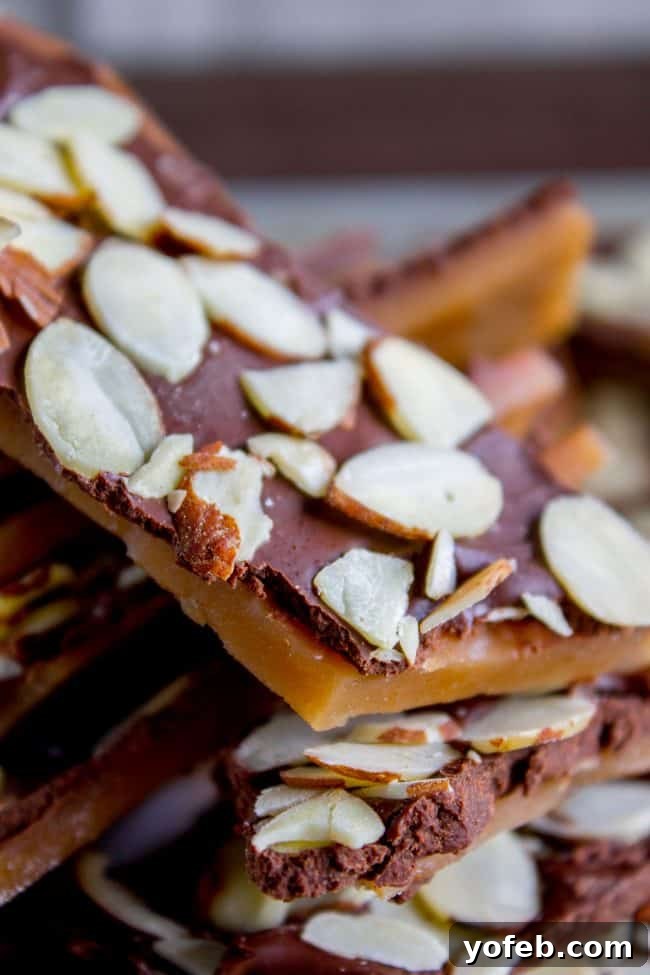
Unlock the secret to making the BEST homemade English Toffee you’ve ever tasted! This recipe is incredibly easy and surprisingly quick, making it the perfect last-minute holiday treat. The best part? You don’t even need a candy thermometer to achieve perfect results every time. Get ready to impress everyone with this delightfully buttery, crunchy, and chocolate-covered English toffee!
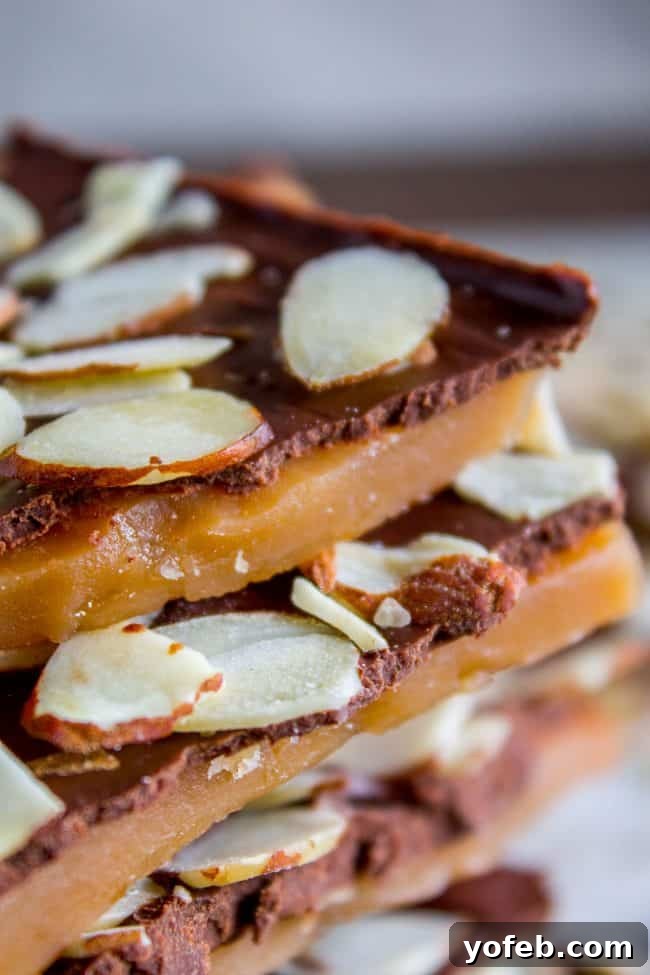
Irresistible English Toffee: Your New Favorite Holiday Tradition
Originally posted December 22, 2017
There’s something uniquely satisfying about homemade treats, especially during the festive holiday season. This English toffee recipe is one of those treasures that brings both joy and a tiny bit of domestic chaos into our home. Just today, my husband, Eric, found himself re-washing a sheet pan, convinced there was still a slick layer of butter from our latest toffee-making adventure. To be fair, toffee does involve a generous amount of butter, which is precisely why it’s so incredibly delicious. Or, perhaps he was simply channeling my infamous moment of trying to wash a pan with olive oil (yes, that really happened here). We all have our kitchen mishaps, right?
Speaking of kitchenware, we recently acquired a new sheet pan to complement our trusty decade-old veteran. Eric jokingly suggested the new pan must have been traumatized upon entering our kitchen. He pictured a “Toy Story” scenario for kitchen utensils: New Pan Guy arrives, gleaming and pristine, expecting a life of gentle use. Then he sees the state of the other well-loved, heavily used pans and is struck with terror, muttering, “Oh my gosh, what did she DO to you??” In this culinary drama, I am undoubtedly the Sid of the story, leaving a trail of wonderfully messy, but ultimately delicious, creations.
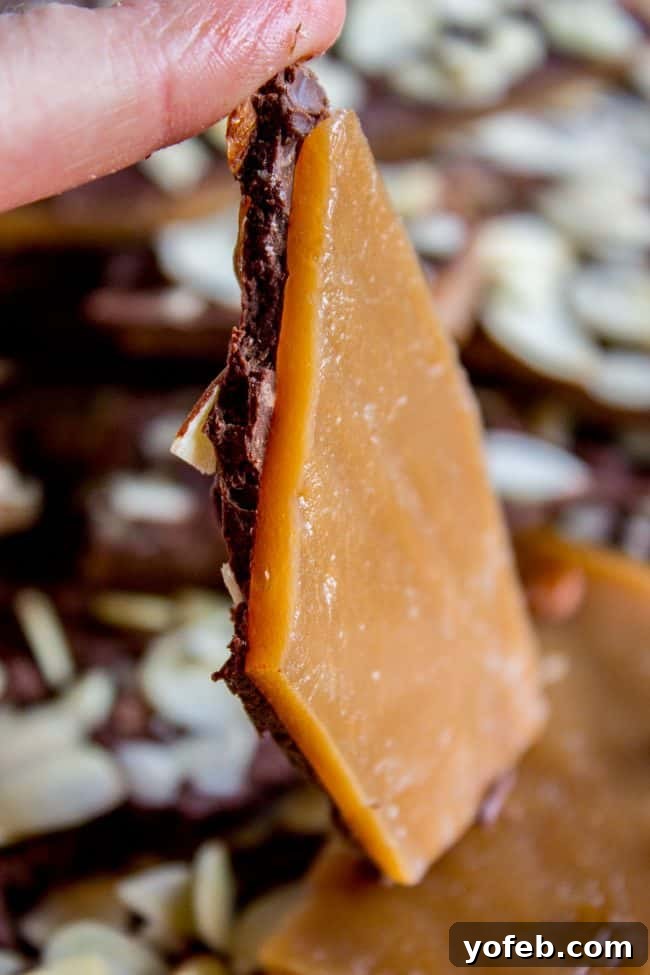
How are your Christmas preparations coming along? Are you all done with your shopping? Have the Christmas cards been sent? Is your holiday menu meticulously planned? Is the house adorned with twinkling lights and the tree shimmering with ornaments? There’s so much to do, and I absolutely adore every bit of it! But if you’re still scrambling for a thoughtful neighbor gift or a standout party treat, fear not! I’ve got the perfect last-minute solution for you: a stellar homemade English toffee that takes about 15 minutes from start to finish. Yes, you read that right – real, authentic toffee, no shortcuts, no compromises. This isn’t just candy; it’s an amazingly easy and incredibly delicious homemade delight, I promise.
Mastering Homemade Toffee: Tips for Success (No Candy Thermometer Needed!)
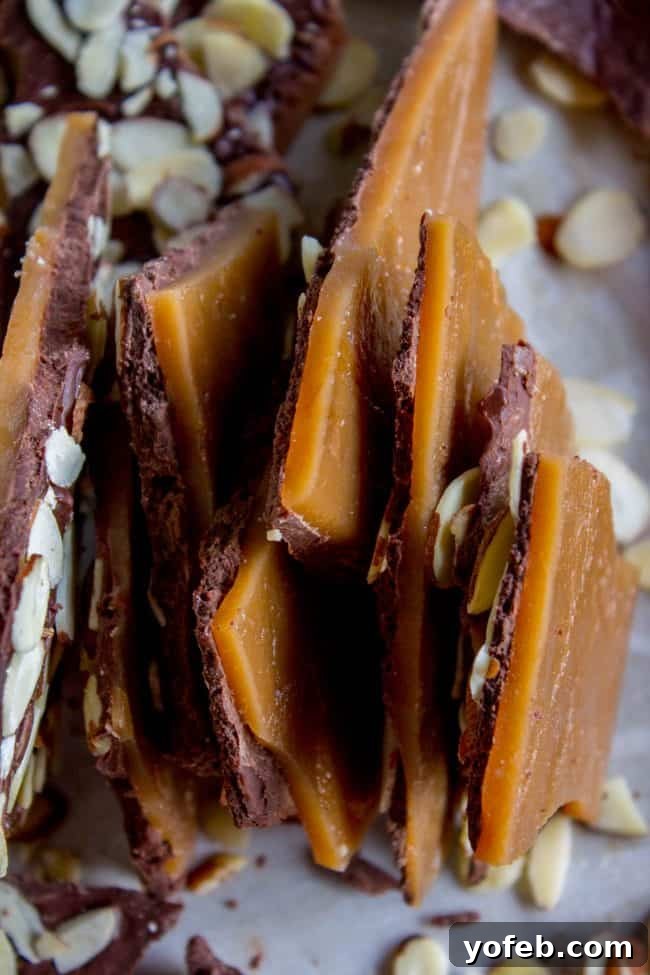
The world of candy making can seem a little intimidating, with its precise temperatures and specific instructions. You often hear “use a heavy pot,” “don’t let sugar granules get on the edge,” and the notoriously vague “when it reaches an amber color.” Let’s be honest, when was the last time most of us truly knew what “amber” looked like, especially in a bubbling pot of butter and sugar?
While these rules sound daunting, making toffee is genuinely not that difficult. Let’s break down the essential guidelines to ensure your success:
- Use a heavy-bottomed pot: This is crucial because it distributes heat evenly, preventing hot spots that can scorch your sugar and ruin the candy. A flimsy pot can lead to uneven cooking and a separated mixture (where the butter separates from the sugar), which is no bueno for perfect toffee.
- Prevent sugar crystallization: Sugar granules on the side of the pan can cause the entire batch to crystallize, resulting in a grainy, crumbly texture instead of smooth, hard toffee. Always add sugar to the center of the melted butter and avoid scraping down the sides of the pot once cooking has begun, unless using a damp pastry brush (more on this later!).
- The “Peanut Butter Color” Test: Forget the vague “amber” color! This is my absolute favorite, foolproof method. Stop cooking when your candy mixture looks exactly like creamy peanut butter. It’s a vivid, unmistakable color that takes all the guesswork out of the process.
Alright, alright, I might be a bit of a “color-test hypocrite,” but trust me, the peanut butter color test is a game-changer. And just to reiterate for clarity: there is NO PEANUT BUTTER in this English toffee recipe! This isn’t peanut butter toffee; it’s simply a visual cue. This ingenious trick comes from my Aunt Shirley, who is a candy-making legend. Her instructions never mention temperature levels; instead, she advises placing a jar of peanut butter next to the stove. When the candy in the pot matches its color, it’s done!
I’ve made this recipe four times, and it has worked perfectly every single time using Aunt Shirley’s method. For those who prefer the precision of a thermometer, I also cross-checked the temperature. You’re aiming for a range between 285 and 300 degrees Fahrenheit, which falls into the “soft crack” to “hard crack” stages of candy making. While a basic candy thermometer (easily found at any grocery store) works, I’ve been eyeing this digital one for even more accuracy. (Santa, if you’re listening, a hint for next Christmas!)
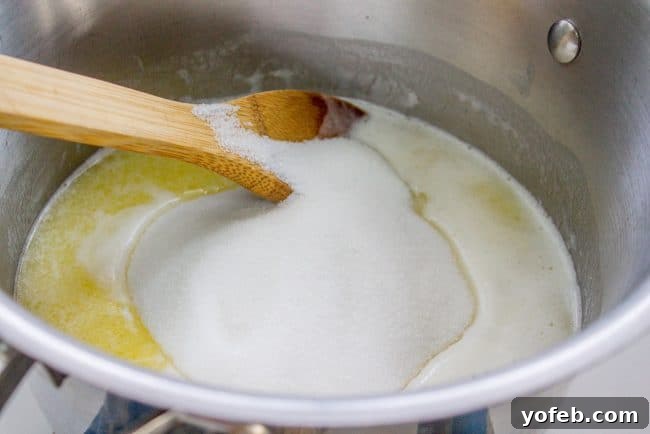
Always remember to pour that sugar right into the middle of the melted butter.
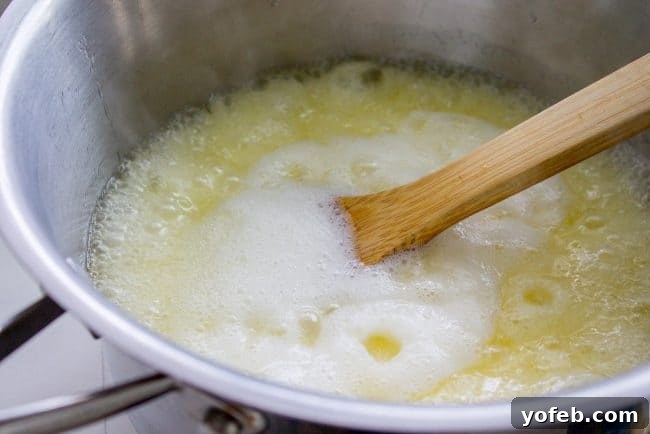
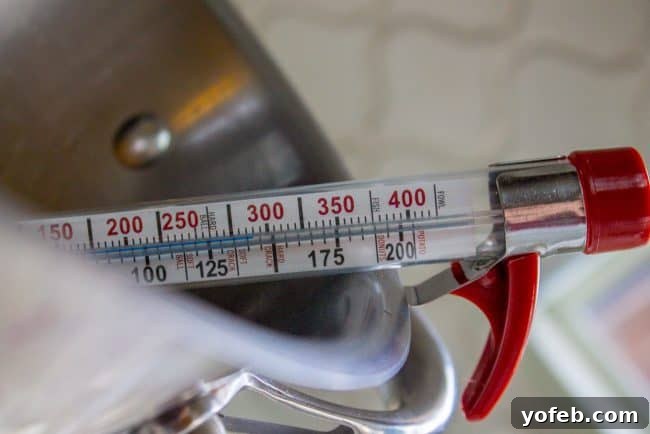
I personally find the sweet spot for my toffee to be right between the soft crack and hard crack stages, which is why the peanut butter color is so perfect.
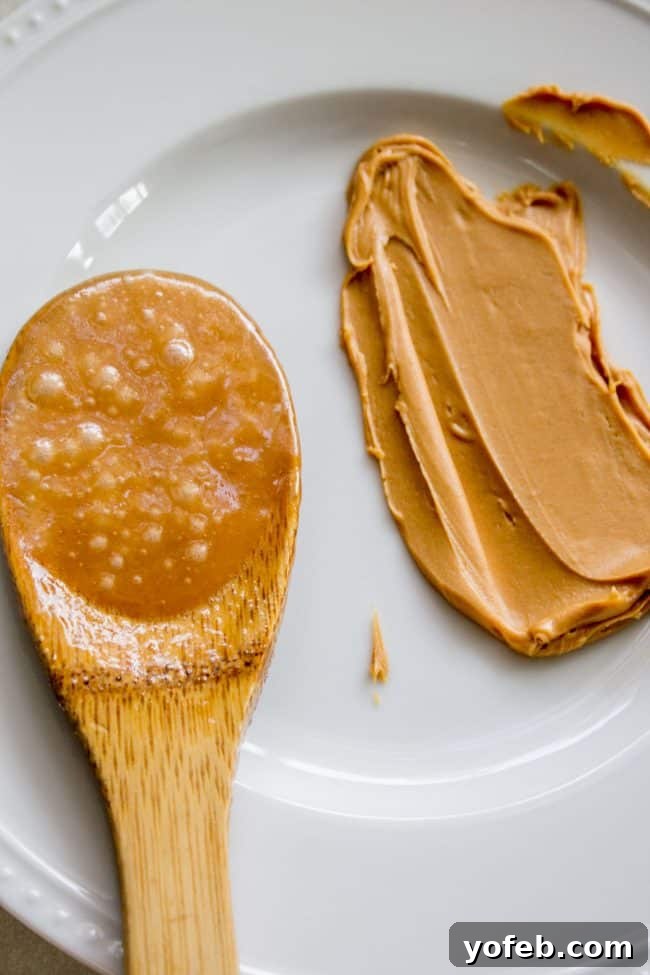
See? It truly looks just like peanut butter! This visual cue is your best friend when making toffee without a thermometer.
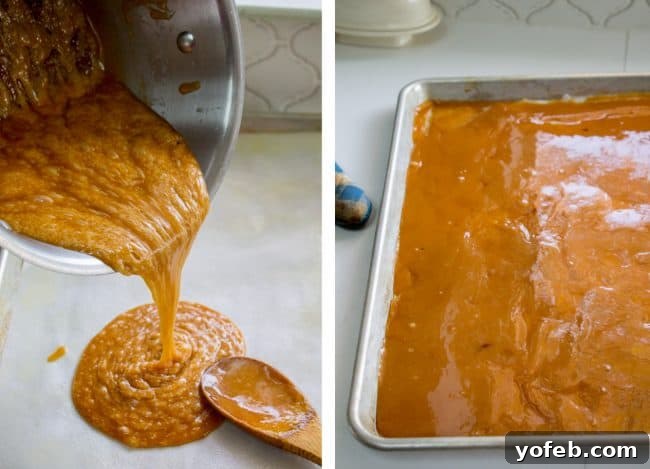
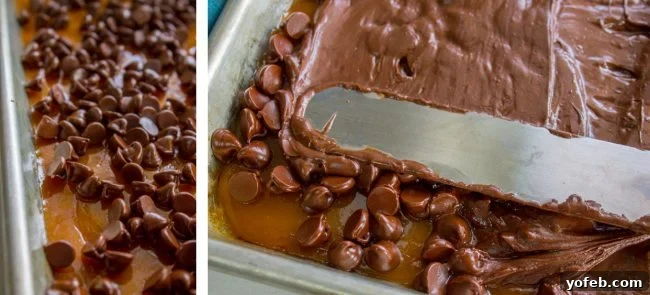
The Best Homemade English Toffee Recipe
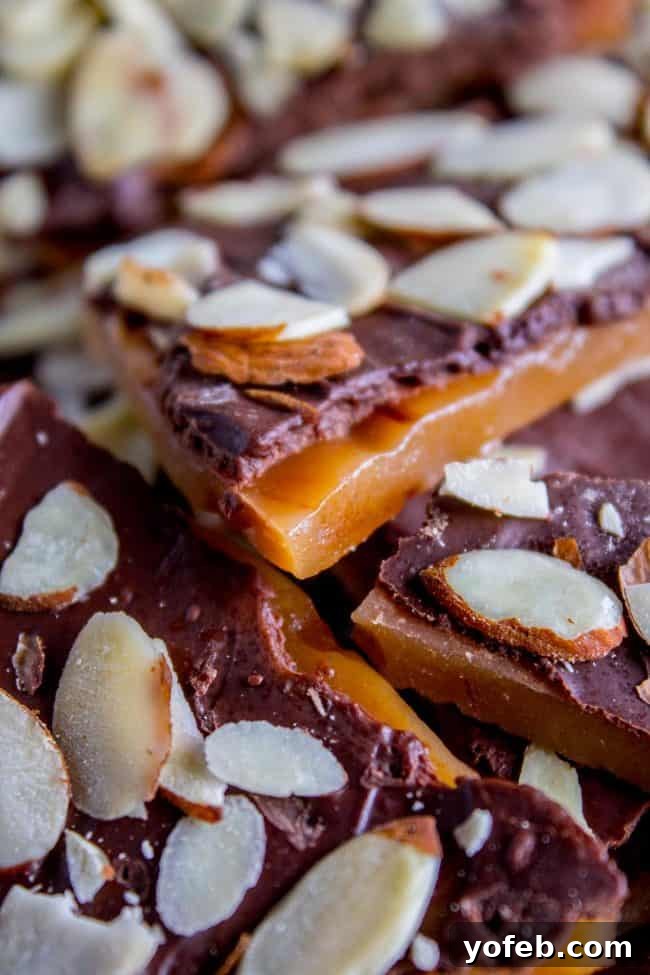
Have I scared you off with all the talk of ground rules and temperatures? Please, come back! This easy English toffee recipe is absolutely worth making, even if it involves remembering a few simple tips. I still vividly remember the first time I tasted homemade English toffee. It was a neighbor gift from my wonderful friend, Joan, back when we lived in our old house. She would lovingly prepare dozens of little bags of this incredible toffee to hand out to friends and family. I confess, I think I ate our entire family’s bag without sharing a single piece (sorry, Eric!). That day, I fell head over heels in love with homemade toffee, and now I’m so thrilled to be able to make it on my own and share this fantastic recipe with you. It truly transforms simple ingredients into something extraordinary, making it a perfect addition to your holiday baking repertoire or a thoughtful gift for someone special.
Merry Christmas everyone! Please let me know if you try out this amazing recipe, I genuinely love hearing from you and seeing your delicious creations!
More Delightful Christmas Candy Ideas!
- Caramel Nougat Pecan Rolls << Absolutely adore these decadent treats!
- My Mom’s Classic Fudge << A timeless, creamy favorite.
- Soft Homemade Caramel Candy << Perfectly bite-sized, super soft, and utterly addictive caramel candies!
- Sticky Sweet-and-Salty Chex Mix: Christmas Crack << A delightful balance of sweet and savory.
- The Only Caramel Apple I Will Ever Eat << A truly superior caramel apple experience.
- Saltine Chocolate Toffee << An ingenious hack for a super quick, toffee-esque candy using humble saltines!
- Better Than Anything Toffee from Mom on Timeout << Another fantastic toffee option.
- Sea Salt Pecan Toffee from Barefeet in the Kitchen << For those who love a sophisticated twist.
Connect with us on social media! Facebook | Pinterest | Instagram | Twitter
Homemade English Toffee Recipe
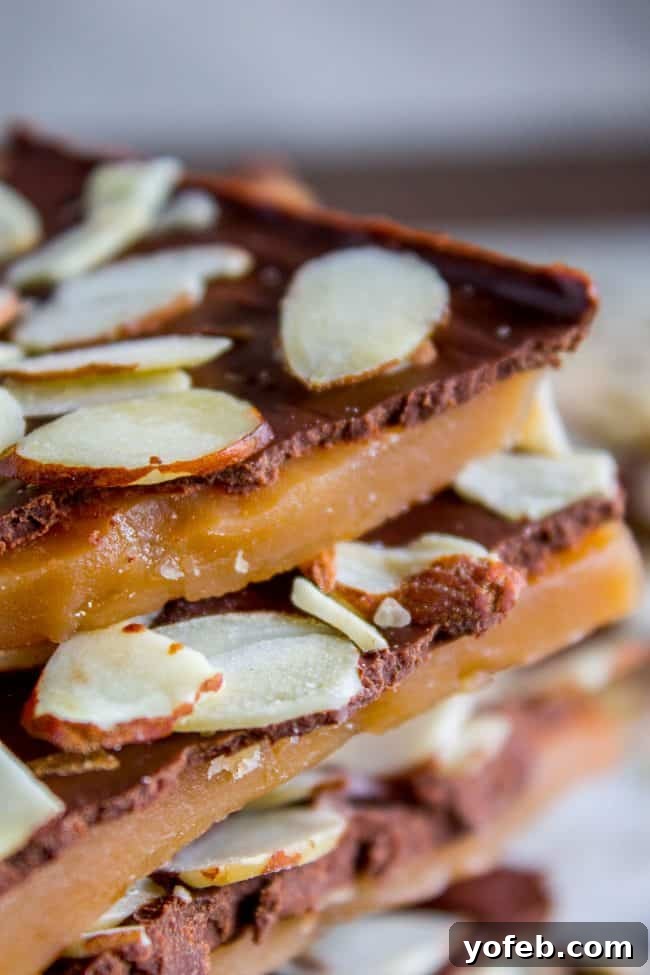
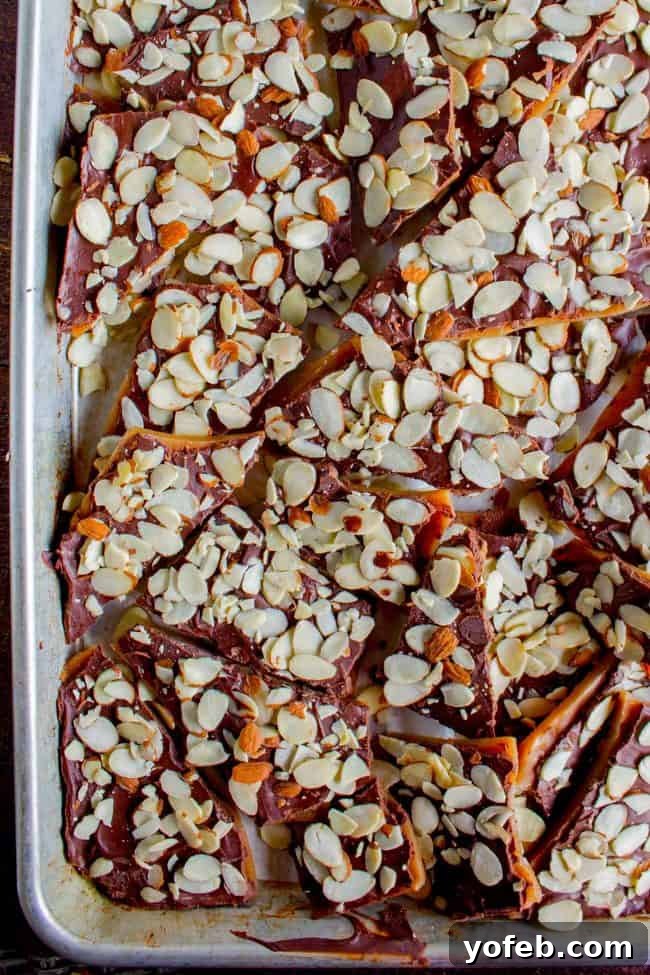
This is truly the BEST recipe for homemade English Toffee, hands down! It’s an incredibly easy and quick treat to whip up for the Christmas holidays, and you don’t even need a candy thermometer to achieve perfection.
Ingredients
- 1 & 1/2 cups salted butter (3 sticks)
- 1/4 cup + 2 tablespoons water
- 1 & 1/2 cups granulated sugar
- 3/4 teaspoon salt
- 2 & 1/2 cups semisweet chocolate chips
- 1 & 1/2 – 2 cups sliced almonds*
Instructions
- Begin by preparing an 11×17 inch baking pan. Coat it thoroughly with nonstick cooking spray, or use your fingers to grease it lightly with a bit of butter. While parchment paper can be used, I found it wasn’t strictly necessary for this recipe, making cleanup just as simple without it.
- Add the 1 and 1/2 cups of butter to a heavy 3-quart saucepan. Using a heavy-bottomed pot is crucial for even heat distribution, which prevents scorching and ensures your candy cooks perfectly.
- Melt the butter over medium heat until it’s almost entirely liquid. Then, carefully add the water, granulated sugar, and salt. It’s very important to add the sugar to the center of the melted butter (refer to the photo above for visual guidance). Do not let any sugar granules touch the edges of the pot. Even a few stray granules on the rim can cause the entire batch of candy to crystallize, preventing it from reaching the necessary hard crack stage required for crisp toffee.**
- Increase the heat to medium-high and grab a long, sturdy wooden spoon. Be prepared to stir continuously for the next 10 minutes or so. If you somehow skipped greasing the pan, now’s your chance to quickly do it (or better yet, get someone else to prep it while you stir!). Constant stirring is key to preventing sticking and ensuring even cooking.
- Continue stirring for approximately 10 minutes. If you are using a candy thermometer, attach it to the side of your pot. However, even with a thermometer, I highly recommend getting out a jar of peanut butter and setting it next to the stove (lid off) as a visual reference for the desired color. When the candy mixture reaches the exact color of peanut butter, it’s ready to be poured into the prepared pan. (Again, a friendly reminder: there is NO peanut butter in this recipe; it’s purely for color matching!)
- I’ve tested this recipe extensively both with and without a candy thermometer. The toffee consistently reached the perfect peanut butter color at around 285-290 degrees F. The hard crack stage is generally considered 300 degrees F, and you can certainly cook it to that temperature if you prefer a harder toffee. There’s a bit of wiggle room in candy recipes, but I strongly suggest relying on the visual peanut butter trick for the most consistent and stress-free results.
- Immediately remove the pot from the stove and quickly pour the hot toffee mixture into your prepared baking pan. Scrape down the edges of the pot to get every last bit. Use a spatula to spread the toffee out as soon as possible. You don’t need to spread it all the way to the very edges of the pan, but you certainly can if you wish for thinner pieces.
- Without delay, sprinkle 2 cups of semisweet chocolate chips evenly over the hot toffee. Use your judgment; if you’re a serious chocolate lover (like me!), feel free to add an additional 1/2 cup of chocolate chips.
- Allow the chocolate chips to sit for 4-5 minutes, giving them time to melt from the residual heat of the toffee. If, for any reason, the chocolate isn’t melting sufficiently (perhaps you were a little too slow), you can briefly place the pan in a preheated 350°F oven for 2-3 minutes, or just until the chocolate chips are barely melted. Then, use an offset spatula to gently spread the melted chocolate evenly across the entire surface of the toffee, extending it to the edges.
- Immediately sprinkle the sliced almonds over the melted chocolate layer. You can use your hands to gently press the almonds into the chocolate to ensure they adhere well. Any almonds that aren’t touching the warm, melty chocolate will likely fall off once the toffee cools.
- Let the pan cool completely at room temperature for 1-2 hours. To speed up the cooling process, you can place it in the refrigerator. HOWEVER, if you refrigerate it, it is absolutely essential to let the toffee return to room temperature before attempting to break it apart. Breaking cold toffee will result in it shattering into sad, tiny crumbs rather than satisfying pieces.
- Once the chocolate layer is completely set and the toffee is at room temperature, it’s time for the best part: breaking it up! You can gently lift an edge of the entire sheet of toffee and begin to break it into pieces. Alternatively, you can use a butter knife to score lines and start the breaking process, but honestly, it works best and is far more satisfying to just snap off pieces with your hands. Break it to your heart’s content!
- Store your delicious homemade English toffee in an airtight container, such as a Ziploc bag or Tupperware, at room temperature on the counter. Try your absolute best not to eat it all in one sitting!
Notes
*You can definitely customize your toffee with any type of nut you prefer! Traditional English toffee often features hand-chopped nuts like almonds, pecans, or walnuts. I truly believe any of these would taste amazing. I’m eager to try walnuts next! My neighbor, Joan, once made English toffee for me with sliced almonds, and I was instantly obsessed, which is why I’ve stuck with them. Plus, let’s be real, it’s super easy – just open the bag and sprinkle!
**My mother-in-law, Kris, shared two excellent methods to ensure no pesky sugar granules linger on the pot’s edges and cause crystallization. One trick is to cover the pot for a minute or two right after the mixture reaches a boil. This creates steam on the edges of the pot, which helps melt down any clinging sugar (then uncover and stir vigorously!). Her other solution is to use a damp pastry brush to carefully wipe down the inner edges of the pot. I haven’t personally needed to use these methods as I’ve been very diligent about keeping sugar away from the edges during my tests for this recipe. However, Kris has significantly more candy-making experience than I do, so her tips are absolutely trustworthy!
While it hasn’t happened to me, a common problem for toffee makers is for the butter to separate from the sugar mixture (appearing as a layer of melted butter on top of the caramel while still in the pot, refusing to re-incorporate). This usually occurs due to rapid temperature changes (often caused by thin, flimsy pots that create hot spots – definitely a no-go for candy making) and insufficient stirring. So, invest in a good, heavy-bottomed pot and be prepared for about 10 minutes of dedicated stirring to avoid this issue!
Nutrition
Did you make this? I’d love to see it!
Mention @thefoodcharlatan or tag #thefoodcharlatan!