
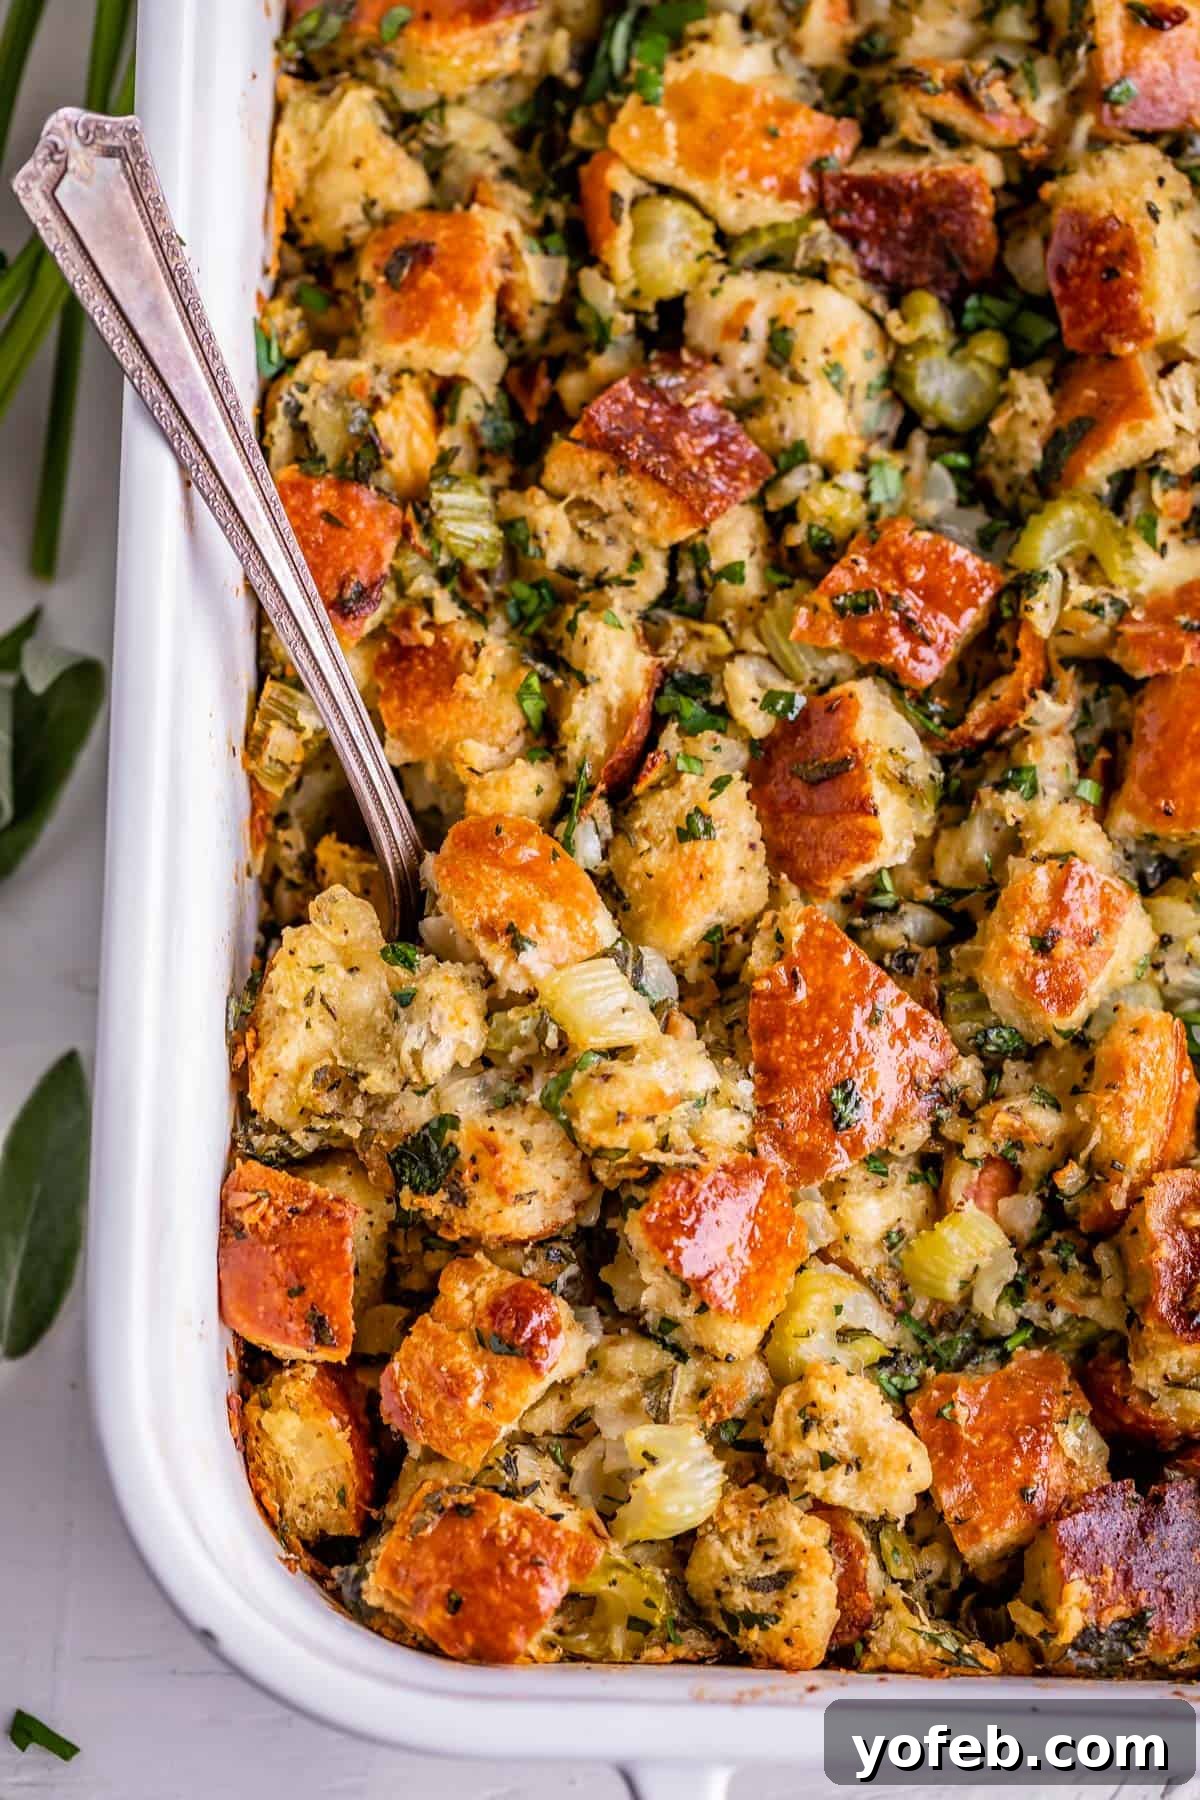
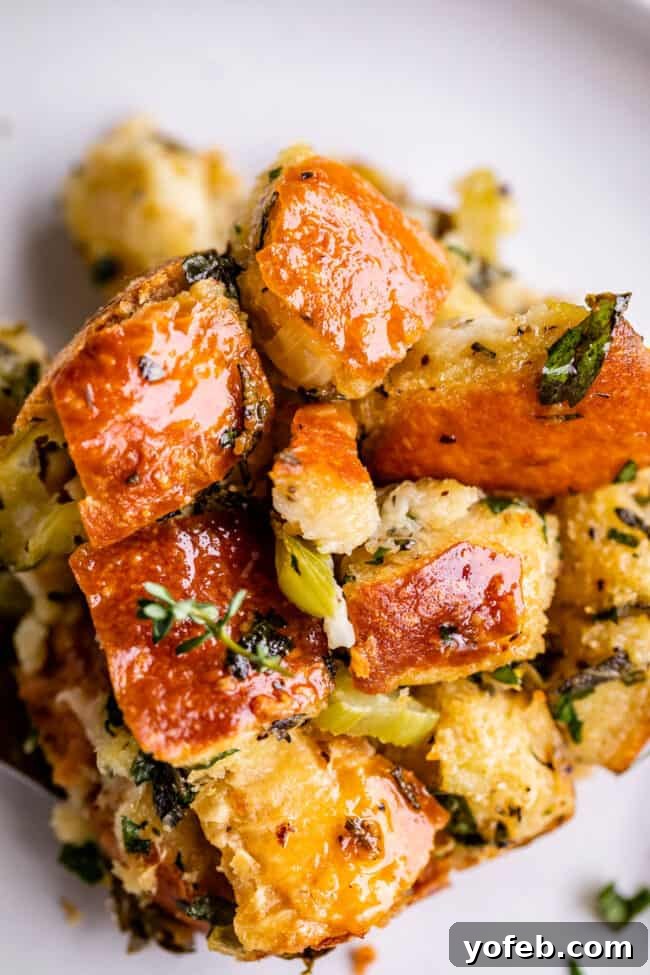
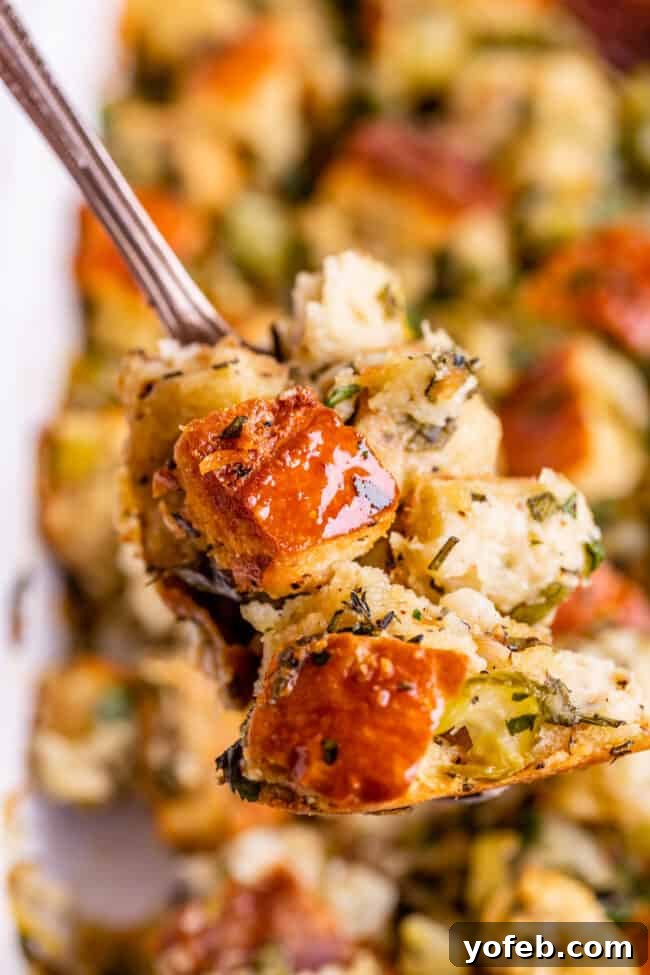
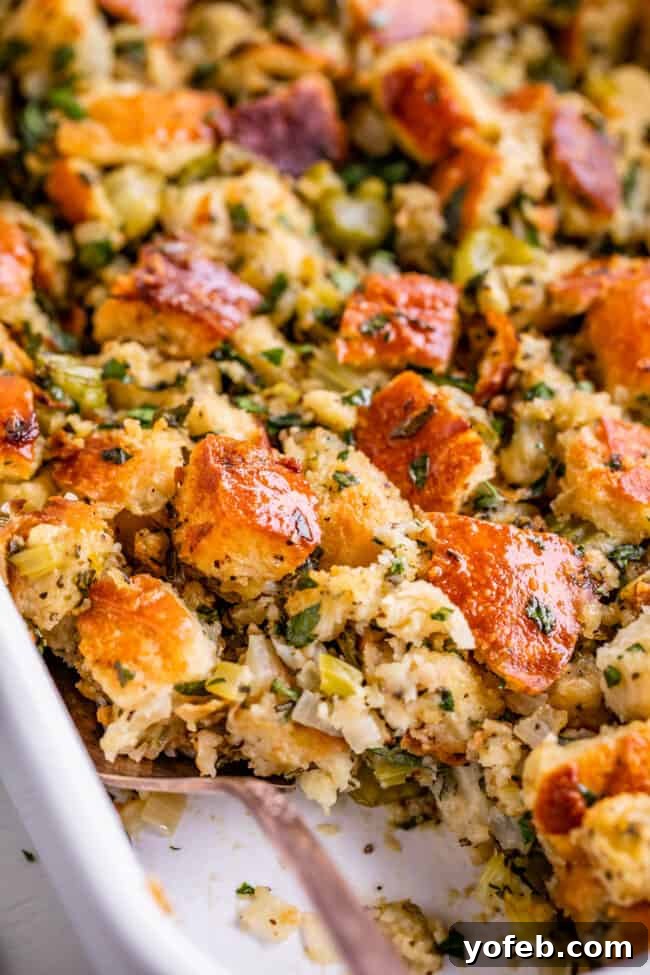
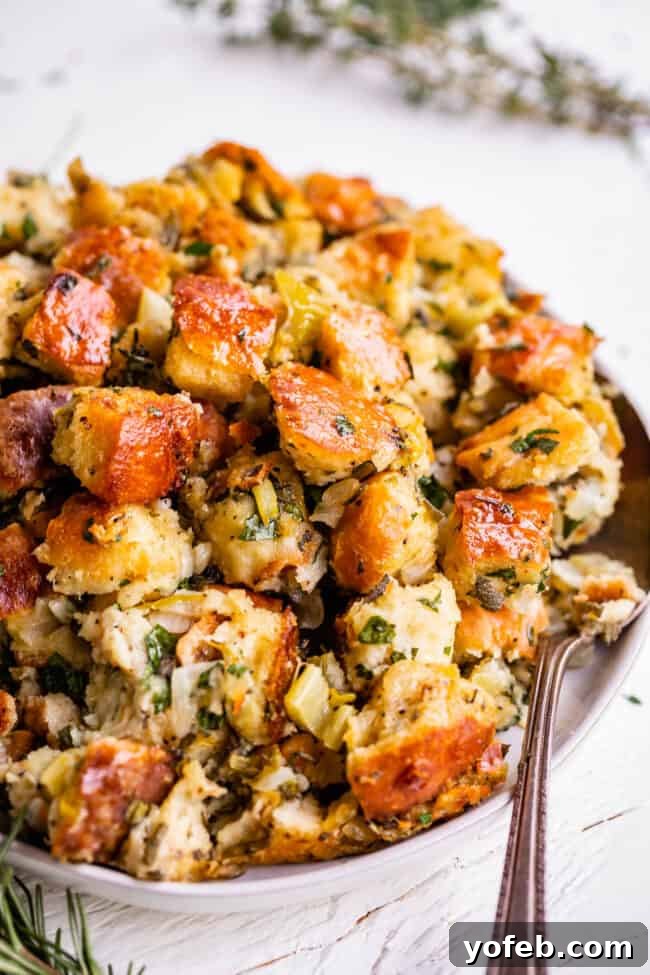
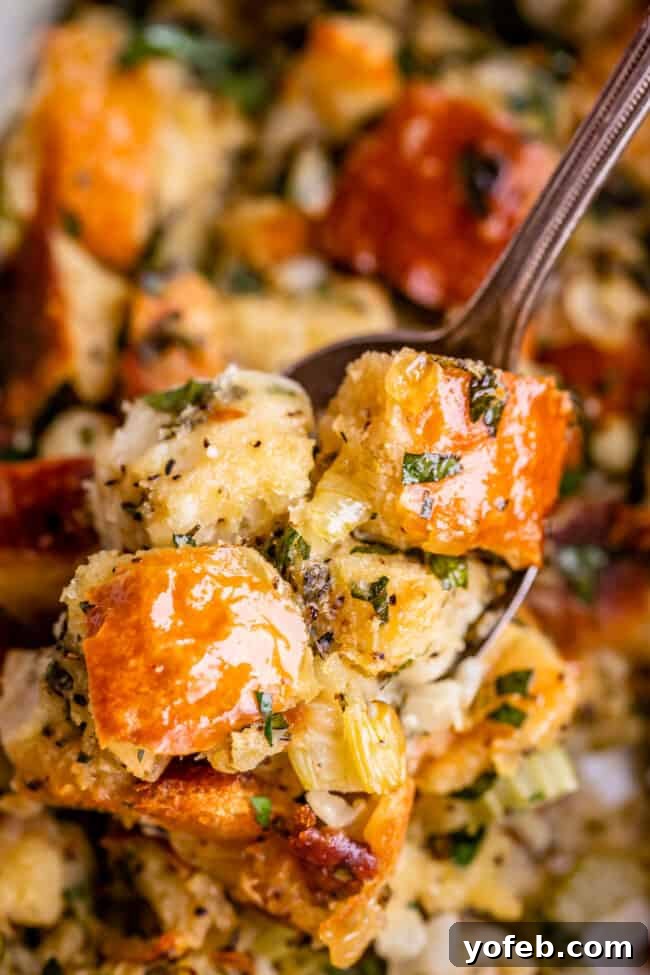
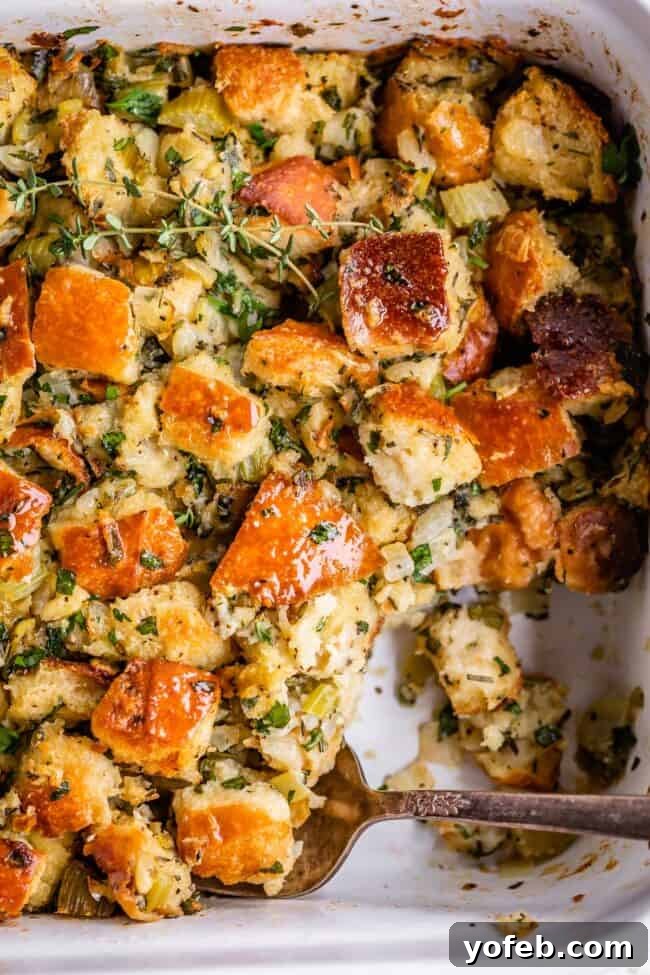
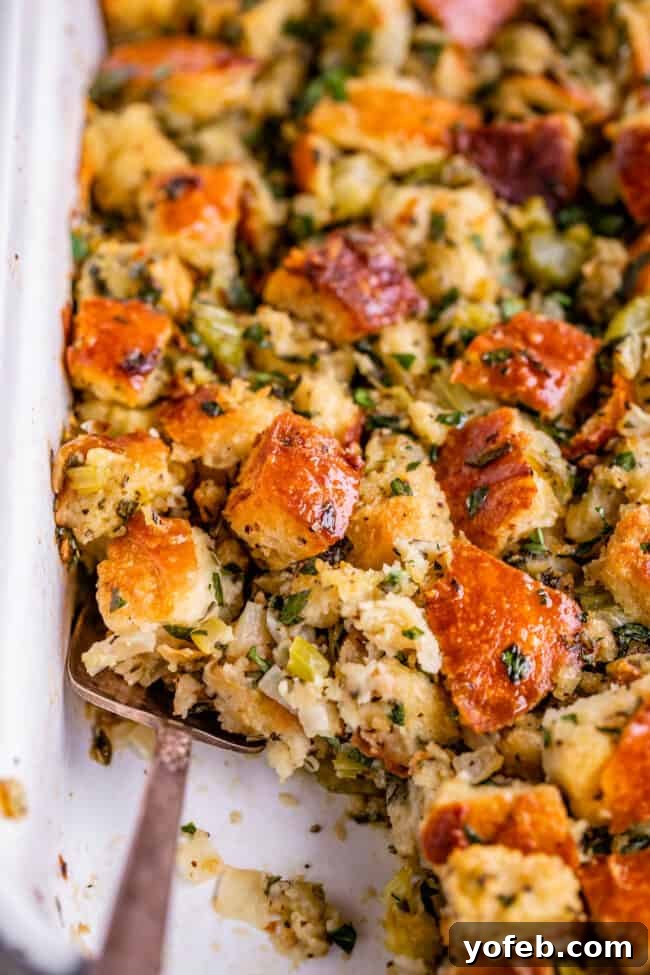
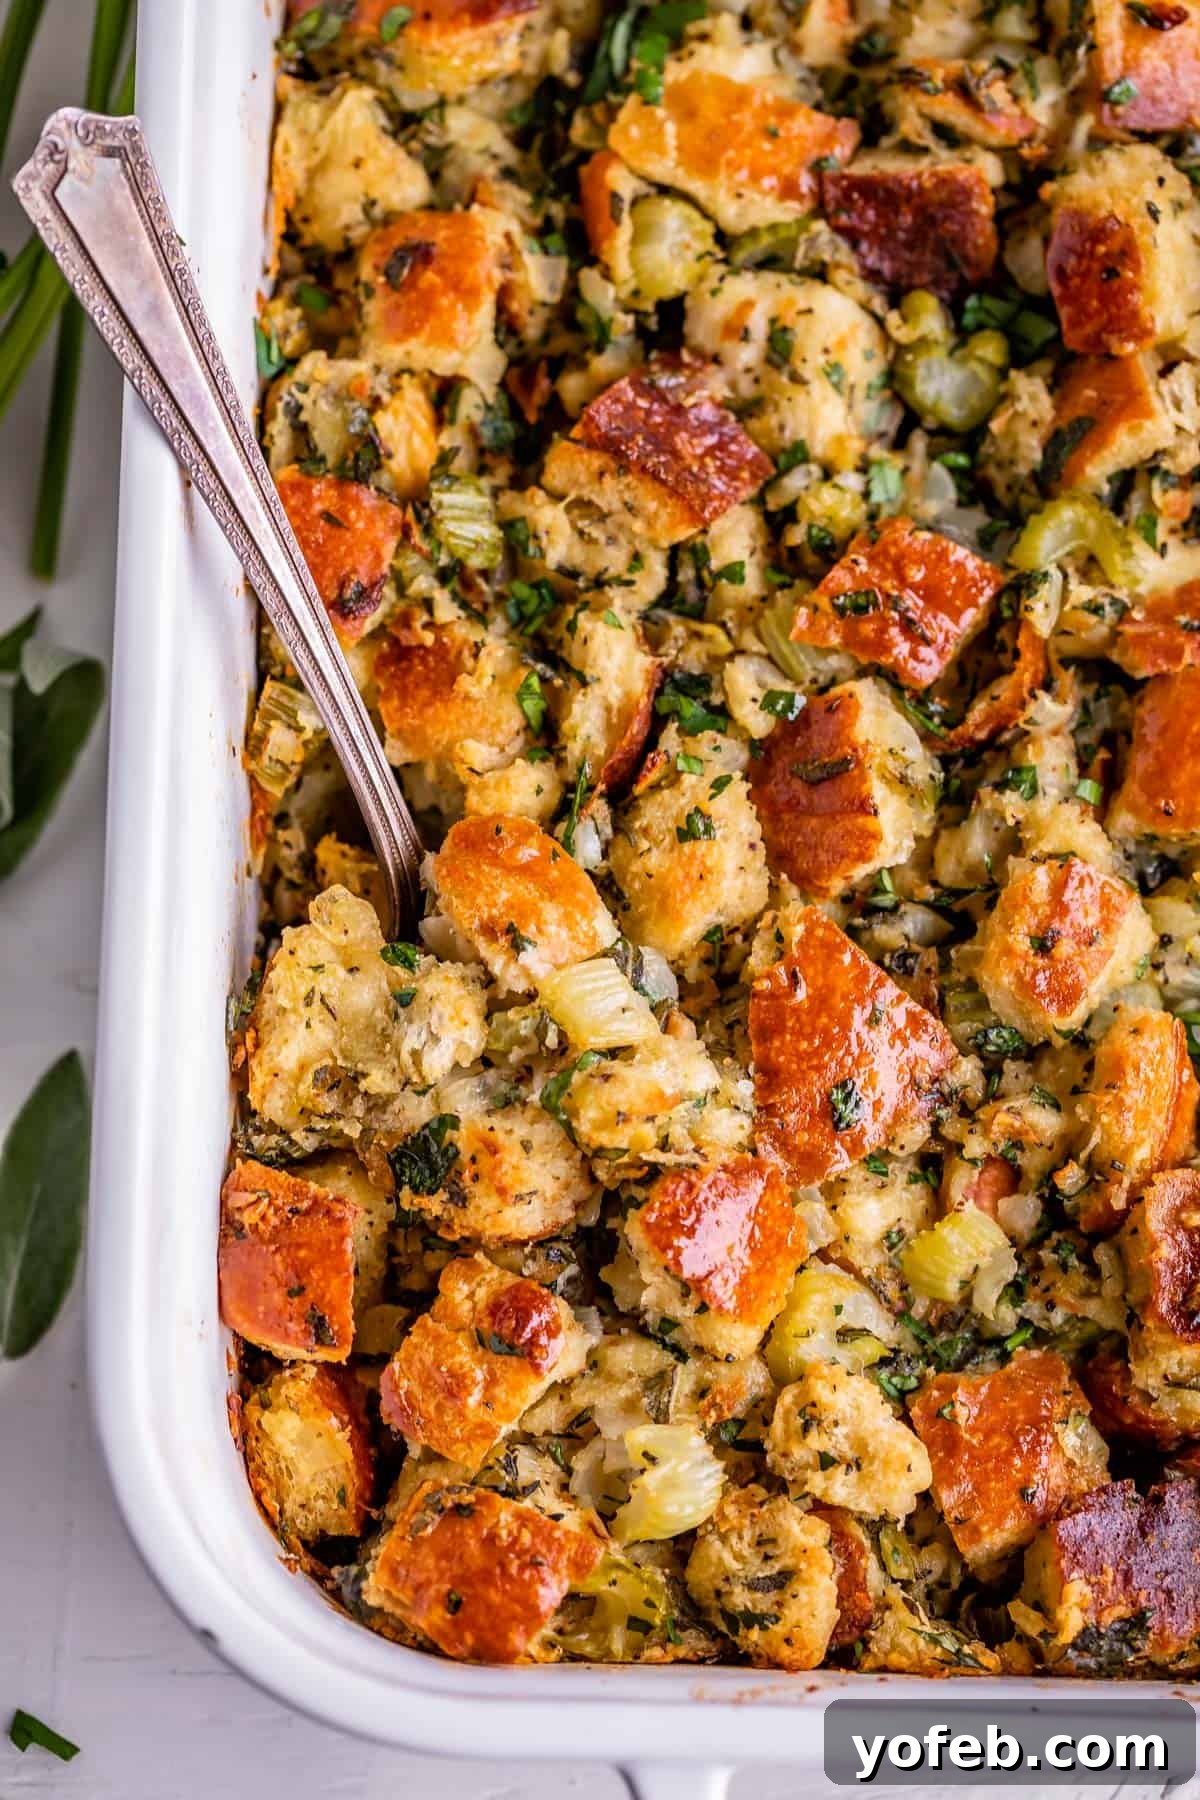
This is the ultimate traditional Thanksgiving Stuffing Recipe! It’s wonderfully easy to prepare, boasts the most incredible buttery flavor, and features those irresistible, perfectly crispy edges everyone craves. We combine classic celery and onions with a timeless blend of aromatic herbs – parsley, sage, rosemary, and thyme – to create a side dish that tastes exactly like grandma’s homemade masterpiece. If you’re searching for that authentic, comforting flavor, this is the recipe you’ve been dreaming of. Originally published November 19, 2021, this cherished recipe has brought joy to countless holiday tables.
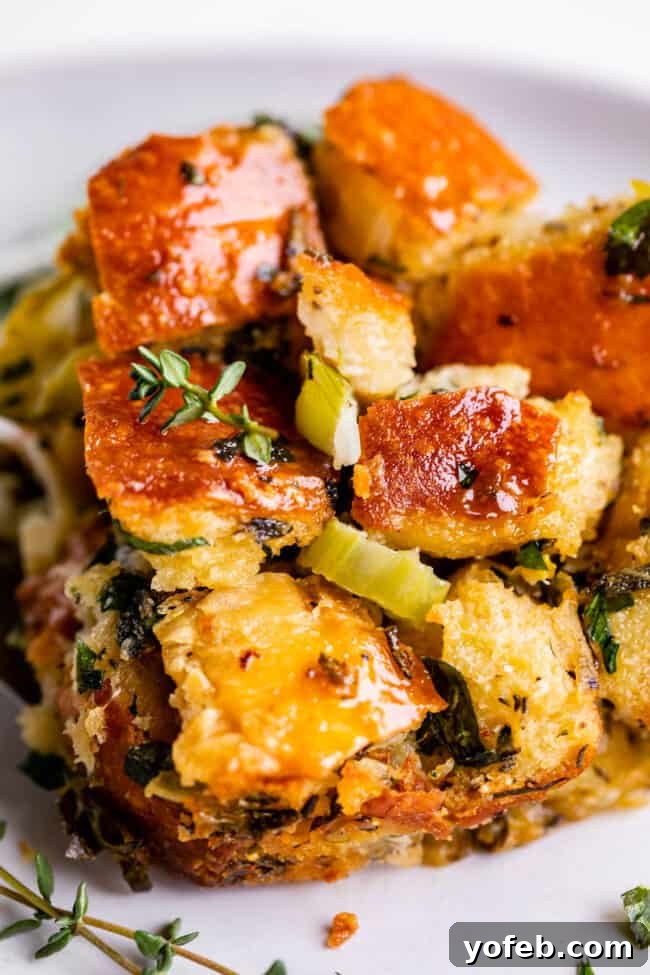
Table of Contents
- The Perfect Traditional Stuffing Recipe
- Traditional Stuffing Recipe Ingredients
- How to make homemade stuffing
- Toasty bread is not the same as stale bread
- Butter: the secret to a great stuffing
- Can you put this stuffing inside the turkey?
- Tips for making the Best Thanksgiving Stuffing
- Traditional Stuffing Recipe Variations
- You can make the Best Thanksgiving Stuffing ahead of time
- How to use Leftover Thanksgiving Stuffing
- More Thanksgiving side dishes you are going to love!
- Stuffing Recipe Thanksgiving Recipe
Can you believe it’s almost the Wednesday before Thanksgiving? For many, this day marks the unofficial start of the most delicious holiday season. While some call it “Blackout Wednesday” for less savory reasons, I prefer to think of it as “Anticipation Day” – a day dedicated to the delightful preparations that culminate in a grand feast. It’s when the kitchen comes alive with the aroma of spices, the clatter of pots, and the promise of incredible food. Just like Christmas Eve sets the stage for Christmas, the day before Thanksgiving deserves its own special recognition, especially for us food enthusiasts!
Forget the frenzied Black Friday shopping discussions for a moment; let’s celebrate the craft of cooking. We’re talking about a marathon of culinary joy, where every chop, stir, and sprinkle contributes to the magic of Thanksgiving. It’s a day when pie crusts are perfected, vegetables are prepped, and the star side dish – the stuffing – begins to take shape. For me, it’s a holiday in itself, a joyful prelude to the main event.
Whether you call it Pie Day (though March 14th already claimed “Pi Day,” much to our culinary chagrin!) or Cram Day, as some affectionately joke about trying to expand our stomachs, this pre-Thanksgiving Wednesday is a time for family traditions and food preparation. I have friends who host appetizer parties because everyone is exhausted from prepping the main meal, and growing up, our family ritual involved ordering pizza after all the pie-making was done. My own family’s tradition often involved staying up late into the night, perfecting the last batch of pies – a testament to the dedication and, perhaps, a bit of inherited procrastination!
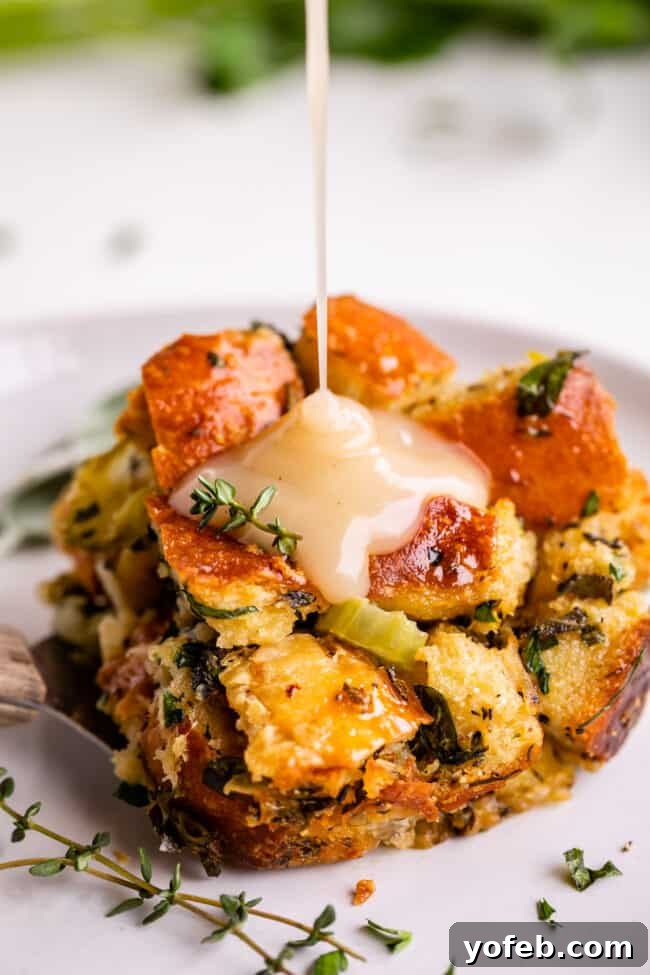
But enough about the nomenclature of the day before Thanksgiving. What truly matters is the spirit of warmth, gratitude, and, of course, delicious food. And at the heart of that deliciousness, for many, is a truly spectacular stuffing. It’s not just a side; it’s an essential component that ties the entire Thanksgiving meal together, soaking up gravy, offering a textural contrast, and carrying the signature flavors of the holiday season.
The Perfect Traditional Thanksgiving Stuffing Recipe
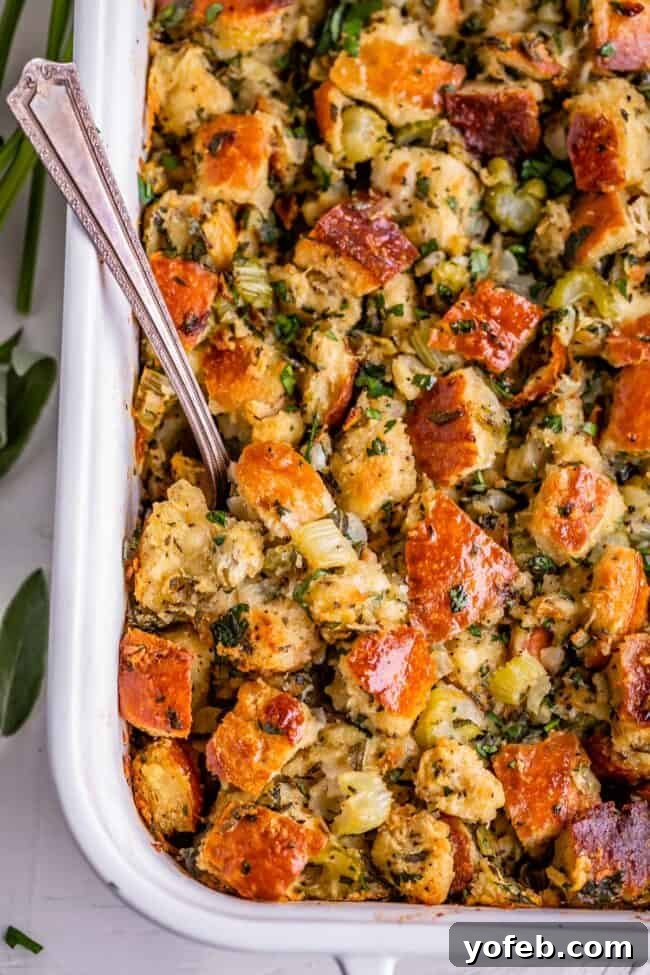
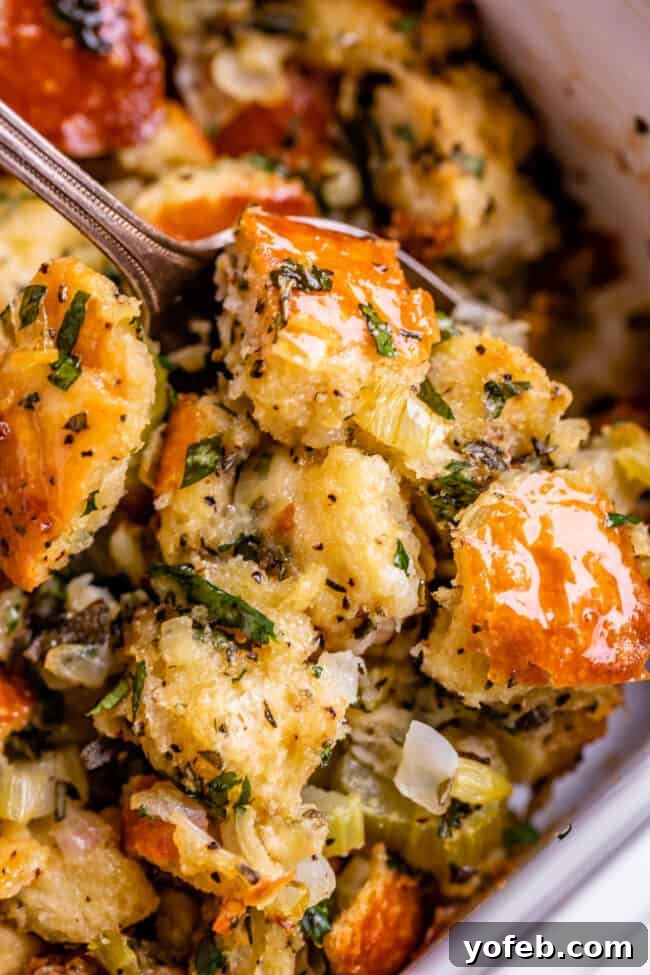
Today, I’m thrilled to share a stuffing recipe that’s more than just a side dish—it’s an experience. This isn’t just any stuffing; it’s the culmination of over a year of dedicated testing and refinement, designed to be the absolute best traditional Thanksgiving stuffing you’ll ever taste. It perfectly balances a rich, buttery interior with an irresistible crispness around the edges, delivering a symphony of textures and flavors that will captivate even the most discerning palates.
As someone who was once skeptical about stuffing (much like my past aversion to Sweet Potato Casserole – oh, the irony of my childhood Thanksgiving tastes!), I can confidently say this recipe is a game-changer. It’s crafted to convert even the staunchest stuffing skeptics into fervent fans. This is the kind of stuffing that evokes cherished memories of holiday gatherings and family kitchens, tasting exactly like the beloved recipes passed down through generations.
Forget the fancy additions for now—no sausage, cranberries, cornbread, or walnuts. While those have their place on another occasion, this recipe celebrates pure, unadulterated comfort food. It’s a harmonious blend of simple, quality ingredients: rich butter, aromatic herbs, sweet onions, crisp celery, and good, wholesome bread. This is the authentic, home-style stuffing that anchors your Thanksgiving meal, providing a foundation of flavor and warmth. Let’s dive into making this timeless classic!
Featured Comment
“I will never go back to box stuffing – this is even better than Mom used to make. I hid some from company for dinner the next night!”
– B.
See All Comments
Essential Ingredients for Traditional Stuffing
Crafting the perfect traditional stuffing starts with high-quality ingredients. Each component plays a crucial role in achieving that rich, savory, and comforting flavor profile. Here’s a detailed look at what you’ll need, with precise amounts and instructions provided in the full recipe below:
- **1 pound of quality bread:** The foundation of your stuffing. We’ll discuss bread choices in detail below, but aim for a sturdy yet tender loaf.
- **Unsalted Butter:** A generous amount of butter is key to the stuffing’s rich flavor and crispy texture.
- **Onion:** Sweet, sautéed onions provide a foundational layer of aromatic flavor.
- **Celery:** Adds a subtle crunch and classic savory notes, perfectly complementing the onion.
- **Fresh Parsley:** Brightens the flavor profile with its fresh, herbaceous notes.
- **Fresh Sage:** The quintessential Thanksgiving herb, offering an earthy, slightly peppery taste.
- **Fresh Rosemary:** Contributes a fragrant, piney aroma and robust flavor.
- **Fresh Thyme Leaves:** Delivers delicate, earthy undertones that round out the herb blend.
- **High-Quality Chicken or Turkey Broth:** Provides moisture and depth of flavor, infusing the bread with savory goodness.
- **Kosher Salt:** Enhances all the flavors without making the dish overly salty.
- **Black Pepper:** Adds a subtle warmth and aromatic kick.
- **Eggs:** Act as a binder, helping the stuffing hold its shape and preventing it from becoming too crumbly.
Each ingredient is carefully chosen to contribute to the traditional, comforting taste and texture that makes this stuffing truly special. Investing in fresh herbs and a good quality broth will elevate your stuffing from good to absolutely unforgettable.
Choosing the Best Bread for Your Stuffing
The bread you choose is arguably the most critical component of your stuffing, as its flavor and texture will define the final dish. Don’t underestimate its impact! A good stuffing starts with good bread, and the type you select will significantly influence the outcome. For instance, a sourdough loaf will impart a distinct tang, while a baguette with a very chewy, thick crust will result in a stuffing with a noticeable chewiness.
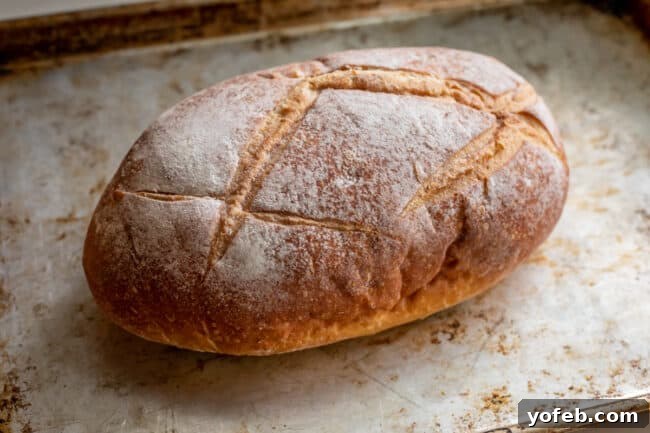
I’ve successfully prepared this traditional stuffing using various breads, including ciabatta, classic French bread, and simple white sandwich bread. You have a lot of flexibility here: feel free to experiment with an Italian loaf, rustic baguettes, or even a brioche for a richer flavor. My personal preference leans towards a simple white bread with a relatively soft crust. This ensures the stuffing remains tender and almost melts in your mouth, allowing the buttery, herby flavors to truly shine. However, if you enjoy a more complex texture, don’t hesitate to combine two different types of bread in your stuffing for added dimension and interest. The key is to select a bread whose inherent flavor and texture you genuinely enjoy, as it will be at the forefront of your stuffing experience.
Mastering Homemade Stuffing: A Step-by-Step Guide
Creating the best homemade stuffing isn’t complicated, but it does involve a few key steps and considerations to ensure that perfect balance of moist interior and crispy exterior. Follow this detailed process for a truly unforgettable holiday side dish:
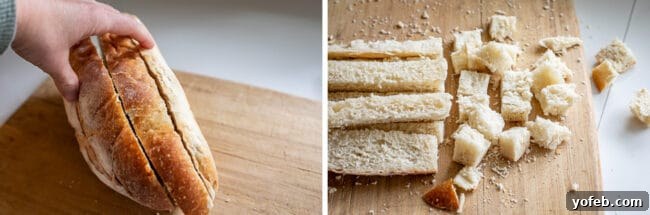
1. **Prepare Your Bread:** The first crucial step is to prepare your bread. You can either tear your loaf into irregular, bite-sized pieces or cut it into uniform 1-2 inch cubes. While tearing by hand gives a rustic look, I generally prefer cubing the bread. Hand-torn pieces tend to break down more easily into crumbles once moistened, whereas cubes retain their shape better, contributing to a more satisfying texture in the finished stuffing. A clever shortcut is to use pre-cubed plain toasted bread, often available in stores during the holiday season.
Toasting vs. Stale: Why Crispy Bread is Superior for Stuffing
2. **Toast Your Bread for Optimal Absorption:** This is a vital technique often misunderstood. Many older recipes suggest simply leaving bread out overnight to become “stale.” However, stale bread often turns tough and leathery, and critically, it doesn’t absorb liquids as effectively as properly toasted bread. Think of it this way: stale bread has simply dried out, but its cellular structure hasn’t been optimally prepared for absorption.
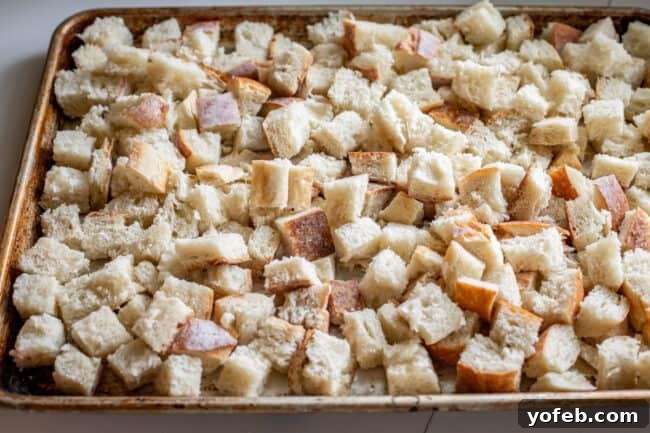
Instead of merely drying it out, we’re going to toast the bread. This process creates pieces that are crisp on the outside yet remain tender within, ensuring they readily absorb all the flavorful broth without becoming overly chewy or dense. This transformation takes about an hour in an oven set to a low 250°F (120°C). The goal isn’t to brown or burn the bread, but rather to achieve a light, golden crispness that primes it to soak up all the delicious, buttery liquid without losing its delicate texture. This step is the secret to a stuffing that truly melts in your mouth.
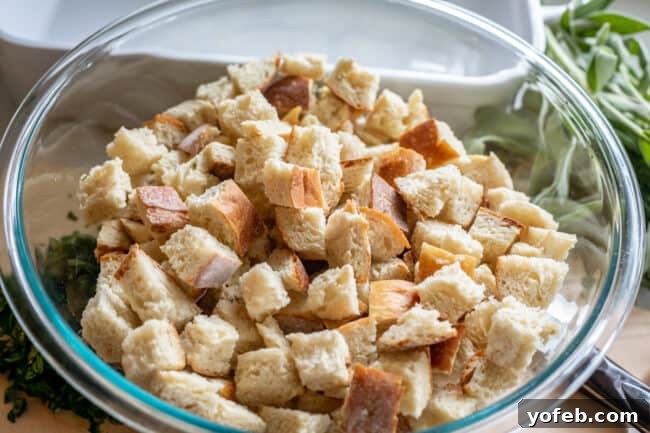
Butter: The Undisputed Secret to a Great Stuffing
3. **Embrace the Butter:** Once your bread is perfectly toasted, set it aside. Now, it’s time for the ingredient that truly elevates this stuffing: butter. Melt a generous cup of butter (that’s two full sticks!) in a large skillet over medium heat. As a reformed stuffing skeptic, I can attest that my conversion came when I realized stuffing, at its best, is essentially flavorful bread delightfully saturated with butter and then crisped to perfection. So, don’t shy away from this crucial component; it’s what delivers the unparalleled richness and holiday indulgence.
4. **Sauté the Aromatics:** While the butter is melting, finely chop your celery and onions. I recommend approximately 2 cups of diced celery and about 3½ cups of chopped onion—roughly one very large onion or two smaller ones. Precision here is important: while it might be tempting to “just throw it all in,” maintaining this ratio ensures the vegetables enhance, rather than overwhelm, the star of the show: the buttery bread.
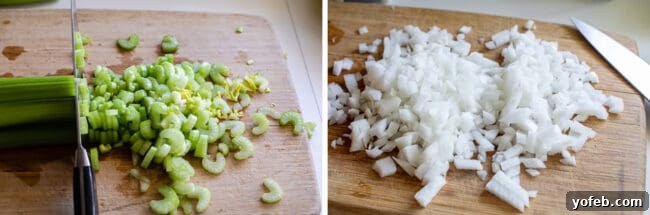
Add the chopped celery and onions to the melted butter in your skillet. Unlike everyday sautéing, where you might use minimal fat, here the vegetables are practically swimming in butter. This is intentional and desirable, as all that rich butter will infuse into our toasted bread, imparting incredible flavor. Sauté the vegetables for about 7-10 minutes, until they become tender and translucent but without browning. For stuffing, we’re aiming for softness and flavor infusion, not caramelization.
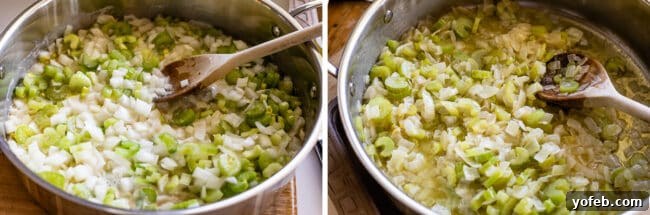
5. **Prepare the Fresh Herbs:** While the vegetables are cooking, finely chop your fresh herbs. This recipe celebrates the classic “Simon and Garfunkel” blend: parsley, sage, rosemary, and thyme. I prefer about 1/3 cup of fresh parsley, 1/4 cup of fresh sage, and 1 tablespoon each of fresh rosemary and thyme. You can adjust these ratios to your preference, but this combination provides a beautifully balanced, traditional flavor.
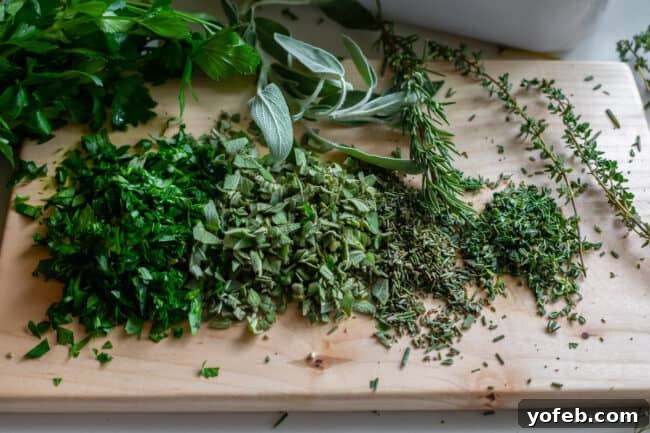
It’s important to remember that while herbs are essential for flavor, there can be too much of a good thing. Overdoing it can make your stuffing taste unpleasantly herbal, almost like a cleaning product. Stick close to the recommended amounts; if anything, use slightly less rather than significantly more. Parsley is the most forgiving herb in this blend, and you could increase it to about ½ cup if you desire a stronger, fresher note.
Add all these freshly chopped herbs directly to your big bowl of toasted bread cubes.
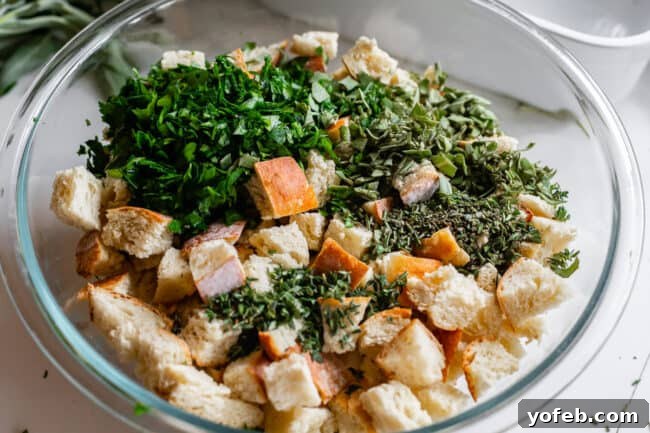
6. **Combine and Season:** Once your celery and onions are tender, add this buttery vegetable mixture on top of the toasted bread and herbs in the large bowl. Stir everything together thoroughly, ensuring all those glorious bread cubes are coated in the melted butter and infused with the aromatic flavors. This step is crucial for distributing the richness evenly.
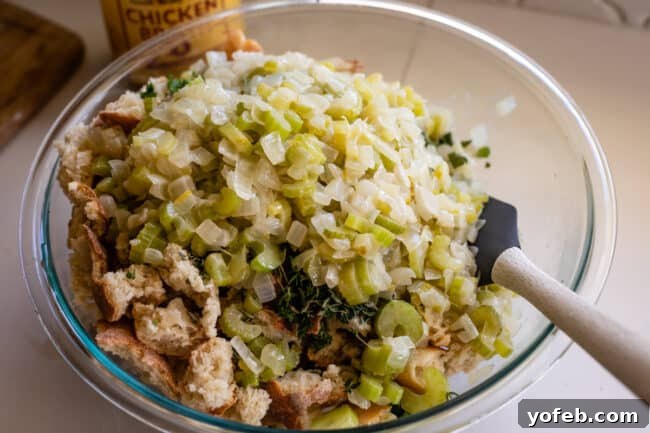
Season the mixture generously with kosher salt and freshly ground black pepper. Taste a small bit of the seasoned bread and adjust the salt and pepper as needed. Remember, proper seasoning is vital for bringing out the best in your stuffing.
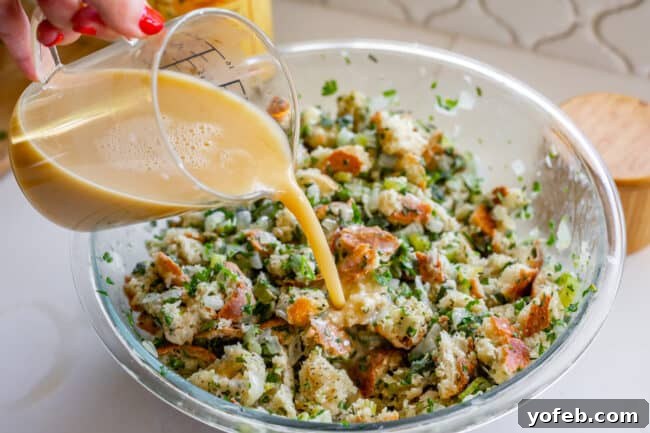
7. **Add the Liquid (The Art of Moistness):** This is perhaps the most critical stage for achieving perfect stuffing consistency. In a separate bowl, whisk together 2 large eggs with 2 cups of high-quality chicken or turkey broth. Slowly pour this liquid mixture over your seasoned bread. The exact amount of liquid needed can vary based on several factors:
- **Bread Volume:** More bread means more broth will be required to adequately moisten it.
- **Toastiness Level:** Ultra-toasted bread is very dry and will absorb more liquid. If your bread was merely “stale” overnight, it might still retain some internal moisture, requiring less broth.
- **Vegetable Quantity:** If you added extra onions and celery beyond the recommended amounts, their moisture content might reduce the amount of broth needed.
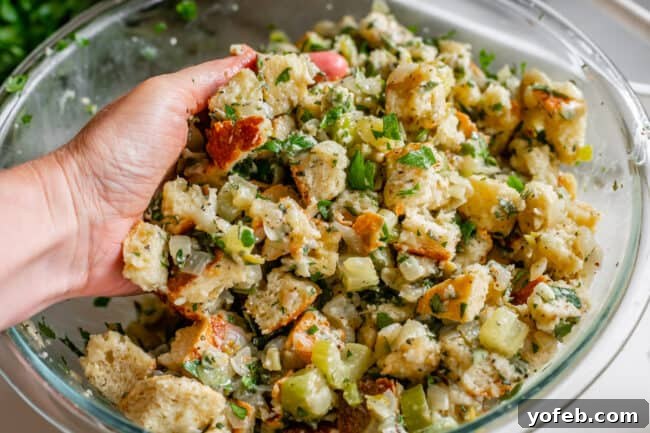
To gauge the perfect moistness, you’ll need to use your hands – it’s truly the best tool for this job. Gently mix and squeeze the stuffing with your hands. The bread should feel moist throughout but not waterlogged. When you squeeze a handful, a small amount of liquid might seep out, but there should be absolutely no liquid pooling at the bottom of the bowl. You might find you need an additional half-cup of broth, or conversely, you might not use all of the initial 2 cups if your bread was less toasted or your vegetables more watery. Trust your judgment and the feel of the mixture. This is where stuffing transforms from a recipe into a craft.
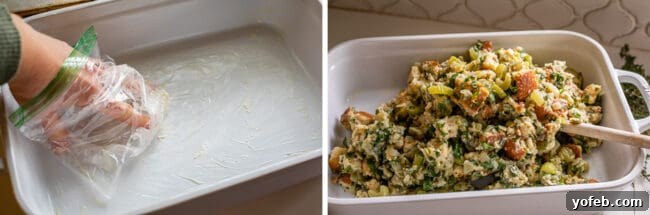
8. **Prepare for Baking:** Once your stuffing has reached its ideal moistness, it’s time to transfer it to a baking dish. Generously grease a 9×13 inch pan with softened butter. Don’t skimp on this step! The butter not only prevents sticking but also plays a vital role in creating those coveted, ultra-crispy edges that everyone fights over. If you’re an edge-lover, consider baking your stuffing in a Brownie Edge Pan. While it might be heresy for brownie purists who prefer the gooey center, it’s an ingenious hack for maximizing crispy stuffing surface area! Spread the stuffing evenly into the prepared pan.
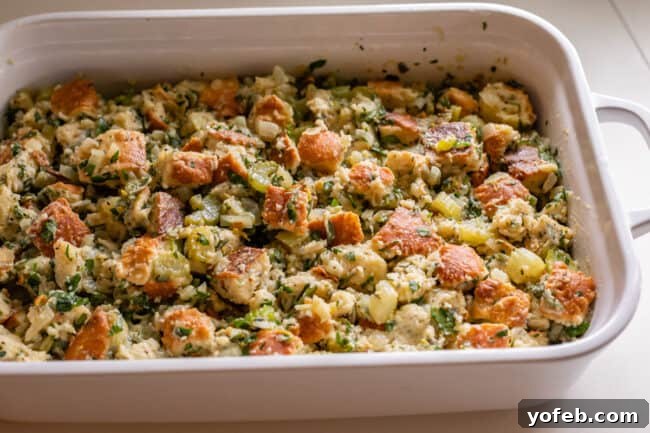
9. **Bake to Perfection:** Cover the pan tightly with aluminum foil and bake at 350°F (175°C). Baking it covered initially traps steam, ensuring the stuffing remains moist and tender throughout. After about 40 minutes, remove the foil and continue baking for another 25-35 minutes, or until the top and edges are beautifully golden brown and crispy to your liking. The exposed baking period is what creates that irresistible crunch. Serve hot and watch it disappear!
Can You Put This Stuffing Inside the Turkey?
Absolutely, you can! Many traditionalists prefer to cook their stuffing directly inside the turkey, where it absorbs extra flavor from the roasting bird. To do this, simply prepare the stuffing mixture as directed in the recipe, but instead of transferring it to a buttered baking dish, loosely stuff it into the turkey cavity. Be careful not to pack it too tightly, as this can prevent it from cooking evenly.
It’s crucial to prioritize food safety when stuffing a turkey. Ensure that the internal temperature of the stuffing reaches a safe 165°F (74°C) before serving. Using a meat thermometer is the most reliable way to verify this. If you choose to stuff your turkey, remember that the cooking time for the turkey itself might need to be extended slightly, as the stuffing will also need to reach the safe temperature. While cooking stuffing inside the bird imparts a unique depth of flavor, baking it separately in a casserole dish offers more control over consistency and guarantees those desirable crispy edges.
Tips for Making the Best Thanksgiving Stuffing
Achieving a truly outstanding stuffing is all about paying attention to a few key details. Here are my top tips for ensuring your Thanksgiving stuffing is the crispiest, butteriest, and most flavorful it can be:
- **Select the Right Bread:** The bread is the foundation. Opt for a sturdy, slightly dense bread like a good white loaf, French bread, or ciabatta. Avoid very soft, fluffy sandwich bread that can turn mushy, or overly crusty bread that can be too chewy.
- **Toast, Don’t Stale, Your Bread:** This is a crucial distinction. Simply leaving bread out overnight makes it tough and less absorbent. Toasting bread in a low oven creates a crisp yet tender texture that readily soaks up moisture without becoming soggy.
- **Be Generous with Butter:** Butter is not just a cooking fat here; it’s a flavor enhancer and texture creator. A copious amount ensures a rich, savory taste and contributes significantly to those coveted crispy edges.
- **Master the Liquid Balance:** The amount of broth and egg mixture is critical. Add liquid incrementally and use your hands to mix. The bread should be thoroughly moistened but not dripping wet. Too much liquid leads to soggy stuffing; too little results in a dry, crumbly dish. Trust your tactile judgment.
- **Finely Chop Your Herbs:** While fresh herbs are essential for bright, authentic flavor, nobody wants to chew on large pieces of rosemary or sage. Mince them finely to distribute their aromatic essence evenly throughout the stuffing, ensuring every bite is perfectly seasoned.
- **Don’t Overcook the Veggies:** Sauté celery and onions until soft and translucent, but don’t brown them. For this traditional stuffing, we want the subtle, sweet flavor of cooked vegetables, not the deeper, caramelized notes.
- **Bake Covered, Then Uncovered:** Starting the bake covered traps moisture, keeping the interior of the stuffing tender. Removing the foil for the last portion of baking allows the top and edges to crisp up beautifully, giving you that perfect textural contrast.
Traditional Stuffing Recipe Variations
While this recipe champions a pure, traditional approach, sometimes a slight variation can enhance the experience or cater to different preferences. Here are a couple of common adjustments you might consider:
Can you substitute dried herbs for fresh herbs?
Yes, you can certainly use dried herbs if fresh ones are unavailable or less convenient. While fresh herbs impart a brighter, more vibrant flavor, the generous amount of butter in this recipe does a fantastic job of carrying the dried herb flavors and making up for some of the difference. When substituting, remember that dried herbs are more concentrated than fresh ones.
For this recipe, you would use approximately 2 tablespoons of dried parsley, 2 teaspoons of dried sage, 1 teaspoon of dried thyme, and 1 teaspoon of dried rosemary. A crucial tip for using dried herbs is to add them to the sautéing onions and celery in the pan with the butter. This brief exposure to heat and fat helps to “toast” and “wake up” the dried herbs, releasing their essential oils and intensifying their flavor before they are mixed into the bread.
Making the Best Thanksgiving Stuffing Ahead of Time
Thanksgiving meal prep can be overwhelming, but thankfully, stuffing is one of those dishes that can be prepared in advance, freeing up valuable oven space and time on the big day. Hallelujah! Here’s how to do it:
Overnight Stuffing Instructions (Refrigerate): Prepare the stuffing mixture completely, up to the point of adding the unbaked stuffing into your buttered pan. Cover the pan tightly with plastic wrap to prevent moisture loss, then store it in the refrigerator for up to 24 hours. When you’re ready to bake, preheat your oven, remove the plastic wrap, and follow the baking instructions as usual. Remember to cover the dish with foil for the first half of the baking period to maintain moisture. If you need to prepare the stuffing more than 24 hours in advance, I highly recommend freezing it instead, as refrigeration can gradually dry it out over a longer period.
Freeze Before Baking: Freezing uncooked stuffing is often the best method for long-term make-ahead, as it minimizes the risk of the stuffing drying out. Prepare the raw stuffing mixture and transfer it to the buttered dish you intend to bake it in (ensure the dish is freezer and oven-safe). Wrap the dish meticulously with multiple layers of foil and then an outer layer of plastic wrap to prevent freezer burn. For extra protection, if you have large 2-gallon freezer bags, place the wrapped dish inside one. The uncooked stuffing can be stored in the freezer for up to 3 months. If you prefer not to have one of your good casserole dishes tied up in the freezer, a disposable foil pan works perfectly.
When you’re ready to bake, remove the dish directly from the freezer (do not thaw first, as this can lead to a soggy texture). Remove the plastic wrap, cover tightly with foil, and bake according to the normal instructions. You may need to add an extra 10-15 minutes to the total baking time, so keep an eye on it to ensure it’s cooked through and beautifully crispy.
Freeze After Baking: You can even bake your stuffing completely, cool it, and then freeze it for later reheating. Bake the stuffing as directed, but consider reducing the initial baking time by about 10 minutes. This slight under-baking helps prevent it from drying out when reheated. Allow the stuffing to cool completely to room temperature before freezing; placing warm food directly into the freezer can create large ice crystals that compromise texture. Patience is key here!
Once cooled, wrap the dish thoroughly with both foil and plastic wrap. Again, a 2-gallon freezer bag can offer an extra layer of protection. Fully baked stuffing can be frozen for approximately 3 months.
To reheat, take the frozen stuffing out of the freezer and let it sit on the counter for about 15 minutes (or 30 minutes if using a glass baking dish to prevent thermal shock). Preheat your oven to 350°F (175°C). Remove any plastic wrap, cover the stuffing with foil, and bake for about 45 minutes. Then, remove the foil and continue baking for another 10-15 minutes, or until the stuffing is heated through and the top is crispy. Since it’s already cooked, be mindful not to overbake, as this will lead to a dry texture.
Creative Ways to Use Leftover Thanksgiving Stuffing
Thanksgiving leftovers are a gift that keeps on giving, and stuffing is no exception! Don’t let a single delicious crumb go to waste. Here are some fantastic ideas to transform your leftover stuffing into exciting new meals:
- **The Ultimate Leftover Turkey Sandwich:** Elevate your turkey sandwich by adding a generous layer of stuffing. Pair it with tender leftover turkey, a smear of Homemade Cranberry Sauce, and serve it all on warm Buttery Dinner Rolls. It’s a symphony of Thanksgiving flavors in every bite!
- **Savory Breakfast Hash:** Crisp up leftover stuffing in a hot skillet with a little butter or oil until golden brown. Serve it as a hearty hash alongside fried or poached eggs for an incredibly satisfying post-Thanksgiving breakfast.
- **Meatball or Meatloaf Filler:** Substitute chopped leftover stuffing for breadcrumbs or oats in your favorite meatball or meatloaf recipes. It adds extra flavor and moisture, making your meat dishes even more delicious.
- **Stuffing Waffles:** This is a fun and creative twist! Add a bit of extra broth to your leftover stuffing to make it slightly wetter, then press it into a hot waffle iron until crispy and golden. Serve these savory waffles with a fried egg on top, a drizzle of gravy, or a dollop of cranberry sauce for a unique brunch experience.
- **Stuffed Bell Peppers:** Transform bell peppers into a delightful meal by filling them with leftover stuffing. You can add some chopped leftover turkey or other vegetables too. Bake until the peppers are tender and the stuffing is heated through. Refer to my Classic Stuffed Peppers recipe for guidance.
- **Zucchini Boats with Stuffing:** Similar to stuffed peppers, hollow out zucchini halves and fill them generously with your leftover stuffing. Top with a sprinkle of cheese and bake until the zucchini is tender and the cheese is melted and bubbly. A side of warm gravy makes this a comforting meal.
- **Shepherd’s Pie or Pot Pie Reinvention:** Create a truly satisfying casserole by layering leftover stuffing, diced turkey, and any other roasted vegetables (like green beans or carrots) in a pie dish. Pour over a rich layer of leftover gravy, then top with either creamy mashed potatoes (for a Shepherd’s Pie inspired dish) or a flaky pie crust (for a delicious Pot Pie). Bake until bubbly and golden.
More Thanksgiving Side Dishes You Are Going To Love!
A successful Thanksgiving feast is all about the glorious spread of side dishes. If you’re looking to complete your holiday menu with more incredible recipes, here are some cherished favorites that are sure to impress your guests and add even more flavor to your table:
- Cornbread Stuffing with Bacon and Sage: If you’ve never ventured into cornbread stuffing territory, you are truly missing out on a delightful, flavorful alternative to traditional bread-based stuffing.
- Butternut Squash, Cranberry, and Lentil Stuffing: This hearty and wholesome stuffing is so satisfying, it could almost be a meal all on its own, offering a wonderful mix of sweet and savory notes.
- Sweet Potato Casserole with a Ridiculous Amount of Streusel: It’s truly all about that buttery, brown sugar pecan topping that makes this sweet potato casserole utterly irresistible.
- Sweet Creamed Corn Casserole: A holiday table isn’t complete without a comforting corn casserole, and this sweet creamed version is always a crowd-pleaser.
- Easy Homemade Cranberry Sauce Recipe: A classic and essential accompaniment, easy to make and far superior to canned versions.
- Homemade Green Bean Casserole: Elevate this potluck staple by making your own crispy fried onions – it makes all the difference!
- Chicken and Dressing from Miss in the Kitchen: A savory and comforting dish that’s a staple in many Southern households.
- Southern Cornbread Dressing Recipe from Grandbaby Cakes: For those who love a rich, flavorful cornbread dressing with true Southern charm.
- Homemade Cornbread Dressing Recipe from Six Sisters Stuff: Another excellent cornbread dressing option that’s simple, delicious, and perfect for family gatherings.
Facebook | Pinterest | Instagram

Traditional Thanksgiving Stuffing Recipe
Ingredients
- 1 pound bread, white bread, ciabatta, Italian, baguette, etc.
- 1 cup butter, 2 sticks
- 1 large onion, about 3 and 1/2 cups chopped
- 2 cups celery, 1/4 inch dice
- 1/3 cup fresh parsley, chopped (I like Italian flat-leaf)
- 1/4 cup fresh sage, chopped
- 1 tablespoon fresh rosemary, chopped very fine
- 1 tablespoon fresh thyme leaves
- 2 teaspoons kosher salt
- 1 teaspoon black pepper
- 2 cups high quality chicken/turkey broth, plus 1/2 cup more if necessary
- 2 large eggs
- 1 tablespoon butter, softened, for greasing pan
Instructions
-
Begin by tearing or cutting your loaf of bread into bite-sized pieces, about 1-2 inches. Spread these pieces onto a dry baking sheet and bake at 250°F (120°C) for about 1 hour, stirring occasionally. The goal is to toast the bread until it’s crisp but not browned; this ensures it will absorb the broth effectively without becoming soggy.
It is not recommended to simply let your bread sit out overnight, as this often results in tough, stale bread. For the perfect stuffing texture, we aim for crispy, nicely toasted bread.
-
While your bread is toasting, prepare the vegetables. Finely chop one large onion (or two small ones), aiming for about 3½ cups of chopped onion. Onions are crucial for the stuffing’s savory base, so don’t skimp on this ingredient.
Dice the celery into approximately ¼-inch pieces. While smaller pieces might be preferred for some dishes, a slightly more substantial dice works well in stuffing, providing a pleasant textural element. I often include the tender celery leaves when chopping, as they add extra flavor.
-
Preheat your oven to 350°F (175°C).
-
Add 2 sticks of butter (1 cup) to a large skillet and place it over medium heat. Once the butter has melted completely, add all the chopped celery and onions. Sauté the vegetables for about 7-10 minutes, stirring occasionally, until they are soft and translucent but not browned. The generous amount of butter is intentional here, as it will infuse into the toasted bread, imparting rich flavor.
-
Meanwhile, finely chop all your fresh herbs: 1/3 cup parsley, 1/4 cup sage, and 1 tablespoon each of rosemary and thyme. Ensure the rosemary is minced very finely to avoid any tough pieces.
-
In a large mixing bowl, combine all the toasted bread pieces and the chopped fresh herbs.
Add the sautéed onion and celery mixture, including all the melted butter from the skillet, to the bowl with the bread and herbs.
-
Sprinkle the mixture with 2 teaspoons of kosher salt (or about 1½ teaspoons if using table salt) and 1 teaspoon of black pepper. Stir everything together thoroughly, ensuring the butter is evenly distributed among the bread cubes. Taste a small portion and adjust seasonings as needed to your preference.
-
In a separate bowl or large glass measuring cup, combine 2 cups of high-quality chicken or turkey broth with 2 whisked eggs. Gradually pour this liquid mixture over the bread, adding it in increments.
Use your hands to gently mix and squeeze the bread, ensuring that all the liquid is absorbed and the mixture is thoroughly combined.
The goal is for the bread to be moist but not overly soaked. There should be no liquid pooling at the bottom of the bowl. The precise amount of liquid can vary depending on your bread type and how thoroughly it was toasted. Stuffing consistency is somewhat of an art, so trust your judgment. If needed, you can add up to ½ cup more broth.
-
Generously grease the sides and bottom of a 9×13 inch baking pan with about 1 tablespoon of softened butter. Transfer the stuffing mixture into the prepared pan and spread it evenly to the edges.
(At this stage, you can tightly cover the unbaked stuffing and refrigerate it overnight. See notes for make-ahead instructions!)
-
Cover the baking dish tightly with aluminum foil and bake at 350°F (175°C) for approximately 40 minutes.
Remove the foil and continue baking for another 25-35 minutes, or until the top and edges of the stuffing are golden brown and as crispy as you desire.
-
Store any leftover stuffing in an airtight container in the refrigerator. Baked leftovers can also be successfully frozen; refer to the notes section for detailed freezing instructions!
Notes
**You can use dried herbs as a substitute for fresh herbs! Use about 2 tablespoons of dried parsley, 2 teaspoons of dried sage, 1 teaspoon of dried thyme, and 1 teaspoon of dried rosemary. When using dried herbs, add them to the sautéing onions and celery in the pan with the butter. This gentle heat helps to “wake up” the dried herbs, enhancing their flavor before they’re mixed into the stuffing.
Overnight Stuffing Instructions: Prepare the stuffing mixture and transfer it to the buttered baking pan. Cover the pan tightly with plastic wrap to seal in moisture, then refrigerate for up to 24 hours. To bake, preheat the oven, remove the plastic wrap, and follow the standard baking instructions. Ensure it’s covered with foil for the initial baking period. For longer storage (beyond 24 hours), freezing is recommended to prevent drying out.
Freeze Before Baking: This method is excellent for preserving moisture. Prepare the uncooked stuffing and place it in your buttered, freezer-safe, oven-safe dish. Wrap the dish securely with foil, then with plastic wrap. For added protection against freezer burn, you can place the wrapped dish inside a 2-gallon ziplock bag. It will keep well in the freezer for about 3 months. A disposable foil pan is a good alternative if you don’t want to tie up a baking dish.
When ready to bake, place the frozen, covered stuffing directly into a preheated oven (do not thaw, as this can lead to sogginess). Remove plastic wrap, cover tightly with foil, and bake following the normal instructions. You may need to add an extra 10-15 minutes to the total bake time, so monitor for doneness.
Freeze After Baking: To freeze fully cooked stuffing, bake it as usual but reduce the final crisping time by about 10 minutes. Allow the stuffing to cool completely to room temperature before freezing to prevent ice crystal formation, which can affect texture. Wrap the dish tightly with both foil and plastic wrap, and if possible, place it in a 2-gallon ziplock bag for up to 3 months.
To reheat, remove the stuffing from the freezer and let it sit on the counter for 15-30 minutes (longer for glass pans). Preheat the oven to 350°F (175°C). Remove all plastic wrap, cover the dish with foil, and bake for about 45 minutes. Then, remove the foil and bake for an additional 10-15 minutes until crisp and warmed through. Be careful not to overbake, as it can dry out since it’s already cooked.