
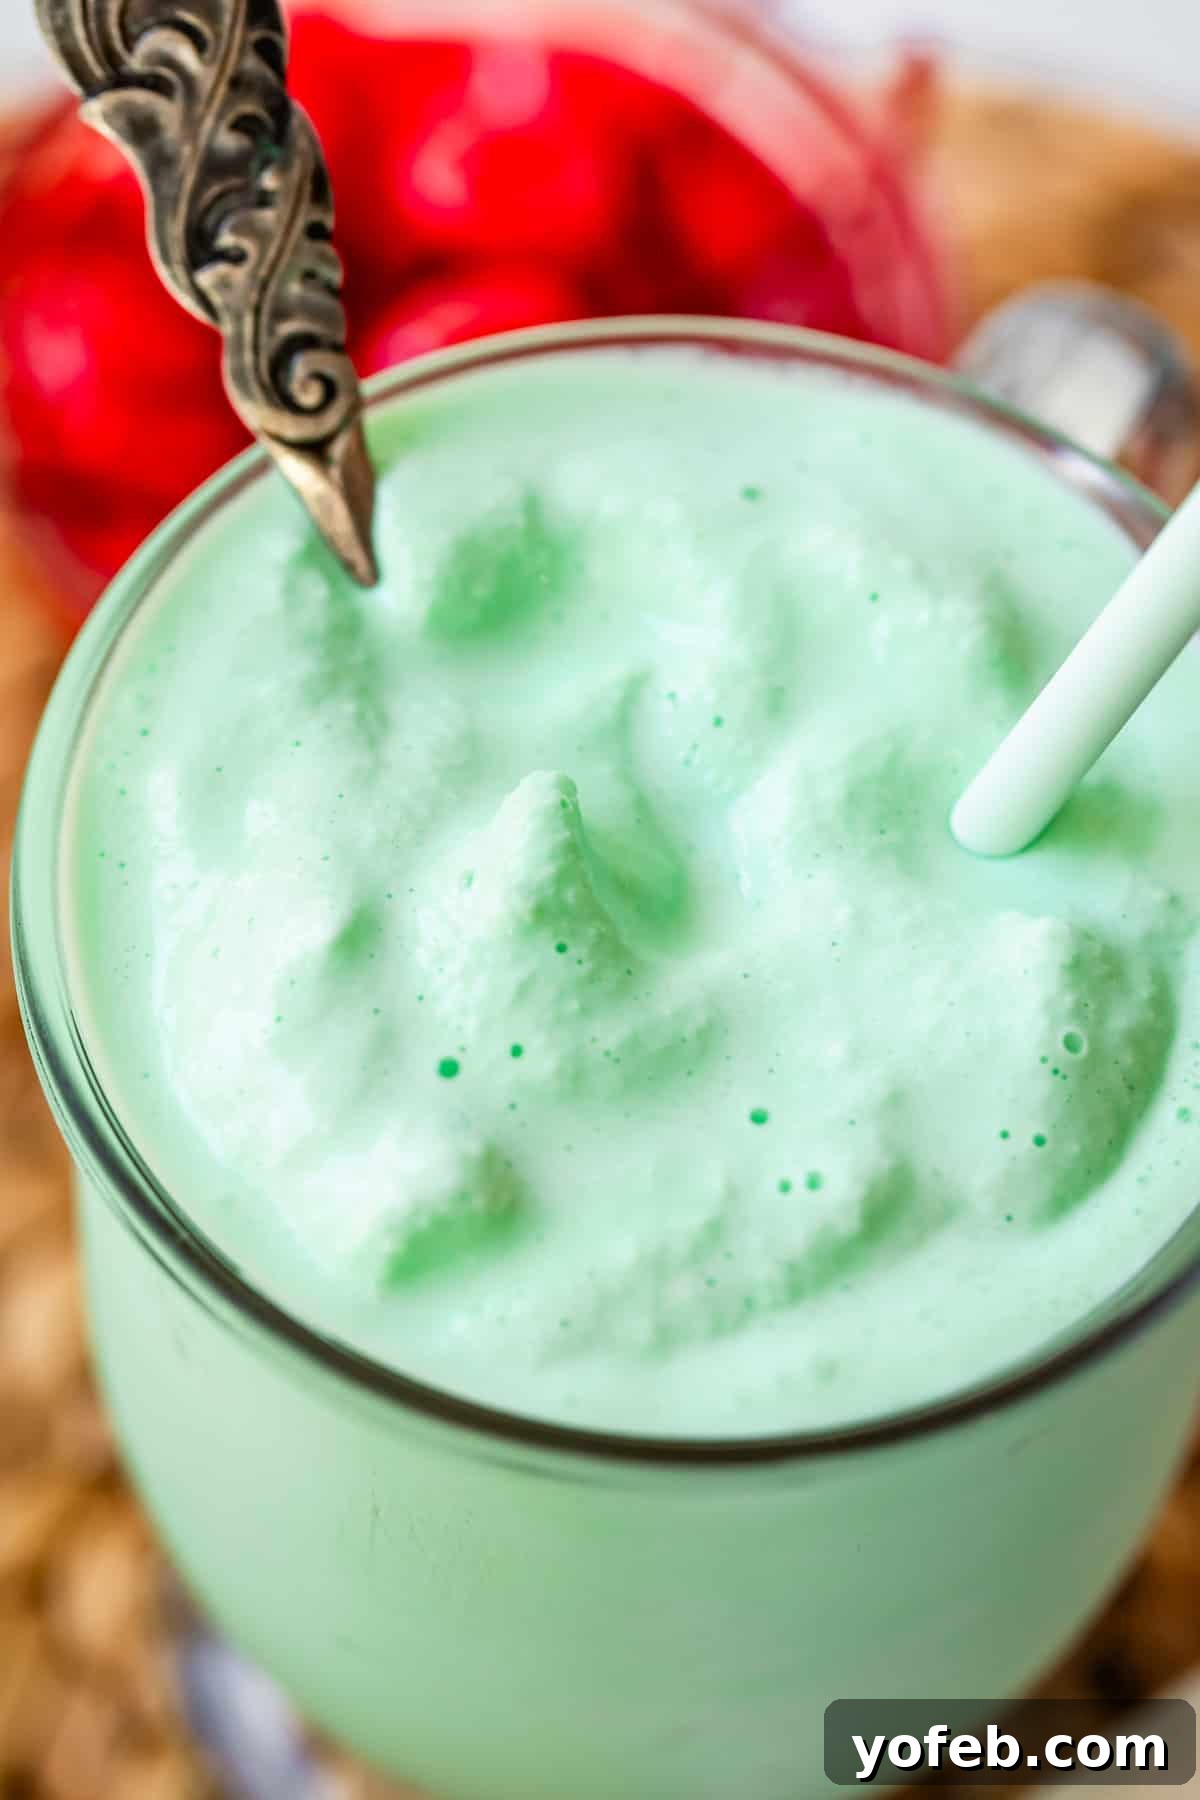
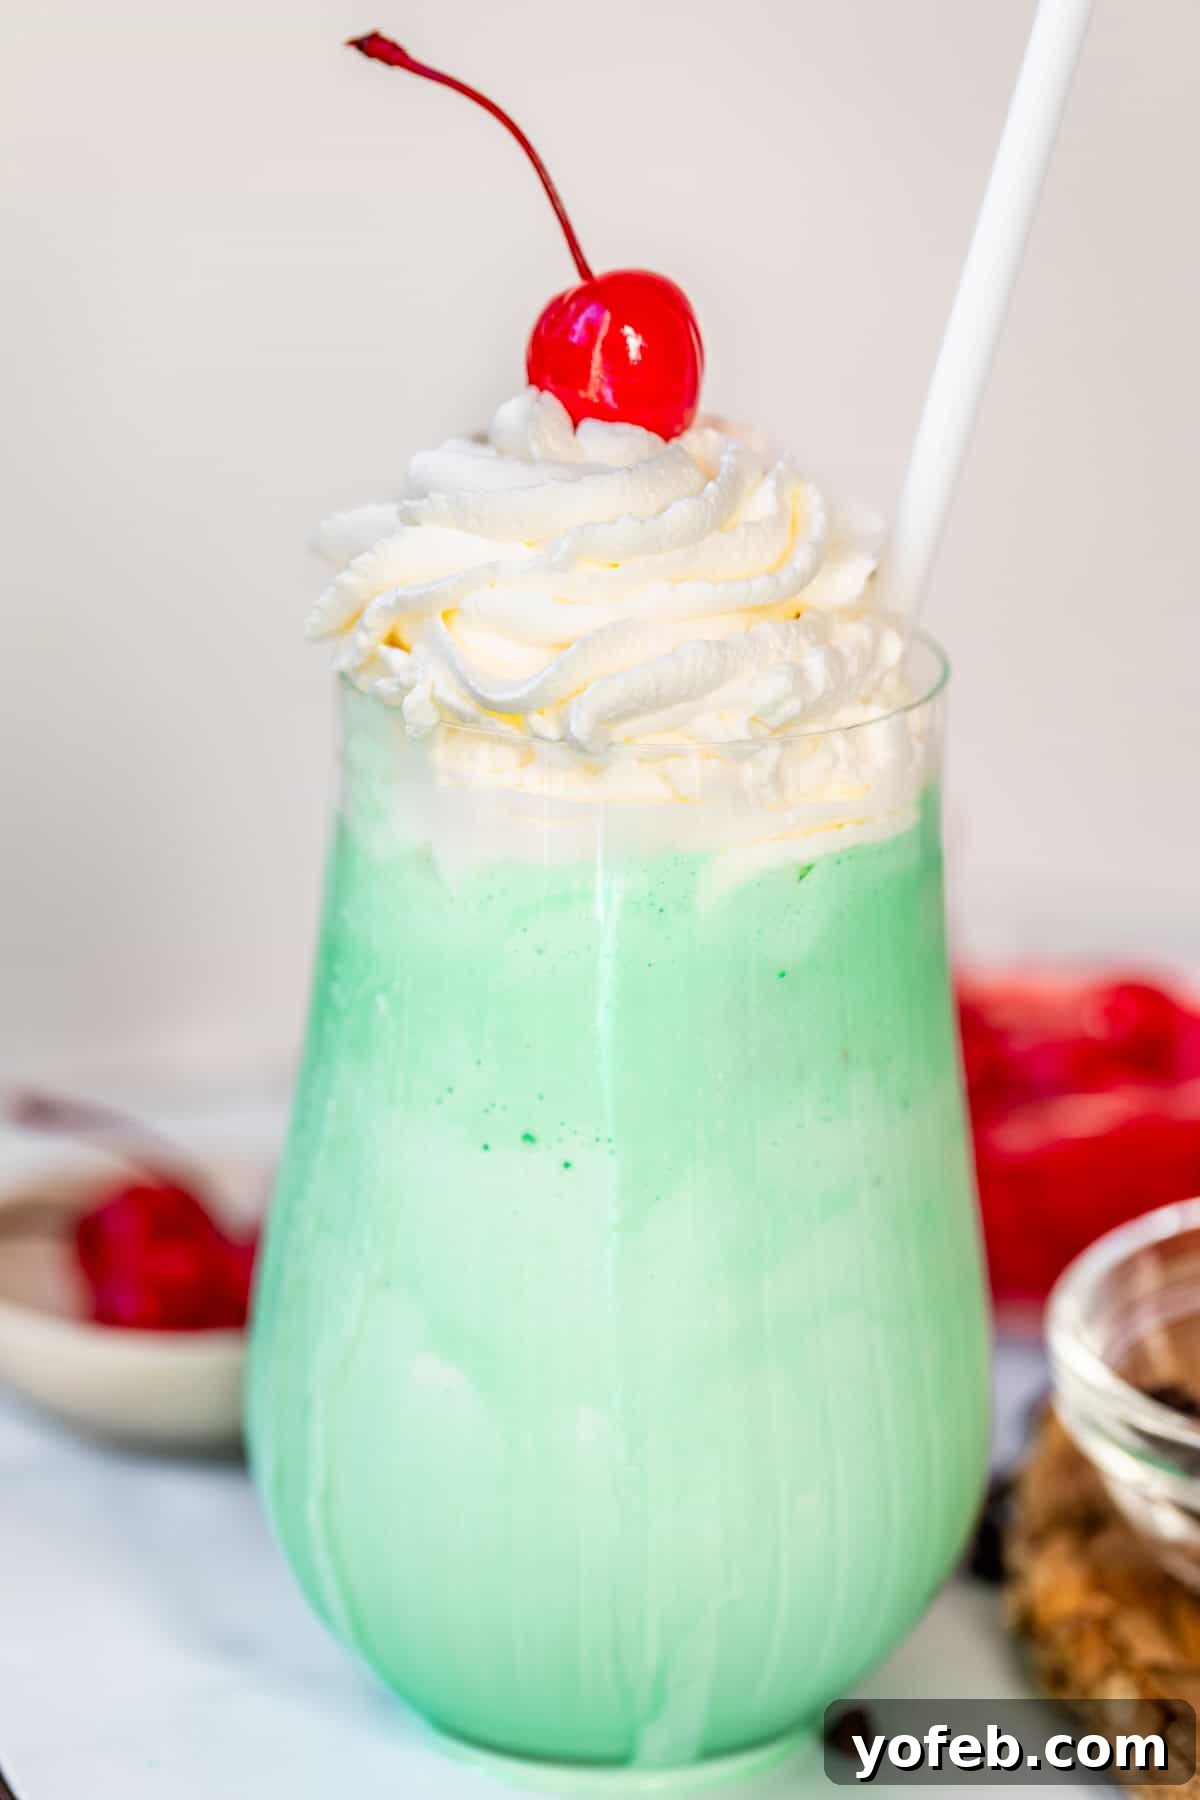
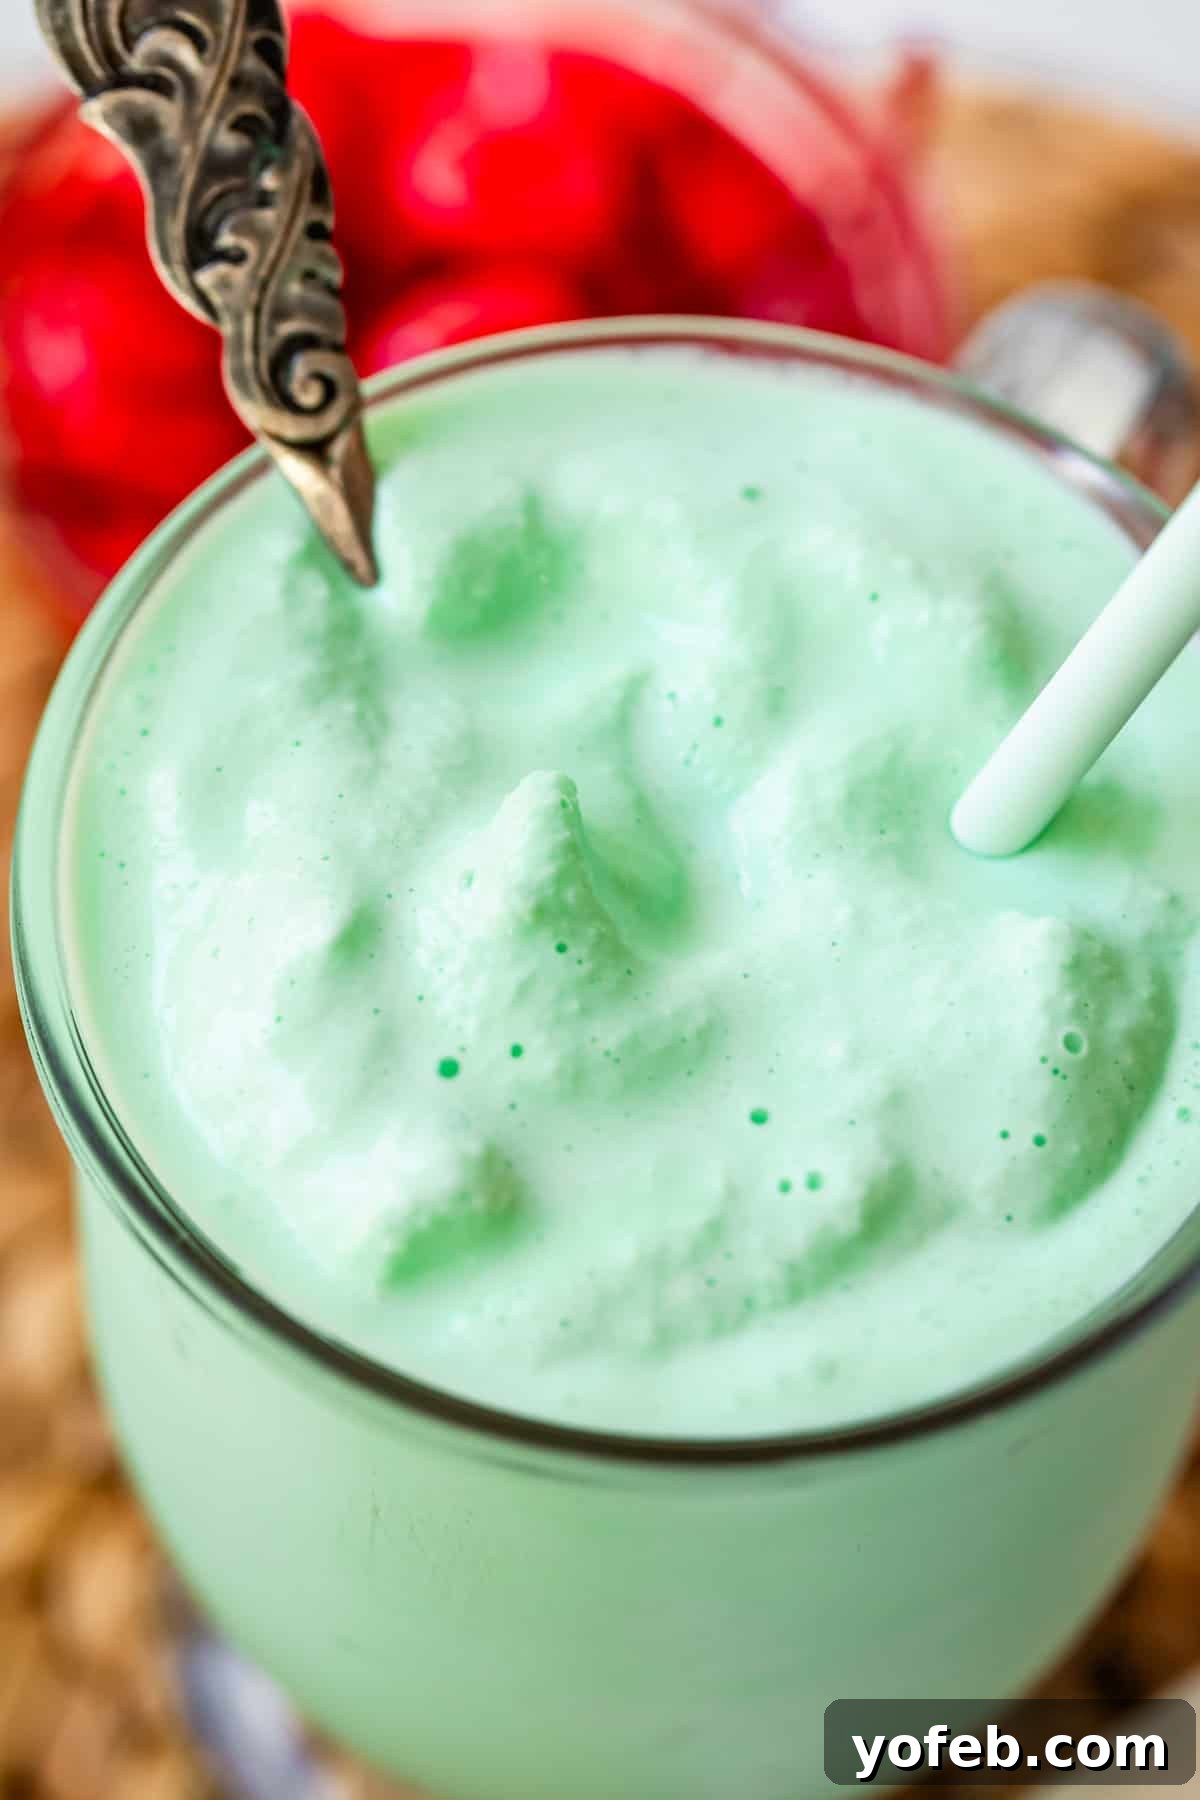
Welcome to the ultimate guide for creating the most enchanting mint milkshake you’ve ever tasted – the legendary Shamrock Shake! If you’re unfamiliar with this delightful green confection, prepare to have your world (and your taste buds) transformed. Imagine a luxuriously smooth, incredibly creamy, and perfectly minty vanilla milkshake, presented in a vibrant emerald hue reminiscent of a magical elixir, crowned with a generous swirl of fluffy whipped cream and a glistening maraschino cherry. It’s more than just a drink; it’s a seasonal celebration, a beacon of St. Patrick’s Day joy, and for many, the pinnacle of fast-food milkshakes.
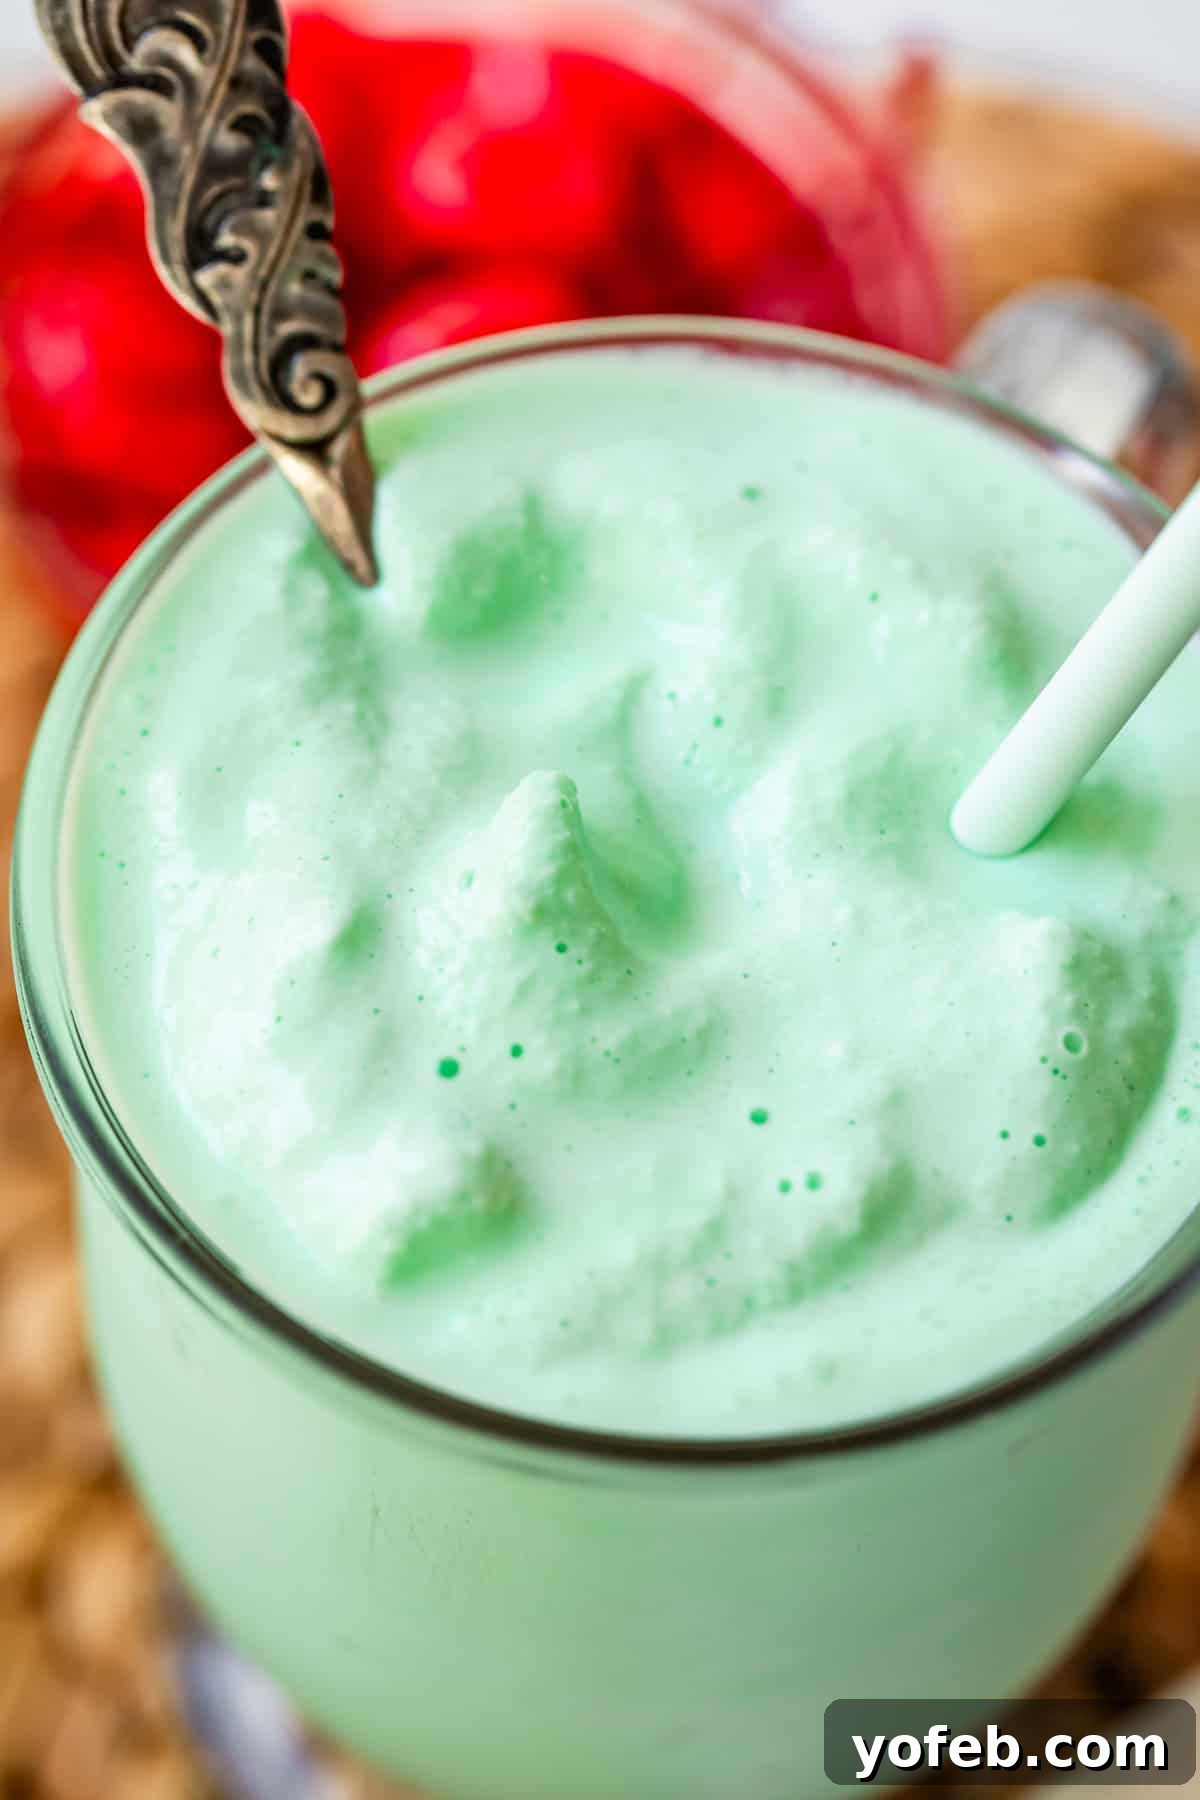
While McDonald’s has perfected its version over the years, garnering a loyal following, we’re here to tell you that a homemade Shamrock Shake can be infinitely superior. Our recipe takes mere minutes to prepare, starting with real, hand-scooped ice cream for an unparalleled richness and texture that McDonald’s soft-serve simply can’t match. Forget the drive-thru lines and save your money; with this simple recipe, you can indulge in this iconic minty marvel anytime the craving strikes. And seriously, don’t skimp on the Homemade Whipped Cream—it’s the crown jewel!
Table of Contents
- What is a Shamrock Shake?
- The Ultimate Copycat Shamrock Shake Recipe Ingredients
- How to Make the Perfect Shamrock Shake at Home
- How to Store Shamrock Shakes
- Shamrock Shake Frequently Asked Questions
- More St. Patrick’s Day Recipes to Try
- Shamrock Shake Recipe
The annual return of Shamrock Shakes to McDonald’s menus each spring is an event many of us eagerly anticipate. It’s a rite of passage, a signal that spring is just around the corner, and a delicious way to celebrate St. Patrick’s Day. My kids, in particular, are utterly captivated by them (a fascination I may have subtly encouraged, as good parenting, in my humble opinion, includes cultivating an appreciation for such important culinary traditions!). But why wait for a seasonal release when you can craft an even better version in your own kitchen?
I confess, anything mint-flavored holds a special place in my heart, from indulgent Mint Chocolate Brownies to classic Mint Chocolate Chip Cookies and even decadent Thin Mint Marshmallow Brownies. So, when Shamrock Shakes expanded their availability nationwide in 2012 (they were once a regional treat), I was absolutely thrilled. It was around that time, back in 2012, that I first tasted a Shamrock Shake and subsequently developed this very recipe. My initial encounter with this minty delight sparked a realization that such a simple pleasure shouldn’t be confined to a short seasonal window.
Growing up, and even into my early adulthood, fast food wasn’t a regular part of my diet, mostly due to my frugal nature. I always reasoned that I could prepare something quick and satisfying at home, which often led to a diet rich in cereal! Road trips, however, were an exception. You can’t exactly enjoy a bowl of cereal during a 12-hour drive, can you? Although, I did once master the art of eating cereal in the car on my way to work for a stretch of time – though turning corners became a much trickier endeavor! (I jest, of course, my husband was always the designated driver. Unlike my mother, who once confessed to applying mascara while driving, which, while impressive, sounds terrifying!)
There was a brief phase in my early teens where I, for some unknown reason, decided McDonald’s wasn’t for me. Perhaps I was influenced by a “too-cool” friend. But during college, I rediscovered its charm. I distinctly remember trying a Big Mac for the very first time with a friend. We split it, and I instantly regretted not buying a second one. That iconic burger, with its special sauce and distinct layers, was a revelation.
I’m not alone in my fast-food quirks. I know a friend whose dad has an ingenious strategy for enjoying McDonald’s ice cream cones. One isn’t quite enough, but two melt too quickly. His solution? He orders one cone, eats it as he immediately pulls back into the drive-thru, and orders his second. Pure genius! It makes me wonder if I should adopt a similar strategy for Shamrock Shakes. Order one, sip it, then loop back through the drive-thru for another? My kids would undoubtedly declare me “Mom of the Year.” But with this homemade recipe, those drive-thru excursions become a choice, not a necessity!
What is a Shamrock Shake?
For those who have yet to experience the joy of a Shamrock Shake, you are in for a treat, especially if you share my love for all things mint. The original McDonald’s version is elegantly simple: creamy vanilla soft serve, blended with a sweet mint syrup, and crowned with a dollop of whipped cream. It’s a harmonious blend of cool mint and rich vanilla that makes it utterly irresistible. These shakes are practically my sole excuse for hitting the drive-thru (though I occasionally make exceptions for a classic Jr. Cheeseburger, an unsplit Big Mac, or a refreshing Mango-Pineapple Smoothie—perhaps another road trip is in order!).
But today, we’re empowering you to bypass the golden arches and create an even more exceptional version right at home! This recipe is so good, so easy, it might just put McDonald’s out of the Shamrock Shake business. It’s a bold claim, but once you try it, you’ll understand why.
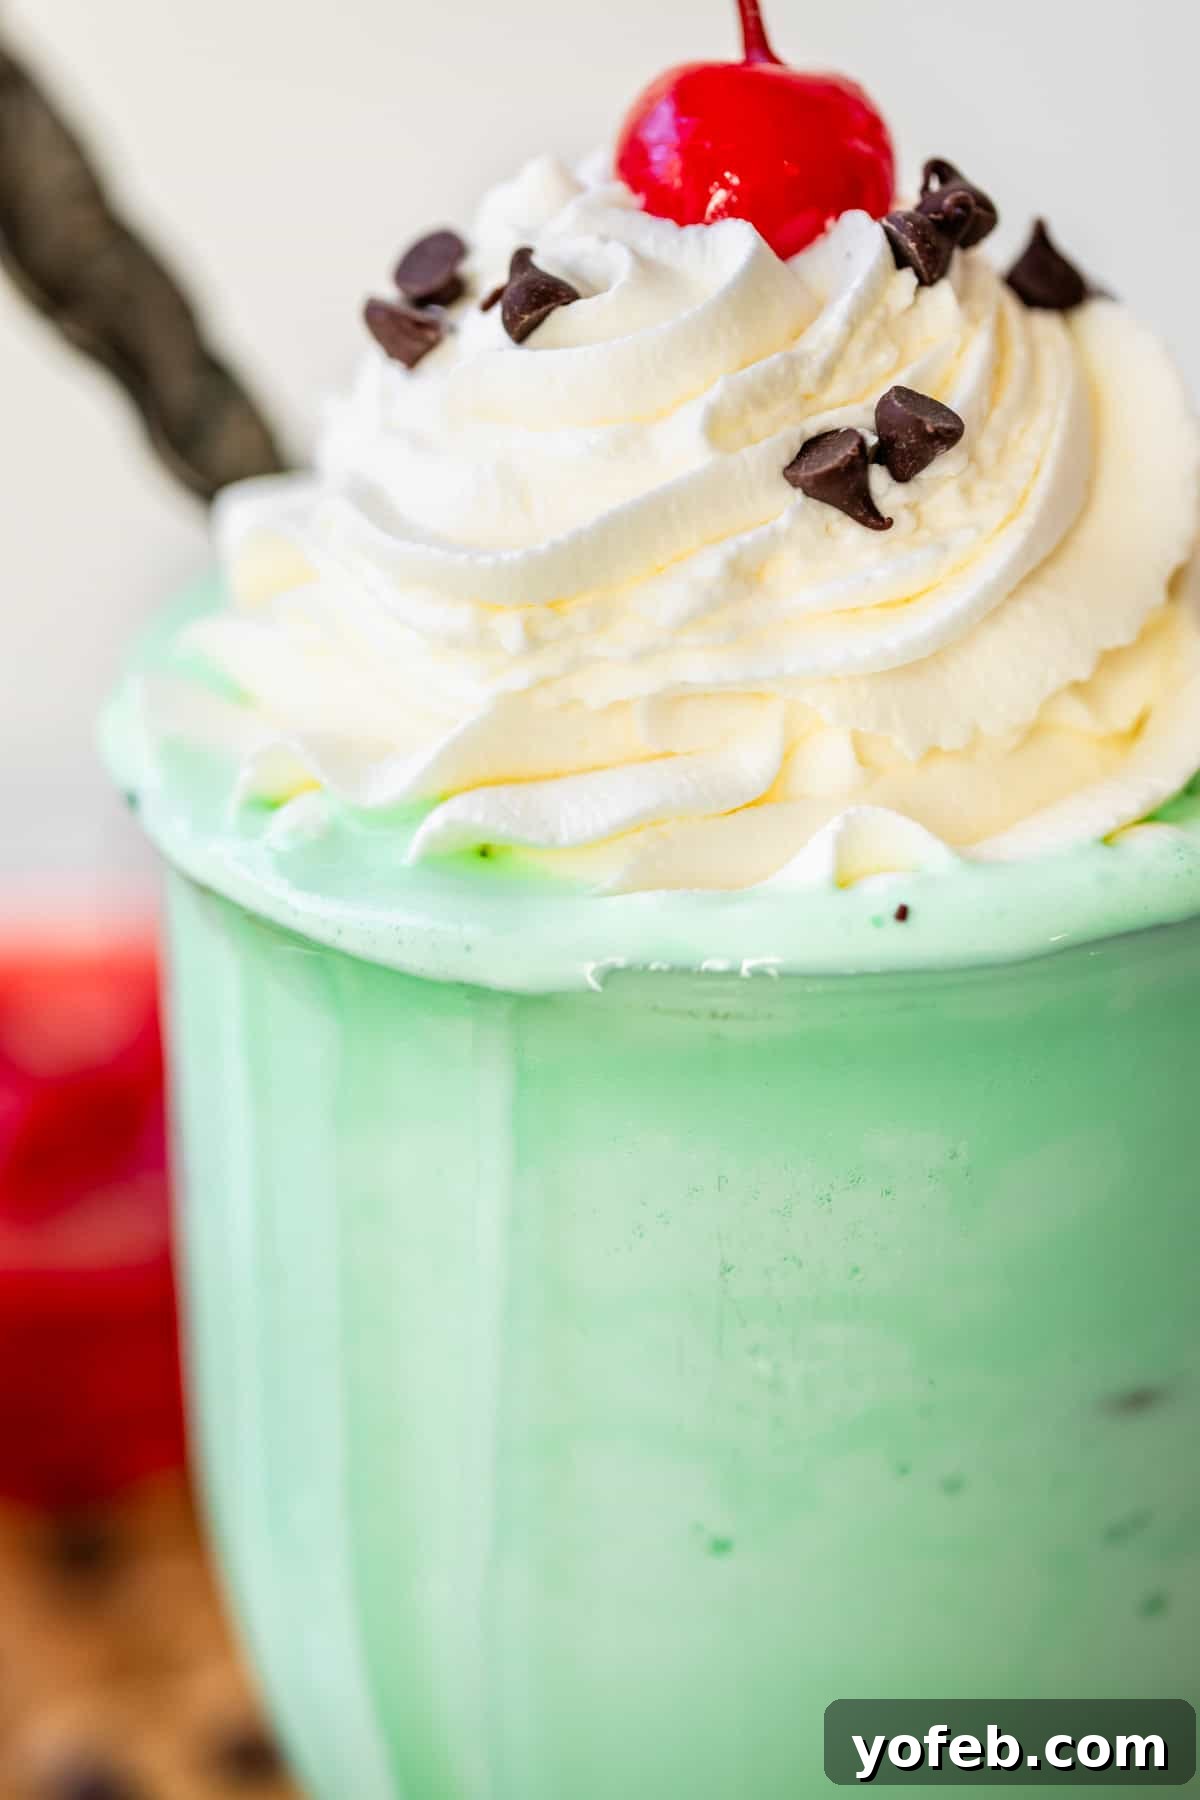
Here’s why our homemade Shamrock Shake recipe stands above the rest:
- Premium Ice Cream Base: Instead of soft-serve, we opt for high-quality, hand-scooped vanilla ice cream. This results in a milkshake with a truly luxurious, thick, and satisfying consistency that feels incredibly decadent.
- Superior Mint Flavor: Our secret lies in using peppermint extract rather than general mint extract. Peppermint offers a softer, more nuanced, and less “toothpaste-like” flavor profile, closely mimicking the delicate mintiness found in McDonald’s syrup, but with a refined edge.
- Anytime Indulgence: Keep the simple ingredients on hand (like I often do!), and you’ll unlock the power to whip up a batch of these glorious shakes whenever the mood strikes. No more waiting for seasonal releases or braving drive-thru queues!
- Customizable Delights: For an extra special, truly indulgent treat, consider adding a few crushed Oreos to your shake before blending. The combination of mint and chocolate cookie creates a blissful “mint Oreo” experience that’s absolutely divine.
This recipe is also a fantastic last-minute solution if you’re looking to add a festive touch to your St. Patrick’s Day celebrations but haven’t had time to prepare traditional Irish fare like hearty Corned Beef and Cabbage with a zesty Horseradish Sauce and crispy Roasted Red Potatoes, savory Irish Soda Bread, or a comforting Shepherd’s Pie. Chances are, you already have the few essential ingredients for this shake stocked in your kitchen. (What, you don’t always have vanilla ice cream in your freezer? You’re probably going to live longer than me, then!)
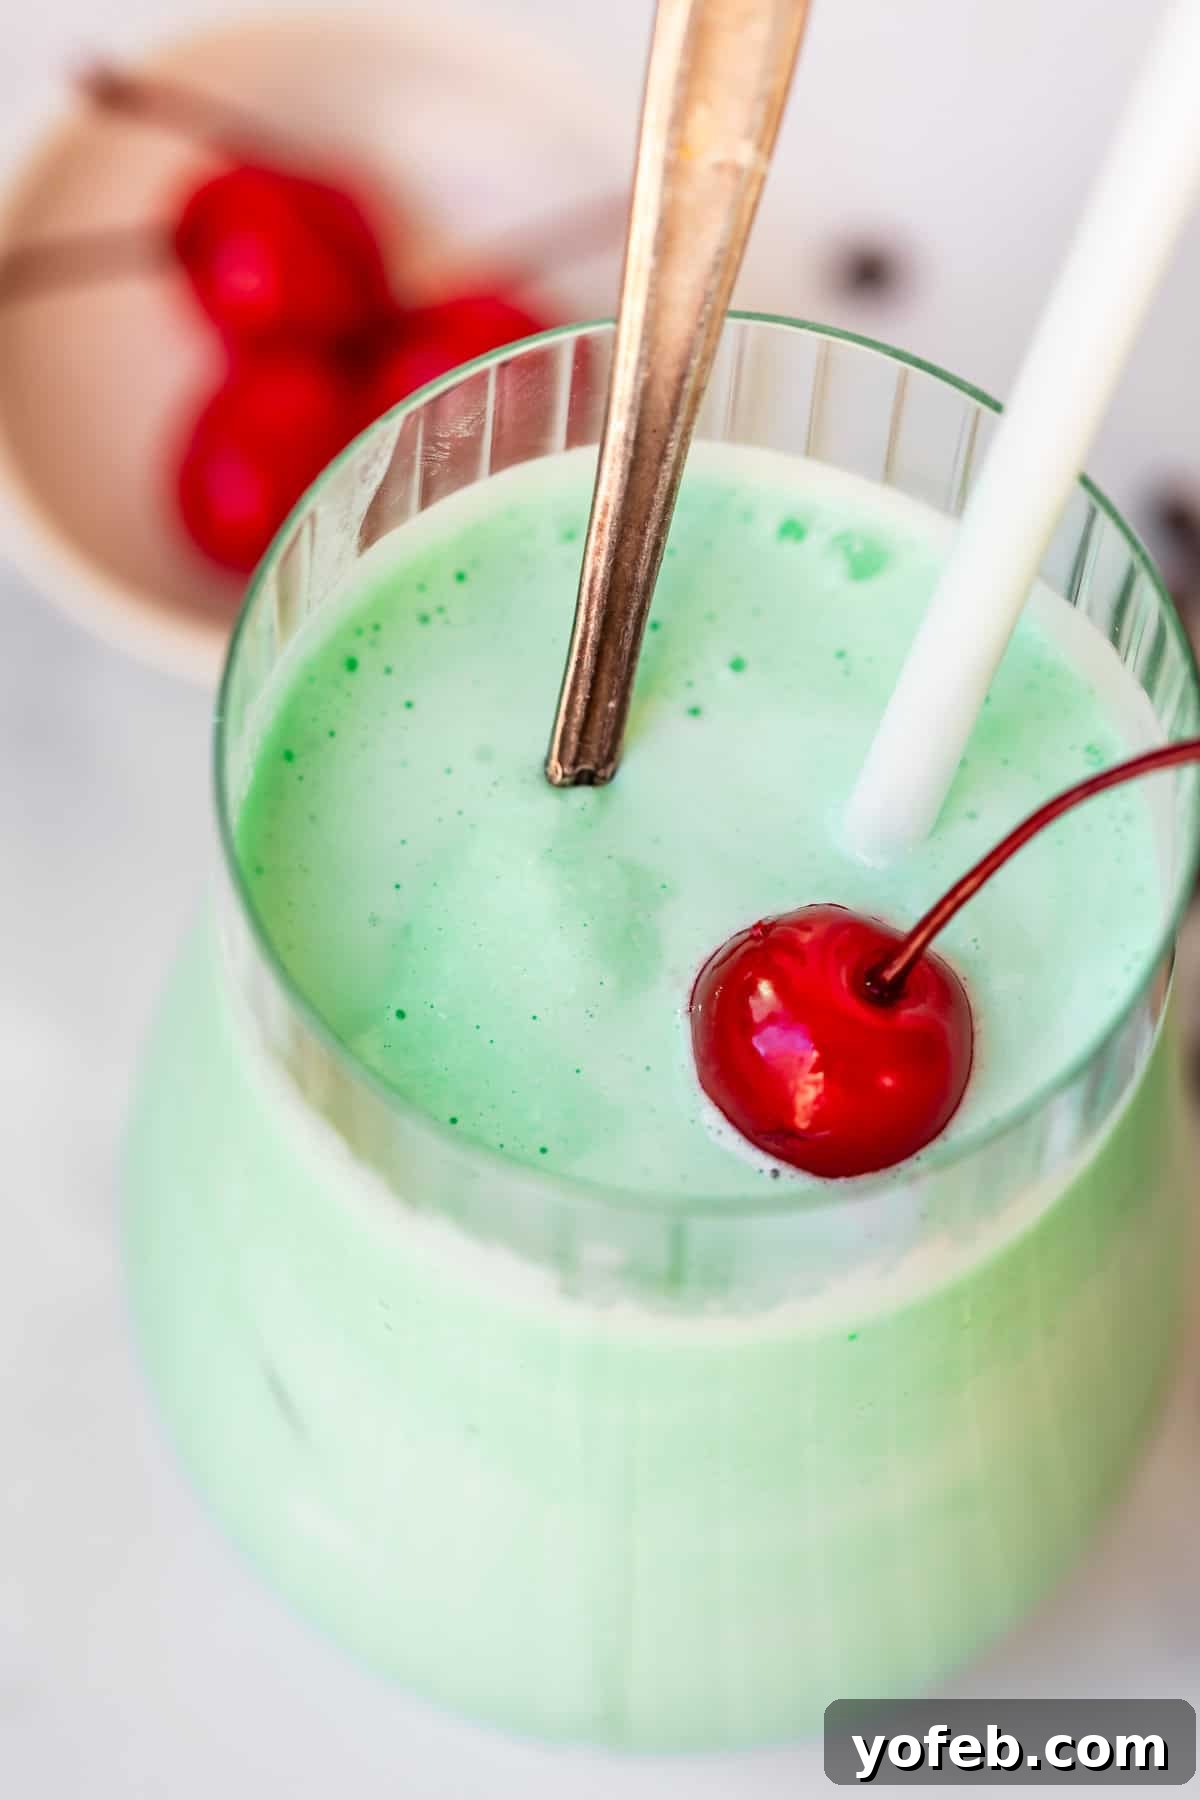
The Ultimate Copycat Shamrock Shake Recipe Ingredients
Creating this irresistible mint milkshake is surprisingly straightforward, thanks to a minimal and accessible ingredient list. Since its initial posting in 2012, I’ve subtly refined this recipe, primarily by slightly reducing the milk content. My aim? To ensure a rich, thick, and perfectly creamy shake – because nobody, and I mean nobody, wants a watery milkshake. (I’m looking at you, Australia! Some of the most disappointing milkshakes I’ve ever encountered were in the land of marsupials. Time to elevate your shake game, ‘Stralia!)
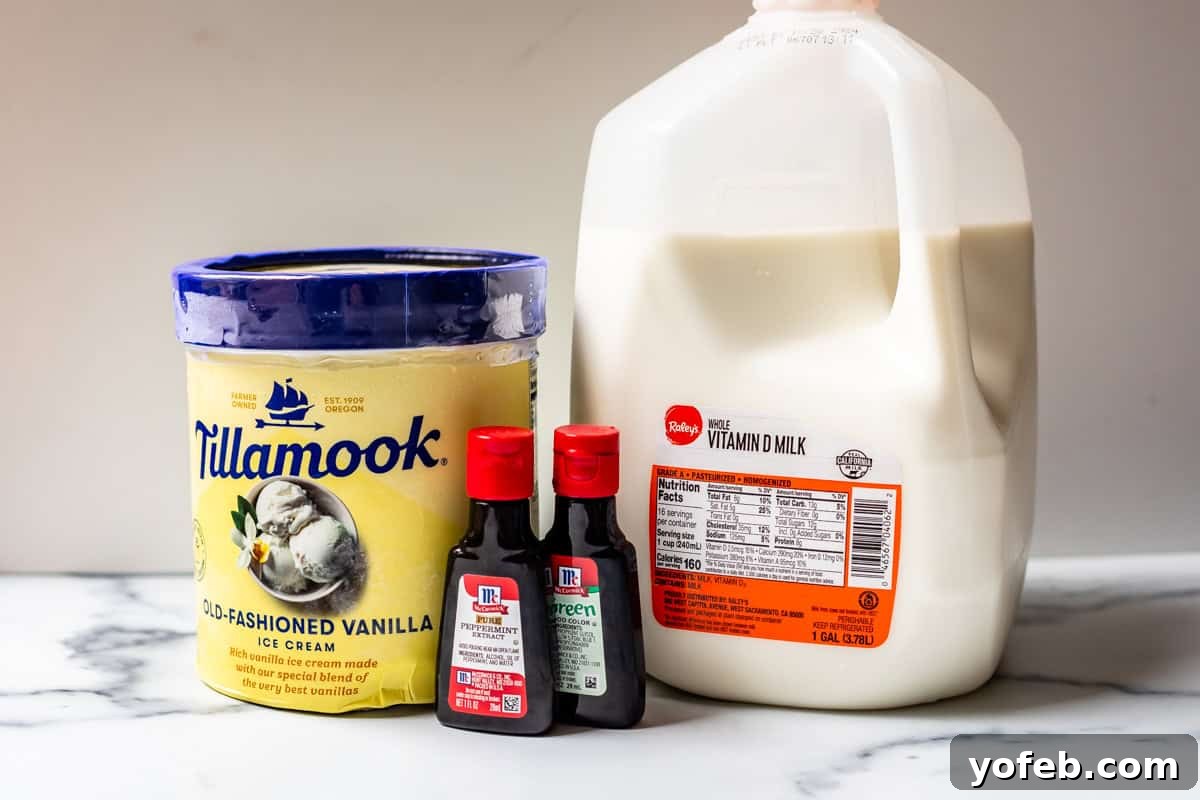
Here’s a quick overview of what you’ll need. For precise measurements and detailed instructions, be sure to refer to the comprehensive recipe card below!
- High-quality vanilla ice cream
- Whole milk (for ultimate creaminess)
- Pure peppermint extract
- Green food coloring (to achieve that iconic emerald hue)
- Oreos (a completely optional, but highly recommended, addition for a twist)
How to Make the Perfect Shamrock Shake at Home
Achieving the perfect Shamrock Shake consistency is key. Begin by letting your vanilla ice cream sit out on the counter for about 5-10 minutes. This slight softening makes it significantly easier to scoop, preventing a potential arm workout! I swear, working in an ice cream shop someday sounds like a dream, but I’d definitely need to incorporate an exercise regimen first – my forearm stamina is currently non-existent, as evidenced by the multiple breaks I needed while scooping for these photos!
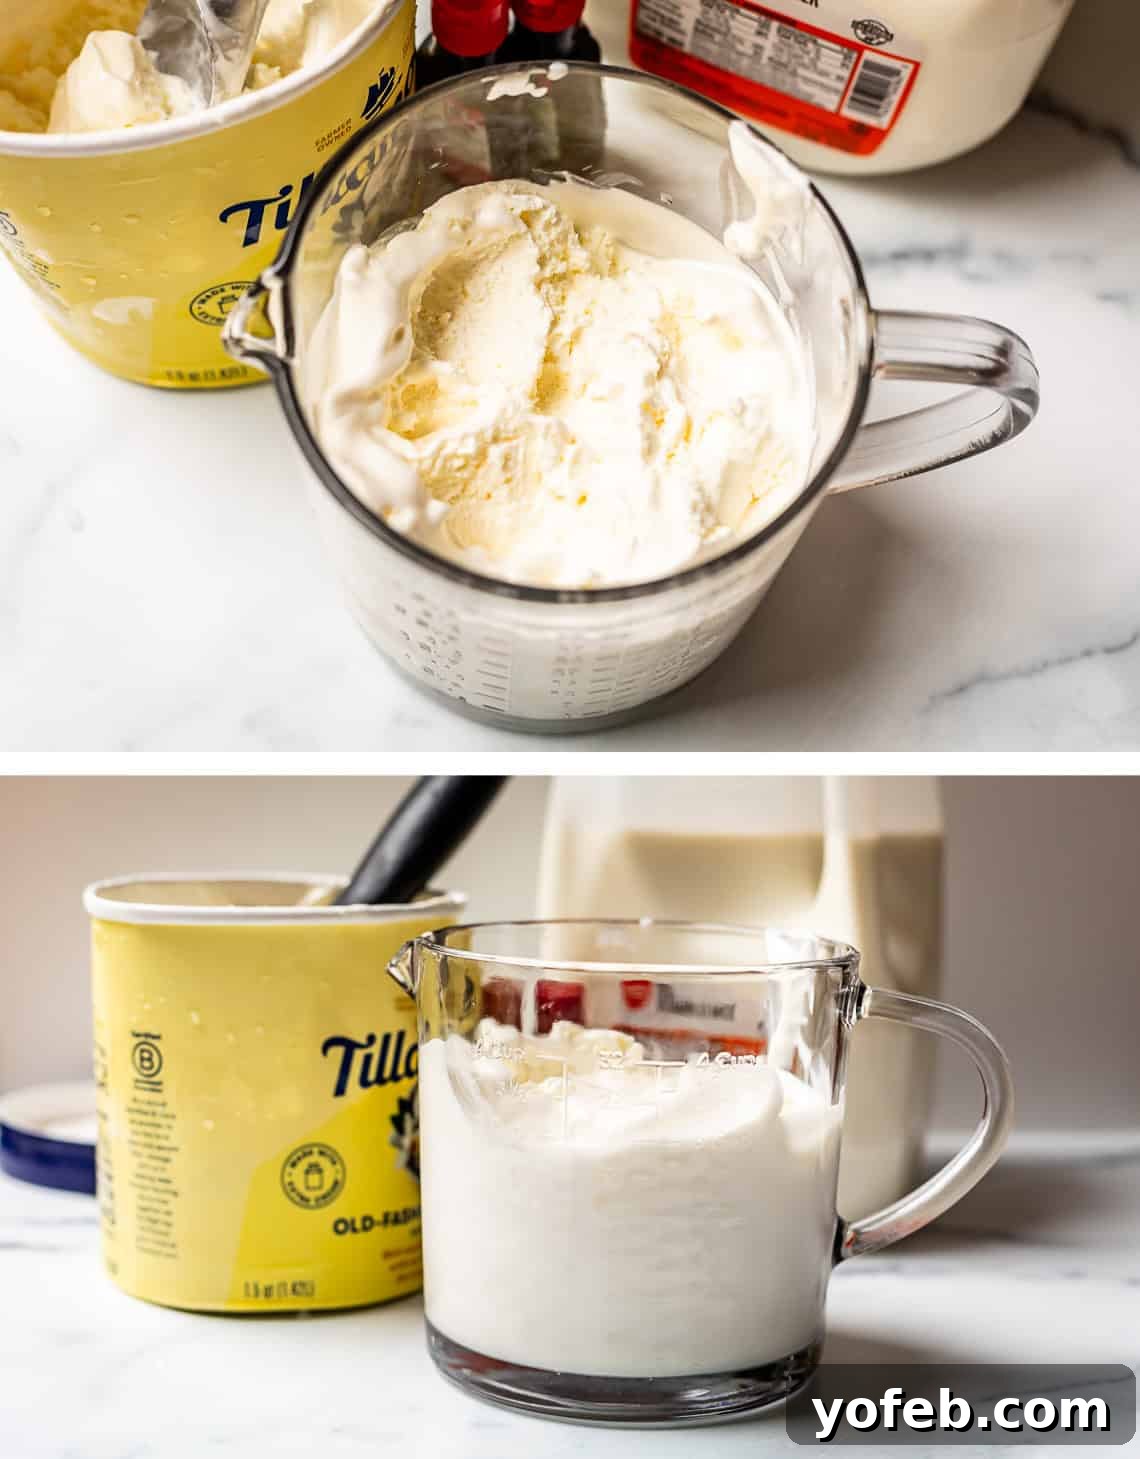
Once your ice cream is slightly softened, measure out approximately 3 cups. Feel free to eyeball this measurement once you get the hang of it!
Next, pour your milk into the blender first. This is a crucial tip for any blending task, as adding liquid first helps the blades catch the ingredients more efficiently and prevents the heavier solids from getting stuck. Follow with your softened ice cream, the precise amount of peppermint extract (remember, a little goes a long way!), and a few drops of vibrant green food coloring to achieve that signature Shamrock hue.
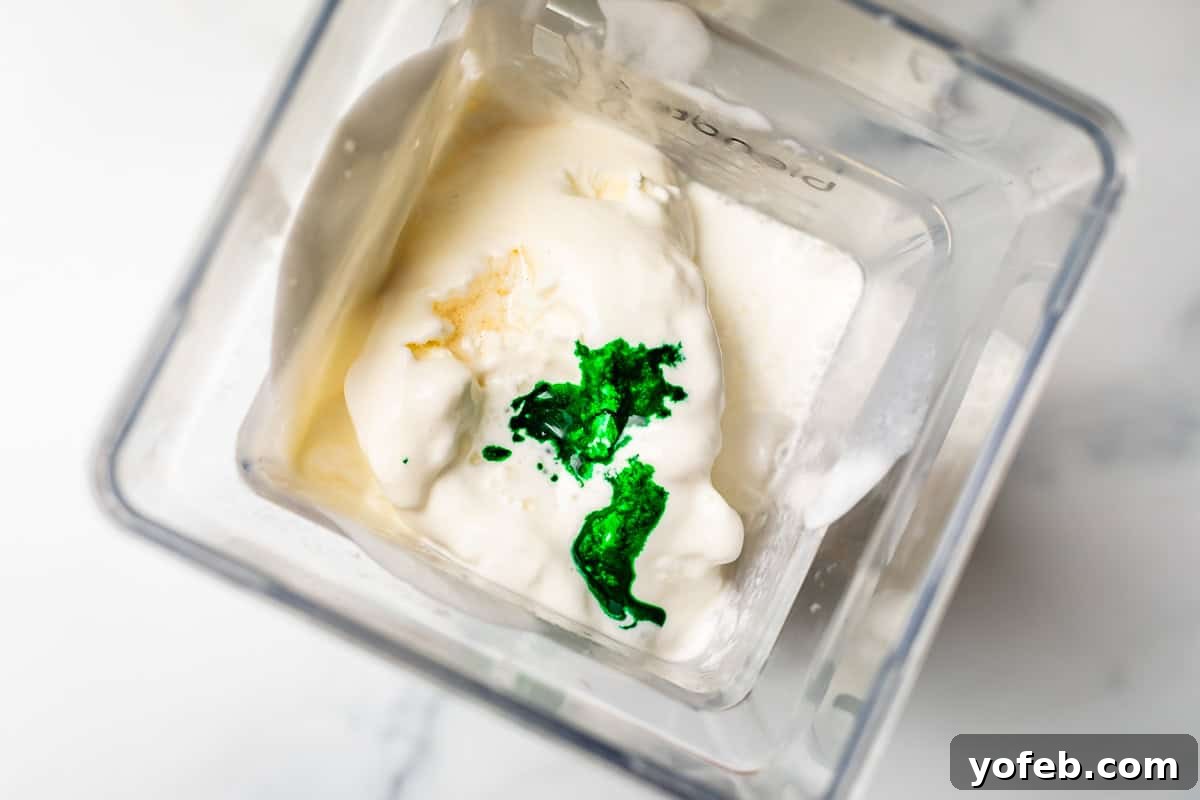
Now, it’s time to blend! Start your blender on a low setting, allowing the ingredients to slowly incorporate, then gradually increase the speed to high. Blend until the mixture is perfectly smooth and uniform. If you notice any stubborn chunks of ice cream clinging to the sides, or if the mixture seems too thick to blend effectively, simply pause the blender and use a spatula to scrape down the sides and redistribute the ingredients.
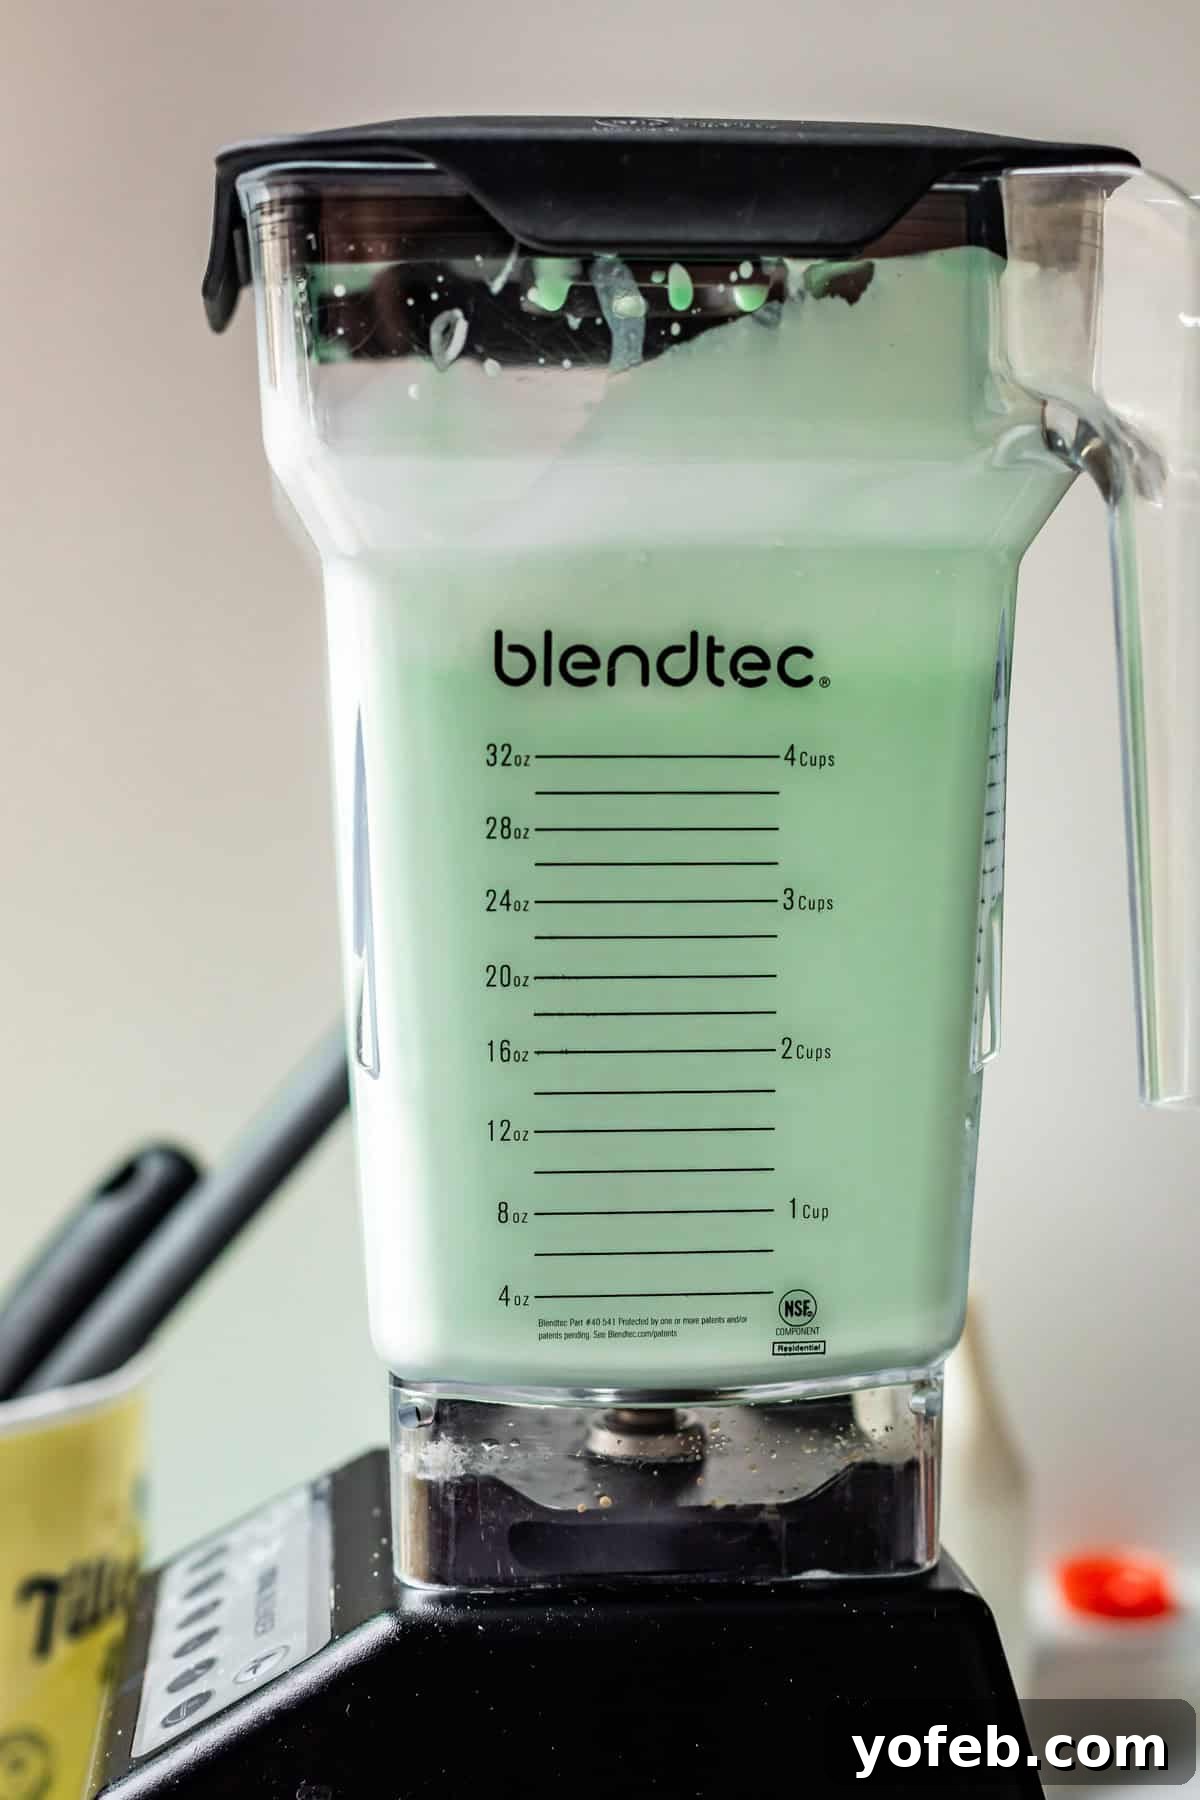
The beauty of homemade is that you can customize it to your exact preference. Once blended, take a small taste. This is your chance to fine-tune the shake to perfection:
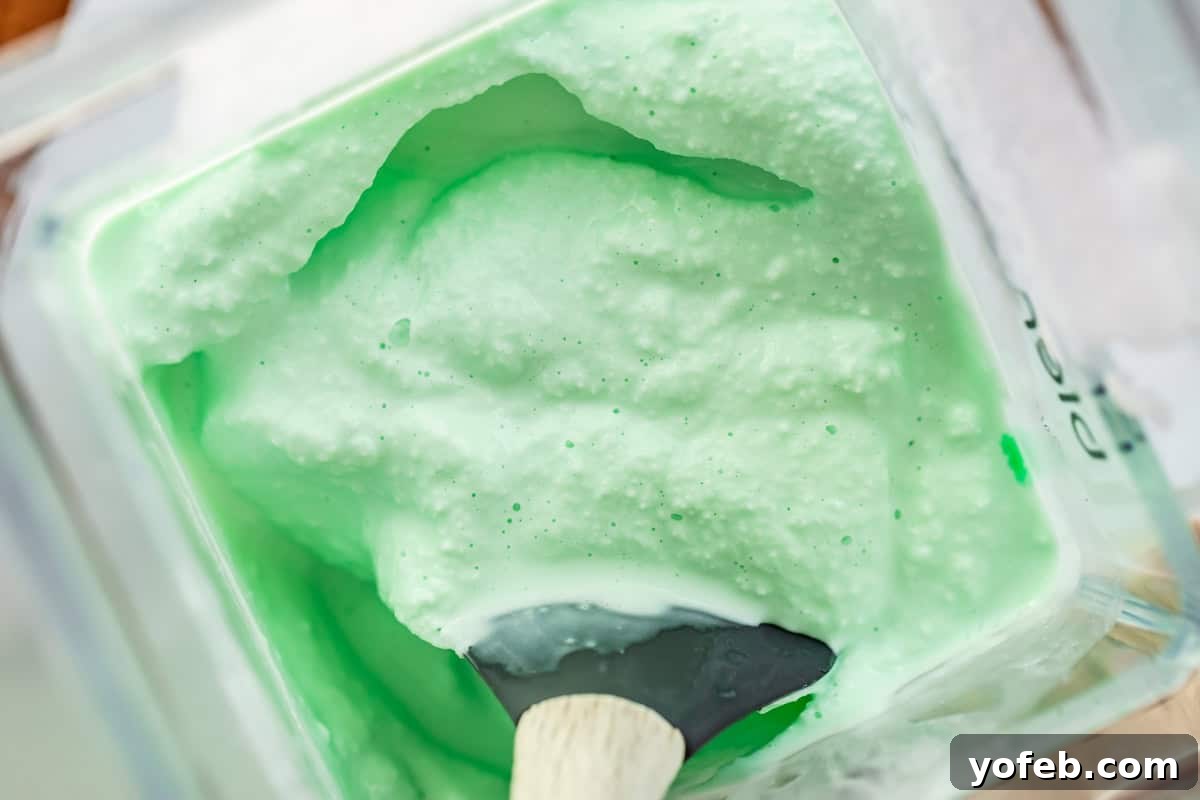
- For a thinner shake: Add a splash more whole milk, one tablespoon at a time, blending briefly after each addition until you reach your desired fluidity.
- For a thicker shake: Incorporate another scoop of vanilla ice cream, blending until fully integrated.
- To intensify the mint flavor: Add peppermint extract a single drop at a time, blending and tasting after each addition. Be cautious, as peppermint is potent!
- To mellow the mint flavor: A bit too strong? Add a little more milk or ice cream, or both, to dilute the intensity.
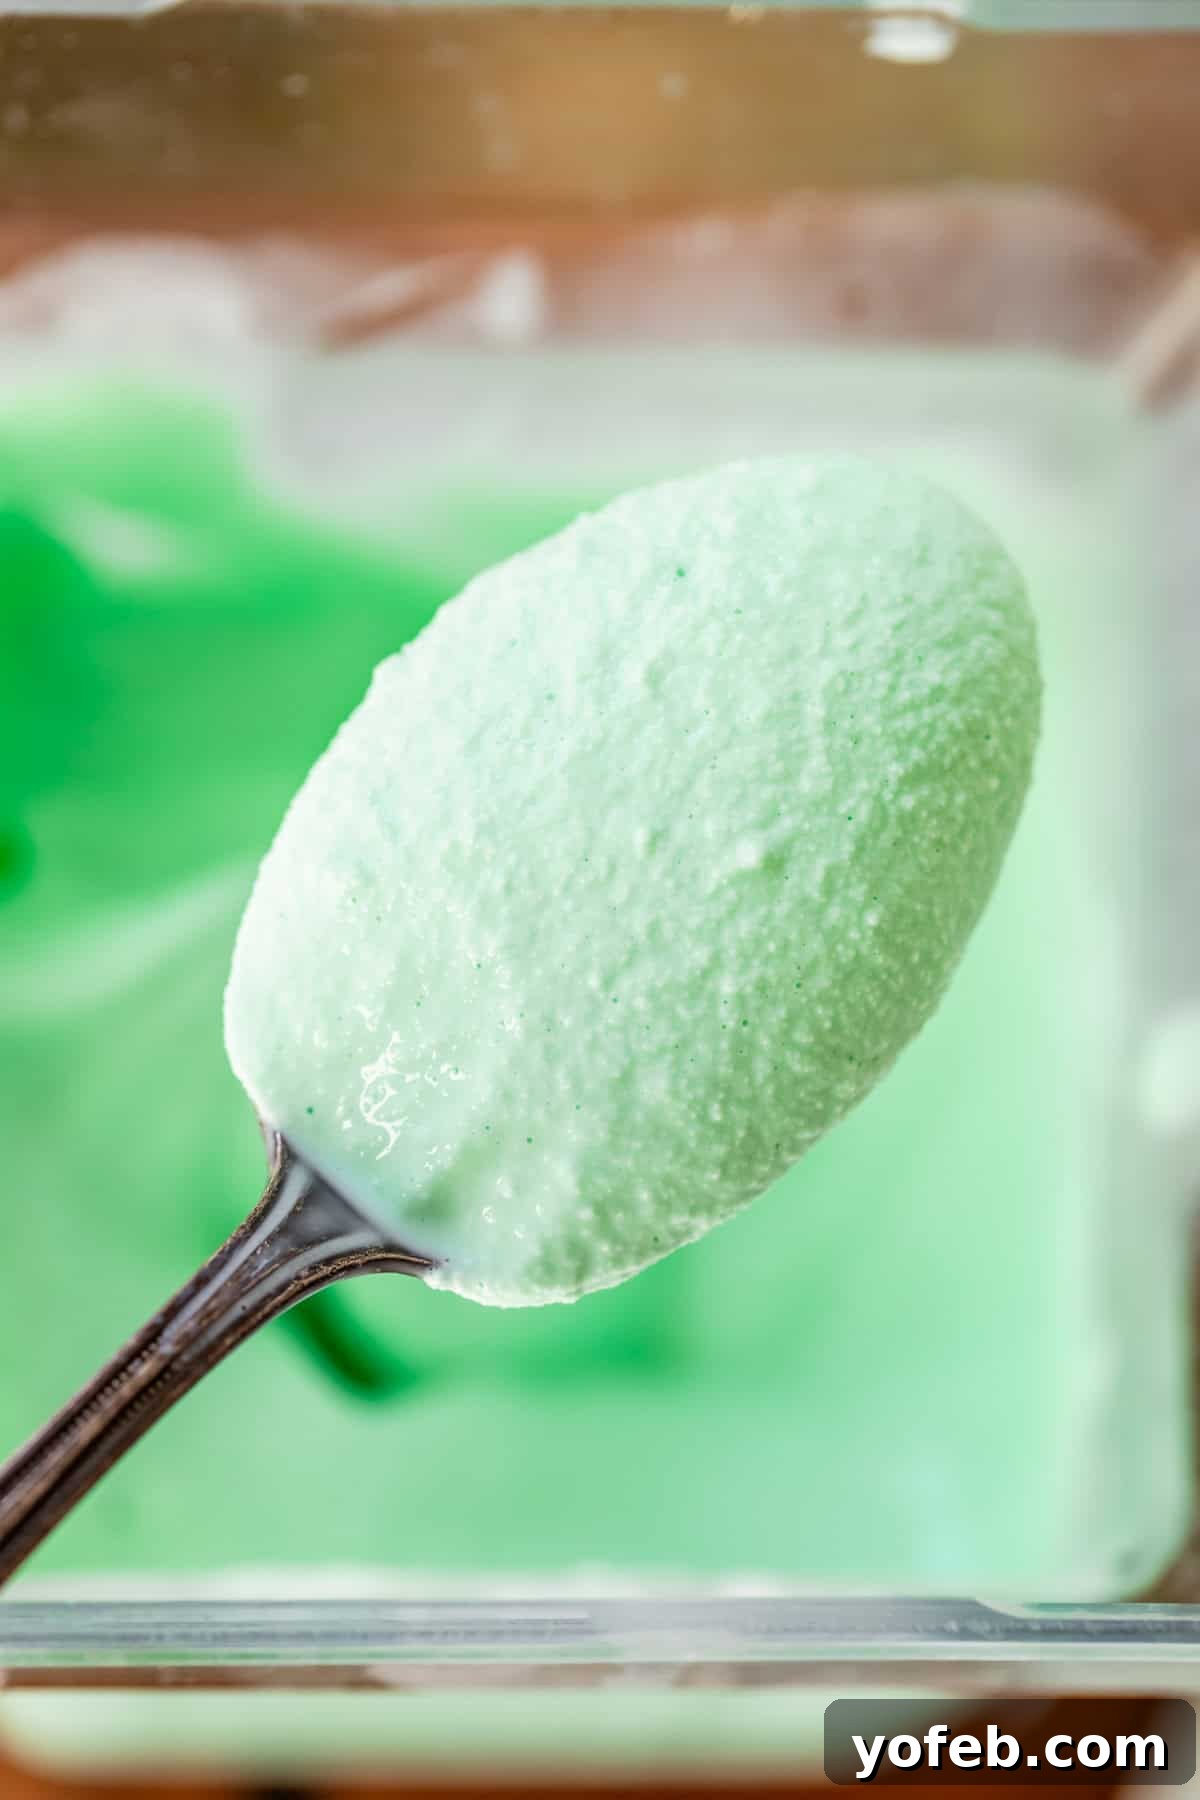
Keep blending and adjusting until your shake reaches that ideal consistency and flavor profile. It’s a quick process, and the result is a customized masterpiece!
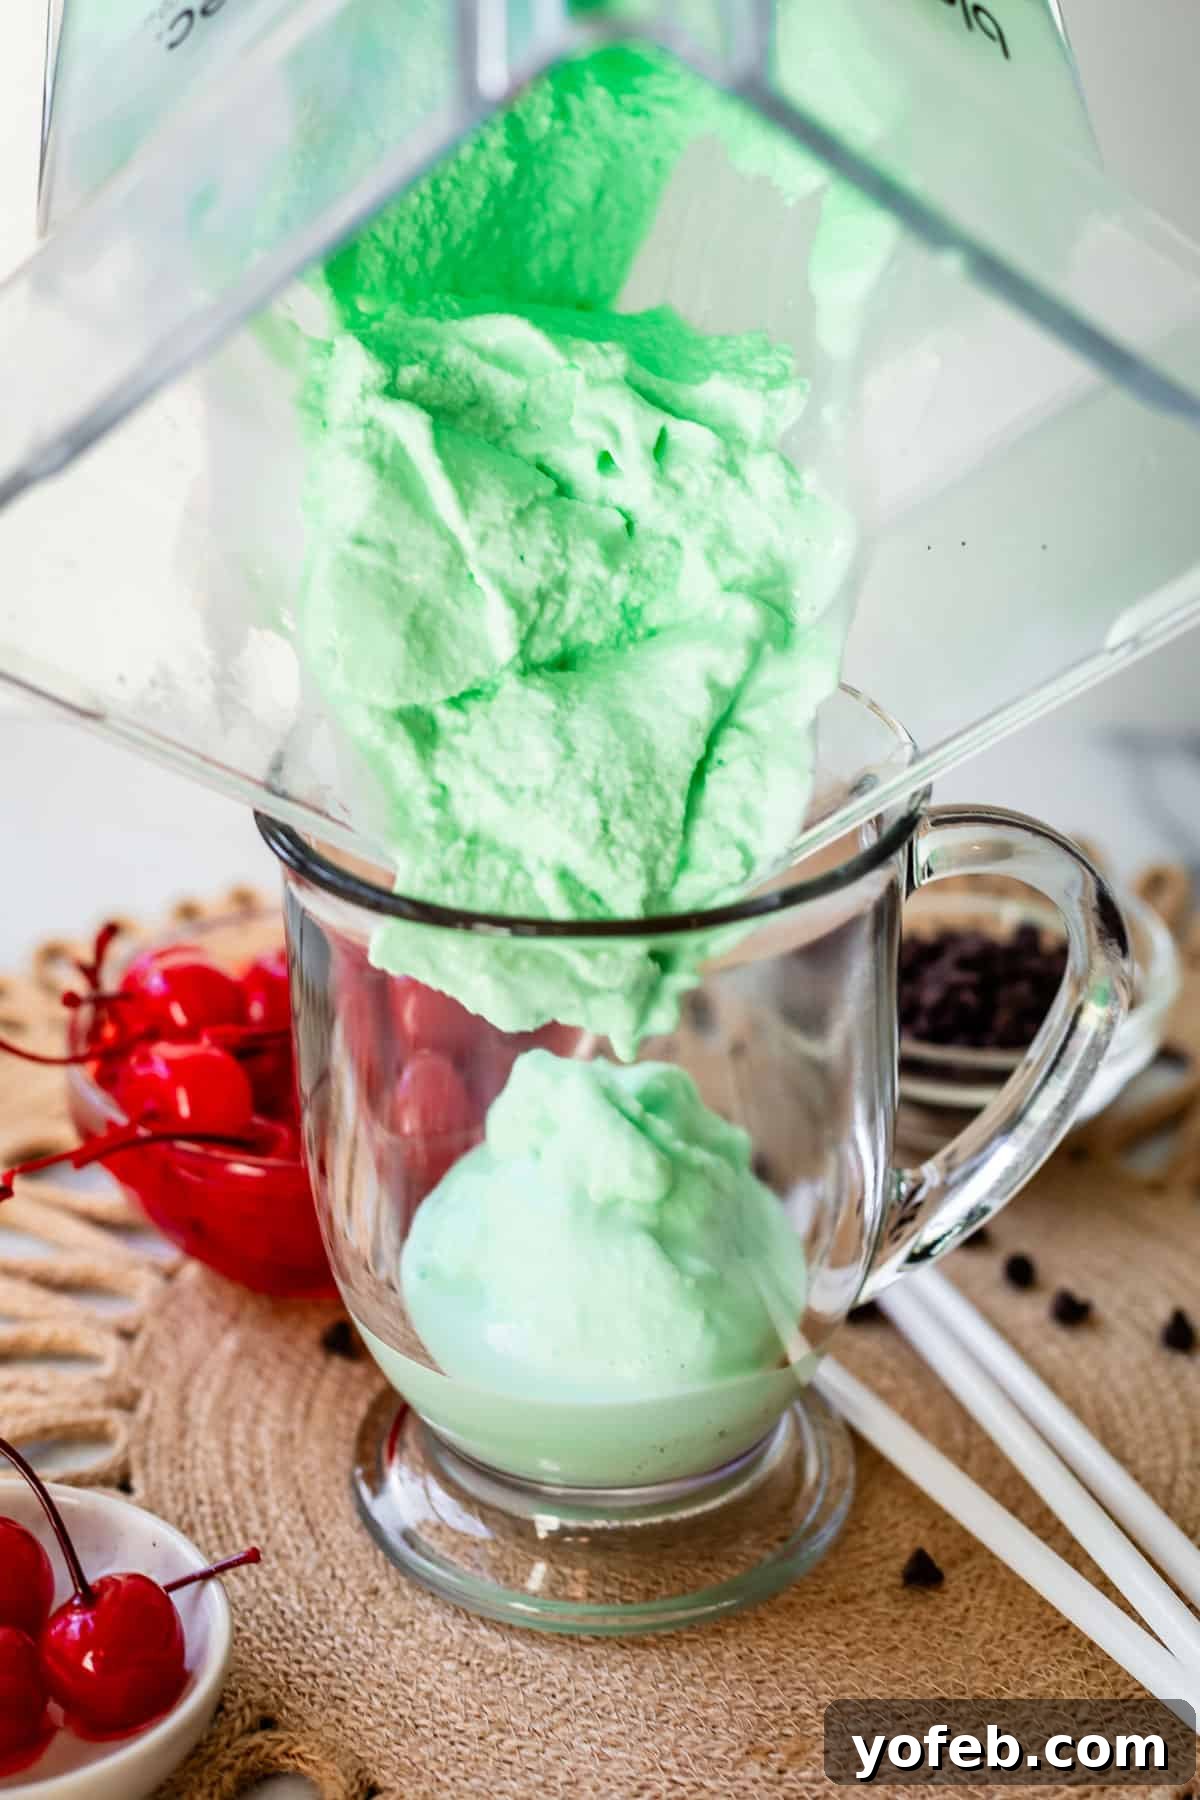
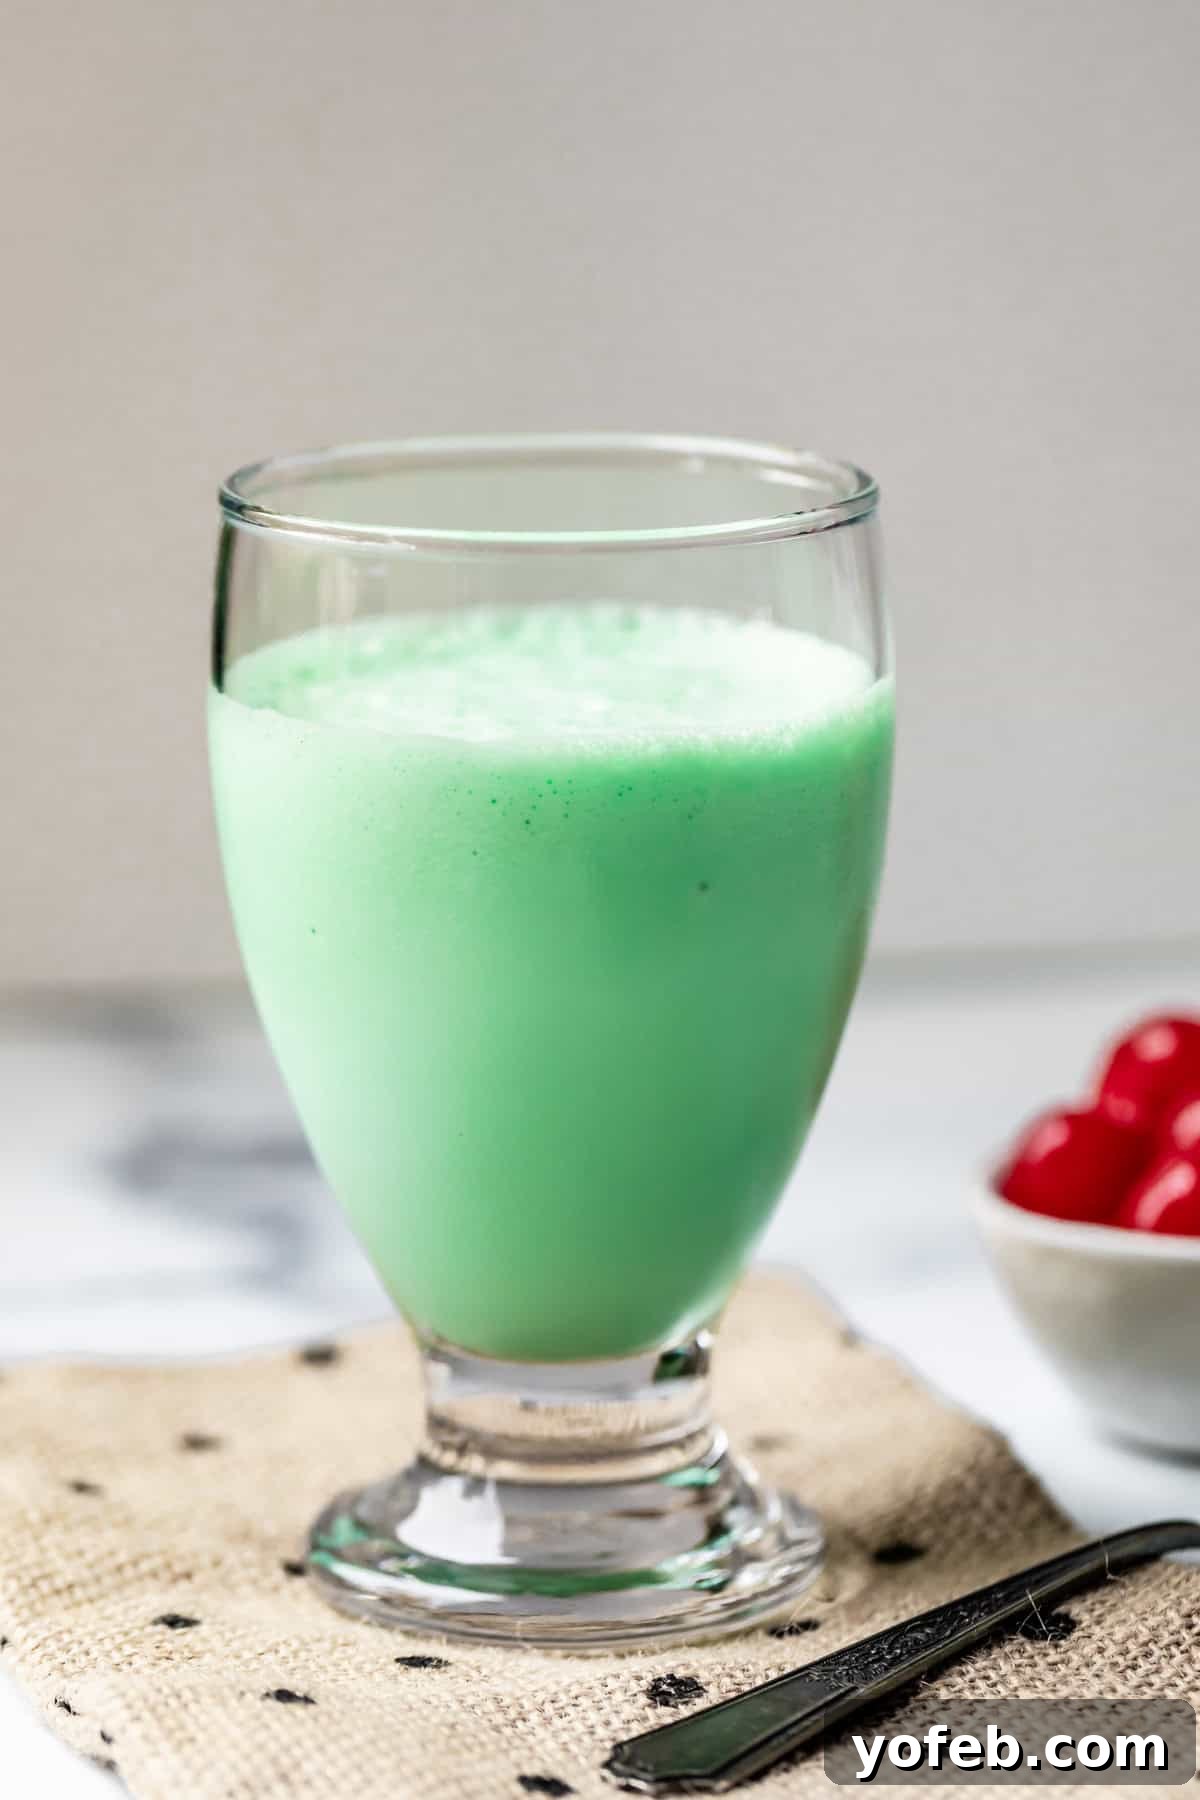
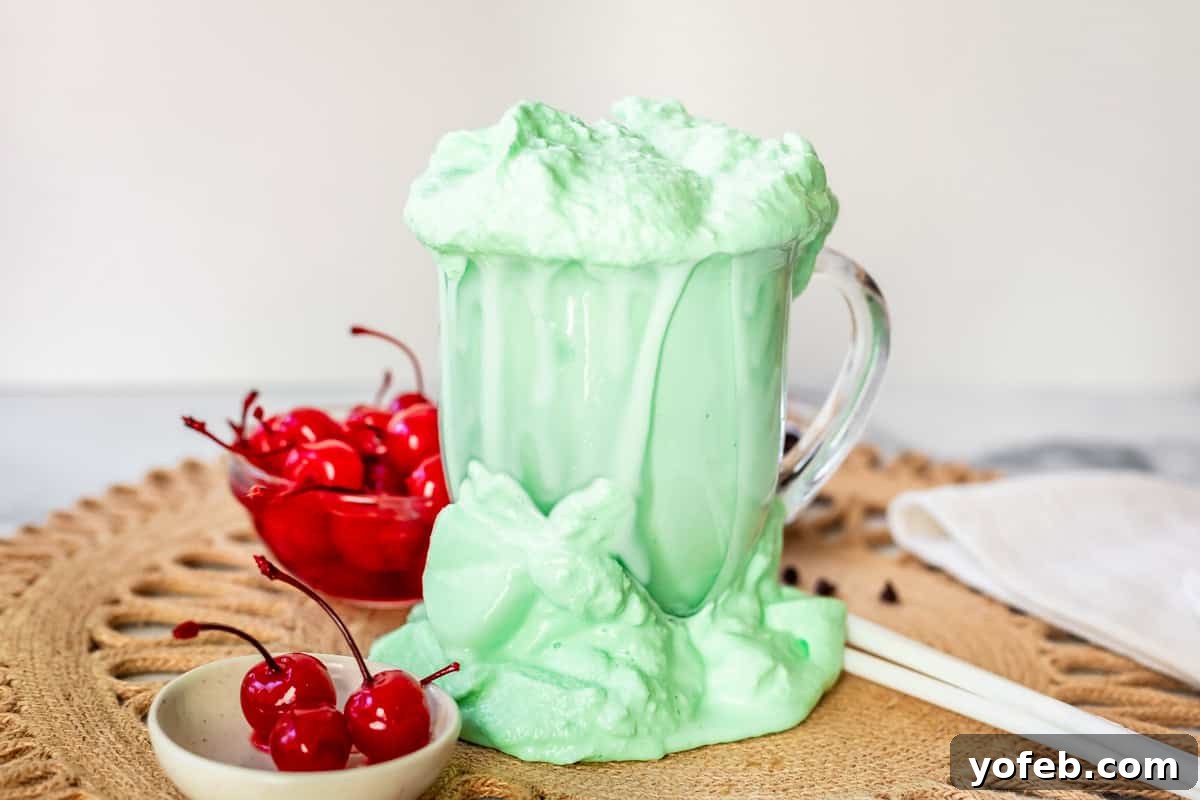
Finally, pour your glorious creation into your serving glasses! A quick tip: try to avoid the culinary chaos that ensued during my photoshoot! I was so focused on capturing the perfect pour that I ended up with a delightful “shake volcano” overflowing all over my setup, necessitating the making of an entirely new milkshake. We all had a good laugh, and my kids were certainly thrilled with the unexpected bonus of extra Shamrock Shakes!
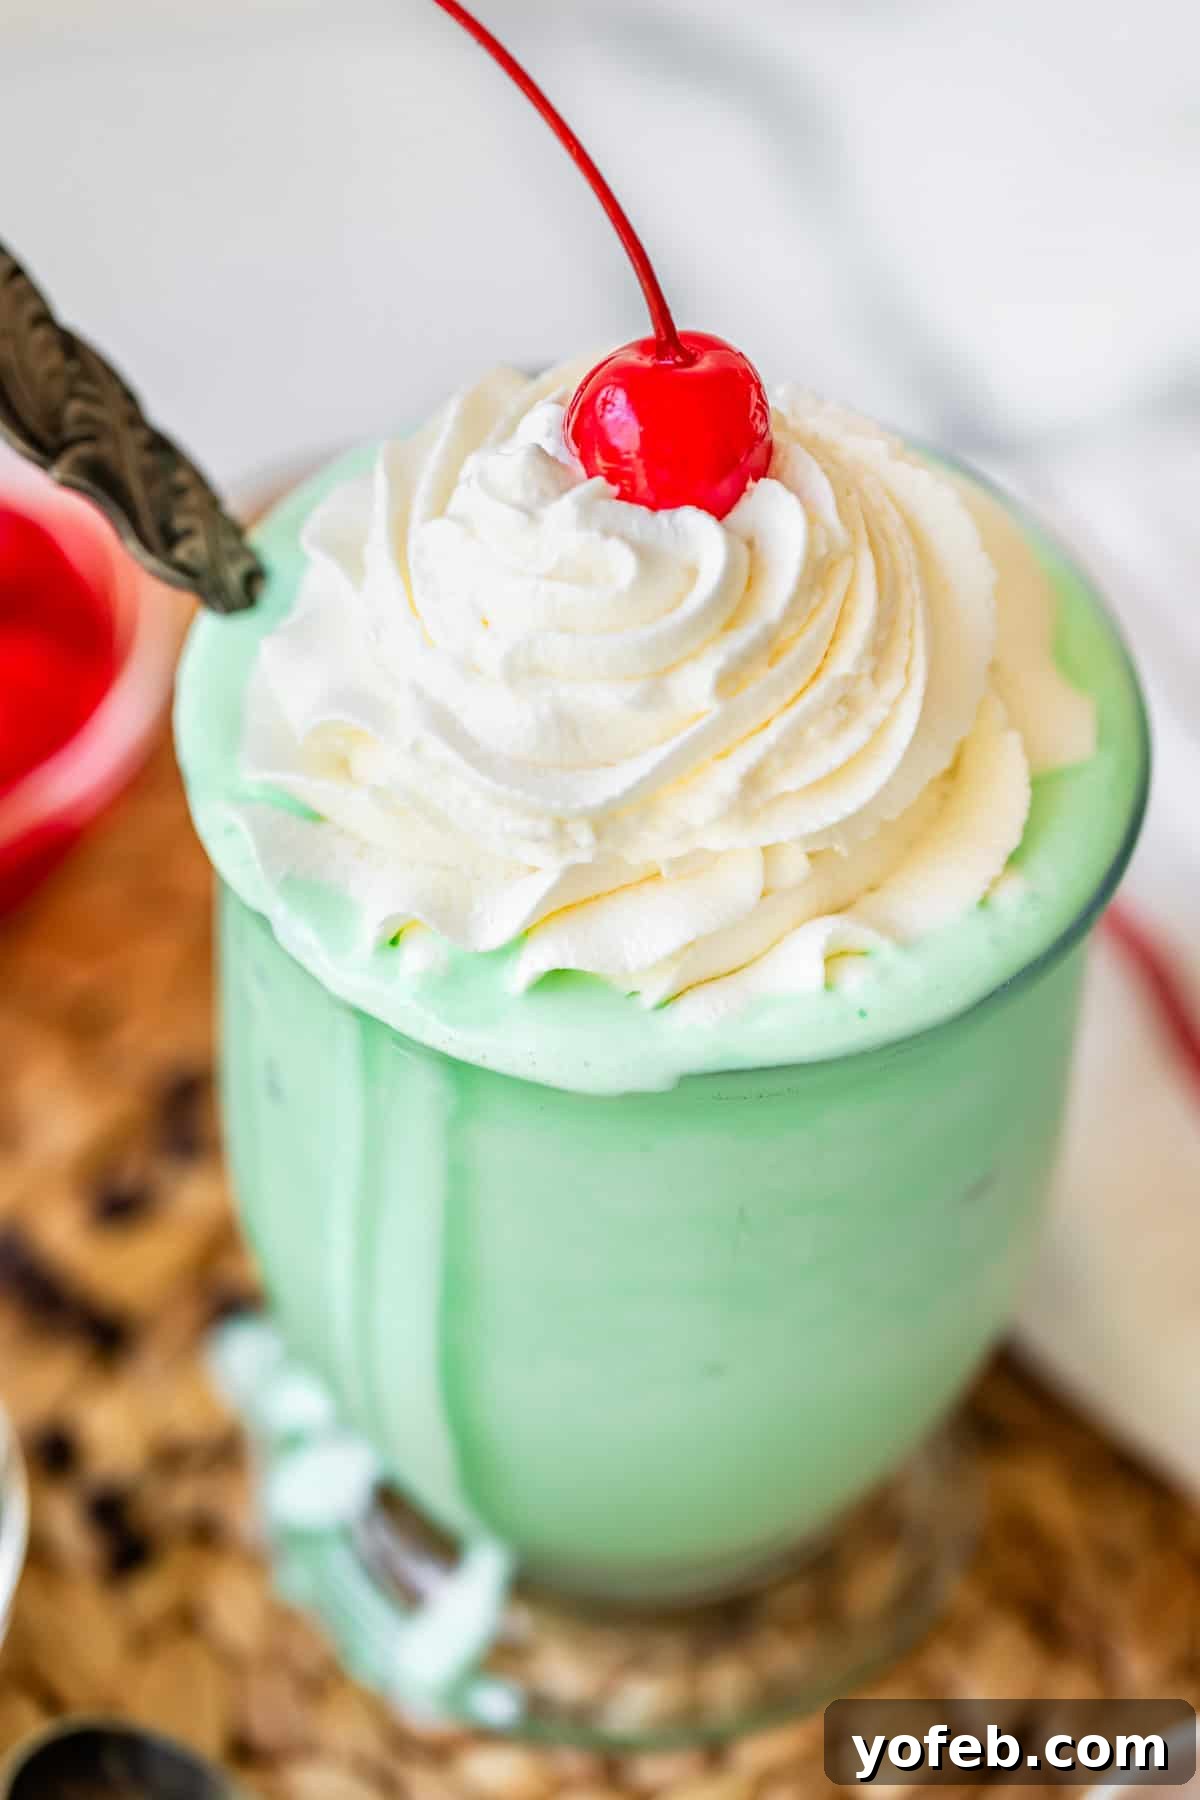
And of course, no Shamrock Shake is complete without a lavish topping of Homemade Whipped Cream. It’s an essential component that elevates this simple shake to dessert heaven. A maraschino cherry adds that final pop of color and classic charm. Enjoy immediately!
How to Store Shamrock Shakes
My dear friends, when it comes to Shamrock Shakes, the philosophy is simple: they are a “one and done” kind of treat, best enjoyed entirely in a single sitting! There’s a reason they’re often consumed so quickly! (Feel free to invite me over if you have leftovers – I’d be happy to assist! 😂)
While it’s technically possible to refreeze any leftover milkshake mixture, I strongly advise against it. The refreezing process is likely to cause ice crystals to form, resulting in a grainy, unpleasantly textured shake. It also loses the delightful airy quality from the initial blending, becoming much denser and often losing a significant amount of its fresh flavor. It simply won’t be the same delicious experience. So, my recommendation is a firm “no way, Jose!” If you’re concerned about having too much, consider making half the recipe first, or even quartering it, to ensure you can enjoy every last drop in its prime condition. You can always whip up another batch in just 5 minutes if you discover you want more!
Shamrock Shake Frequently Asked Questions
The Shamrock Shake is a beloved green, mint-flavored milkshake that was originally created by a McDonald’s franchise owner in Pennsylvania back in 1970. What started as a regional St. Patrick’s Day special quickly gained national popularity and is now a cherished annual addition to McDonald’s menus across the U.S. and beyond, marking the arrival of spring and Irish festivities. It’s a delightful blend of vanilla soft-serve ice cream and mint syrup, often topped with whipped cream and a maraschino cherry.
The primary flavor of the Shamrock Shake is a distinct and refreshing mint, perfectly balanced with sweet vanilla. It’s essentially a vanilla milkshake infused with a soft, yet prominent, mint extract, creating a creamy and cooling sensation with every sip. Many describe it as a delicate, not overpowering, mint. While delicious on its own, for an extra layer of flavor and texture, I absolutely adore mixing in crushed Oreo cookies. This transforms it into a mint-cookies-and-cream shake that is truly my ultimate weakness, offering a delightful crunch against the smooth shake.
Typically, McDonald’s releases the Shamrock Shake for a limited time, usually in February or early March, to coincide with the St. Patrick’s Day celebrations on March 17th. This seasonal availability makes it a highly anticipated treat. However, the best part about having this easy copycat homemade recipe is that you are no longer bound by McDonald’s calendar! You don’t have to wait for the season of green beer and dyed rivers to indulge in what many consider the best part of St. Patrick’s Day. With just a few ingredients, you can enjoy this festive mint milkshake whenever you desire!

More St. Patrick’s Day Recipes to Try
Are you a dedicated celebrator of St. Paddy’s Day? In my family, growing up, our celebrations often revolved around dyeing as much food as possible green – sometimes with rather… interesting (read: questionable!) results. Nowadays, I’ve developed a fondness for preparing more traditional Irish-American dishes to honor the holiday. Here are some of my top recommendations for a festive and delicious St. Patrick’s Day spread:
- Best Corned Beef Recipe (Crockpot or Oven)>> I’m not exaggerating when I say this recipe is absolutely phenomenal. Whether you’re a seasoned corned beef fan or trying it for the first time, this dish needs to be on your holiday menu! It consistently breaks my site every March, proving just how much everyone loves their corned beef!
- Best Irish Soda Bread >> This tender, flavorful bread, enhanced with browned butter, makes an incredible accompaniment to your corned beef or any hearty meal.
- Real Green Eggs and Ham (Dye-Free) >> Okay, perhaps this one leans more towards my mom’s playful style (or Dr. Seuss) than strict tradition, but it’s a fun, healthy, and vibrant breakfast option without artificial dyes!
- Shepherd’s Pie Recipe with Cheese Topping >> Does it get any better than rich, gravy-soaked beefy goodness, generously topped with mounds of creamy mashed potatoes AND a crispy layer of melted cheese? We made a massive batch of this over Christmas for our large family gathering, and it was a huge hit. The secret? Draining the fat from the ground beef, then pouring it over the (slightly dried-out Christmas leftovers of) mashed potatoes before adding the cheese. Pure, legitimate deliciousness!
- Parmesan Broccoli Pasta- Green St. Patrick’s Day Pasta from Midget Mama
And for those with a sweet tooth:
- Mint Chocolate Chip Cookies Recipe >> More delightful minty-green goodness, this time in the form of a chewy chocolate-chip cookie.
- Thick & SOFT Sugar Cookie Recipe (That Holds Its Shape) >> Grab a festive shamrock cookie cutter and create beautiful, melt-in-your-mouth sugar cookies to celebrate.
- Fudgy Mint Chocolate Brownies >> One of my all-time favorite desserts. Can you tell I’m absolutely smitten with mint and chocolate combinations?!
- St. Patrick’s Day Popcorn from Two Sisters
To conclude, here’s a throwback to the original photo from when I first shared this recipe back in 2012, during my inaugural year of blogging! I, being no fool, naturally added Oreos to my shake even then:
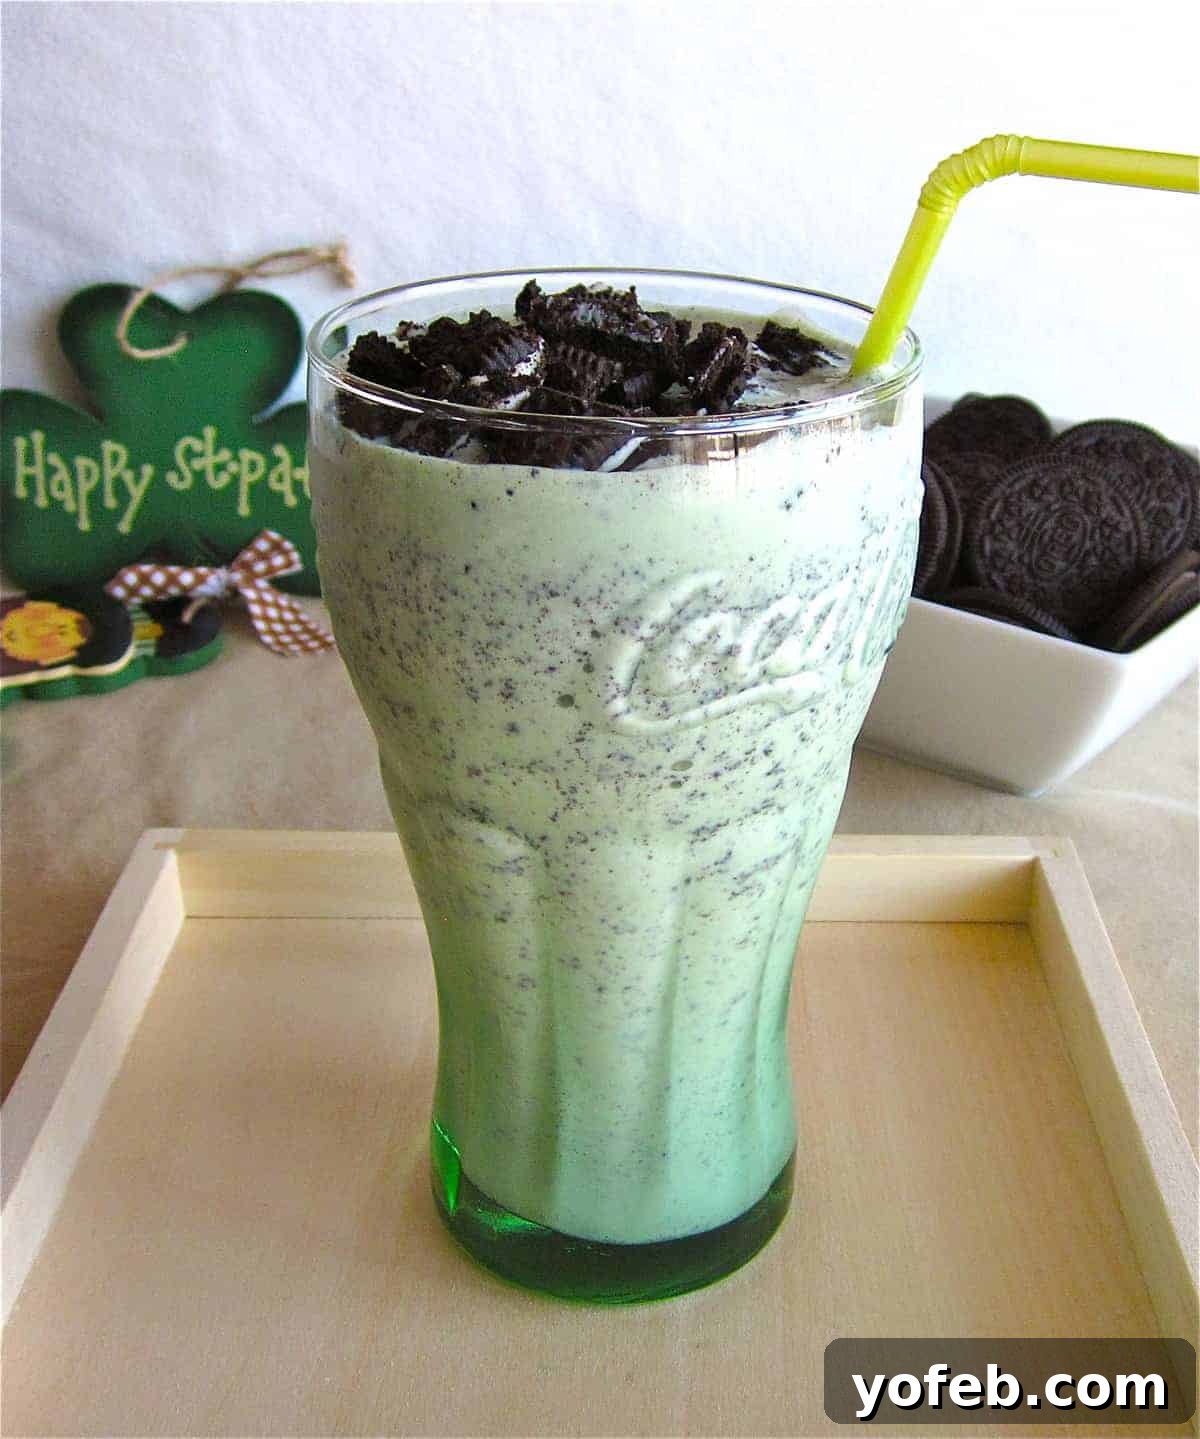
Do you appreciate the random St. Patrick’s Day wall hanging I strategically placed in the background for a touch of “food styling pizzazz”? 😂 Ah, to be 25-year-old Karen again! Such charming efforts from my early blogging days.
Facebook | Pinterest | Instagram

Shamrock Shake Recipe
Ingredients
- 3 cups vanilla ice cream, high quality!
- 1/2 cup whole milk
- 1/2 teaspoon peppermint extract
- 10 drops green food coloring
- whipped cream
- maraschino cherries, optional
- mini chocolate chips, optional
Instructions
-
Allow your vanilla ice cream to sit out for about 5-10 minutes before scooping; this makes it much easier to work with.
-
Pour 1/2 cup of whole milk into your blender. Adding liquid first ensures smoother blending.
-
Add 1/2 teaspoon of peppermint extract and 10 drops of green food coloring to the blender.
-
Scoop about 3 cups of the softened ice cream into the blender. You can eyeball this amount after a few tries.
-
Begin blending on a low setting until the ice cream and milk start to combine. Gradually increase the speed to high and blend until the shake is completely smooth. If needed, stop and use a spatula to scrape down the sides or break up any unblended ice cream.
-
Taste and adjust the consistency and flavor. If it’s too thin, add more ice cream. If too thick, add more milk (a couple tablespoons at a time). If you want more mint flavor, add peppermint extract one drop at a time; it’s quite potent!
-
Pour the finished shake into 3 glasses. Garnish generously with Homemade Whipped Cream and a maraschino cherry. Serve and enjoy immediately for the best experience!
-
Storage: This shake is best enjoyed fresh and should not be stored. Drink it up!