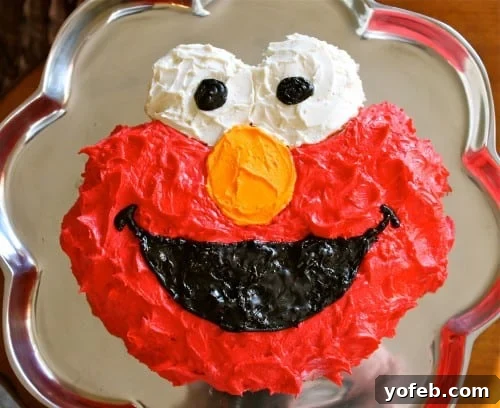
Planning a memorable birthday celebration for your little one? Nothing quite says “I love you” like a homemade Elmo cake! This comprehensive, step-by-step guide is designed to help even the most novice baker or decorator create an adorable Elmo birthday cake that will be the highlight of any party. Perfect as a smash cake for a first birthday or a fun centerpiece for a toddler’s celebration, this tutorial proves that you don’t need fancy equipment or professional skills to make something truly special. Get ready to bake a vibrant, joyful Elmo cake that will bring smiles to everyone’s faces! Originally posted February 18, 2013, this timeless method continues to delight.
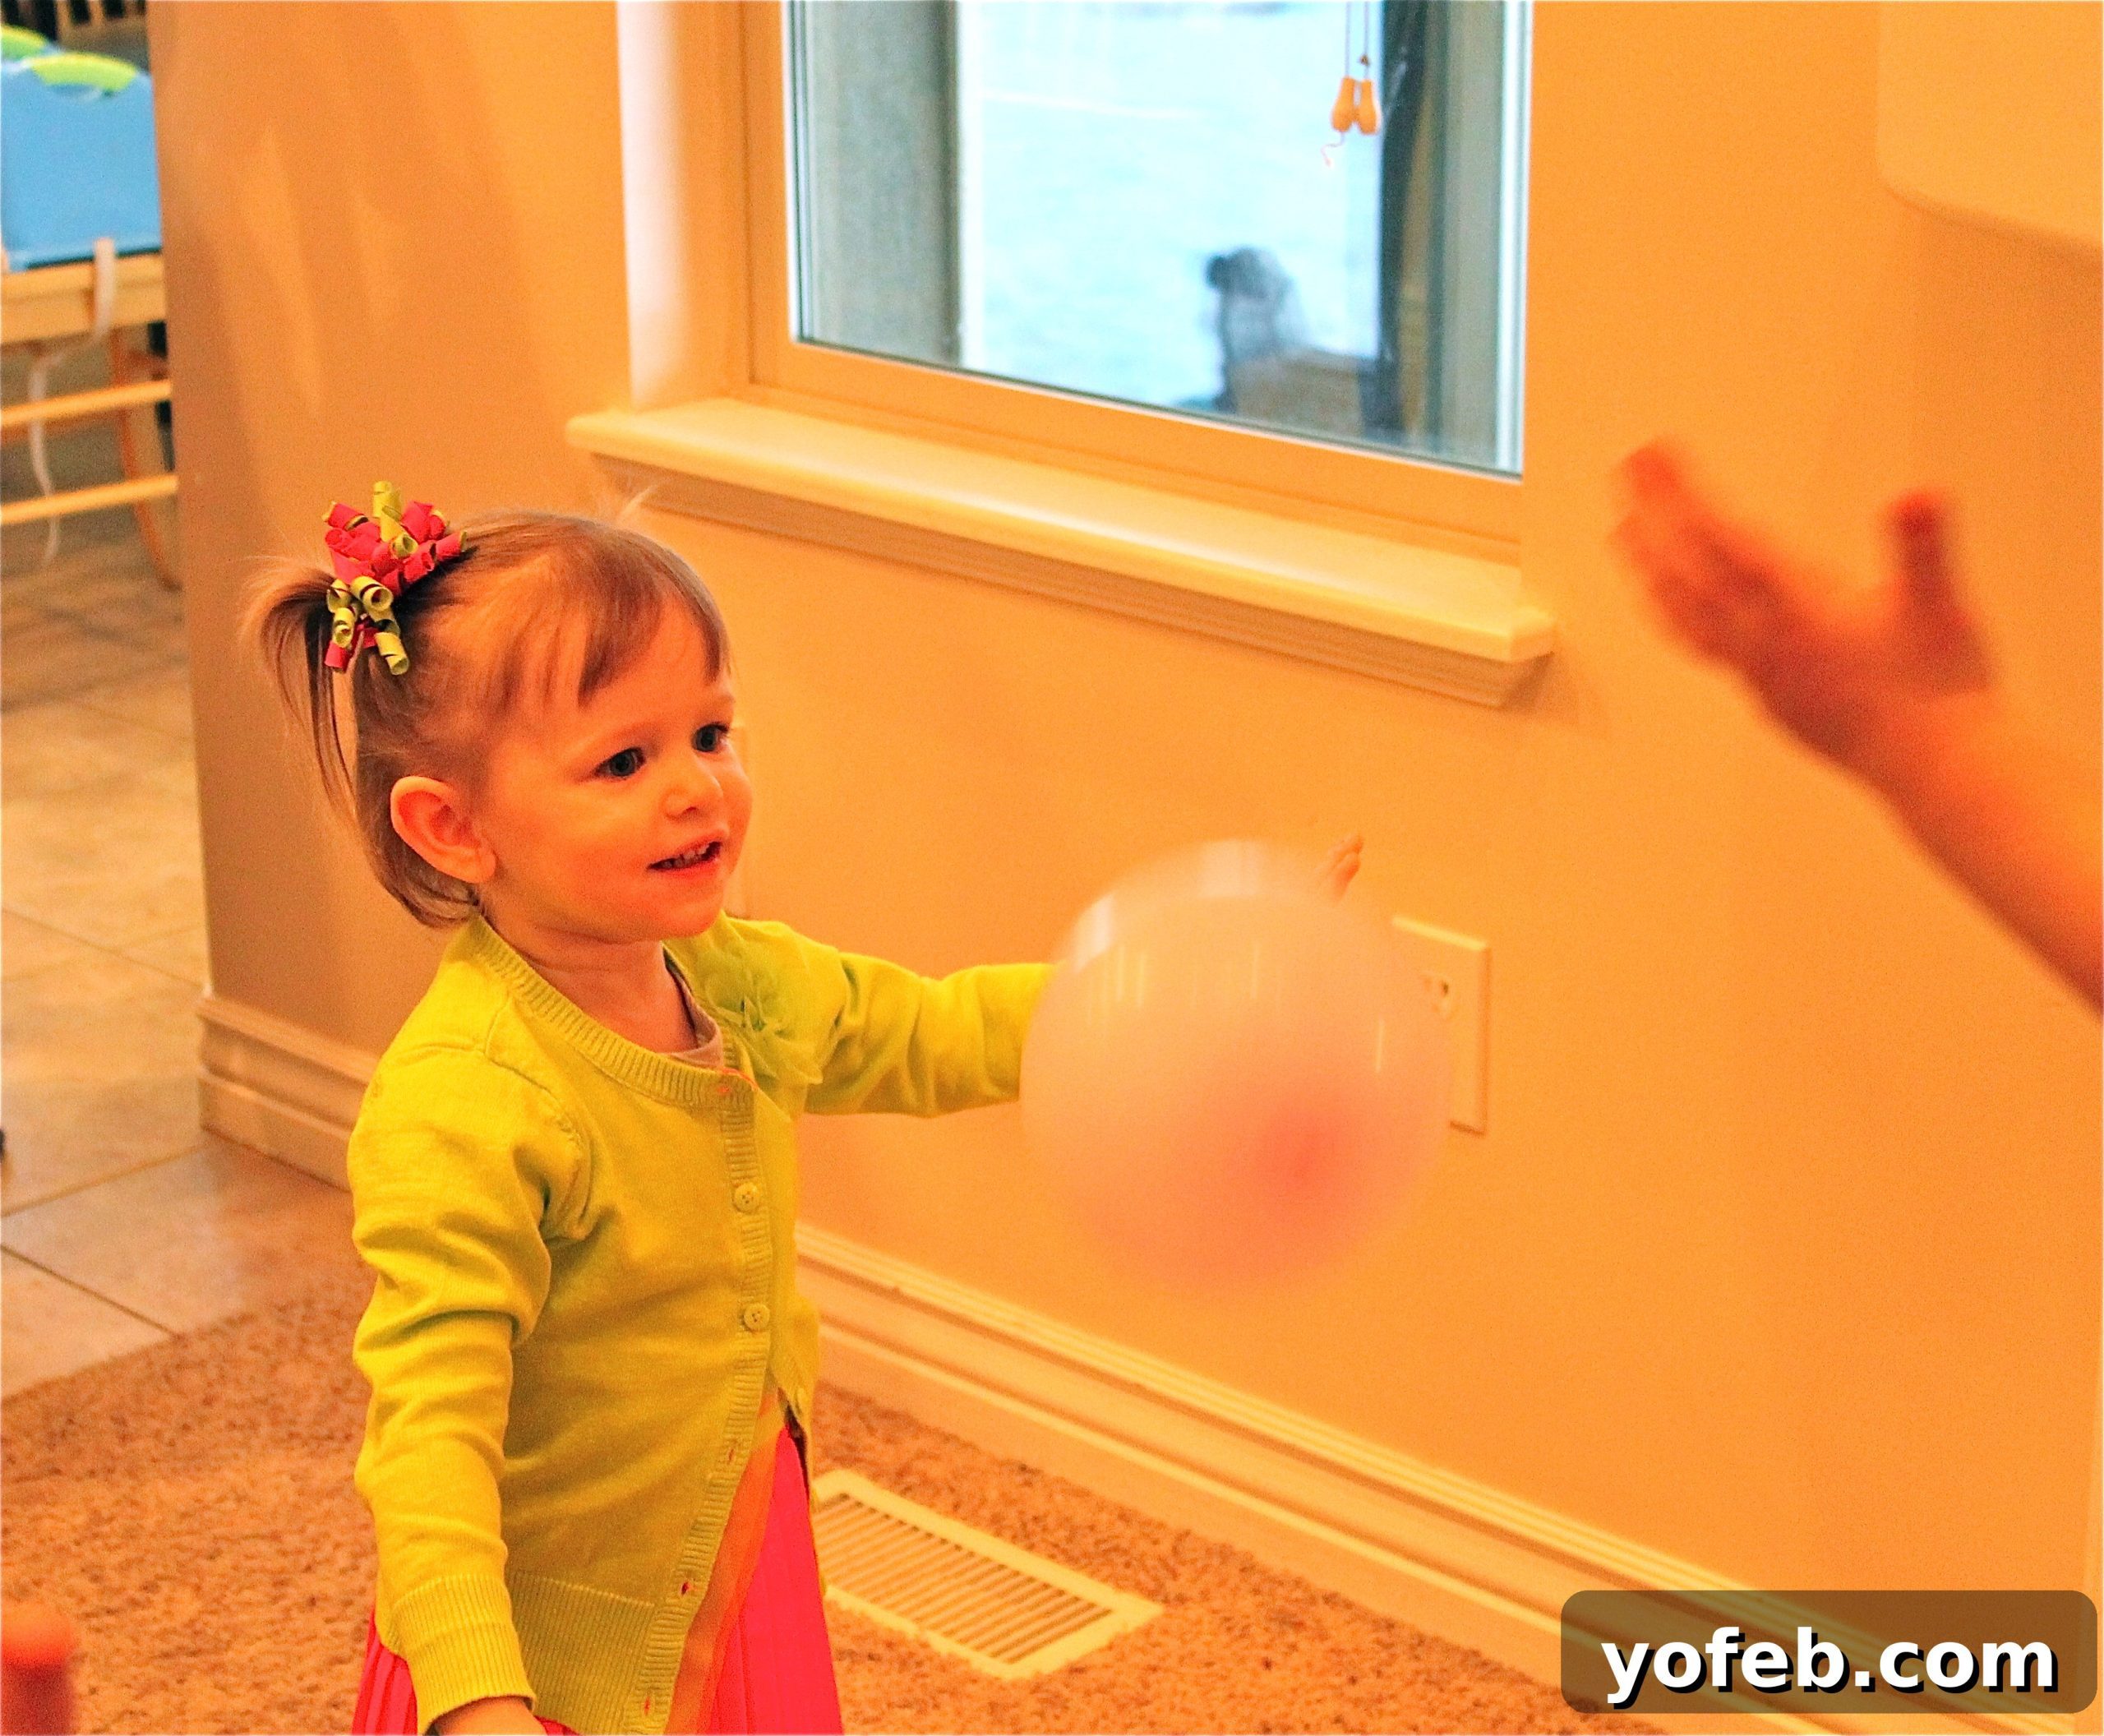
The joy of celebrating a child’s birthday is truly incomparable. Recently, we celebrated Charlotte’s 2nd birthday, and the atmosphere was electric with family, presents, colorful balloons, and, of course, a show-stopping bright red cake. It’s safe to say these are a few of Charlotte’s favorite things, and seeing her excitement was the best gift of all.
For her special day, I decided to embark on the delightful challenge of baking an Elmo cake. Despite our family rarely watching Sesame Street these days – a habit mostly confined to the early, often challenging first trimester when TV becomes a new mom’s best friend – Elmo holds a special place in Charlotte’s heart. Apparently, two-year-olds possess incredibly long memories, especially when it comes to beloved furry red monsters!
You might consider purchasing a specialized Elmo cake pan, which typically retails for around $10. However, for many of us, justifying a single-use purchase like that can be tricky. How many Elmo cakes does one really expect to bake in a lifetime? Probably just this one! Instead of buying a pan, I scoured the internet for a reliable tutorial that didn’t require a special mold and, importantly, didn’t rely on fondant – a technique often intimidating for home bakers. After some searching, I found a fantastic guide that used standard round cake pans and buttercream frosting. I followed it closely, and I was absolutely thrilled with the results! This method proved that a beautiful, professional-looking Elmo cake is entirely achievable without breaking the bank or requiring advanced decorating skills.
Let me be upfront: I am not a professional cake decorator. It seems I missed out when the “makes crafts/food beautiful with little or no effort” gene was being distributed. If you ever stumble upon a dish on this blog that could genuinely be classified as beautiful, it’s usually either a fortunate trick of the light or the culmination of a truly ridiculous amount of effort on my part. But here’s the reassuring news: this Elmo cake tutorial falls under neither of those categories. It was genuinely easy, even for someone with my limited decorating prowess. All it truly demands is a little bit of your time and a willingness to follow simple instructions. So, cast aside any fears, gather your ingredients, and let’s create some birthday magic!
DIY Elmo Birthday Cake: A Foolproof Tutorial (No Special Pan Required!)
This fantastic, accessible method for creating an adorable Elmo cake is inspired by a wonderful resource: Third Time’s a Charm. It’s a testament to how simple tools and a clear guide can lead to impressive results.
Ingredients & Supplies You’ll Need:
This recipe yields slightly less than one single-layer 9-inch cake, perfect for a smash cake or a small gathering of children. If you need a larger cake, consider making two and stacking them, or adjusting the recipe accordingly.
- For the Cake:
- 1 box white or yellow cake mix (plus the eggs, water, and oil as directed on the box)
- For the Buttercream Frosting:
- 1 cup unsalted butter (2 sticks), softened
- 1 tablespoon pure vanilla extract
- 4 ½ cups powdered sugar (confectioners’ sugar), sifted to prevent lumps
- 2-4 tablespoons milk, plus additional milk for thinning the base frosting
- For Coloring:
- Red food coloring gel or paste (highly recommended over liquid for vibrant color)
- Orange food coloring gel or paste (alternatively, combine 1 part red liquid food coloring to 3 parts yellow liquid food coloring)
- 1 tube pre-made black decorating icing (for ease and a deep black color)
- Essential Tools:
- A printed picture of Elmo’s face, approximately 8 inches across (ensure it fits your cake)
- About 1,000 toothpicks (or as many as you need for outlining)
- Two 8 or 9-inch round cake pans
- Mixing bowls and an electric mixer (handheld or stand mixer)
- Spatulas and an offset spatula for frosting
- A long serrated knife for leveling the cake
- Plastic wrap
- Parchment paper (for baking and protecting your serving plate)
- Measuring cups and spoons
Baking Your Perfect Elmo Cake Base
I didn’t capture every moment of the batter-making process, assuming most home bakers are familiar with combining cake mix ingredients. The key here is to opt for a white or yellow cake mix. This choice is strategic: should your cake crumb a bit during the decorating process, any stray crumbs will be light-colored and less noticeable against the bright frosting, unlike darker crumbs from a chocolate cake.
After you’ve prepared your cake batter according to the box instructions, it’s crucial to prepare your two 8 or 9-inch round cake pans meticulously. Grease them very well with butter or a non-stick spray, then dust generously with flour. To ensure even coverage, hold the pan over a sink and gently shake it sideways, rotating the pan until the entire greased surface is coated in flour. This creates a non-stick barrier, helping your cake release cleanly.
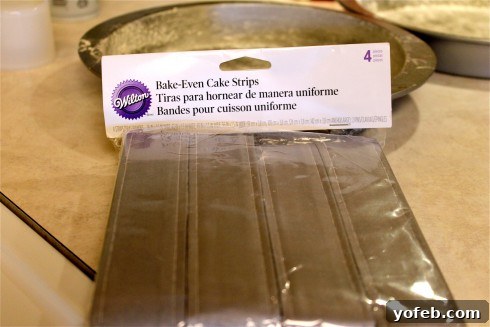
To achieve a perfectly flat cake top, which is ideal for decorating, I used Bake-Even Cake Strips. My mom thoughtfully gifted these to me for Christmas, and they can be a real game-changer for professional-looking cakes.
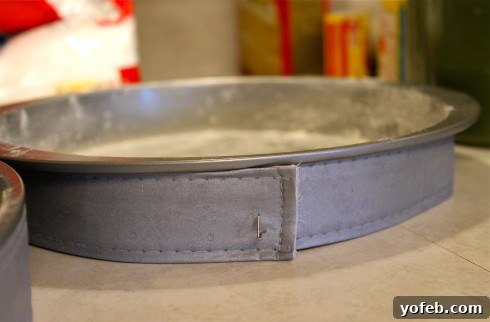
Here’s a look at them in action before baking:
Now, pour your carefully prepared batter into the pans.
Initially, my cake strips didn’t quite perform as expected. I was a bit deflated to see a significant dome on my first cake. Sorry, Mom! 🙂
Just look at that prominent dome! A common challenge in baking.
However, I gave the cake strips another try for a second cake I was baking for the adults at the party (since the Elmo cake would only be enough for the kids). The second attempt was a complete success! While the cakes puffed up a bit in the oven, they settled beautifully flat upon cooling. A vital tip if you’re using these strips for the first time: ensure you soak them *very* well before use. I believe they just needed to be adequately saturated. As an alternative, you can achieve a similar effect by soaking strips of old towels and wrapping them tightly around your cake pans. The goal is a flat, even cake, no matter your method!
Regardless of how you achieve it, the objective is a perfectly flat cake. If your cake has a dome, use a long serrated knife to carefully level off the top. For Elmo, we only need one cake layer, so save any extra layers or trimmed pieces for another delicious treat – or a baker’s snack!
Once your cake is cooled and leveled, wrap it tightly in plastic wrap and place it in the freezer for at least an hour or two. This step is crucial for easy handling: a chilled cake is much firmer, making it significantly easier to cut and decorate with minimal crumbling. (Please try to overlook my freezer, which is perpetually stocked with butter and ice cream – essential baking staples, right?)
Shaping Elmo’s Iconic Face
Now comes the fun part: giving your cake its Elmo shape! Start by performing a quick Google image search for “Elmo’s face.” You’ll be presented with countless options. I usually just pick one of the first few results, but the main thing is to ensure Elmo’s face is no wider than your baked cake. Print out your chosen image and carefully cut out the face, creating a stencil. Then, gently place this paper stencil directly on top of your chilled cake.
Next, it’s time for a little cake voodoo – just kidding! This step is all about precision tracing. Using as many toothpicks as necessary, carefully outline every feature of Elmo’s face onto the cake through the paper template. Don’t be shy with the toothpicks; I used a ton because my artistic skills are, shall we say, minimalist. Think of it as a sophisticated “connect-the-dots” project – the more dots you have, the clearer your guide will be.
With your toothpick outline complete, use a knife to carefully cut away the excess cake from around the edges, following your guide. The original tutorial I followed suggested not bothering with jagged edges to replicate Elmo’s fur, advising to keep the cuts smooth.
…However, I couldn’t resist! I went ahead and cut some jagged edges anyway, trying to mimic Elmo’s furry outline. In hindsight, this made the initial frosting step significantly more challenging, and I ended up applying so much frosting to these intricate spots that the effort to create the jagged outline wasn’t truly visible in the final product. So, a word of advice: make this decision based on your own “frosting-skill-level.” (Yes, I believe there are online quizzes for this – it’s crucial knowledge for bakers!) If you consider yourself an advanced froster, by all means, create those jagged fur edges. If, like me, you’re a beginner, save yourself the extra effort. You can achieve a fantastic “furry” look later on by creatively dolloping the frosting with a knife or spoon, which is much simpler and equally effective.
Okay, Elmo’s basic shape is now perfectly cut out!
Carefully lift off the paper template, making sure to leave all the toothpicks in their precise locations. Take your time with this step, and try your best not to stab yourself – those toothpicks are sharper than they look!
Next, grab your serrated knife again and gently score the outline of Elmo’s facial features according to where your toothpicks are. These faint lines will serve as excellent guides for your frosting. After scoring, pop Elmo back into the freezer (apologies for not snapping a picture of this!) while you prepare your delicious buttercream frosting. A cold cake is always easier to work with when it comes to frosting.
Crafting the Perfect Buttercream Frosting
Now for the luscious buttercream! In a large mixing bowl, cream the softened butter until it’s light and fluffy. Gradually add the sifted powdered sugar, one cup at a time, mixing well after each addition to prevent a sugary cloud from forming. Once combined, stir in the vanilla extract. Then, add milk, starting with 2 tablespoons and adding more a teaspoon at a time, until you reach a smooth, spreadable consistency that you prefer for decorating. The key is to have a frosting that holds its shape but isn’t too stiff.
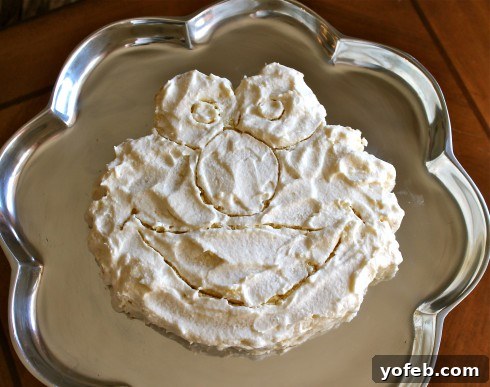
Once your main batch of buttercream is ready, scoop out about one to two cups and place it in a separate bowl. To this smaller portion, add a couple more tablespoons of milk and stir it until it’s slightly thinner. This is your “crumb coat” or “base frosting.” Its purpose is to create a thin, initial layer that traps any loose cake crumbs, ensuring a smooth, clean surface for your final colored frosting layers. You want this base frosting to be quite thin, but not so drippy that it runs off the cake. In the picture, you might notice it has a slightly grainy appearance due to the thinner consistency – this is perfectly normal for a crumb coat.
Now, frost your entire Elmo cake with this thin base layer. Use a clean toothpick to lightly re-outline Elmo’s facial features as you frost; this helps preserve your guides. Remember, this doesn’t need to be a thick or perfectly smooth layer; its primary job is to seal in crumbs. IMPORTANT NOTE: If you plan to serve the cake on a specific plate, place strips of parchment paper underneath the cake before you begin frosting. These strips will catch any errant frosting, keeping your serving plate perfectly clean and pretty.
Next, spoon portions of your original, thicker buttercream frosting (not the extra-thin, milky crumb coat) into three separate bowls. Leave one bowl of frosting white – this will be for Elmo’s eyes. Dye one bowl a vibrant red and the other a cheerful orange. For the red, you’ll need a generous amount of coloring to achieve Elmo’s signature shade!
Here’s a closer look at the gel food coloring I used. I had orange gel on hand, but if you only have liquid food coloring for orange, it will work perfectly fine – Elmo’s nose doesn’t need to be ultra-bright. The red, on the other hand, absolutely benefits from gel coloring. I used more than half of a full container of red gel food coloring for about two cups of frosting, and still felt compelled to add a splash of liquid red coloring to deepen the shade! Remember, the color of gel frosting often intensifies as it sits, so allow it a little time. This particular gel coloring claims to be “No-taste,” which initially I doubted, but I was pleasantly surprised – even with a significant amount, the buttercream still tasted wonderfully rich and buttery. Also pictured is the tube of black decorating icing I used. This is a brilliant shortcut; it saves the hassle of trying to dye frosting black (which often results in gray) and provides a clean, precise tool for outlining Elmo’s mouth and pupils.
Decorating Your Elmo Cake: The Final Touches
Once your frostings are vibrant, perfectly dyed, and ready for action, retrieve your chilled Elmo cake from the freezer. It’s time to bring him to life! At this stage, I carefully transferred the cake from my cutting board to the serving plate using a flat baking sheet and a spatula. I only did this because my cake platter doesn’t fit in my freezer (especially with all that butter and ice cream!). If your serving plate can go into the freezer, skip this slightly nerve-wracking transfer step altogether.
If you haven’t already, now is the ideal time to tuck strips of parchment paper underneath the edges of your cake. This clever trick ensures that any stray frosting will land on the paper, not your serving plate, making cleanup a breeze. Begin decorating with Elmo’s nose. Spoon a dollop of orange frosting right in the center of his nose area and carefully spread it outwards to the scored lines. Next, tackle his eyes, filling in the white areas and gently using a toothpick to create the initial circles for his pupils as you go.
Now, it’s time for Elmo’s signature red fur! Spoon a generous amount of red frosting onto the middle of Elmo’s face and carefully spread it towards the edges, filling in all the red sections. Use toothpicks to precisely spread the frosting into tight areas, such as that tricky spot under his eyes where the red, orange, and white frostings meet. As you work, insert toothpicks to outline the shape of his mouth; these will serve as a guide for the black icing. Note: you don’t need to put red frosting *inside* his mouth area – I just did it accidentally during the process, but it gets covered by black later!
Once all the main color sections are frosted, carefully remove the parchment paper strips from beneath the cake. The colder your cake, the easier this step will be, so try to do it as soon as possible after completing the bulk of the frosting. Now, move on to defining Elmo’s pupils and mouth using your black decorating icing.
Using the tube of black icing, carefully draw in Elmo’s pupils and outline and fill his mouth. Then, use a toothpick or a small spatula to gently spread and smooth the black icing, ensuring crisp lines and a uniform fill for these features.
Finally, to create Elmo’s signature furry texture, use the back of a spoon or a small knife to make little red dollops or “fluffs” all over the red parts of his face. This simple technique adds depth and makes it truly look like his soft, cuddly fur. And voilà! Your magnificent, homemade Elmo cake is complete! Every two-year-old (and many adults!) who sees this will undoubtedly think you are the most awesome person ever – and who wouldn’t want that kind of acclaim? Happy Birthday, Charlotte! May your day be as bright and joyful as your Elmo cake!