
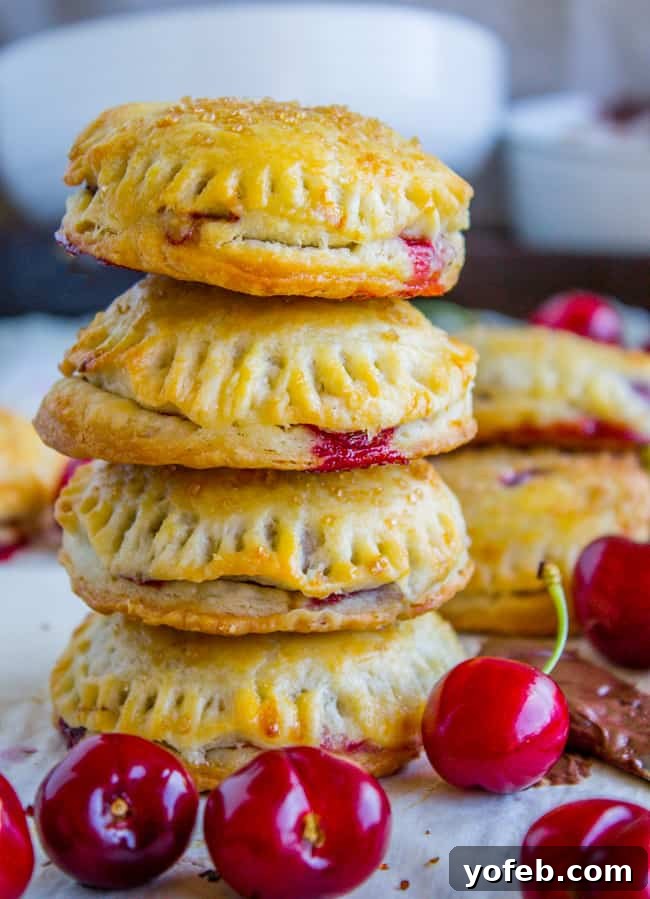
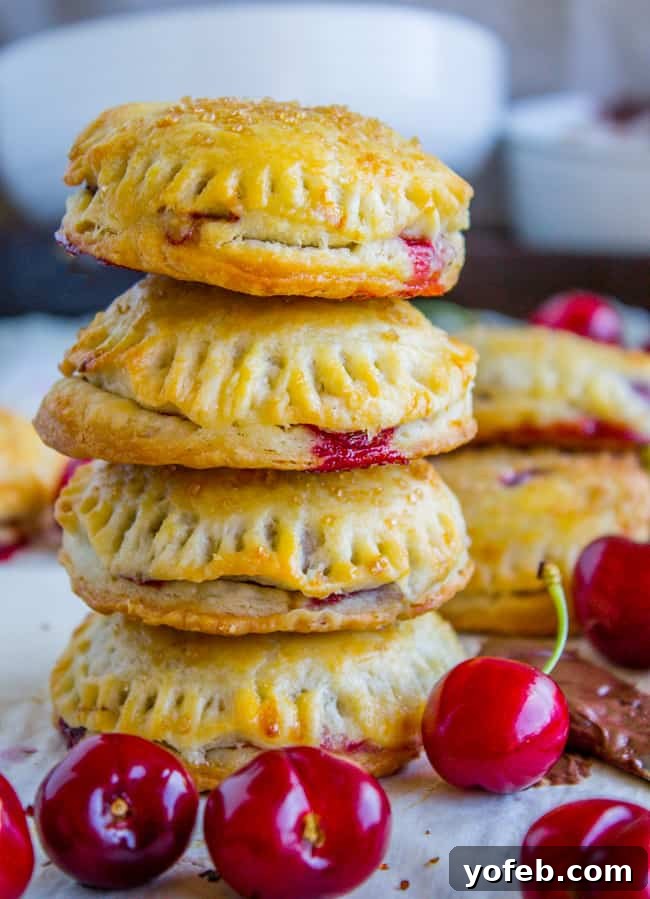
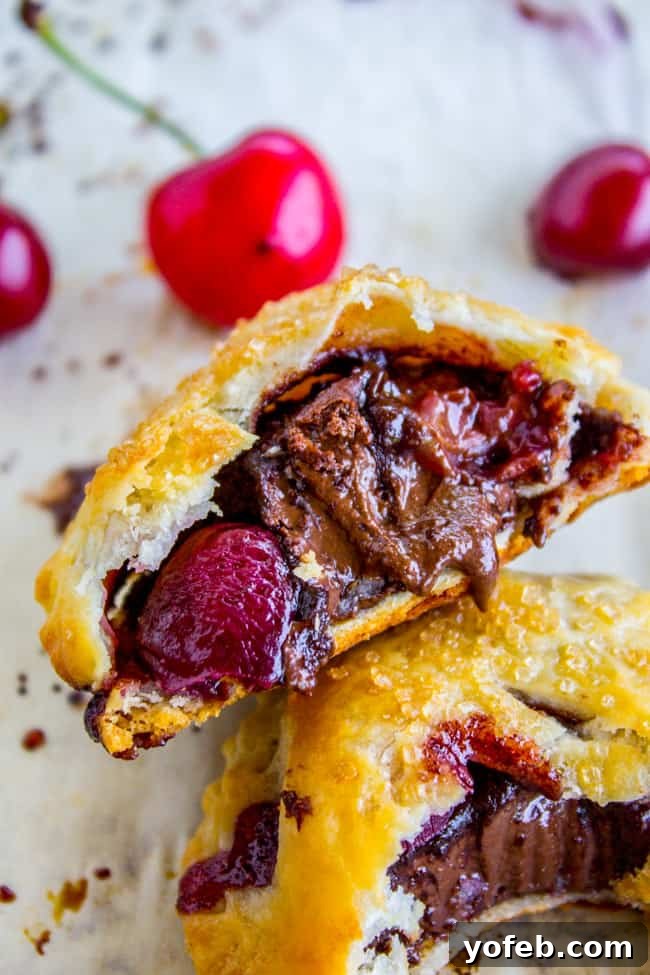
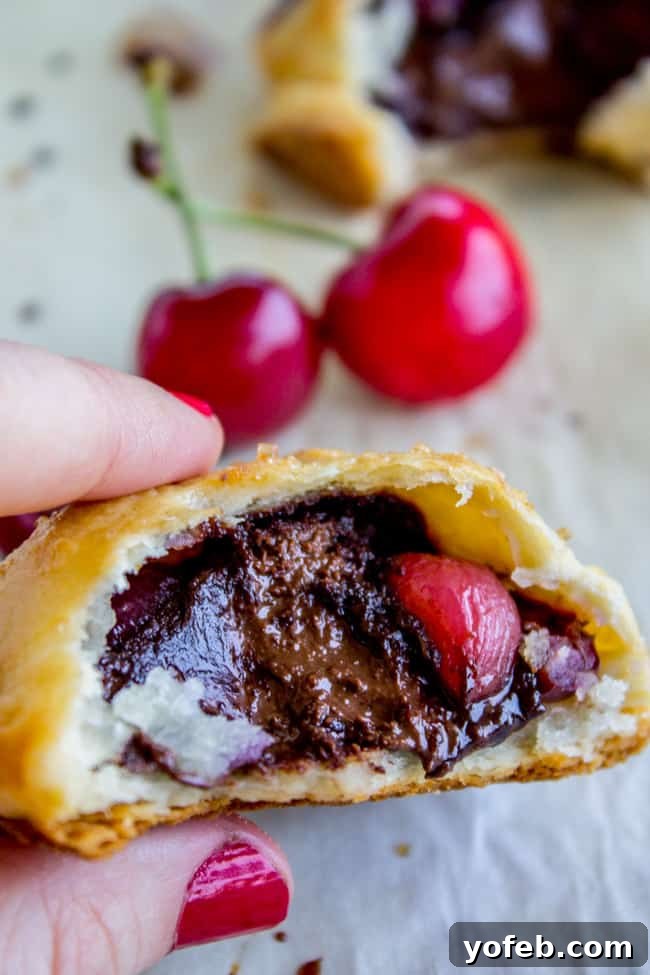
Imagine the perfect bite: a delicate, flaky pastry yielding to the sweetness of summer cherries, all harmoniously blended with rich, melted chocolate infused with a hint of almond. These mini pies are more than just a dessert; they’re a delightful escape, perfectly portioned to enjoy one after another. Resistance is futile when confronted with such irresistible charm and flavor!
Life, much like baking, often presents its own set of unexpected challenges and comical mishaps. Take, for instance, those moments of sheer brain fog, like when you’ve misplaced your phone and desperately need to tell someone you don’t have it. The convoluted mental gymnastics begin: “I know! I’ll text my mom, and she can text Eric that my phone is missing. Wait, where’s my phone so I can call her… Oh, right!” It’s a classic loop of logic that often leaves us chuckling at our own absurdity.
My day today was a perfect example, playing out with water, of all things. The crew installing our new countertops had to temporarily shut off the water supply to fit our new sink. Naturally, this was the precise moment I felt an undeniable urge to wash my hands. I lathered up with soap, turned the faucet, and… nothing. My first thought? “No problem! I’ll just pop outside and use the garden hose to rinse off.” I spent a good minute and a half meticulously searching for a non-existent kink in the hose, utterly convinced that was the issue.
Later, while preparing rice cereal for baby Valentine, I found myself instinctively reaching for the kitchen sink. Still no water. A lightbulb moment struck: “I’ll use the water dispenser on the fridge!” My brain, bless its heart, was truly working overtime, devising increasingly impractical solutions to simple problems. Karen, for real, what is wrong with me?
The comedy of errors didn’t end there. After the workmen left and the water was back on, I gleefully started my dishwasher, only to discover, with a splash, that the entire sink assembly was still dismantled, sending water cascading across the floor. Seriously, my brain cells seemed to have taken a vacation today. But amidst all the chaos, one thing remained constant: the sheer excitement for our newly renovated kitchen. This project has been over a year in the making. We tackled the floors back in February (of 2015, mind you!), planning to finish the rest immediately. However, life, as it often does, intervened. I got pregnant (and quite sick), then we had an incredibly busy summer, followed by the arrival of our precious baby. And now, finally, we’re making it happen! I’ve been sharing many glimpses of the transformation on my Instagram stories, so do follow along if you’d like to see the progress!
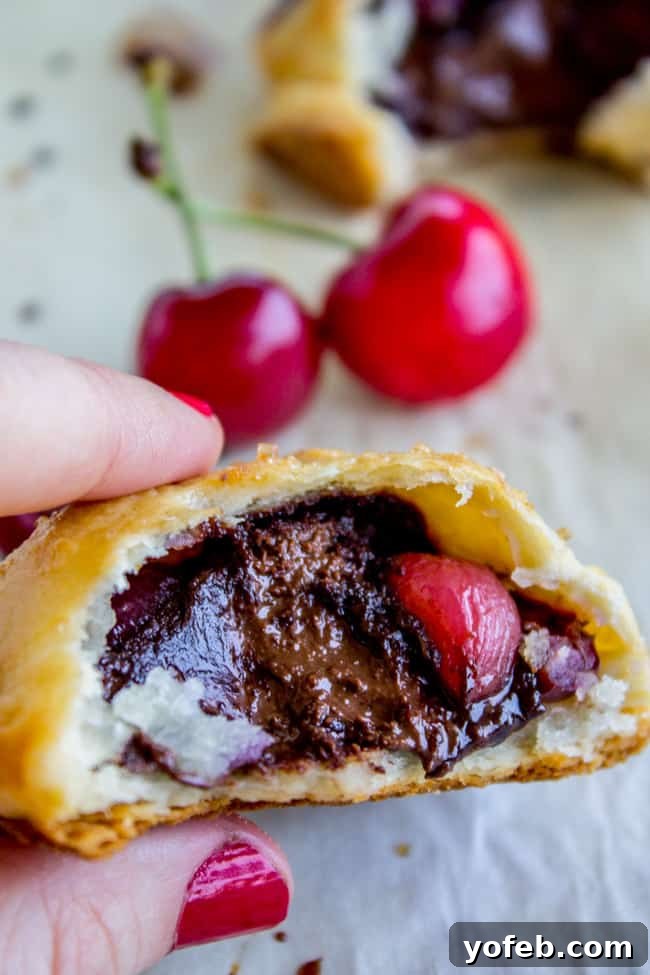
These delightful hand pies are a testament to how the best culinary creations often emerge from unexpected circumstances. They owe their existence to my parents’ magnificent bing cherry tree, which has historically spoiled me with an abundance of sweet, juicy fruit. For two years, the tree remained stubbornly barren, leading us to fear the worst. But this year, thanks to ample rain, my mother arrived with a generous haul of cherries – a true summer blessing! (Thanks, Mom!).
While my family generally agrees that the ultimate way to enjoy bing cherries is simply to eat them fresh, one day, I found myself with leftover crescent roll dough, a good amount of chocolate from other kitchen projects, and a bounty of these fresh cherries. It felt only natural to combine them all. However, I soon realized I could elevate this simple concept to something truly extraordinary. By switching to a rich, all-butter pastry dough, the pies transformed. The resulting crust is unbelievably flaky, a testament to the quality of butter used – you can genuinely taste the difference.
These hand pies are an absolute must-make for a warm summer afternoon. Their individual size makes them perfect for picnics, lunchboxes, or simply enjoying with a cup of coffee. Just a word of caution: much like the lava cakes of dessert fame, these pies are incredibly hot straight out of the oven. Exercise a little patience and allow them to cool sufficiently before indulging to avoid a fiery, yet delicious, burn.
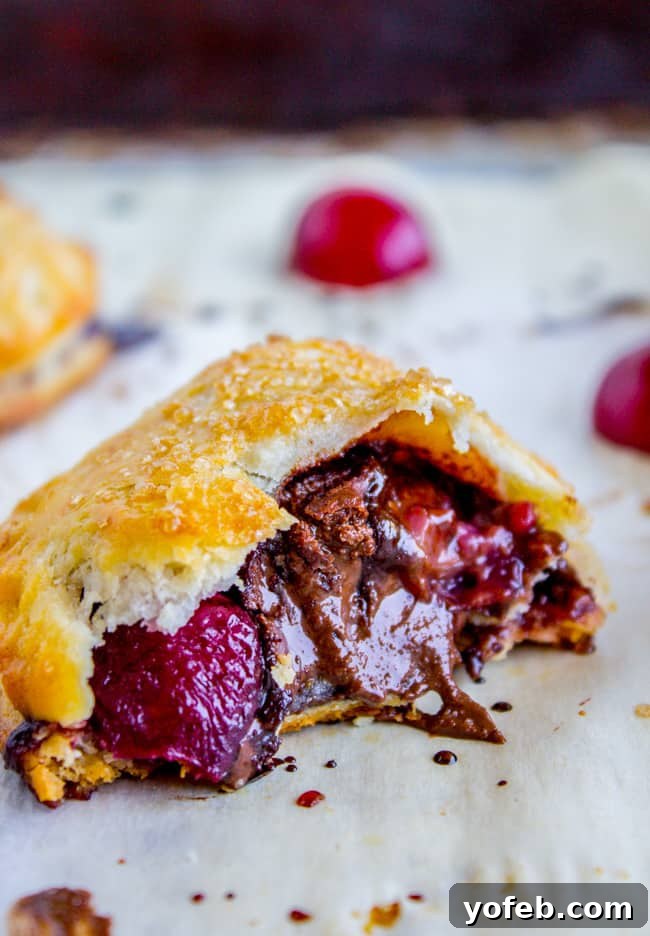
The real magic happens with the interplay of textures and flavors. The tender, sweet cherries burst with flavor, perfectly complemented by the slightly bitter richness of semi-sweet chocolate, subtly enhanced by a touch of almond extract. Encased in that incredibly flaky, golden pastry, each bite is a symphony of summer. They are easy enough for a beginner baker to tackle and impressive enough to share at any gathering.
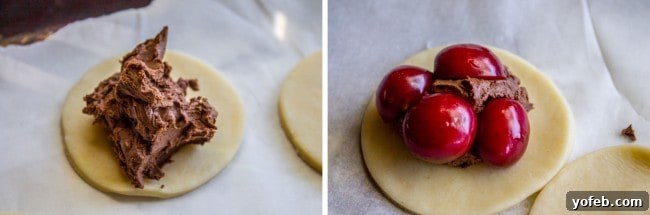
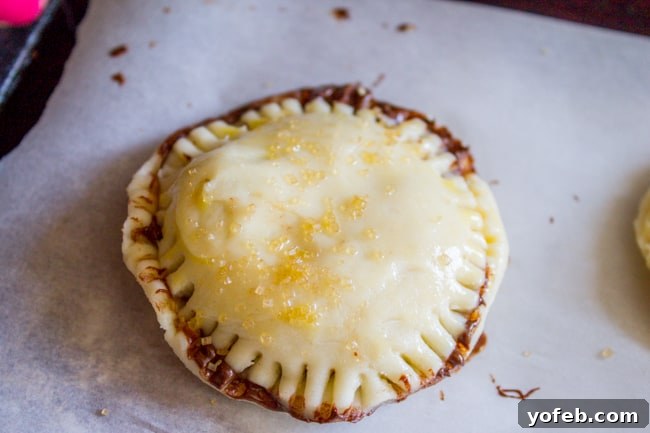
For best results, paying attention to the consistency of your chocolate filling is key. The chocolate needs to be semi-solid or “scoop-able” rather than completely liquid. If it’s too fluid, it will simply run out of the pies during baking, creating a messy, albeit still tasty, disaster. We want that melty, gooey interior, but one that stays contained within our beautiful pastry shells.
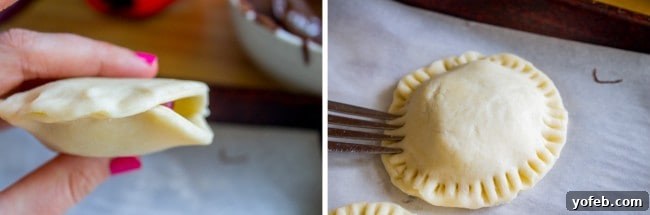
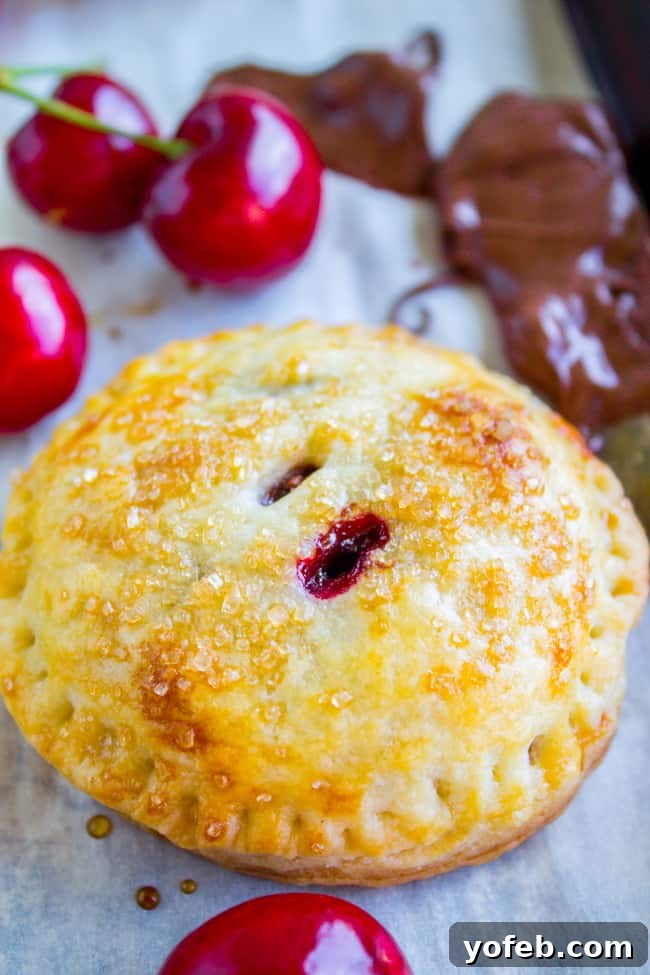
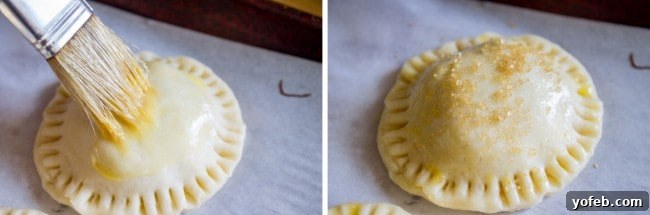
Achieving a perfectly crimped edge not only looks professional but also helps seal in all that delicious filling. A fork is your best friend here, creating a neat, decorative border that also locks in the goodness. A quick brush of egg wash before baking gives these hand pies their signature golden sheen and helps the sparkling sugar adhere, adding a lovely crunch and visual appeal.
If the chocolate is too liquid, it might spill out, looking something like this:
These individual Chocolate Cherry Hand Pies are not just a treat for your taste buds but also a feast for the eyes. Their cute, compact size makes them ideal for sharing, or for savoring all by yourself – we won’t judge if you find yourself reaching for eight at a time!
If you embark on the delightful journey of making any of my recipes, I’d absolutely love to see your creations! Share them on Instagram using the hashtag #TheFoodCharlatan so I can admire your culinary masterpieces. It truly makes my day!
More Summer Desserts to Love!
Looking for more ways to celebrate summer’s bounty with sweet treats? Here are some other delightful recipes that feature fresh fruit and comforting flavors, perfect for any occasion:
Chocolate Cherry Sheet Cake with Fudge Frosting << This cake is incredibly easy to make and delivers a generous portion of rich chocolate and sweet cherry goodness. A crowd-pleaser that’s perfect for gatherings!
Cranberry Dulce de Leche Hand Pies << While it might sound like an unconventional combination, I wholeheartedly stand by this recipe. The tartness of cranberries perfectly balances the sweet, caramel-like dulce de leche, all wrapped in a flaky crust. Don’t knock it ’til you’ve tried it!
Buried Cherry Cookies << These cookies hold a special place in my heart – I bake a huge batch of them for my brother’s birthday every single year. They’re a cherished family favorite, and for good reason!
You will also love these other fantastic chocolate and cherry combinations from my talented friends!
Nutella Cherry Hand Pies from Wonky Wonderful << A decadent twist on the classic hand pie, combining the irresistible hazelnut spread with sweet cherries.
Chocolate Cherry Pie Bundles from Lemons for Lulu << Charming individual bundles bursting with the classic chocolate and cherry pairing.
Almond Chocolate Cherry Pie Bars from Crazy for Crust << Perfect for a crowd, these bars deliver all the flavors of pie in an easy-to-serve format.
Facebook | Pinterest | Instagram | Twitter

Chocolate Cherry Hand Pies
Ingredients
For the pastry:
- 2 cup all-purpose flour, spooned and leveled for accuracy
- 1/2 teaspoon salt
- 1/2 teaspoon baking powder
- 1 cup cold unsalted butter, cut into small pieces (2 sticks), essential for flaky pastry
- 1/2 cup sour cream, full-fat for best results
- 1 large egg, for egg wash
- 1 tablespoon water, for egg wash
- Coarse sugar, such as sparkling sugar or raw sugar, for sprinkling
For the filling:
- 2 cups semi-sweet chocolate chips, high quality for best flavor
- 2 tablespoons coconut oil, helps achieve the right chocolate consistency
- 1/2 teaspoon almond extract, optional but highly recommended for enhancing cherry and chocolate flavors
- 30-40 fresh cherries, pitted and halved (Bing cherries are ideal for their sweetness and size)
Instructions
-
Begin by preparing the dough. In a large mixing bowl, combine the 2 cups of all-purpose flour with the salt and baking powder, whisking them together briefly to ensure even distribution. Add the cold butter pieces. Using your hands or a pastry cutter (or by pulsing in a food processor), cut the butter into the flour mixture until it resembles coarse crumbs with some pea-sized pieces of butter still visible. These butter pieces are crucial for creating the flaky layers in the pastry.
-
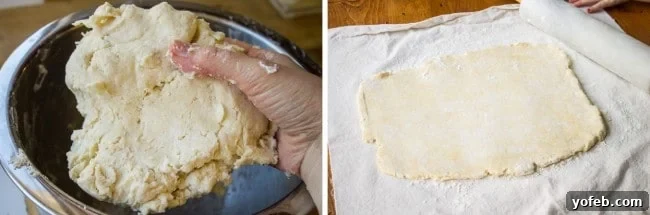
Next, add the sour cream to the flour and butter mixture. Stir with a spoon until the ingredients are just combined; it may appear shaggy and not fully come together at first. Then, use your hands to gently knead the dough a few times, right in the bowl, until it forms a cohesive ball. Be careful not to overwork the dough, as this can lead to a tough crust.
-
Lightly flatten the dough ball and transfer it to a generously floured work surface. (A pastry cloth can be very helpful here, making rolling easier and less sticky.) Sprinkle a bit more flour over the top of the dough to prevent sticking.
-
Roll the dough out into an approximate 8×10 inch rectangle. The goal is an even thickness to ensure consistent baking.
-
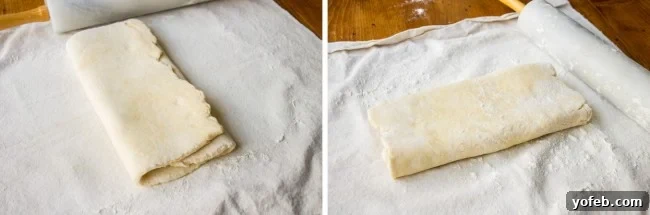
To create the flaky layers, perform a simple fold: grab one of the short ends of the rectangle and fold it over two-thirds of the way. Then, take the opposite short end and fold it over the first fold, like you’re folding a business letter (refer to photos for visual guidance). This technique is similar to making puff pastry, ensuring those lovely layers.
-
Rotate the dough 90 degrees. Roll the dough again into another 8×10 inch rectangle, then repeat the business letter fold. This second fold further develops the flakiness. Wrap the folded dough tightly in plastic wrap and refrigerate for at least 30 minutes, or even overnight. Chilling is vital to relax the gluten and solidify the butter, preventing shrinking and ensuring a tender, flaky crust.
-
Once the dough has chilled, preheat your oven to 425 degrees F (220 degrees C). Prepare two large baking sheets by lining them with parchment paper or silicone baking mats (Silpats).
-
Remove the chilled dough from the refrigerator. If it’s too firm to roll immediately, let it sit at room temperature for a few minutes to soften slightly. On a lightly floured surface, roll out the dough into a large 14×14 inch square. Aim for an even thickness throughout.
-
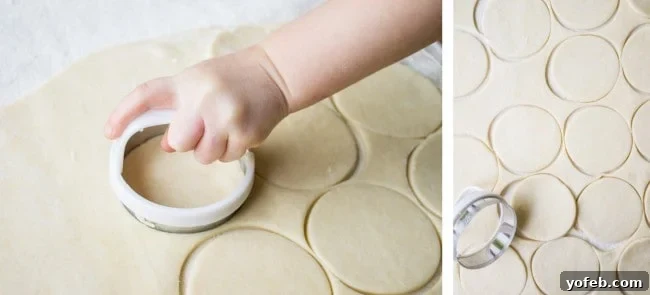
Using a 3-inch biscuit cutter or a similar-sized glass, cut out as many circles as possible from the dough. Gather the scraps, gently re-roll them (minimally to avoid overworking), and cut out additional circles until all the dough is used.
-
Arrange 6 to 8 dough circles on each prepared baking sheet, ensuring they have about 1 inch of space between them to allow for even baking and expansion.
-
Prepare the chocolate filling. In a medium microwave-safe bowl, combine the semi-sweet chocolate chips and coconut oil. Microwave in short bursts of 20-30 seconds, stirring thoroughly after each interval, until the chocolate is mostly melted but still has a few small lumps. Continue stirring until these lumps dissolve and the chocolate is smooth.
-
Stir in the almond extract (if using). At this point, the chocolate might seize up slightly and become quite thick – this is perfectly normal and actually what we want! You need the chocolate to be semi-solid and malleable, not runny. If it’s too liquid, you can either briefly chill it in the freezer (1-5 minute intervals, stirring in between) or simply allow it to cool at room temperature, stirring occasionally, until it reaches a scoop-able consistency. This prevents the chocolate from oozing out of your pies during assembly and baking.
-
While the chocolate is cooling to the right consistency, take this opportunity to prepare your cherries. Wash, pit, and halve them as needed.
-
Once your chocolate filling is scoop-able, place about a tablespoon of chocolate onto the center of half of your dough circles. Top the chocolate with 4-5 halved cherries. Do not overfill, and leave a clear border around the edges of the dough circles for sealing.
-
Carefully place another plain dough circle on top of each filled circle. Gently pinch the edges together with your fingers, working your way around the entire perimeter, ensuring no chocolate touches the sealing edges. If it’s easier, you can carefully pick up each pie to seal it. Once sealed, place the pie back on the baking sheet and use a fork to crimp the edges firmly, creating a decorative and secure seal.
-
In a small bowl, whisk together the egg and 1 tablespoon of water to create an egg wash. Brush the tops of each hand pie generously with the egg wash. This will give them a beautiful golden-brown finish and help the coarse sugar adhere.
-
Using a sharp knife, cut 2-3 small slits on the top of each pie. These vents allow steam to escape during baking, preventing the pies from bursting. Finish by sprinkling a generous amount of sparkling sugar or raw sugar over the top of each pie for added sparkle and crunch.
-
Bake the hand pies in the preheated oven for approximately 13 minutes, or until the tops are beautifully golden brown and the pastry is puffed and flaky. Keep an eye on them towards the end of the baking time, as ovens can vary.
-
Once baked, remove the pies from the oven and transfer them to a wire rack. Allow them to cool for at least 10-20 minutes before serving. Remember, the filling will be very hot, much like molten lava, so patience is key for an enjoyable, burn-free experience!
Notes
Source: The exceptional pastry recipe, which is the secret to these pies’ incredible flakiness, is adapted from King Arthur Flour’s Blueberry Hand Pies recipe. It’s a tried and true favorite!