
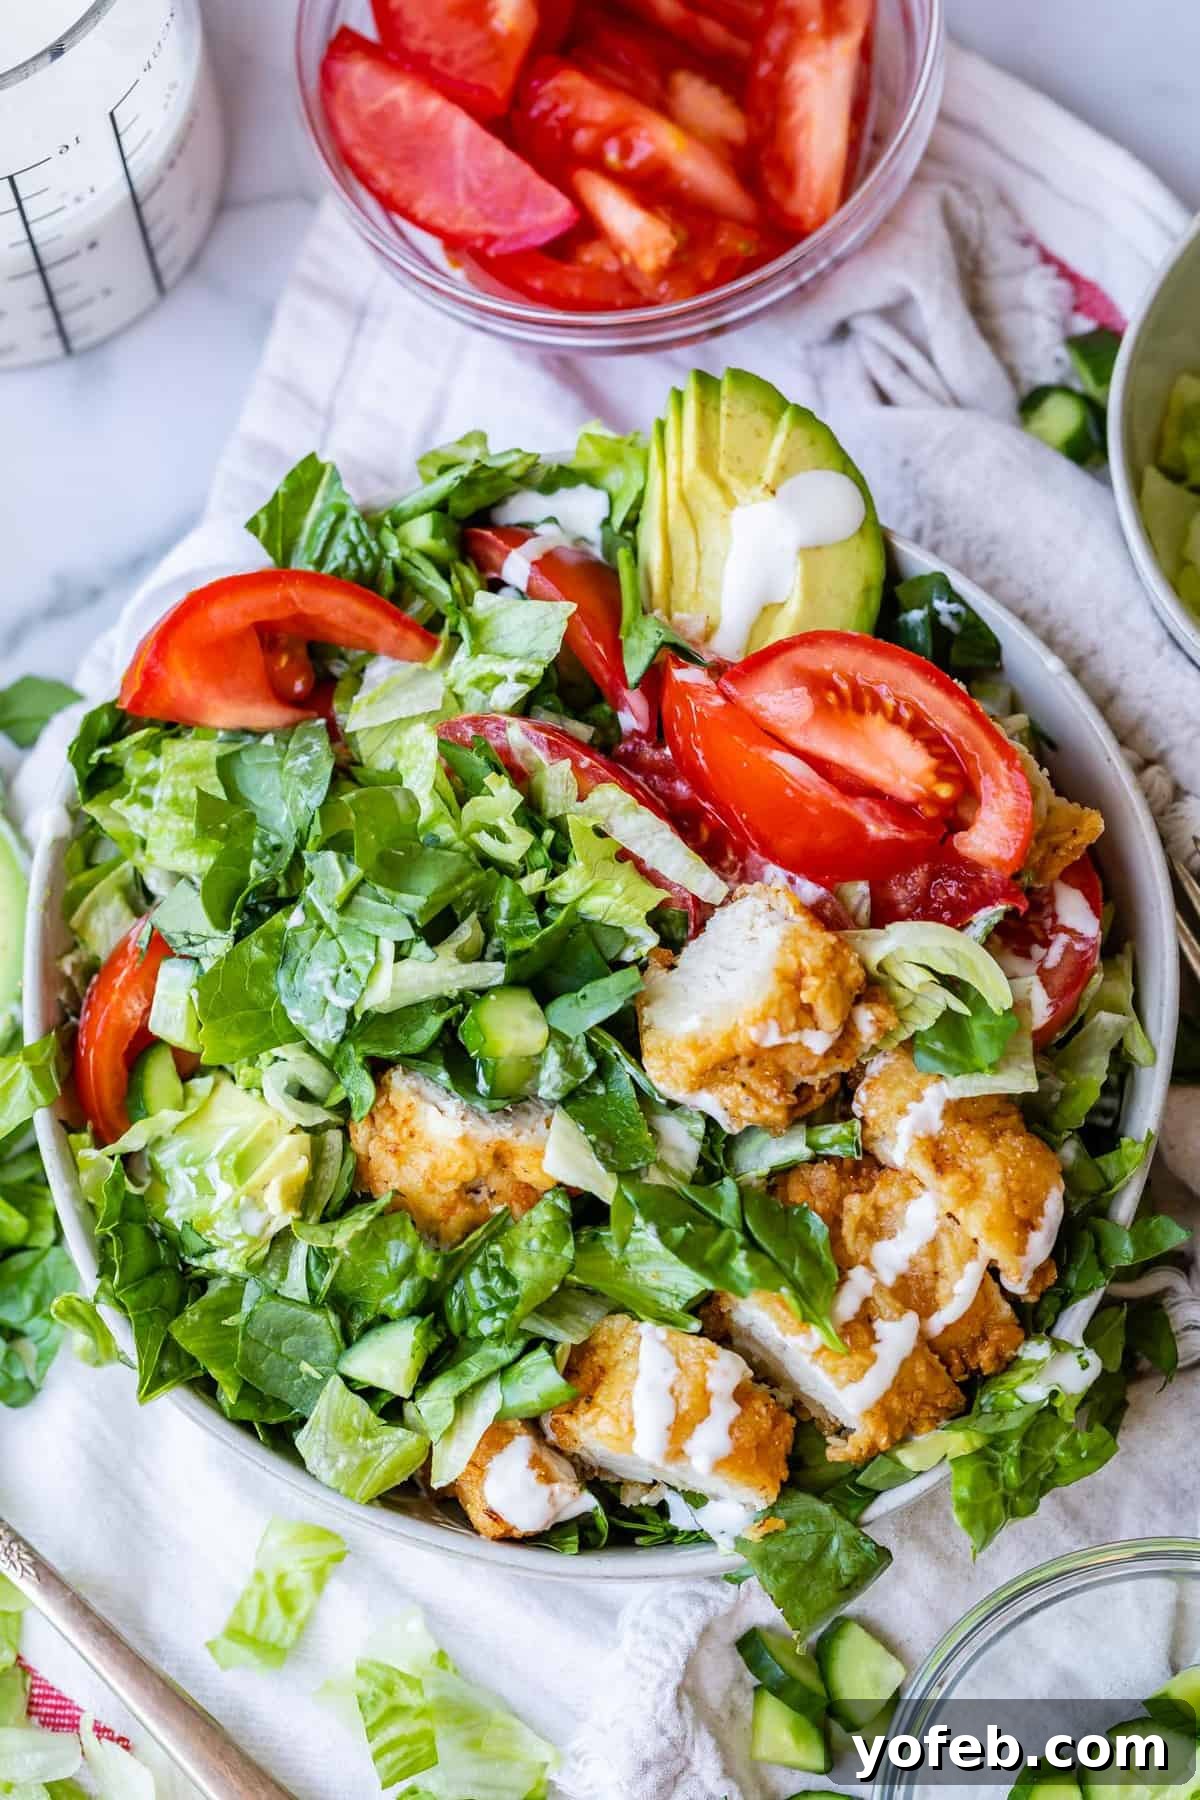
Delicious Crispy Chicken Salad with Zesty Homemade Buttermilk Ranch Dressing
Indulge in a vibrant and satisfying Crispy Chicken Salad, a refreshing meal packed with crisp greens, succulent red tomatoes, creamy avocados, and crunchy cucumbers. Each bite is elevated by a generous drizzle of the most amazing homemade buttermilk ranch dressing. For those who might not typically gravitate towards salads, the addition of perfectly fried chicken transforms this dish into an irresistible culinary experience. It’s a flavor explosion that proves salads can be both healthy and incredibly decadent!
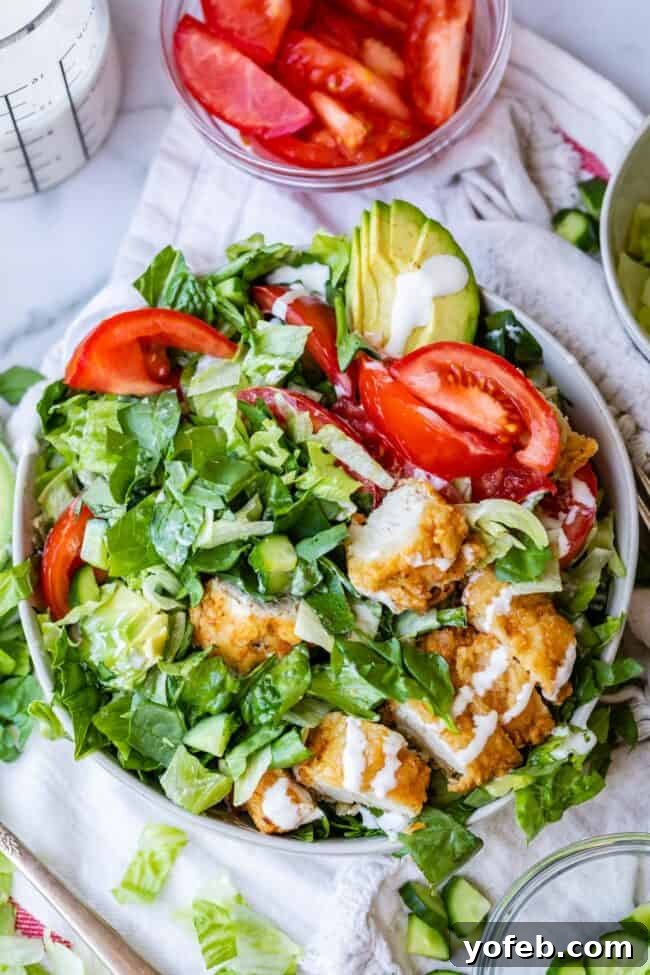
The inspiration for this phenomenal Crispy Chicken Salad stems from a rather unexpected place: a craving for a classic fast-food buttermilk crispy chicken sandwich. While some might shy away from the idea of fast food, there’s no denying the sheer delight of a perfectly fried chicken patty. This salad takes that beloved fried chicken experience and re-imagines it in a fresh, wholesome format, proving that you don’t have to sacrifice flavor for a lighter meal.
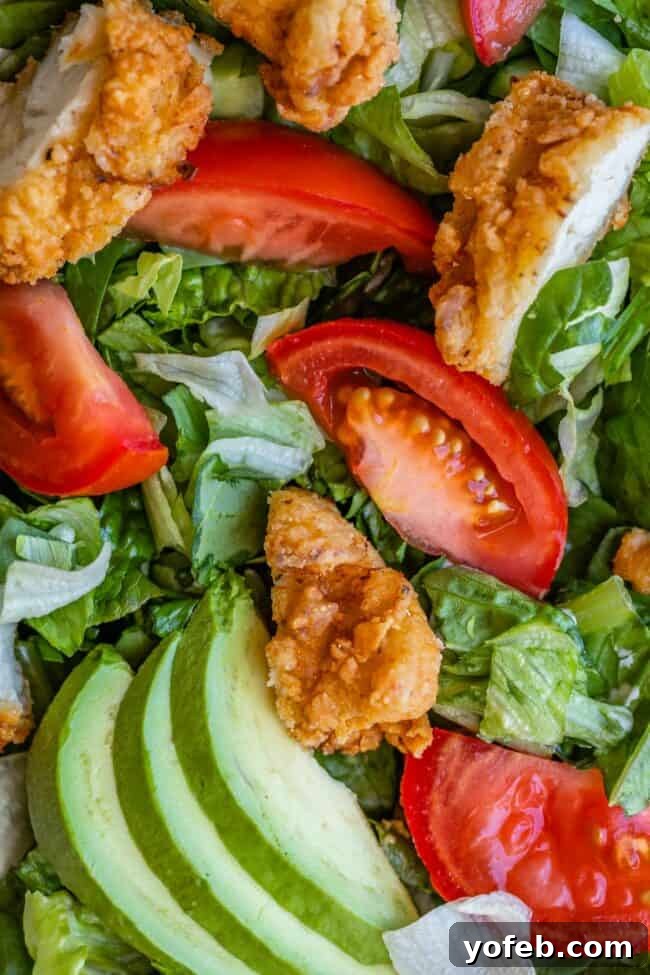
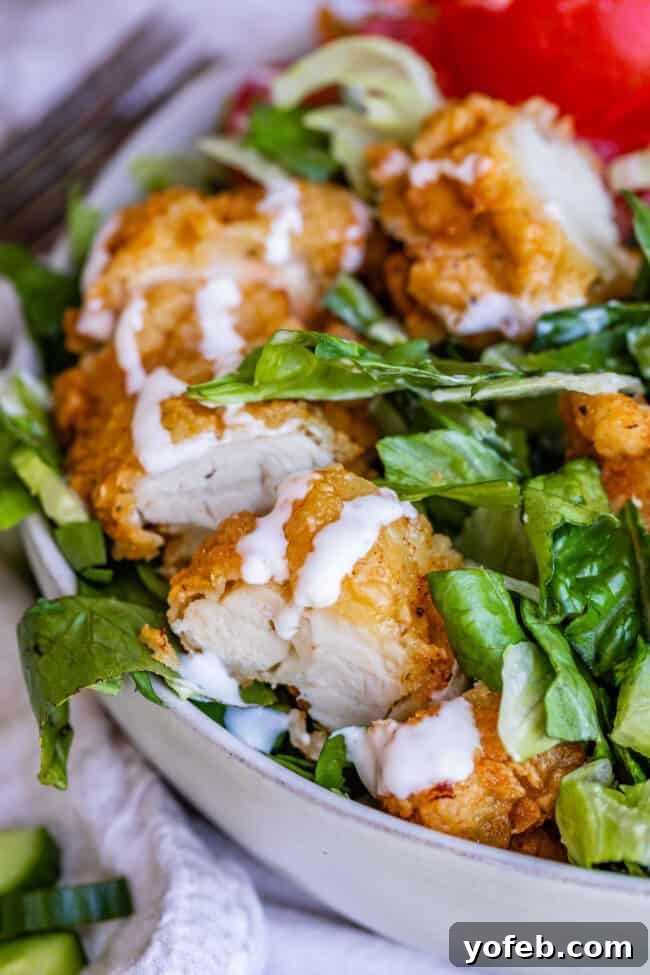
From the iconic buttermilk crispy chicken sandwich to other popular versions, fried chicken sandwiches hold a special place in many hearts. The goal here was to capture that irresistible flavor and texture without the bun, creating a salad that truly delivers on taste and satisfaction. We’re talking about that golden-brown, crunchy exterior giving way to tender, juicy chicken – a perfect counterpoint to the vibrant freshness of the salad components.

When crafting the perfect Crispy Chicken Salad, the dressing plays a pivotal role. While a classic mayonnaise base for fried chicken is undeniably delicious, a rich, creamy homemade buttermilk ranch dressing offers a more balanced and complementary flavor profile for a salad. It brings a tangy, herbaceous creaminess that ties all the ingredients together beautifully, enhancing the freshness of the vegetables and the savory depth of the chicken. The ranch dressing is so fantastic, it truly deserves its own spotlight; you can find the detailed recipe by clicking the link provided.
The essence of a great chicken sandwich lies in its simplicity: a crispy chicken fillet, crisp lettuce, ripe tomatoes, and a creamy sauce. Translating this concept to a salad means retaining those core elements while amplifying the fresh produce. We wanted to keep the irresistible fried chicken, so the bun was simply swapped for a bed of nutrient-rich greens. This approach allows for a lighter, yet equally satisfying, meal that doesn’t compromise on that much-loved fried chicken flavor.
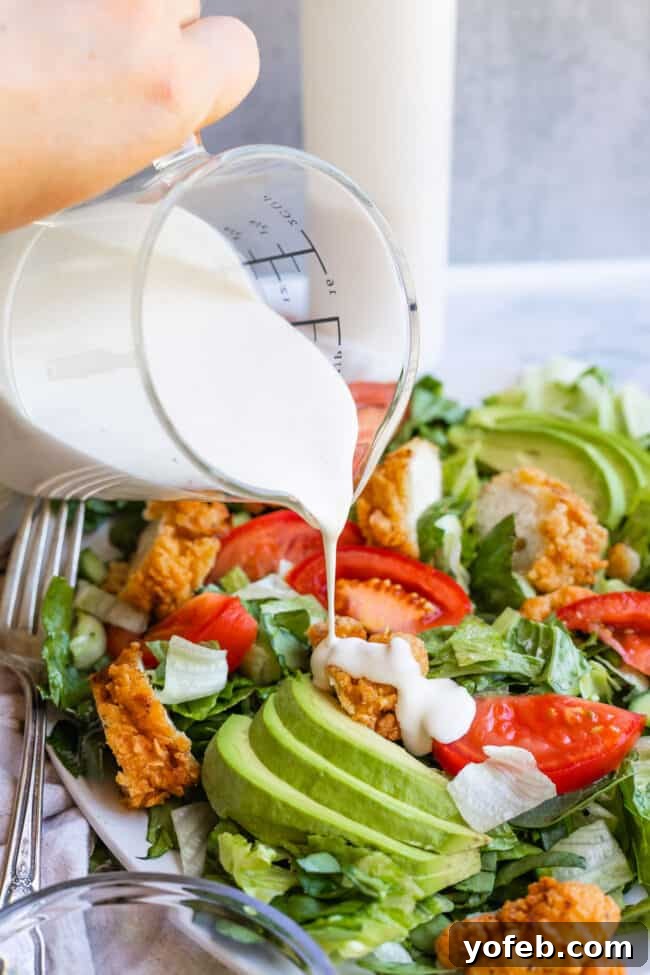
Many home cooks might feel intimidated by the idea of frying chicken, associating it with specialized equipment like a deep fryer. However, achieving perfectly crispy, golden-brown fried chicken at home is surprisingly simple and doesn’t require any fancy gadgets. A reliable high-sided skillet and a sufficient amount of oil are all you need. With a bit of attention and technique, you can easily replicate restaurant-quality fried chicken in your own kitchen, making this decadent salad a regular feature in your meal rotation. The satisfaction of biting into homemade crispy chicken is unparalleled!
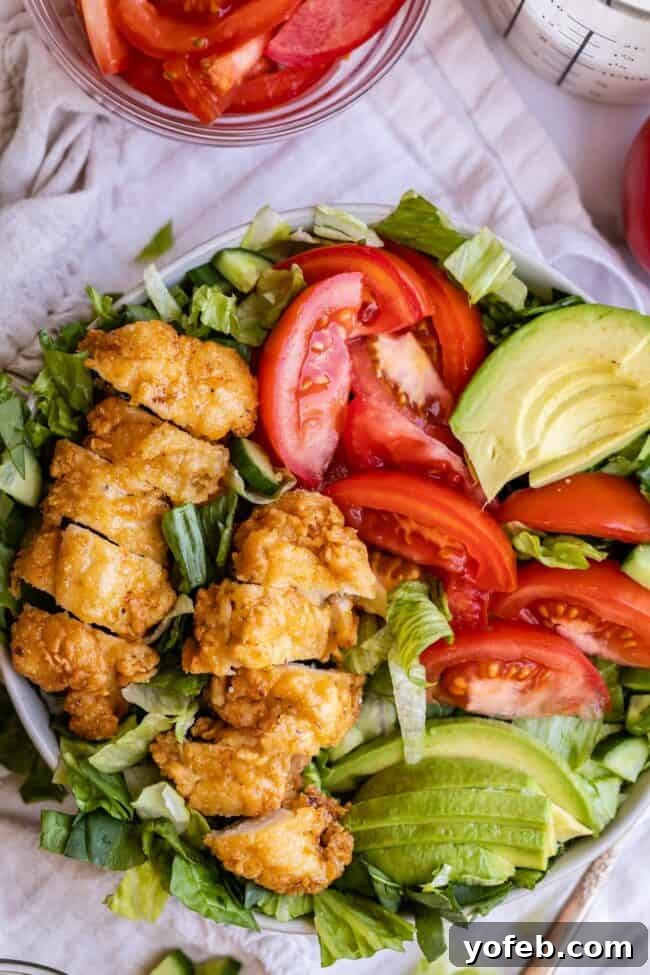
How to Make the Best Crispy Chicken Salad at Home
Creating this impressive Crispy Chicken Salad is a straightforward process, broken down into a few key steps that ensure maximum flavor and crispiness. From the initial buttermilk marinade to the final assembly, each stage contributes to the deliciousness of the finished dish.
Step 1: The Flavorful Buttermilk Marinade
The secret to incredibly tender and flavorful fried chicken lies in a good marinade. Our buttermilk marinade infuses the chicken with moisture and a subtle tang, while the blend of spices adds depth and warmth. Start by whisking together buttermilk, kosher salt, paprika, onion powder, garlic powder, cayenne pepper, and a large egg in a bowl. This creates a flavorful bath for your chicken. We recommend using thawed boneless chicken tenderloins for their ideal size and quick cooking, but any cut of boneless chicken can be used. Ensure all chicken pieces are thoroughly coated and allow them to marinate in the refrigerator for at least one hour, or ideally up to 24 hours for maximum flavor absorption. This crucial step is what makes the chicken exceptionally tender and ready to soak up the crispy coating.

Step 2: Crafting the Crispy Coating
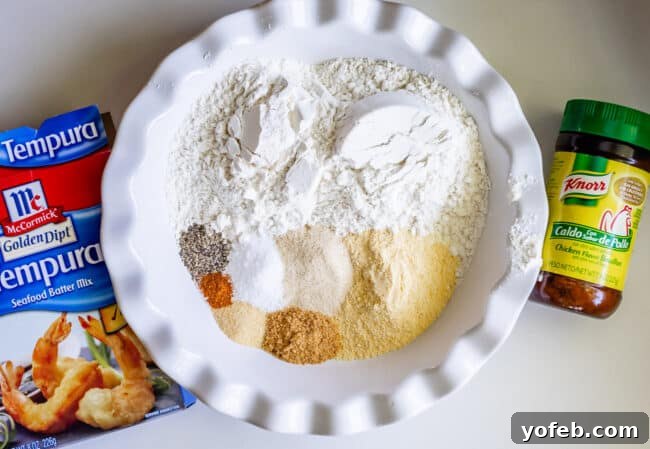
Once your chicken is well-marinated, it’s time to prepare the dry coating, often referred to as the “chicken shake.” This mixture is key to achieving that desirable crispy texture. In a large ziplock bag, combine all your dry ingredients: flour, tempura mix (which is excellent for extra crispiness, usually found near seafood or in the baking aisle; all-purpose flour can be substituted if needed), yellow cornmeal for added crunch, kosher salt, onion powder, dry chicken bouillon powder (for an extra savory kick), black pepper, and cayenne pepper for a hint of spice. This combination creates a robust and perfectly seasoned breading that will adhere beautifully to the marinated chicken.
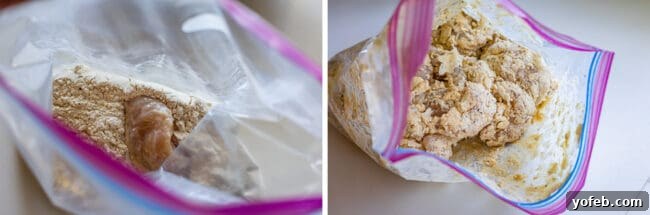
After coating each piece of chicken in the dry mix, place the ziplock bag in the freezer for about 15 minutes to an hour. This step is a game-changer for achieving ultimate crispiness. The cold batter, when introduced to hot oil, creates a stark temperature contrast that results in a remarkably crunchy exterior. It also helps the coating adhere better to the chicken, preventing it from falling off during frying.
Step 3: Frying to Golden Perfection
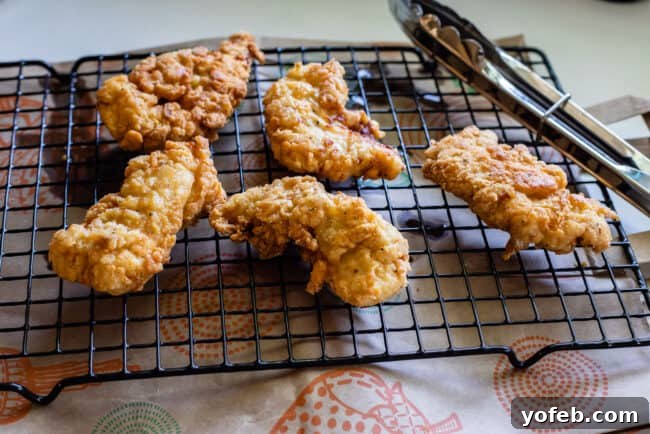
While the chicken is chilling, preheat your oil. In a sturdy, high-sided skillet (approximately 12 inches), pour about an inch of a neutral frying oil like vegetable, peanut, canola, or a light-flavored olive oil. Heat the oil over medium-high heat for about 15 minutes. A simple test: drop a small piece of bread into the oil; if it sizzles and bubbles immediately, your oil is ready. Carefully add the coated chicken pieces to the hot oil, ensuring they don’t touch, and cook for about 5 minutes per side, or until golden brown and cooked through (reaching an internal temperature of 160°F, which will rise slightly after removal). Once cooked, transfer the crispy chicken to a cooling rack set over paper towels or a brown paper bag to absorb excess oil and maintain its crispiness. Frying in batches ensures even cooking and prevents overcrowding the pan, which can lower the oil temperature and lead to soggy chicken.
Step 4: Assembling Your Fresh Salad
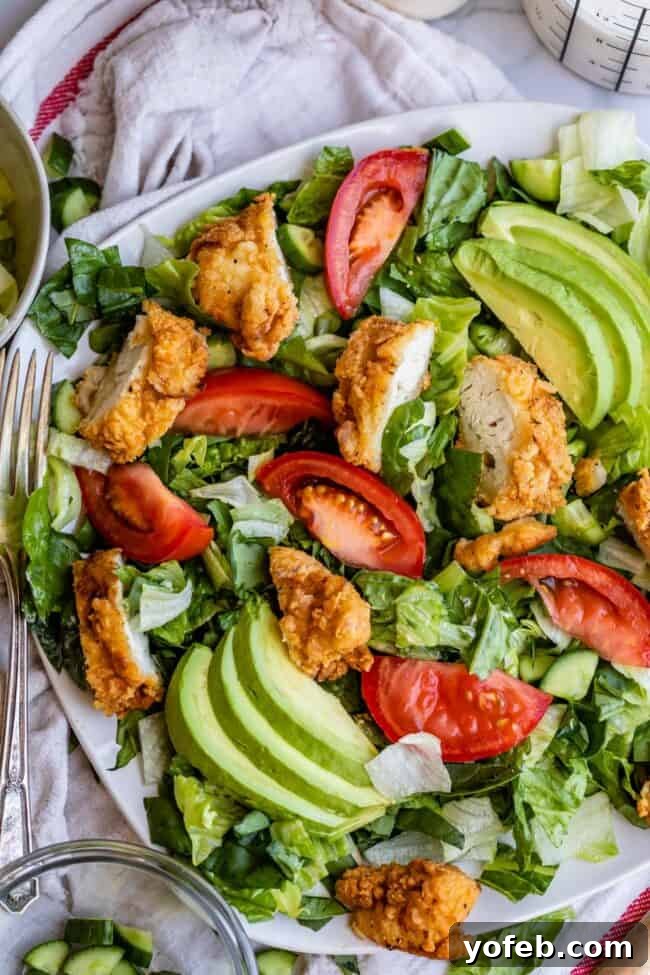
While the chicken is frying, prepare your fresh vegetables. Wash and chop a head of romaine and a head of iceberg lettuce (don’t underestimate the satisfying crunch of iceberg!). Slice about 3 cups of baby spinach, a medium cucumber into bite-sized pieces, and 6-8 tomatoes into wedges. Finally, slice 2-3 ripe avocados. For optimal freshness and to avoid sogginess, toss all the greens and cucumbers together in a large bowl. Keep tomatoes and avocados separate until serving time. These fresh, vibrant ingredients provide the perfect canvas for your warm, crispy chicken.
Avocado, while not a typical fast-food chicken sandwich topping, is a magnificent addition to this salad. Its creamy texture and rich flavor perfectly complement the crispy chicken and tangy ranch. Similarly, cucumber adds an extra layer of refreshing crunch that elevates the entire dish. Feel free to customize your salad with other favorite toppings; thinly sliced red onion, for instance, would introduce a pungent kick and beautiful color. The beauty of this salad is its versatility!

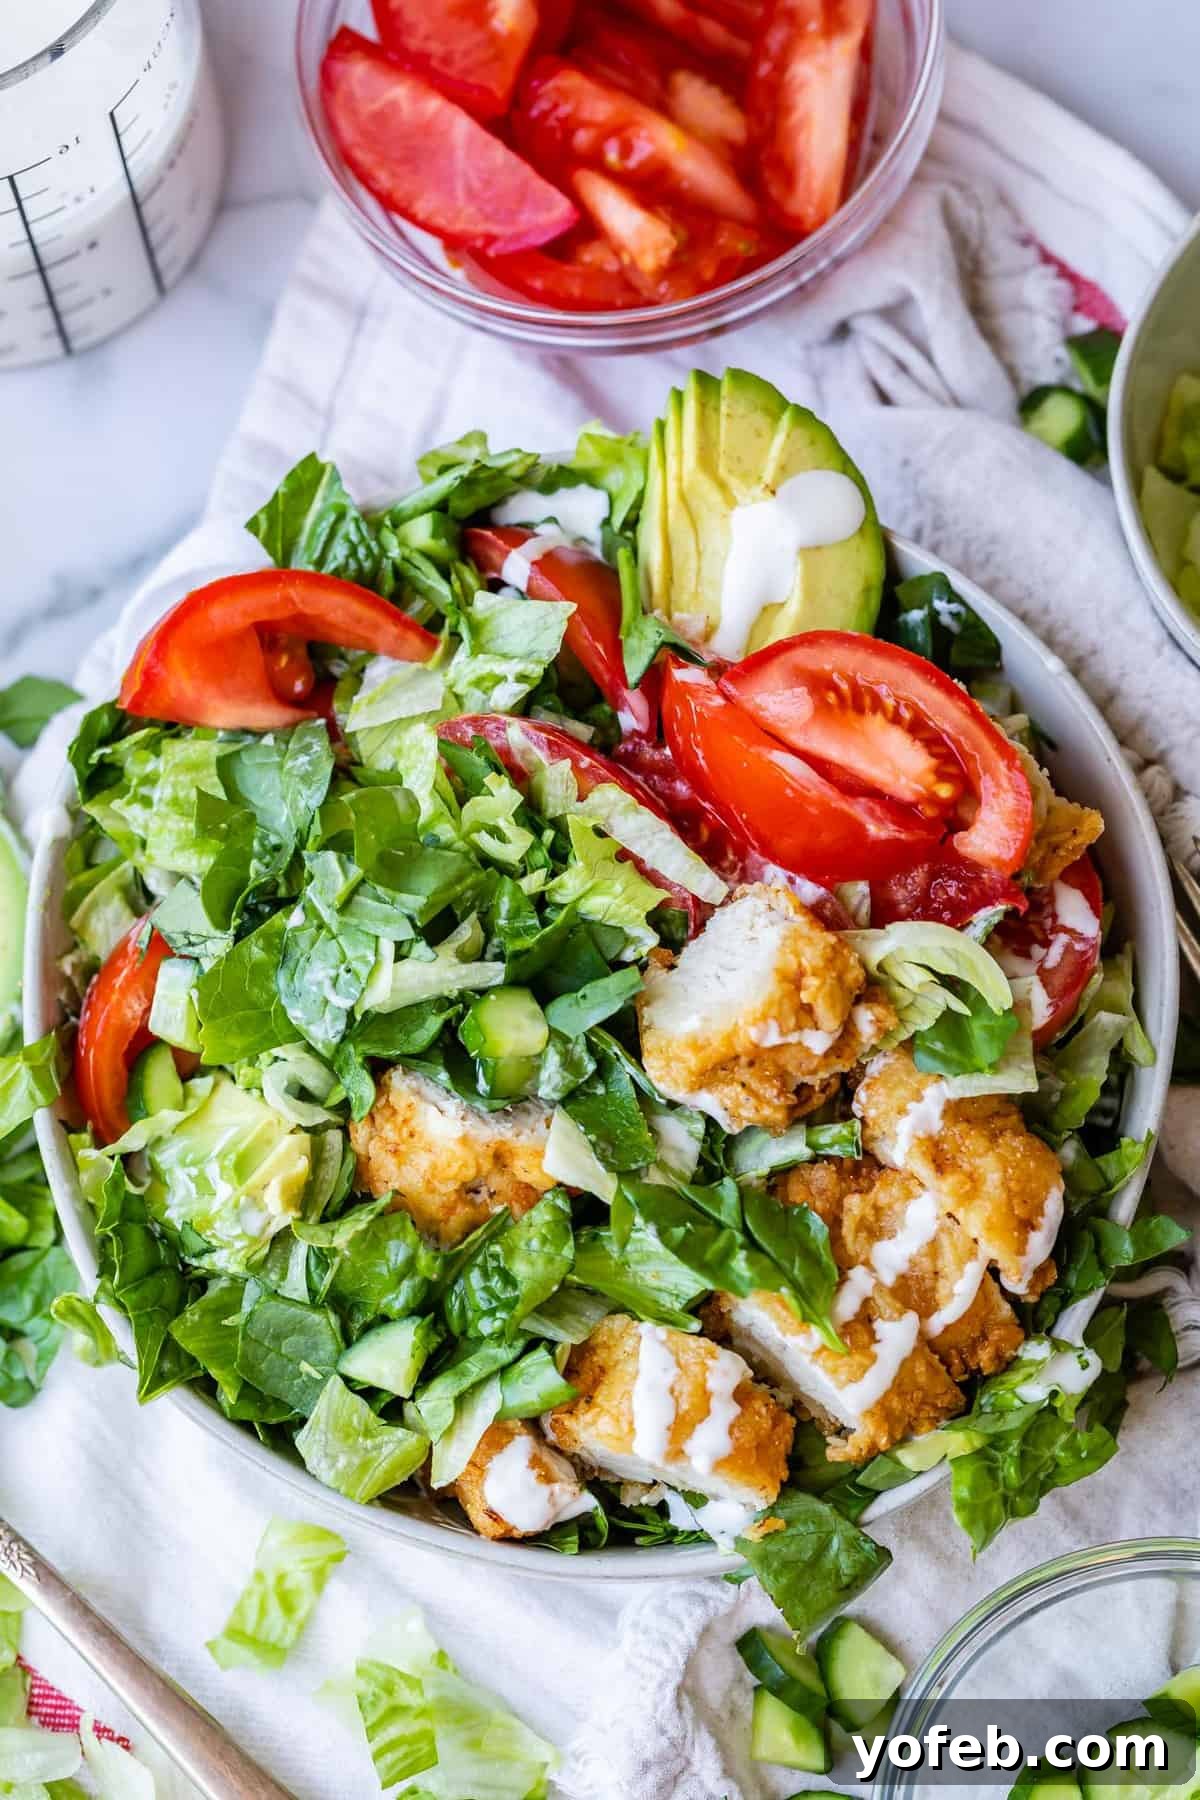
Serve the freshly fried, crispy chicken atop your vibrant salad greens, generously drizzling with your homemade buttermilk ranch dressing. The contrast between the warm, crispy chicken and the cool, fresh vegetables, all brought together by the creamy, zesty dressing, creates a truly unforgettable meal. Whether it’s for a family dinner or a delightful lunch, this Crispy Chicken Salad is sure to become a cherished recipe.
More Delicious Salad Recipes You Will Love!
If you’ve enjoyed this delightful Crispy Chicken Salad, you’re in for a treat with these other fantastic salad recipes:
- Creamy Buttermilk Ranch Dressing << The ultimate homemade ranch, perfect for today’s salad and so much more!
- My Favorite Green Goddess Salad << A healthy, incredibly flavorful, and beautifully green salad.
- Crunchy Asian Cabbage Salad with Crispy Fish << An easy and delicious meal using frozen fish fillets for convenience.
- Pineapple Spinach Salad << A tropical twist on the classic strawberry spinach salad, bursting with sweet and savory notes.
- Raspberry Avocado Salad << Simple yet elegant, letting the fresh ingredients truly shine.
- Apple Gorgonzola Salad << Recreate the restaurant favorite from Buca di Beppo at home.
- Beer-Battered Fish Burrito Bowl with Orange Avocado Salsa << Customize with crispy fish or chicken for a hearty, flavorful bowl.
- Strawberry Panzanella Salad << Featuring delicious fried bread, a must-try for salad enthusiasts!
- Sonoma Salad from A Classic Twist
- Chef Salad Recipe from Diethood
- Ultimate Cobb Salad from Tried and Tasty
Stay connected for more culinary inspiration and delicious recipes!
Facebook | Pinterest | Instagram

Crispy Chicken Salad with Buttermilk Dressing
Print Recipe
Ingredients
For the crispy chicken buttermilk marinade
- 2 cups buttermilk
- 1 & 1/2 teaspoons kosher salt
- 1/2 teaspoon paprika
- 3/4 teaspoon onion powder
- 1/2 teaspoon garlic powder
- 1/4 teaspoon cayenne pepper
- 1 large egg
- 2 & 1/2 pounds frozen chicken tenderloins, thawed
For the chicken shake
- 1 cup flour
- 1 cup tempura mix
- 1/4 cup yellow cornmeal
- 4 teaspoons kosher salt
- 2 teaspoons onion powder
- 1 & 1/2 teaspoons dry chicken bouillon powder
- 1/2 teaspoon black pepper
- 1/2 teaspoon garlic powder
- 1/8 to 1/4 teaspoon cayenne pepper
To fry
- several cups of oil, enough to fill a wide skillet about 1 inch high
To assemble
- 1 head romaine lettuce
- 1 head iceberg lettuce
- 3 cups baby spinach, sliced
- 1 medium cucumber, quartered and sliced
- 6-8 tomatoes, sliced into wedges
- 2-3 avocados, sliced
- homemade ranch dressing, click for recipe
Instructions
-
If you are making homemade ranch dressing, prepare it now so it has time to chill and for flavors to meld.
-
Begin by marinating the chicken: In a large bowl, combine 2 cups buttermilk, 1 and 1/2 teaspoons kosher salt, 1/2 teaspoon paprika, 3/4 teaspoon onion powder, 1/2 teaspoon garlic powder, 1/4 teaspoon cayenne pepper (adjust to your preferred spice level), 1 large egg, and 2 and 1/2 pounds of thawed boneless chicken (tenderloins are recommended for consistent cooking).
-
Stir the marinade well to ensure all chicken pieces are coated. Marinate in the refrigerator for at least 1 hour, or up to 24 hours for enhanced flavor and tenderness.
-
When you are ready to fry, prepare the dry chicken shake: In a large ziplock bag, add all the dry ingredients: 1 cup flour, 1 cup tempura mix (or substitute with additional flour for a less textured crisp), 1/4 cup yellow cornmeal, 4 teaspoons kosher salt, 2 teaspoons onion powder, 1 and 1/2 teaspoons dry chicken bouillon powder, 1/2 teaspoon black pepper, and 1/8 to 1/4 teaspoon cayenne pepper (add more for spicier chicken).
-
Remove the chicken from the fridge. Allow excess marinade to drip off each piece for a few seconds before adding it to the bag of dry ingredients. Coat each piece thoroughly by shaking the bag. If pieces stick together, separate them by hand and ensure they are fully covered with the flour mixture.
-
Place the ziplock bag containing the coated chicken in the freezer for approximately 15 minutes to 1 hour. If freezer space is limited, the refrigerator will also work. This step helps the batter adhere and promotes crispiness.
-
Meanwhile, heat the oil. In a 12-inch high-sided skillet, add about 1 inch of a neutral frying oil (e.g., vegetable, peanut, canola, or light-flavored olive oil). Heat on medium-high for about 15 minutes, until the oil is shimmering and a small piece of bread bubbles vigorously when added.
-
Once the oil is hot, retrieve the chicken from the freezer. Carefully add chicken pieces one at a time, ensuring they do not touch. Fry for about 5 minutes per side until golden brown and an internal temperature of 160°F is reached (it will continue to cook slightly after removal).
-
Remove the cooked chicken to a cooling rack placed over paper towels or a paper grocery bag to absorb excess oil. The color will deepen slightly as it cools.
-
Fry the chicken in 2-3 batches to avoid overcrowding the skillet. Keep any uncooked chicken in the freezer while waiting for other batches to fry.
-
While the chicken cooks, prepare all your vegetables. Wash and chop one head of romaine and one head of iceberg lettuce. Slice approximately 3 cups of baby spinach, one medium cucumber, 6-8 tomatoes into wedges, and 2-3 avocados. For best results, toss the greens and cucumbers together in a bowl, and keep tomatoes and avocados separate until assembly to maintain their freshness.
-
Assemble the salad by topping your prepared vegetables with the warm, crispy fried chicken and a generous amount of homemade ranch dressing. Store-bought ranch can be used for convenience, though homemade offers superior flavor.
Notes
For a quicker alternative, use pre-made frozen crispy chicken fillets and bake them according to package instructions. While not quite the same as fresh fried, it still makes a delicious salad.
Save your used frying oil for future use! Once completely cool, carefully strain the oil through a funnel lined with a fine-mesh strainer into a clean jar or the original oil bottle. Store in a cool, dark place. Frying oil can typically be reused 2-3 times.