

Craving a classic, melt-in-your-mouth treat that brings back childhood memories? Look no further! This isn’t just another Rice Krispie Treats recipe; it’s the **absolute best** method for achieving the chewiest, softest, most marshmallow-stretch-iest squares you’ll ever bite into. While these no-bake wonders seem simple, many fall victim to rock-hard, dry results. Say goodbye to disappointment! I’ve meticulously perfected this recipe, incorporating all the essential tips and tricks to guarantee a perfect batch every single time. Originally shared on November 5, 2020, this beloved recipe has been continuously refined to ensure unparalleled gooey goodness.
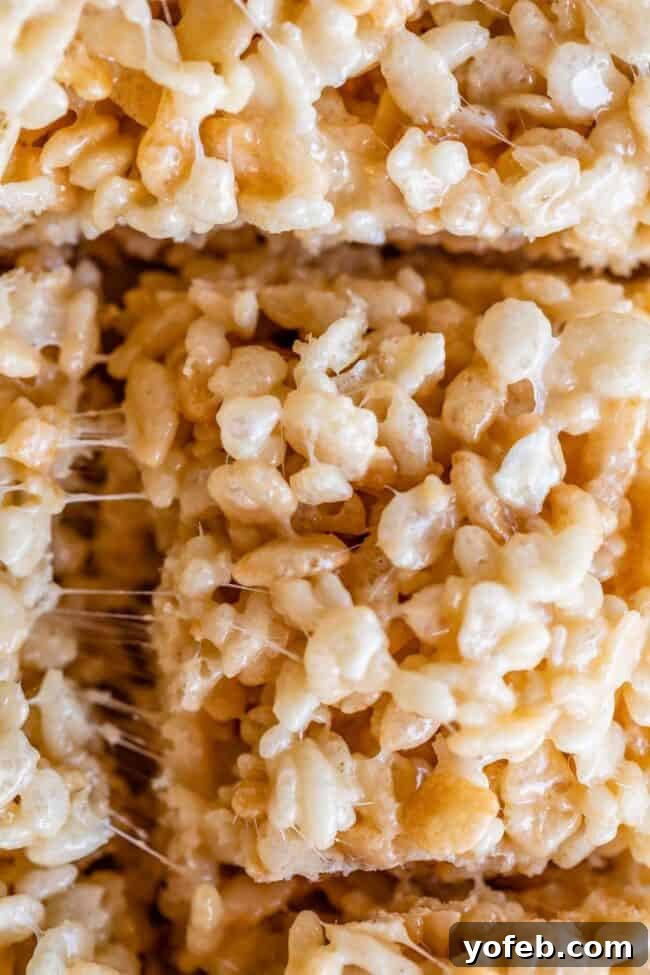
Table of Contents
- The Quest for Perfect Rice Krispie Treats
- Essential Ingredients for Gooey Rice Krispie Treats
- How to Make the Best Rice Krispie Treats
- The Secret to Unforgettable Flavor
- To Mix-In or Not to Mix-In?
- Common Mistakes and How to Avoid Them
- Storing Your Perfect Rice Krispie Treats
- How Long Do Rice Krispie Treats Stay Fresh?
- Should You Refrigerate Rice Krispie Treats?
- Rice Krispie Treats Recipe FAQs
- More Irresistible No-Bake Treats
- Best Rice Krispies Treats Recipe
I’ll be honest, I’m not what you’d call a “crafty” person. My Pinterest boards are exclusively dedicated to recipes. As Jacqueline from Ever After famously said, “I’m only here for the food.” I often feel like I was meant to be a mom in the 90s, when birthday parties were blissfully simple: pizza, cake, and kids just screaming with joy. That’s how I remember my own childhood parties, anyway.
However, modern birthday parties often demand an “Instagram-worthy” aesthetic. In a valiant attempt to create lasting memories for my daughter, I decided to craft homemade invitations for her Rapunzel-themed birthday. Pinterest suggested braiding yellow yarn and gluing it on for a cute touch. Being incredibly frugal, I only had twine at home. Twine is kind of blonde-ish, right?
Apparently, twine is a little *too* close to natural blonde. After I posted a picture of the invitation on Instagram, my inbox was flooded with messages like, “Did you cut off your daughter’s braid for her birthday invitation??”

You guys, people probably think I’m a serial killer! No, I absolutely did not cut off my daughter’s braid! But I can totally see why they were confused. #90smomatheart. It’s safe to say, crafting invitations is not my forte. From now on, I’m buying them.
The Quest for Perfect Rice Krispie Treats
But you know what *is* my forte? These irresistible Rice Krispie Treats.
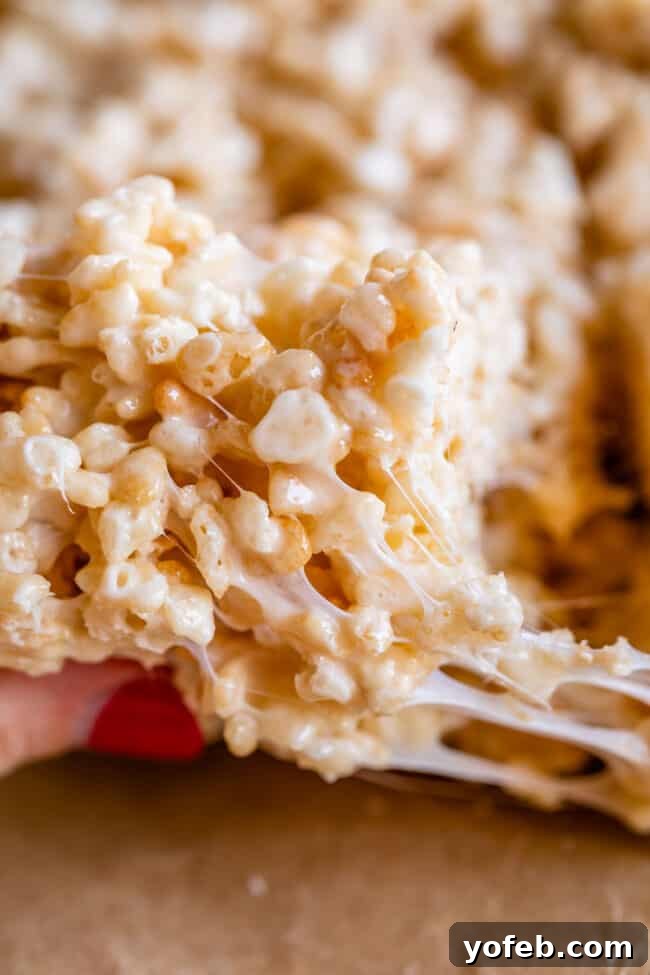
Be honest: how many truly bad, rock-hard Rice Krispie Treats have you encountered in your life? It’s a common tragedy. I still remember a fateful day in Sunday school as a child. My kind teacher brought in Rice Krispie Treats, and they were so incredibly hard and dry that I actually lost a loose tooth trying to take a bite!
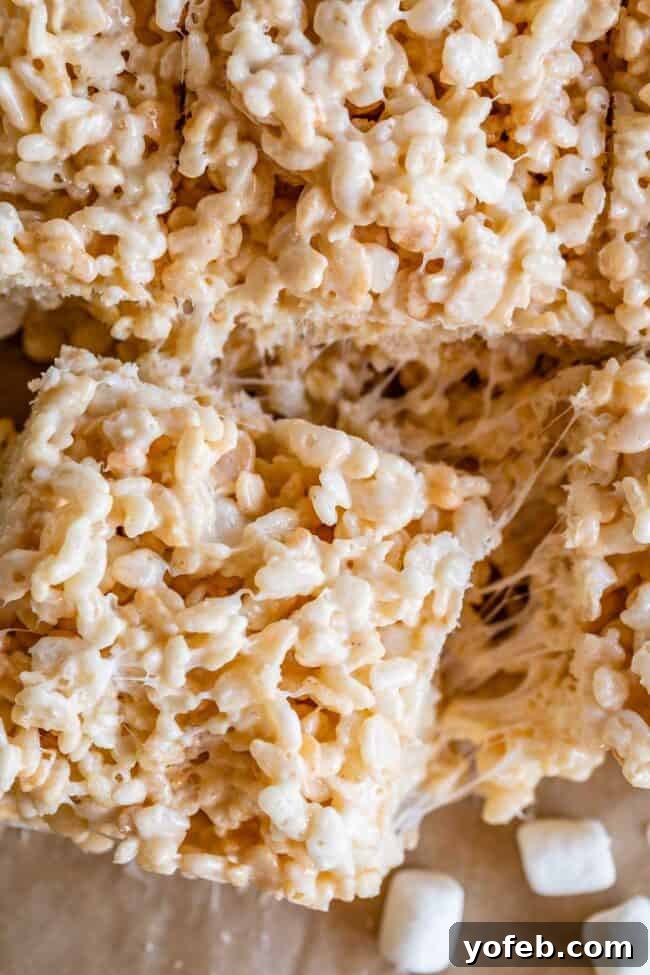
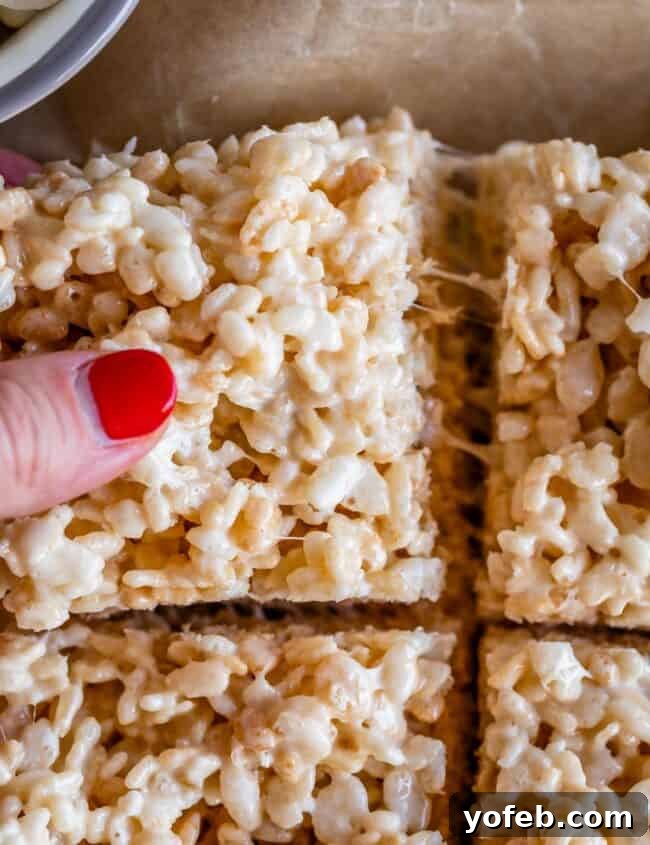
Since then, I’ve become incredibly discerning. Every Rice Krispie Treat I encounter undergoes the “bend test.” If it bends easily, I’ll indulge. If it’s stiff and unyielding, I politely decline. I’m not looking to lose any more teeth, thank you very much! That bendy quality signals a perfectly balanced ratio of buttery marshmallow to crispy rice cereal, guaranteeing a delightful texture. And trust me, after countless batches, I’ve finally nailed that perfect balance.
Featured Comment
“Oh my goodness!! You really knocked it out of the park with that flavor profile. I haven’t made these in ages, because they always just come out too hard, but are one of my favorite treats…unfortunately, this will now make it MUCH more difficult to resist wanting to make them!!” – Liz
See All Comments
Essential Ingredients for Gooey Rice Krispie Treats
Crafting the perfect batch of Rice Krispie Treats starts with selecting the right ingredients. While the list is short, each component plays a crucial role in achieving that signature soft, chewy, and irresistibly gooey texture. Here’s a quick shopping guide to get you started. For precise measurements and step-by-step instructions, simply jump to the recipe cardbelow!
- Salted Butter: This is a non-negotiable for flavor. Salted butter not only adds richness but also beautifully balances the sweetness of the marshmallows, preventing the treats from being overly saccharine. If you only have unsalted butter, simply add an extra ¼ teaspoon of kosher salt to the mixture.
- Fresh Marshmallows: The freshness of your marshmallows makes a huge difference. Older, stale marshmallows can lead to dry, stiff treats. Opt for fresh mini or regular-sized marshmallows for optimal melt and stretch. The good news is, mini and regular marshmallows measure the same by weight for this recipe.
- Kosher Salt: Beyond the butter, a touch of kosher salt amplifies all the other flavors, creating a more complex and satisfying taste. It’s a small addition with a big impact!
- Flavor Extracts (Vanilla, Almond, Coconut): While vanilla is a must, the addition of almond and coconut extracts takes these treats to an entirely new level. They create a unique and incredibly fragrant flavor profile that will have everyone asking for your secret. Almond and coconut are optional, but highly recommended for an elevated experience.
- Crispy Rice Cereal: Of course, you need the star of the show! Ensure your crispy rice cereal is fresh for that satisfying crunch that contrasts perfectly with the gooey marshmallow.
How to Make the Best Rice Krispie Treats
Achieving that delightful bendy, stretchy, marshmallow-rich texture isn’t rocket science, but it’s all about precision in your ratios and careful technique! It’s surprisingly easy to go wrong with a recipe that only calls for a few basic ingredients. Too much cereal and your treats will be dry and brittle. Too little marshmallow, and they won’t hold their shape or offer that satisfying stretch. Overdo the butter, and you’ll end up with a greasy mess. Remember my lost tooth story? It’s a testament to how crucial the right balance is!
The Golden Ratios for Perfect Rice Krispie Treats
After numerous tests and taste-offs, I’ve confidently settled on these precise ratios to ensure maximum gooeyness and ideal consistency:
- 1/2 cup (4 ounces) Salted Butter: This amount provides richness and ensures the marshmallow mixture doesn’t stick excessively without making the treats greasy.
- 16 ounces (8 cups) Fresh Marshmallows: This generous amount is the secret to the ultimate gooey and stretchy texture. Don’t skimp on the marshmallows!
- 7 cups (7 ounces) Crispy Rice Cereal: This ensures enough crispiness to contrast with the soft marshmallow while maintaining that signature treat structure.
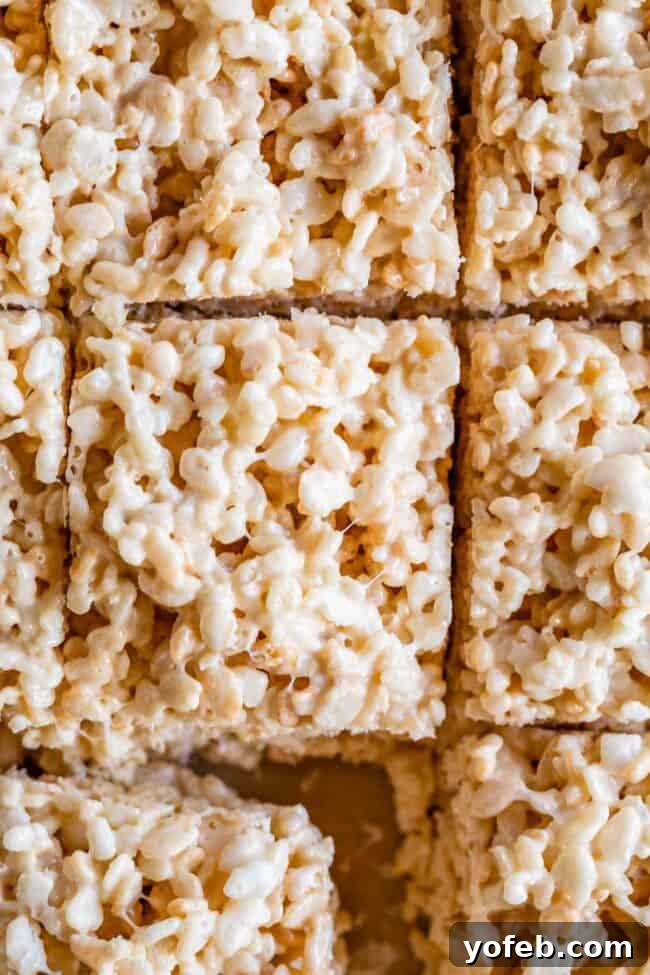
This exact combination yields bars that firmly hold their shape yet are supremely gooey – expect sticky fingers and glorious marshmallow stretches that might just reach your chin! Consider this a warning, not an apology.
For those who love to experiment with their own Rice Krispie Treat creations, here are a couple of useful measurement conversions:
- 1 cup mini marshmallows = approximately 2 ounces
- 1 cup crispy rice cereal = approximately 1 ounce
Once your ingredients are accurately measured, you’re ready to create these perfect Rice Krispie Treats. Start by preparing a 9×13-inch baking pan. You can either coat it generously with nonstick cooking spray or, my preferred method, line it completely with parchment paper, leaving an overhang on the sides. This makes lifting the cooled treats out for cutting incredibly easy and mess-free. Next, melt the salted butter in a large pot over medium heat.
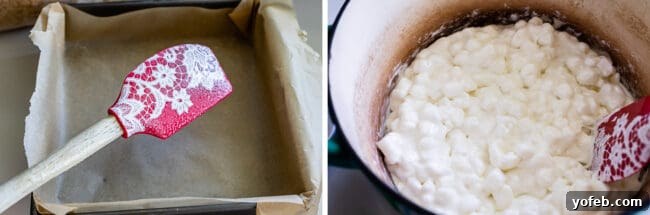
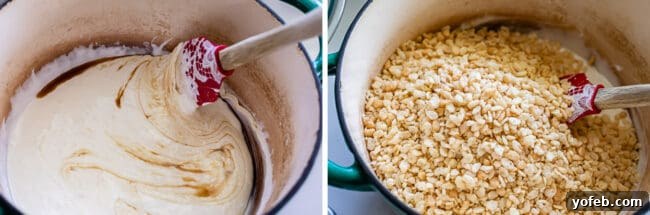
Once the butter is fully melted and shimmering, add all your marshmallows to the pot. Stir continuously over medium heat. Consistent stirring prevents the marshmallows from burning or sticking to the bottom of the pot. Continue until the marshmallows are completely smooth and lump-free, transformed into a glossy, melted cloud.
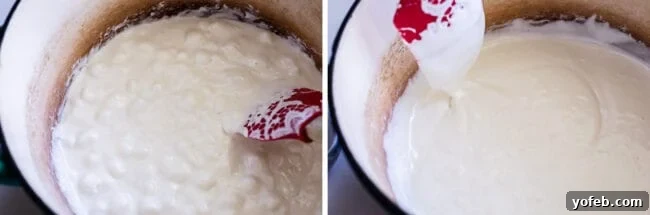
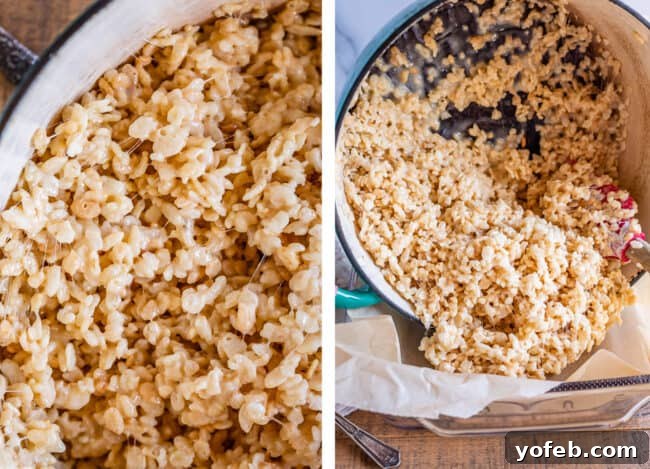
Immediately remove the pot from the heat. This step is crucial to prevent the marshmallows from becoming too stiff. Quickly stir in the kosher salt, vanilla extract, and if using, the almond and coconut extracts. The heat from the melted marshmallows will help these extracts fully incorporate. Next, pour in the crispy rice cereal. Using a sturdy rubber spatula (preferably one you’ve lightly coated with nonstick spray), quickly and gently fold everything together until the cereal is evenly coated with the marshmallow mixture.
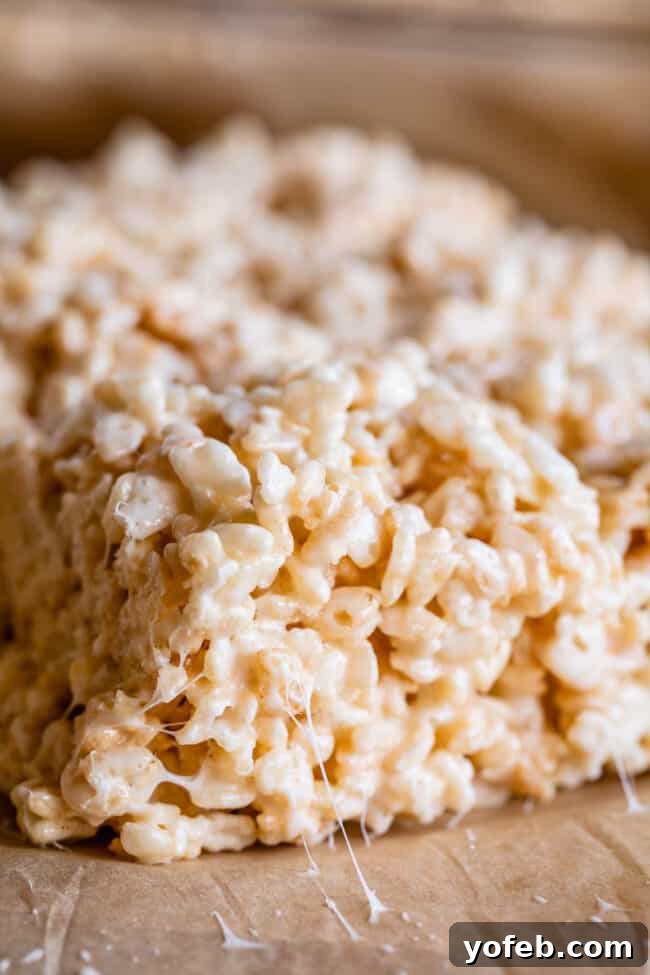
Carefully pour the warm, sticky mixture into your prepared 9×13-inch pan. Now for another key technique: lightly dampen your hands under cool water for a few seconds (or spray them with nonstick spray – it feels a bit odd but is incredibly effective). Using your wet or greased hands, gently press the mixture evenly into the pan. The emphasis here is on **gently**! Do not pack them down too hard, as this is a primary culprit for dense, hard-to-chew treats.
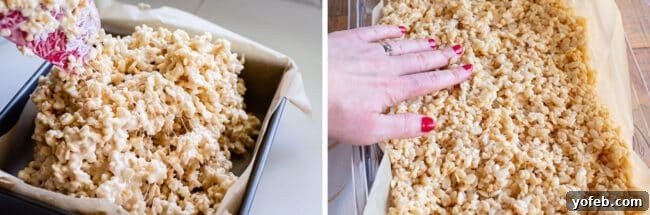
Allow the treats to cool undisturbed at room temperature for about an hour. If you’re impatient (and who could blame you for wanting to dig into these!), you can slice them after about 30 minutes for an extra-gooey experience. Once cooled, use the parchment paper overhang to lift the entire block of treats from the pan, then use a sharp knife to cut them into perfect squares. That’s it – you’ve mastered the art of truly unforgettable Rice Krispie Treats!
The Secret to Unforgettable Flavor: Elevating Your Rice Krispie Treats
While the classic Rice Krispie Treat is wonderful on its own, I’ve discovered a simple yet transformative secret to elevate their flavor profile: a blend of extracts. Vanilla extract is a non-negotiable for me. It doesn’t just add a beautiful fragrance; it deepens and enhances the inherent sweetness of the marshmallows, making the overall taste much richer and more complex.
But why stop at vanilla? For an truly extraordinary experience, I take it a step further by adding a touch of almond extract and coconut extract alongside the vanilla. This combination might sound unconventional, but I swear by it! These aren’t just random additions; they are the secret ingredients that make my favorite Buttercream Frosting for Sugar Cookies so uniquely delicious. The subtle nutty notes of almond paired with the sweet, tropical hint of coconut creates an amazing, nuanced flavor profile that perfectly complements the marshmallow and crispy rice. You are welcome to omit the almond and coconut extracts if you prefer a more traditional taste, but please, whatever you do, do not skip the vanilla. It is a powerhouse of flavor and essential for the best possible outcome!
To Mix-In or Not to Mix-In? The Great Rice Krispie Debate
Okay, perhaps my stance is a *little* exaggerated! There absolutely is a time and place for creative mix-ins, like in these delightful Cranberry Brown Butter Rice Krispie Treats, which offer a sophisticated twist on the classic. However, when it comes to the original, pure, unadulterated Rice Krispie Treat, I consider myself a purist.
Many recipes suggest reserving a cup of mini marshmallows and stirring them in with the cereal at the end, creating little pockets of whole marshmallow throughout your treats. While I appreciate the concept, I personally prefer a seamless, homogenous gooeyness. I’m not a fan of whole marshmallows in my ice cream, and the same goes for my classic Rice Krispie Treats. Give me a smooth marshmallow swirl any day!
But if you are someone who loves those extra marshmallow bites, I’m certainly not here to judge your preferences! My main advice is this: if you decide to incorporate mix-ins, especially extra marshmallows, make sure to *add* them in addition to the amount specified in the recipe. Do not reduce the core marshmallow quantity to make room for your mix-ins, as this will compromise the crucial butter-marshmallow-cereal ratio and lead to drier, harder treats. You want to maintain that signature gooey foundation.
This recipe works wonderfully in both a traditional 9×13-inch pan and a smaller square 8×8 or 9×9-inch pan. If you use a square pan, your resulting bars will simply be thicker, offering an even more substantial bite. I personally find the 9×13-inch pan yields the perfect thickness for easy handling and sharing.
Common Mistakes and How to Avoid Them for Perfectly Gooey Treats
Even though Rice Krispie Treats boast a simple ingredient list, several common pitfalls can turn them from perfectly gooey to disappointingly hard. Here’s a detailed guide to sidestep those errors and ensure your treats are always a triumph:
- Forgetting to Line Your Pan: This is a simple but critical step. Always line your 9×13-inch pan with parchment paper, allowing some overhang on the sides. This creates “handles” that let you easily lift the entire slab of cooled treats out, making slicing incredibly clean and preventing sticky situations.
- Using Stale Marshmallows: The freshness of your marshmallows directly impacts the final texture. Old marshmallows, those bags lingering in the back of your pantry from last holiday season, tend to be drier and won’t melt into that perfectly smooth, stretchy consistency. Always opt for fresh marshmallows for the softest, most pliable treats.
- Skipping Salted Butter (or Added Salt): Salted butter is not just for convenience; it’s a flavor enhancer. The salt cuts through the intense sweetness of the marshmallows, creating a more balanced and palatable treat. If you only have unsalted butter, simply add an extra 1/4 teaspoon of kosher salt to the melted marshmallow mixture.
- Underestimating the Power of Extracts: Vanilla extract is essential; it deepens the flavor of the marshmallows. For an extra special touch, adding a whisper of almond and coconut extracts creates a unique, irresistible aroma and taste profile. Don’t think of these as optional frills; they truly enhance the overall experience.
- Pressing Too Hard into the Pan: This is arguably the most common mistake leading to rock-hard treats. After pouring the mixture into the pan, resist the urge to compact it tightly. Use wet or lightly greased hands (nonstick spray works wonders here) to *gently* spread and press the mixture into an even layer. You just want it to fill the pan’s shape, not be smashed down. Gentle handling preserves the airiness and ensures a tender, easy-to-bite texture.
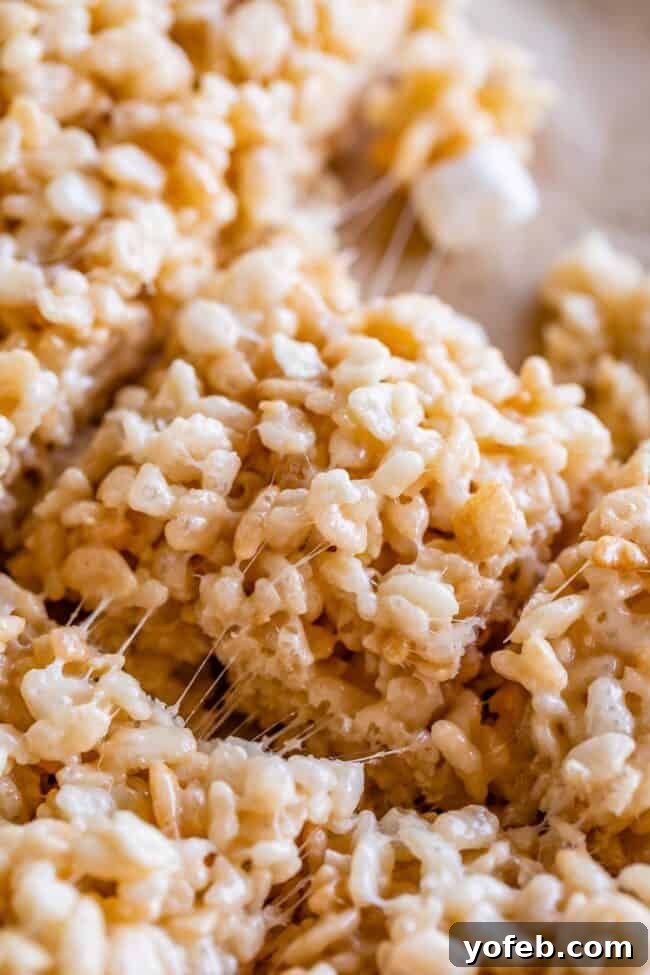
I genuinely hope you get a chance to make these spectacular treats soon! Maybe I’ll make a giant batch for my daughter’s next birthday party. Do you think a mountain of perfectly gooey Rice Krispie Treats will finally make everyone forget about the slightly unsettling twine-braid incident?
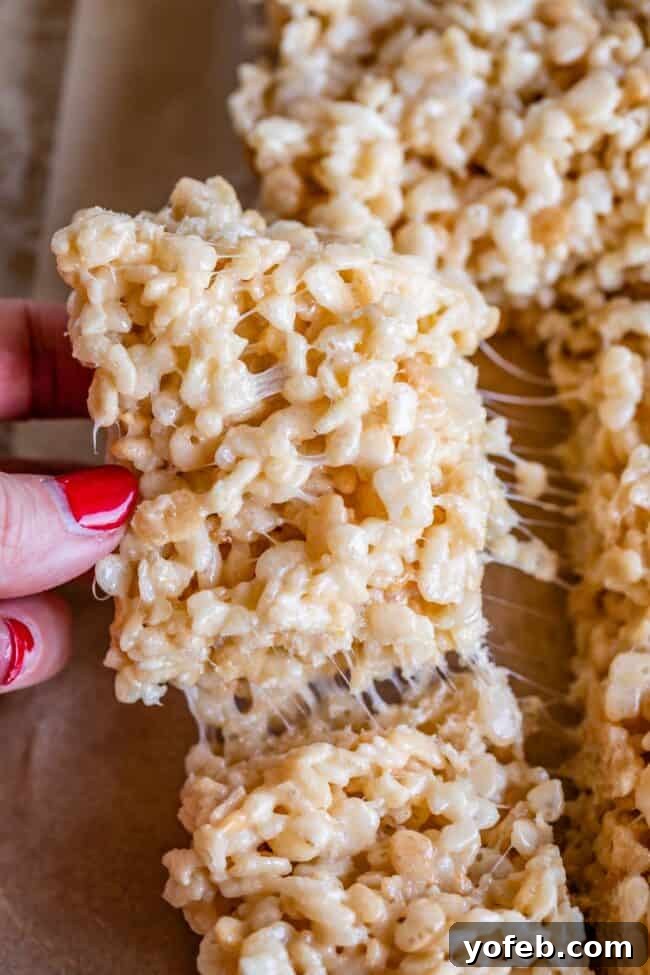
Storing Your Perfect Rice Krispie Treats for Maximum Freshness
Proper storage is key to maintaining the delightful softness and chewiness of your homemade Rice Krispie Treats. Once cooled and cut, transfer them to an airtight container, such as a Tupperware or a sturdy ziplock bag. This prevents air exposure, which is the primary culprit behind dried-out, hard treats. They will remain wonderfully soft and fresh on your kitchen counter at room temperature for about 3 to 5 days. While technically you can freeze them for several weeks, I generally don’t recommend it. The freezing and thawing process can introduce moisture, which tends to make the cereal soggy and compromises that satisfying crisp-and-chewy texture. Trust me, they’re so delicious, they rarely last long enough to even consider freezing!
How Long Do Rice Krispie Treats Stay Fresh?
Due to their high sugar content and low moisture, Rice Krispie Treats aren’t highly perishable. They hold up very well at room temperature. When stored in an airtight container, they typically retain their optimal softness and flavor for 3 to 5 days. They’re perfect for packing in lunch boxes, bringing to potlucks, or simply leaving on the counter for easy snacking. After about five days, you might notice them starting to firm up slightly, but they’ll still be edible. For best results, enjoy them within the first few days of making them.
Should You Refrigerate Rice Krispie Treats?
Absolutely not! Contrary to what some might assume, refrigerating Rice Krispie Treats is a common mistake. The cool temperature of the refrigerator actually causes the marshmallows to stiffen and harden significantly, leading to a much less enjoyable, dense texture. Your treats will stay perfectly soft, gooey, and fresh for 3-5 days in an airtight container stored at room temperature. Just try to make them last that long without devouring them all!
Rice Krispie Treats Recipe FAQs
The secret lies in perfecting the marshmallow-to-cereal ratio! Too little marshmallow will result in dry, crumbly treats that don’t hold their shape, while too much can make them overly sticky and difficult to manage. My perfected ratio ensures they hold together beautifully while remaining incredibly soft and chewy.
Here’s the ideal ratio for this recipe:
– ½ cup salted butter (4 ounces)
– 8 cups fresh mini marshmallows (16 ounces)
– 7 cups crispy rice cereal (7 ounces)
These treats don’t really “harden” in the traditional sense if made correctly; they simply cool and set. It typically takes about an hour at room temperature for them to cool off completely and firm up enough for clean slicing. However, if you’re like me and can’t wait, you can start digging in after just 20-30 minutes for an extra-gooey, warm experience. And honestly, who would mind that?
There are a couple of primary reasons your treats might lack crispiness or feel soggy. First, check the freshness of your cereal. Old or stale crispy rice cereal can lose its crunch, leading to a less satisfying texture. Always use fresh cereal for the best results. Second, you might have used too much butter. While butter adds flavor and prevents sticking, an excessive amount can saturate the cereal, making it soggy and preventing proper mixing with the marshmallow.
The most common culprit for hard Rice Krispie Treats is overheating the marshmallows. When marshmallows are cooked over high heat or for too long, their sugar molecules become brittle, resulting in a stiff, unyielding treat once cooled. The key is to melt both the butter and the marshmallows over *medium heat*, stirring consistently. It might take a few extra minutes, but the reward of soft, wonderfully gooey treats is absolutely worth the patience! Additionally, over-compacting the mixture into the pan can also contribute to a dense, hard texture.
Absolutely! While crispy rice cereal is the classic choice, you can experiment with other puffed cereals like Cheerios, Chex, or even puffed wheat. Keep in mind that different cereals absorb marshmallow mixture differently, so you might need to slightly adjust the ratio to achieve the perfect consistency. Start with the recommended amount and adjust if the mixture feels too wet or too dry.
Yes, you can! Mini and large marshmallows are interchangeable in this recipe, as long as you use the same weight (16 ounces). If using large marshmallows, simply cut them into smaller pieces before melting to help them melt more evenly and quickly. The end result will be just as delicious and gooey.
More Irresistible No-Bake Treats You Are Going to Love!
If you’re a fan of quick, easy, and delicious no-bake desserts, you’re in for a treat! These recipes require minimal effort and no oven time, making them perfect for busy days, impromptu cravings, or whenever you need a sweet fix without heating up the kitchen. Expand your no-bake repertoire with these fantastic ideas:
- Halloween Rice Krispie Treats (Candy Corn Shape) >> These festive treats are incredibly easy to make and a huge hit with kids during the spooky season!
- Cranberry Brown Butter Rice Krispie Treats >> A sophisticated and unique twist on the classic, perfect for holiday gatherings or as a thoughtful homemade gift.
- Krispie Ice Cream Squares >> An oldie but a goodie! This recipe is refreshingly different and absolutely ideal for summer parties.
- Easy Butterscotch Popcorn Balls >> Butterscotch and peanut butter are a match made in heaven. These are wonderfully sweet and chewy.
- 10 Minute Caramel Popcorn in the Microwave >> Yes, you read that right – incredible caramel popcorn in just 10 minutes, all thanks to your microwave!
- The Best Homemade English Toffee >> While it has a cook step, this indulgent treat is fantastic for gifting during the holidays and surprisingly manageable.
- Oreo Truffles >> Ridiculously easy to make, incredibly decadent, and always a crowd-pleaser.
- Sticky Sweet and Salty Chex Mix (Christmas Crack) >> Be warned: this stuff is highly addictive and disappears fast!
- Hot Cocoa Crispies Bites from Tastes of Lizzy T >> A cozy, chocolatey spin on crispy treats.
- Cocoa Krispie Treats Pinwheels from Hungry Happenings >> A fun and visually appealing treat with a delicious peanut butter fudge swirl.
- No Bake M&Ms Granola Bars from Easy Peasy Mealz >> A colorful and chewy snack that’s perfect for kids and adults alike.
Facebook | Pinterest | Instagram

Best Rice Krispies Treats
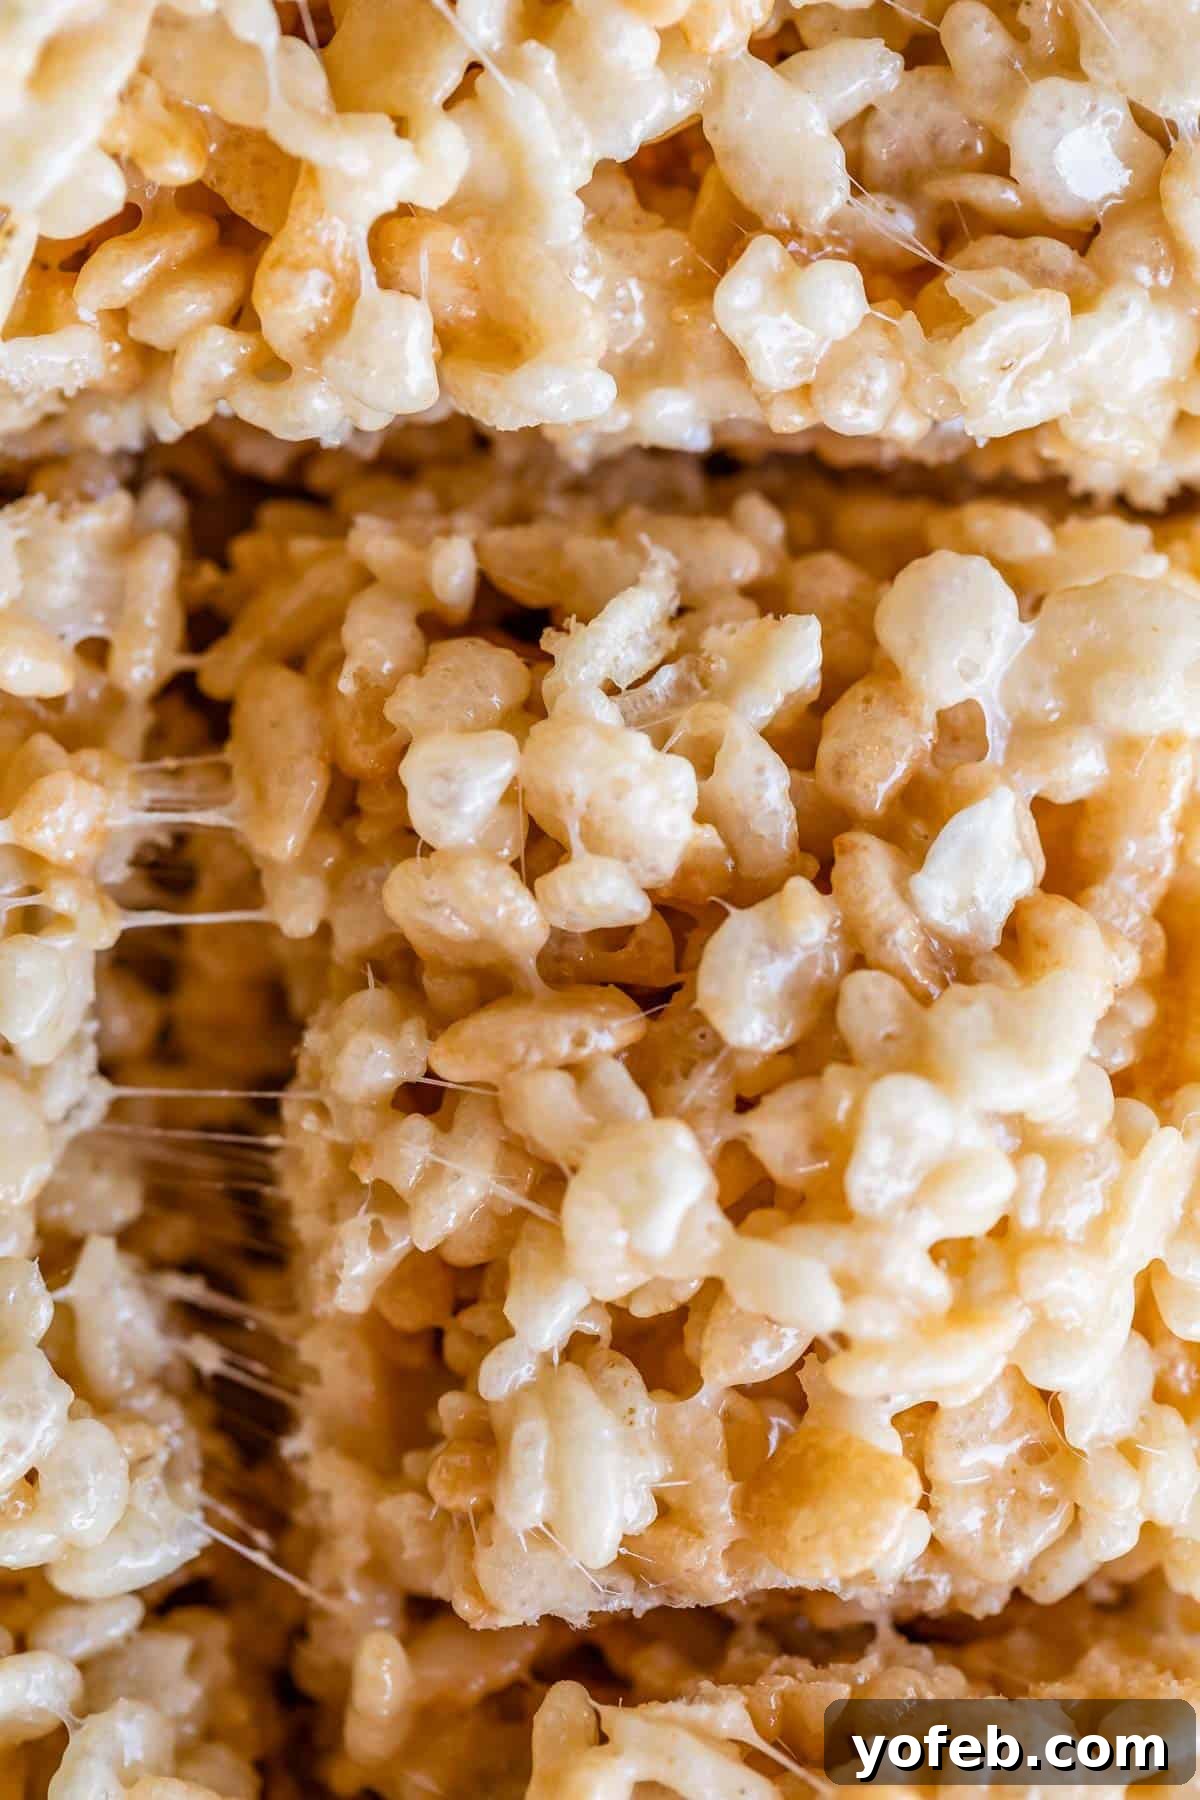
Ingredients
- 1/2 cup salted butter, (1 stick)
- 16 ounces fresh marshmallows, 8 cups mini
- 1/4 teaspoon kosher salt
- 1 teaspoon vanilla extract
- 1/4 teaspoon almond extract, optional
- 1/4 teaspoon coconut extract, optional
- 7 cups Rice Krispies cereal
Instructions
-
Prepare
a 9×13 inch baking pan by greasing it with nonstick cooking spray or, preferably, lining it completely with parchment paper, leaving an overhang on the sides. The parchment paper method allows for easy lifting and clean slicing later.
-
In a large, heavy-bottomed pot, melt 1/2 cup (1 stick) of salted butter over medium heat. Ensure the butter is fully melted and shimmering. Use your spatula to spread a thin layer of butter a little up the sides of the pot to prevent sticking.
-
Add 16 ounces of fresh marshmallows to the melted butter. Using fresh marshmallows is crucial for achieving that soft, gooey texture; older, stale marshmallows tend to result in harder treats. You can use either large or mini marshmallows; they measure the same by weight (16 ounces of mini marshmallows will be approximately 8 cups).
-
Continuously stir the marshmallows over medium heat until they are completely melted and smooth, with no lumps remaining. I recommend using a rubber spatula that has been lightly sprayed with nonstick spray to prevent the sticky marshmallow from clinging.
-
Once the marshmallows are fully melted and perfectly smooth, immediately remove the pot from the heat. Overcooking the marshmallows at this stage is a common cause of hard treats.
-
Quickly stir in 1/4 teaspoon kosher salt, 1 teaspoon vanilla extract, 1/4 teaspoon almond extract, and 1/4 teaspoon coconut extract (if using the optional extracts). Mix well until all the extracts and salt are fully incorporated into the warm marshmallow mixture.
-
Add 7 cups of crispy rice cereal to the pot. For reference, 1 cup of crispy rice cereal weighs approximately 1 ounce, so you will need 7 ounces total.
-
Using the rubber spatula (re-spray with nonstick spray if it’s too sticky), quickly and gently fold the cereal into the marshmallow mixture. Work efficiently, as the mixture will become harder to stir as it cools. Ensure all the cereal is evenly coated.
-
Pour the warm Rice Krispie mixture into the prepared 9×13 inch pan. To prevent sticking, lightly dampen your hands with cool water or spray them with nonstick spray. Then, use your hands to GENTLY press the mixture evenly into the pan. This “gentle” pressing is crucial! Avoid pressing down too hard, as this compacts the treats and makes them dense and difficult to bite into. You simply want to maneuver them into an even layer that fills the pan.
-
Allow the Rice Krispie Treats to cool completely at room temperature for about an hour. If you prefer them extra gooey and warm, you can cut into them a bit sooner, around 30 minutes after setting.
-
Once cooled and set, use the parchment paper overhang to lift the entire slab of treats out of the pan. Place them on a cutting board. Use a sharp, greased knife to cut them into your desired squares or bars.
-
Store any leftover Rice Krispie Treats in an airtight container at room temperature. They do not require refrigeration and will stay soft and fresh for 3-5 days. Freezing is not recommended, as the cereal tends to become soggy upon thawing due to moisture.
Video
Notes
This recipe yields a generous amount of rice krispie treats that perfectly fit a standard 9×13-inch pan. If you prefer thicker bars, you can use a smaller square pan (such as an 8×8 or 9×9 inch) without adjusting the ingredient quantities – your treats will just be wonderfully substantial! Alternatively, you can halve the recipe if you wish to use a square pan and achieve a more standard thickness.