
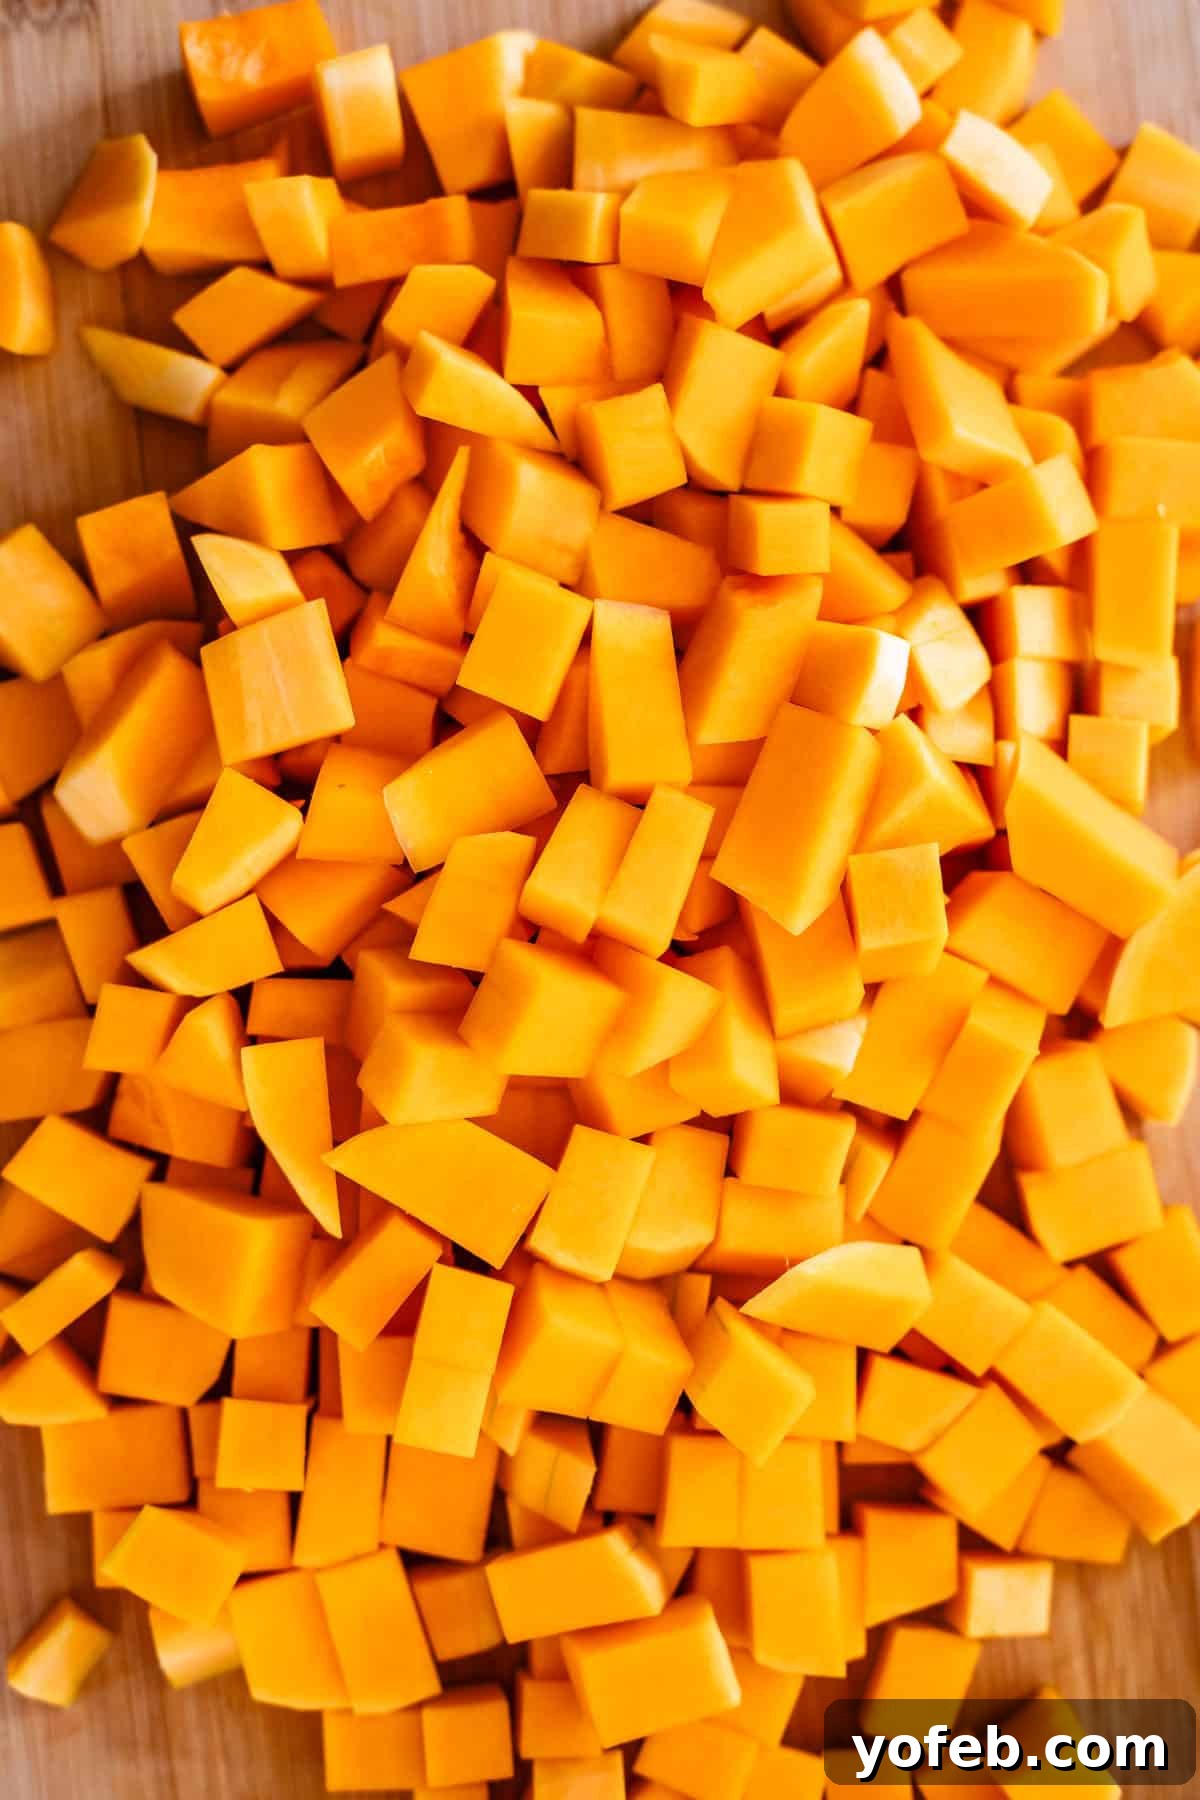
The thought of tackling a tough butternut squash often deters home cooks, but what if we told you it’s much simpler and safer than you imagine? Forget the struggle and the fear of injury; with the right approach and a few clever tricks, you’ll be confidently dicing butternut squash like a pro in no time. This comprehensive guide will transform your kitchen experience, making you eager to incorporate this versatile, nutritious autumn staple into your favorite roasted butternut squash soups, vibrant salads, comforting pasta dishes, and more. Prepare to impress yourself with your newfound efficiency and skill, all while keeping your fingers intact!
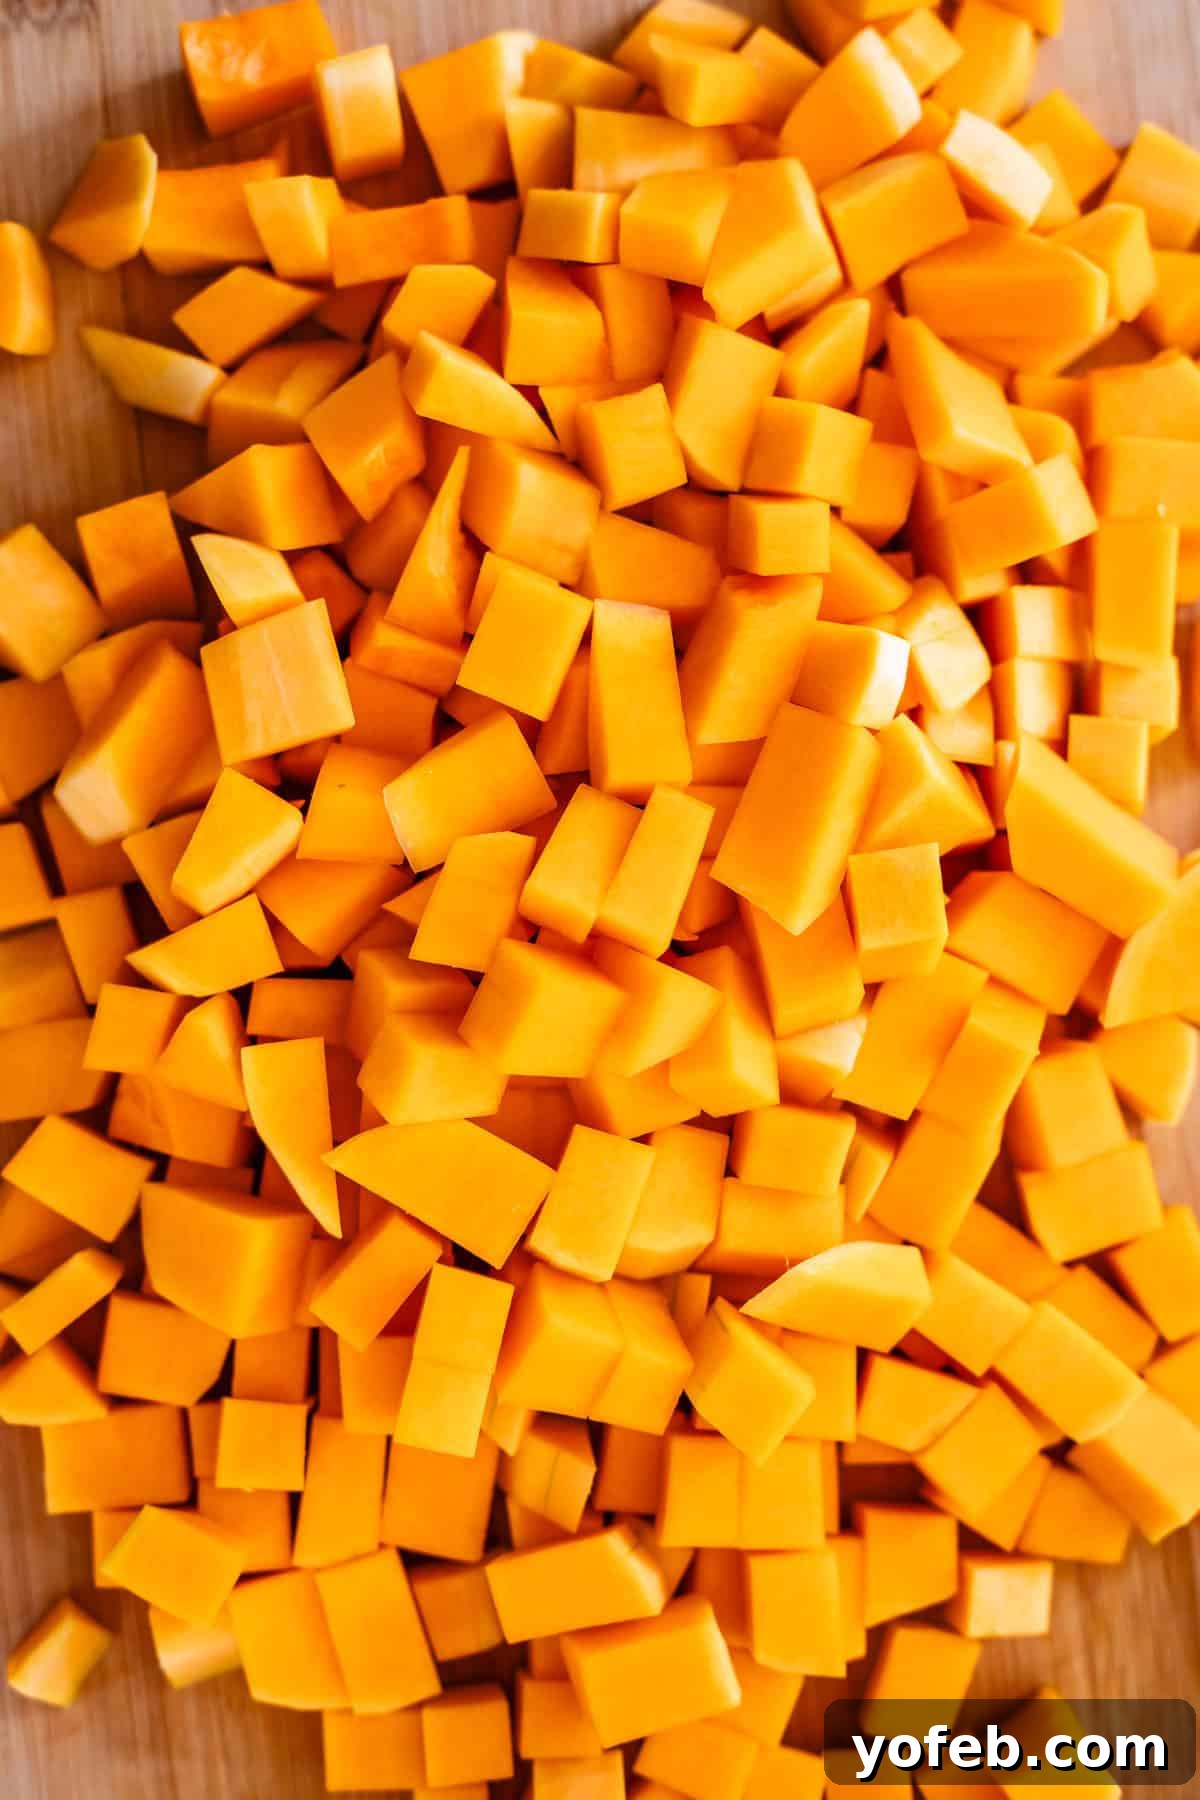
Butternut squash, a delightful winter vegetable, earns its name with good reason. Its inherently sweet, nutty flavor profile makes it a beloved ingredient, and when roasted, it achieves a creamy, buttery texture that truly elevates any dish. Beyond its delicious taste, butternut squash is a nutritional powerhouse, packed with vitamins A and C, fiber, and potassium, making it an excellent addition to a healthy diet. It’s truly a star of the autumn and winter harvest season, offering warmth and robust flavor to countless recipes.
While not quite as colossal as a pumpkin, a standard butternut squash is certainly substantial. Its impressive size, coupled with its remarkably hard rind, can make the prospect of cutting into it seem like a daunting culinary challenge. Many home cooks admit to purchasing a beautiful butternut squash only to let it sit on the counter for days, even weeks, purely out of intimidation. The good news is that its thick skin, while tough to cut, also contributes to its incredible shelf life, allowing you to store it for extended periods. However, the real challenge lies in conquering that formidable exterior, a hurdle we are about to overcome with ease and safety.
Conquering the Mighty Butternut Squash: A Guide to Safe Cutting
Winter squash varieties are often referred to as “hard squash,” and for good reason! Their exceptionally thick, protective rind is nature’s ingenious way of preserving them. Harvested in the fall, these robust vegetables can be stored for months, providing fresh produce throughout the colder winter months. This longevity is fantastic for your pantry, but that same hardiness is precisely what makes them so intimidating to cut. The density of a butternut squash can cause even experienced cooks to hesitate, fearing slips, cuts, or simply the sheer effort involved. But fear not! We’ve honed a tried-and-true method that not only makes the cutting process surprisingly simple but also ensures your safety, leaving you with perfectly prepped squash and all your fingers firmly attached.
Essential Equipment for Effortless Butternut Squash Preparation
Before you enthusiastically grab the first butternut squash you see, let’s ensure you have the right tools for the job. These simple items are foundational to a safe and efficient cutting experience:
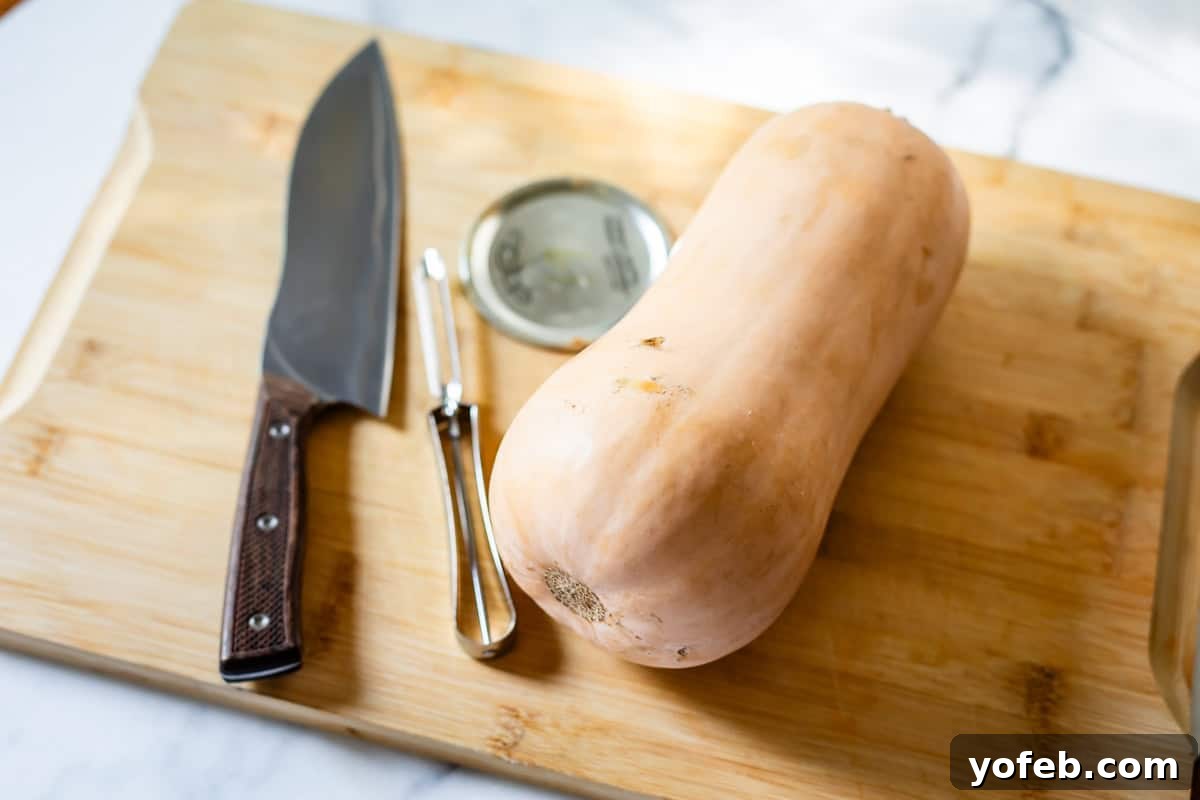
- A SHARP Knife: This is arguably the most critical tool. A quality chef’s knife, ideally around 8 inches in length, is recommended. Its weight and blade length provide optimal leverage and control for cutting through hard squash.
- Stable Cutting Board: Whether wood or plastic, your cutting board must remain absolutely still during use. If your board tends to slide, place a damp paper towel, a non-slip mat, or even a silicone baking mat (like a Silpat) underneath it to create necessary friction.
- Vegetable Peeler: A standard swivel peeler or a Y-peeler will work. The sharper the blade, the more easily it will glide through the tough outer skin of the squash, reducing effort and increasing safety.
- Large Metal Spoon or Canning Lid: Essential for efficiently scooping out the seeds and fibrous strands from the squash cavity after it’s cut open. The slightly sharper edge of a canning lid makes this task particularly easy.
- Optional: Metal Mesh Glove: For an extra layer of protection, consider a metal mesh glove (often called a butcher’s or chainmail glove). It’s an excellent safeguard for accident-prone cooks or those still building confidence with knife skills.
The Indispensable Role of a Sharp Knife in Kitchen Safety
It might seem counterintuitive, but a sharp knife is unequivocally safer than a dull one. This principle is especially true when dealing with hard vegetables like butternut squash. A dull blade requires excessive force to cut through the squash’s tough skin and dense flesh. This increased pressure dramatically raises the risk of the knife slipping, bouncing off the surface, or veering unexpectedly, which can lead to severe cuts and injuries to your fingers and hands. In contrast, a properly sharpened knife glides through the squash with minimal effort, allowing for precise control and significantly reducing the likelihood of accidents. You won’t need to resort to forceful, aggressive hacking; instead, the sharp blade does the work for you, making the entire process smoother, faster, and much safer.
For this task, a high-quality chef’s knife is your best friend. If you haven’t yet invested in one, consider it a foundational purchase for your kitchen. A good knife is an investment that will serve you well for many years. Entry-level options, like a Henckels Chef’s Knife, offer excellent quality without an exorbitant price tag, often outperforming many alternatives found in big box stores. For those seeking a long-term companion, premium brands such as Wusthof are renowned for their durability and edge retention; many owners report their Wusthof knives performing exceptionally for 15 years or more with proper care. For culinary enthusiasts looking for something truly special, artisan-made knives, such as those from Highwater Knives, offer unparalleled craftsmanship and performance that will undoubtedly become a prized possession in any kitchen.
How to Select the Perfect Butternut Squash
With your equipment ready, let’s focus on choosing the ideal butternut squash. Fortunately, selecting a good squash is relatively straightforward compared to some other produce. Keep these tips in mind as you browse the market:
- Uniform Color: Look for a squash with a consistent, pale tan to light orange color. Avoid any with green patches, as this indicates it’s not fully ripe.
- Matte Skin: A ripe butternut squash should have a dull, matte appearance. A shiny skin often suggests it was picked too early.
- Firmness and Intact Stem: Gently press on the squash. It should feel firm all over, with no soft spots or bruises. The stem should be dry and firmly attached.
- Weight for Size: Pick a squash that feels heavy for its size. This usually indicates good moisture content and dense, flavorful flesh.
- Manageable Size: For ease of handling and cutting, a squash weighing between 2 to 3 pounds is often the most convenient. Larger squashes are perfectly fine but require a bit more effort.
Step-by-Step Guide to Peeling and Cutting Butternut Squash
Let’s demystify the process of preparing butternut squash. Gather your peeled squash, a sharp peeler, and your trusty chef’s knife. Having everything within reach will make the process smooth and efficient.
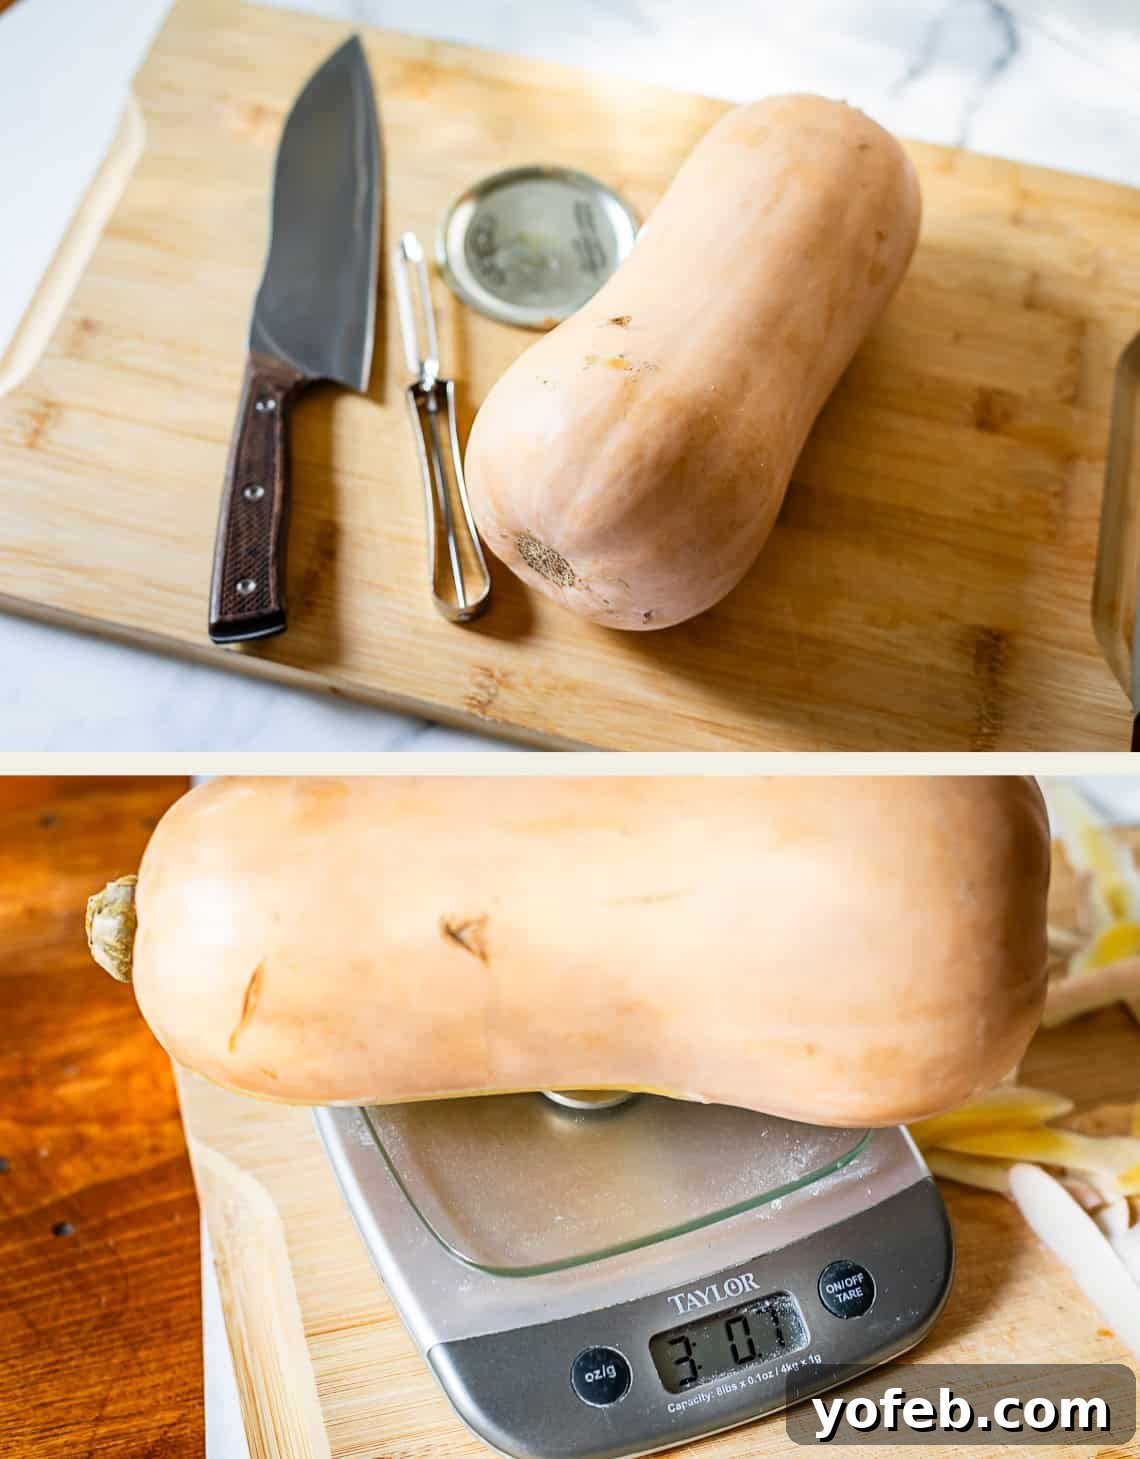
A typical large butternut squash can weigh around 3 pounds, yielding a substantial amount of usable flesh. Always consider your recipe’s requirements when selecting the size of your squash.
1. Begin with Peeling: Start by peeling the butternut squash. Hold the squash firmly and use your vegetable peeler to remove the tough outer skin. Make sure you peel deeply enough to expose the vibrant orange flesh beneath. Often, the first pass of the peeler will reveal a pale, whitish layer—this indicates you need to peel a bit further to remove all of the fibrous outer rind. Continue peeling until the entire surface is a consistent, bright orange.
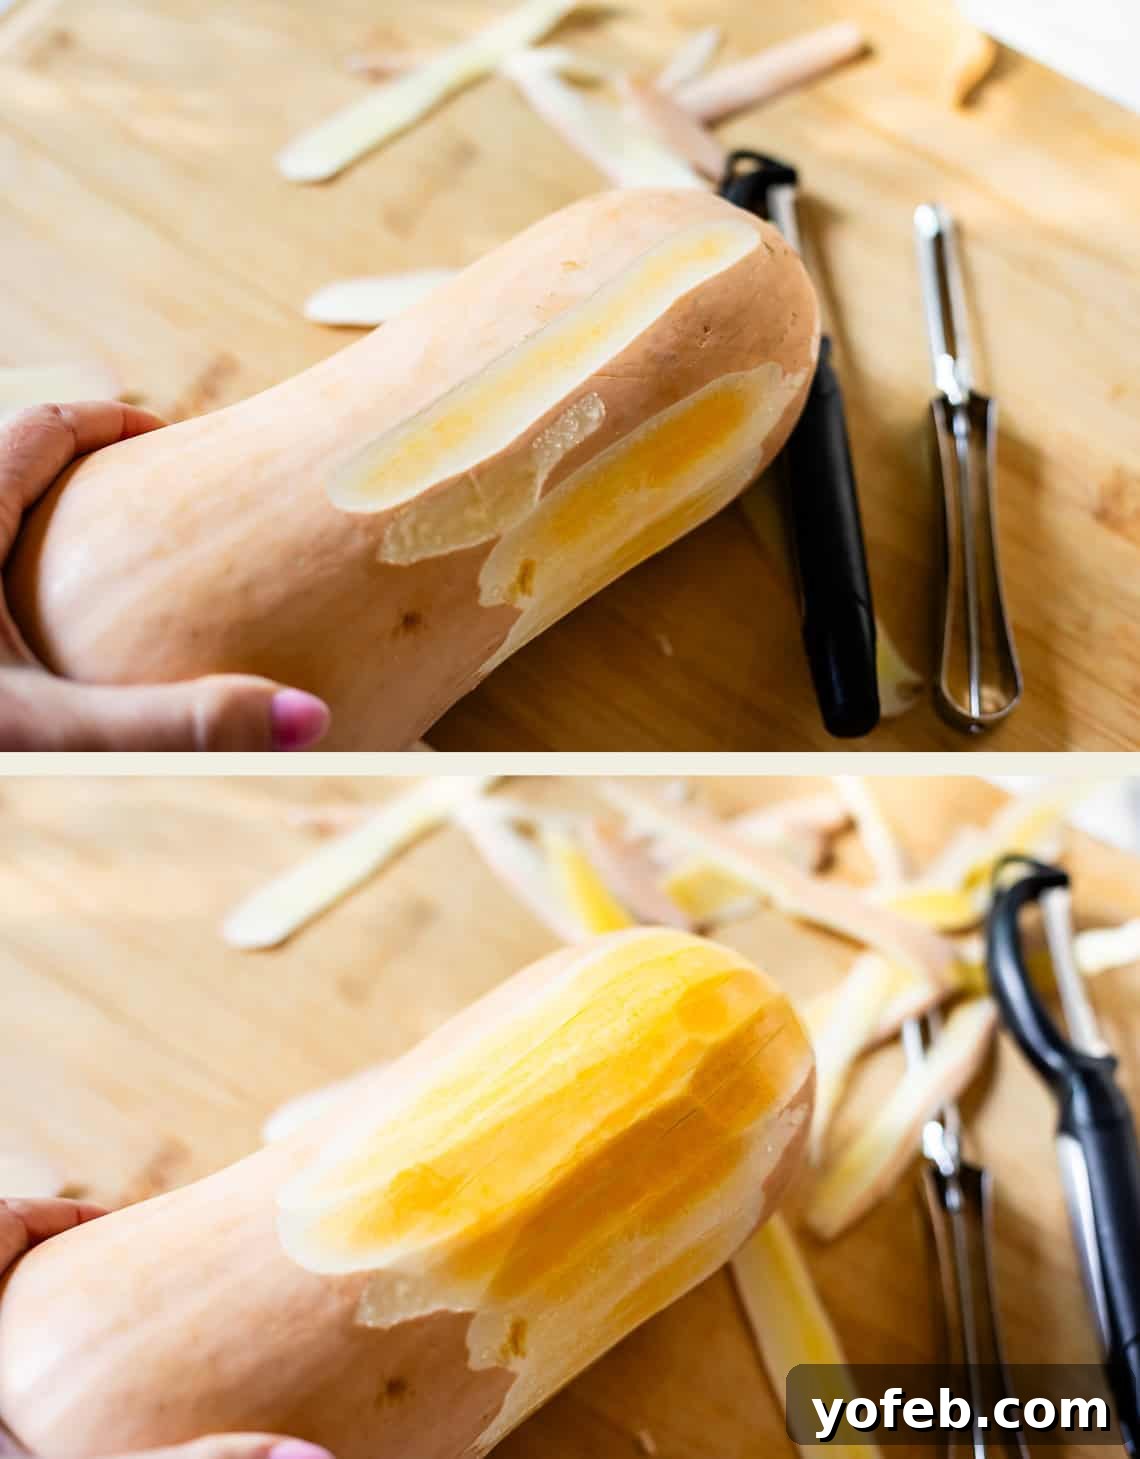
This image clearly demonstrates the importance of peeling until you reach the rich orange color, ensuring all the tough, inedible outer layers are removed.
2. Prepare for the First Cut: With your squash beautifully peeled, ensure your cutting board is stable (use a damp paper towel underneath if needed). Take a deep breath, and reach for your sharpest chef’s knife. Confidence is key! If you’re using a kitchen glove for comfort or allergy reasons, now’s the time to put it on.
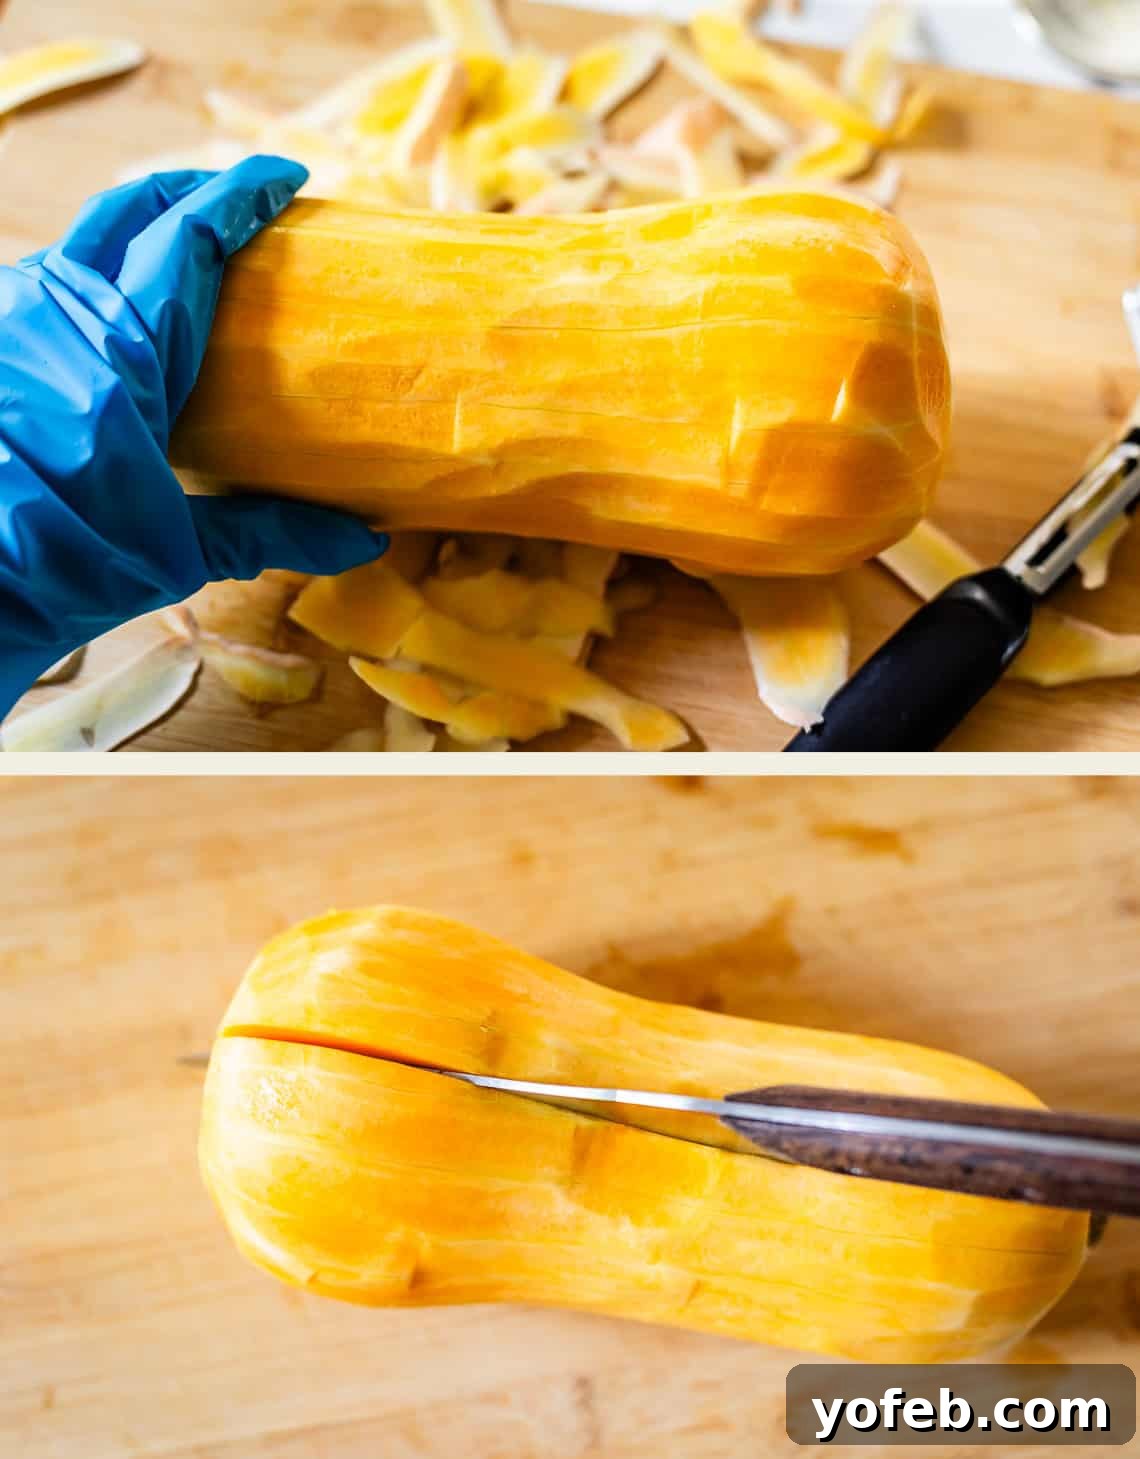
3. Halve the Squash: Carefully position your sharp chef’s knife at the top of the squash and make a confident, steady vertical slice all the way down its center. Apply firm, consistent pressure. You’ve just completed the most intimidating step!
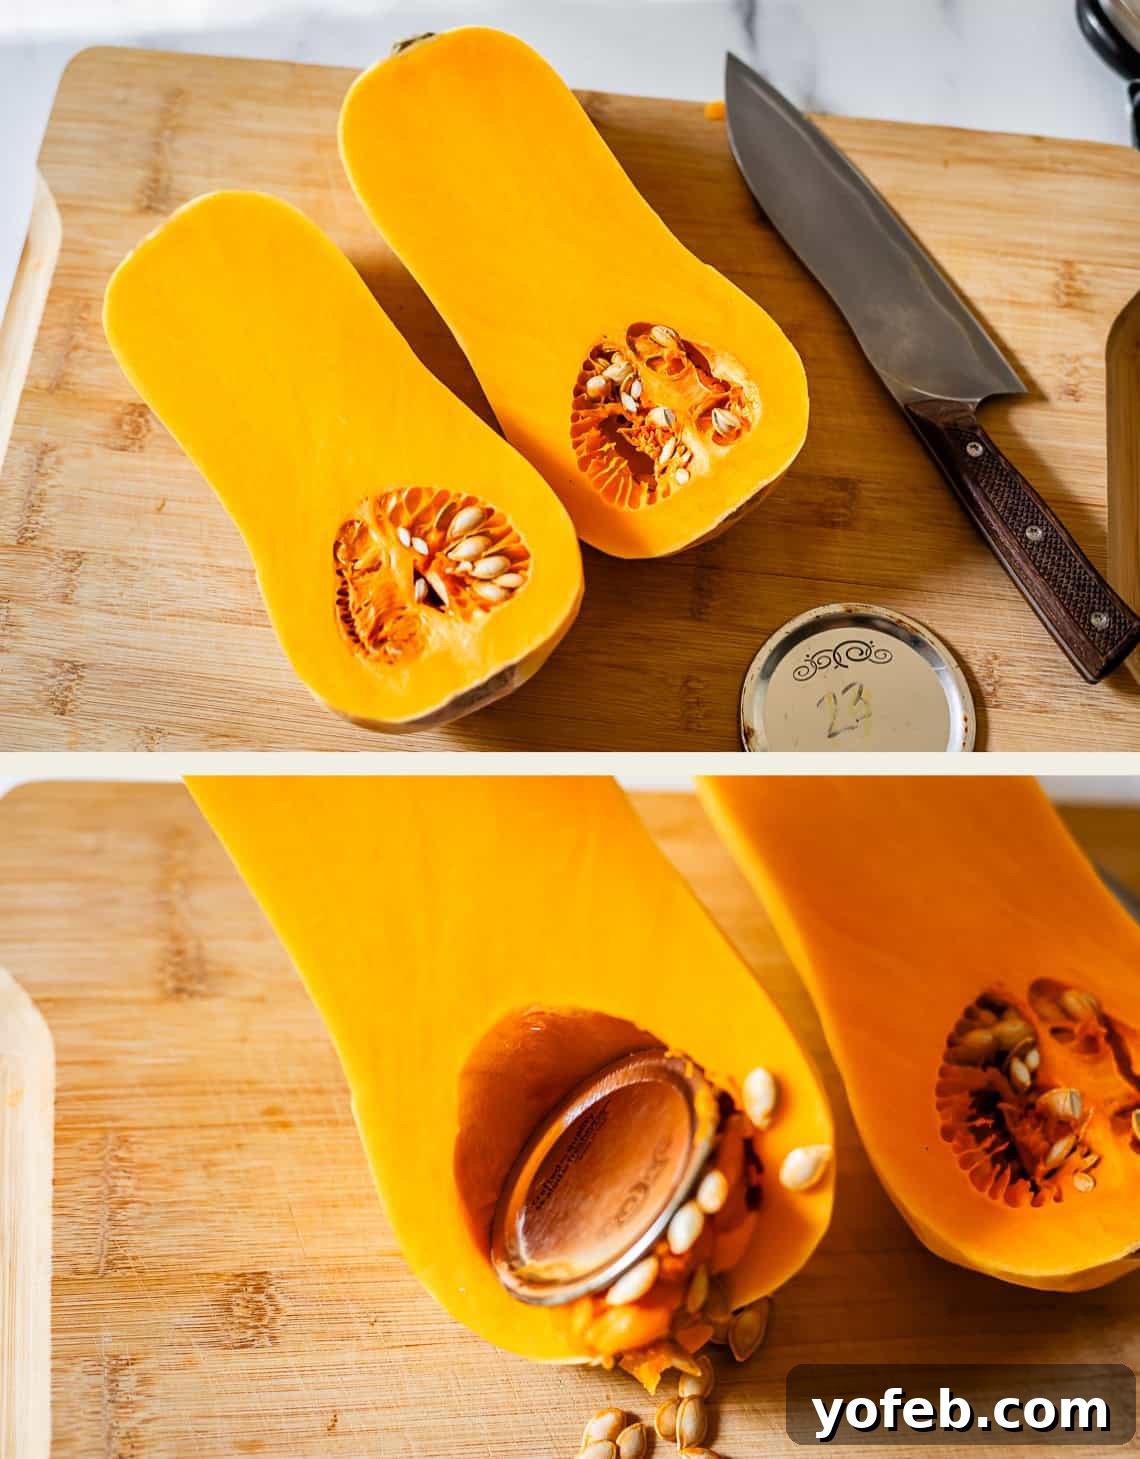
4. Scoop Out the Seeds: Now for the “goop.” This is where the canning lid comes in handy. Its edge is just sharp enough to efficiently scrape out the seeds and stringy pulp from the squash’s cavity without posing a cutting risk to your hands. This method is far more effective and less messy than using a regular spoon, similar to how one might clean out a pumpkin for carving.
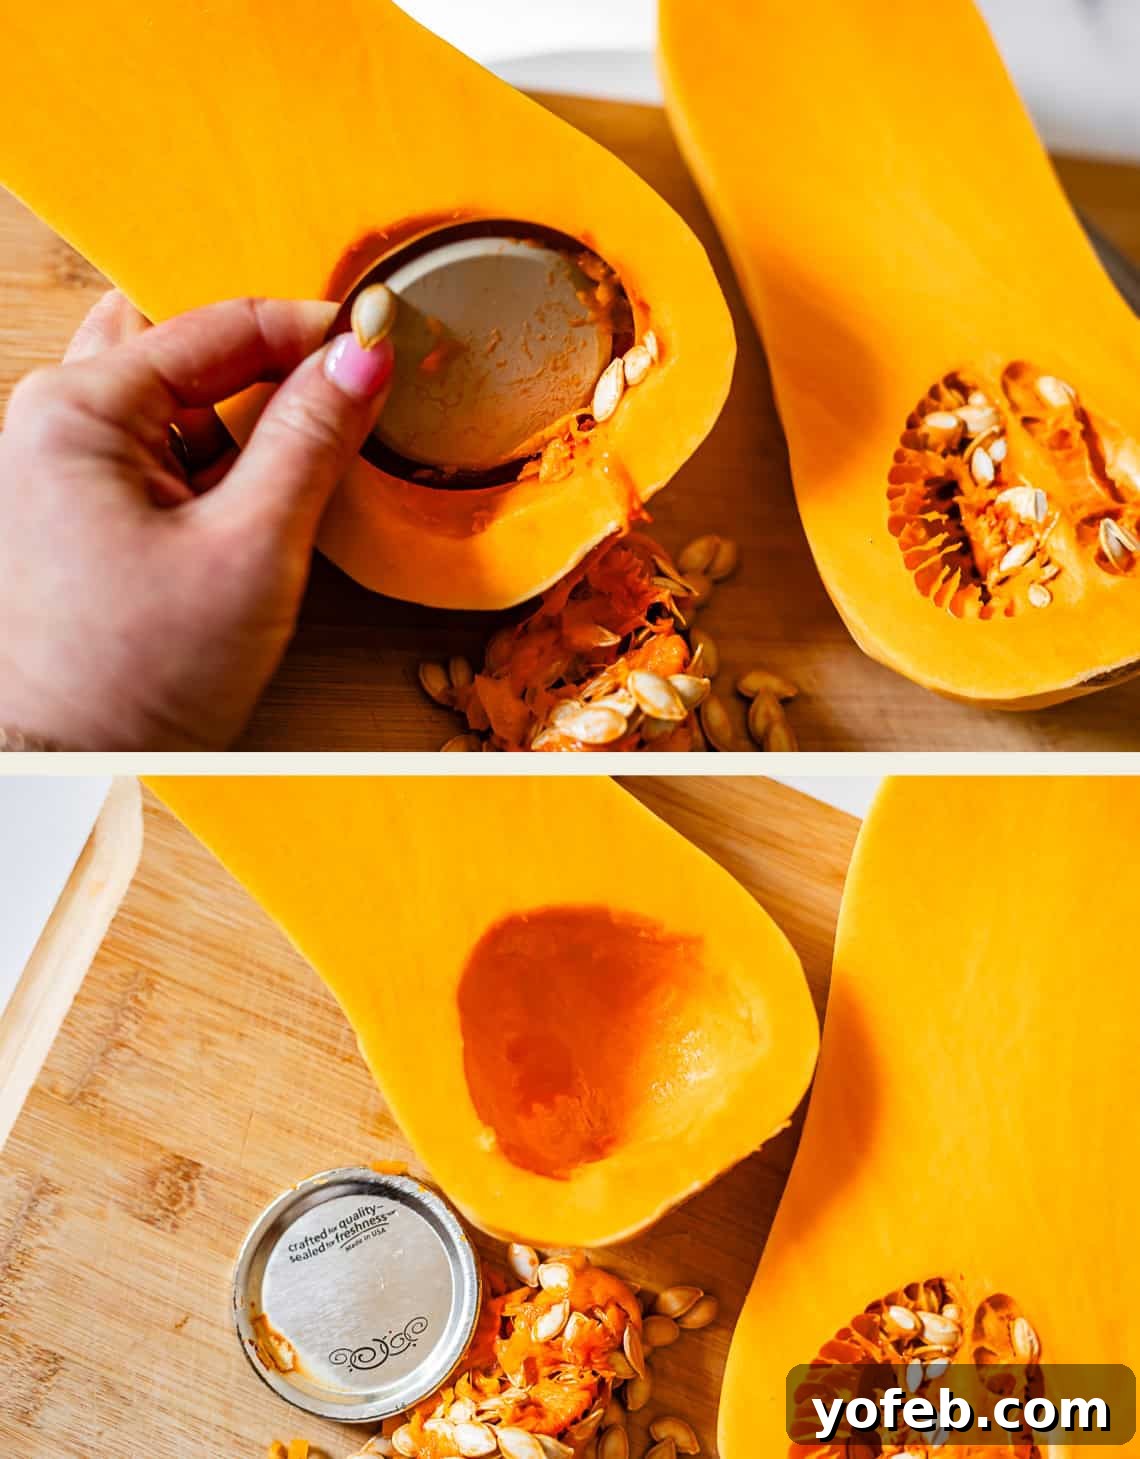
If your recipe calls for roasting the squash halves whole, perhaps for a delicious Butternut Squash Soup, you can stop here! Otherwise, continue to dice.
5. Trim the Ends: Lay your squash halves flat-side down on the cutting board for stability. Use your knife to slice off the very top (where the stem was) and the bulbous bottom end. These pieces are typically tough or fibrous and aren’t ideal for dicing.
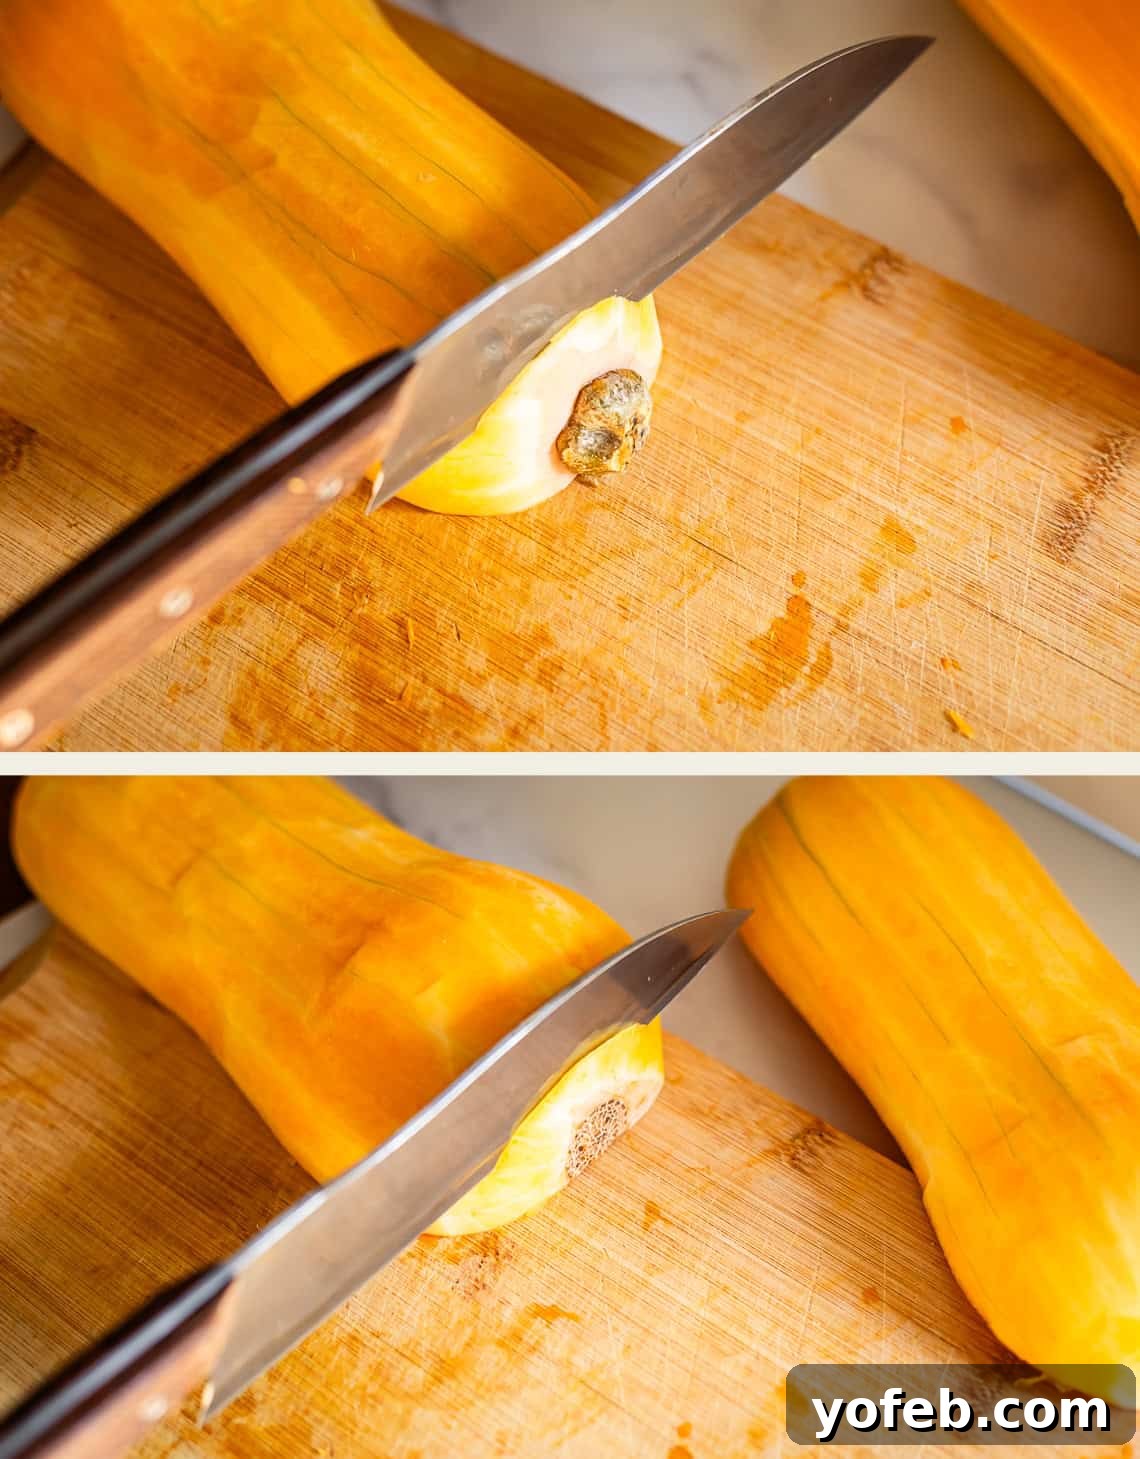
6. Divide Crosswise: Now, take each of your butternut squash halves and cut them in half crosswise. This means you’ll have four pieces: two from the longer, neck section and two from the wider, bulbous bottom section (where the seeds were). This step makes the squash much easier to manage for dicing.
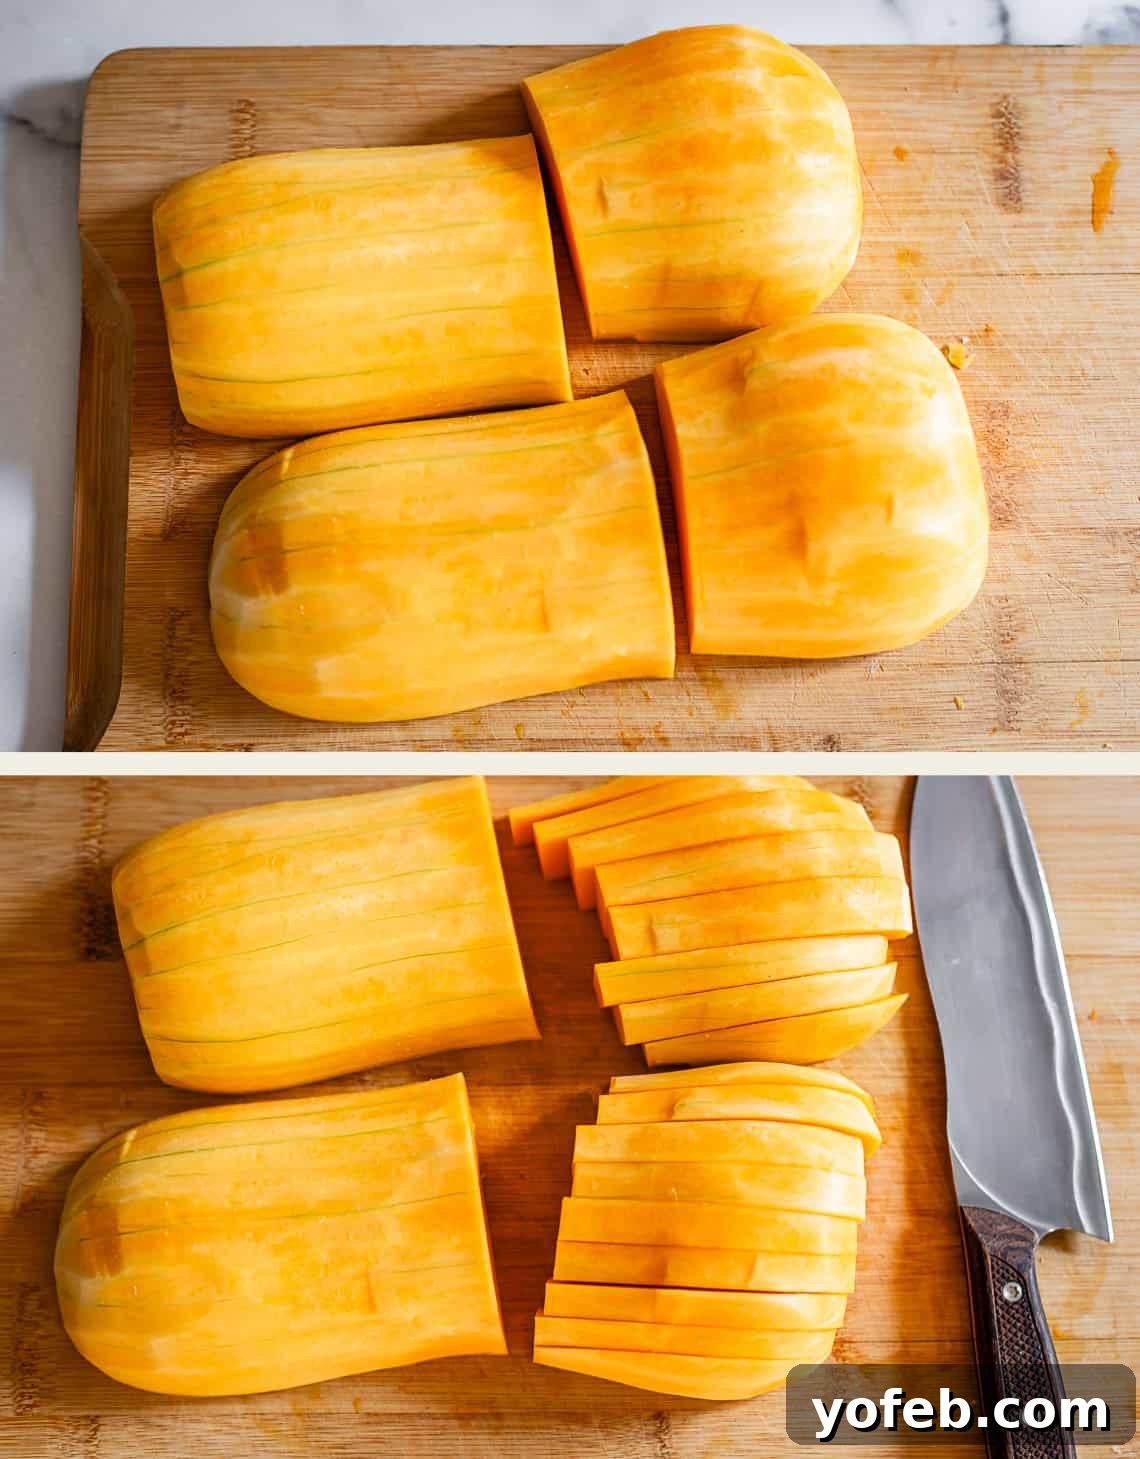
7. Dice the Bulbous Sections: For the two pieces that came from the bottom, bulbous half of the squash (which had the seed cavity), slice them into thick planks, then lay the planks flat and chop them into bite-sized cubes. These sections tend to be a bit more irregular, so precise stacking isn’t always possible.
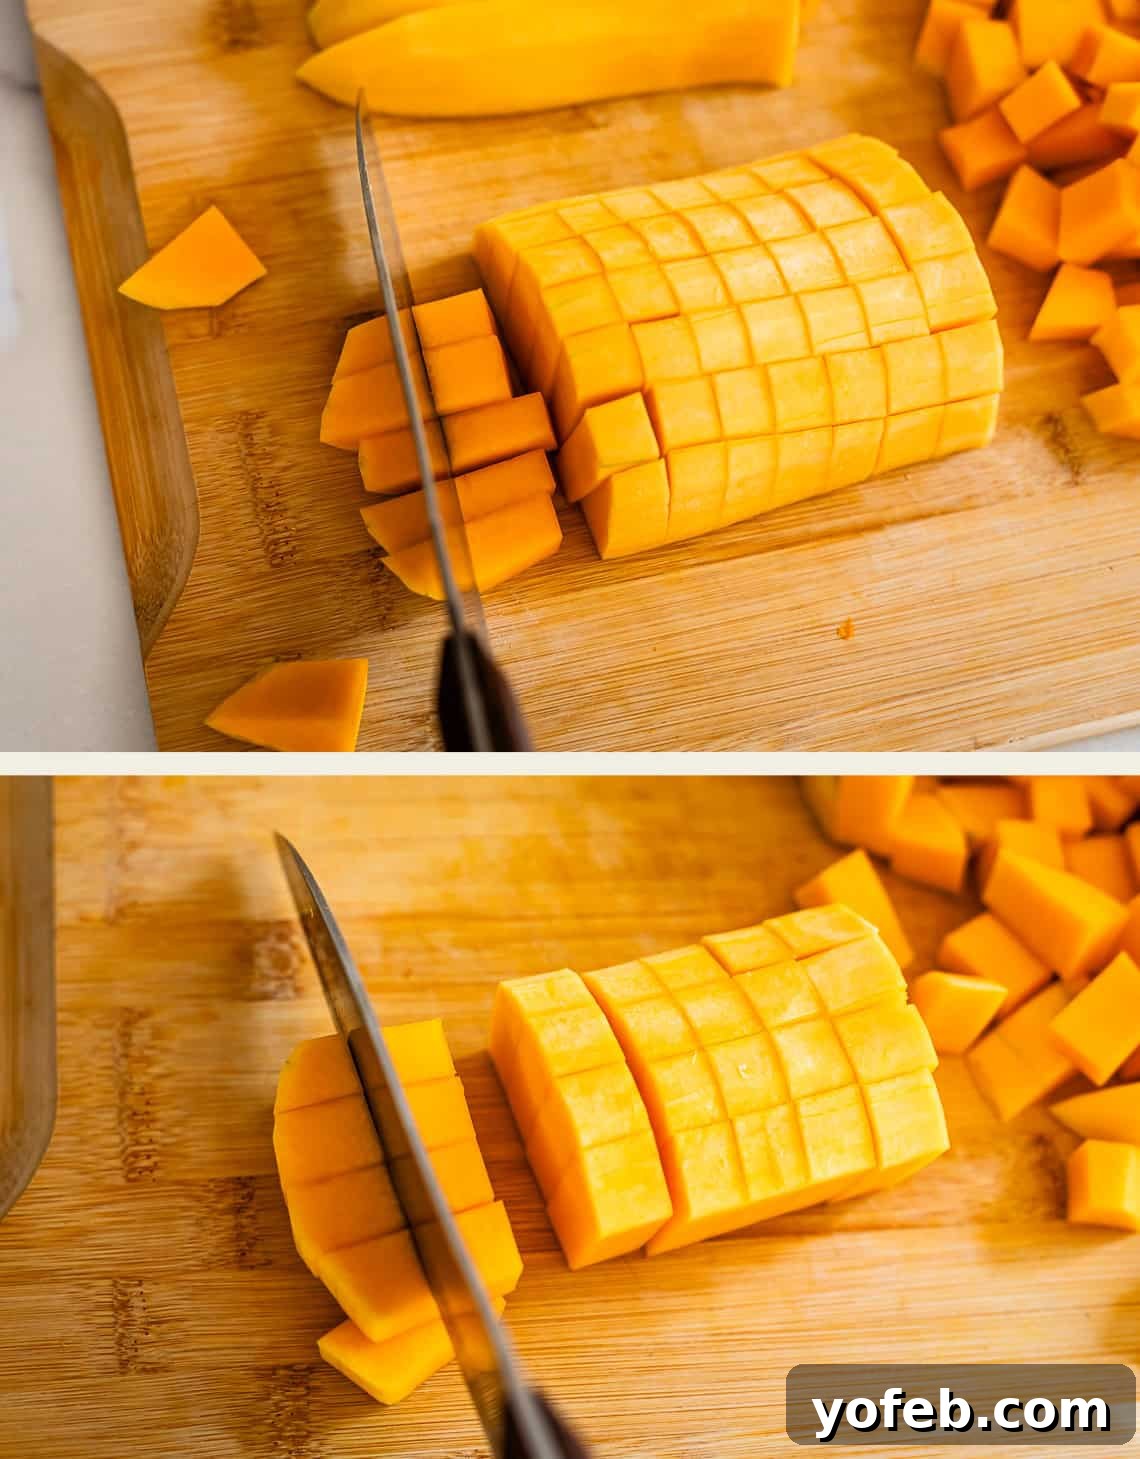
8. Dice the Neck Sections: The two pieces from the neck of the squash are ideal for neat, uniform dicing. Lay each piece flat on your cutting board. First, slice them lengthwise into neat rows. Then, rotate the squash and slice across the rows to form a grid, creating perfectly square cubes. The very ends of these rows may already be small enough; simply set them aside.
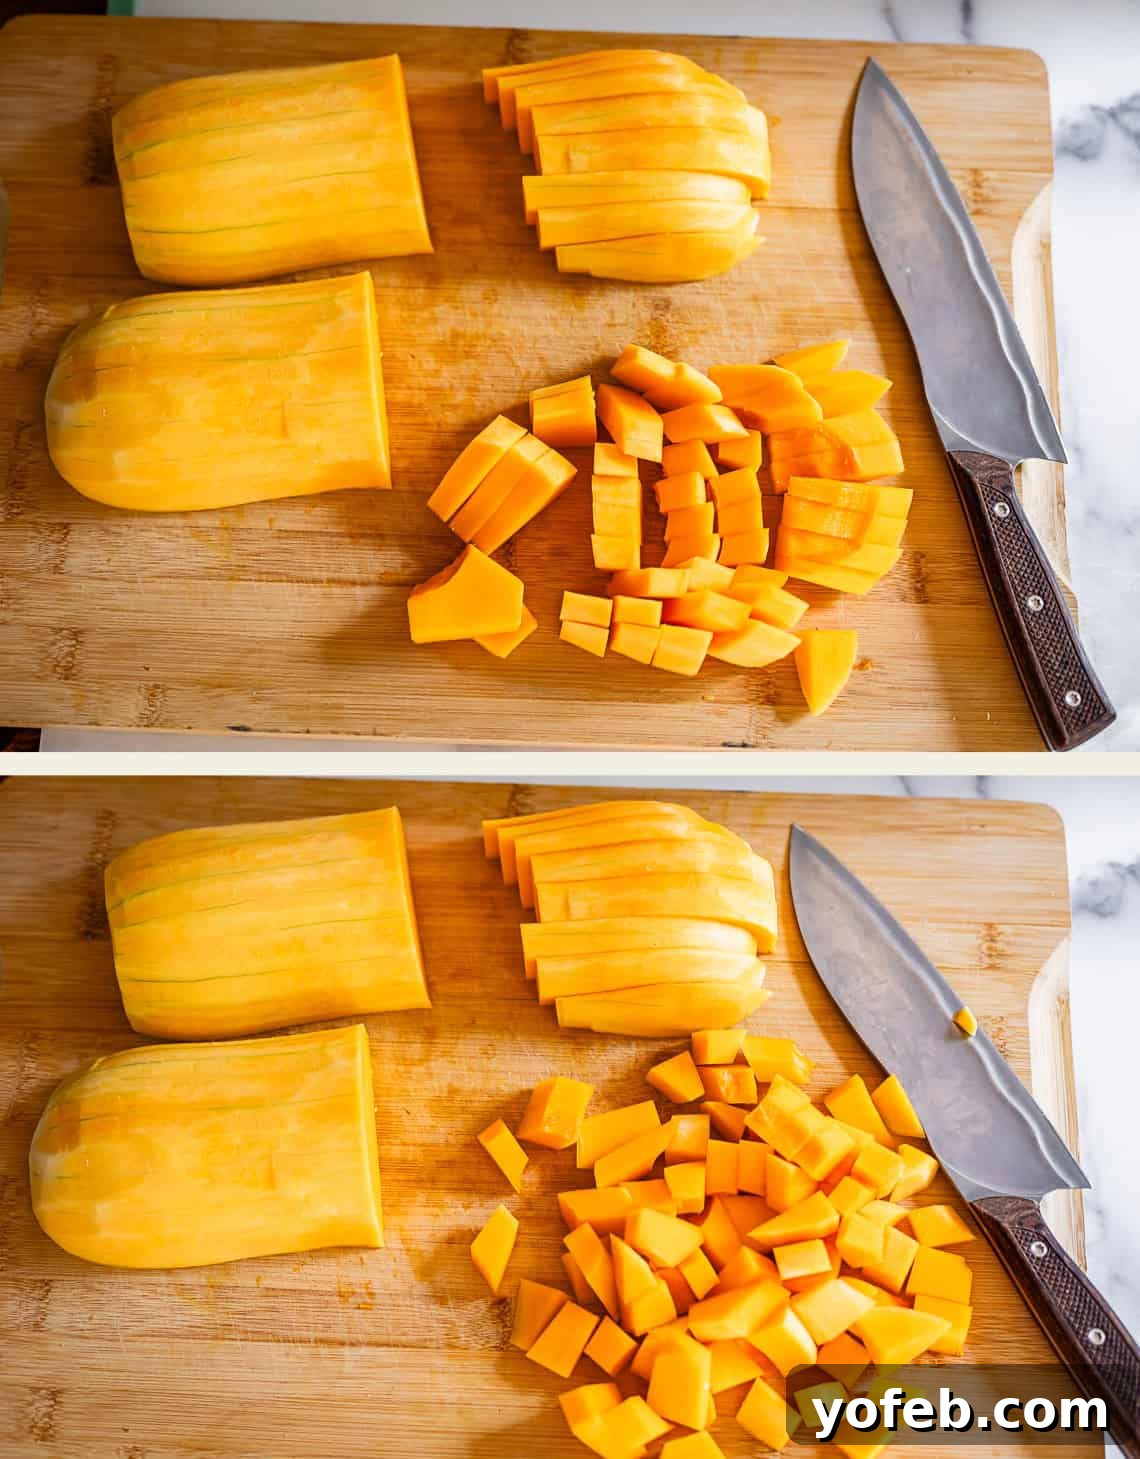
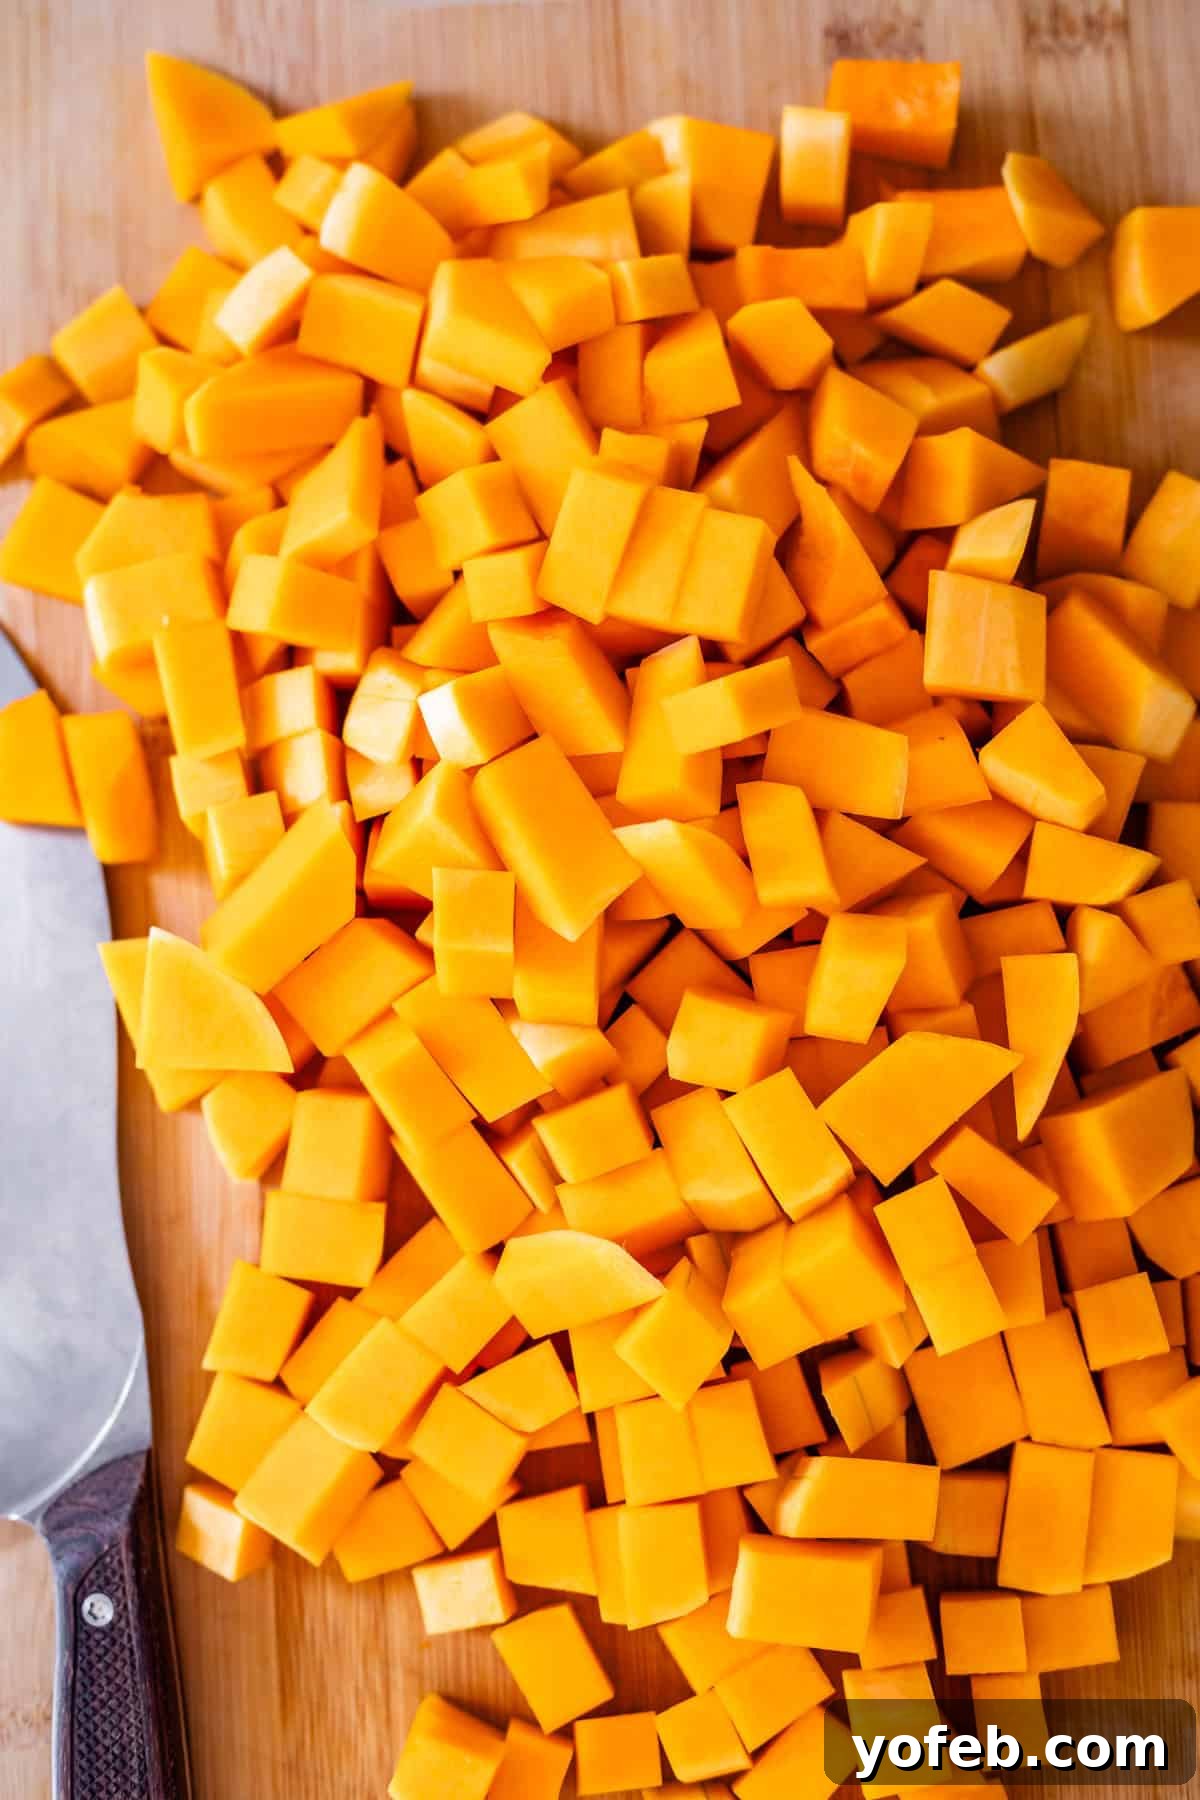
9. Final Sizing: Take each long, skinny row of sliced squash and lay it on its side. Chop these long pieces in half or into thirds, depending on your desired cube size. The goal is to create uniformly sized pieces, which ensures even cooking.
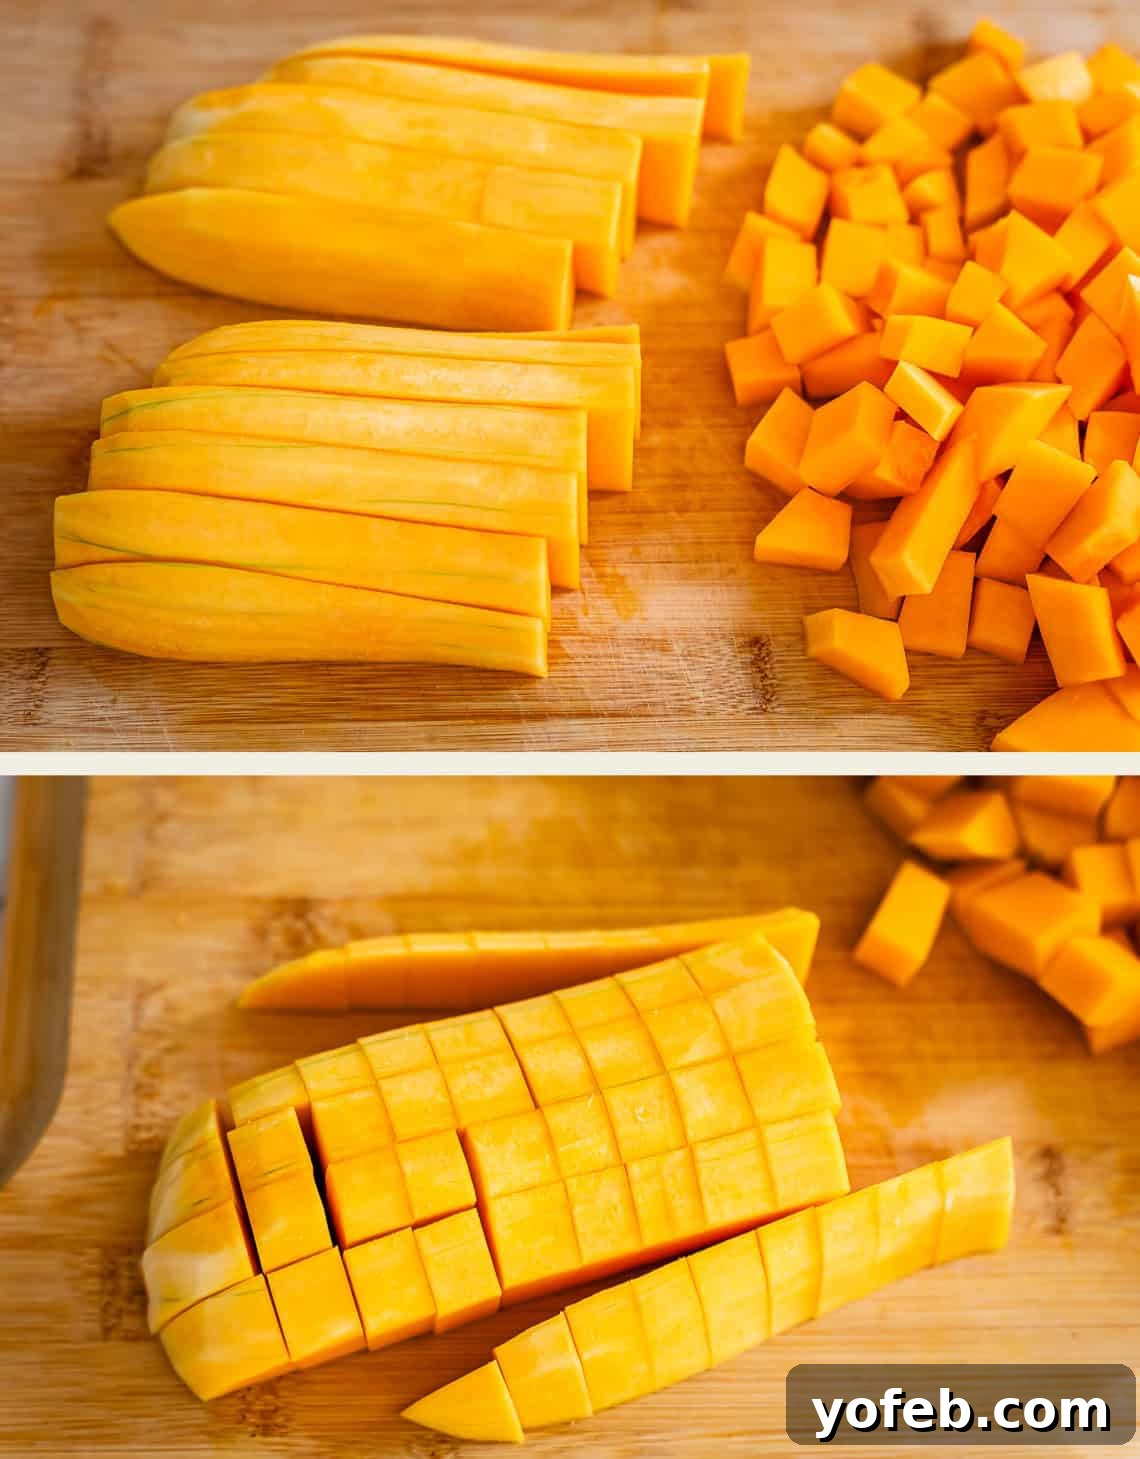
Keep going, systematically dicing all the squash until you have a beautiful pile of uniformly cut cubes. This method might seem like many steps, but it’s designed to be efficient and safe, breaking down a large, hard vegetable into manageable parts.
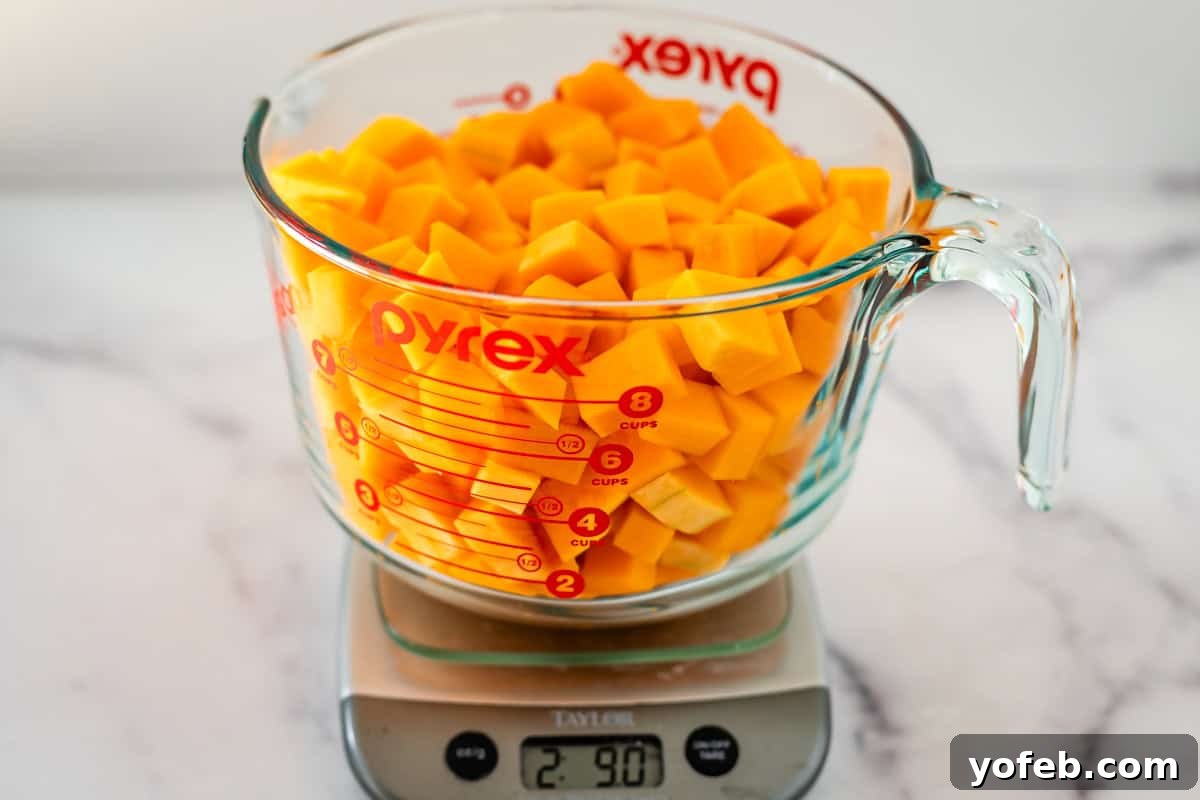
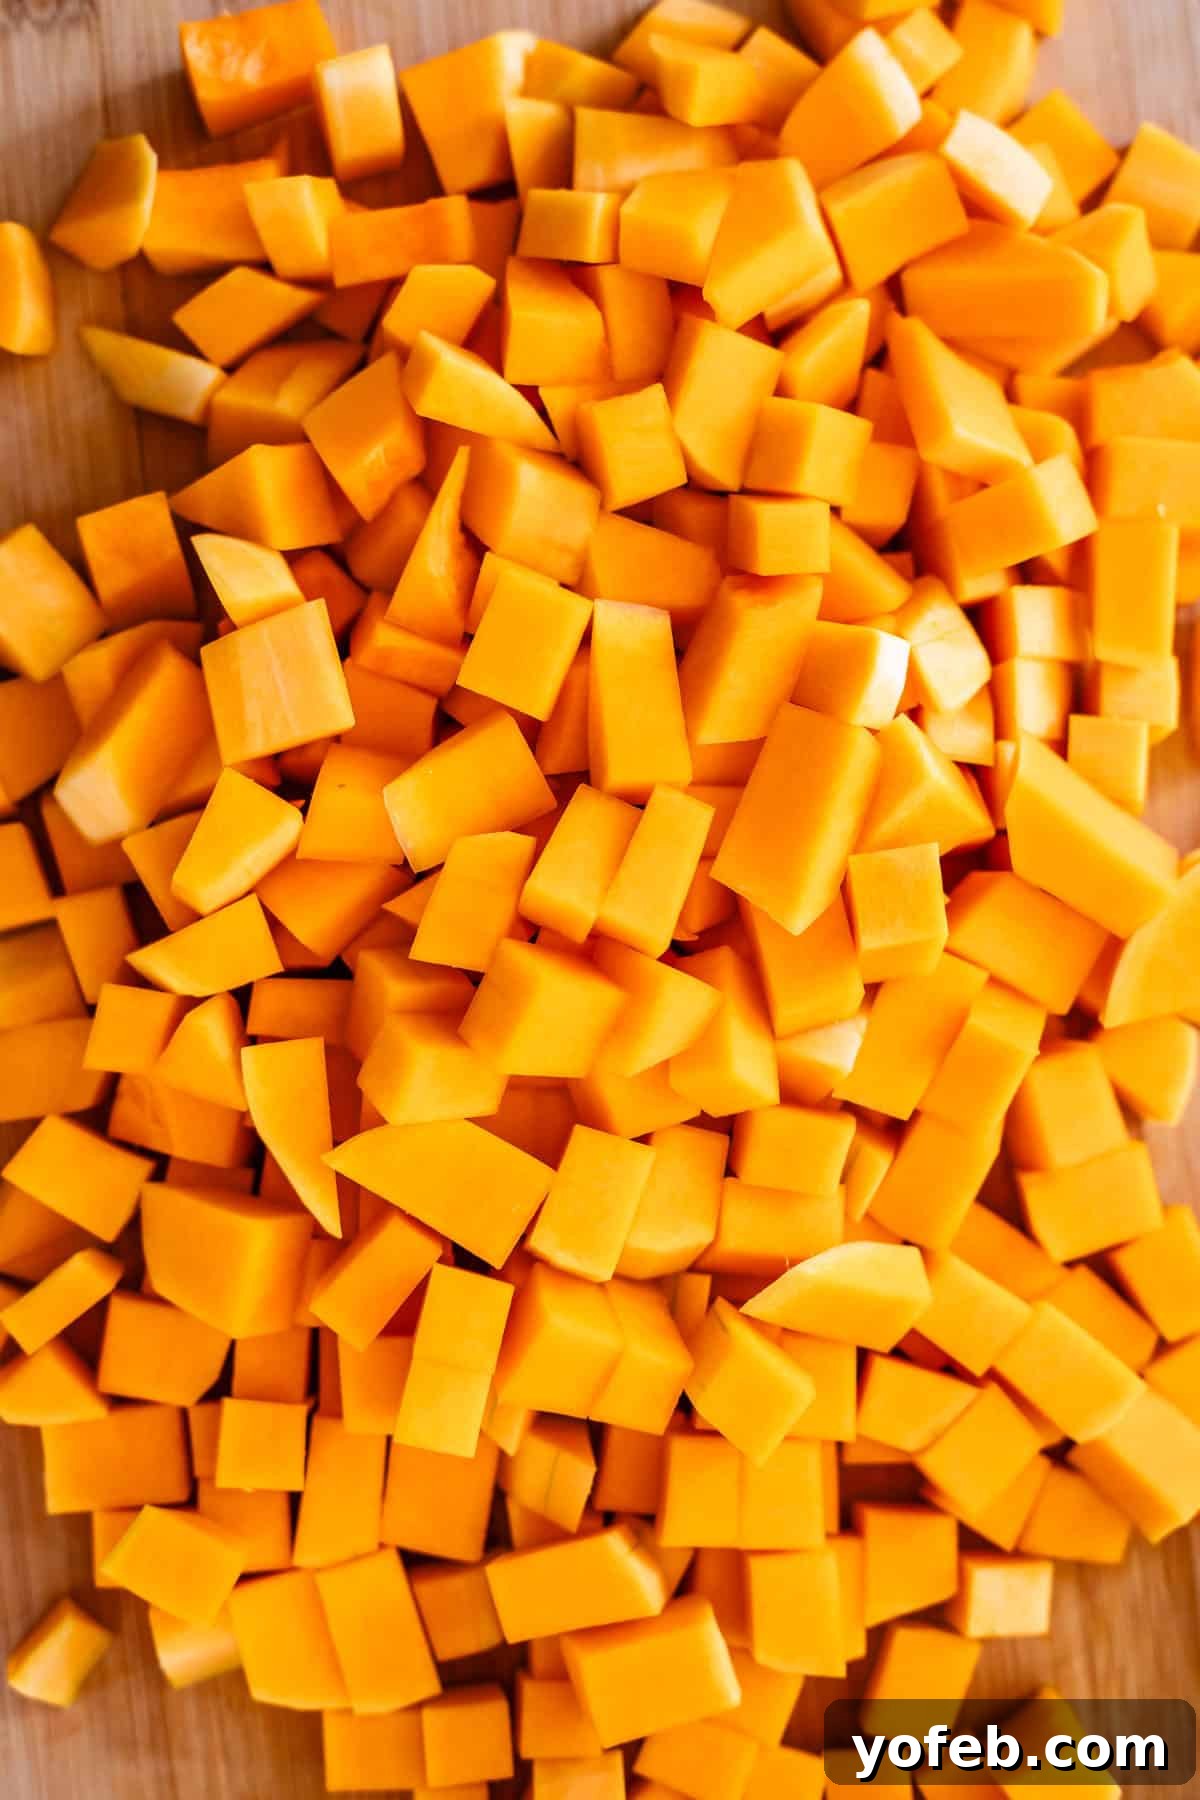
And just like that, you’re done! A 3-pound butternut squash, once peeled and seeded, typically yields a little less than 3 pounds of diced squash, usually around 2 pounds 9 ounces, which translates to approximately 7-8 cups of beautifully chopped butternut, ready for your culinary creations. See? Easy peasy, and perfectly safe!
How to Perfectly Roast Butternut Squash Cubes
Roasting butternut squash cubes is a simple yet incredibly rewarding way to enjoy this sweet vegetable. The key to achieving beautifully browned, caramelized edges (the Maillard reaction at its best!) is proper spacing. Avoid overcrowding your pan, as this will cause the squash to steam rather than roast, resulting in a softer, less flavorful outcome.
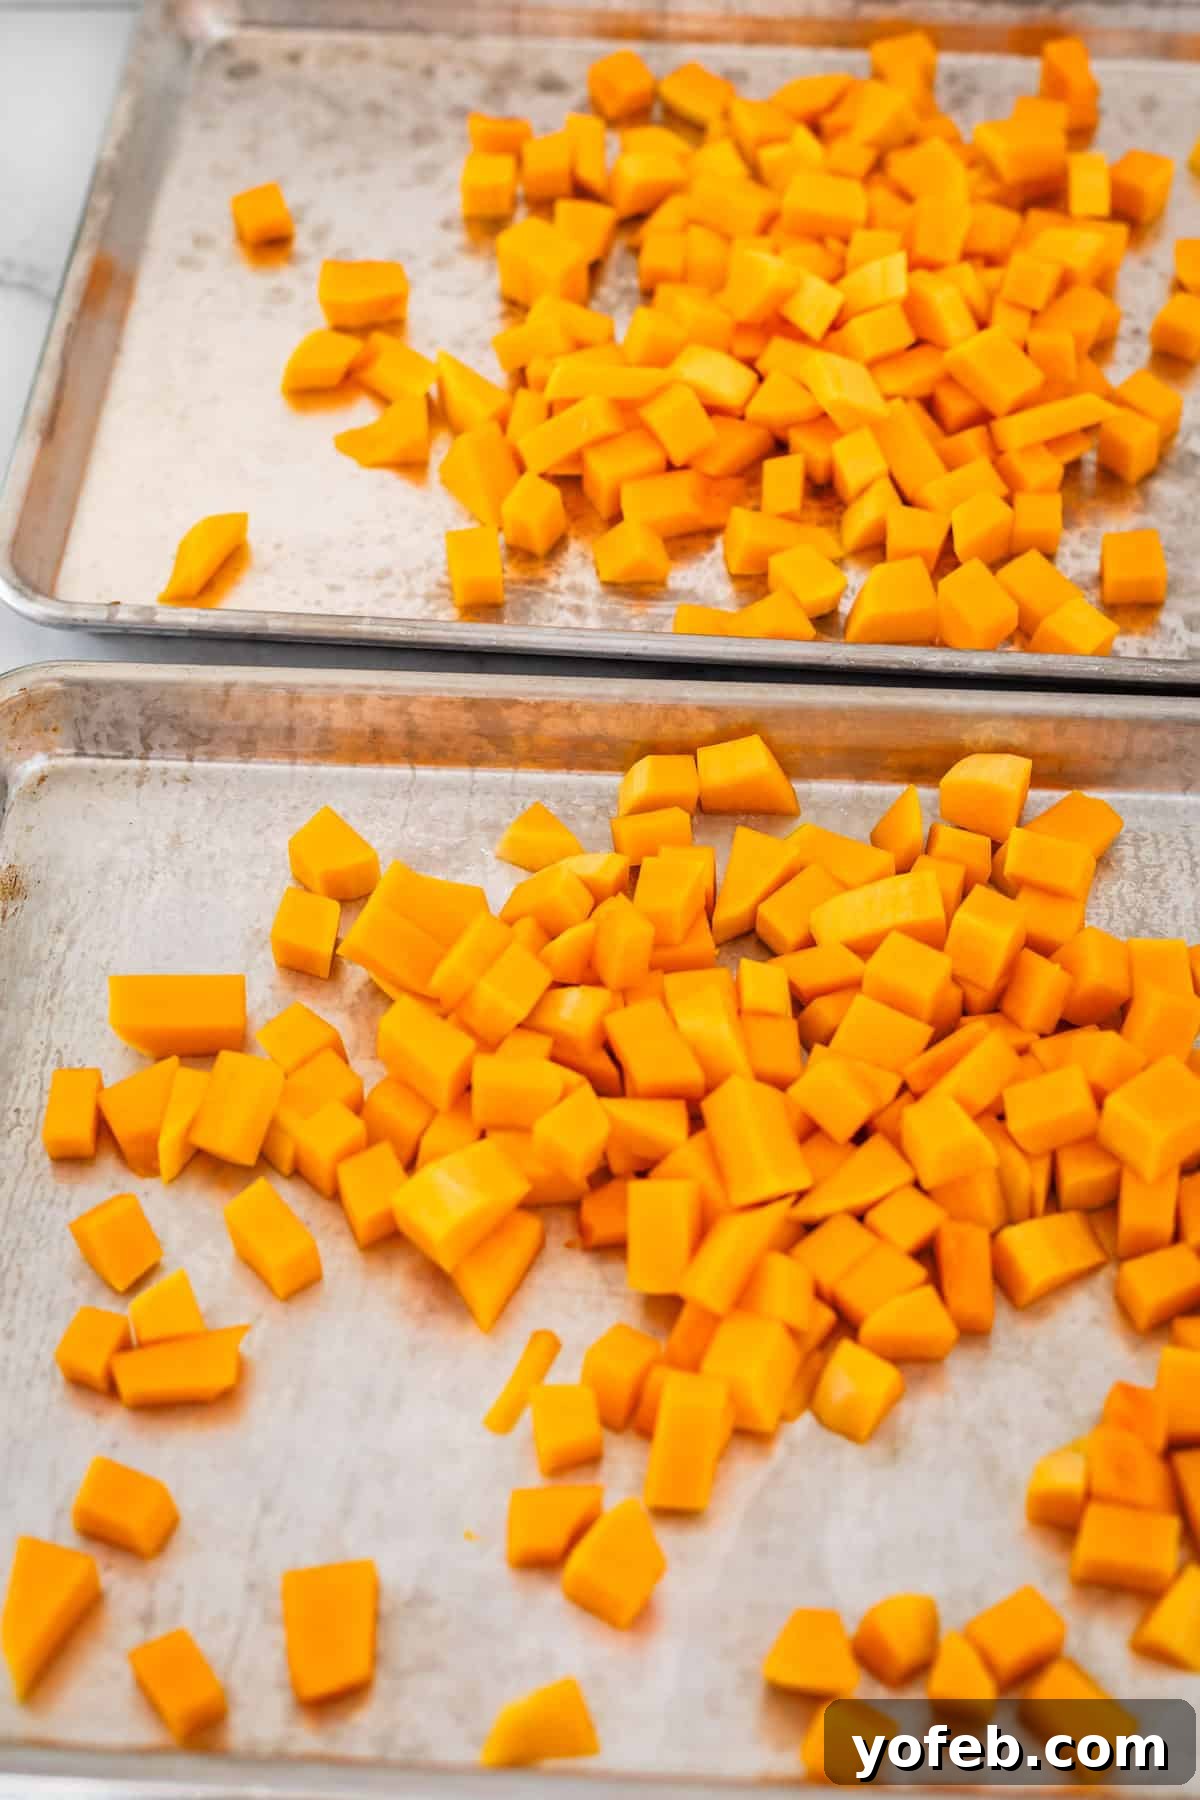
Here’s how to do it right:
1. Divide and Season: Spread your chopped butternut squash evenly across two separate sheet pans. This ensures that each cube has ample space to breathe and brown. Drizzle each pan with about 1.5 tablespoons of olive oil and sprinkle with approximately 3/4 teaspoon of salt. Toss gently to ensure all the squash pieces are lightly coated.
2. Avoid Overcrowding: Remember, the goal is to roast, not steam. When squash cubes are packed too closely together on one pan, the moisture they release creates steam, preventing them from developing those desirable crispy, caramelized edges. Giving them space allows the heat to circulate properly, leading to superior texture and flavor.
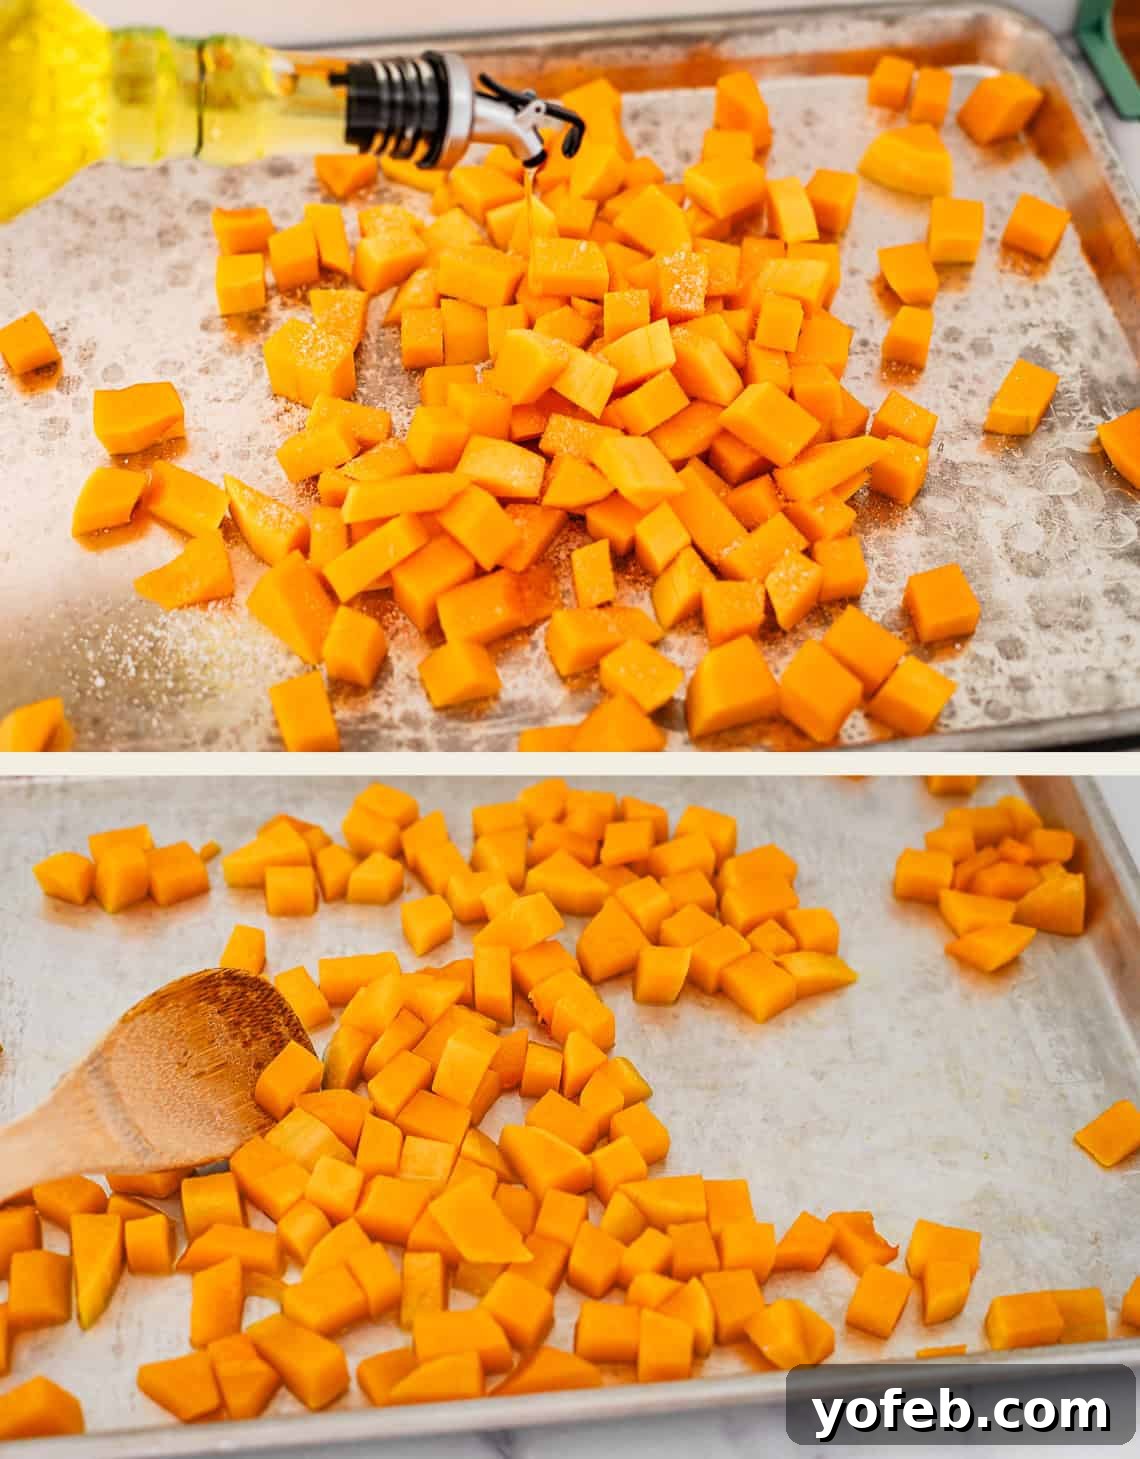
3. Roast to Perfection: Preheat your oven to a high temperature, around 450°F (232°C). Roast the squash for approximately 30 minutes, making sure to stir the cubes once halfway through the cooking time. This ensures even browning on all sides.
Your roasted butternut squash cubes should emerge tender on the inside with beautifully golden-brown, slightly crispy exteriors, bursting with sweet, earthy flavor. They are now ready to be enjoyed as a simple side dish or incorporated into a more complex recipe!
Delicious Butternut Squash Recipes to Try
Now that you’ve mastered the art of peeling, cutting, and roasting butternut squash, it’s time to put your freshly prepped cubes to fantastic use! This versatile vegetable shines in a multitude of dishes, from comforting soups to hearty salads and savory crostini. Here are some highly recommended butternut squash recipes to inspire your next meal, including tried-and-true favorites and exciting new ideas:
Soup Recipes
Roasted Butternut Squash Soup with Apple and Heavy Cream
Recipes for Dinner
Slow Cooker Butternut Squash Risotto with Italian Sausage
Salad Recipes
Honey Roasted Butternut Squash Salad
The Best Fall Recipes
Butternut Squash, Cranberry, and Goat Cheese Crostini
More Butternut Squash Inspiration from Fellow Food Lovers!
- Warm Brown Rice & Butternut Squash from Ina Garten at Barefoot Contessa
- Butternut Squash and Black Bean Enchilada Skillet from Ambitious Kitchen
- Butternut Squash Fritters from Our Nourishing Table
Facebook | Pinterest | Instagram

How to Safely and Easily Cut Butternut Squash
Equipment
-
Vegetable peeler
-
1 canning lid
-
Chef’s knife
Ingredients
- 1 butternut squash
Instructions
-
Start by peeling your butternut squash. Ensure you peel deeply enough to reveal the bright orange flesh, as the initial peel often leaves a pale, whitish outer layer. Refer to the photos for guidance to make sure you achieve a consistent, vibrant orange surface all around.
-
Set up a stable cutting board on a damp towel or silicone mat to prevent any slipping. Retrieve your large, sharp chef’s knife. Make sure it is impeccably sharp for safety and ease. Clear your kitchen of distractions like pets or children to maintain focus. Then, make a confident, steady vertical slice all the way down the center of the butternut squash.
-
Use a canning lid or a large, sturdy metal spoon to efficiently scrape out all the seeds and fibrous strands from the squash’s cavity. Canning lids are particularly effective as their slightly sharper edges cut through the pulp more cleanly than a standard spoon.
-
If your recipe requires whole roasted butternut halves, such as for a Roasted Butternut Squash Soup, you can stop here. If you need to chop the entire squash into cubes, continue with the following steps:
-
Lay your squash halves flat-side down on the cutting board for maximum stability. Carefully slice off both ends of the butternut squash: the top section where the stem was attached and the bottom, more bulbous end. These pieces are often too tough or fibrous for dicing.
-
Cut each half of the butternut squash crosswise, rather than lengthwise, splitting it into shorter segments. You should now have four pieces: two from the narrower, lengthy top section and two from the wider, bulbous bottom section. This makes the squash much easier to handle.
-
For the two pieces from the bottom, bulbous half (which contained the cavity), slice them lengthwise into thick planks. Then, lay each plank flat and chop across to create bite-sized pieces. These sections are naturally more irregular.
-
For the two pieces from the top, narrower half of the butternut, lay each flat and slice lengthwise into uniform rows. Maintain the original upright placement of these slices if possible to make the next step easier.
-
Now, rotate the squash and slice across the previously cut long pieces, creating a grid-like pattern from above. This forms the cubes.
-
Take one row of the sliced pieces at a time. Lay the long, skinny pieces down on their sides and chop them in half or into thirds, depending on your desired cube size.
-
Continue this process until all the butternut squash has been uniformly chopped into bite-sized pieces. Ensure all pieces are roughly the same size to promote even cooking.
-
For roasting, arrange the chopped squash in a single layer across TWO sheet pans. This provides ample space for browning and caramelization. Roast at 450°F (232°C) after tossing the squash with about 1.5 tablespoons of oil and 3/4 teaspoon of salt per pan. Roast for approximately 30 minutes, stirring once halfway through.
-
These perfectly diced butternut squash cubes are fantastic for various recipes, including a rich and creamy Butternut Squash Lasagna!