
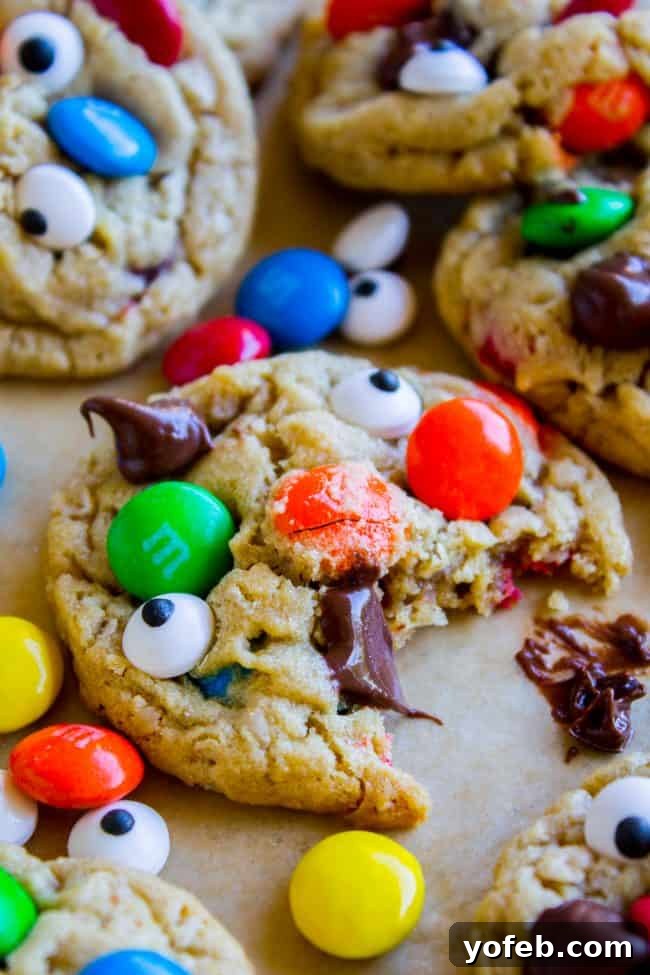
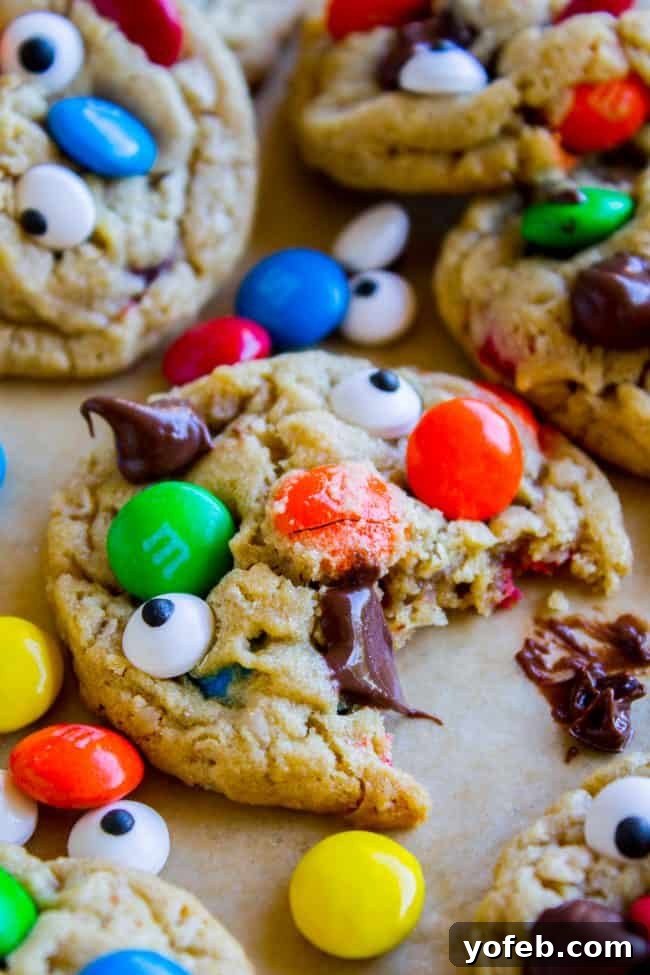
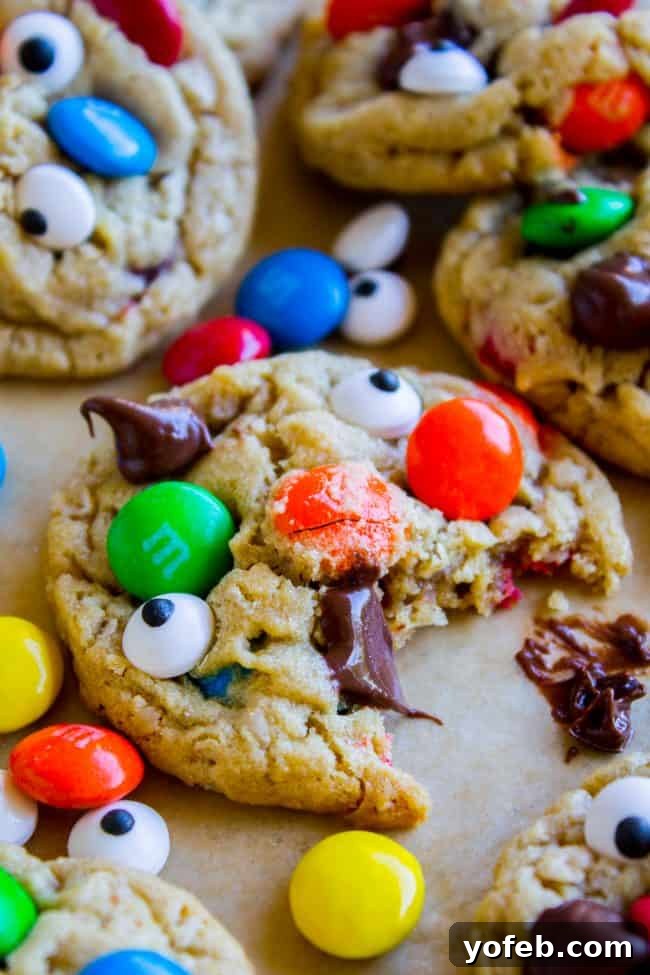
Get ready for the most fun, spooky, and utterly delicious cookies you’ll ever bake! These Monster Cookies are truly watching you with their candy eyes, and they’re here to make your Halloween extra special. Imagine soft, tender, and incredibly chewy peanut butter oatmeal cookies, generously studded with colorful M&Ms and playful candy eyes. They’re not just a treat for the taste buds, but a festive delight for the eyes too, perfect for any autumn gathering or fright-filled celebration. Originally published October 26, 2018, this beloved recipe has been refined to ensure every bite is pure perfection.
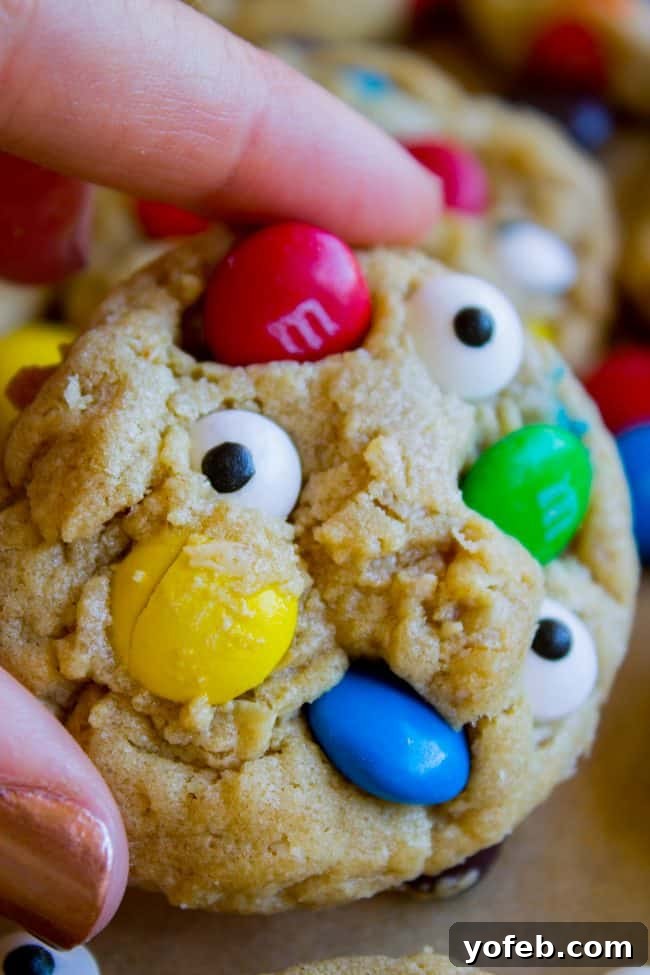
Table of Contents
- The Allure of Monster Cookies
- What Exactly Are Monster Cookies?
- Monster Cookie Ingredients
- How to Make Soft and Chewy Monster Cookies
- Expert Tips for Unforgettable Monster Cookies
- Soft and Chewy Monster Cookies FAQs
- More Spooky & Sweet Treats!
- Monster Cookies Recipe Card
As the leaves turn golden and a crisp chill fills the air, there’s an undeniable buzz of excitement for Halloween. It’s a season of creative costumes, pumpkin carving, and, of course, delicious treats. Every year, I find myself scrambling for a last-minute costume for the church harvest festival, usually long past the Amazon Prime shipping window. My mind races through ideas: a witch? A ghost? Or perhaps, the simplest yet most charming idea: why not go as a monster cookie? Just imagine, a few M&Ms and candy eyes glued to my face – sounds easy enough, right? This playful spirit perfectly embodies the fun and ease of making these incredible Monster Cookies.
Beyond the costume dilemma, this time of year brings out the best in home baking. There’s something inherently comforting about a kitchen filled with the aroma of freshly baked cookies. These Monster Cookies are not just any cookies; they are an experience. They capture the essence of autumn festivities and the joy of sharing homemade goodness. So, whether you’re seeking inspiration for a Halloween costume or simply craving a supremely satisfying cookie, you’ve come to the right place. Let’s dive into making these irresistible treats that are sure to become a cherished part of your holiday traditions.
The Allure of Monster Cookies
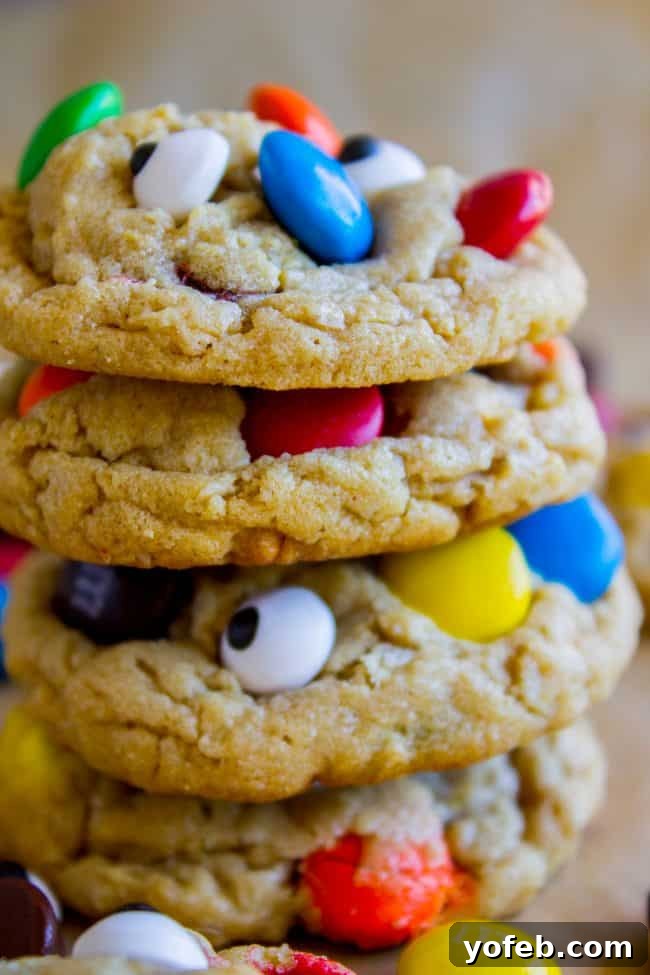
There’s a reason Monster Cookies have captured hearts (and stomachs!) for decades. They’re a delightful mashup of some of the most beloved cookie elements: the rich chewiness of peanut butter cookies, the comforting texture of oatmeal, and the irresistible burst of chocolate from M&Ms. But for Halloween, we take it up a notch with whimsical candy eyes, transforming them from mere cookies into adorable (or spooky!) edible monsters.
This particular recipe for Monster Cookies is my absolute new favorite, and I confidently declare them BOMB! They’re an adaptation of one of my most popular recipes, my Chewy Peanut Butter Oatmeal Cookies, so you know they’re starting from a place of pure deliciousness. We’re talking about an all-butter dough for maximum flavor, an abundance of creamy peanut butter for that signature taste and texture, and, of course, all the M&Ms you could wish for.
The addition of candy eyes was primarily for aesthetic appeal, to truly make them look like little monsters. I confess I was initially skeptical about their taste, fearing they might be too hard or out of place. However, I was pleasantly surprised! They’re not as hard to bite into as they appear, offering a texture similar to a Smartie candy. Best of all, the kids absolutely adore the eyes, which makes them an instant hit for any Halloween party or simply as a fun after-school snack.
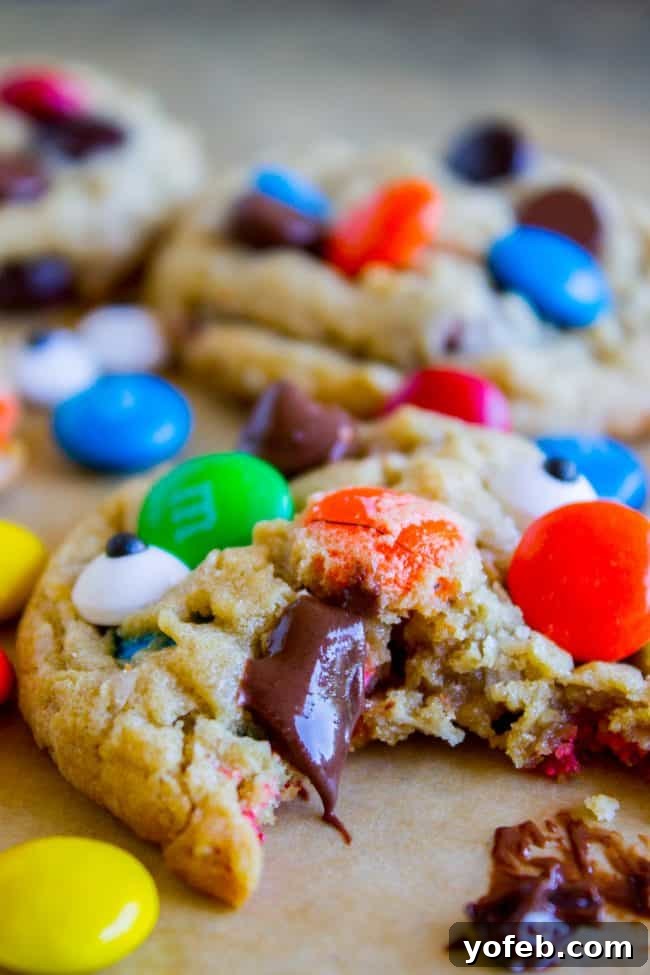
What Exactly Are Monster Cookies?
A true Monster Cookie is a glorious amalgamation of flavors and textures, typically featuring a base of peanut butter and oats, combined with an assortment of candies and chocolates. Legend has it they originated in the 1970s, a testament to their timeless appeal as a hearty, satisfying cookie. What sets them apart is their signature “everything but the kitchen sink” approach to mix-ins, making each bite an exciting surprise.
Our recipe takes this classic to new heights. We’re talking about a cookie that’s intentionally soft and incredibly chewy, far from the flat, crunchy variety. The combination of both quick oats and old-fashioned oats provides a wonderfully complex texture – tender yet substantial. The peanut butter doesn’t just add flavor; it contributes significantly to the cookie’s structure and its irresistible chewiness. When you add vibrant M&Ms, the result is a cookie that is visually stunning and bursts with chocolatey goodness.
For Halloween, the candy eyes are the star! They transform these already delicious cookies into playful, watchful monsters that are perfect for spooky season. These cookies are the ultimate last-minute treat to bring to any Halloween festivity, whether it’s a school party, a neighborhood gathering, or simply a cozy night at home watching scary movies.
Feeling really pressed for time? You can sometimes skip the chilling step and use what I call the “Spoon Technique,” as detailed in my recipe for 30 Minute Chewy Chocolate Chip Cookies. This brilliant trick helps prevent flat cookies even without chilling the dough, ensuring you always get tall, chewy cookies. Life is truly good when you never have to deal with a disappointing flat cookie again!
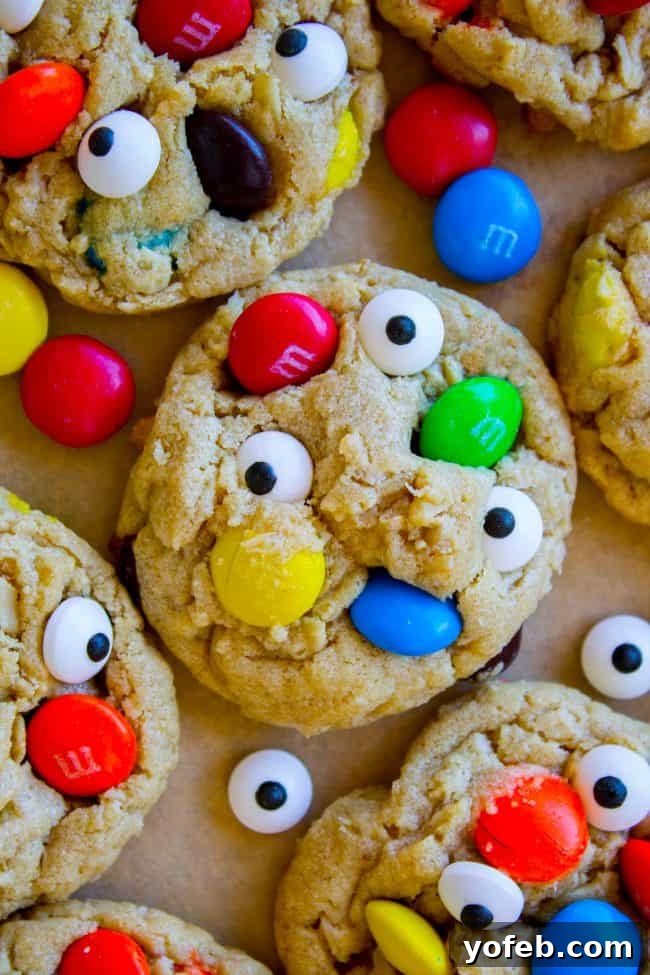
Monster Cookie Ingredients
Crafting the perfect Monster Cookie starts with a careful selection of ingredients. Each component plays a vital role in achieving that signature soft, chewy texture and rich flavor. Here’s what you’ll need to gather:
- Salted Butter: Softened to room temperature, this is the base of our rich dough. Using salted butter enhances all the other flavors.
- Brown Sugar (Dark or Light): Essential for that deep molasses flavor and, crucially, for creating a wonderfully soft and chewy cookie.
- White Sugar: Adds sweetness and contributes to the cookie’s structure and slight crispness around the edges.
- Peanut Butter (Creamy or Chunky): The star flavor! Choose your favorite – creamy for a smoother texture, chunky for added crunch. It also helps bind the dough and keeps the cookies moist.
- Eggs: Act as a binder and add moisture, helping to create a tender crumb.
- Vanilla Extract: A splash of vanilla elevates all the sweet flavors, adding warmth and depth.
- All-Purpose Flour: Make sure to spoon and level it to avoid adding too much, which can result in dry, tough cookies.
- Baking Soda: Our leavening agent, helping the cookies rise and achieve their desired height and texture.
- Kosher Salt: Balances the sweetness and brings out the nutty flavor of the peanut butter.
- Quick Oats: Provide a tender, subtle chewiness that integrates seamlessly into the cookie dough.
- Old Fashioned Oats: Offer a more substantial texture and classic oatmeal cookie chewiness, giving these cookies their hearty character.
- M&Ms (at least 2 cups, plus more for topping): The iconic colorful candy that makes these cookies “monster” worthy! They add bursts of chocolate and vibrant color.
- Candy Eyes (Optional): For that extra spooky, fun, and watchful monster look, especially for Halloween.
Scroll down to the detailed recipe card at the bottom of the post for precise measurements and instructions!
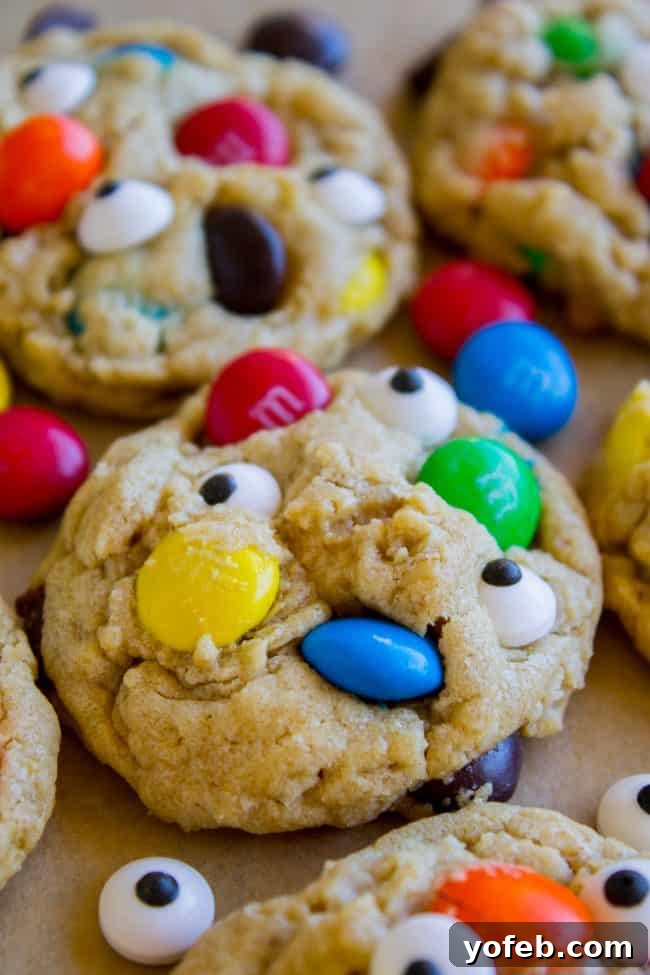
How to Make Soft and Chewy Monster Cookies
This dough, my friends, is truly something special. The process is straightforward, ensuring that even novice bakers can achieve monster-level deliciousness. We’ll follow a classic cookie dough method, but with a few key steps to ensure optimal texture and flavor.
First, we’ll cream together the wet ingredients – the softened butter, both sugars, and that luscious peanut butter – until light and fluffy. This aeration is crucial for a tender cookie. Then, we incorporate the eggs and vanilla, beating them in until everything is well combined and scraped down from the sides of the bowl. This ensures even mixing and prevents any patches of unmixed ingredients.
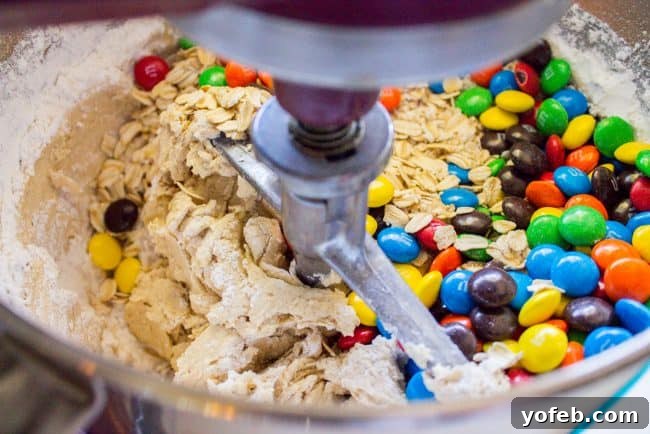
Next comes the dry ingredients. A little trick I love is adding the flour directly on top of the wet mixture, then sprinkling the baking soda and salt over the flour. This saves you from using an extra bowl! Gently mix these in until just combined. The most important rule here is: do not overmix! Overmixing develops the gluten in the flour, leading to tough, less tender cookies. You want to stop mixing as soon as the last streaks of flour disappear into the dough.
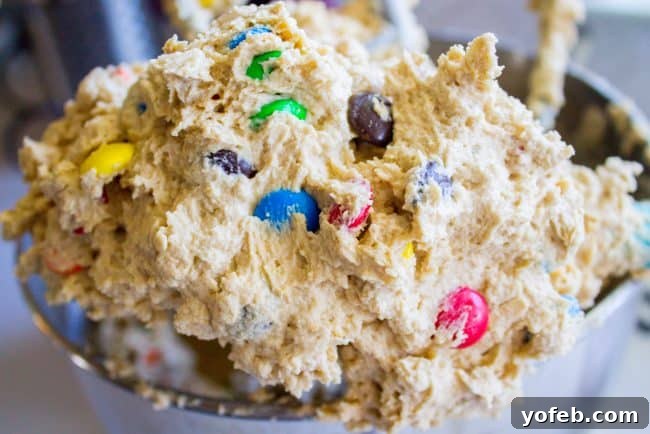
Finally, we fold in the quick oats, old-fashioned oats, and all those vibrant M&Ms. This stage is pure joy, seeing the dough transform into a colorful, inviting mixture. Again, be gentle and avoid overmixing to maintain that soft, chewy texture we’re aiming for. The resulting dough is truly magnificent – rich, gooey, and packed with everything you love about Monster Cookies. Just look at it – pure perfection!
Expert Tips for Unforgettable Monster Cookies
To ensure your Monster Cookies turn out perfectly soft, chewy, and utterly delicious every single time, keep these expert tips in mind:
- The Golden Rule: Do Not Overmix! This cannot be stressed enough. Once you add the flour, mix just until it’s incorporated and no dry streaks remain. Overmixing develops gluten, which leads to tough, cakey cookies instead of the desirable soft and chewy texture. Gentle folding is key once your oats and M&Ms are added.
- Chilling the Dough is Your Best Friend: This recipe calls for a chilling period of 1-3 hours (or even overnight), and for good reason! Chilling solidifies the butter in the dough, which prevents the cookies from spreading too much in the oven, ensuring they stay thick and chewy. It also allows the flavors to meld and deepen, resulting in a more flavorful cookie. Don’t skip this step if you want bakery-style results!
- The “Spoon Technique” for Perfect Shape: For those Instagram-worthy, perfectly round and chewy cookies, try this trick right when they come out of the oven. While they’re still hot and pliable, use the back of a spoon to gently push the edges of each cookie inward towards the center. Do this quickly before they set, and you’ll achieve beautifully thick, tall cookies that look like they came from a professional bakery.
- Accurate Flour Measurement: Too much flour is a common culprit for dry, crumbly cookies. Always use the “fluff and scoop” method: fluff your flour with a spoon, then gently spoon it into your measuring cup, and level it off with a straight edge. Never scoop directly from the bag with your measuring cup, as this compacts the flour and adds too much.
- Room Temperature Ingredients: Ensure your butter and eggs are at room temperature. Room temperature butter creams better with sugar, creating a light, airy base. Room temperature eggs emulsify more easily with the butter mixture, resulting in a smoother, more uniform dough.
- Customize Your Monster Creations: While M&Ms and candy eyes are classic, feel free to get creative with your mix-ins! Consider adding peanut butter chips, white chocolate chips, dark chocolate chunks, chopped pretzels for a salty crunch, or even other seasonal candies. Just ensure the total amount of add-ins doesn’t exceed 2.5 cups to keep the cookie structure intact.
- Storage for Freshness: Once cooled, store your Monster Cookies in an airtight container at room temperature for up to 3-5 days. They stay wonderfully soft and chewy!
- Freezing for Later: These cookies freeze beautifully! You can either freeze the baked cookies (once completely cooled) or freeze portions of raw dough. For baked cookies, layer them with parchment paper in an airtight container. For dough, scoop balls onto a baking sheet, freeze until solid, then transfer to a freezer-safe bag. Bake frozen dough balls directly from the freezer, adding a minute or two to the baking time.
Soft and Chewy Monster Cookies FAQs
Why did my monster cookies go flat?
Flat cookies are a common baking dilemma, but often easily preventable! Several factors can contribute. Firstly, overmixing your dough can incorporate too much air, causing cookies to rise rapidly and then collapse. Secondly, ensure you’re measuring flour correctly using the “fluff and scoop” method (fluff flour, spoon into cup, then level). Compacted flour means more flour, which can lead to flat, dry cookies. Thirdly, warm butter or dough will cause the butter to melt too quickly in the oven, leading to excessive spreading. This is why chilling the dough is so crucial. Lastly, if your cookies still look a little flat after baking, don’t despair! The “spoon technique” (gently pushing the edges inward with a spoon immediately after taking them out of the oven) can magically reshape them into tall, chewy delights.
What is the secret ingredient to keep cookies soft?
The secret to these monster cookies’ incredible softness lies primarily in the generous amount of brown sugar. Brown sugar contains molasses, which is liquid at room temperature. This molasses adds moisture to the dough, resulting in cookies that are much softer and chewier than those made solely with white sugar. Additionally, using softened butter, not overbaking, and proper storage (in an airtight container) all contribute to maintaining that desirable soft texture.
Do I need to chill monster cookie dough?
Yes, absolutely! Chilling this Monster Cookie dough for 1-3 hours (or even overnight) is a non-negotiable step if you want truly chewy, tall cookies that don’t spread excessively and become thin and crispy. The chilling process allows the butter in the dough to firm up, preventing it from melting too quickly in the oven. This helps the cookies hold their shape, giving you those desirable thick centers and slightly crisp edges. It also gives the flavors time to meld, resulting in a richer, more complex taste. While it’s hard to wait, I promise the results are well worth the patience!
Can I make these Monster Cookies ahead of time?
Yes, these cookies are fantastic for making ahead! You can prepare the dough and chill it in the refrigerator for up to 2-3 days before baking. For longer storage, you can scoop the dough into balls, place them on a baking sheet, and freeze until solid. Once frozen, transfer the dough balls to a freezer-safe bag or container and store for up to 3 months. When ready to bake, place the frozen dough balls on a prepared baking sheet and bake directly from frozen, adding an extra 1-3 minutes to the baking time.
What kind of oats should I use for Monster Cookies?
This recipe ingeniously uses a combination of both quick oats and old-fashioned (rolled) oats to achieve the perfect texture. Quick oats are thinner and break down more, contributing to the cookie’s tenderness, while old-fashioned oats provide a heartier chew and classic oatmeal cookie character. Using both ensures a balanced, delightful texture that isn’t too dense or too crumbly. Avoid instant oats, as they can absorb too much moisture and alter the final texture negatively.
More Spooky & Sweet Treats!
If you’re anything like me, there’s never enough cookie season! Especially when Halloween rolls around, it’s the perfect excuse to get creative in the kitchen. If you loved these Monster Cookies, you’ll definitely want to explore these other fantastic recipes:
- Mint Chocolate Chip Cookies — Imagine adding candy eyes to these green beauties for a spooky-minty monster twist!
- Outrageous Pretzel Peanut Butter Reese’s Cookies — A perfect canvas for incorporating extra Halloween candy, especially if you have an abundance of Reese’s cups!
- Thick and Chewy Peanut Butter Butterfingers Cookies — Don’t let those Butterfingers from the kids’ trick-or-treat buckets go to waste. It’s not stealing if you turn them into amazing cookies!
- The Only Oatmeal Chocolate Chip Cookie Recipe You’ll Ever Need — While I’m utterly in love with these Monster Cookies, if you prefer a simpler, classic oatmeal chocolate chip, these are a must-try!
- Texas Cowboy Cookies — One of my most popular cookie recipes, packed with deliciousness for a hearty treat.
- The Softest Chocolate Sugar Cookies (That Hold Their Shape!) — Cut these into fun Halloween shapes and decorate with spiderweb designs for a party!
- Dracula’s Dentures — An oldie but a fun Halloween-themed treat that’s always a hit with kids.
- Halloween Rice Krispie Treats — So easy to make and super cute in candy corn shapes!
- Halloween Cobweb Cookies from Bellyfull — A creative and classic spooky dessert.
- The Nightmare Before Christmas Pumpkin Cookies from Will Cook For Smiles — Perfect for fans of the iconic movie.
- Jack Skellington Oreo Pops from Big Bear’s Wife — Another fun, themed treat inspired by “The Nightmare Before Christmas.”
Facebook | Pinterest | Instagram

Monster Cookies
Rate this Recipe
Print Recipe
Monster Cookies! They’re watching youuuu!!! Chewy and tender peanut butter oatmeal cookies, studded with M&Ms and candy eyes to make Monster Cookies extra spooky for Halloween! They are soft cookies that are really easy to throw together.
Ingredients
- 1 cup salted butter, softened (2 sticks)
- 1 cup dark or light brown sugar
- 3/4 cup white sugar
- 1 cup peanut butter, creamy or chunky
- 2 eggs
- 1 teaspoon vanilla
- 1 & 1/2 cups flour, spooned and leveled
- 2 teaspoons baking soda
- 1 teaspoon salt
- 1 cup quick oats
- 1/2 cup old fashioned oats
- 2 cups M&Ms, plus more for topping*
- candy eyes, optional
Instructions
- In a large bowl or stand mixer, beat the butter for 2 minutes, scraping the sides and bottom of the bowl occasionally, until light and fluffy.
- Add the brown sugar, white sugar, and peanut butter. Beat until fully incorporated and creamy, about 2-3 minutes.
- Add 2 eggs and vanilla extract. Beat well, again scraping the sides and bottom of the bowl to ensure everything is thoroughly mixed.
- Add the flour but do not mix it in yet. Use a small spoon to stir the baking soda and salt into the flour directly on top of the wet ingredients. Then, gently beat in the dry ingredients until just combined. Stop mixing as soon as the last streaks of flour disappear; there should still be some flour streaks visible.
- Add the quick oats, old fashioned oats, and M&Ms. Stir gently by hand or with the mixer on low speed until just incorporated. Do not overmix.
- Cover the bowl with plastic wrap and chill the dough in the refrigerator for 1-3 hours (or overnight for deeper flavor and better texture).
- When the dough is chilled, preheat your oven to 350 degrees F (175 degrees C). Line 2 baking sheets with silicone baking mats or parchment paper.
- Use a large cookie scoop (about 2 inches across) to portion the cookie dough. Place the dough balls on the prepared baking sheets, ensuring they are at least 2 inches apart from each other to allow for spreading.
- Bake the cookies at 350 degrees F for 10-12 minutes. The centers should still look slightly shiny and soft, and the edges should be lightly golden and firm. It’s crucial not to overbake for maximum chewiness.
- Immediately after removing from the oven, gently press a few extra M&Ms and candy eyes into the top of each warm cookie. For really tall, chewy cookies, use the back of a spoon to push the edges of each cookie in toward the middle. (For more details on this “spoon technique”, refer to this post).
- Let the cookies cool on the baking sheet for 5 minutes before transferring them to a wire cooling rack to cool completely. These are absolutely best enjoyed warm, so don’t hesitate to grab one (or two, or three!) right away.
- Store cooled Monster Cookies in an airtight container at room temperature for up to 3-5 days.
Notes
This recipe is a slight adaptation from my wildly popular Chewy Peanut Butter Oatmeal Cookies!
*Feel free to customize your Monster Cookies by adding other mix-ins like chocolate chips, peanut butter chips, or even chopped pretzels. Just ensure the total amount of add-ins stays around 2 to 2.5 cups to maintain the perfect dough consistency.
Nutrition
Mention @thefoodcharlatan or tag #thefoodcharlatan!