

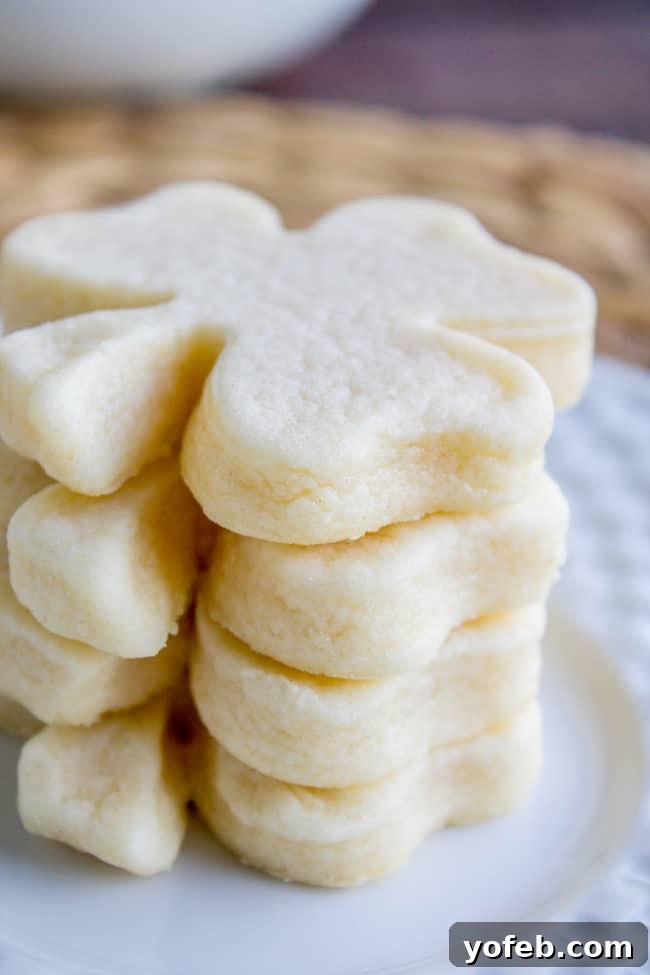
Craving the softest, most flavorful sugar cookies that perfectly hold their shape every time? Look no further! This ultimate recipe reveals a secret ingredient that elevates classic sugar cookies from good to absolutely unforgettable. Forget sad, shapeless blobs; these cookies are designed for delightful decorating, whether you choose our irresistible Best Buttercream Frosting or elegant Royal Icing. Get ready to bake a batch of pure joy that will be the star of any holiday or special occasion!

Table of Contents
- The Best Soft Sugar Cookie Recipe You’ll Ever Make
- Essential Soft Sugar Cookie Ingredients
- How to Achieve Perfectly Soft Sugar Cookies
- Optimal Thickness for Cutout Sugar Cookies
- Keeping Sugar Cookies Wonderfully Soft
- Soft Sugar Cookie Recipe FAQs
- The Secret to Incredibly Soft Sugar Cookies
- Freezing Frosted and Unfrosted Sugar Cookies
- My Strategy for Baking Large Batches of Soft Sugar Cookies
- Buttercream vs. Royal Icing: Which to Choose?
- Cutout Sugar Cookies for Every Holiday Celebration
- More Frosted Cookie Recipes You’ll Adore!
- Soft Sugar Cookies Recipe Card
Life can be a whirlwind, filled with unexpected moments—like a baby’s startled cry at a bearded kiss, or a sudden, ill-advised attempt at running that leaves you with bruised toes and a clear message from the universe: “Don’t run, Karen!” And honestly, when life sends you signs like that, there’s only one logical response: embrace the joy of baking. Instead of pounding the pavement, let’s dive into the comforting world of sugar cookies.
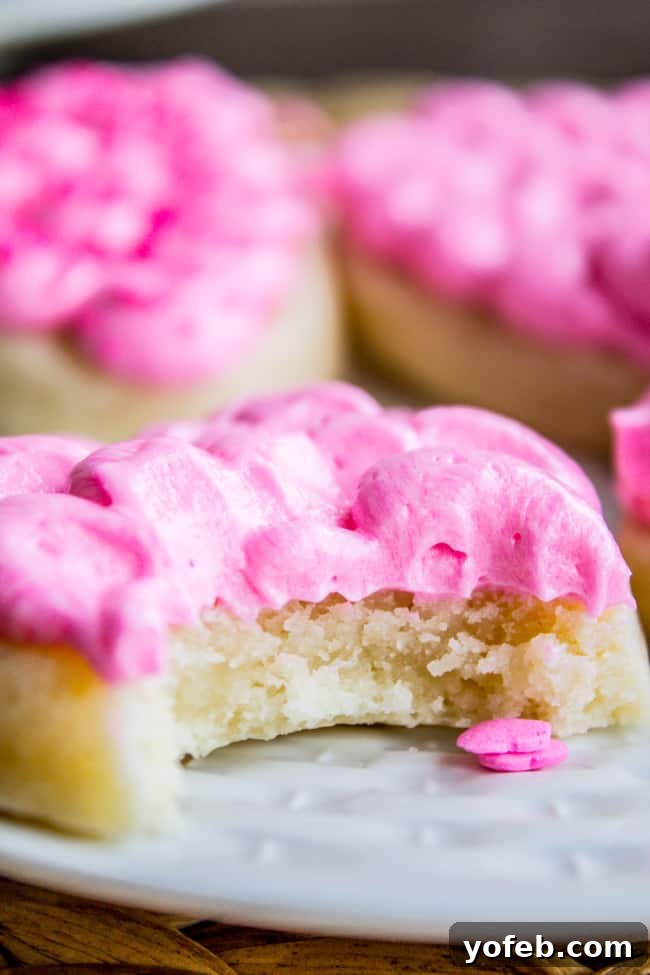
Forget the stress of everyday life and indulge in the simple pleasure of a perfectly baked sugar cookie. This recipe is a culmination of years of tweaking and perfecting, inspired by a cherished family recipe. My mission? To create a sugar cookie that is not just good, but truly exceptional – one that is incredibly soft, bursting with flavor, and impeccably holds its shape, making it ideal for any festive occasion or spontaneous treat.
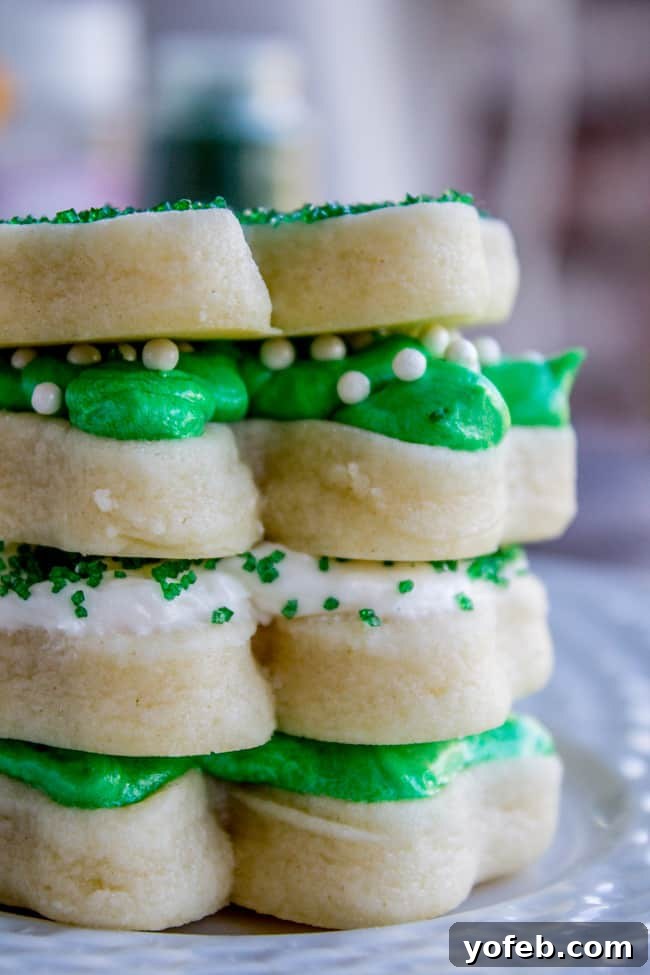
The Best Soft Sugar Cookie Recipe You’ll Ever Make
For me, a perfect sugar cookie is non-negotiable: it must be supremely soft, with no hint of crunchiness around the edges. I envision a thick cookie, topped with an equally generous layer of frosting. While my heart has always belonged to rich, creamy buttercream, I’ve recently expanded my horizons to appreciate the artistry of royal icing too! (More on that later.) The goal here is a cookie that remains moist and tender, never drying out, a truly magical treat.

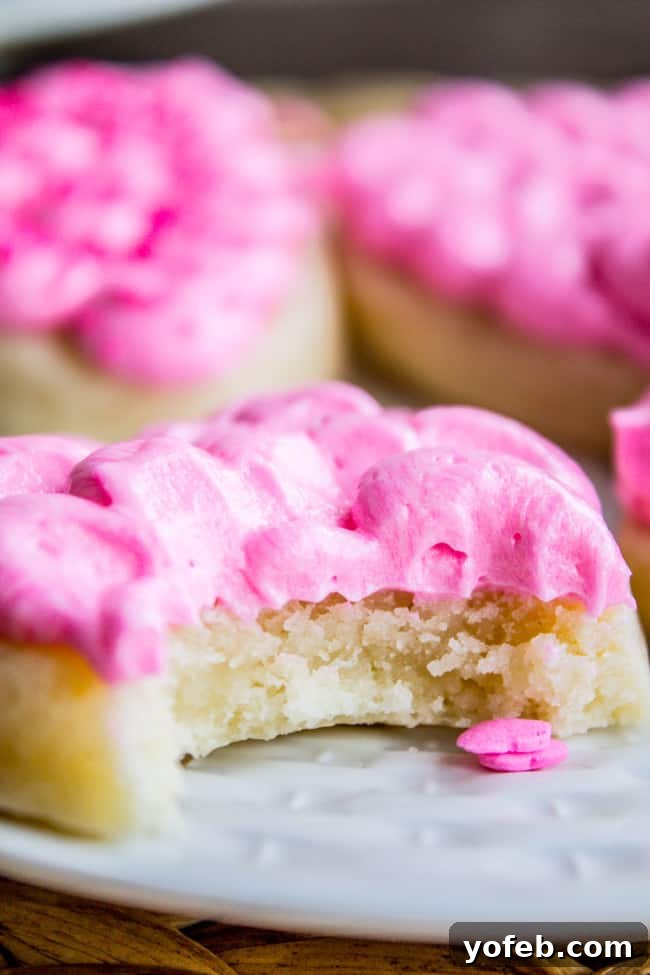
So, what’s the secret behind this incredible softness and rich flavor? The answer lies in cream cheese. Yes, you read that right! While our grandmothers might have relied solely on butter for their sugar cookies (often resulting in a harder, crunchier texture), this recipe incorporates cream cheese to replace half of the butter. The result is a cookie that boasts an unparalleled tenderness, a delightful moistness, and a subtle tangy depth that sets it apart. The cream cheese ensures the cookies remain incredibly soft, even days after baking, and contributes to their exquisite flavor profile.
I’ve meticulously tested this recipe, enjoying the cookies both plain and frosted. Even without frosting, they offer a perfect balance of sweetness and rich flavor from the butter, enhanced by the aromatic blend of almond and vanilla extracts. This combination of extracts is truly the magic that transforms a good sugar cookie into an extraordinary one. Let’s delve into the details that make these the best soft sugar cookies you’ll ever bake!
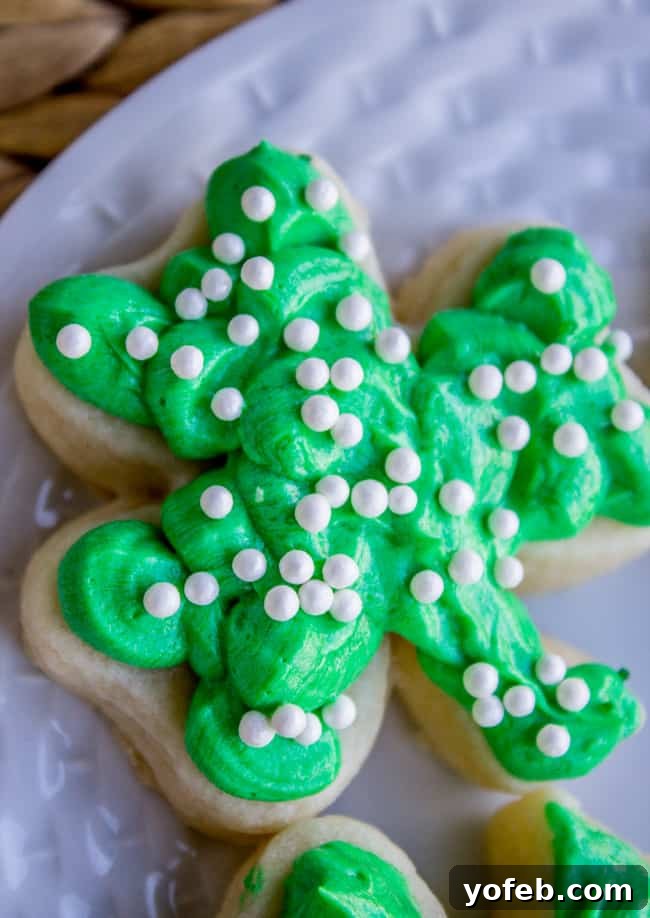
Essential Soft Sugar Cookie Ingredients
Gathering the right ingredients is the first step to baking success. Don’t forget our star player: cream cheese! It’s crucial for that signature soft texture and unique flavor. You’ll find the precise quantities in the recipe card below, but here’s a quick overview of what you’ll need to have on hand:
- Cream Cheese: Softened to room temperature for smooth incorporation.
- Salted Butter: Also softened. If you only have unsalted, simply add an extra ¼ teaspoon of salt for every ½ cup (one stick) of unsalted butter to maintain flavor balance.
- All-Purpose Flour: Make sure it’s spooned and leveled for accurate measurement.
- Granulated Sugar: For that essential sweetness.
- Egg: Acts as a binder and adds richness.
- Vanilla Extract: A classic flavor enhancer.
- Almond Extract: This is a game-changer! While you can substitute with more vanilla, the combination of almond and vanilla is what truly makes these cookies shine.
- Salt: Balances the sweetness and enhances all the other flavors.
Ensuring your butter and cream cheese are properly softened is key to achieving a smooth, well-combined dough. This small detail can make a big difference in the final texture of your soft sugar cookies. Now, let’s get baking!
How to Achieve Perfectly Soft Sugar Cookies
These cut-out sugar cookies are so versatile and always a crowd-pleaser for any holiday or gathering. To ensure they turn out beautifully soft and never overbaked, paying attention to a few key steps is essential. I highly recommend using silicone baking mats on your cookie sheets. They provide excellent, even heat distribution, which is crucial for perfectly baked cookies and, consequently, maintaining that coveted soft texture.
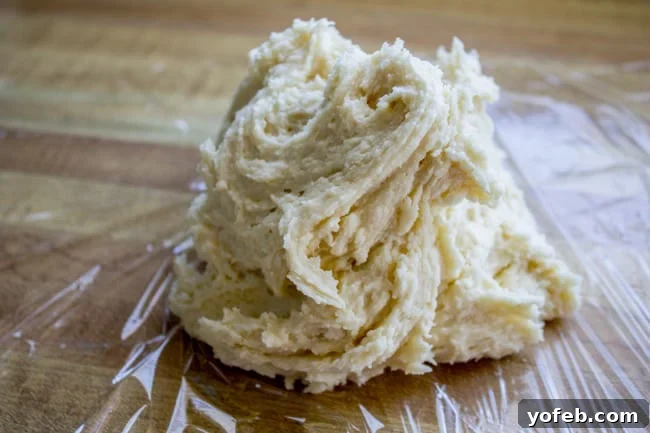
Your dough will be delightfully sticky, which is a sign of its rich moisture content and promise of ultimate softness. Don’t be alarmed; this stickiness is a good thing! It’s a key indicator that your cookies will bake up tender and flavorful. Just follow the chilling instructions, and it will be much easier to handle. You can also use a light dusting of flour on your work surface and rolling pin to manage it effectively.
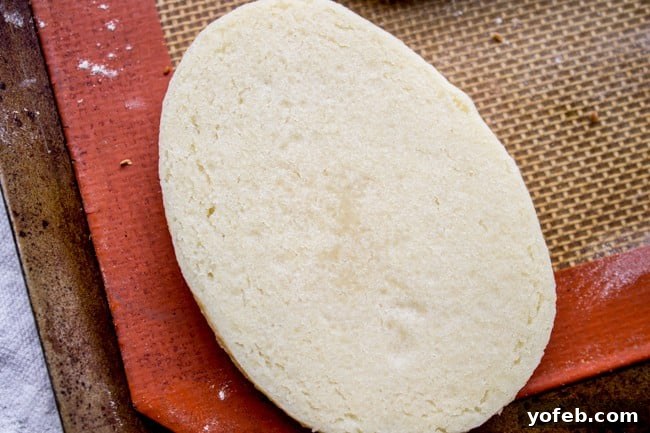
When it comes to baking, resist the urge to brown your cookies. The bottom of a perfectly baked soft sugar cookie should be barely kissed with a light golden hue, never deep brown. The top surface will transition from a glossy sheen to a completely matte appearance when done, but without any browning. This slight underbaking is what preserves their incredible chewiness and softness. That little dark spot in the center? That’s pure perfection – a sign of a cookie that will melt in your mouth!
Optimal Thickness for Cutout Sugar Cookies
Achieving the ideal thickness is paramount for soft, thick, and shapely cutout cookies. Many cookie recipes fall short in this area, regardless of the ingredients. The key is in the rolling technique. A sturdy, reliable rolling pin is your best friend here.
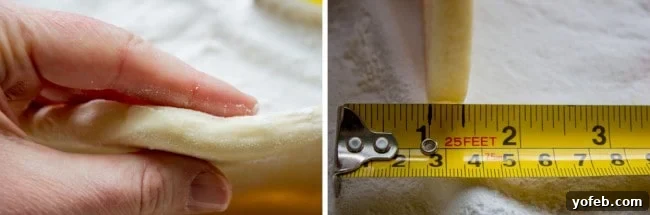
For truly thick and soft sugar cookies, the dough needs to be rolled out substantially – precisely ⅜ of an inch thick. This might seem unusually thick, but it’s essential for that desired plush texture. As you can see in the image to the left, using a ruler can help visualize this thickness against your fingers, making it easy to get it just right. This prevents thin, crispy edges and ensures a tender bite throughout.
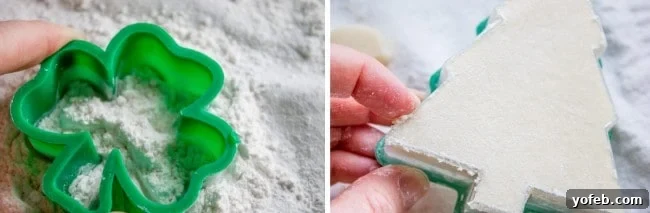
When cutting your cookies, lightly flour your cookie cutters, especially for intricate designs. This prevents sticking and ensures clean, crisp edges. A clever trick is to use your finger or a small knife to gently clear away any excess dough or flour from the outer edge of the cutter before pushing the cookie out. This step is crucial for maintaining sharp, defined shapes after baking, preventing them from blurring into “snow blobs” as the image on the right beautifully demonstrates with a snowflake cutout.
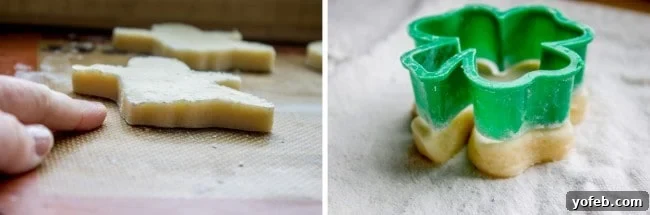
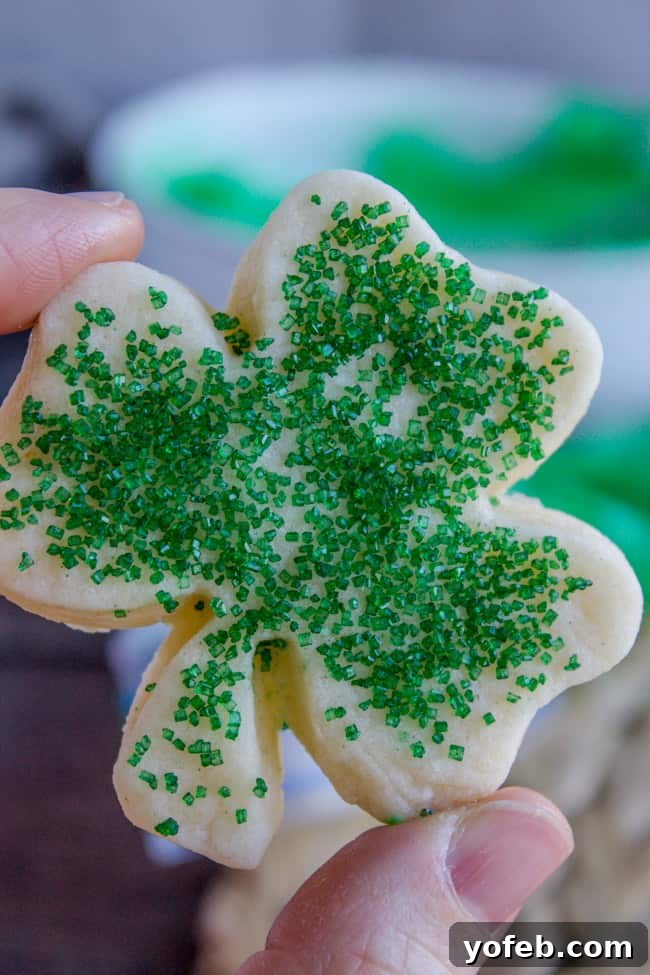
For a truly polished look, I like to use a pastry brush to gently dust off any residual flour from the tops of the shaped cookies before baking. As you can see, even after baking, the cookies retain their charming shapes, like the shamrock on the right, making them perfect canvases for your frosting creations.
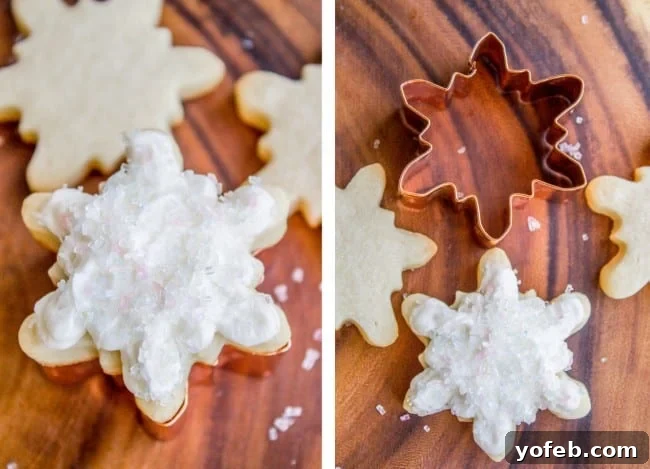
The pictures speak for themselves: perfectly formed snowflakes, not amorphous blobs! The careful preparation of the dough and cutters ensures that your effort in creating beautiful shapes is rewarded with equally beautiful baked cookies. The quantity of cookies you yield from one batch will vary depending on the size and intricacy of your chosen cookie cutters, but one batch typically provides plenty for sharing and enjoying.

Keeping Sugar Cookies Wonderfully Soft
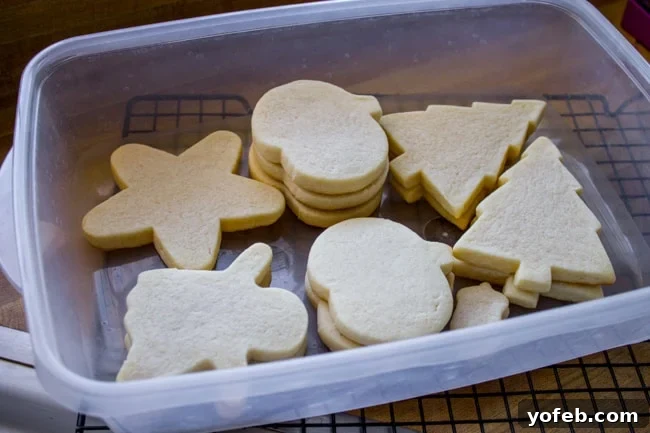
Beyond the baking process, proper storage is paramount to maintaining the exquisite softness of these sugar cookies. My top tip: as soon as your cookies have cooled for a few minutes on the baking pan, transfer them directly into an airtight container, such as Tupperware or a ziplock bag. Allowing sugar cookies to sit out uncovered is the quickest way for them to dry out and become hard and crunchy. Protect your delicious creations by sealing in that precious moisture immediately!
Soft Sugar Cookie Recipe FAQs
Using unsalted butter is perfectly fine! The main difference will be a slightly blander taste due to the lack of salt. To compensate, simply add an extra 1/4 teaspoon of kosher salt to the recipe. This small adjustment will ensure your cookies are just as flavorful and balanced as if you had used salted butter.
The ultimate secret to keeping your cut-out sugar cookies from spreading is COLD DOUGH! Chilled dough holds its intricate shapes beautifully in the oven. If your dough is too warm, your carefully cut shapes will lose their definition and become shapeless blobs. Additionally, this recipe intentionally contains no leavening agents like baking soda or baking powder. We want minimal rise, allowing the cookies to retain their exact cut-out forms, unlike chocolate chip cookies that are meant to spread. Always ensure your dough is thoroughly chilled before baking.
Always cut the dough into shapes BEFORE baking. Attempting to cut baked cookies will result in crumbly, uneven edges and a frustrating experience. For crisp, clean designs, cut the chilled dough with your cookie cutters.
Unlike many cookie recipes that suggest baking until golden brown, you absolutely DO NOT want any browning on the edges or tops of these soft sugar cookies. Browning means they’ll be hard and crunchy, not soft and tender. The cookies are done when their top surface appears completely matte, losing its initial shiny look. The bottoms should have only a very, very faint hint of browning. Watch them closely – overbaking is the biggest enemy of soft sugar cookies!
The Secret to Incredibly Soft Sugar Cookies
If you’re as devoted to soft cookies as I am, these rules are non-negotiable! Here’s the concise guide to achieving consistently tender, melt-in-your-mouth sugar cookies:
- Embrace Cream Cheese: Our secret weapon! Replacing a portion of the butter with cream cheese infuses the dough with extra moisture and a delightful tang, ensuring a remarkably tender crumb.
- Chill the Dough Thoroughly: This isn’t just for shape retention; cold dough bakes up thicker and softer. Always chill your dough for at least 2 hours, or even overnight.
- Roll Dough Extra Thick: Aim for a substantial ⅜ inch thickness. Thicker cookies stay softer and more chewy.
- Do Not Overbake: This is critical! Bake until the tops are just matte, with no golden edges or browning. A slightly underbaked center equals ultimate softness.
- Store Properly Immediately: Once cooled, transfer your cookies into an airtight container within minutes to lock in moisture and prevent them from drying out.
- Frost with Buttercream: While royal icing has its place, for the ultimate soft sugar cookie experience, rich Buttercream Frosting is key. It acts as a protective barrier, sealing in moisture and contributing to an incredibly tender bite.

Freezing Frosted and Unfrosted Sugar Cookies
The ability to freeze these soft sugar cookies, both before and after frosting, is a game-changer for holiday prep, party planning, or simply having a stash of delicious treats on hand. This make-ahead strategy is a blessing, allowing you to spread out your baking efforts and enjoy fresh-tasting cookies whenever you desire!
After baking, let your cookies rest on the hot pan for about 5 minutes, then transfer them to a wire rack to cool completely. Once fully cooled, you have a couple of options for freezing:
- To Freeze Unfrosted Cookies: Place the cooled cookies on a cold baking sheet and flash-freeze them for 1-2 hours until solid. Then, transfer them into a large, airtight food storage container. Layer them carefully, with parchment paper between layers if desired, to prevent sticking. Unfrosted cookies can be stored in the freezer for up to 2 months.
- To Freeze Frosted Cookies: After the cookies have cooled completely, frost them as desired. Then, arrange the frosted cookies on a baking sheet, ensuring they don’t touch, and flash-freeze for about an hour until the frosting is firm. Once frozen, carefully transfer the cookies to a large, flat food storage container. I find it helpful to line them up on their sides to minimize any potential damage to the frosting. Frosted cookies can be frozen for up to 4 weeks.
When you’re ready to enjoy them, simply remove the desired number of cookies from the freezer and let them thaw at room temperature for at least two hours. For frosted cookies, make sure to move them to a serving platter before they fully come to room temperature to prevent any sticking.
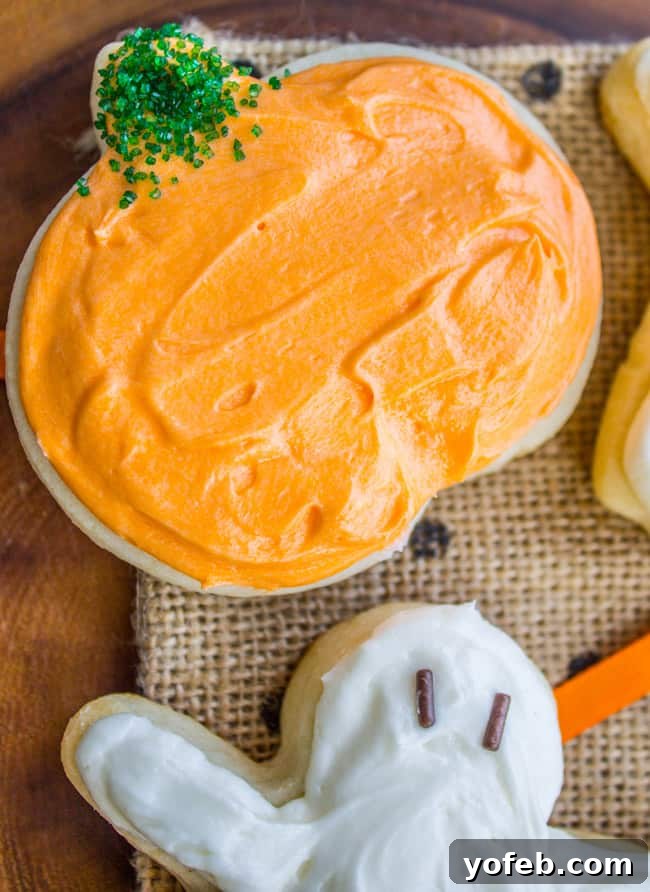
My Strategy for Baking Large Batches of Soft Sugar Cookies
Baking a large quantity of sugar cookies doesn’t have to be overwhelming. Here’s my tried-and-true method for mass-producing these delightful treats efficiently, ensuring every cookie is as perfect as the last:
- Day 1: Prepare the Dough & Chill. Start by making the dough and chilling it in the refrigerator for at least 2-3 hours, or ideally, overnight. This crucial step allows the flavors to meld and ensures the dough is firm enough to roll without spreading. You can even freeze the dough in an airtight bag for up to 3 months; just remember to thaw it in the fridge before use.
- Day 2: Bake All the Cookies. Roll out your chilled dough and bake all the cookies according to the recipe instructions. As soon as they’ve had a few minutes to set on the pan, transfer them to a cooling rack to cool completely. Time is of the essence here – don’t let them sit out too long!
- Option 1: Freeze Unfrosted Cookies. If you plan to frost them later, immediately after cooling, transfer all cookies to a large, flat, airtight food storage container. Stack them with parchment paper between layers to prevent sticking. They can stay in the freezer for approximately 4 weeks, ready for future frosting sessions.
- Option 2: Frost & Then Freeze. For pre-frosted convenience, once the cookies are cooled, frost them as desired. Then, place the frosted cookies back onto baking sheets, arranging as many as possible without them touching. Flash-freeze them for about an hour until the frosting is completely hardened. After this, you can transfer the firm, frosted cookies to a large food storage container. I like to stand them on their sides, packing them snugly like sardines, to minimize frosting damage. These can be stored frozen for up to 4 weeks.
- Serving Day: Thaw & Enjoy. On the day you wish to serve them, remove the cookies from the freezer at least two hours beforehand. Ensure you place them on a flat surface or serving platter before the frosting reaches room temperature to prevent them from sticking together.
- Christmas Cookie Plates: When assembling holiday cookie plates, I often add frosted sugar cookies directly from the freezer, alongside other cookies, fudge, or candy. By the time all the plates are assembled, wrapped in cellophane, tied with ribbons, and ready for delivery, the cookies will have gently thawed, maintaining their perfect appearance and texture through the process.
Buttercream vs. Royal Icing: Which to Choose?
Topping these soft sugar cookies is an art form, and the choice of frosting truly defines the experience. I’ve perfected my absolute favorite buttercream frosting, a simple recipe with secret ingredients that deliver the most nuanced, rich flavor. It’s my go-to for its creamy texture and decadent taste.
However, my perspective on royal icing has evolved! As of a January 2024 update, I decided to conquer my fear of Royal Icing, expecting it to be intimidating. To my surprise, it’s entirely manageable and can be a fantastic, fun project, especially when decorating with a group. I’ve even adapted my royal icing recipe with special additions to echo the delightful flavor profile of my favorite buttercream, ensuring it pairs perfectly with these cookies.
Ultimately, the choice is yours, depending on your desired outcome:
- Choose Buttercream if you crave a rich, decadent cookie that’s moist and almost cupcake-like in its indulgence. It provides a soft, creamy layer that truly complements the cookie’s tenderness.
- Opt for Royal Icing if you’re looking for a frosting that hardens into a beautiful, candy-like shell, perfect for intricate designs and easy stacking or shipping. It offers a different, yet equally delicious, texture and aesthetic.
Cutout Sugar Cookies for Every Holiday Celebration
This sugar cookie recipe has become a perennial favorite on the blog, proving that cutout sugar cookies are a timeless classic for every celebration throughout the year. From festive Christmas trees to spooky Halloween shapes, people simply adore these cookies for every imaginable occasion!

To inspire your holiday baking, I’ve compiled a list of popular holidays with links to some adorable cookie cutters that would be perfect for each. Making sugar cookies is a joyful activity that can be enjoyed all year long, allowing you to get creative with themes and decorations for every season:
- Valentine’s Day cookie cutters
- St. Patrick’s Day cookie cutters
- Easter cookie cutters
- 4th of July cookie cutters
- Halloween cookie cutters
- Thanksgiving cookie cutters
- Christmas cookie cutters
However, don’t feel limited to elaborate shapes. For large gatherings or casual gifting, a simple circle biscuit cutter works wonderfully. You can still unleash your creativity with different colored frostings and a variety of sprinkles, making each cookie unique and festive.
And there you have it – the recipe for the best, softest sugar cookies of your life, guaranteed to be free of any disappointing crunch. Bake them, love them, and repeat the process for every holiday and special moment! (And if you’re looking for a more delicate, shortbread-like cookie for holiday shapes, be sure to explore my recipe for Perfect Linzer Cookies!)
More Frosted Cookie Recipes You’ll Adore!
If you’ve fallen in love with these soft sugar cookies, you’ll be thrilled to discover more delightful frosted cookie recipes from my kitchen. Each offers a unique flavor and texture, perfect for expanding your baking repertoire:
- The Softest Chocolate Sugar Cookies – A rich, chocolatey adaptation of this very recipe, offering the same incredible softness.
- Pariserwafiers (Swedish Cream Wafer Cookies) – Tiny, delicate buttercream sandwich cookies that are impossible to resist. Bet you can’t eat just four!
- Coconut Frosted Sugar Cookies with Strawberry Hearts – The epitome of a perfect Swig-style sugar cookie, featuring a refreshing coconut frosting.
- Mint Chocolate Chip Cookies – A top-performing recipe on my site, these minty delights are a must-try for any chocolate and mint lover.
- Homemade Oreos with Cream Cheese Frosting – Possibly the easiest and fastest cookies you’ll ever make, with a delicious cream cheese filling.
- Pumpkin Cookie Recipe (Soft Cookie with Brown Butter Icing) – Incredibly soft, fluffy, and thick pumpkin cookies that truly melt in your mouth, enhanced by a luscious brown butter icing.
And for more fantastic frosted cookie ideas from fellow bakers:
- Peppermint Meltaways from 5 Boys Bakers
- Frosted Gingerbread Cookies from Baker by Nature
- Iced Oatmeal Cookies from Dessert Now Dinner Later
Facebook | Pinterest | Instagram

Soft Sugar Cookies
Ingredients
- 3/4 cup salted butter, softened (1 and 1/2 sticks)
- 4 ounces cream cheese, softened
- 1 & 1/2 cups granulated sugar
- 1 egg
- 1 teaspoon vanilla
- 1 & 3/4 teaspoons almond extract
- 1 teaspoon salt
- 3 cups flour, spooned and leveled
Instructions
-
In a large bowl or stand mixer, beat the butter on medium speed until it is soft and fluffy, 1-2 minutes.
-
Add the softened cream cheese and continue to beat for 1 minute, until well incorporated.
-
Add the sugar and beat well, 1-2 minutes, until fluffy.
-
Add the egg, vanilla, and almond extract. Beat well. Scrape the sides and bottom of the bowl with a spatula.
-
Add salt and flour and beat until just barely combined, scraping the sides and bottom again. Do not stir too much or you will make your dough tough. The dough is pretty sticky!
-
Scrape the dough out onto a sheet of plastic wrap (or into a ziplock or tupperware). Cover or wrap tightly and put it in the fridge for 2 hours (or overnight) or in the freezer for 1-2 hours. (If I am in a hurry I will split the dough in half and wrap separately so that it will chill faster.)
-
When the dough is completely chilled, preheat oven to 350 degrees F.
-
Line 2-3 baking sheets with silicone baking mats or parchment paper.
-
Prepare a work surface with a light dusting of flour.*
-
If you have not already split the dough in half, do so now. Put any dough that you are not working with in the fridge.
-
Use floured hands to flatten out the dough a bit, then use a rolling pin to roll it and smooth it out a little bit. Don’t go too crazy here, remember we want the cookies to be THICK, about 3/8 inch. No crisp cookies, please.
-
Lightly dust your chosen cookie cutters with flour. Press firmly into the dough, utilizing your space wisely. Use your finger or a knife (depending on the shape) to wipe away the excess flour/dough on the outer edge of the cookie cutter before pushing them out onto the pan. This helps you get clean lines.
-
Place the shaped dough on the prepared baking sheet. If you are using multiple cookie cutter shapes, bake all of the same shape on the same pan. Otherwise your smaller cookies will get over baked. Leave at least 1 inch in between each cookie.
-
If you’ve taken long enough that your shaped cookies are no longer chilled, place the baking sheet in the fridge or freezer for a couple minutes.
-
Scrape together the excess dough and knead it together once or twice (as little as possible), then roll it out again to 3/8. Don’t overwork the dough! (It will get tough.) Continue until the dough is gone. Refrigerate the dough as necessary. They should go into the oven cool.
-
Bake the shaped cookies at 350 for about 9 minutes for smaller cookies, and about 10-11 minutes for larger cookies. Do NOT over bake. You do not want the edges or tops to brown at all. The cookies should be barely browned on the bottom.
-
Leave the cookies on the pan for 5 minutes, then immediately transfer to a large tupperware and cover until they are completely cooled and you are ready to frost.
-
Frost cookies with The BEST Buttercream Frosting for Sugar Cookies or with Royal Icing!