
Diving deep into a digital archive of yesteryears, I recently stumbled upon an old email attachment – a word document from my college roommate, Sarah. It chronicled a story I’d apparently shared with her during our freshman year, a memory she felt compelled to immortalize in writing. Reading it now, it’s almost perfectly verbatim, a charming snapshot of my younger self:
“Remember those little Babybel cheeses that come encased in red wax? Well, one particularly sweltering day, I was enjoying one of those delectable cheeses when a sudden realization hit: I was late for work! In a rush, I decided to take the remaining cheese with me. On my hurried drive to the pool where I worked as a lifeguard, I found myself holding the cheese in one hand and the bright red wax wrapper in the other. A thought popped into my head: ‘Hmm… I really don’t want to hold onto this wax anymore.’ So, without much deliberation, I casually placed it into my car’s cup holder. It was an exceptionally hot day, you see, and predictably, the wax began to melt into a crimson puddle. My reaction? Another ‘Hmm… I’ll just leave this here for now.’ And so, that wax became a permanent fixture for the next three months, dutifully melting and hardening with the daily cycle of sun and night. Then, as fate would have it, a mere six hours before I was due to leave for college, I had another epiphany: ‘Hmm… I should probably clean out my car.’ So I did! And the wax, miraculously, was gone… well, mostly.”
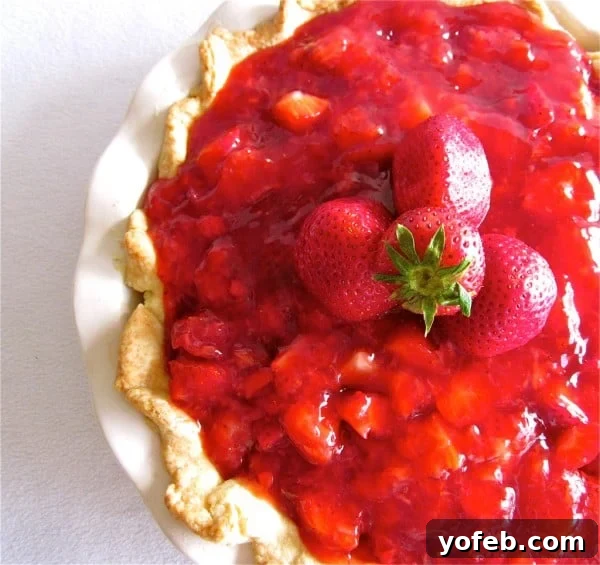
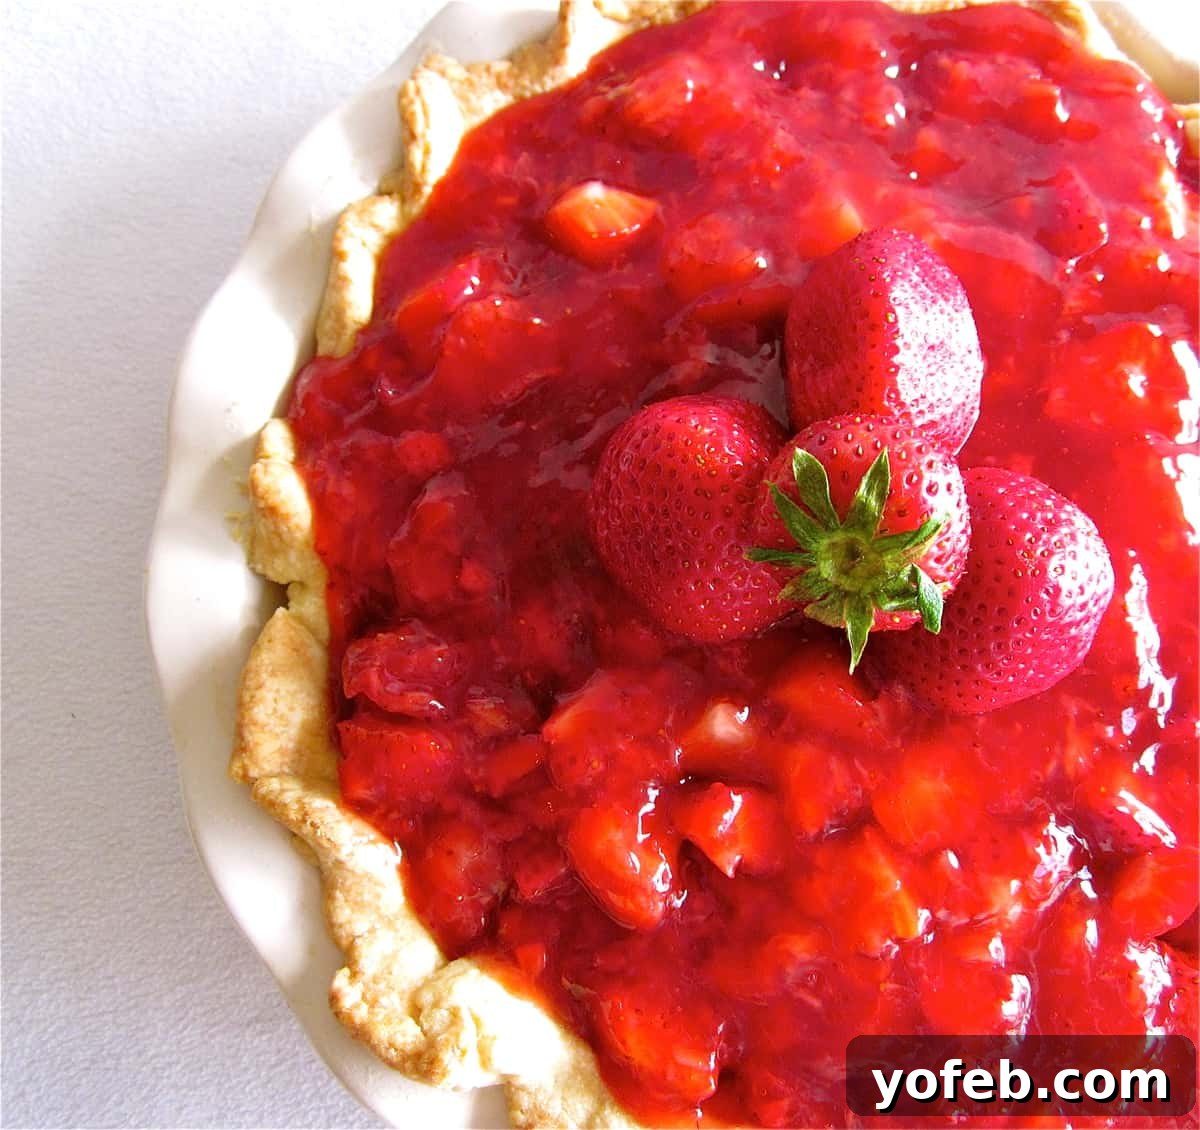
That little anecdote, with its blend of absentmindedness and youthful nonchalance, perfectly captures my 17-year-old self. And I’m fairly certain that car’s cup holder still bears the faint, reddish ghost of that melted wax. My sincere apologies to my parents for enduring the quirks of their rather messy teenage daughter! Yet, despite the sticky aftermath, my affection for those delightful Babybel cheese wedges remains unwavering. Some things truly never change, and my profound love for cheese in all its forms is undeniably one of them. This enduring passion, in fact, brings us beautifully to the star of today’s recipe: a sensational Strawberry Glace Pie, elevated to sheer perfection by a sumptuous cream cheese layer. This creamy, tangy addition transforms an already wonderful fruit pie into an absolute masterpiece, making it a thousand times better and utterly irresistible.
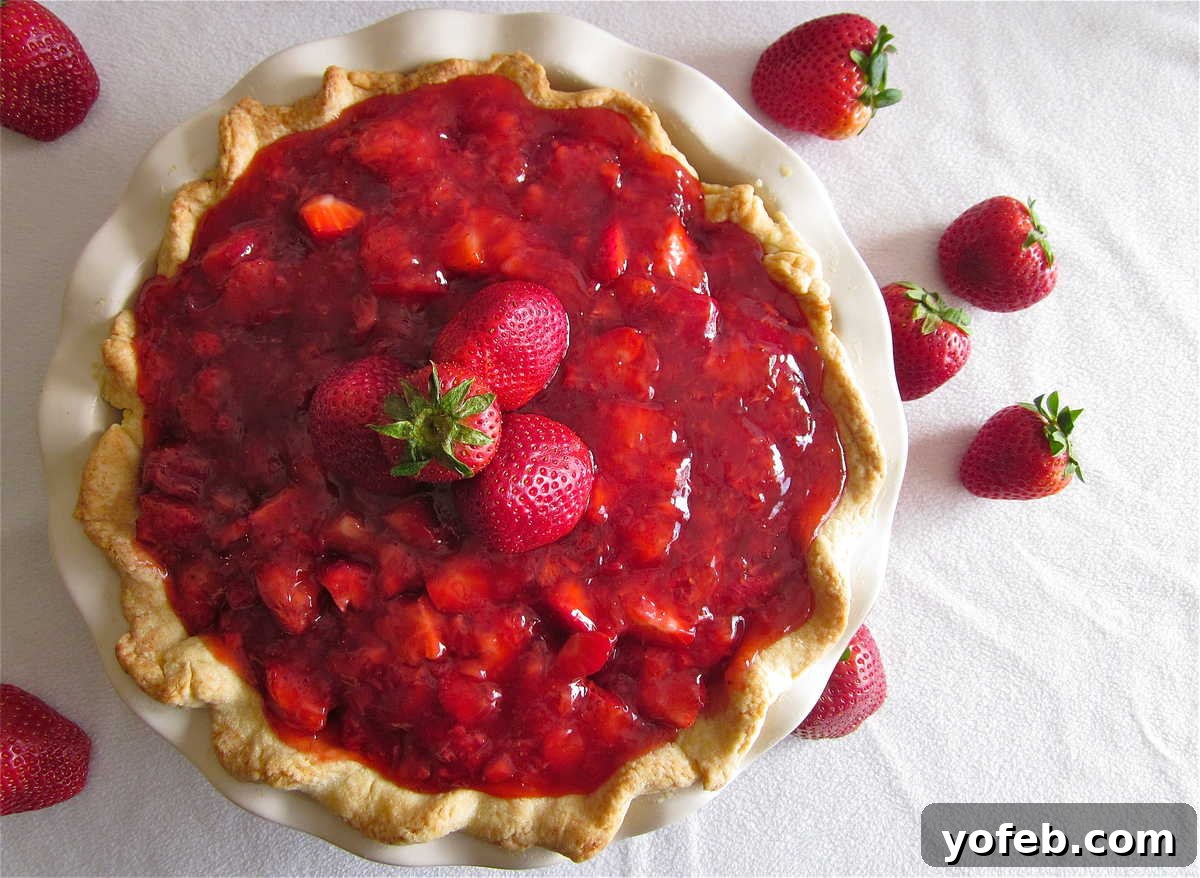
I confidently declare this to be my absolute favorite pie. More specifically, my favorite fresh fruit pie. There’s just something about its exquisite simplicity and vibrant flavor that truly sets it apart. While it reaches its pinnacle of deliciousness when strawberries are in peak season, bursting with natural sweetness, sometimes the craving for a truly fresh fruit pie strikes in the middle of March. In those moments, even strawberries shipped from sunnier climes will more than suffice to create this seasonal delight. It’s a versatile dessert, perfect for spring gatherings, summer barbecues, or simply when you need a bright, refreshing treat to lift your spirits. The blend of sweet, ripe berries with a smooth, glistening glaze, all cradled in a buttery, flaky crust, creates a symphony of textures and tastes that is both comforting and exhilarating.
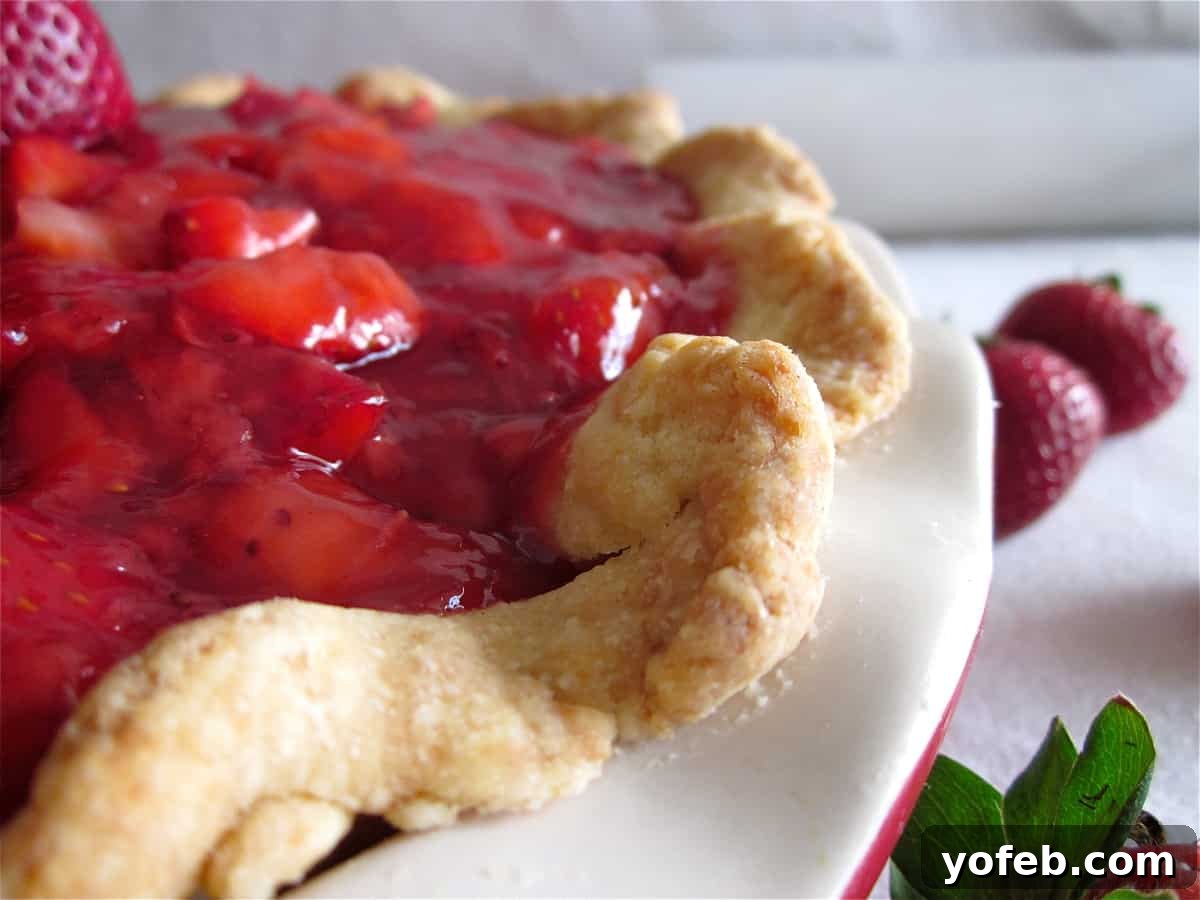
If you find yourself contemplating the creation of this magnificent Strawberry Glace Pie but are tempted to bypass the homemade crust, let me interject with a strong word of caution. Seriously, resist that urge! To even consider a store-bought crust for this recipe would be a culinary disservice. The crust, my friends, is not merely a container; it is an integral component that elevates this pie from merely good to truly spectacular. It absolutely makes this pie. You simply cannot skip it, nor should you compromise on its quality. While the instructions for creating the perfect pie crust might appear lengthy at first glance, I assure you, that’s only because I’ve provided an abundance of detailed guidance, aiming to make your baking journey as smooth and successful as possible. Every step, every nuance, is there to ensure you achieve that coveted flaky, tender, and flavorful foundation that this divine strawberry filling so richly deserves. Don’t skimp on this foundational element; your taste buds will thank you profusely for the extra effort.
Strawberry Glace Pie: The Ultimate Fresh Fruit Delight
Source: My dear friend, Anne – a true baking inspiration.
For the Irresistible Homemade Pie Crust:
A truly exceptional pie starts with an equally exceptional crust. This recipe ensures a flaky, buttery foundation that perfectly complements the sweet and tangy strawberry filling.
- ¼ cup very cold water
- 2 cups all-purpose flour
- ¾ cup + 2 tablespoons butter-flavored shortening (or a high-quality butter)
- 1 ½ tablespoons granulated sugar
- 1 teaspoon salt
- ½ beaten egg
Instructions for the Flaky Pie Crust:
- Begin by measuring out the ¼ cup of water and place it in the freezer. This ensures it’s ice-cold when you need it, crucial for a tender crust.
- In a spacious medium bowl, whisk together the flour, sugar, and salt until well combined.
- Add the butter-flavored shortening to the dry ingredients. Using a pastry cutter, two forks, or even your fingertips (working quickly to avoid over-warming), cut the shortening into the flour mixture until it resembles fine, coarse crumbs. Some pea-sized pieces are perfectly acceptable and even desirable for flakiness.
- Crack an egg into a small separate bowl, beat it thoroughly, then carefully divide it in half. An approximate eyeball division is fine; you can save the unused half for another recipe or discard it.
- Retrieve the chilled water from the freezer and mix it together with the ½ beaten egg.
- Gradually add this egg-water mixture to the flour and shortening mixture. Combine gently with a fork or your hands until the dough just comes together to form a cohesive ball. Be careful not to overmix, as this develops gluten and can lead to a tough crust.
- Divide the dough into two equal halves. Wrap one half tightly in plastic wrap and place it in the freezer; it will be ready for your next pie craving in a few days. Wrap the other half in plastic and chill in the refrigerator for at least 30 minutes, or until ready to roll.
- Lightly flour a clean, dry work surface. Place one chilled dough half onto the floured surface, dusting the top lightly with more flour.
- Carefully roll the dough outwards from the center into a uniform circle. Periodically lift and rotate the dough, ensuring it doesn’t stick and adding more flour as needed. Aim for a circle large enough to fit your 8 or 9-inch pie pan, allowing for overhang for crimping.
- Grease your pie pan lightly. This helps prevent sticking and ensures easy removal.
- Once your dough is rolled to the correct size, gently roll it up onto your rolling pin. Carefully unroll it over your prepared pie pan. This technique minimizes tearing. Alternatively, you can fold the dough into quarters, place the folded point in the center of the pan, and then unfold it. If the dough cracks or tears, simply press it back together; don’t be afraid to patch it up. Remember, baking should be fun, and a little imperfection adds character! With practice, you’ll master this step.
- To prevent air bubbles and ensure an even bake, cut a circle of aluminum foil slightly smaller than the bottom of your pie crust. Place it inside the crust and fill it with pie weights, dry beans, rice, or even spare change. This blind baking step is crucial for a crisp, non-soggy bottom.
- Bake the crust in a preheated oven at 375°F (190°C) for 15-18 minutes, or until the edges turn a beautiful golden brown. Keep a watchful eye on it to prevent over-browning. Remove the foil and weights, then let the crust cool completely on a wire rack before filling.
For the Vibrant Strawberry Glace Filling:
This filling is a celebration of fresh strawberries, enhanced by a luscious glaze and a secret ingredient – cream cheese – that takes it over the top.
- 6 cups fresh strawberries, hulled and quartered (approximately 3 quarts)
- 1 cup granulated sugar
- 3 tablespoons cornstarch
- ½ cup cold water
- 3 ounces cream cheese, softened (feel free to go wild, I often use 4 ounces or more!)
Instructions for the Luscious Filling:
- Prepare your strawberries: Hull all 6 cups and quarter them. Set aside 5 cups of these beautiful berries for the main filling.
- From the remaining strawberries, mash enough to measure exactly one cup. This will form the base of your rich glaze.
- In a two-quart saucepan, whisk together the sugar and cornstarch until thoroughly combined. This prevents lumps.
- Gradually stir in the ½ cup of cold water and the mashed strawberries. Mix until smooth.
- Place the saucepan over medium heat, stirring constantly with a whisk. Continue to cook until the mixture thickens and comes to a full boil. Once boiling, stir continuously for one minute to ensure the cornstarch is fully cooked and the glaze is properly thickened.
- Remove the saucepan from the heat and allow the cooked strawberry mixture to cool completely. This cooling period is essential for the glaze to set properly.
- While the glaze cools, prepare the cream cheese layer. In a separate bowl, beat the softened cream cheese until it is smooth and creamy. Seriously, do not skip softening the cream cheese, or you’ll be struggling to spread it and potentially damage your perfectly baked crust!
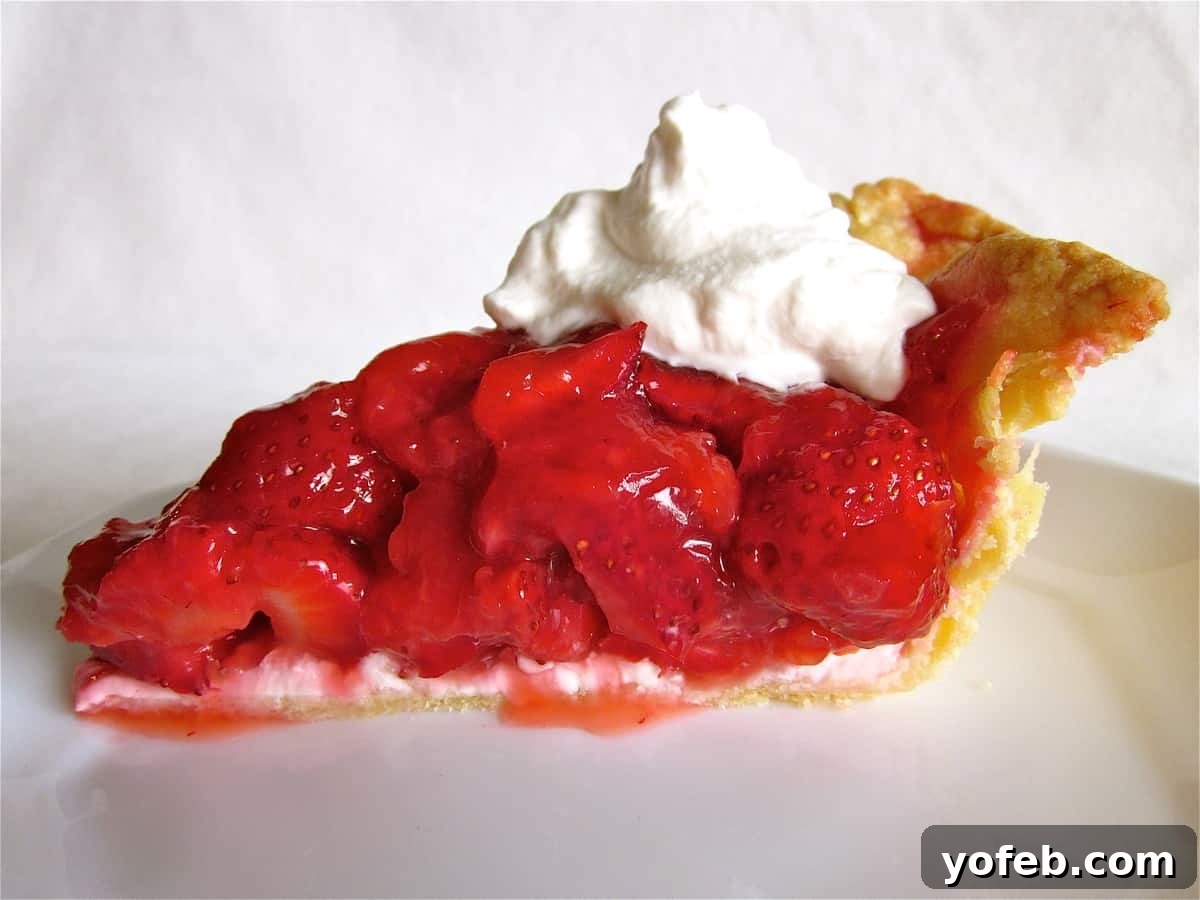
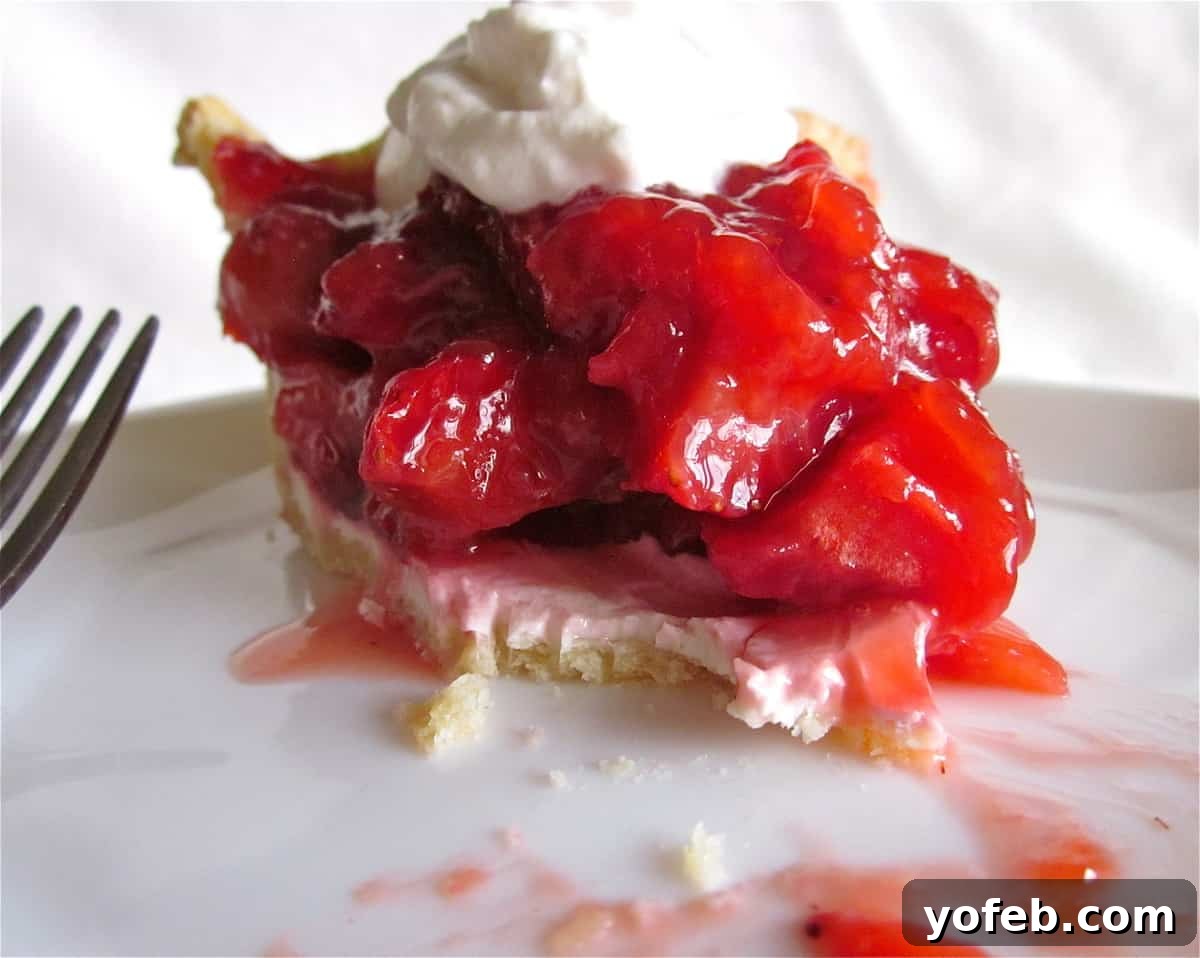
- Once the crust is completely cool, spread the beaten cream cheese evenly over the bottom of the pie shell. This creates a delightful tangy barrier and adds an incredible depth of flavor.
- Arrange the remaining 5 cups of fresh, quartered strawberries over the cream cheese layer in the pie shell. Pile them high for a truly generous pie.
- Once the cooked strawberry glaze has cooled, pour it carefully and evenly over the fresh strawberries in the pie shell, ensuring all berries are coated.
- Cover the pie and refrigerate it until it is fully set, which will take at least three hours. For best results and to prevent the plastic wrap from sticking to the glaze, here’s a handy trick I learned from my beloved Grandma Georgia: insert several toothpicks vertically into the pie before gently placing plastic wrap over the top. This creates a small dome, preventing the plastic from touching and pulling off your beautiful glaze.
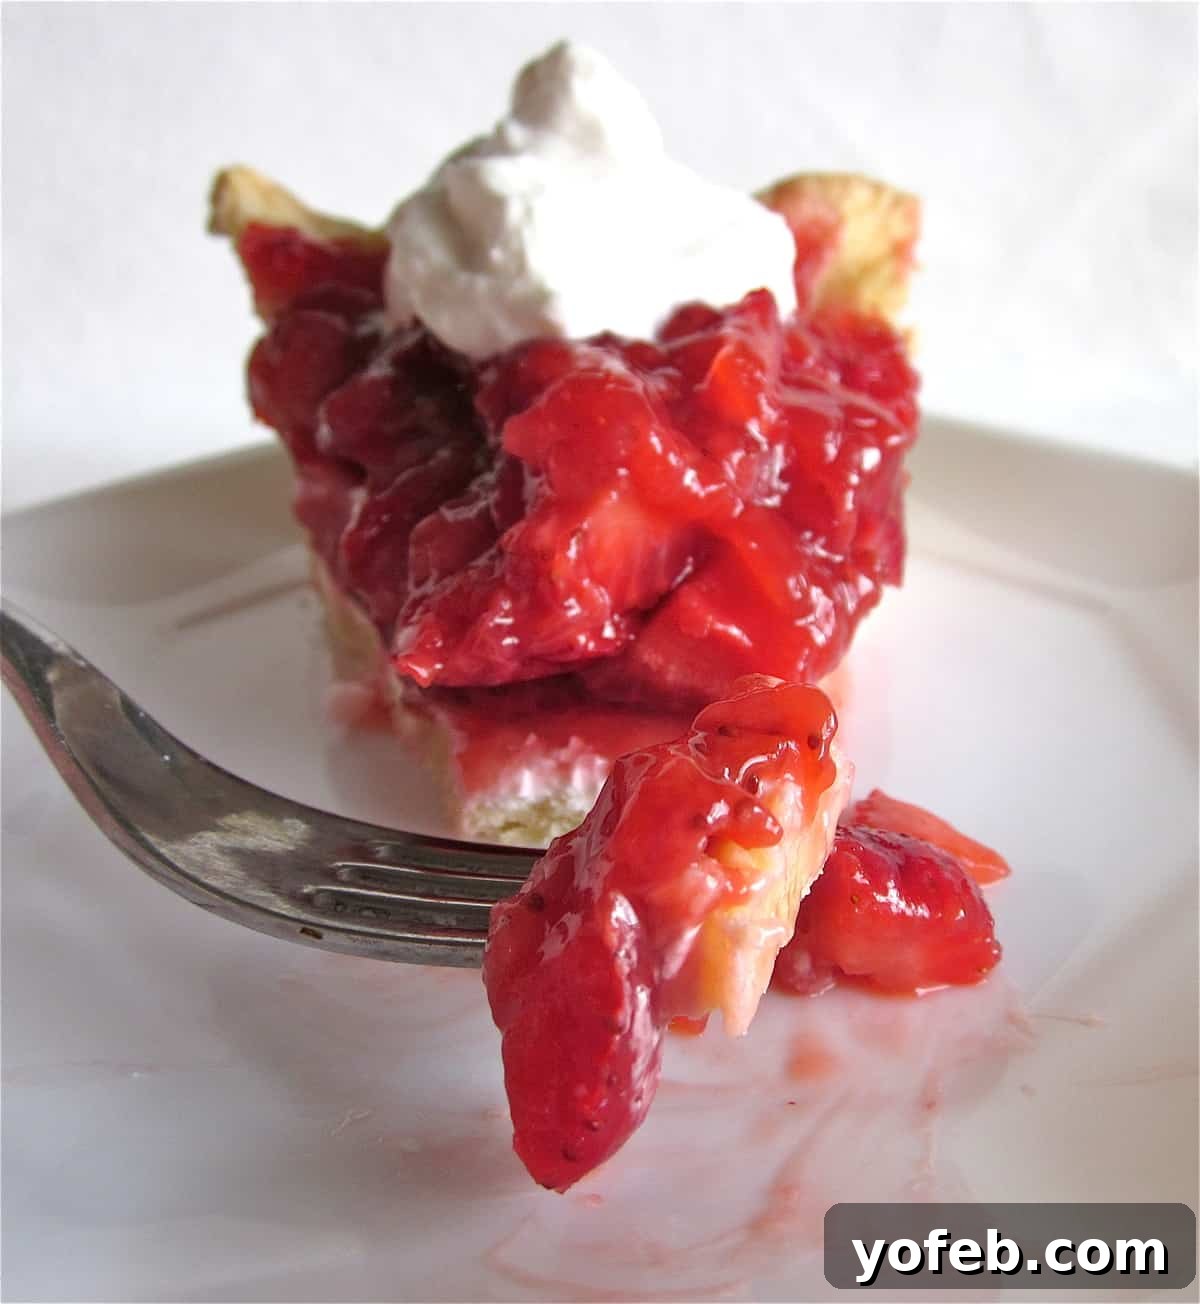
- Serve this magnificent Strawberry Glace Pie chilled, ideally accompanied by a generous dollop of freshly whipped cream. The contrast of the sweet, tart strawberries, the creamy tang of the cream cheese, and the crisp, flaky crust makes for an unforgettable dessert experience. Enjoy!