
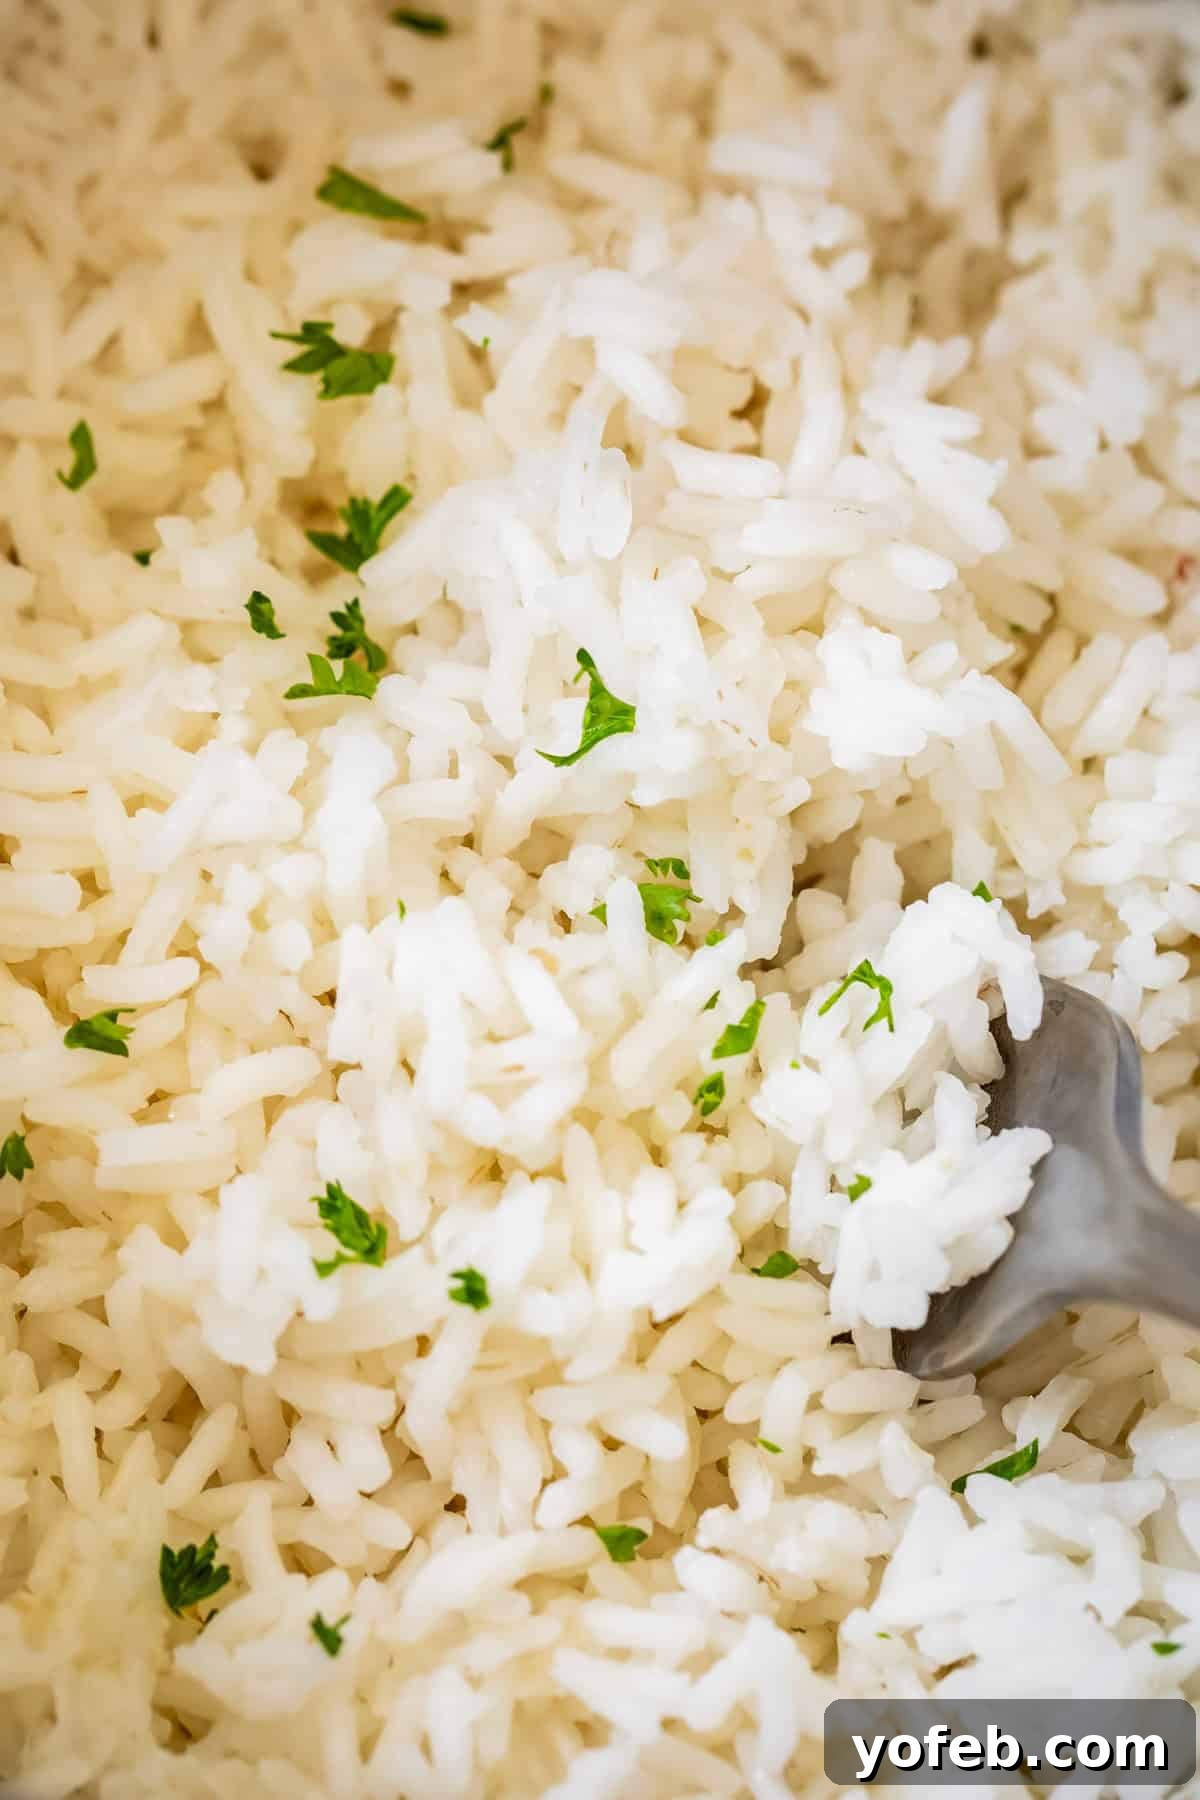
Welcome to the ultimate guide for effortlessly cooking perfect, fluffy rice right on your stove! Forget those intimidating kitchen gadgets; achieving restaurant-quality rice in a simple pot is not only possible but incredibly easy. If you’ve been battling with sticky, burnt, or bland rice, prepare for a revelation. This comprehensive, step-by-step tutorial will empower you to consistently create aromatic, light, and delicious rice that your family will adore – a staple I rely on weekly in my own kitchen. Say goodbye to gummy textures, scorched bottoms, and the frustration of failed attempts. Your journey to perfectly cooked rice begins now, whether you’re serving it alongside a weeknight dinner or preparing meals for the entire week!
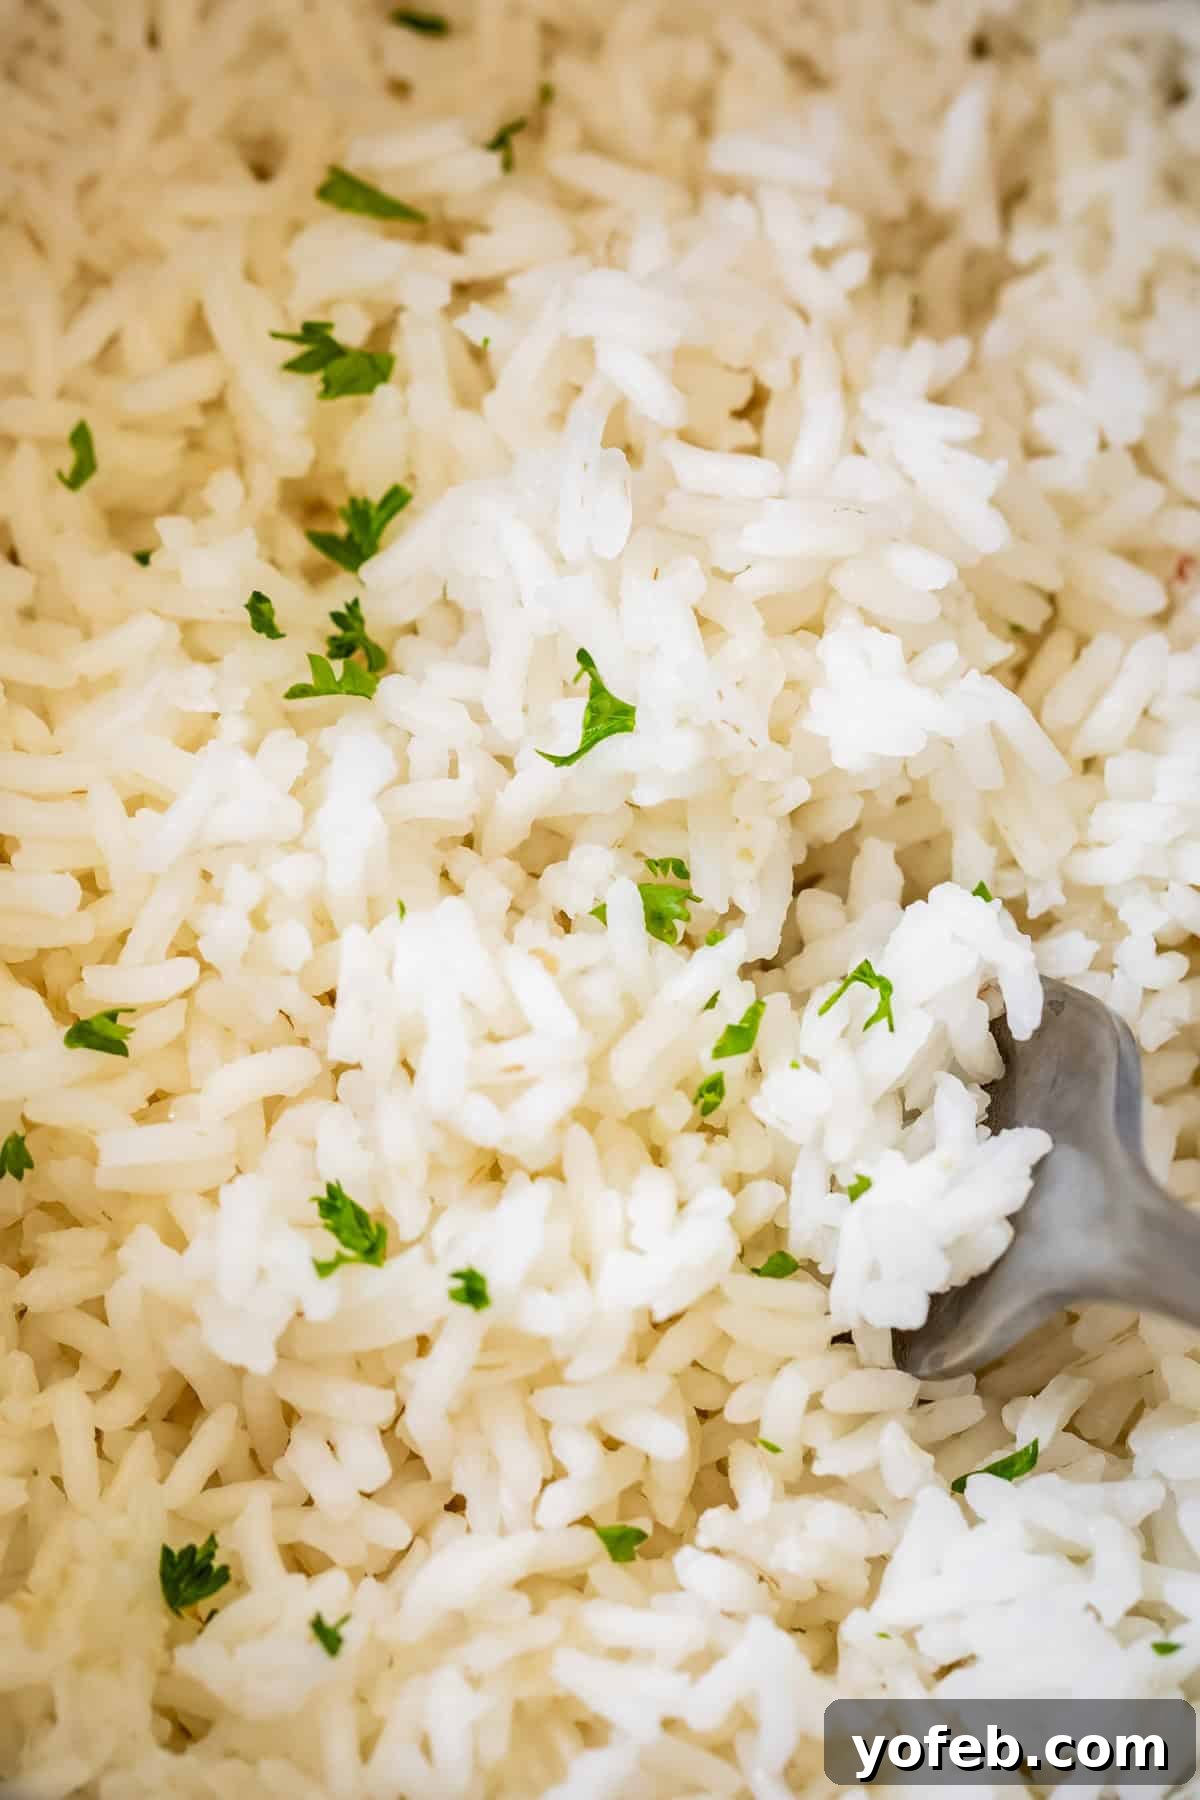
Table of Contents
- Mastering Stovetop Rice: The Uncomplicated Way
- The Great Rice Rinsing Debate: Myth vs. Reality
- How to Cook Rice on the Stove: A Foolproof Method
- Essential Rules for Perfect Rice
- What You Need to Make Rice
- The Magic Ratio of Rice to Water for Stovetop Cooking
- Simple Steps to Cook Fluffy Rice
- Elevate Your Rice Flavor: By Toasting
- What to Serve with Perfectly Cooked Rice
- Creative Uses for Leftover Rice
- How to Store Cooked Rice Safely
- How to Reheat Rice for a Fresh Taste
- Frequently Asked Questions About Cooking Rice
- How to Cook Rice on the Stove Recipe
As the school year winds down and the lazy days of summer beckon, life often presents us with delightful chaos, much like my recent experience at my son’s 5th-grade “Olympic events.” Picture this: a beach ball so enormous it dwarfed some of the children, battling a super windy day. The result? Pure, unadulterated mayhem, filled with shrieks of glee and wide, infectious grins. It was a joyful reminder that sometimes, the simplest things can lead to the biggest adventures.
Just like that giant beach ball, mastering a seemingly simple task like cooking rice can sometimes feel like an olympic feat. We’re often led to believe it requires specialized equipment or an intricate process. However, the truth is far simpler and much more satisfying. Learning to cook perfect rice on the stovetop is a fundamental kitchen skill that opens up a world of culinary possibilities, transforming ordinary meals into extraordinary experiences. It’s about building confidence in the kitchen and realizing that even the most basic ingredients can yield remarkable results with the right technique.
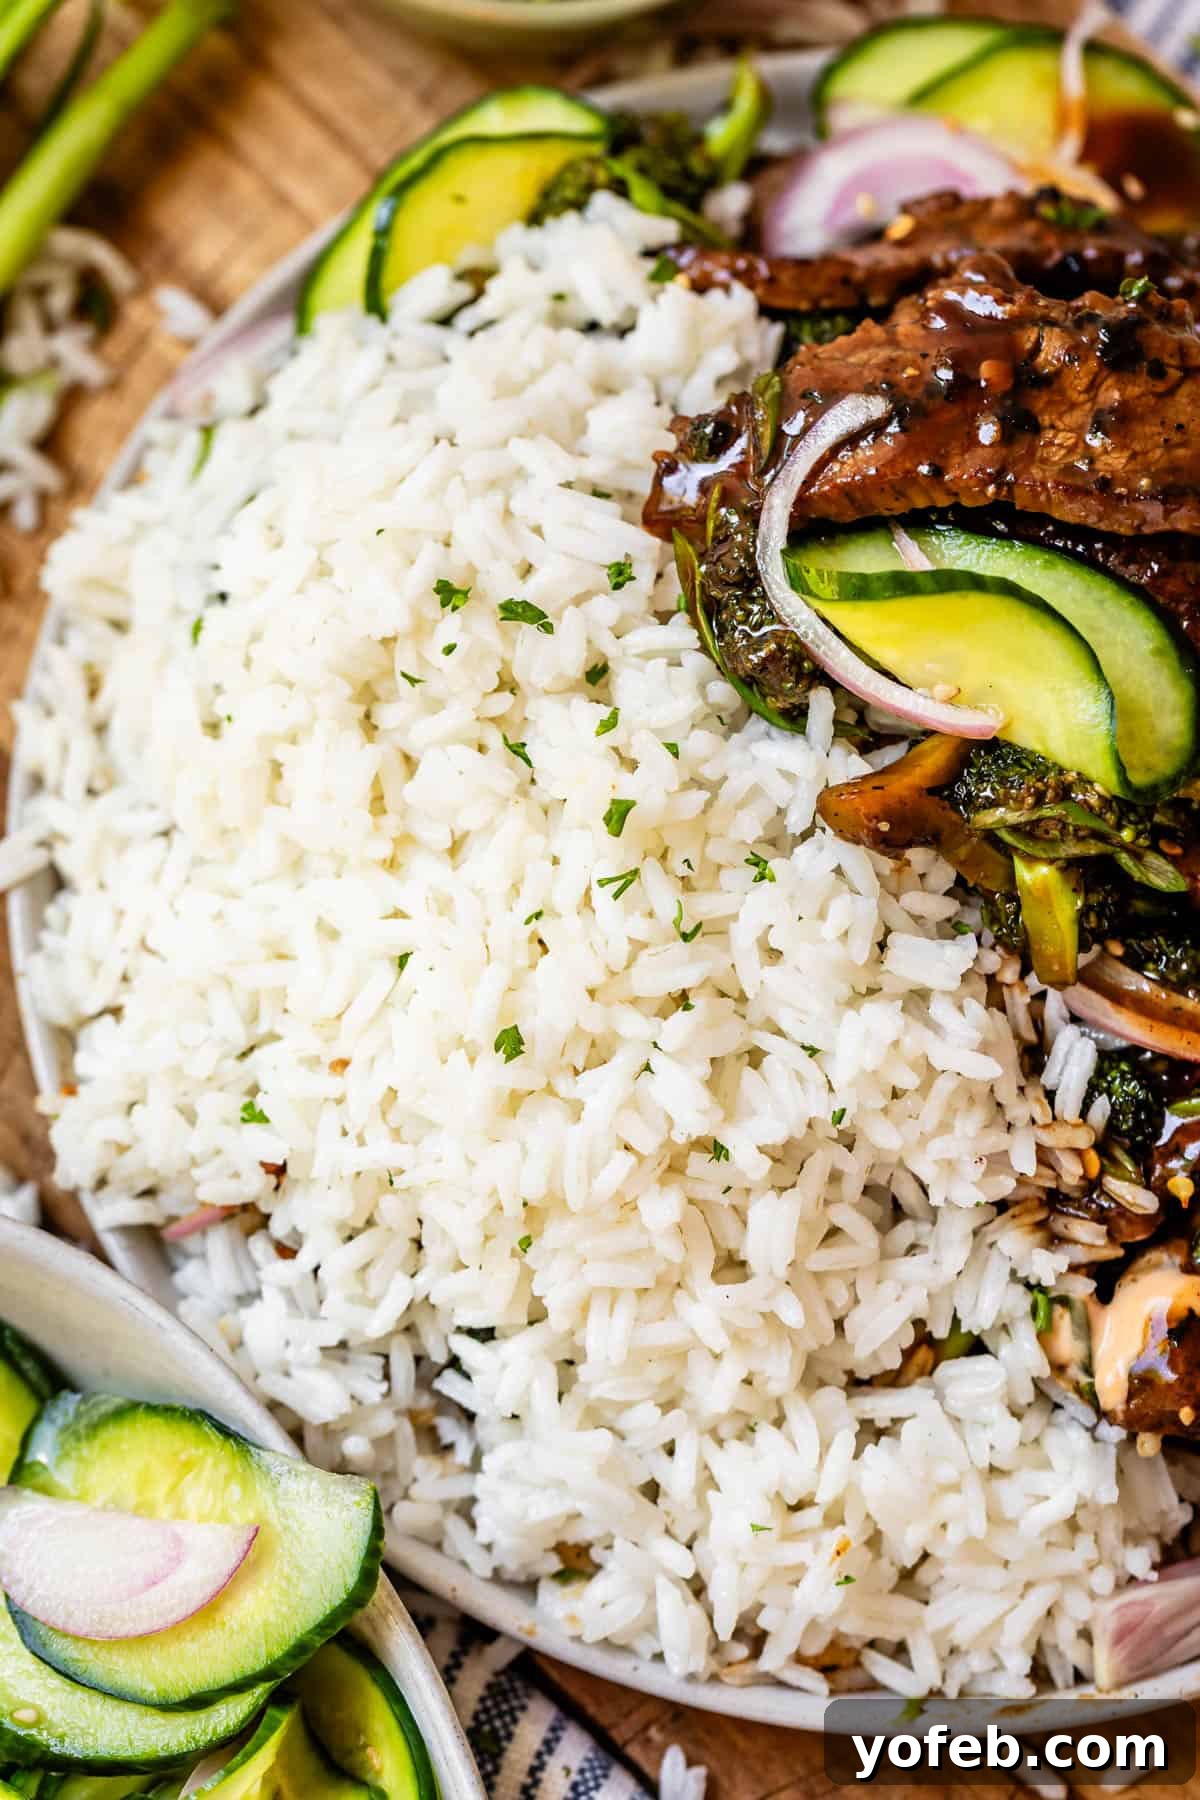
After years of thinking a basic rice recipe was too “boring” to share, I’ve learned that countless home cooks struggle with it. This straightforward, no-fail method is a cornerstone of my family’s weekly meals, so it feels only right to pass it on. It’s an indispensable recipe to have in your culinary arsenal, equally suitable for a quick weeknight dinner or an impressive spread for guests. Rice, in its simplicity, provides the perfect canvas for vibrant stir-fries, rich curries, and countless other dishes.
But beware, even this blank canvas demands respect; ignore the rules, and your culinary masterpiece can quickly turn into a sticky mess. We prepare rice at least once or twice a week, and even my pre-teen children can confidently whip up a perfect pot. This detailed guide ensures that anyone, regardless of experience, can master the art of stovetop rice cooking for posterity, producing fluffy, distinct grains every single time.
Mastering Stovetop Rice: The Uncomplicated Way
Are you among the vast majority who feel intimidated by cooking rice? It’s time to reclaim your kitchen confidence! There’s a common misconception that achieving perfect rice requires a specialized appliance. Let me assure you, this couldn’t be further from the truth. A rice cooker, while convenient, is absolutely not a necessity for this wonderfully straightforward task. You can achieve superior results with just a pot and a stovetop, and often, with more control over the final texture and flavor.
Dispense with the idea that you’re destined to “mess it up.” And definitely disregard any advice to endlessly rinse your rice, a practice that, while steeped in tradition, is often unnecessary for modern American-processed rice. I recall a humorous anecdote from my friend Sarah about a woman in Japan who meticulously rinsed her rice eight times. Her discerning palate could instantly tell if it was rinsed only three times! While such dedication is admirable, for most of us, it’s an outdated and often counterproductive step.
The Great Rice Rinsing Debate: Myth vs. Reality
The rinsing ritual, often passed down through generations, can be perplexing. I’ve experimented extensively, rinsing rice three times, eight times, and not at all, and honestly, my palate detects no significant difference. So, what’s the real story behind this culinary commandment?
Historically, rinsing rice was crucial, particularly in regions like Asia where rice cultivation is an art form. Japanese rice, for example, traditionally has a sticky outer coating called hada nuka (skin bran). If not thoroughly rinsed, this coating can lead to a gummy, mushy texture. For rice purchased overseas, adhering to traditional rinsing practices is indeed important to achieve the desired outcome. You might treat it like a precious commodity, washing and cleaning until crystal clear.
However, the landscape of rice processing in the United States has evolved. Roughly three decades ago, American rice factories modernized their processes to include the removal of this sticky outer coating. This means that most rice you buy in the US has already been effectively “pre-rinsed” during its production. So, when you rigorously hand-rinse US-processed rice, you’re not only performing a redundant task – attempting to remove a “skin bran” that’s no longer present – but you might also be washing away valuable nutrients fortified into the rice, sending them directly down the drain. It’s astonishing how long it takes for such practical information to disseminate! How many of us were taught by our parents or grandparents to dutifully rinse every grain?
For more fascinating insights into Japanese rice rinsing and its environmental implications, the Japanese Food Guide offers an excellent read. But for our purposes, here in the States, you can typically skip the rinse and still achieve stellar results.
How to Cook Rice on the Stove: A Foolproof Method
With the rinsing myth clarified, let’s dive into the core technique. How do we ensure our rice emerges from the pot perfectly cooked, without a burnt bottom, an unappetizing crunch, or a soggy, bland texture? The secret lies in two fundamental elements: the precise water-to-rice ratio and impeccable timing.
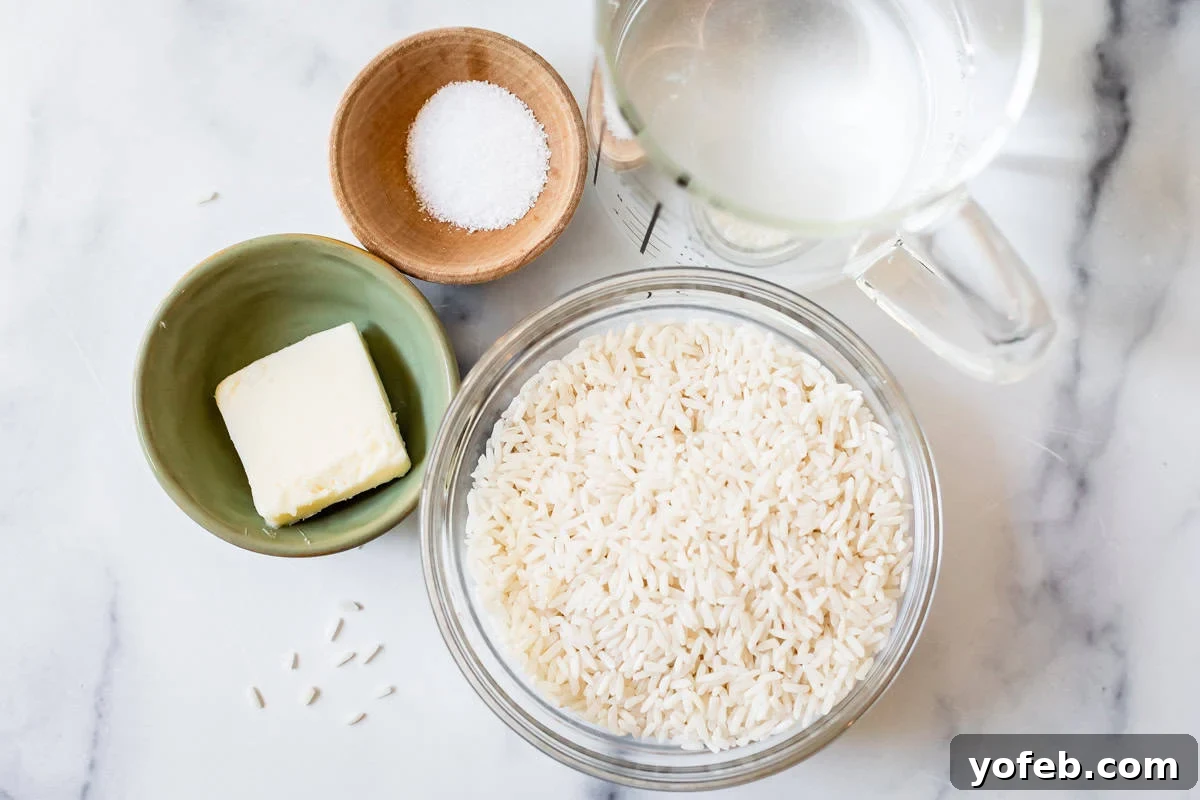
This process is surprisingly straightforward. Yet, it’s often the simplest culinary tasks that are most prone to error when proper technique is overlooked. With a little attention to detail, you’ll be cooking perfect rice in no time.
Essential Rules for Perfect Rice
- Embrace the “No-Rinse” Rule (for US-processed rice): As discussed, for most white rice sold in the United States, rinsing is unnecessary and can even be detrimental. It won’t significantly impact starch levels, but it can introduce excess moisture, leading to soggy rice. If you *must* rinse (perhaps for specialty imported rice or if you’re truly concerned about debris), reduce the water content by about 2 tablespoons per cup of rice to compensate for the absorbed moisture.
- Salt is Non-Negotiable – Flavor, Not Just Salinity: This is perhaps the most crucial rule for truly flavorful rice. Many shy away from salting rice, influenced by traditions where rice serves as a neutral base for very salty main dishes (think soy sauce-laden Asian cuisine). However, salt doesn’t just make rice “salty”; it enhances its inherent flavor, making it taste more distinctly *of rice*. Even when serving with a saucy stir-fry or a rich curry, properly seasoned rice elevates the entire meal. For dishes like Mexican food, perfectly salted rice is absolutely essential for authenticity and taste. I cannot emphasize this enough: salt is the unsung hero of delicious rice.
- Mind the Heat – Turn it Down Promptly: Once your pot of rice comes to a rolling boil, the heat must be reduced immediately. Failing to do so is a common culprit for burnt rice stuck to the bottom of the pan, a stubborn mess that’s notoriously difficult to clean. A gentle, low simmer is key to even cooking and prevents scorching, ensuring every grain cooks tenderly.
- Resist the Urge to Peek – Steam is Your Ally: This rule requires patience. Lifting the lid, even for a quick glance, allows precious steam to escape. Steam is vital for cooking rice evenly and thoroughly. Without it, your rice will cook inconsistently, leaving some grains hard, crunchy, or undercooked. Once the lid is on and the heat is reduced, trust the process and let the rice cook undisturbed. Crunchy rice is a sad, preventable outcome!
- Choose the Right Pot Size – Not Too Big, Not Too Small: The size of your saucepan matters. An overly large pot can lead to uneven cooking because the shallow layer of rice won’t build up enough steam pressure. For 1 to 2 cups of dry rice, a 2 or 3-quart capacity pot is ideal. Only opt for a larger pot if you’re cooking 3 or more cups of uncooked rice to ensure optimal steam retention and even heat distribution.
What You Need to Make Rice
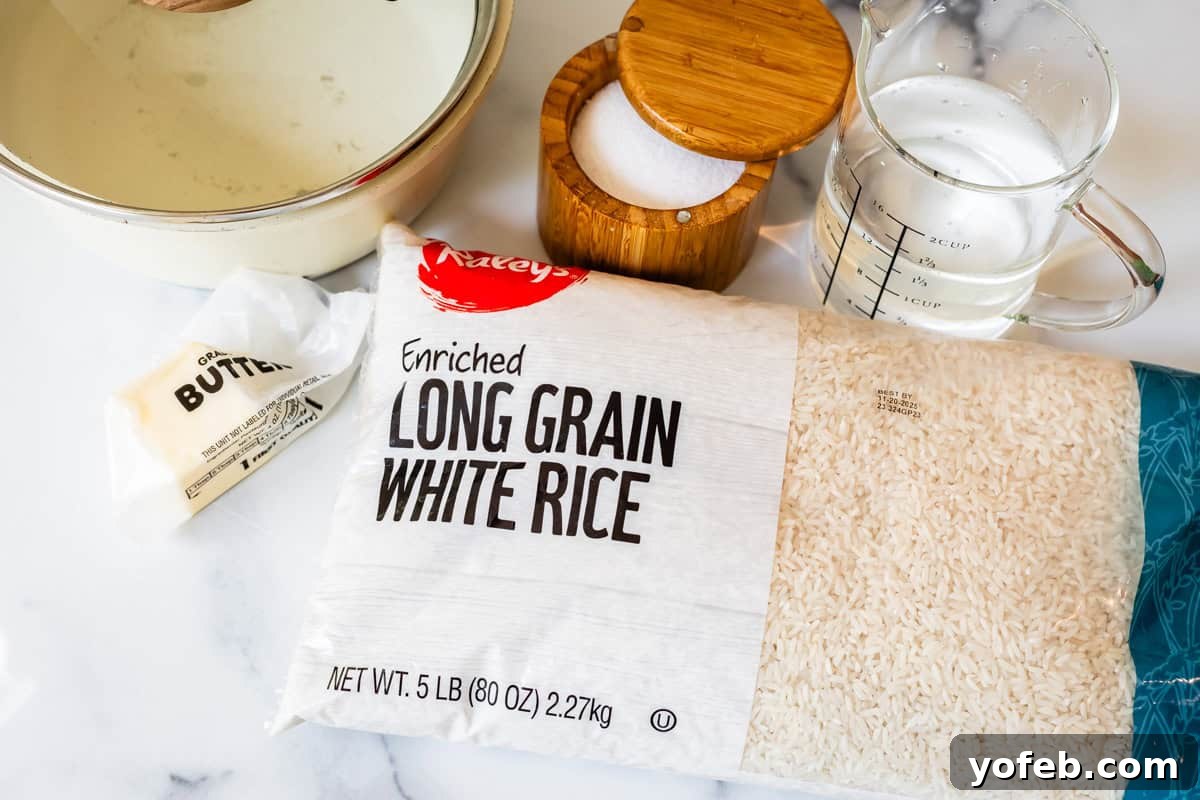
You likely already have these simple ingredients in your pantry. For precise measurements and detailed instructions, scroll down to the full recipe card at the bottom of this post.
- Rice: This method works beautifully with most white rice varieties, including short-grain, medium-grain, long-grain, Basmati, or Sushi rice. (Note: Jasmine rice requires a slightly different water ratio, as detailed in the recipe notes.)
- Kosher Salt: Essential for enhancing flavor.
- Butter or Oil: Any kind will do (e.g., olive oil, vegetable oil, ghee). This is an optional but highly recommended addition for richness and to prevent sticking.
- Water: The foundation of perfectly cooked rice.
- Garlic: (Optional) A minced clove or a spoonful of jarred garlic can add a wonderful aromatic depth.
The Magic Ratio of Rice to Water for Stovetop Cooking
Achieving consistently fluffy, perfectly cooked rice hinges on one crucial element: the correct rice-to-water ratio. For most types of white rice (short-grain, medium-grain, long-grain, Basmati, or Sushi rice), the ideal proportion is 1 part rice to 1.5 parts water. This ratio allows the rice to fully absorb the liquid and steam properly, resulting in distinct, tender grains without being mushy or dry.
This ratio can be scaled up or down as needed, provided your pot is adequately sized to prevent boiling over. Here’s a helpful chart, designed to simplify meal planning and save you from last-minute kitchen dilemmas:
| DRY White Rice | + Water | + Kosher Salt | + Butter or Oil | = COOKED Rice (approx.) |
| 1 cup | 1 and 1/2 cups | 3/4 teaspoon | 1 tablespoon | 3 cups |
| 1 and 1/2 cups | 2 and 1/4 cups | 1 and 1/8 teaspoon | 1.5 tablespoons | 4 and 1/4 cups |
| 2 cups | 3 cups | 1 and 1/2 teaspoons | 2 tablespoons | 6 cups |
| 3 cups | 4 and 1/2 cups | 2 and 1/4 teaspoons | 3 tablespoons | 9 cups |
| 4 cups | 6 cups | 1 tablespoon | 1/4 cup | 12 cups |
Keep in mind that this specific ratio is tailored for the white rice varieties mentioned. Jasmine rice, a delicate and softer grain, is an exception; it requires slightly less water. You’ll find its specific ratio detailed in the recipe notes. Jasmine rice might be a bit of a diva, but she’s worth the special attention! (Just kidding, I adore Jasmine rice for its fragrance and delicate texture).
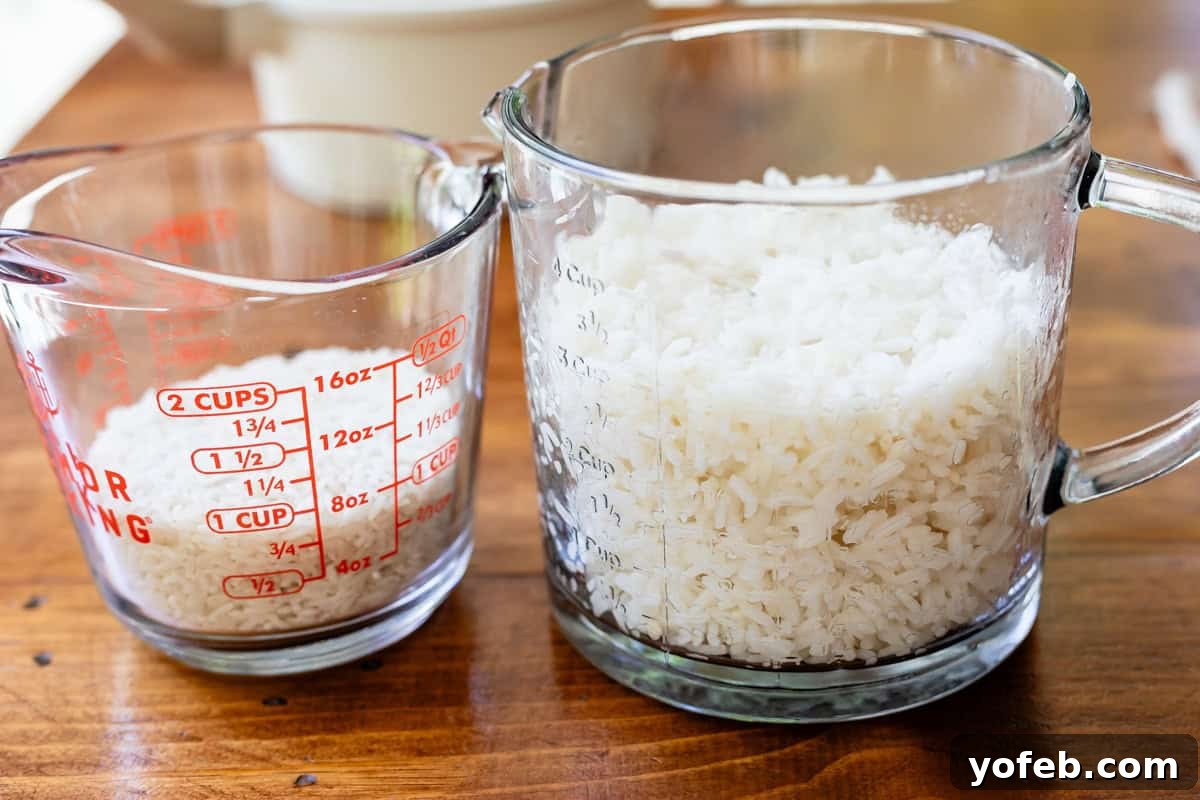
Typically, one cup of uncooked rice yields approximately three cups of cooked rice, as illustrated in the photo below. When planning for a group, a general guideline is to serve 1/2 to 1 cup of cooked rice per person, adjusting based on the accompanying dishes. If you happen to cook more than needed, don’t fret – leftover rice freezes beautifully, a perfect solution for future meals (more on that later!).
Simple Steps to Cook Fluffy Rice
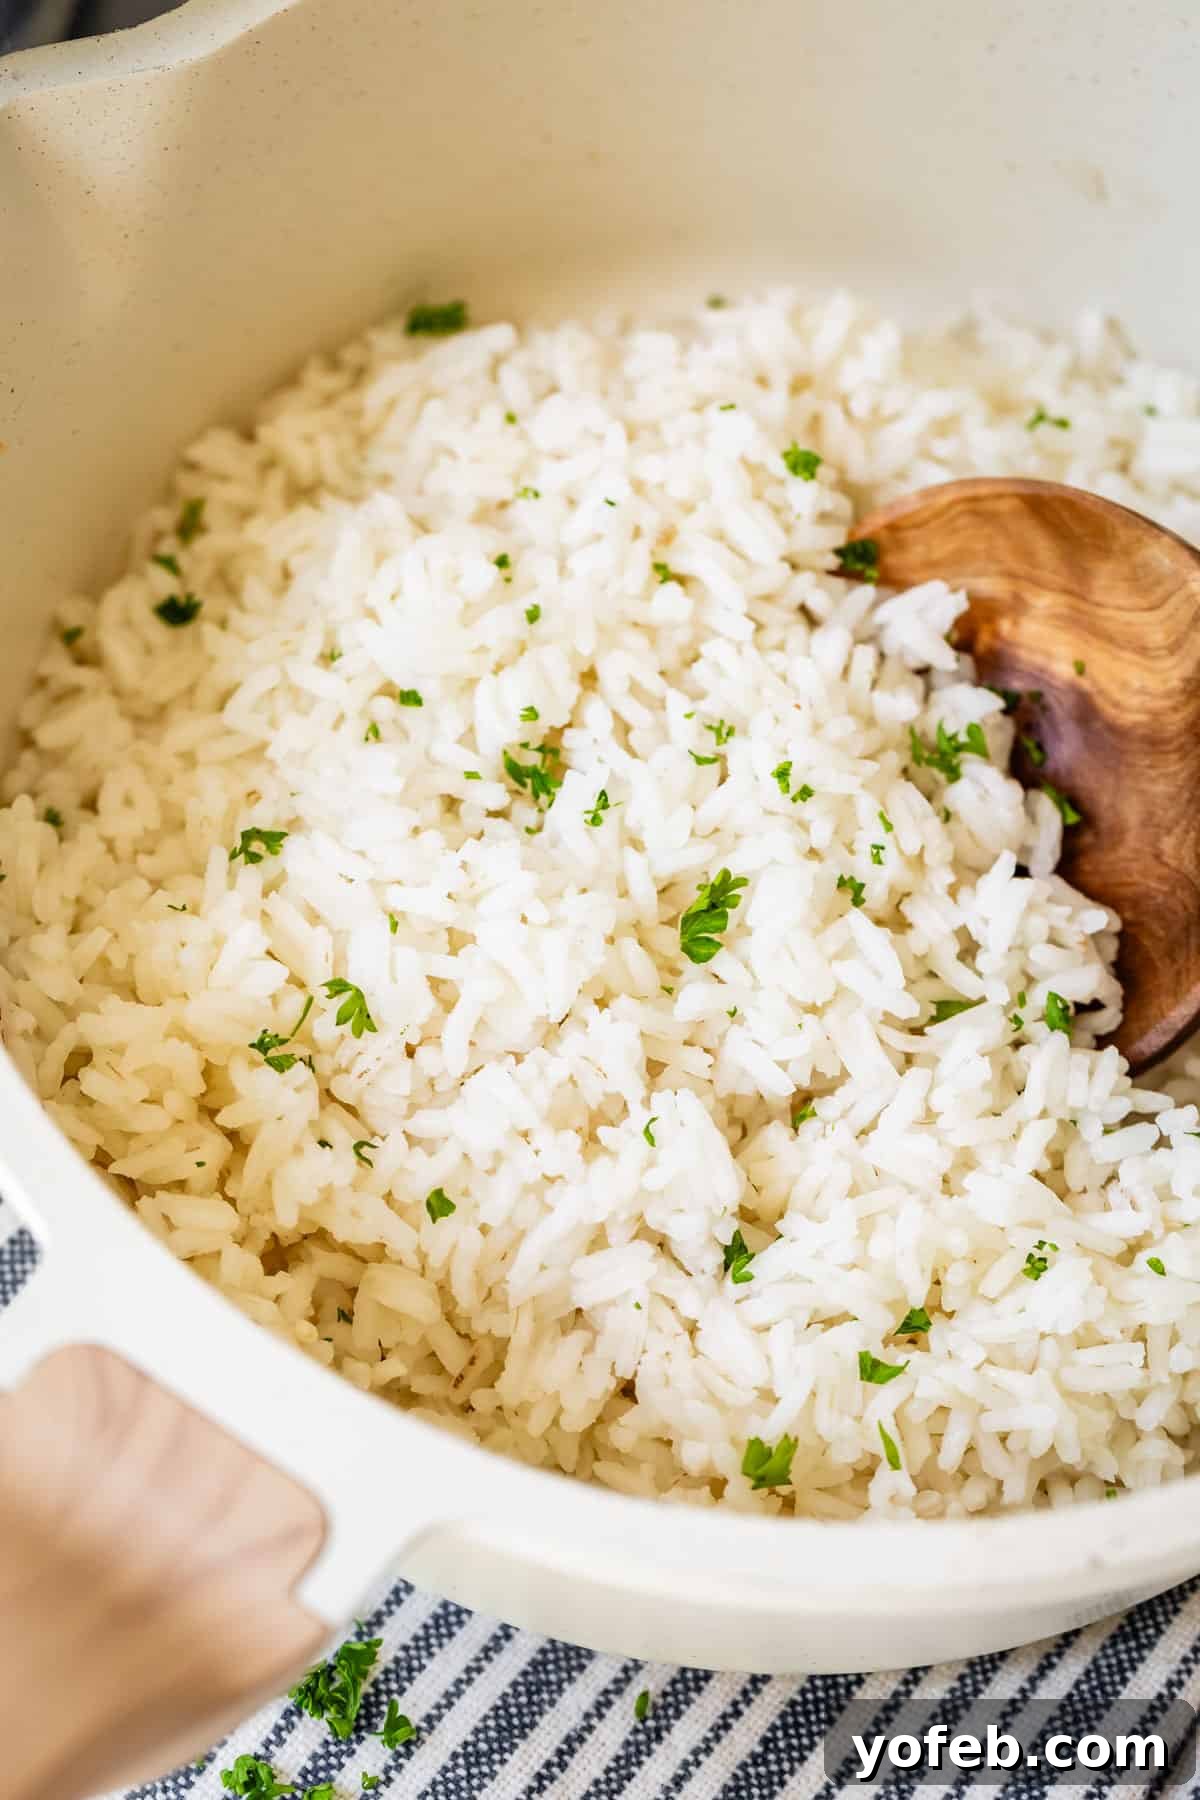
Cooking perfect rice is truly simple. Just gather all your ingredients and toss them into a pot. Remember, the pot size is important: avoid an overly large pot, as it can hinder even cooking. A medium-sized saucepan (1, 2, or 3-quart capacity) is generally ideal for typical quantities.
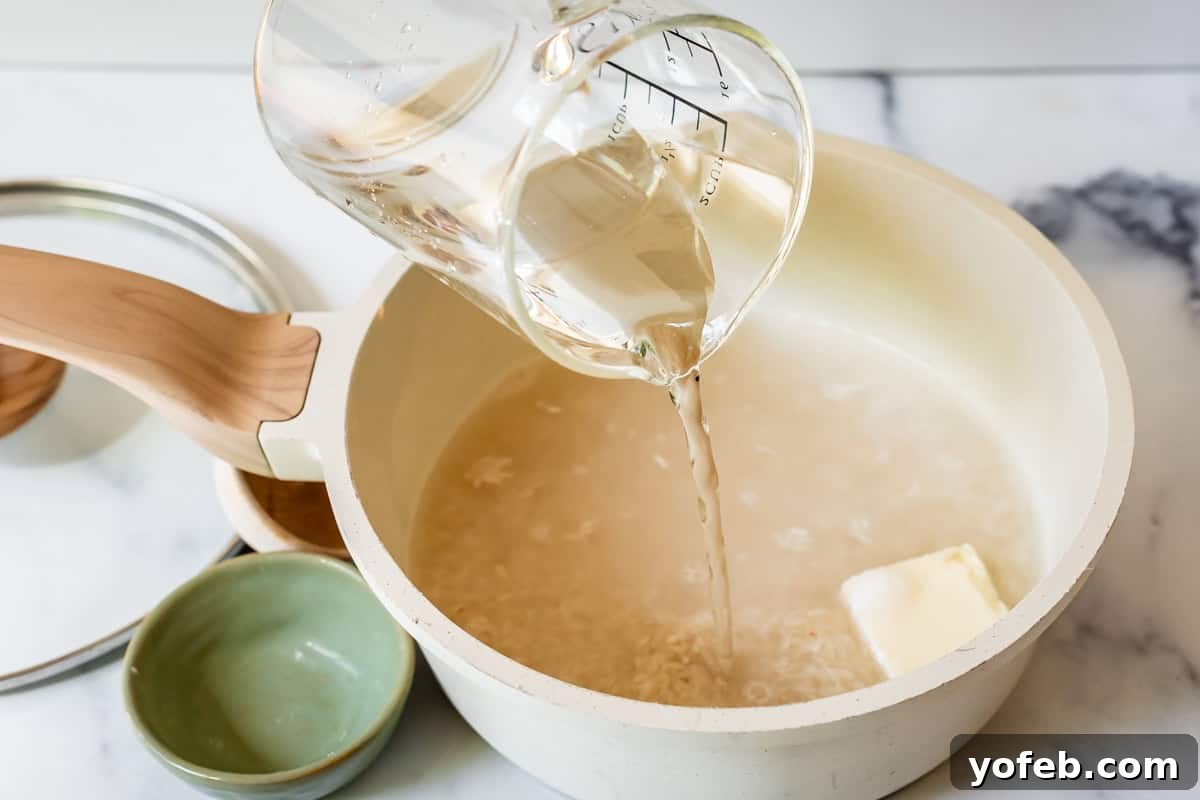
Place the lid securely on your saucepan and set the heat to high. Stay close and watch carefully. As soon as you see the water rapidly bubbling (steam will start escaping from under the lid), immediately reduce the heat. It’s easy to get distracted in the kitchen, and rice can boil over quickly – a messy, but not disastrous, event! (Don’t let a minor boil-over convince you to buy a rice cooker; if you can boil pasta, you can master stovetop rice.)
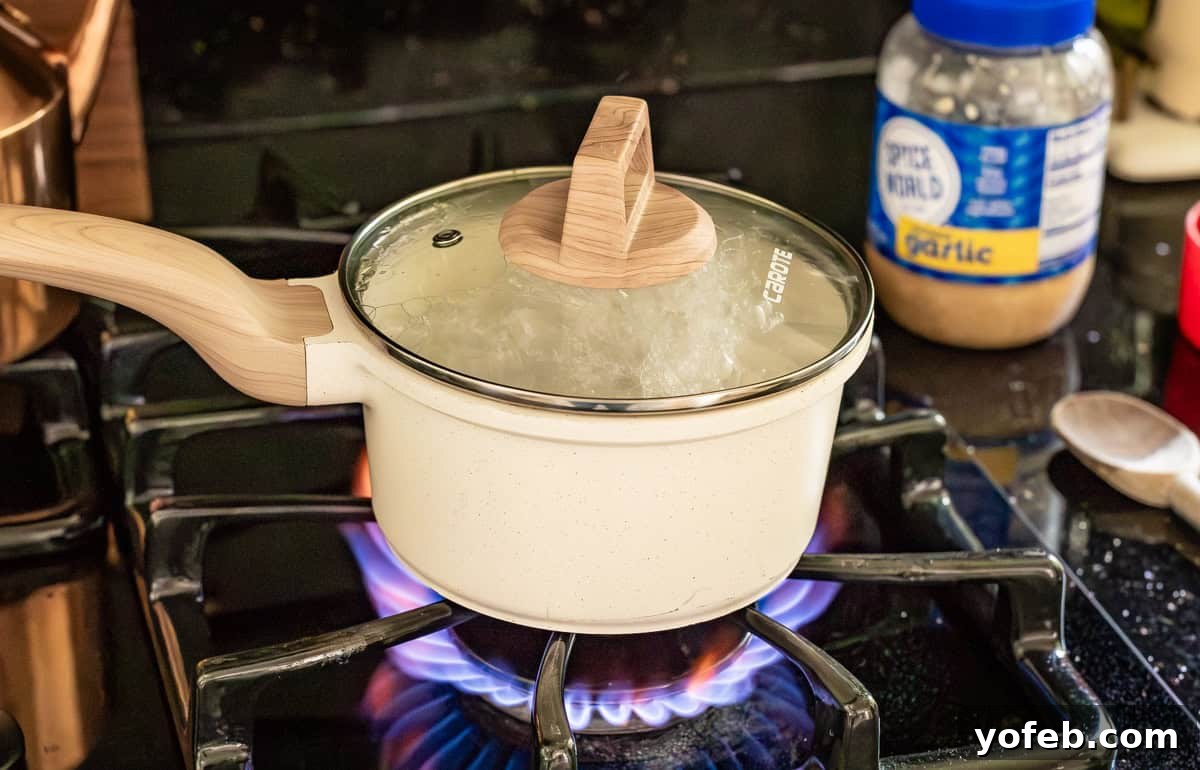
Once it’s boiling and you’ve reduced the heat, the temptation to lift that lid will be strong, especially if it boiled over. Resist! Turn the heat to low and step away for precisely 10 minutes. The magic is happening beneath that lid, so let the steam do its work undisturbed.
The next crucial step begins after those 10 minutes. Turn off the heat completely, but leave the pot right where it is on the stove. And yes, you guessed it – do not, under any circumstances, lift the lid or peek inside. Set another timer for 15 minutes. This resting period is vital, allowing the rice to continue steaming gently and absorb any remaining liquid, ensuring each grain becomes wonderfully fluffy and distinct. This passive cooking phase prevents sogginess and promotes an even texture.
After this period of patient anticipation, your rice is finally ready! You have my full permission to remove the lid. No more scolding, just pure satisfaction.
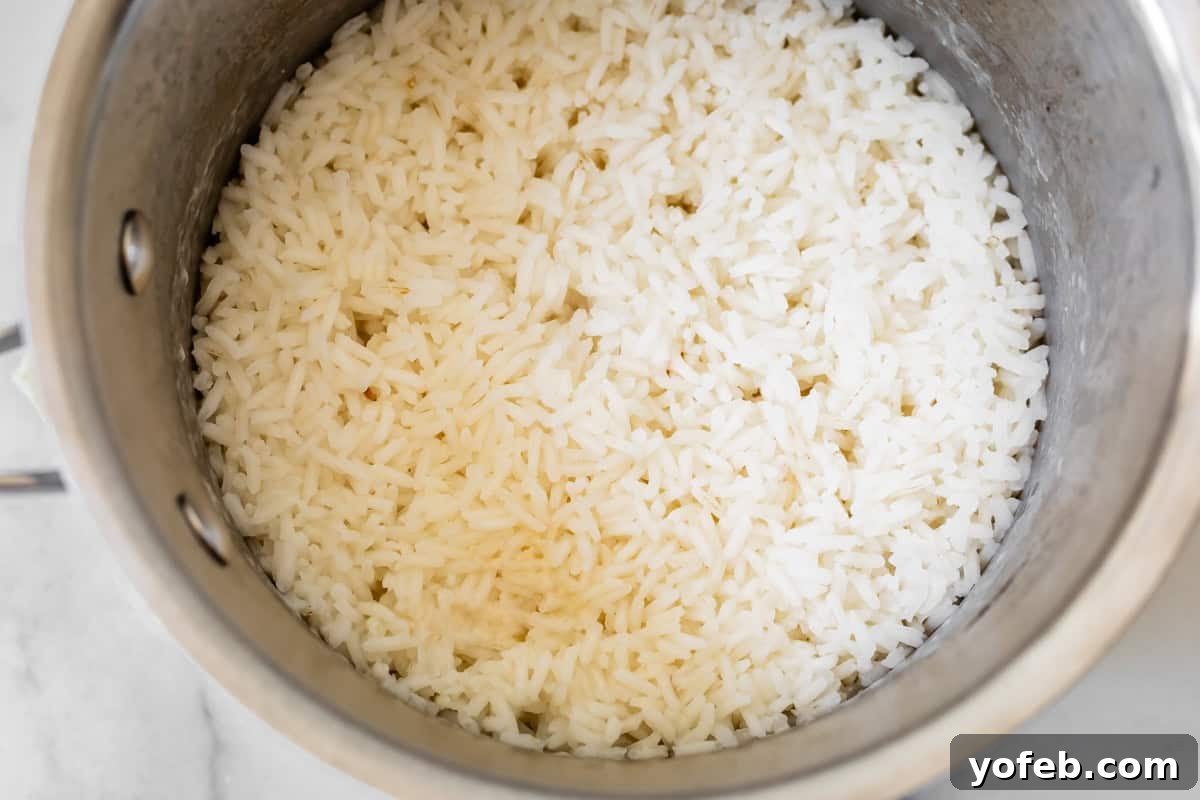
Now, it’s time for the final touch: fluffing!
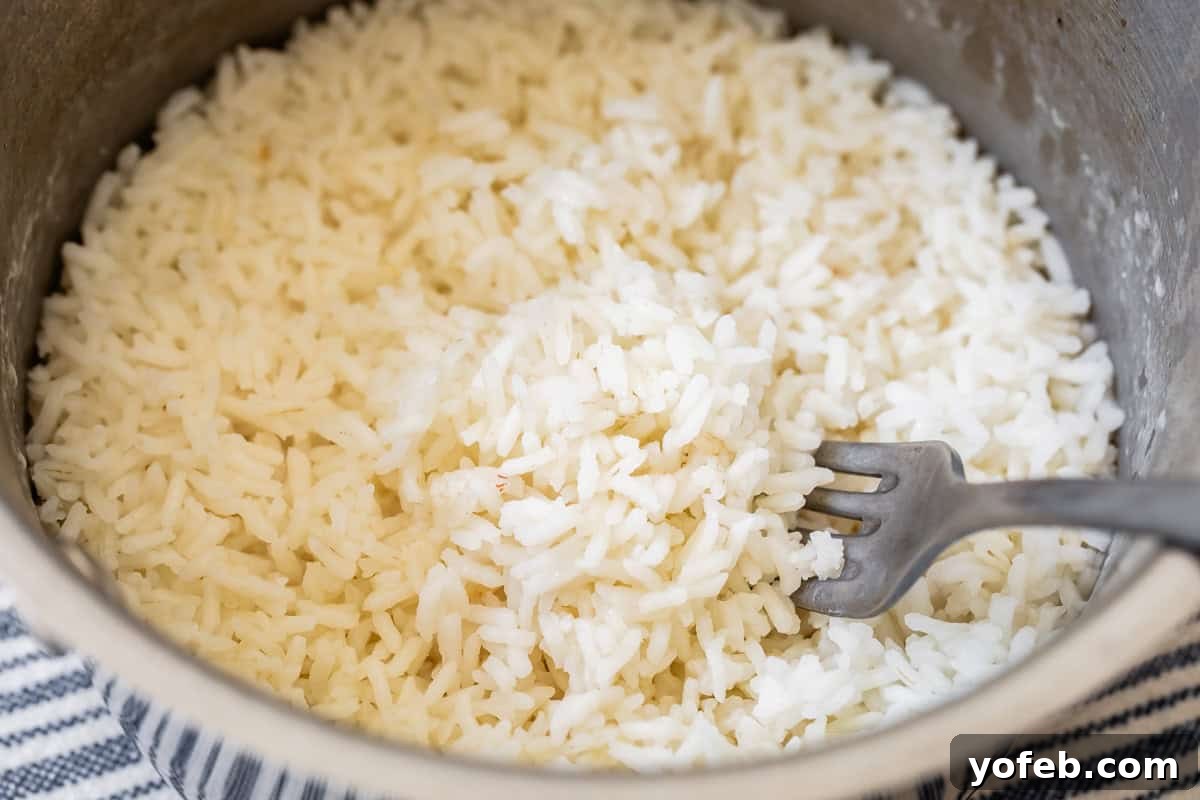
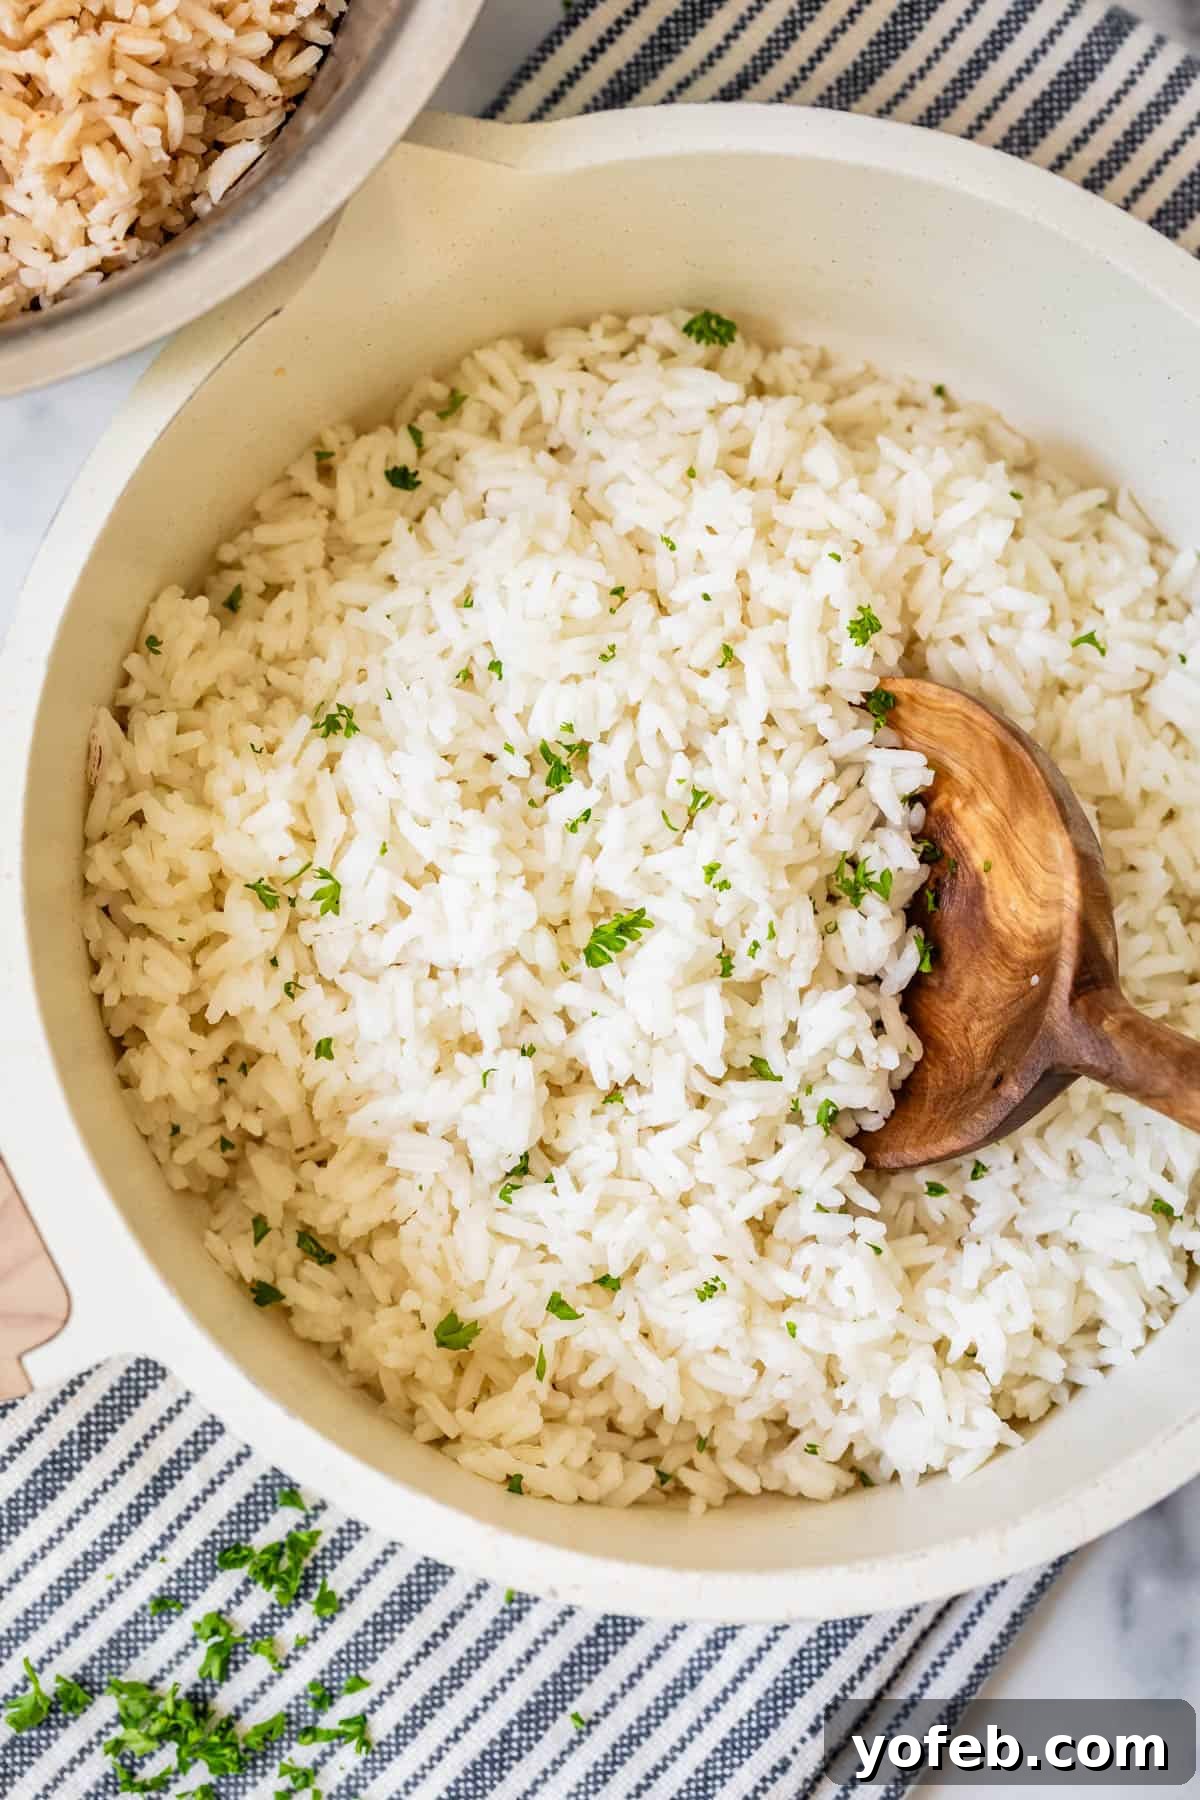
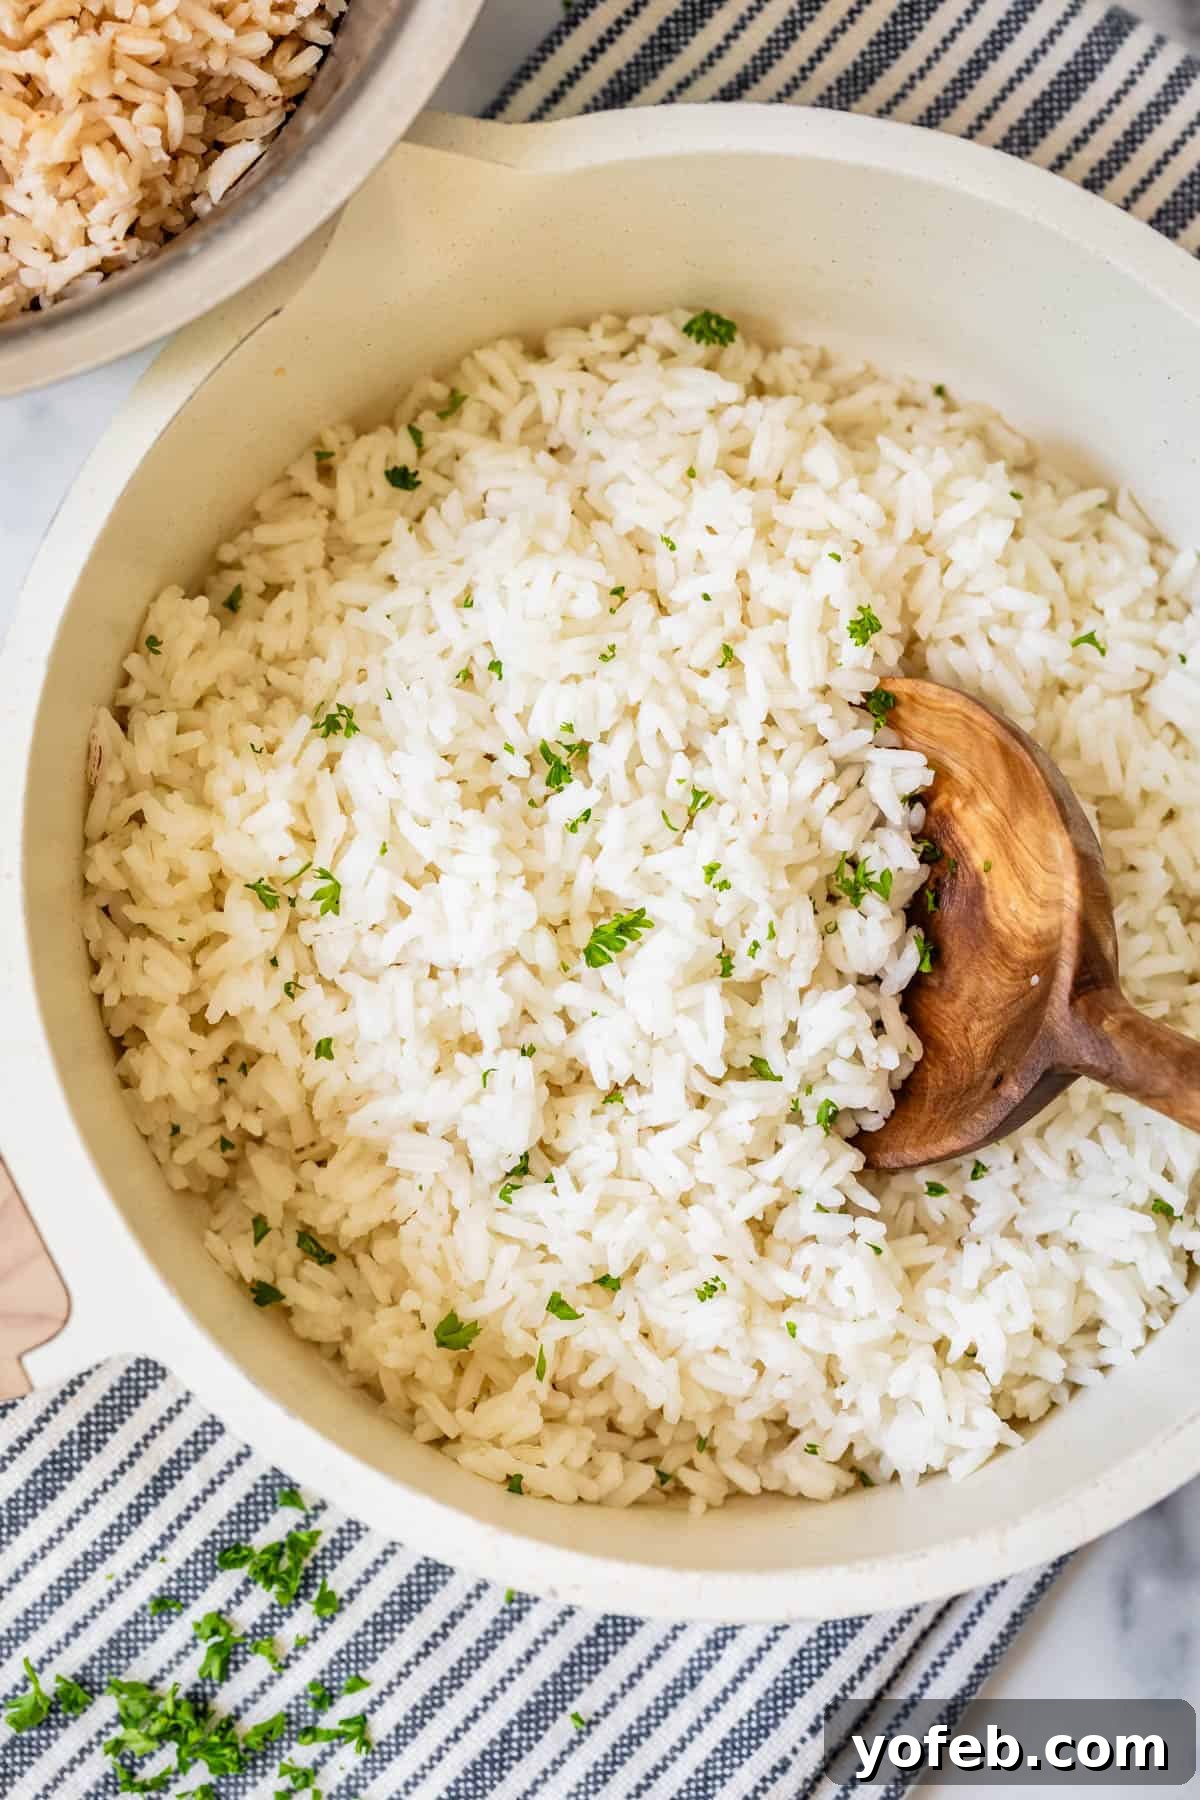
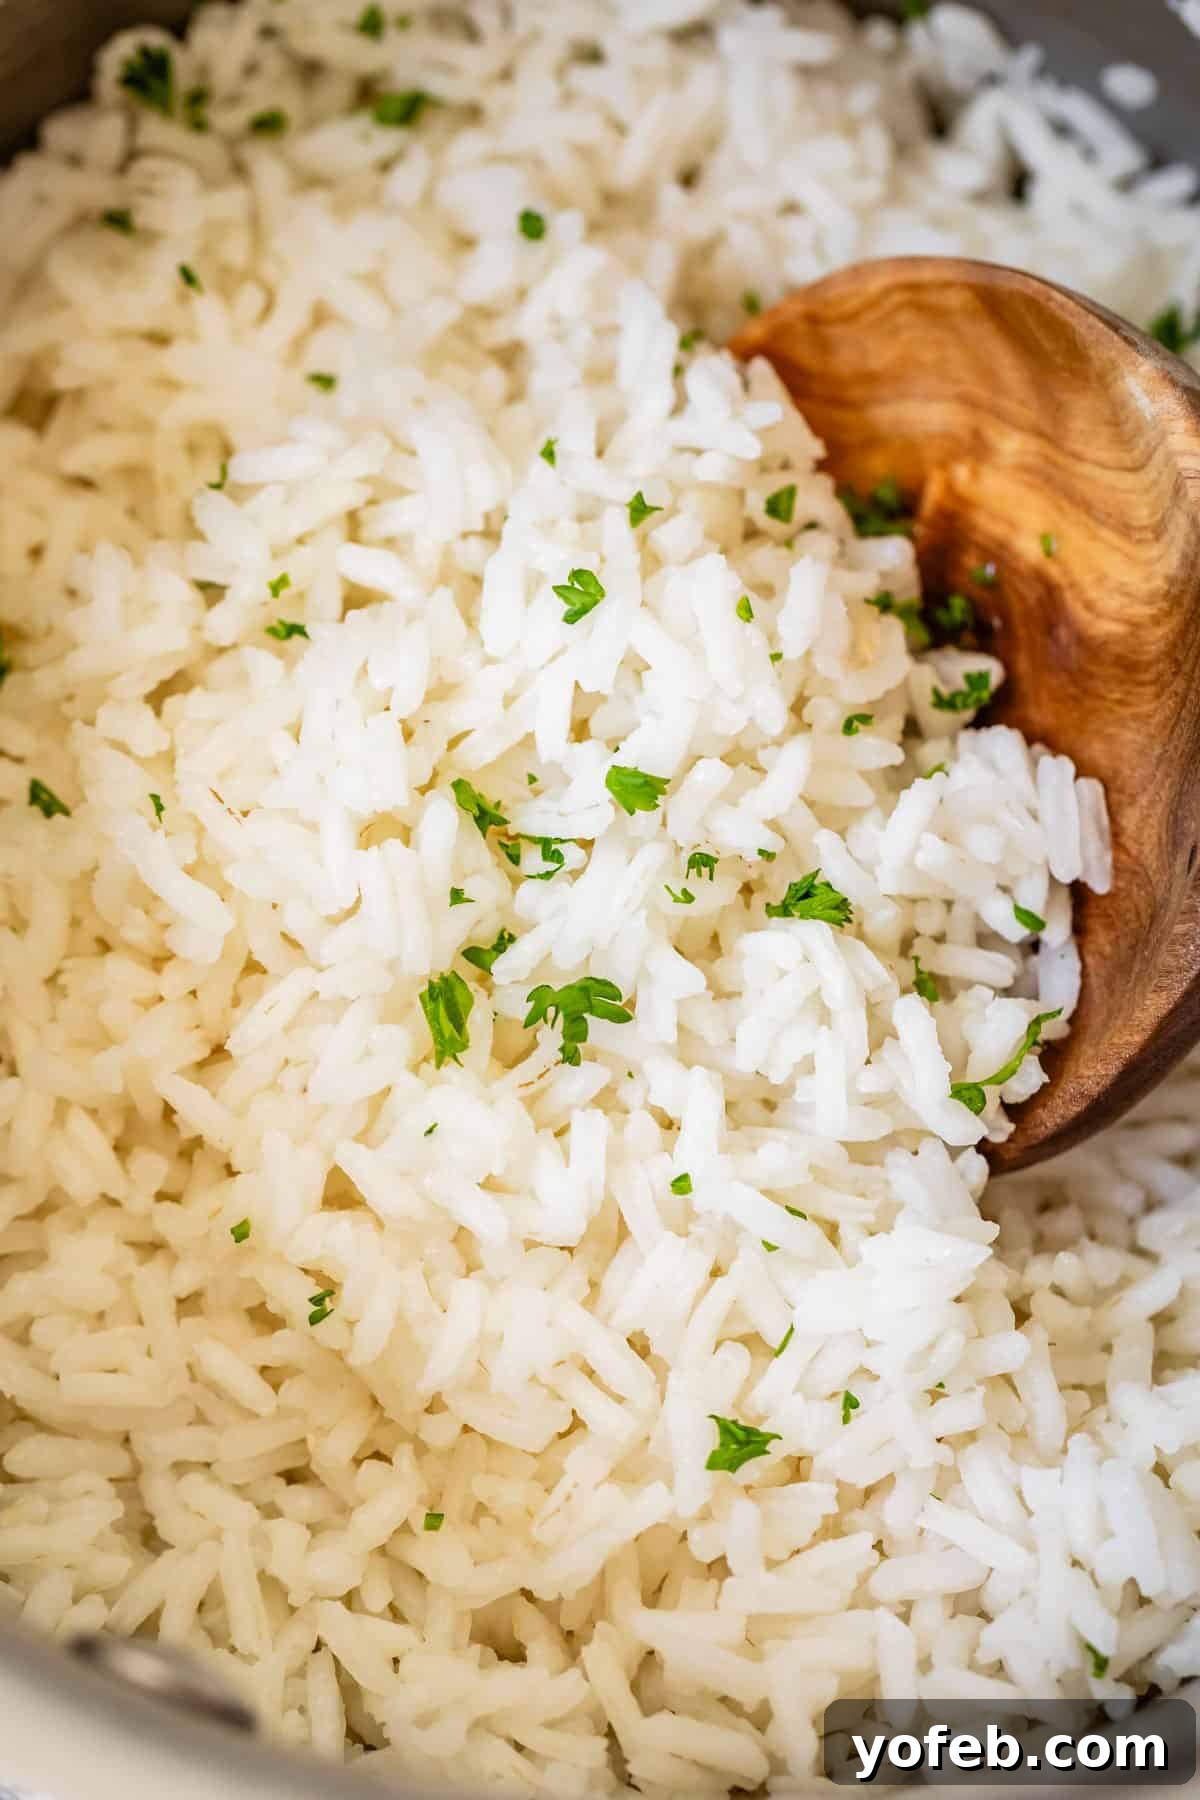
While tradition suggests a fork, any utensil that allows you to gently aerate the rice will work. The key is to avoid “smooshing” or stirring aggressively, which can break the grains and make them gummy. Instead, carefully insert your fork or spatula beneath the rice and gently lift, separating the grains. Repeat this motion until your rice transforms into a light, airy, and fluffy cloud, ready to be served warm, perhaps with an extra pat of butter for irresistible richness. Enjoy your perfectly cooked creation!
Elevate Your Rice Flavor: By Toasting
For an extra layer of depth and aroma, consider toasting your dry rice before adding water. This simple step, involving a little fat, unlocks a wonderfully nutty flavor that elevates plain rice to something truly special. Yes, we’re talking about FATTTT, and it makes all the difference!
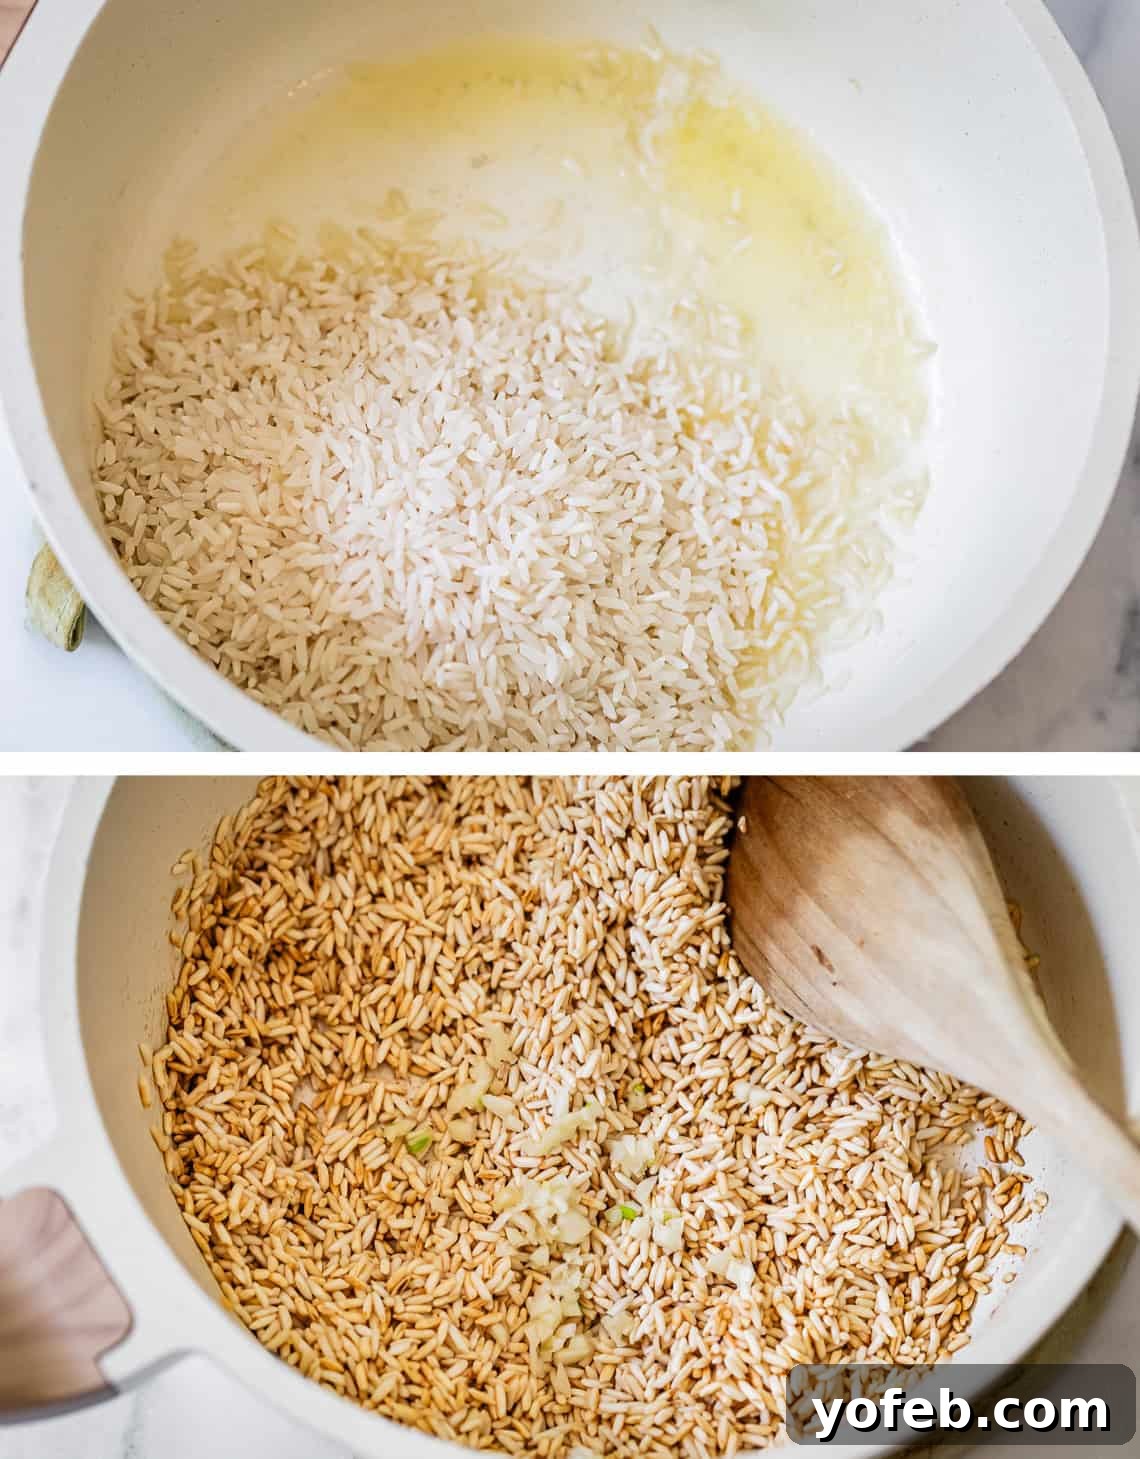
And if you’re like me, a devout garlic lover, this is the perfect opportunity to incorporate it. I almost always add a minced clove (or a spoonful of pre-minced garlic) when toasting my rice. It’s completely optional, of course, but it imparts a subtle, savory warmth that beautifully complements almost any dish.
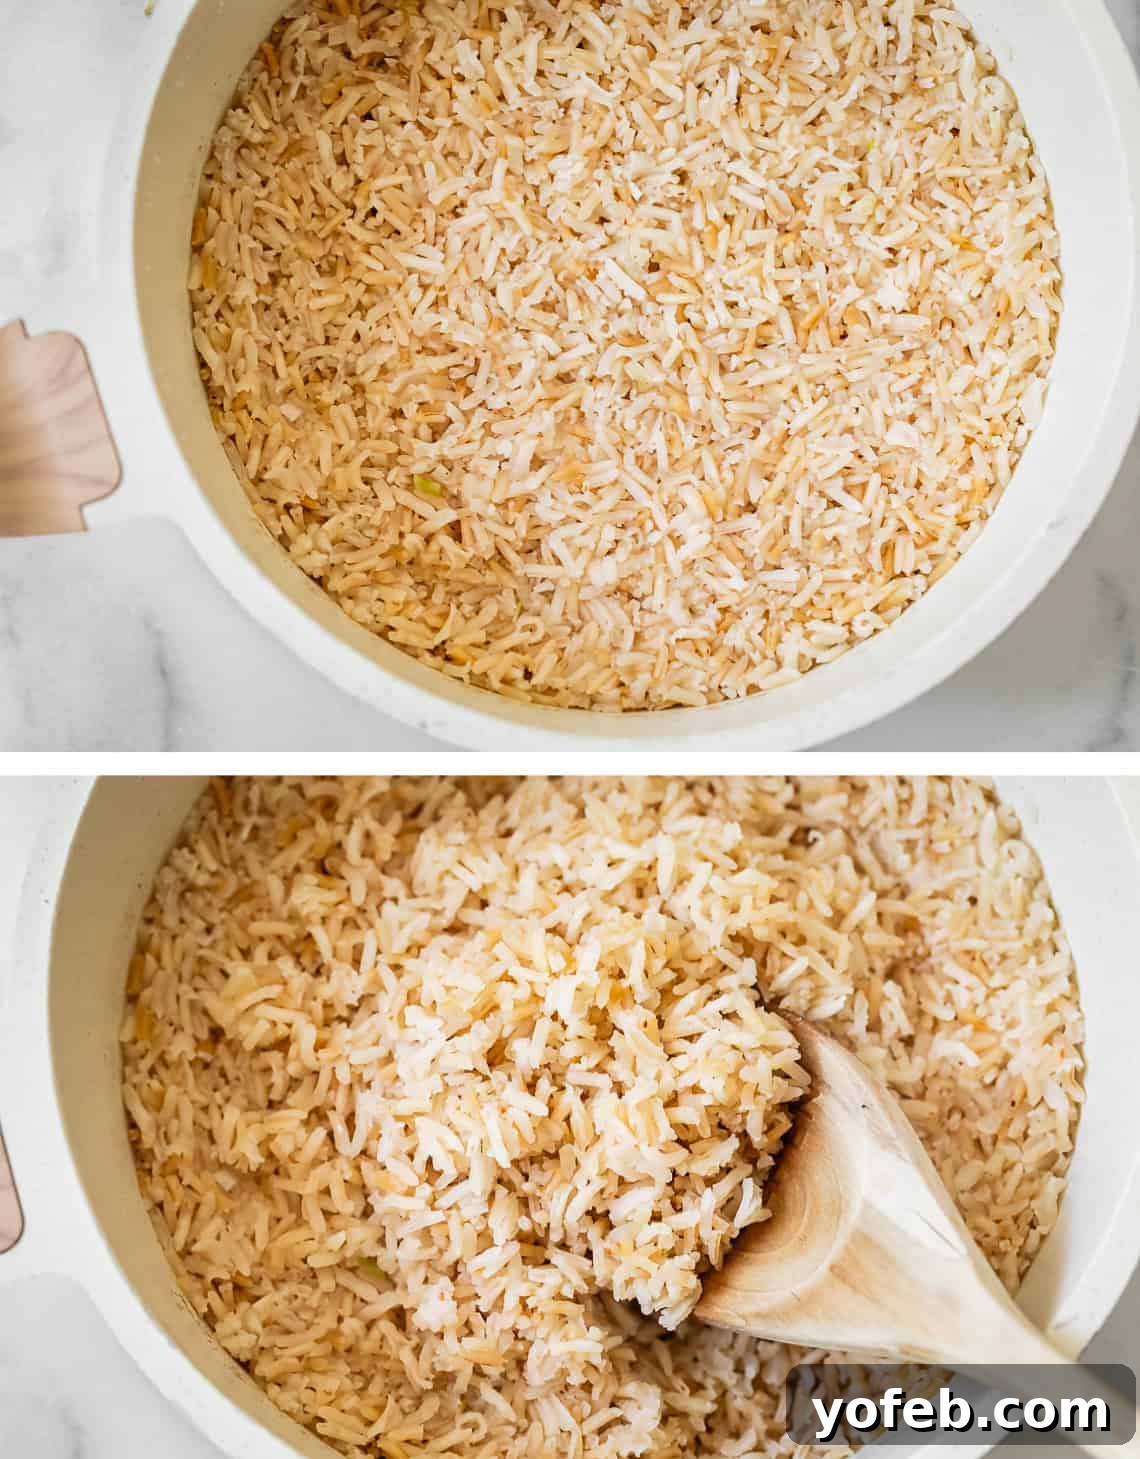
Notice the beautiful golden-brown color? This rich hue comes from the butter browning as the rice toasts. It’s important to clarify that this is regular white rice enhanced by browned butter, not brown rice. If you opt for oil instead of butter, your rice will still develop a lovely toasted flavor, but it won’t achieve this specific deep brown coloration.
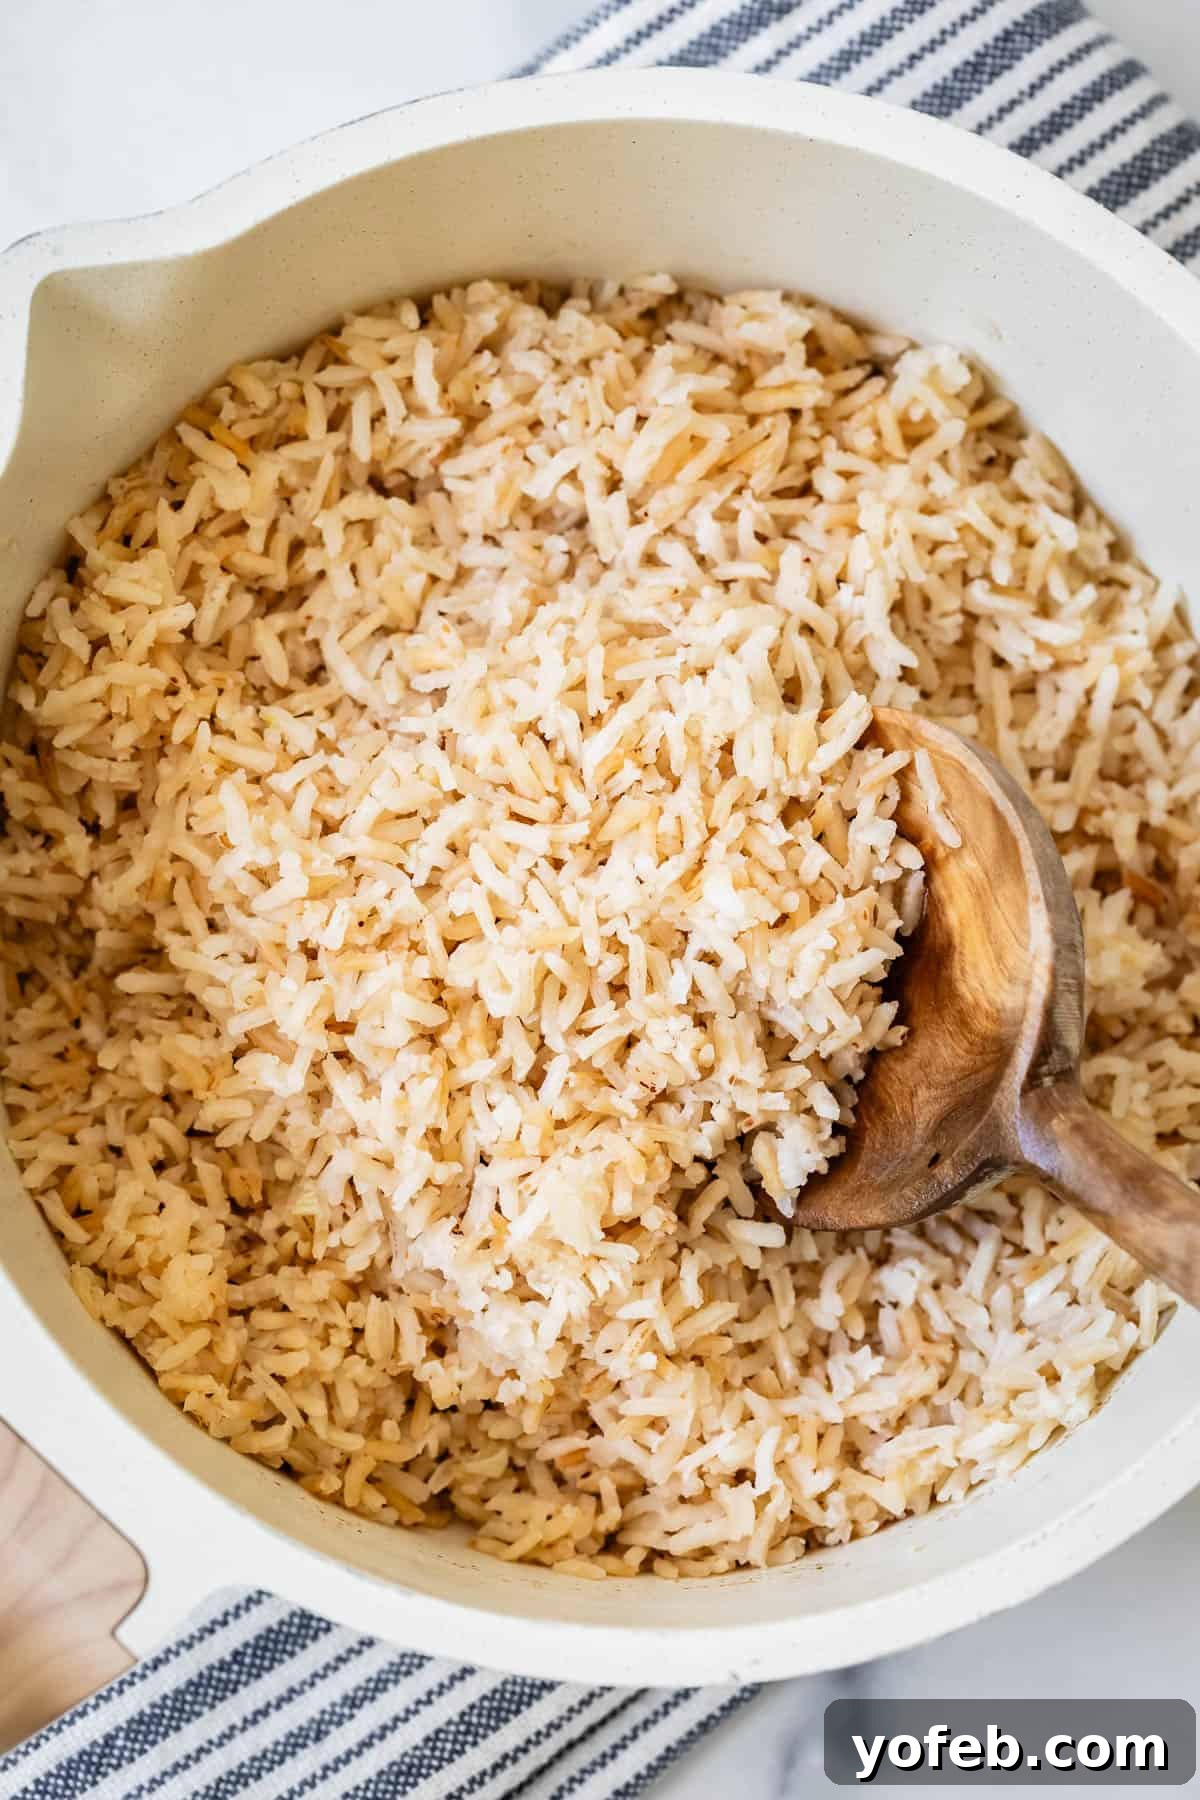
Just look at that inviting, toasty goodness – a testament to the simple power of a little extra attention in the kitchen!
What to Serve with Perfectly Cooked Rice
A steaming pot of freshly cooked, fluffy rice is incredibly versatile, making almost any meal feel special. It’s the ultimate blank canvas, ready to soak up the flavors of your main dish. Here are some of my absolute favorite recipes that pair exquisitely with a side of perfectly prepared rice:
- Korean Beef: An incredibly easy and super flavorful 30-minute meal that’s hard to resist.
- Easy Curry Beef: Rich, tender beef stewed to perfection in a slow cooker, infused with aromatic curry spices.
- Asian Pork Tenderloin: The ginger glaze on this pork is simply out of this world, creating a harmonious balance of sweet and savory.
- Asian Seared Chicken with Stir Fried Green Beans: A quick and satisfying skillet meal that brings fresh flavors to your table.
- Indian Chicken Curry: Simplify your Indian cooking with this easy curry that requires just two essential spice jars.
- Slow Cooker Chicken Tikka Masala: Arguably one of my all-time favorite comfort food meals, perfect for a cozy evening.
- Szechuan Chicken from The Happier Homemaker: A spicy and vibrant dish that’s wonderfully complemented by plain rice.
- Bang Bang Shrimp from Farah J. Eats: Crispy, creamy, and spicy shrimp that’s fantastic over a bed of fluffy rice.
Creative Uses for Leftover Rice
Don’t let leftover rice go to waste! It’s a fantastic ingredient that can be repurposed into an array of delicious dishes, often simplifying your next meal prep. Beyond simply reheating it as a side, here are some inspiring ideas to transform your cooked rice:
- Sheet Pan Chicken Fried Rice: Enjoy the comfort of fried rice without constant stirring! This sheet pan version is incredibly convenient and makes excellent use of day-old rice.
- Steak Foil Packets (Hobo Dinner): A beloved family favorite that brings the fun of camping to your home kitchen, perfect for a quick and hearty meal.
- Classic Stuffed Bell Peppers: These timeless delights are packed with flavor, and leftover rice makes a wonderful, hearty stuffing.
- Chicken and Broccoli Stuff: Already have rice on hand? This already easy dinner becomes even quicker and more convenient.
- Red Beans and Rice Recipe: With your rice perfectly cooked, all you need to do is prepare the flavorful beans for this classic comfort dish.
- Vanilla Coconut Rice Pudding: A delightful twist on traditional rice pudding, this coconut version is a sweet treat that’s hard to resist.
- Pantry Stuffed Pepper Soup from For the Love of Leftovers: All the flavors of stuffed peppers in a comforting soup form.
- Bacon, Corn, and Rice Frittata from Sprinkles & Sprouts: A creative and delicious way to use up leftover rice for breakfast, brunch, or a light dinner.
How to Store Cooked Rice Safely
Properly storing leftover cooked rice is crucial for food safety. Once your rice has cooled down, transfer it into an airtight container, such as a resealable bag or a Tupperware container, and promptly place it in the refrigerator. It’s important not to leave cooked rice at room temperature for more than two hours before refrigerating or freezing it, as this can encourage bacterial growth.
How long does rice keep in the fridge?
Cooked rice can be safely stored in the refrigerator for up to four days. Beyond this period, the risk of food poisoning significantly increases. While I might be somewhat relaxed about the expiration of some foods in my fridge (don’t let that deter you from dinner invitations! 😅), I take no chances with rice. It’s an inexpensive and quick dish to prepare, so if there’s any doubt about its freshness, it’s always best to discard the leftovers and simply cook a fresh batch. The potential health risks from spoiled rice are not worth taking.
Can you freeze cooked rice?
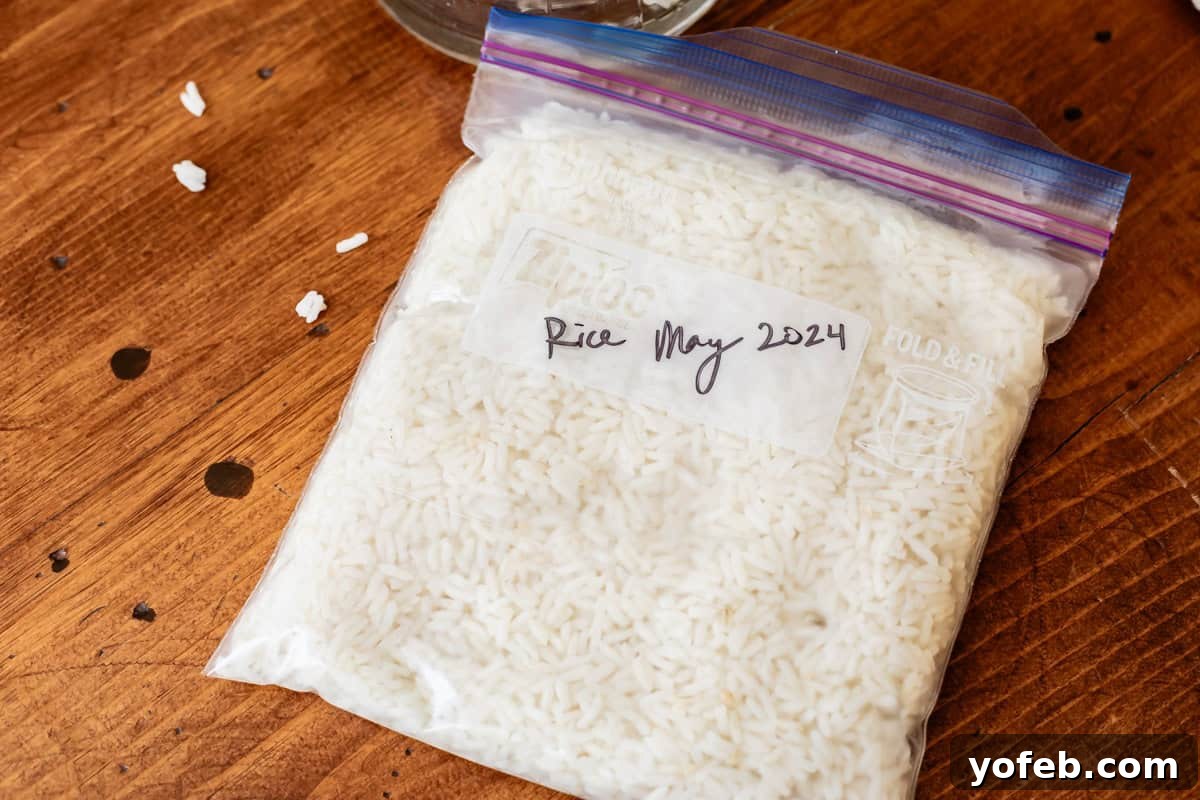
Absolutely, and it’s a fantastic convenience! Once your cooked rice has completely cooled, simply transfer it into a freezer-safe ziplock bag, ensuring as much air is removed as possible, then pop it into the freezer. Frozen rice maintains its quality for up to six months. This allows you to portion it for future meals, whether you’re adding it to recipes or reheating it as a quick side. Remember to sprinkle it with a little water before reheating to restore its perfect texture!
How to Reheat Rice for a Fresh Taste
The best way to revive leftover rice to its fresh-cooked glory is using the microwave with a touch of moisture. For every cup of cooked rice, gently sprinkle about 2 teaspoons of water over it. This small amount of water helps rehydrate the rice, combating the dryness that occurs during refrigeration. Crucially, cover the bowl tightly with a plate or a microwave-safe cover before heating. This allows the rice to steam, ensuring it becomes fluffy and moist again, rather than dry and clumpy. If you’ve never reheated rice this way, you’ll be amazed at the difference this simple steaming technique makes; it truly tastes like freshly cooked rice on day two! This method also works wonderfully for reheating rice directly from frozen, though it might require a slightly longer heating time.
Frequently Asked Questions About Cooking Rice
The primary reason for rinsing rice is to remove excess surface starch, which can make the cooked rice gummy. However, for most white rice processed in the United States, this step is largely unnecessary as the starch is typically removed during factory processing. Rinsing can also wash away nutrients. If you’re using rice from an international market or bulk bin and are concerned about dirt or debris, rinsing is a valid step. Just remember to slightly reduce the amount of cooking water (by about 2 tablespoons per cup of rice) to account for the absorbed moisture.
If your timer signals that the rice is done, but you discover too much liquid remains or the grains are still hard and crunchy, don’t panic! You can often salvage undercooked rice. Simply return the lid to the pot and allow the rice to simmer on very low heat for an additional 3-5 minutes, then turn off the heat and let it steam, lid on, for the recommended 15 minutes. This extra cooking and steaming time should help the rice fully absorb the liquid and become tender.
For most white rice varieties, including sushi, basmati, short-grain, medium-grain, or long-grain white rice, the active cooking time on the stovetop is approximately 10 minutes. This is followed by a crucial 15-minute resting period with the lid on, allowing the rice to steam and absorb residual moisture for a perfect fluffy texture. Jasmine rice follows a similar timing but requires slightly less liquid to achieve its delicate texture.
Facebook | Pinterest | Instagram

How to Cook Rice on the Stove
Ingredients
- 1 cup white rice, sushi, short, medium, or long grain
- 1 and 1/2 cups water*
- 1 tablespoons butter**, or oil
- 3/4 teaspoon kosher salt or sea salt, use 1/4 teaspoon table salt
- 1 clove garlic, optional
Instructions
-
Combine 1 cup dry rice, 1 and 1/2 cups water, 1 tablespoon butter or oil,** and 3/4 teaspoon kosher salt in a medium saucepan. For an extra layer of flavor, you can also add 1 minced clove of garlic (this is optional, but highly recommended if you enjoy garlic!).
-
Bring to a boil. Place the lid firmly on the saucepan and turn the heat to HIGH. Remain attentive to the pot as the rice comes to a rapid boil, which typically takes only a few minutes. Avoid walking away, as rice can boil over quickly. Should it happen, don’t panic; simply clean it up. (Confession: my “toxic trait” is often delaying the cleanup of a boil-over mess. Welcome to my perfectly imperfect home!)
-
Reduce heat and simmer. The moment you observe steam escaping from beneath the lid, indicating a boil, immediately turn the heat down to LOW. It is crucial not to lift the lid at this stage. Allow the rice to cook on LOW for precisely 10 minutes.
-
Steam without heat. Once the 10-minute cooking timer sounds, turn off the heat completely. Do not move the pot from the stove, and most importantly, do NOT peek or remove the lid. Set a second timer for 15 minutes to allow the rice to steam undisturbed. This resting period is vital for achieving fluffy, separate grains.
-
Fluff and serve. After the 15-minute steaming timer rings, you can finally remove the lid. While traditionally a fork is recommended for fluffing, any utensil that allows you to gently aerate the rice without crushing the grains will work. The goal is to lift and separate the rice, making it light and fluffy. Avoid stirring vigorously. Insert your utensil underneath the rice and gently lift it repeatedly until it appears large, fluffy, and perfectly cooked. Serve hot, perhaps with an additional pat of butter for extra richness.
-
Serve hot! Store any leftover rice, covered, in the refrigerator for up to 4 days.
-
Freezing Instructions: As soon as your cooked rice has cooled completely, transfer it into a freezer-safe ziplock bag and place it in the freezer. It will remain fresh for up to six months. To reheat, sprinkle the frozen rice with approximately 2 teaspoons of water per cup, place it in a bowl, and cover it well to allow it to steam in the microwave.
Notes
**TOASTY RICE: To enhance the flavor, you can toast the dry rice. Add the butter or oil to your saucepan first and heat it over medium heat. Add the dry rice (and minced garlic, if desired) and stir constantly with a wooden spoon for 3-5 minutes, until the rice grains develop a light toasted aroma and some turn a very pale golden brown. Then, add the remaining ingredients and follow the rest of the recipe as directed. (The brown-looking rice in some photos is white rice that was toasted in browned butter; if using oil, it will not achieve this deep brown hue.)
Doubling the recipe: This recipe is easily scalable. You can confidently double, triple, or even quadruple the quantities. Refer to the comprehensive ratio chart provided earlier in the blog post for precise measurements. When cooking larger batches, you may need to extend the final steaming period with the heat off for 15-30 minutes, rather than the standard 15 minutes, to ensure all the rice is perfectly cooked and fluffy.