
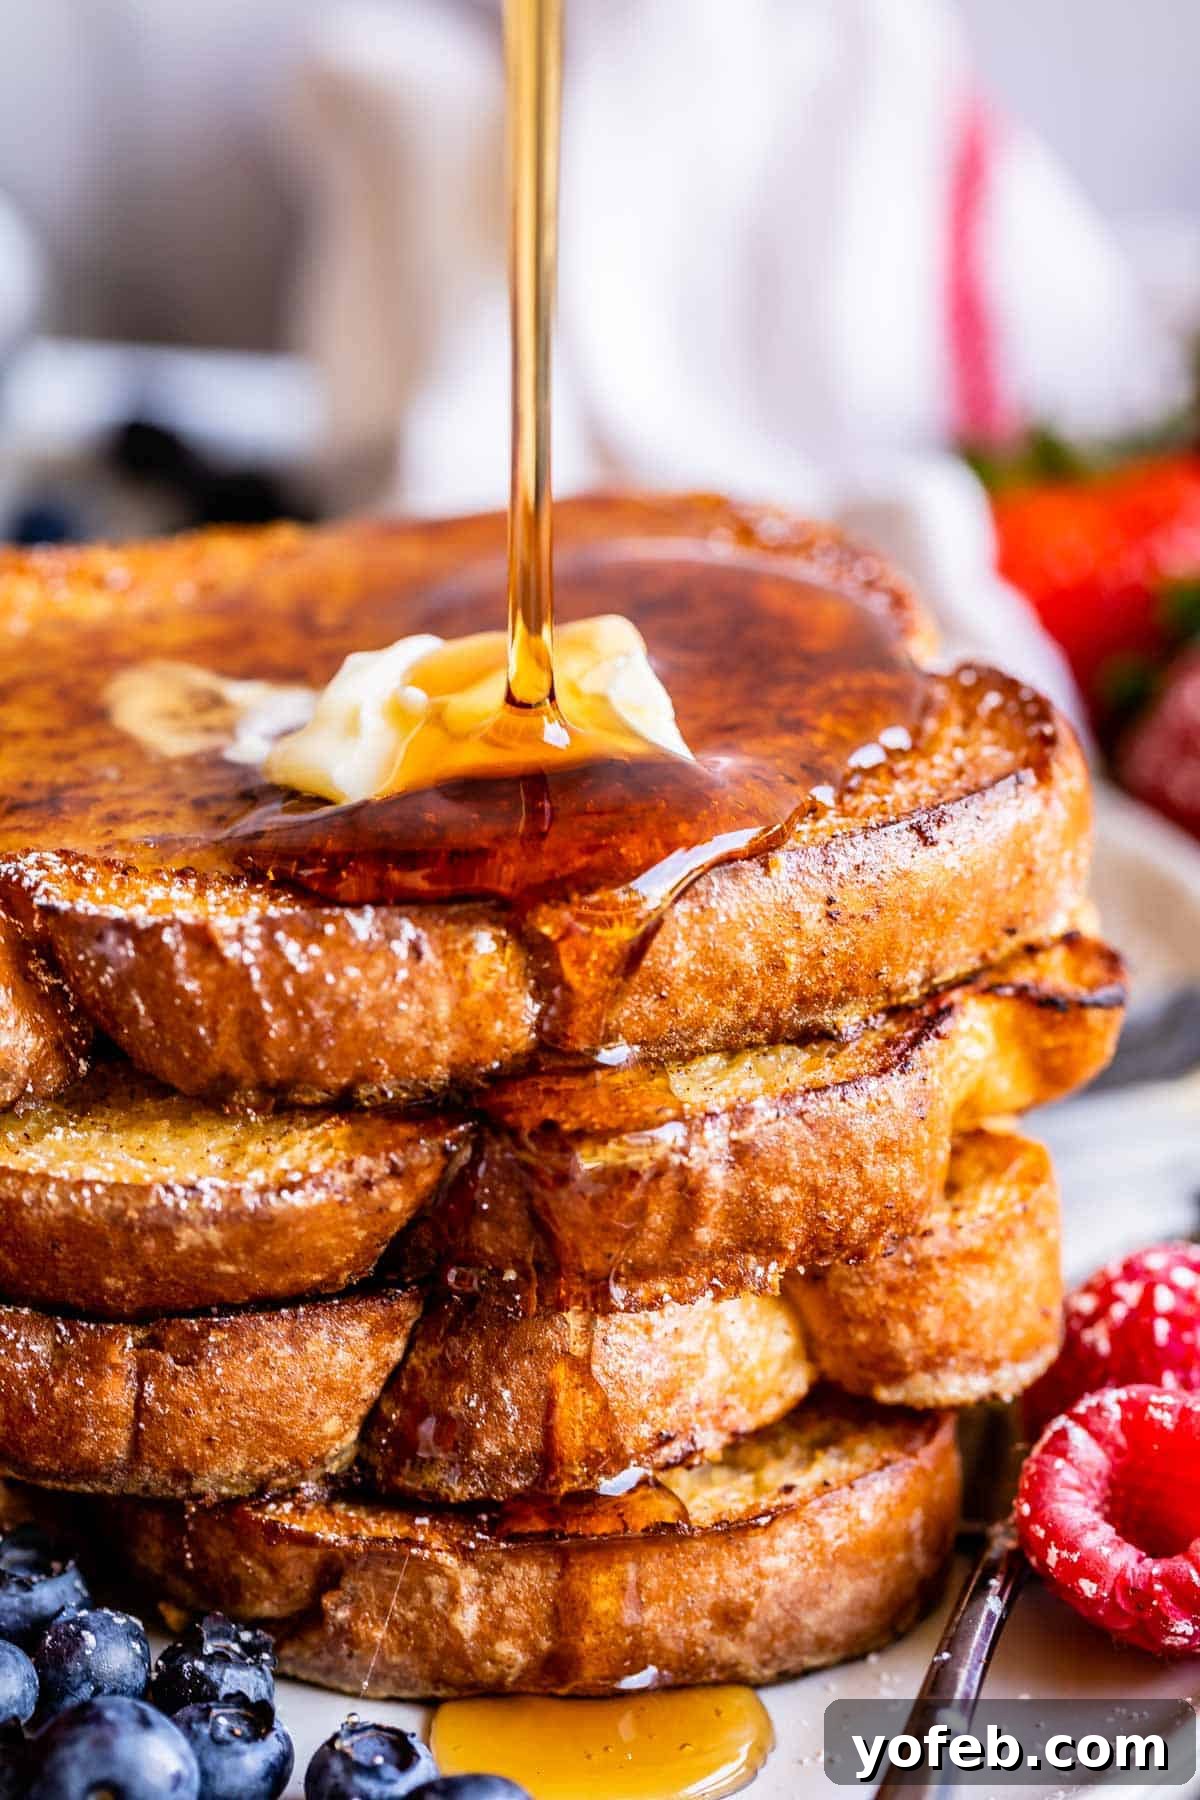
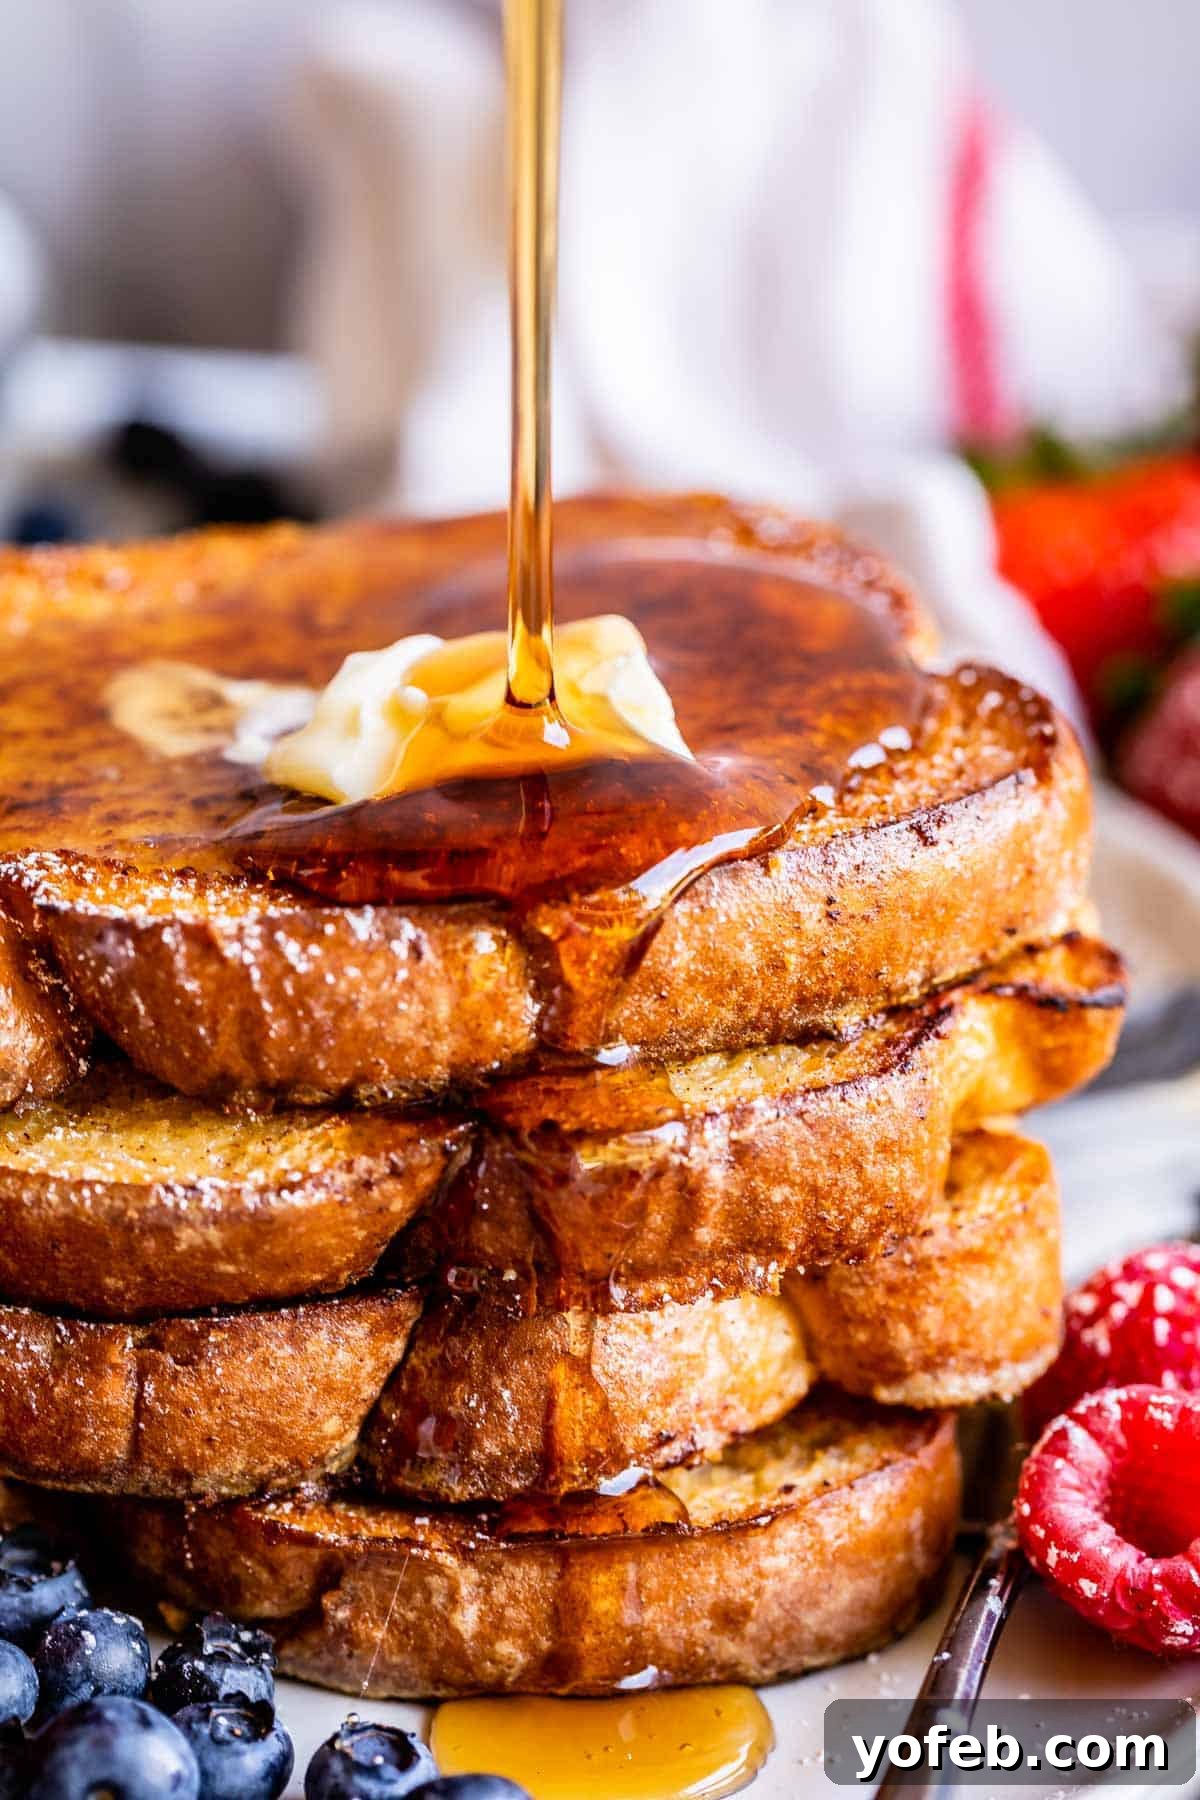
Have you ever thought you didn’t like French Toast? Perhaps you’ve had too many bland, soggy, or overly ‘eggy’ versions. If so, prepare for a revelation! My journey with French Toast took an unexpected turn when I discovered a few simple, yet transformative, secrets. These methods are guaranteed to deliver the best French Toast you’ve ever tasted – so good, in fact, it’s the only way I’ll eat it from now on. This isn’t just another breakfast recipe; it’s a magical experience featuring a rich, custardy soak made with egg yolks and cream, combined with substantial slices of brioche or challah bread, and crowned with irresistibly caramelized edges for a truly unique sugary crunch. Originally shared on September 10, 2020, this perfected recipe has become a perennial favorite, perfect for any special occasion or a simple, lazy weekend indulgence.
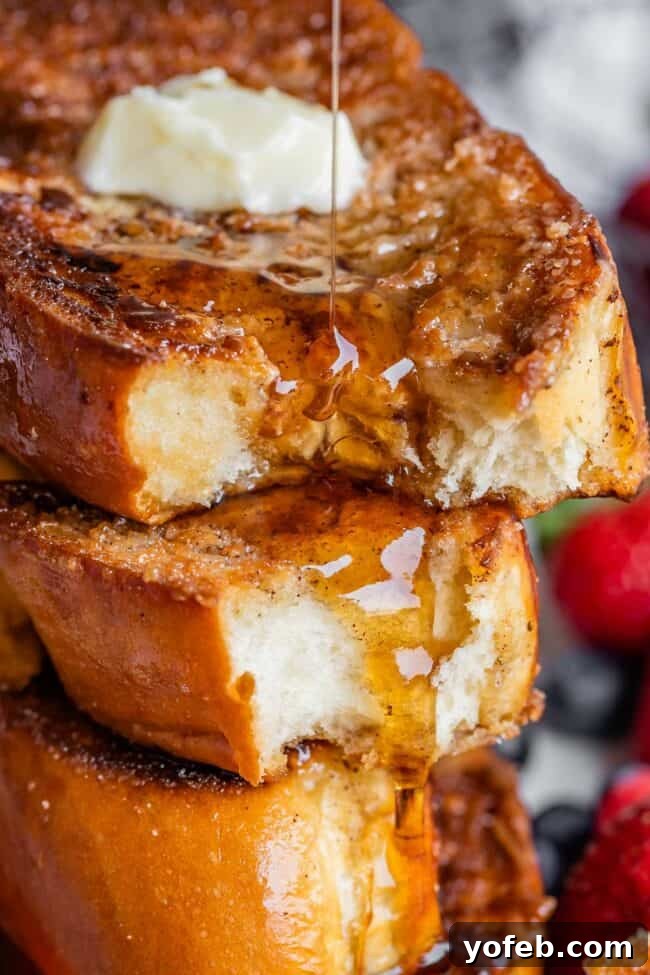
Table of Contents
- Discover The Ultimate French Toast Recipe
- Essential Ingredients for Perfect French Toast
- Choosing the Best Bread for French Toast
- How to Make Caramelized French Toast (Step-by-Step)
- Pro Tips for Fluffy and Crispy French Toast
- Common French Toast Mistakes and How to Avoid Them
- What to Do with Leftover French Toast Batter?
- Storing and Reheating Leftover French Toast
- Why This Caramelized French Toast Recipe is a Must-Try
- More Delicious Breakfast and Brunch Favorites
- Caramelized Dreamy French Toast Recipe
Life, much like mastering the perfect French Toast, often requires learning on the fly and adapting quickly. Just the other day, my three-year-old, Valentine, in her eagerness to play outside, decided her shirt was the ideal napkin. A brief consequence of a few minutes indoors led to her incessant piano playing – the same two notes, over and over, until my husband finally relented. Valentine: 1, Parents: 0. It’s a bit like an ongoing game of Calvinball around here, where the rules are fluid and constantly rewritten.
As the seasons shift, even if California’s September weather doesn’t quite scream “fall,” the menus certainly do. And with autumn comes a renewed appreciation for comforting, hearty foods. While French Toast might not be traditionally associated with fall, the warm hint of cinnamon in this recipe makes it a delightful choice any time of year. This classic, elevated recipe is about to become a staple in your kitchen!
Discover The Ultimate French Toast Recipe
My past experiences with French Toast were, to put it mildly, disappointing. I’ve encountered every common pitfall: soggy centers, tough and rubbery crusts, burnt edges, and the absolute worst – that unappealing scrambled-egg texture clinging to the toast’s perimeter. If you know what I’m talking about, you’re in for a treat.
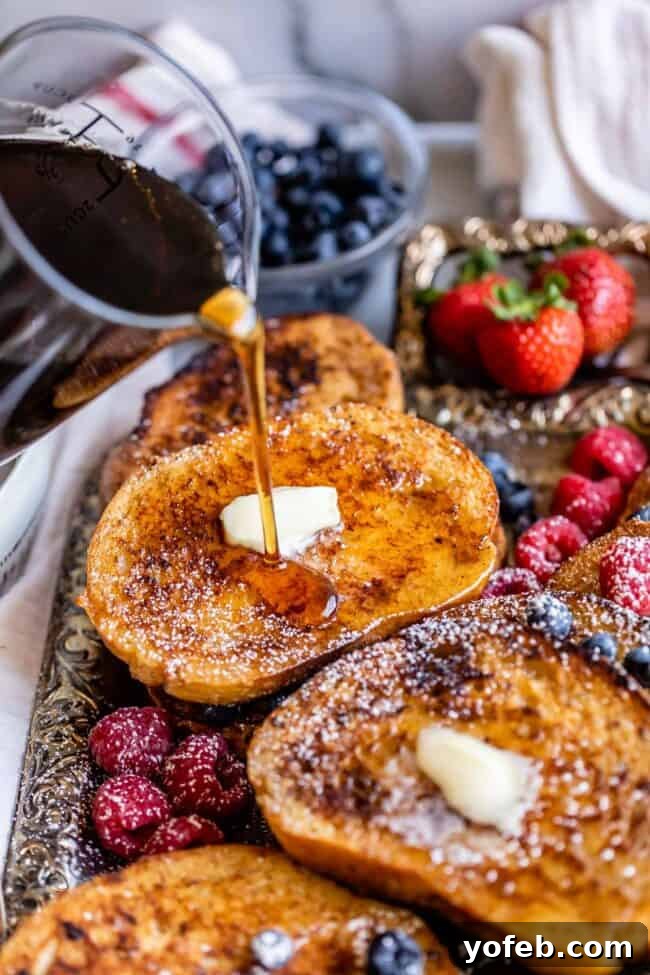
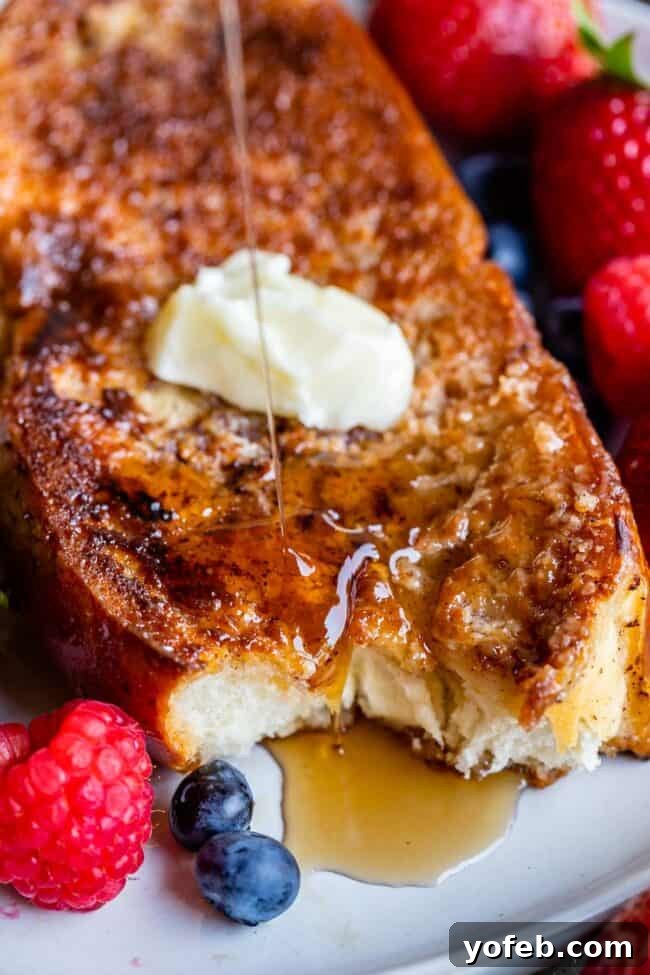
The solution to these French Toast woes lies in a simple, yet revolutionary, technique: caramelizing the edges. Imagine the satisfying crackle of a crème brûlée top, but on your French Toast! This method is a game-changer, creating a magical sugary crunch that’s so incredibly delicious, you might even skip the syrup. I’m going to walk you through exactly how to achieve this.
Essential Ingredients for Perfect French Toast
Crafting the perfect French Toast starts with selecting high-quality ingredients. Here’s what you’ll need to gather:
- Large loaf of Challah or Brioche bread: These rich, soft breads are ideal. If unavailable, a thick-sliced, soft white bread works well. Avoid chewy French bread, as its crust can become tough.
- Egg yolks: The secret to a custardy texture without the “eggy” taste.
- Heavy cream or half-and-half: For unparalleled richness. Whole milk can be used as a substitute in a pinch, but cream truly elevates the flavor.
- Granulated sugar: Both for the batter and for that incredible caramelized crust.
- Vanilla extract: Essential for a warm, inviting aroma and flavor. For an intriguing twist, try adding a hint of almond extract alongside the vanilla.
- Kosher salt: Balances the sweetness and enhances all the flavors.
- Cinnamon: Adds a classic, comforting spice note.
- Pinch of nutmeg (optional): A subtle addition that deepens the spice profile.
- Butter for frying: Contributes flavor and helps achieve a golden-brown crust.
- Vegetable oil for frying: Used in combination with butter to prevent burning and ensure even cooking.
Choosing the Best Bread for French Toast
The foundation of exceptional French Toast is the bread. To achieve those coveted pillowy soft centers and tender edges, steer clear of tough, crusty loaves. Your top choices should be Challah, Brioche, or a very soft, thick-sliced white bread. Both Challah and Brioche are known for their high liquid and low flour content compared to standard bread, which results in an incredibly soft, cloud-like texture once cooked. This ensures your French Toast is tender and absorbs the custard beautifully, rather than becoming dense or dry.
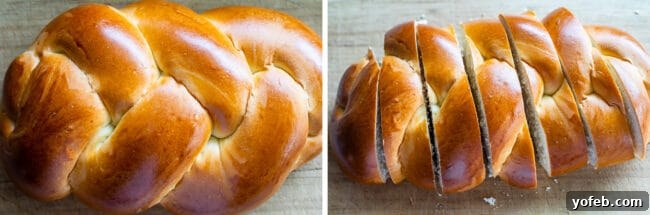
While the name “French Toast” might suggest using French bread, many common varieties of French bread sold in delis are not ideal. Their crusts are often too tough and chewy, requiring a knife to cut through – a definite no-go for fork-tender French Toast. Fun fact: The French actually refer to this dish as “Pain Perdu,” meaning “lost bread,” a nod to its origin as a way to use up stale bread.
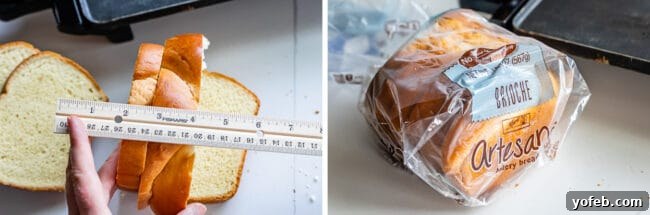
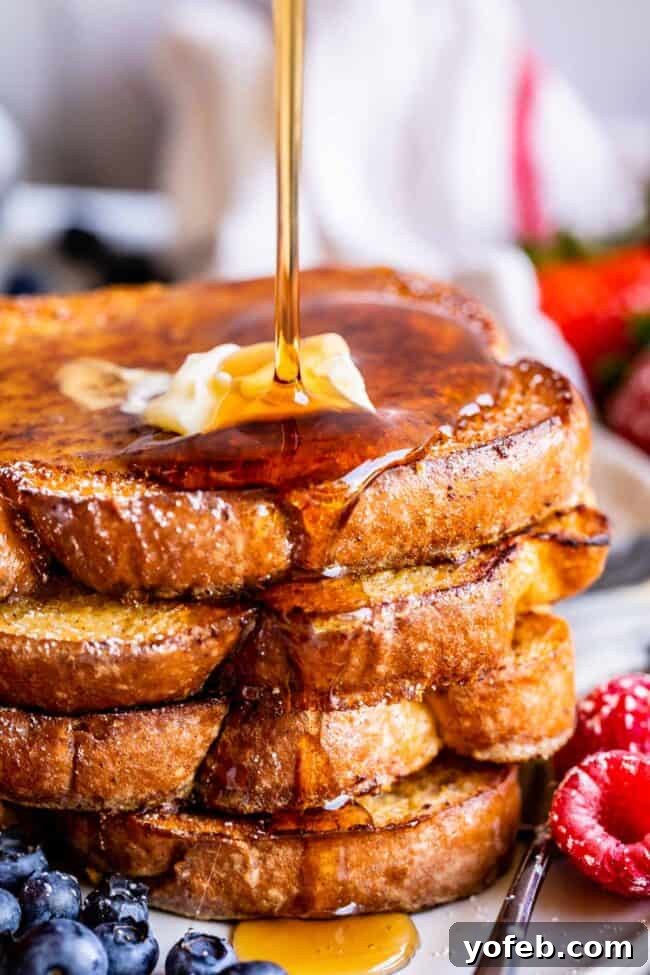
An enormous advantage of starting with a full loaf of Challah or Brioche is the ability to customize your slice thickness. Most pre-sliced bread is around 3/4 inch or less, which can lead to a less substantial, more easily overcooked result. For truly decadent French Toast, aim for slices that are 1 1/4 inches thick. Feeling adventurous? Go for 2-inch slices! These thick slices are key to achieving a perfectly cooked, custardy interior.
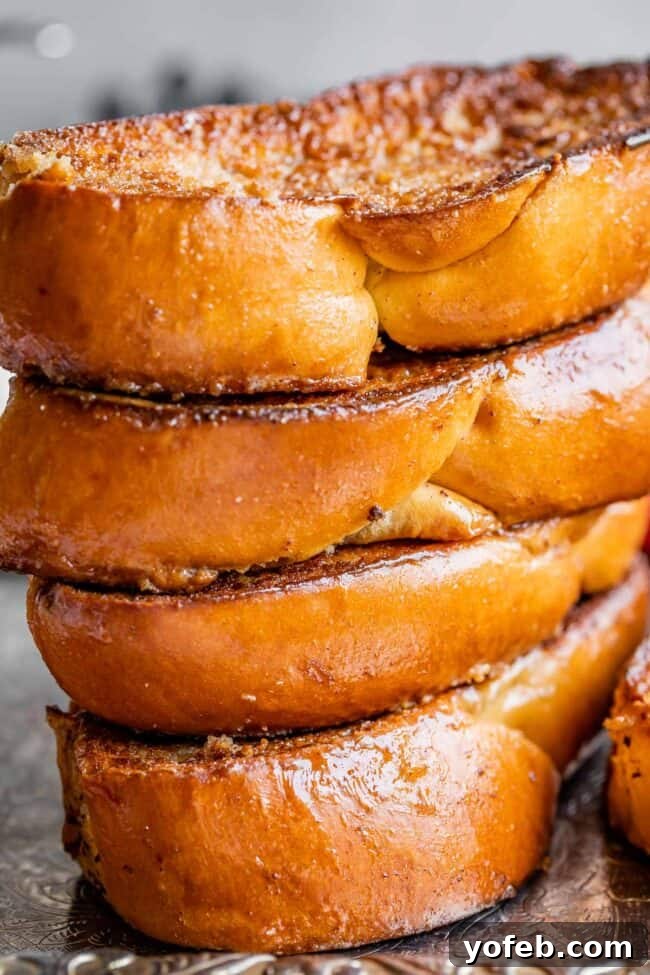
Just look at how beautifully substantial these thick slices are!
How to Make Caramelized French Toast (Step-by-Step)
The most common French Toast complaint is that unsettling taste of cooked egg on the edges. No matter how vigorously you whisk whole eggs, the albumin (egg whites) tends to clump, cooking faster than the bread and creating that undesirable scrambled egg effect. The solution is remarkably simple, yet profoundly effective:
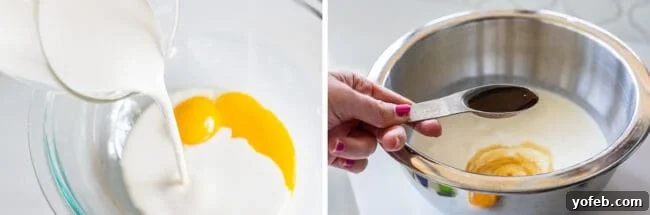
Use only egg yolks. This small adjustment results in an incredibly rich, creamy, and custard-like soaking mixture. Essentially, you’ll be transforming your bread into a luxurious, custardy delight. This eliminates the ‘eggy’ flavor and ensures a silky smooth texture throughout.
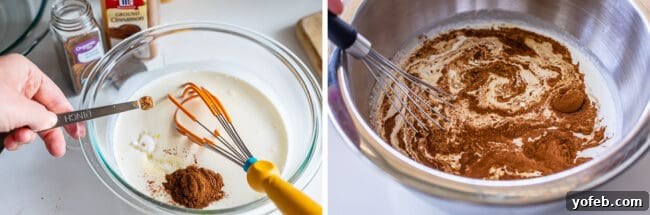
My vision for the perfect French Toast involves:
- Perfectly toasted, crisp edges that are never tough.
- A gloriously thick, perfectly cooked center, soft as a pillowy cloud.
- A rich, deeply custardy flavor that sings with every bite.
- Absolutely no hint of scrambled egg anywhere.
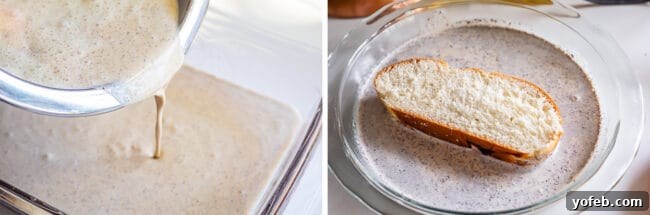
Here’s how to achieve this ultimate French Toast experience:
- To avoid undercooked centers: Cook on medium-low heat. Patience is a virtue here; while it takes longer, the resulting fluffy, evenly cooked interior is absolutely worth the wait.
- To avoid burned edges: Employ a combination of half oil and half butter when frying. Butter provides incredible flavor, but oil prevents it from burning too quickly due to its higher smoke point.
- To achieve pillowy, cloud-like fluffy centers: Start with generously thick slices of bread, as discussed above. Thin slices simply can’t achieve this luxurious texture.
- To achieve rich, custard flavor: Use heavy cream (or half-and-half if you must, but cream is superior). The higher fat content creates an unparalleled richness and silky texture.
- To avoid scrambled-egg-edges: This is crucial – use only egg yolks, separating them from the whites entirely. This ensures a smooth, non-clumpy custard that cooks evenly into your bread.
Pro Tips for Fluffy and Crispy French Toast
How to Caramelize the Edges of Your French Toast
This caramelized edge technique is a revelation. It’s not something you typically find in restaurants, and I hadn’t tried it at home until recently, but it has completely transformed my French Toast experience. It truly is a game-changer!
I learned this brilliant method from my friend Jade, who hails from France. During one of my recipe testing phases, I reached out to my Instagram followers for their best French Toast tips, as I was struggling to convert myself, a lifelong French Toast skeptic, into a lover. Jade’s advice was invaluable.
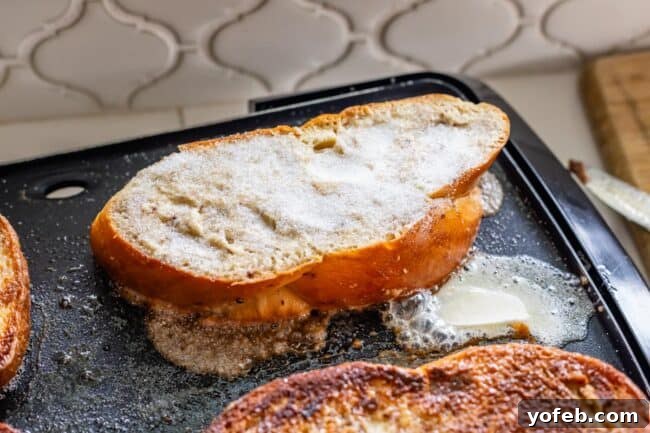
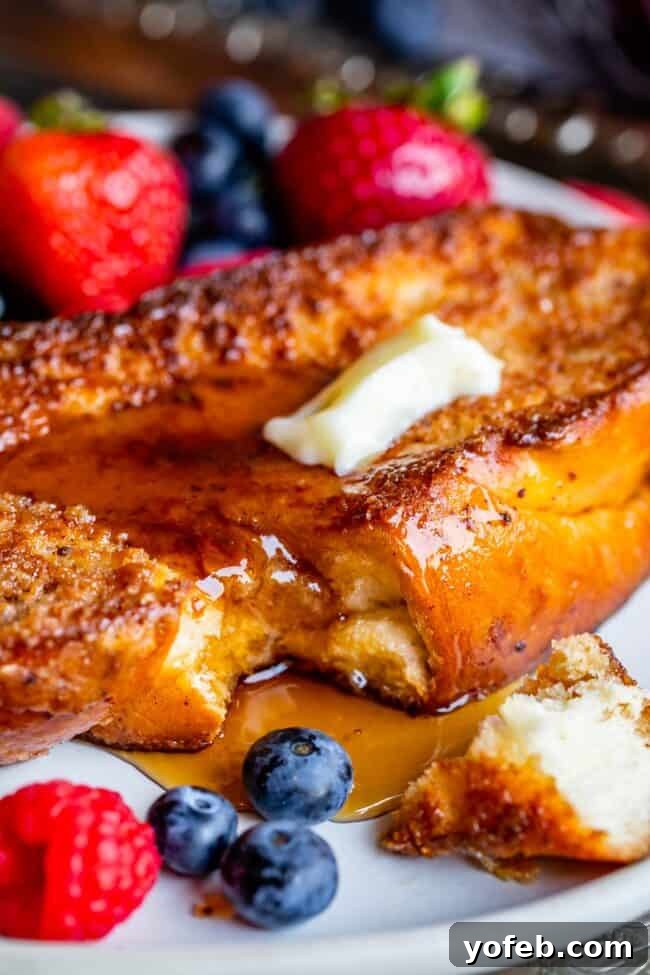
Jade explained her mother’s technique: always use a mix of half oil and half butter for frying. This prevents the butter from burning (as butter has a lower smoke point than oil) while still imparting its essential rich flavor. And then came the magic touch: sprinkle granulated sugar directly onto the bread just before flipping it. As the sugar hits the hot pan, it caramelizes into a stunning, crackly crust that shatters with a satisfying crunch in your mouth.
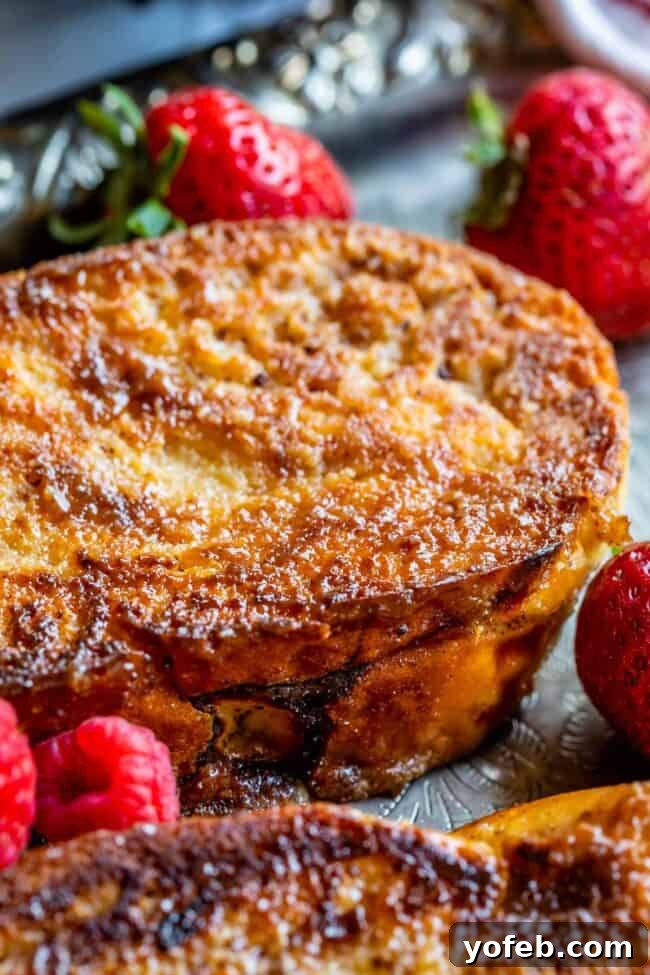
Seriously, this is amazing. It’s like having the glassy, sugary top of a Crème Brûlée right on your French Toast. This method of caramelizing the edges, shared by Jade, has officially converted me into a French Toast enthusiast. If you already love French Toast, imagine how much more you’ll adore this enhanced version! I will never go back. A huge thank you to Jade’s mom!
Out of curiosity, I also asked Jade what French Toast is called in France. She shared this:

She mentioned her confusion the first time she heard it called “French Toast” in England! We also chuckled about how Americans often add “French” to recipe titles to make them sound fancy, like French Silk Pie. I sent her that recipe, and she confirmed, “Oh, that looks delicious! But definitely not French; I’ve never seen it in France in my life.”
Ah, America, always faking it ’til we make it! I guess you could call us charlatans (which, ironically, is a French word itself – bringing things full circle!).
How to Make French Toast Not Soggy?
The cardinal rule for avoiding soggy French Toast is simple: cook it low and slow. Your griddle or skillet should be set to no more than medium-low heat. While it requires a bit more time, this patient approach ensures the bread cooks all the way through, resulting in a perfectly fluffy interior without the dreaded undercooked, soggy center or burnt exterior.
How Long Should You Soak French Toast?
The ideal soaking time for French Toast is typically between 10 to 20 seconds per side, though this can vary depending on the thickness and type of your bread. Before removing a slice from the egg mixture, gently press it with your finger. It should feel soft and thoroughly saturated but still hold its structural integrity, without disintegrating. You can soak all your slices and arrange them on a baking sheet or plate before you begin frying, ensuring a smooth workflow.
Should I Use Oil or Butter for French Toast?
For the best French Toast, use a combination of both oil and butter. This is one of the key secrets to achieving deeply flavorful toast with a beautifully crisp, golden-brown crust that doesn’t burn. Butter delivers an unmatched richness and taste, but its low smoke point means it can burn quickly. Oil, on the other hand, has a higher smoke point, preventing scorching, but lacks the depth of flavor that butter provides. By using them together, you get the best of both worlds: delicious taste and perfect texture without the risk of burnt edges. Consult the full recipe below for precise proportions.
Common French Toast Mistakes and How to Avoid Them
French Toast can be the most delightful breakfast or a truly disappointing one, depending on how it’s prepared. Here are the most common pitfalls and how to steer clear of them:
- Undercooking the middle: Nobody wants a soggy center! The simplest fix is to cook your French Toast on medium-low heat. This extra time allows the heat to penetrate the thick slices evenly, ensuring a wonderfully fluffy and cooked-through interior.
- Burning the edges: Butter adds fantastic flavor, but its low smoke point can lead to quickly burned edges. The ideal strategy is to use a 50/50 mix of butter and a high-smoke-point oil (like vegetable or canola oil). This combination gives you the rich flavor of butter while the oil prevents premature burning.
- Using thin bread: For that truly pillowy, custardy interior, thick slices are non-negotiable. Regular store-bought sliced bread is often too thin. Opt for a hearty loaf of brioche, challah, or even Texas toast, and slice it thickly yourself (1 to 1.5 inches).
- Using only milk for the dairy: To achieve that luxurious, rich custard flavor, heavy cream is your best friend. While half-and-half can be a decent substitute, milk alone will result in a much less decadent and flavorful French Toast. The higher fat content of cream makes a significant difference.
- Getting scrambled egg around the edges: This is a common complaint and easily avoidable! The secret lies in using only egg yolks in your batter, not the whole egg. Egg whites tend to clump and cook too quickly on the surface, creating that undesirable “scrambled egg” effect. Using just the yolks ensures a smooth, uniform custard that permeates the bread beautifully.
What to Do with Leftover French Toast Batter?
While some might advocate for strict adherence to “waste not, want not,” when it comes to French Toast batter, sometimes it’s best to just dispose of it. However, if you’re determined to minimize waste, here are a few options for your leftover egg yolk mixture:
- Make scrambled eggs (with a twist): Add several more whole eggs (at least 6) to the leftover batter, whisk thoroughly, and cook as scrambled eggs. Be warned, though, you might notice the distinct flavors of vanilla and cinnamon in your savory scramble!
- Refrigerate for future use: Store the leftover batter in an airtight container in the refrigerator for up to 5 days. It will be ready for another batch of French Toast whenever the craving strikes.
- Freeze for long-term storage: For longer preservation, freeze the batter in a freezer-safe container for up to 3 months. When you’re ready to use it, simply thaw it completely in the refrigerator before whisking and soaking your bread.
Storing and Reheating Leftover French Toast
If you happen to have any French Toast left over (a rare occurrence once you try this recipe!), it stores quite well. Keep leftover French Toast tightly covered in the refrigerator for 3-5 days to prevent it from drying out. While the caramelized crispness won’t be as pronounced, the delightful sweetness and rich flavor will certainly remain.
Wondering if you can freeze French Toast? Absolutely! It freezes successfully, though the caramelized edges will soften. To freeze, arrange cooled French Toast pieces in a single layer on a baking sheet to freeze individually, then transfer them to a freezer-safe ziplock bag. They can be stored for up to 3 months. Thaw completely at room temperature in the sealed bag before reheating. Here are several ways to reheat your delicious leftovers:
- Microwave: Reheat on 50% power until warm to avoid rubberiness.
- Toaster: Pop individual pieces into a toaster or toaster oven for a quick crisp-up.
- Pan fry: For the best results, pan-fry leftovers in a mixture of butter and oil, just like the initial cooking. You can even add a sprinkle of sugar and recaramelize the edges!
- Oven: Preheat your oven to 350°F (175°C). Place the toast in a single layer on a wire rack set over a baking sheet and heat for 5-10 minutes, or until warmed through. This method helps maintain some crispness.
Why This Caramelized French Toast Recipe is a Must-Try
So, there you have it – the definitive guide to making the French Toast of your dreams. Our household used to favor pancakes and waffles, mainly because I just wasn’t a huge fan of French Toast, much to my husband Eric’s dismay. But these revolutionary techniques have changed everything! I now make an effort to buy or bake challah bread regularly, ensuring I always have some tucked away in the freezer for when the French Toast craving strikes. (Properly sealed bread freezes beautifully; just thaw it in its sealed bag on the counter to allow it to reabsorb moisture and retain its freshness.)
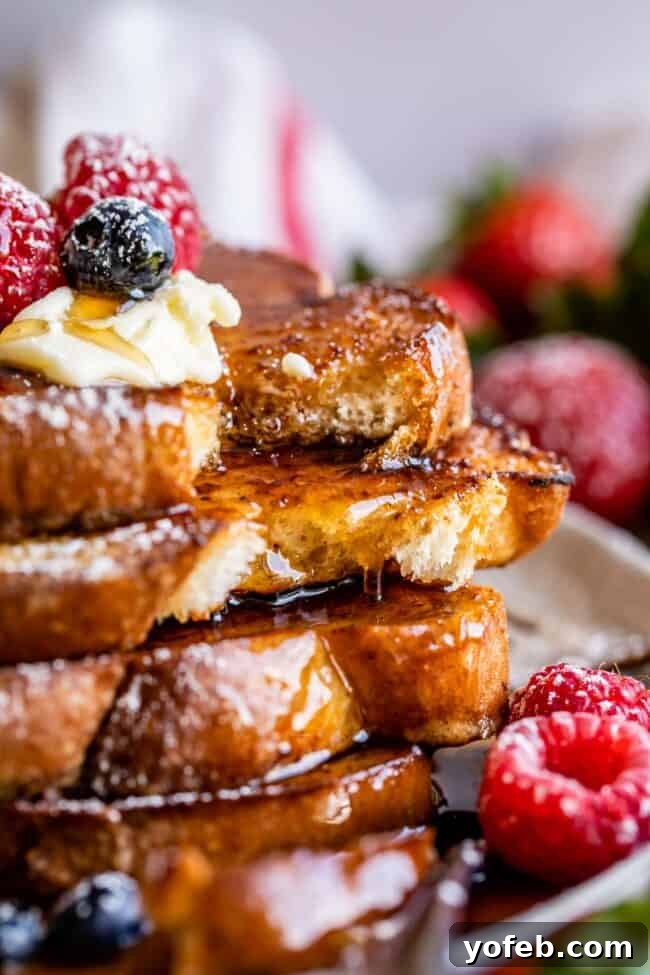
If you’re not already planning a trip to your local bakery or searching for challah bread recipes, then I truly don’t know what else to say to convince you that this French Toast recipe needs to be made this weekend. Make it your culinary mission – you won’t regret it!
More Delicious Breakfast and Brunch Favorites
Breakfast is a significant event in our house, especially on lazy weekends. And “brinner” (breakfast for dinner) is a regular occurrence! If you share our love for all things breakfast, you’ll definitely want to explore these other cherished recipes:
- Truly The Best Crepes I’ve Ever Had >> Experience the best crepes right here.
- Best Pancake Recipe EVER >> Consistently praised as the most amazing pancakes.
- Best Waffle Recipe from Scratch >> A classic, beloved recipe perfected over 15 years.
- Best Breakfast Casserole Recipe with Sausage >> All your savory breakfast favorites in one convenient dish.
- Creamy Scrambled Eggs for a Crowd >> Make these ahead, and they’ll stay perfectly creamy until you’re ready to serve.
- Bake Bacon in the Oven in 10 Minutes >> The easiest and best way to cook bacon, perfect with any breakfast.
- The Only Breakfast Burrito Recipe You Need (Freezer friendly!) >> Delicious and perfect for make-ahead meals.
- Sweet, Creamy Breakfast Grits from Chef Lola’s Kitchen.
- Breakfast Rolls from Butter With a Side of Bread.
Facebook | Pinterest | Instagram

Caramelized Dreamy French Toast Recipe
Average Rating: 4.90 from 175 votes
Prep Time: 20 mins | Cook Time: 5 mins | Total Time: 25 mins
Servings: 4 Servings
Pin Recipe |
Rate this Recipe |
Print Recipe
I truly thought I did not like French Toast (it’s so…eggy!). But all that has changed now. I’ve found the secret methods to the BEST French toast of your life. I will show you how to make this easy recipe that uses all egg yolks, super thick brioche or challah bread, with caramelized edges for a magical sugary crunch. It is the ONLY way I will eat French toast from now on!
Ingredients
For the French Toast
- 1 loaf challah or brioche bread, (or 8-10 thick-sliced white bread, see instructions for best bread choice)
- 3 egg yolks
- 1 1/2 cups heavy cream, (or half & half)
- 1/4 cup granulated sugar
- 1 tablespoon vanilla extract
- 1/4 teaspoon kosher salt
- 1 teaspoon cinnamon
- Pinch of nutmeg, (optional)
- Extra granulated sugar, (for caramelizing)
- Butter, (for frying)
- Vegetable oil, (for frying)
Garnish ideas
- Maple syrup
- Sifted powdered sugar
- Strawberries, blueberries, raspberries
Instructions
- Choose your bread: For truly exceptional thick French Toast, seek out a loaf of challah or brioche bread from a local bakery (day-old bread works even better!). Avoid tough-crusted French bread or generic deli loaves, as their crusts can become too chewy. If a bakery isn’t an option, select the thickest, softest white bread available at your grocery store (at least 3/4 inch thick), such as Texas toast or Artesano brand brioche or white bread.
- Slice your bread: If using a whole loaf, slice it yourself with a serrated knife. Aim for slices that are about 1 1/4 inches thick for optimal texture. You can even go up to 2 inches for an extra indulgent experience, but avoid slicing thinner than 3/4 inch.
- Prepare the bread: Set your sliced bread out on a counter to dry out slightly while you prepare the batter. Day-old bread is ideal as it absorbs the custard better without becoming soggy. (I experimented with toasting the bread first, but found it made the final product too dry.)
- Make the egg mixture: In a medium bowl, whisk together the 3 egg yolks, 1 1/2 cups heavy cream (or half & half), 1/4 cup granulated sugar, 1 tablespoon vanilla, 1/4 teaspoon kosher salt, 1 teaspoon cinnamon, and an optional pinch of nutmeg. Whisk thoroughly until the mixture is completely smooth and the cinnamon is fully incorporated.
- Soak the bread: Pour the egg mixture into a shallow dish, such as a pie plate or an 8×8 inch pan. Place one slice of bread into the mixture and let it soak for 10 to 20 seconds per side. The exact soaking time depends on your bread’s thickness; it should feel soft and saturated but still hold together. You can either cook each slice immediately after soaking or place all soaked slices on a baking sheet to fry them in batches.
- Cook the French Toast: Heat an electric griddle or a large 12-inch skillet over medium-low heat. Once hot, add 1 tablespoon of butter and 1 tablespoon of vegetable oil. Swirl to coat the pan. Place the soaked bread slices on the pan, leaving 1 to 2 inches between each slice. Cook on medium-low heat for 3-5 minutes per side. Cooking times can vary, so stay nearby and monitor closely.
- Caramelize the edges: When the bottom of the first side is lightly golden brown (this side will be cooked twice), sprinkle about 1/2 tablespoon of granulated sugar evenly over the raw top side of the bread. Carefully flip the toast, sugar-side down, and continue to fry until it reaches a beautiful golden brown and the sugar caramelizes, about 2 minutes. Ensure the pan is well-oiled; add more butter/oil if needed. Then, sprinkle another 1/2 tablespoon of sugar on the now-cooked side and flip it once more to lightly caramelize that side as well.
- Keep warm: Preheat your oven to its “keep warm” setting, typically around 170°F (75°C). As each piece of French Toast finishes cooking, transfer it to a wire cooling rack placed over a baking sheet. Keep the toast warm in the oven until you’re ready to serve.
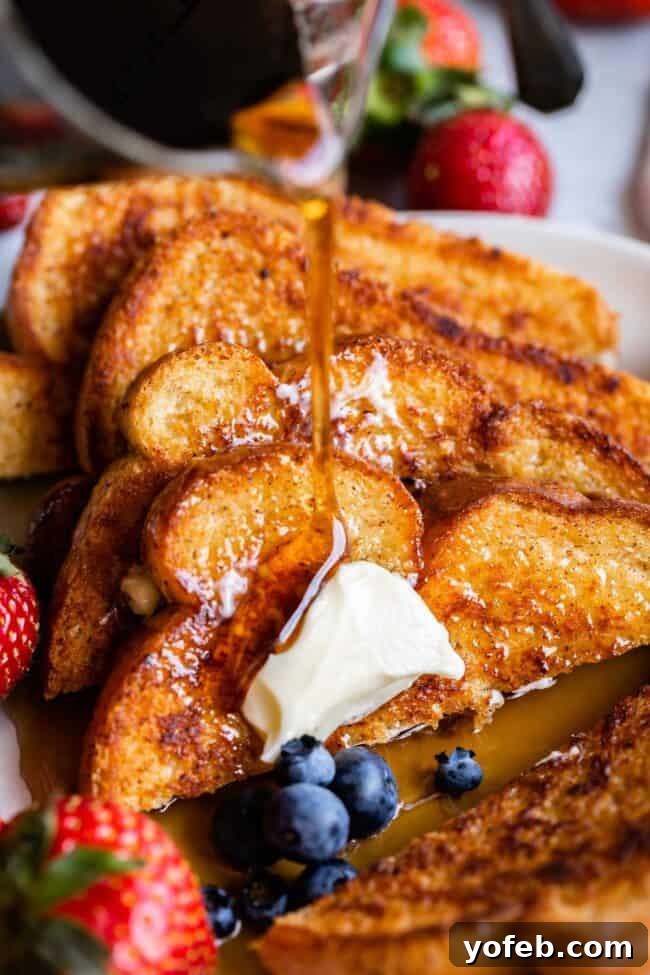
- Serve: Honestly, I often find caramelized French Toast so flavorful that it doesn’t even need maple syrup – adding syrup can sometimes diminish the crispness of the caramelized edge. I love eating it plain or with a dollop of jam. However, maple syrup is always a delicious option if you’re in the mood! A dusting of powdered sugar and a fresh berry garnish also never hurt.
- Store leftovers: Store any leftover French Toast, covered, in the fridge for 3-5 days. Reheat leftovers in the microwave, toaster, or pan-fry them again. For best results with a batch, heat your oven to 350°F (175°C) and warm the toast on a wire rack over a baking sheet for 5-10 minutes.
Notes
*Heavy cream is typically found in the dairy section near the milk and is sometimes labeled as whipping cream. These terms generally refer to different fat content levels, but any type of cream will work for this recipe. The higher the fat content, the richer and more indulgent your bread dip will be. Please note that heavy cream is not the same as coffee creamer.
**If you prefer to minimize dishes, you can whisk the ingredients directly in the shallow plate or bowl you plan to use for dipping the bread. However, I personally find it easier to achieve a perfectly smooth, well-incorporated mixture by whisking first in a regular bowl before transferring. Feel free to choose the method that best suits your cooking style.
Nutrition
Serving: 1 serving | Calories: 813kcal | Carbohydrates: 77g | Protein: 15g | Fat: 49g | Saturated Fat: 27g | Polyunsaturated Fat: 3g | Monounsaturated Fat: 15g | Trans Fat: 1g | Cholesterol: 342mg | Potassium: 243mg | Fiber: 3g | Sugar: 21g | Vitamin A: 1922IU | Vitamin C: 1mg | Calcium: 199mg | Iron: 4mg
Course: Breakfast
Cuisine: French
Calories: 813
Keyword: French Toast
Did you make this? I’d love to see it!
Mention @thefoodcharlatan or tag #thefoodcharlatan!
More Recipes you will Love!
- Crock Pot Pot Roast
- Healthy Chocolate Chip Cookies
- Pancake Recipe
- Cake from Scratch
- Banana Bread with Sour Cream
- Scones Recipe
- Homemade Cinnamon Rolls
- Donut Making
- Zuppa Toscana Olive Garden
- English Toffee Recipe