
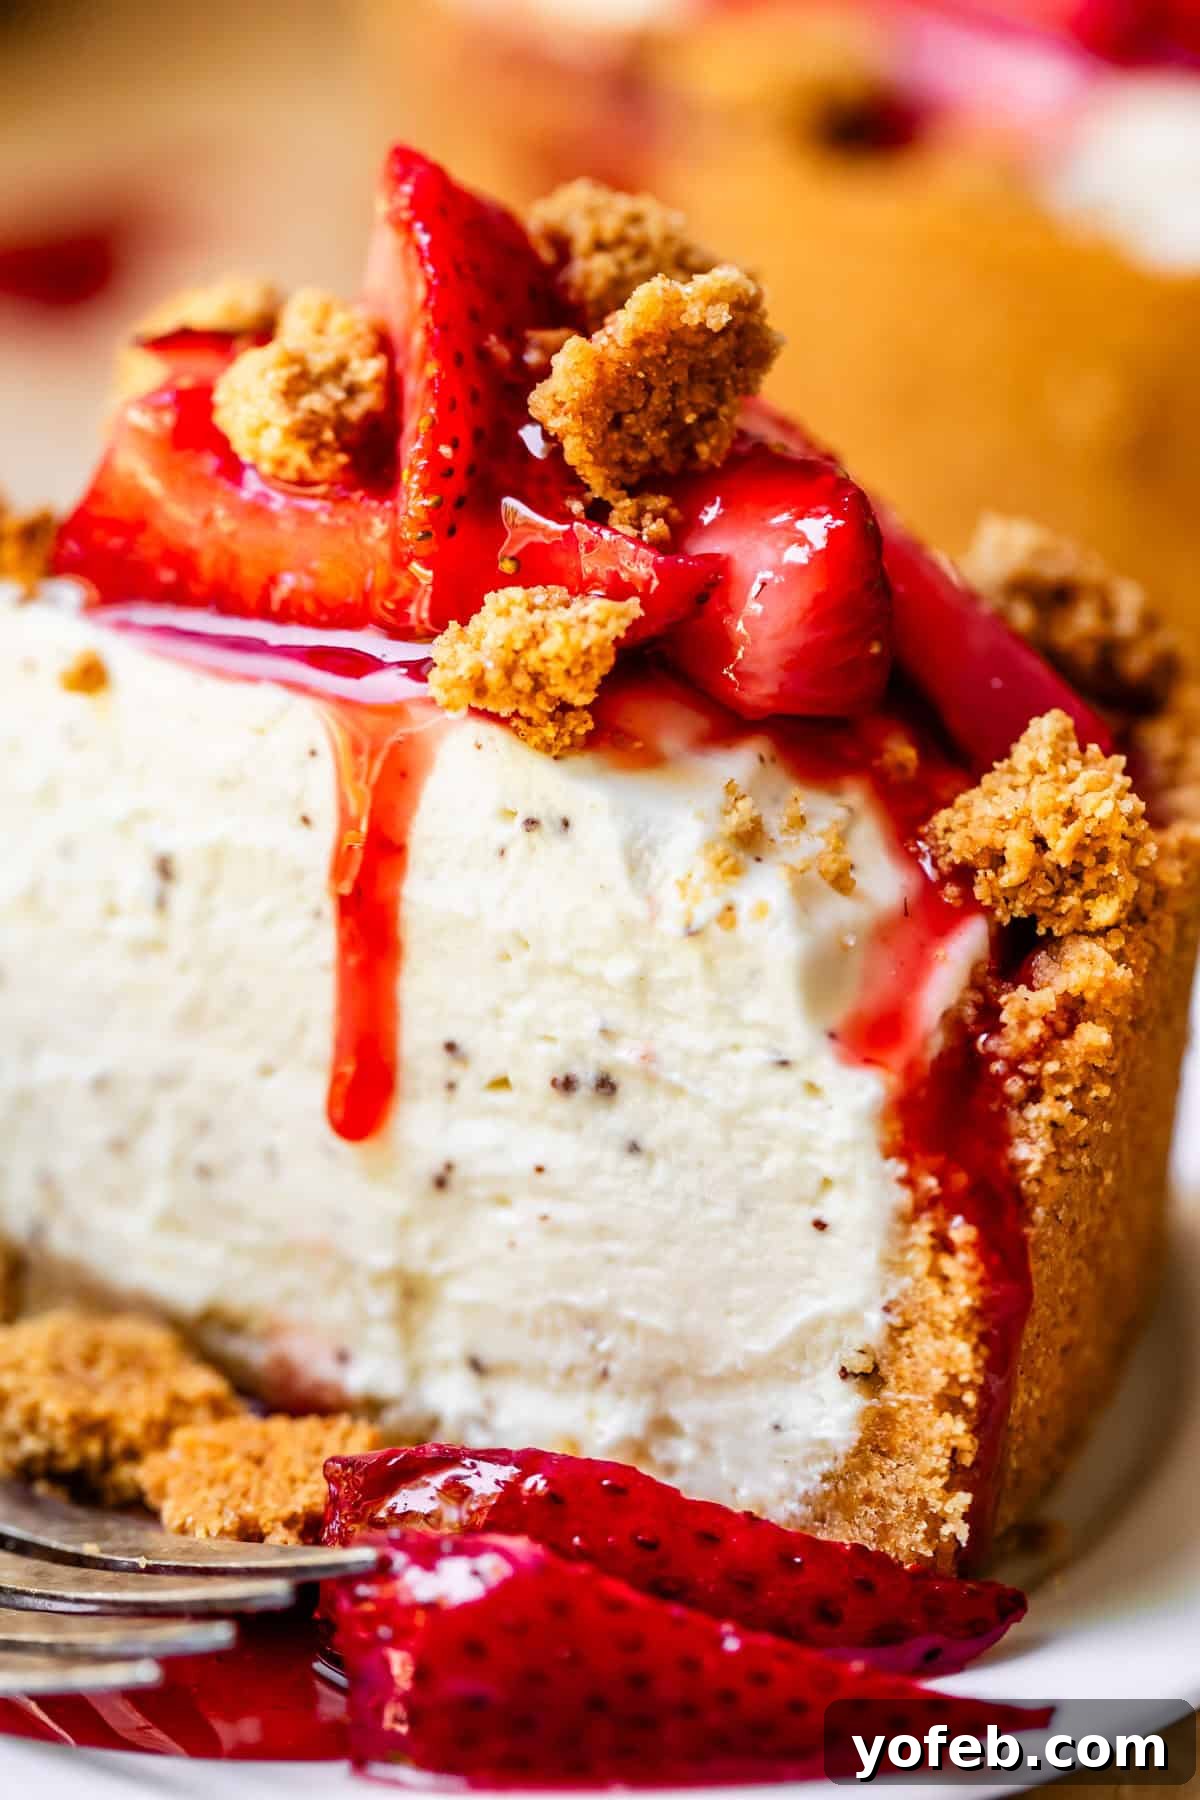
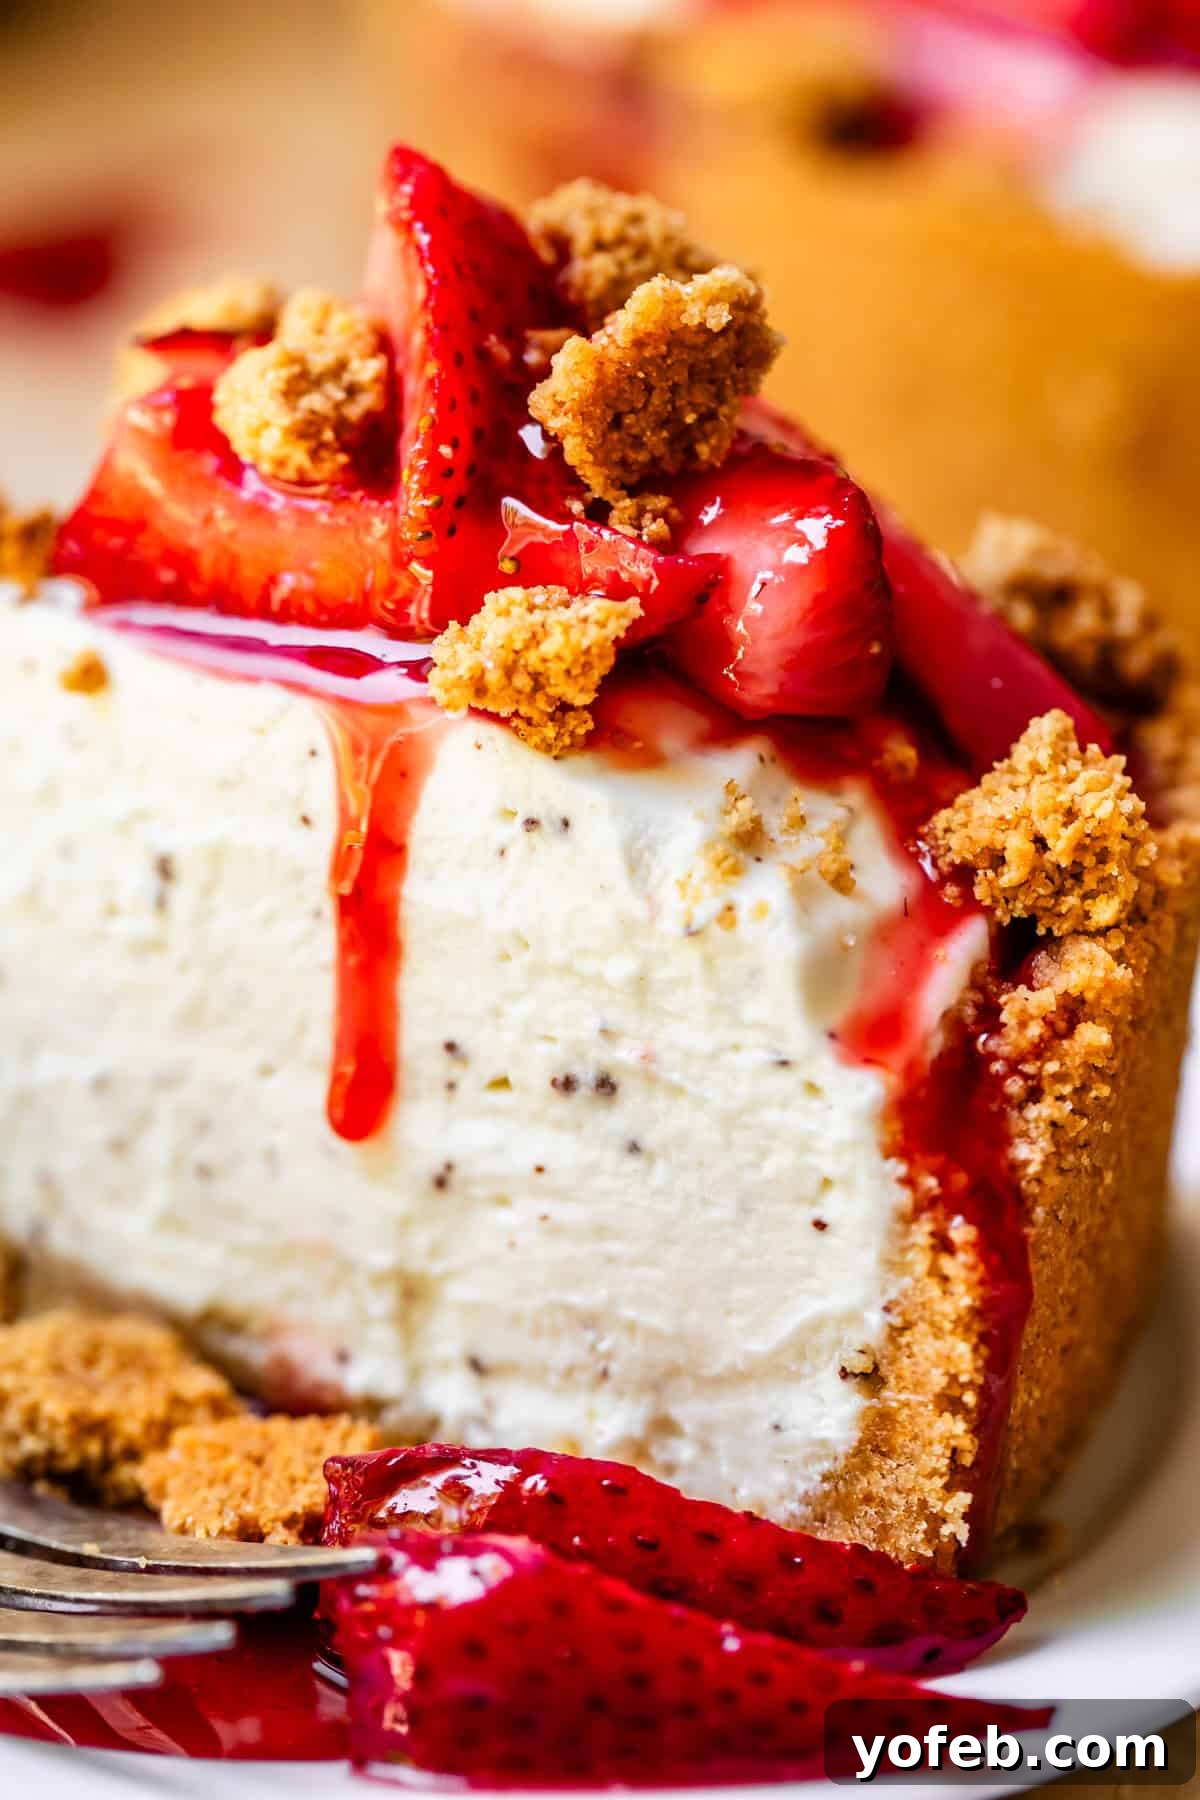
Welcome to the ultimate guide for crafting the most delectable No Bake Cheesecake you’ll ever taste. Forget complicated baking techniques and the stress of water baths; this recipe offers all the creamy, dreamy indulgence of classic cheesecake with none of the fuss. Perfectly balanced between tart and sweet, it features a luscious, swirly filling atop a crisp graham cracker crust. While it serves as a perfect blank canvas for any topping, I find myself particularly drawn to a vibrant Fresh Strawberry Topping, generously sprinkled with extra graham cracker crumbs for an irresistible crunch. This isn’t just an easy dessert; it’s a guaranteed crowd-pleaser for any occasion, from casual summer gatherings to festive holiday tables.
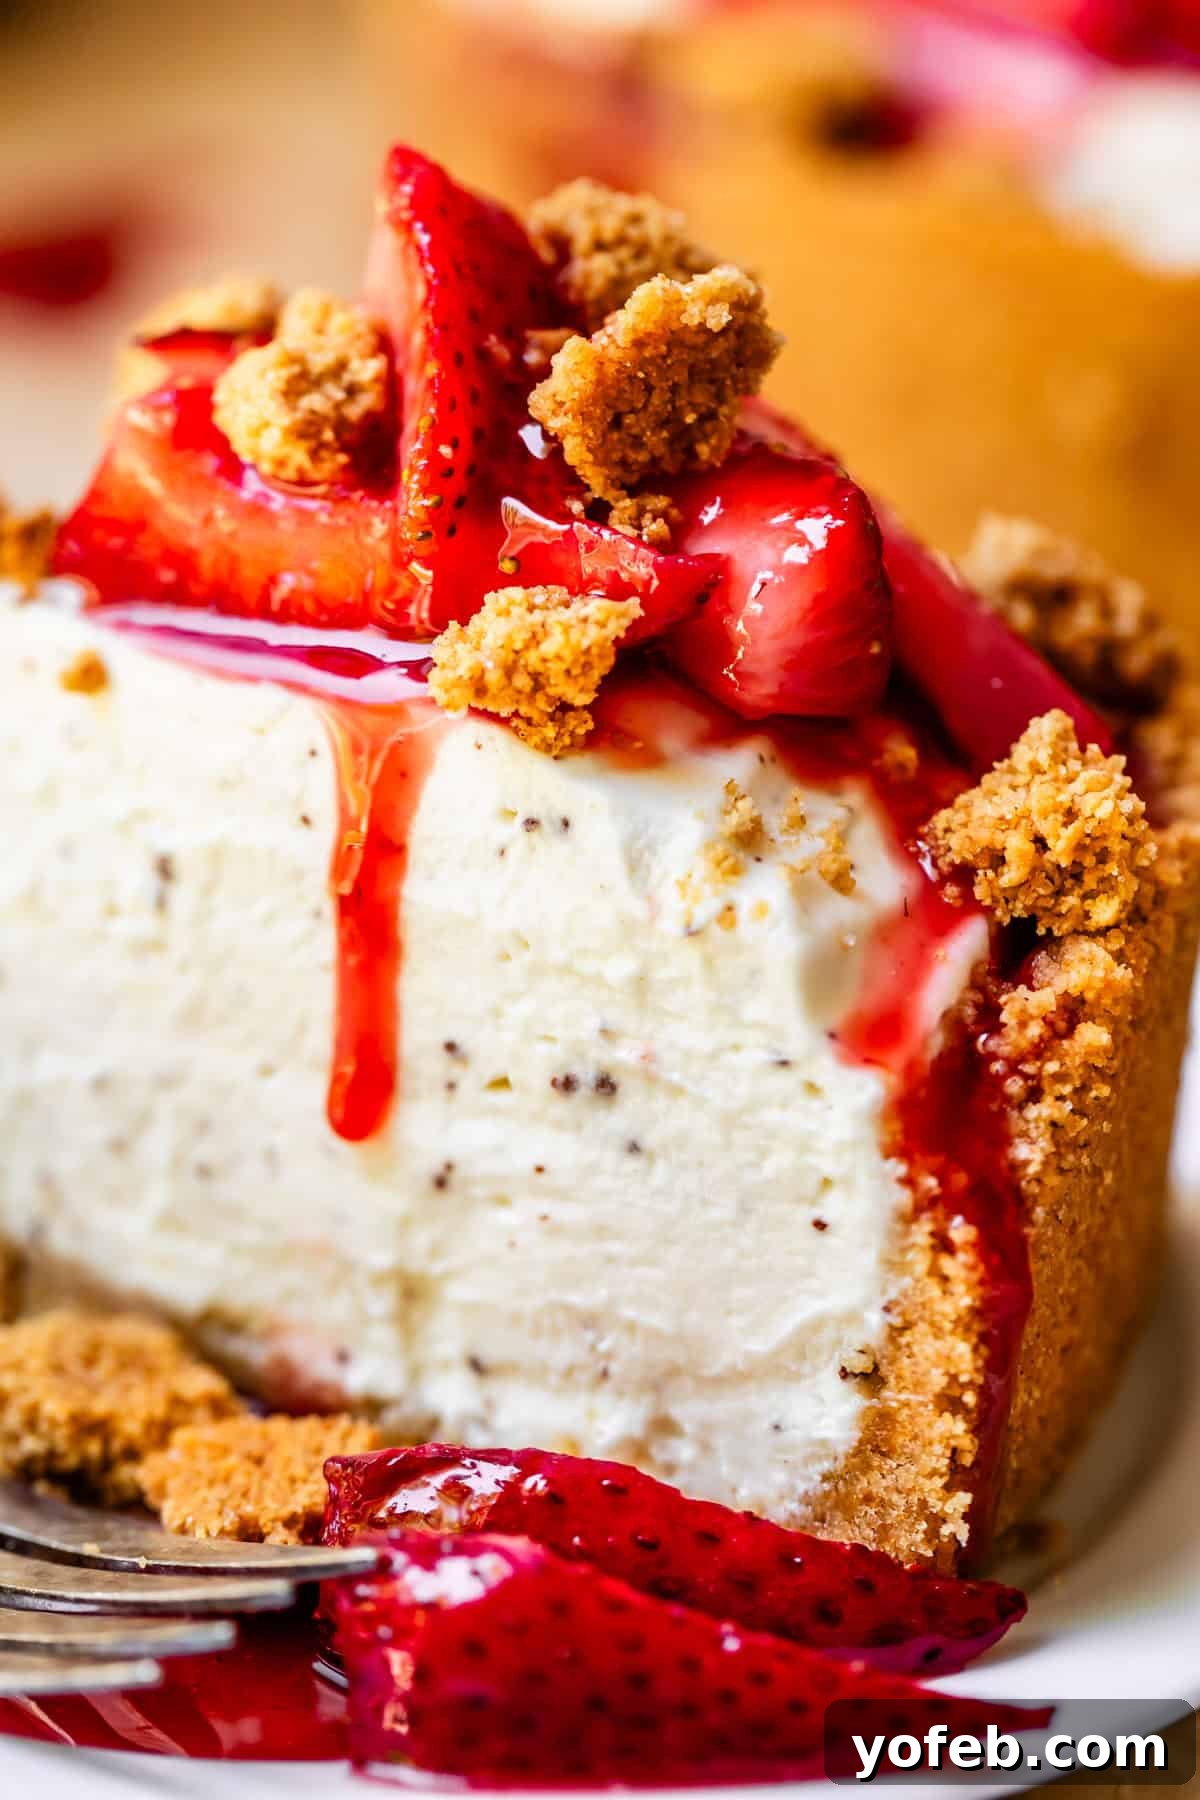
Table of Contents
- Indulge in the Easiest Dessert Your Kitchen Will Ever See: No Bake Cheesecake Perfection
- A Taste of Travel and the Inspiration Behind This No Bake Cheesecake
- No Bake Cheesecake: The Ultimate Easy Dessert Solution
- The Secret Ingredient That Elevates This No Bake Cheesecake: Browned Butter
- Essential Ingredients for the Best No Bake Cheesecake
- Step-by-Step: How to Make the Perfect No Bake Cheesecake
- Storing Your Easy No Bake Cheesecake: Tips for Freshness
- Can You Freeze No Bake Cheesecake?
- No Bake Cheesecake Frequently Asked Questions
- Explore More Cheesecake Creations to Love
- Cool Treats for Hotter Days: Refreshing Desserts
Indulge in the Easiest Dessert Your Kitchen Will Ever See: No Bake Cheesecake Perfection
There’s something truly magical about a no bake cheesecake. It promises all the rich, tangy, and creamy goodness of its baked counterpart, yet delivers it with remarkable simplicity. My mission was to create the absolute best no bake cheesecake recipe, one that would satisfy even the most discerning palate while remaining incredibly easy to prepare. After much experimentation, I am thrilled to share with you a recipe that consistently yields spectacular results: a perfectly firm yet velvety smooth filling nestled in a golden, crunchy crust. This dessert is designed to impress with minimal effort, making it ideal for busy hosts or anyone craving a divine sweet treat without the oven’s demanding gaze.
A Taste of Travel and the Inspiration Behind This No Bake Cheesecake
Recently, my husband Eric and I embarked on a delightful two-week vacation to the Baltics – Estonia, Latvia, and Lithuania – leaving the kids with Eric’s wonderful parents (a huge shoutout to them!). This trip was truly a dream, and I’m already yearning to return. One culinary highlight that stands out was a surprising encounter with ice cream in Lithuania. I, a self-proclaimed ice cream enthusiast, indulged in a cone almost daily. One day, I inquired about a purple swirled flavor, and the vendor replied, “Cheese and Black Currant.” Initially, I was skeptical, picturing savory cheese chunks in my sweet treat. But upon tasting, I discovered it was a revelation: black currant cheesecake ice cream! It was so heavenly, I immediately went for a double scoop. This unexpected delight, combining a creamy cheese base with a vibrant fruit, truly captured my imagination and subtly influenced my pursuit of the perfect cheesecake.
While I don’t have black currant for you today, I do have the culmination of my quest for the best no bake cheesecake. Before we dive into the recipe, allow me to share a few enchanting observations from our Baltic adventure. These experiences, much like finding a new favorite dessert, enrich life and broaden perspectives.
10 Things I Learned in the Baltics
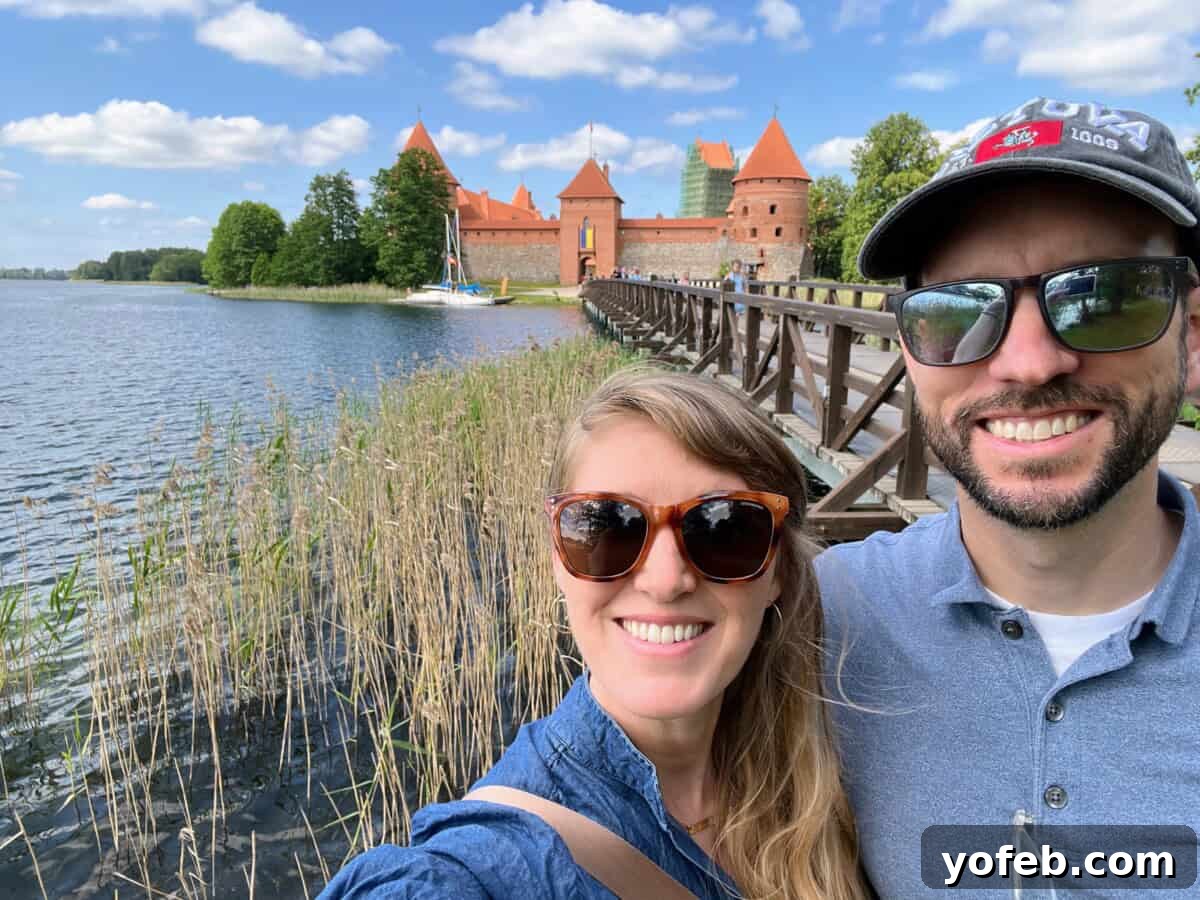
1. **Breathtaking Scenery & Serene Atmosphere:** Eastern Europe is absolutely stunning. The countryside boasts lush greenery and vibrant landscapes, while the cities are impeccably maintained and clean. It’s a region that exudes peace and beauty. I even spotted massive stork nests, sometimes two to four feet wide, precariously balanced on vertical power lines in rural areas – a truly unique sight! Throughout our journey, I always felt completely safe and welcomed.
2. **Castles Straight Out of Fairytales:** Prepare to be amazed by the sheer number of castles! They are ubiquitous, appearing as if they’re no big deal, yet they look like something straight out of a Disney movie where Sleeping Beauty might just be napping inside. Each one tells a story, making you feel transported to another era.
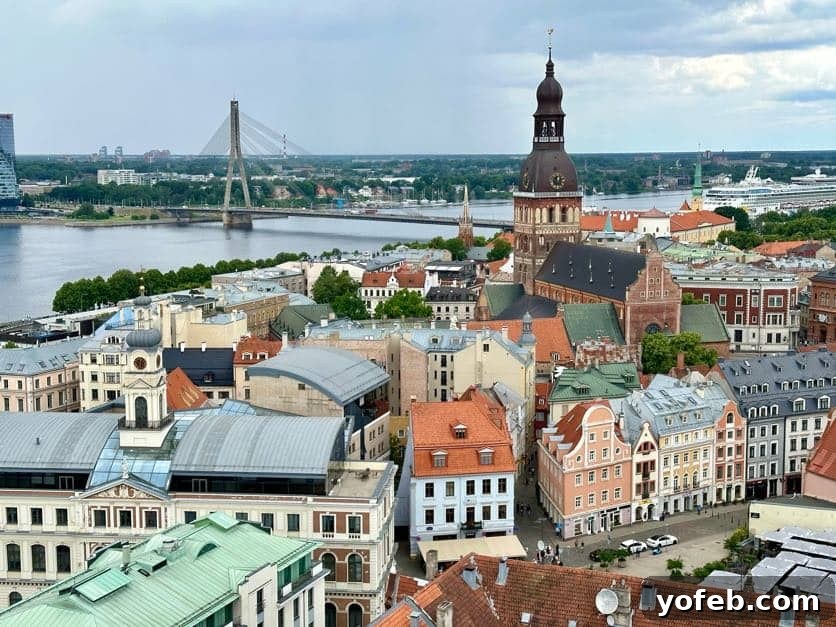
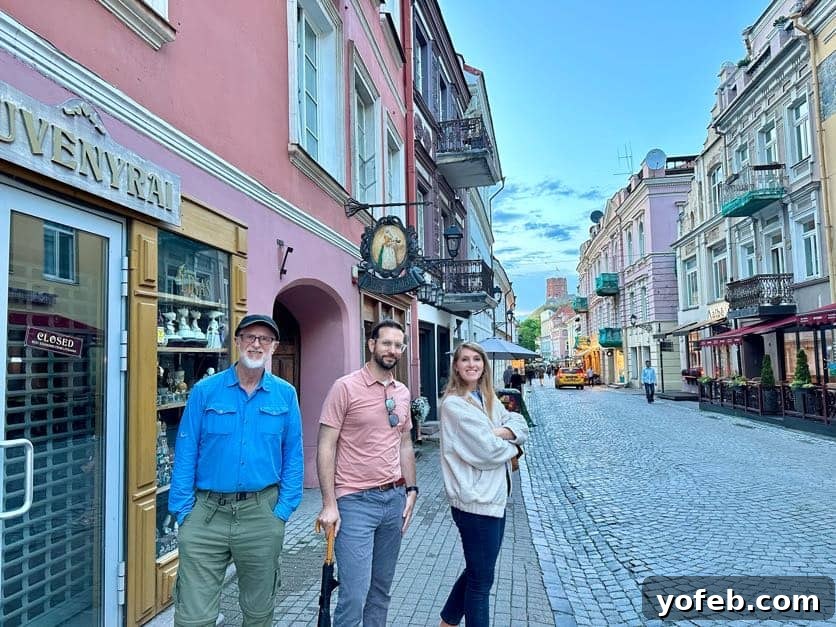
3. **Timeless Old Towns:** The Old Town sections of the capital cities – Tallinn (Estonia), Vilnius (Lithuania), and Riga (Latvia) – are simply enchanting. (Confession: I admit my geography skills needed a refresh before this trip!) These areas are characterized by narrow cobblestone streets, charming red-tiled roofs, and buildings dating back to the 1300s around every corner. It genuinely feels like every casual shop or restaurant is housed within walls constructed in 1478. It was truly wild! Eric commented that the streets and buildings are so quintessentially historic they almost seem like a movie set, but they are very much real and six centuries old. It made me reflect on my own suburban home, wondering if any of its modern construction would stand the test of even a hundred years, let alone six hundred!
4. **Affordable Travel Destination:** These countries are incredibly budget-friendly. We stayed in some truly lovely, historic hotels for as little as 80 Euros a night. Dinner entrees could be found for around 11 Euros, which converts to approximately $12 USD, making for a very accessible and enjoyable travel experience.
5. **Spotless Public Facilities:** Every public restroom I visited was remarkably clean and well-stocked, a small but significant detail that greatly enhances the travel experience.
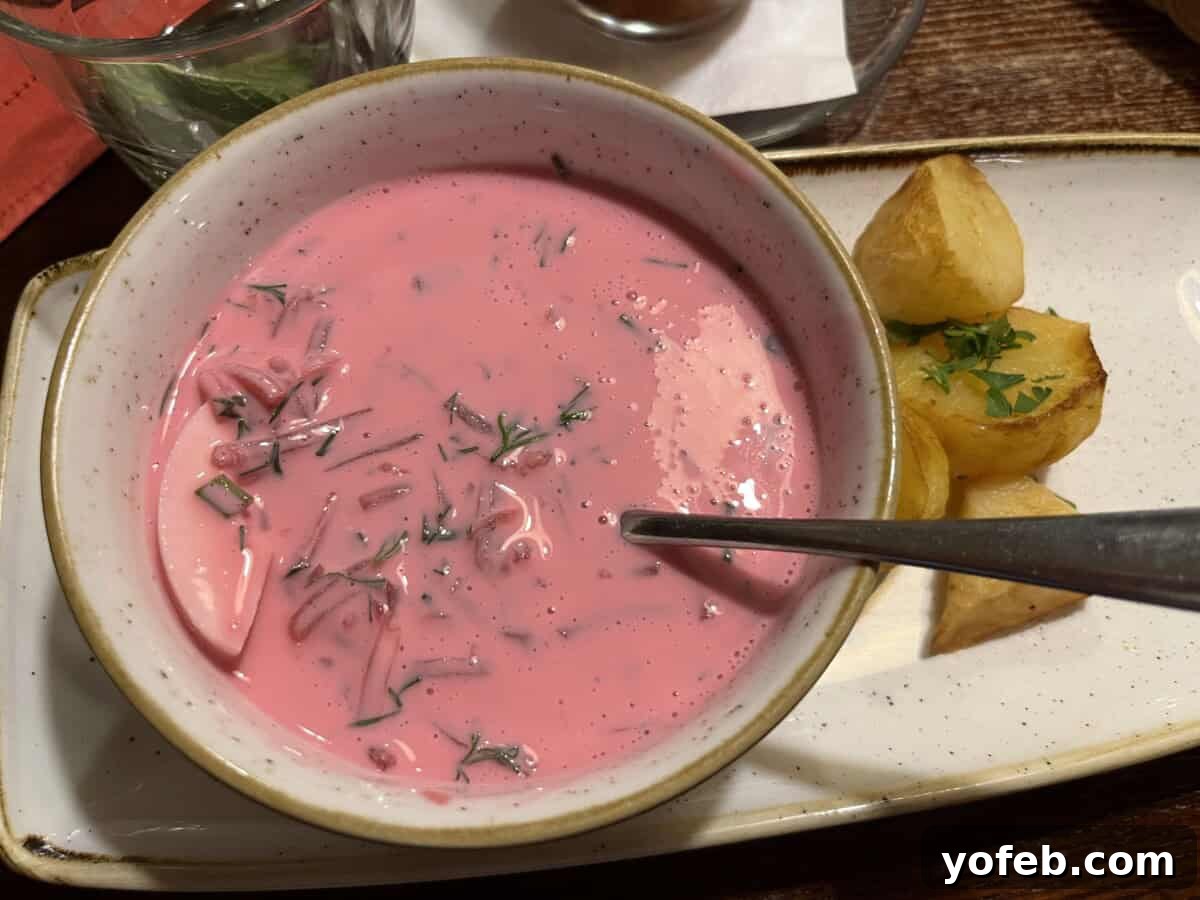
6. **Phenomenal and Seasonal Cuisine:** The food was nothing short of phenomenal. The Baltic diet is very seasonal, with prominent flavors including hearty rye bread and an abundance of fresh dill. Pan-fried potatoes and a variety of pickled vegetables were common, alongside a good selection of fish. Surprisingly, reindeer also appeared on menus! Pea soup was a staple, and cardamom was often used in dishes where one might expect cinnamon, offering a unique twist. City dining was global, with kebabs, pizza, dumplings, and even Mexican food readily available. Rhubarb was in season during our visit, appearing on every dessert menu, which was pure heaven for me. One of my absolute favorite discoveries was the Lithuanian national treasure: cold beet soup, made with kefir and dill, and served with hot fried potatoes. I ordered it three times!
7. **English Widely Spoken:** Communication was surprisingly easy, as almost everyone, particularly in the larger cities, spoke English. This made navigating and interacting with locals a breeze.
8. **A Complex History of Resilience:** Learning about the painful reality of Russian occupation throughout their history was both enlightening and sobering. These three countries endured Russian control until 1918, enjoyed a brief “interwar period” of independence until the Soviet invasion in 1940, followed by German occupation, then Soviet re-control until their declaration of independence in 1991. The ongoing situation in Ukraine casts a shadow, raising concerns about history potentially repeating itself. This made my visit feel even more poignant, as if it were perhaps another brief interwar period. If you’re considering a visit, now might be the time.
9. **Understated European Style:** Globalization is evident in fashion trends. People dress very similarly to how we do in the West, though perhaps with a slightly more formal and classically elegant touch. It made me reflect on the American habit of wearing pajamas to the grocery store – a practice perhaps unique to us!
10. **Chocolate Ice Cream for Breakfast:** One of our hotels in Estonia offered an incredible breakfast buffet. To my delight (and a little surprise), I found my mother happily enjoying a giant bowl of chocolate ice cream with sprinkles. (No cheese chunks, thankfully!) This revelation made me think: are we missing out? I’m seriously considering writing a letter to every hotel. Waffle machines are great, but sometimes, a scoop of ice cream is exactly what’s needed to start the day right. Come on, America, let’s catch up!

I’ve considered dedicating an entire blog post to our Baltic adventures, detailing our accommodations, activities, and especially the incredible food. Would you be interested in more photos and stories? Please let me know in the comments below! I truly read every comment and would love to share more about this unforgettable trip.
But for now, let’s get back to the star of today’s post: CHEESECAKE!
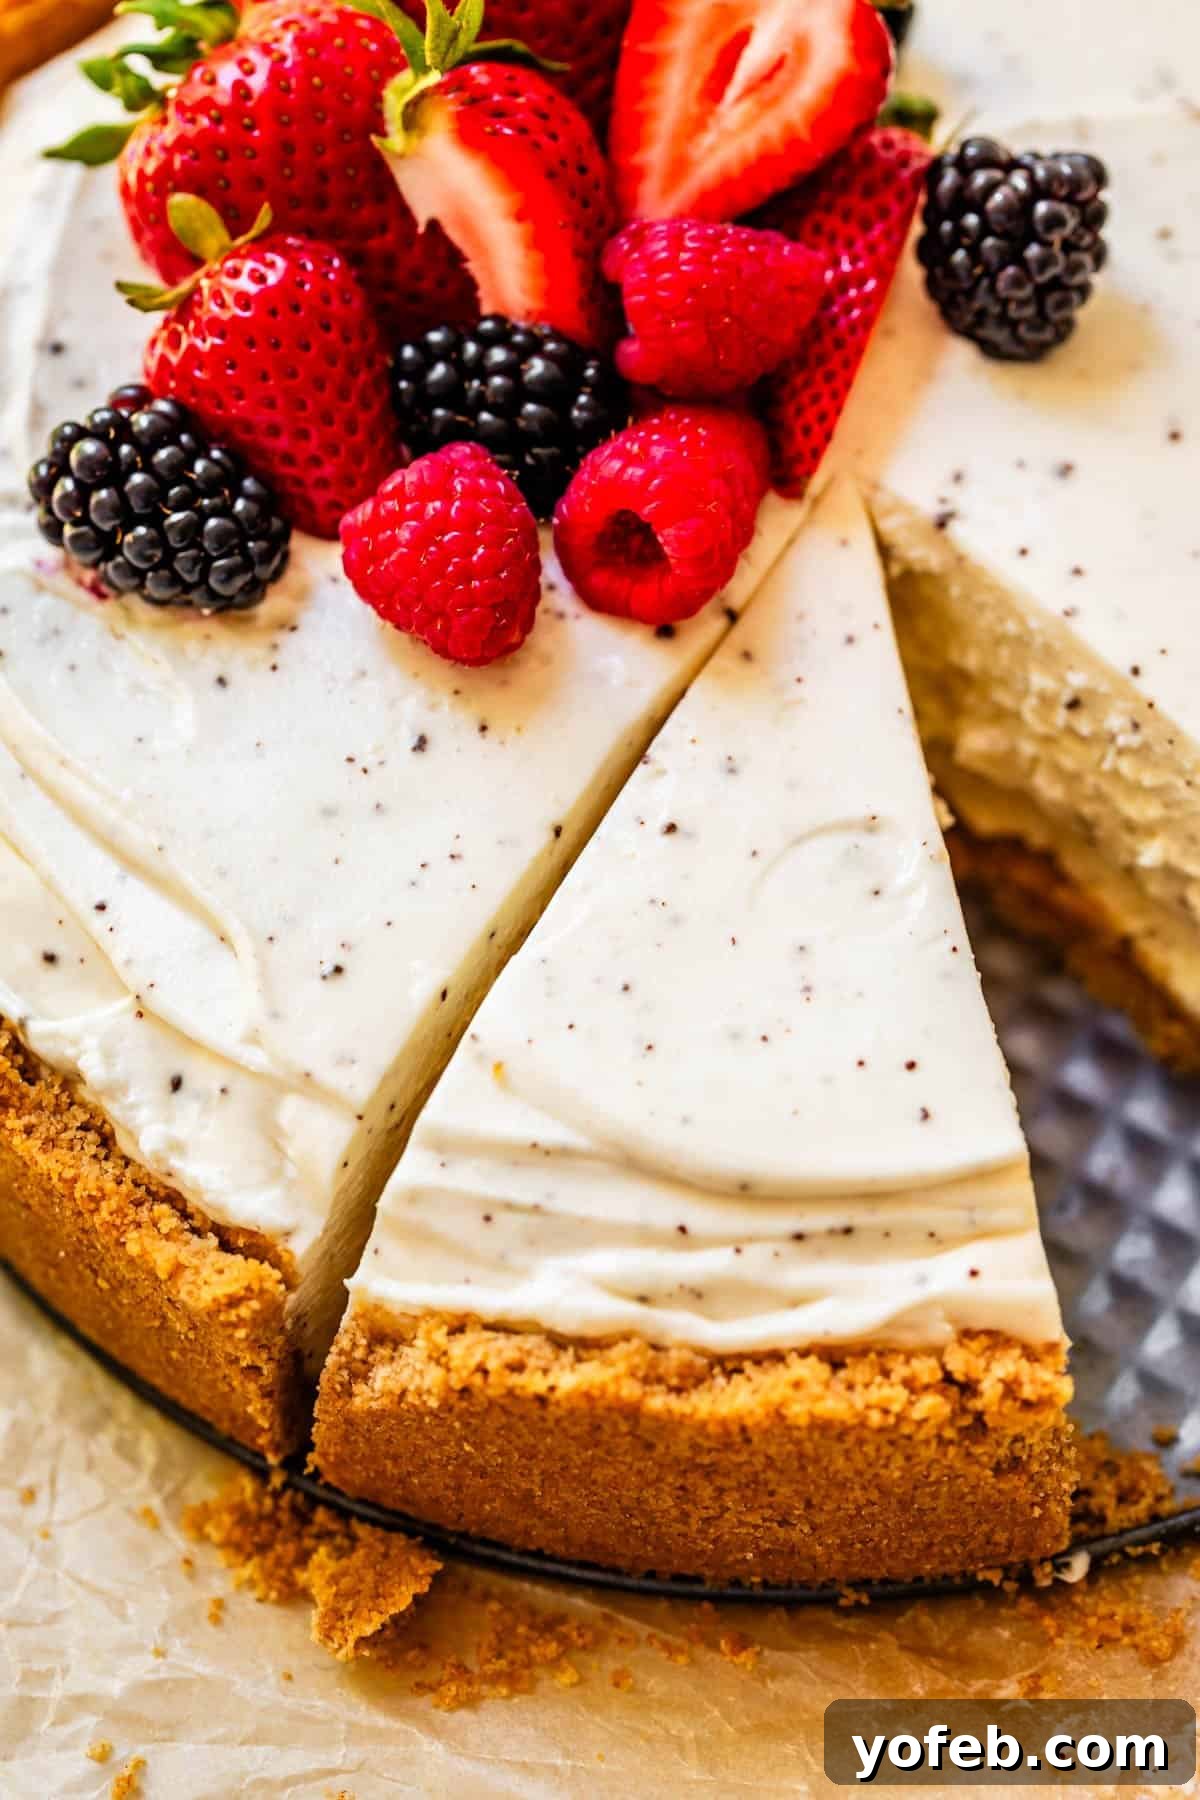
No Bake Cheesecake: The Ultimate Easy Dessert Solution
Who can resist the allure of a classic no bake cheesecake? With its crisp, buttery crust and a perfectly creamy, silky-smooth, yet refreshingly tart filling, it serves as an ideal base for any fruit topping imaginable. The sheer ease of preparing a no bake cheesecake is its greatest charm. Unlike baked cheesecakes, which are notoriously finicky with their risk of cracks and the delicate art of knowing when to pull them from the oven for that perfect texture, no bake versions offer all the flavor without requiring any advanced technique. It truly is dessert made simple, often referred to as a “cheesecake for dummies” for its straightforward approach.
You might occasionally hear these delightful creations called Philadelphia cheesecakes. This name has no geographical connection to the city but rather pays homage to the iconic cream cheese brand that popularized this effortless cheesecake style years ago. While many variations exist today, almost all no bake cheesecakes share common characteristics: no eggs, no gelatin, and, crucially, no baking required for the filling itself. Although this isn’t a sponsored post, I must endorse the Philadelphia brand; their cream cheese consistently delivers the best taste and texture on the market, hands down, making it an essential ingredient for this recipe.
The Secret Ingredient That Elevates This No Bake Cheesecake: Browned Butter
Now, let me share the secret behind my obsession with this particular no bake cheesecake, a secret that also makes my Classic Baked Cheesecake truly exceptional: browned butter. I’m a firm believer that when something works beautifully, you stick with it. And browned butter? It just works wonders.
My love affair with browned butter began early in my blogging journey. Recipes like these Nutella Stuffed Browned Butter Blondies were among my first viral successes, effectively putting my blog on the map (alongside this Cilantro Lime Cucumber Salad – talk about balance!). Browned butter possesses an almost magical ability to amplify other flavors, much like salt, but with a unique nutty, toffee-like depth. Rest assured, this cheesecake doesn’t taste overtly “buttery”; instead, it simply tastes like the most intensely “cheesecake-y” cheesecake imaginable, in the best possible way!
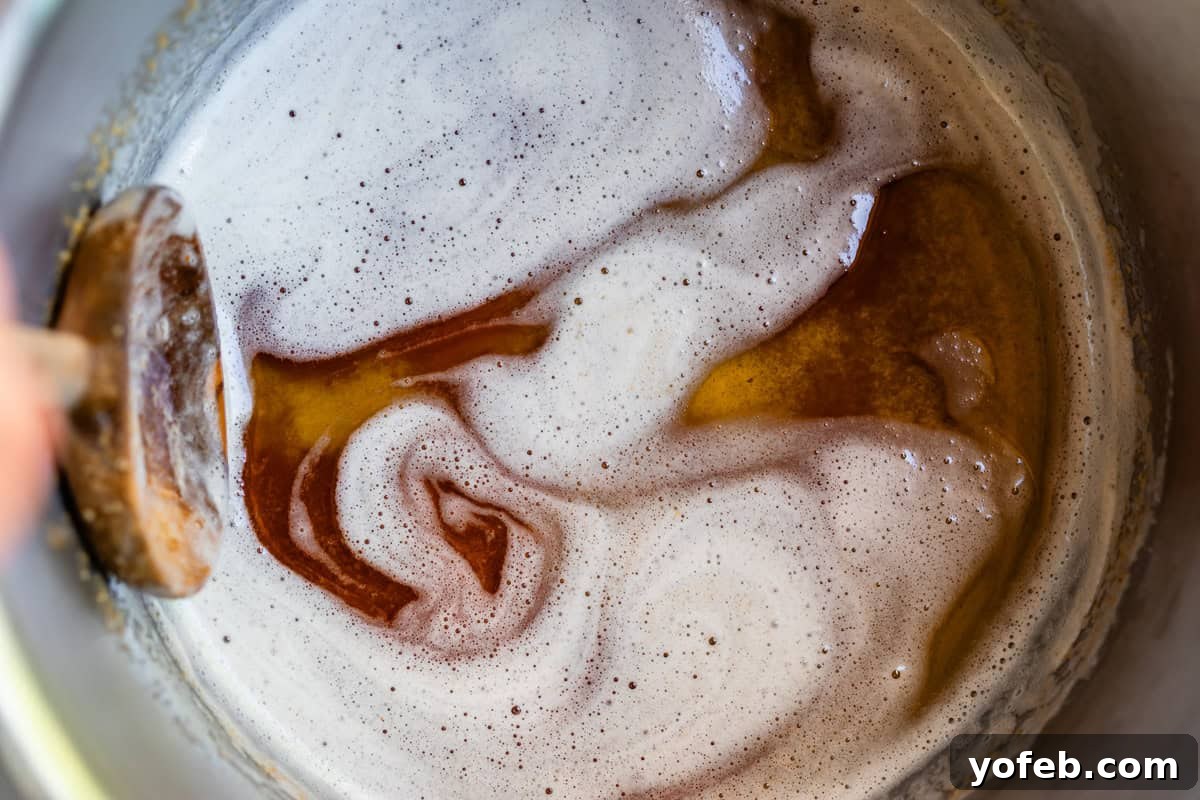
The science behind browned butter is fascinating. As butter cooks, the milk solids within it caramelize, creating tiny, flavorful “browned bits.” The golden liquid is delicious butterfat, but these concentrated brown specks are where all the profound flavor resides. I was always seeking ways to maximize these browned bits without increasing the overall fat content of the recipe. This quest led me to a brilliant technique shared on Lady and Pups’ blog, dubbed “Extra-Browns Browned Butter.” By adding a small amount of milk to the butter as it browns, you significantly increase the available milk solids, resulting in an exponentially richer and more flavorful batch of browned butter. This woman is a true culinary genius!
The unique flavor this browned butter adds to the cheesecake is truly unparalleled. However, I understand it might not be for everyone. If you prefer a completely traditional no bake cheesecake, rest assured, this step is entirely optional. You can simply omit the butter and milk specified for the filling, and your cheesecake will still be wonderfully delicious.
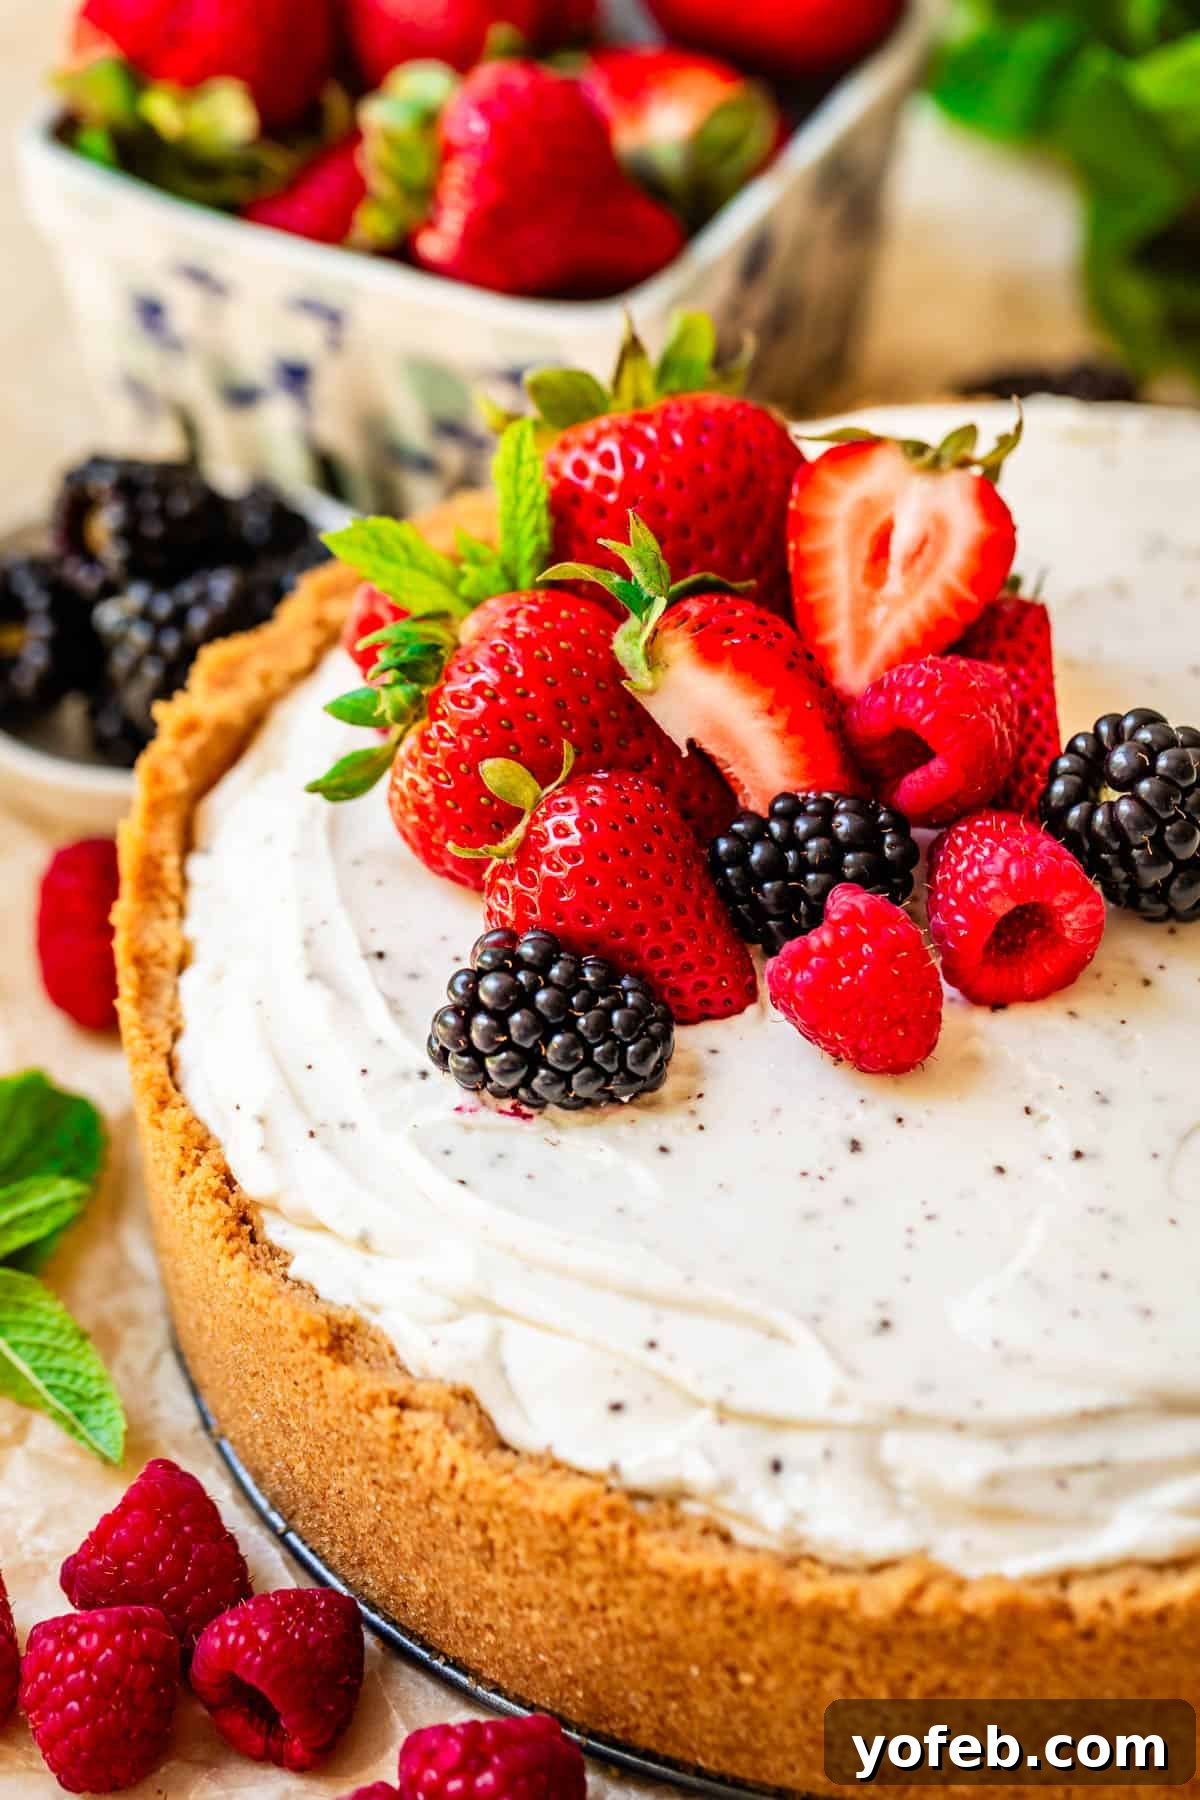
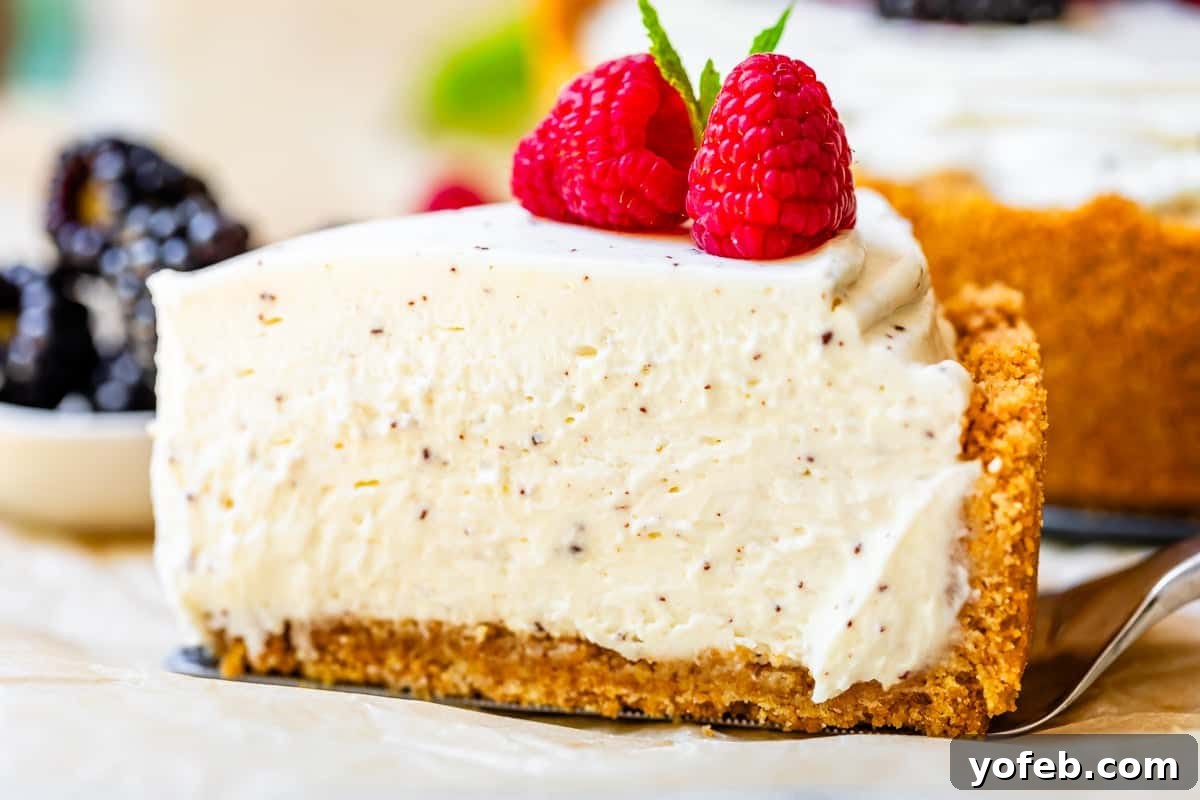
There is one small consideration when using the “extra-browns” technique: the browned butter bits tend to be larger and more prominent, which will result in tiny flecks throughout your otherwise perfectly smooth cheesecake filling. Personally, I find this textural variation to be a delightful addition, adding character and an extra layer of flavor. However, I want you to be fully informed if a flawlessly smooth texture is your top priority. For those who prioritize flavor, these flecks are a welcome sign of deliciousness to come.
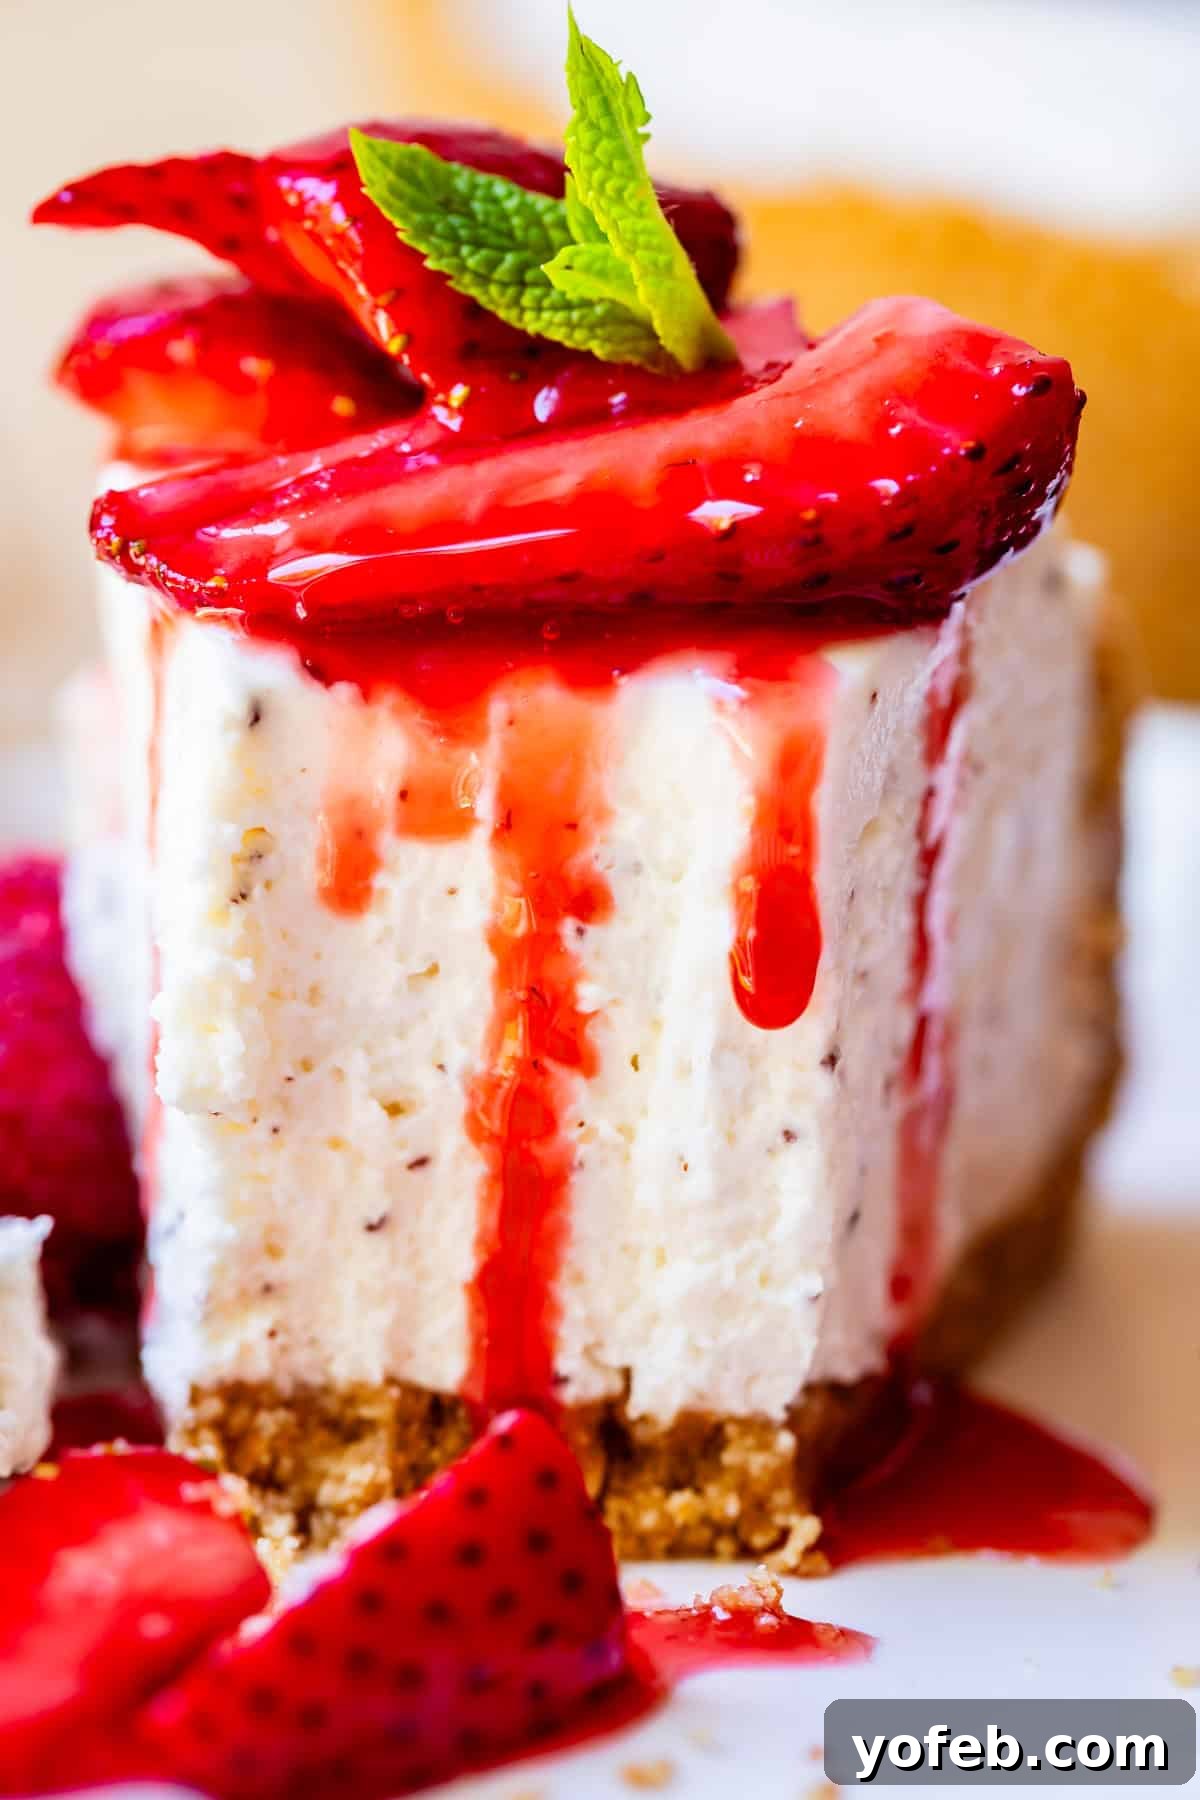
Ready to embark on this delicious journey? Let’s get started!
Essential Ingredients for the Best No Bake Cheesecake
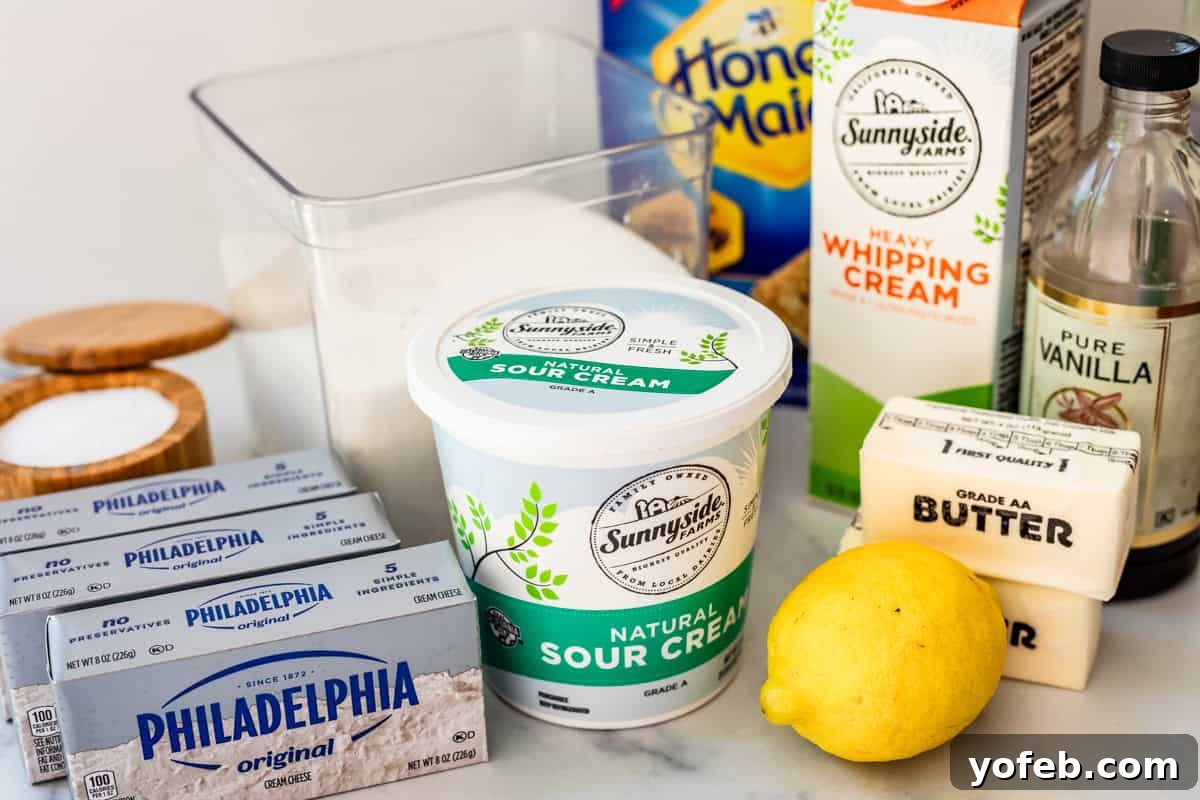
Gathering your ingredients is the first step to a successful no bake cheesecake. Here’s a basic shopping list – all super simple items you can find at any grocery store. For precise measurements and detailed instructions, refer to the full recipe card at the end of this post:
- Graham Crackers: The foundation for our crispy, flavorful crust.
- Granulated Sugar: For sweetness in both the crust and the creamy filling.
- Kosher Salt: A pinch enhances all the flavors, balancing the sweetness.
- Butter: Crucial for binding the crust and, optionally, for that secret browned butter flavor in the filling.
- Heavy Cream: Whipped to stiff peaks, it provides the essential airy texture and stability for the cheesecake.
- Cream Cheese: The star of the show! Opt for full-fat, high-quality cream cheese like Philadelphia for the best creamy consistency.
- Sour Cream: Adds a delightful tanginess that cuts through the richness, giving the cheesecake its signature flavor.
- Vanilla Extract: A splash of vanilla enhances the overall sweetness and aroma.
- Lemon Juice: Fresh lemon juice provides a bright, essential tartness that balances the richness of the cream cheese.
- Whole Milk: (Optional) Used for the “extra-browns” browned butter technique, intensifying its nutty flavor.
Step-by-Step: How to Make the Perfect No Bake Cheesecake
Let’s walk through the simple steps to create this incredible easy no bake cheesecake. Remember to set out your cream cheese well in advance so it can soften completely – this is key for a smooth filling.
Crafting the Irresistible Crust
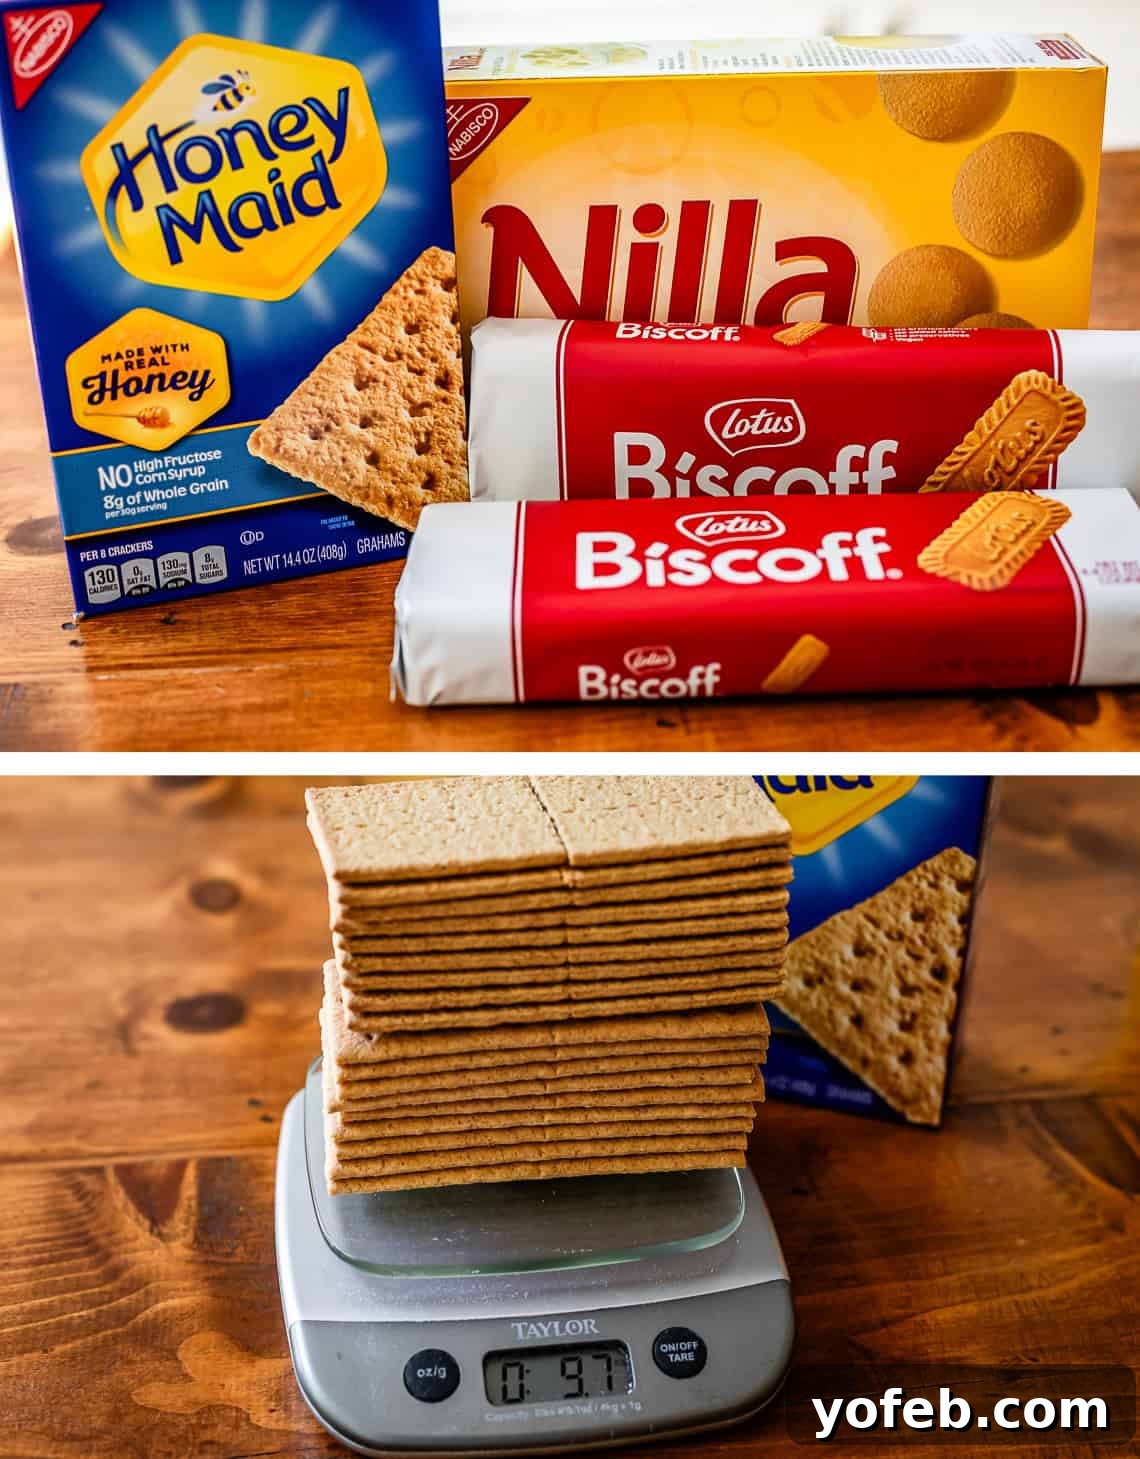
I adore a classic graham cracker crust, but this recipe is wonderfully versatile. Feel free to experiment with other crisp cookies like Biscoff, Nilla Wafers, or Walker’s Shortbread for a unique flavor profile. For an Oreo crust, simply reduce the butter by half as the cookies already contain a filling. My recipe calls for a generous, thick crust using two full packages of graham crackers (approximately 18 full sheets, or about 9.7 ounces/2.5 cups when crushed), combined with sugar and a hint of salt.
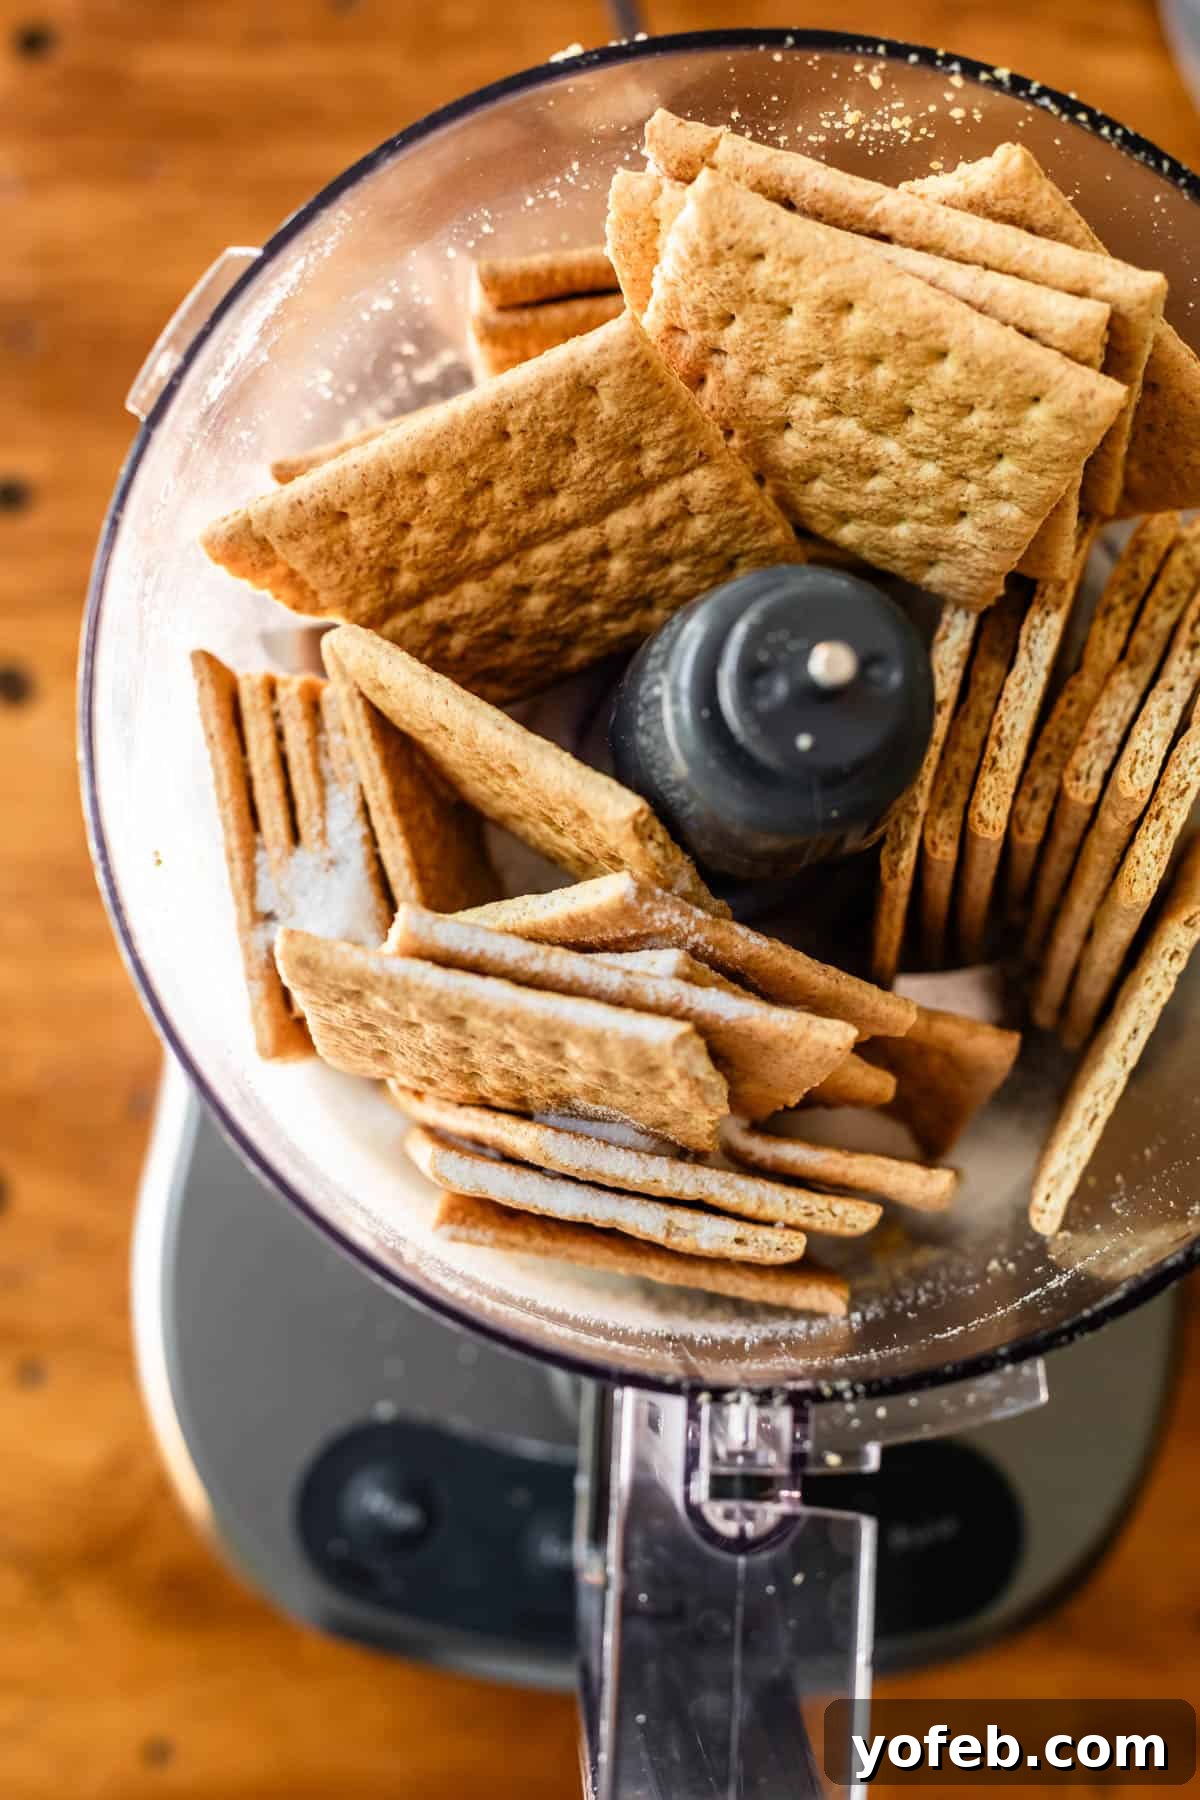
Process the graham crackers, sugar, and salt in a food processor until fine crumbs form. No food processor? No problem! Place the crackers in a large ziplock bag and crush them with a rolling pin until uniformly fine.
For best results, weigh your crumbs rather than using cup measurements, as crumbs can settle. If measuring by volume, always spoon and level for accuracy.
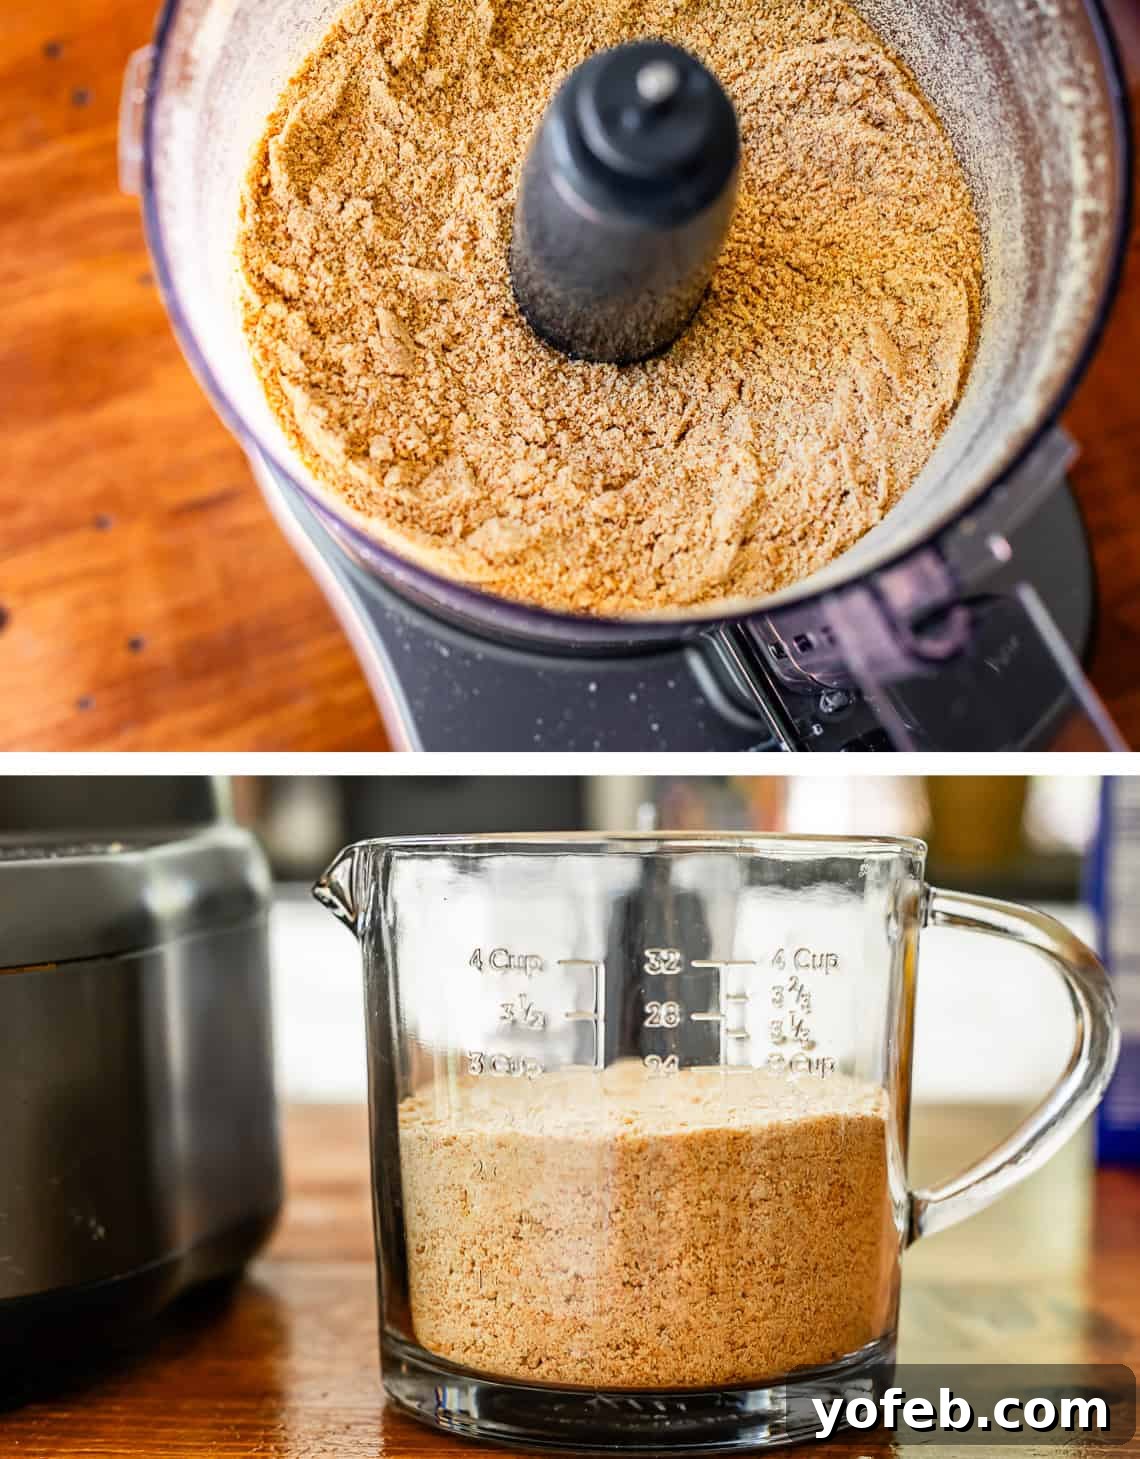
Add melted butter to the crumbs and mix thoroughly. You can do this directly in the food processor or in a separate bowl.
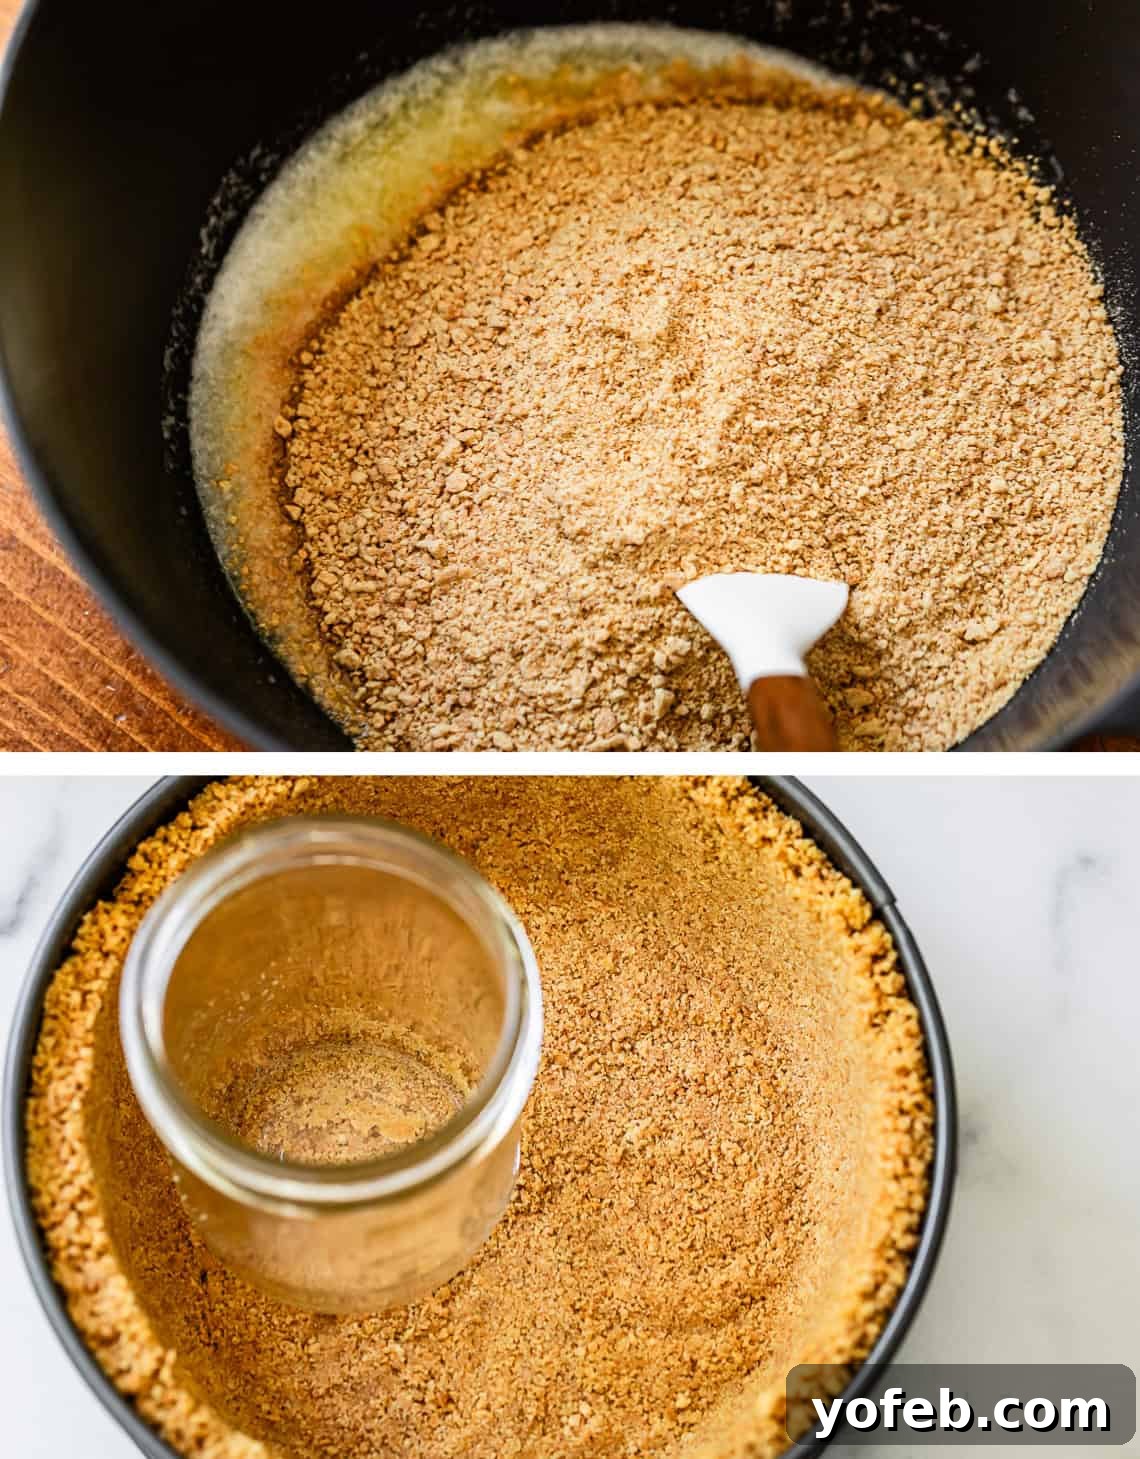
Now, I know this is a “no bake” cheesecake, but here’s where I make an exception: I prefer a baked crust. Unbaked graham cracker crusts, in my humble opinion, tend to be mushy from the start. While it’s tempting to skip the oven in the summer, dedicating just 10 minutes to baking the crust transforms it from potentially soggy to perfectly crisp and flavorful. If you absolutely insist on no-oven use, you can press the crust into the pan and freeze it for a few minutes, but be prepared for a slightly softer texture.
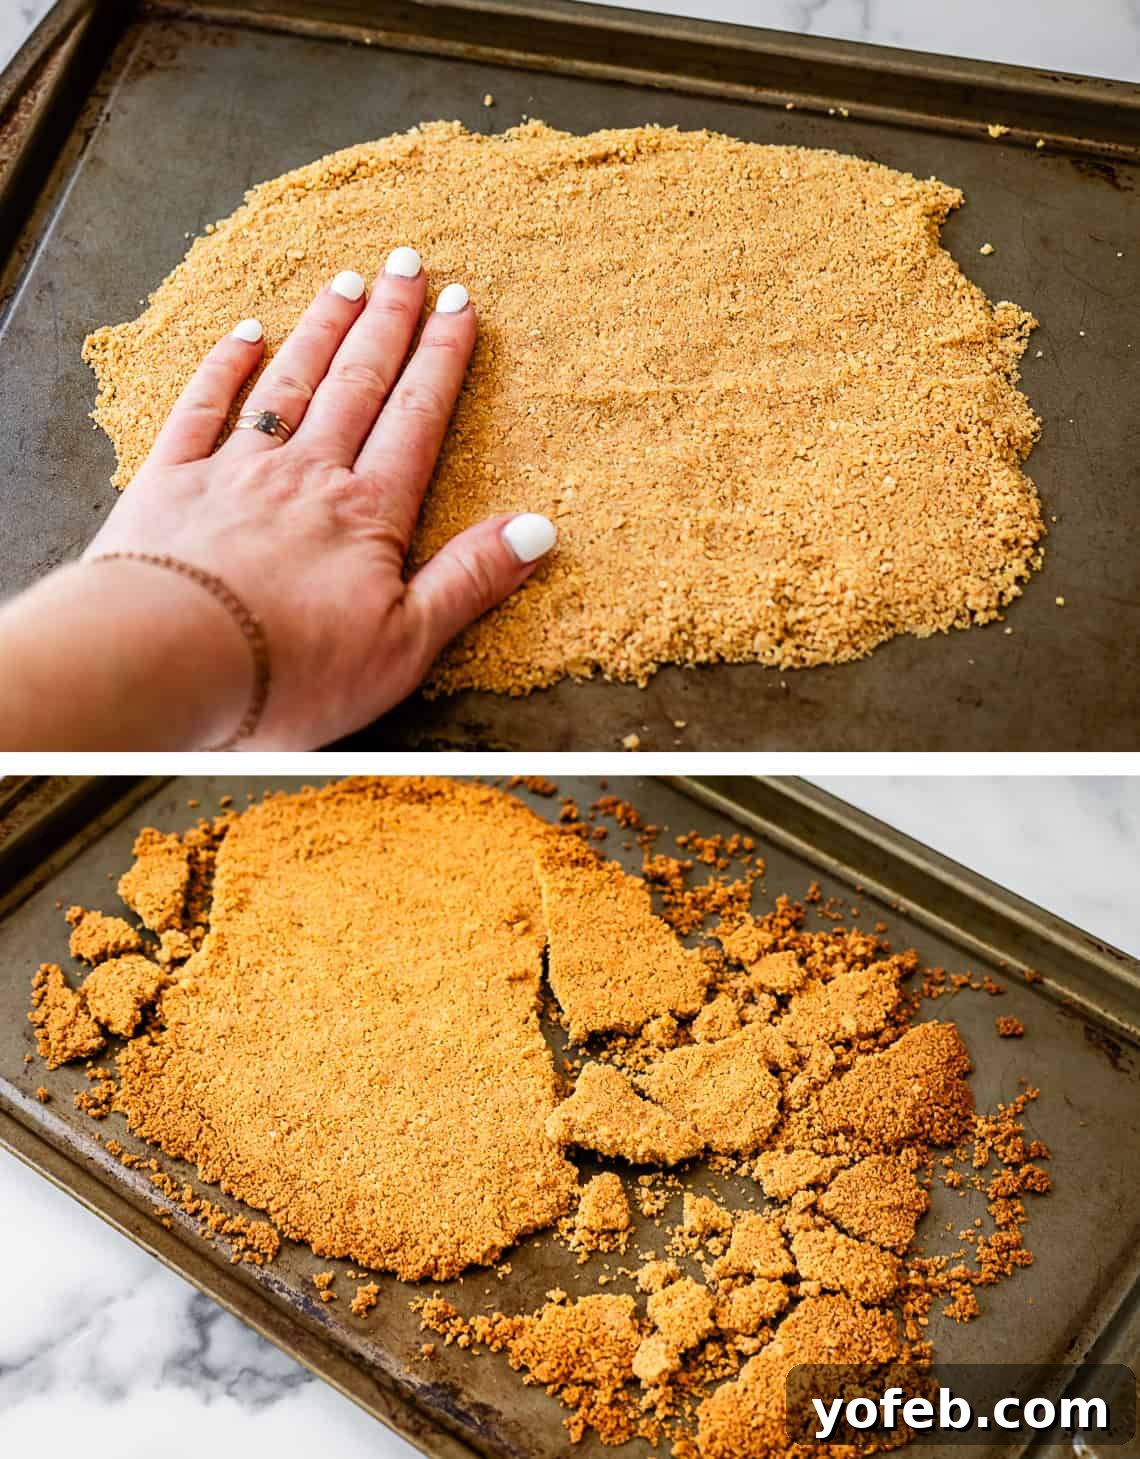
While you’re at it, consider making an optional graham cracker crumble. Crush an additional package of graham crackers, mix with a little sugar, salt, and melted butter, then bake it on a separate cookie sheet alongside your main crust. Once baked, break it into chunks and reserve for sprinkling over the finished cheesecake. I started doing this for my Double Layer Pumpkin Cheesecake years ago and now I can’t imagine a cheesecake without this ultra-crunchy, flavorful topping!
Preparing the “Extra-Browns” Butter (Optional, but Highly Recommended)
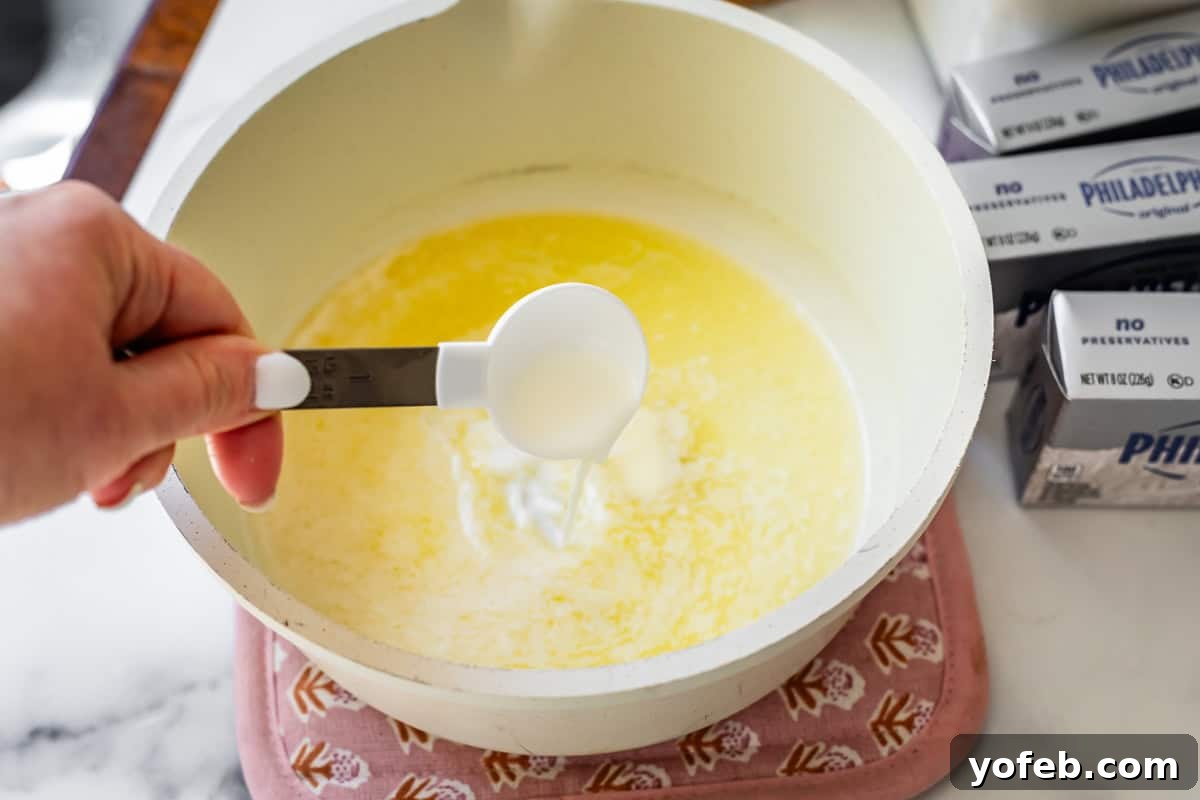
This is where our secret ingredient comes in. If you’re opting for the browned butter, now’s the time to prepare it. In a small saucepan, combine butter and whole milk. Heat over medium heat, whisking almost constantly. The mixture will bubble, then foam, and eventually the milk solids will begin to brown. Keep whisking to prevent sticking and to ensure even browning. You’ll know it’s ready when you see golden-brown bits swirling through the foam and a distinct nutty aroma fills your kitchen. This “extra-browns” method ensures maximum flavor. Immediately transfer the browned butter to a small bowl and let it cool completely to room temperature.
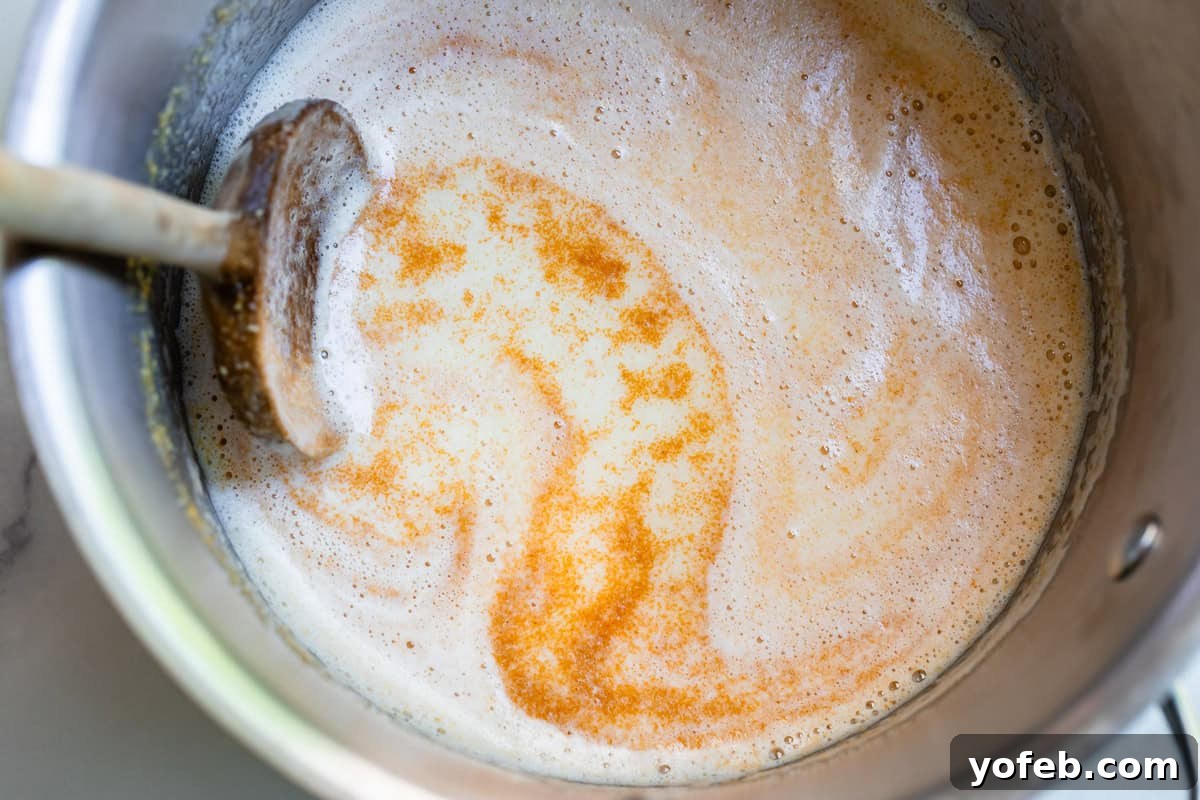
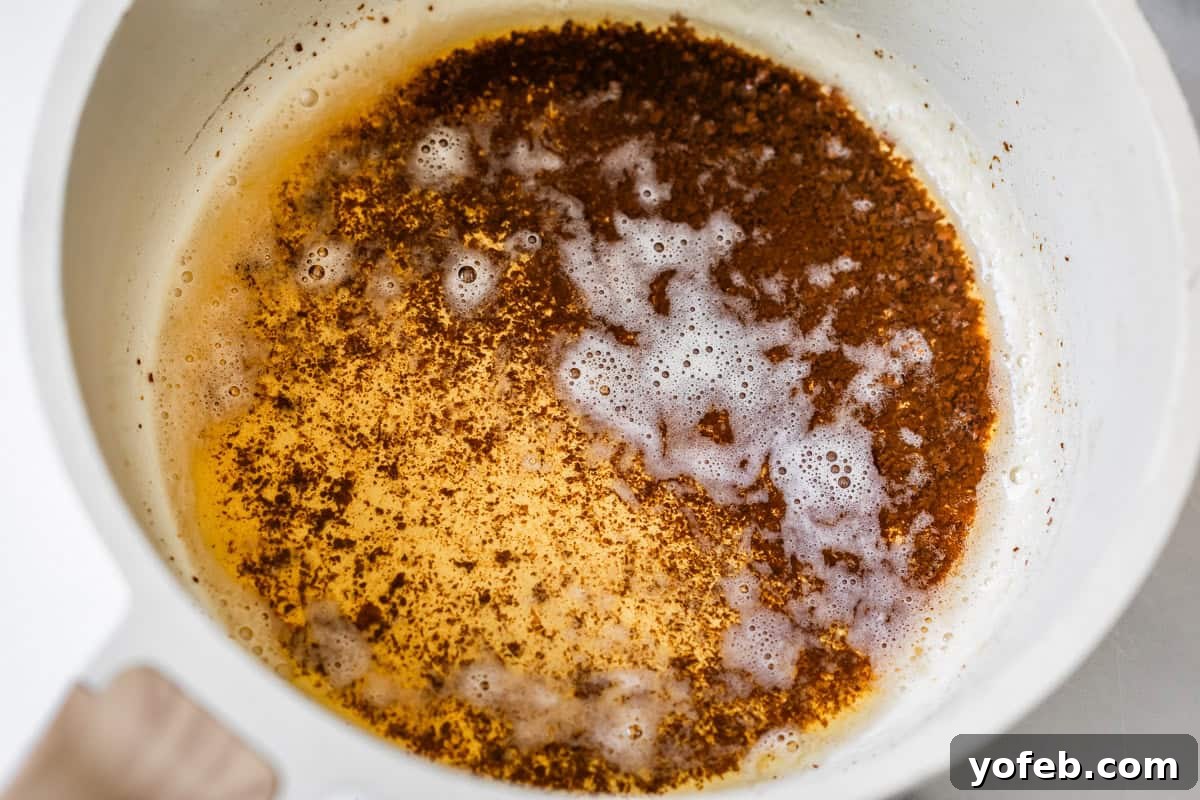
Whipping the Cream and Assembling the Filling
The key to a stable no bake cheesecake is stiffly whipped heavy cream. In a large bowl (preferably a stand mixer), beat heavy whipping cream for 2-4 minutes until it forms stiff peaks. It should hold its shape firmly when the beater is lifted. Transfer the whipped cream to a separate bowl and refrigerate it immediately to keep it chilled.
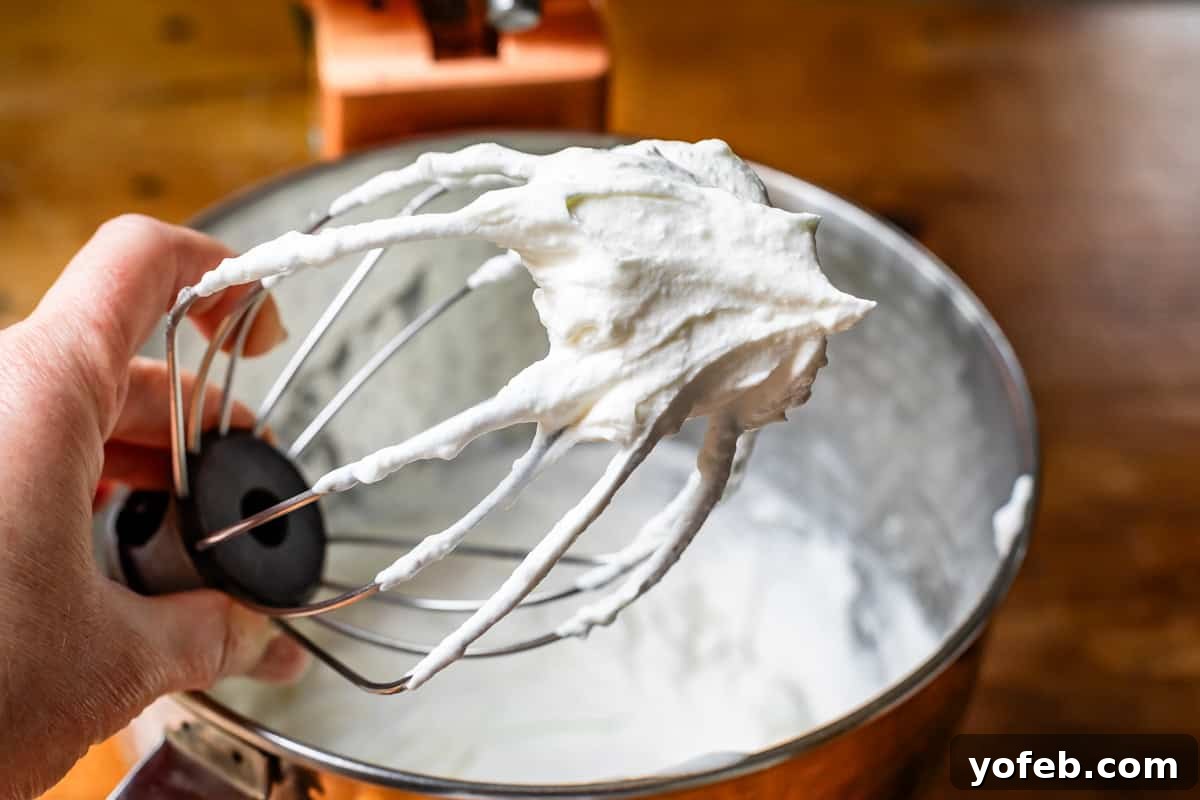
Using the same mixer bowl (no need to wash!), beat the softened cream cheese until it’s incredibly smooth and fluffy, with absolutely no lumps. This is crucial for a silky cheesecake texture.
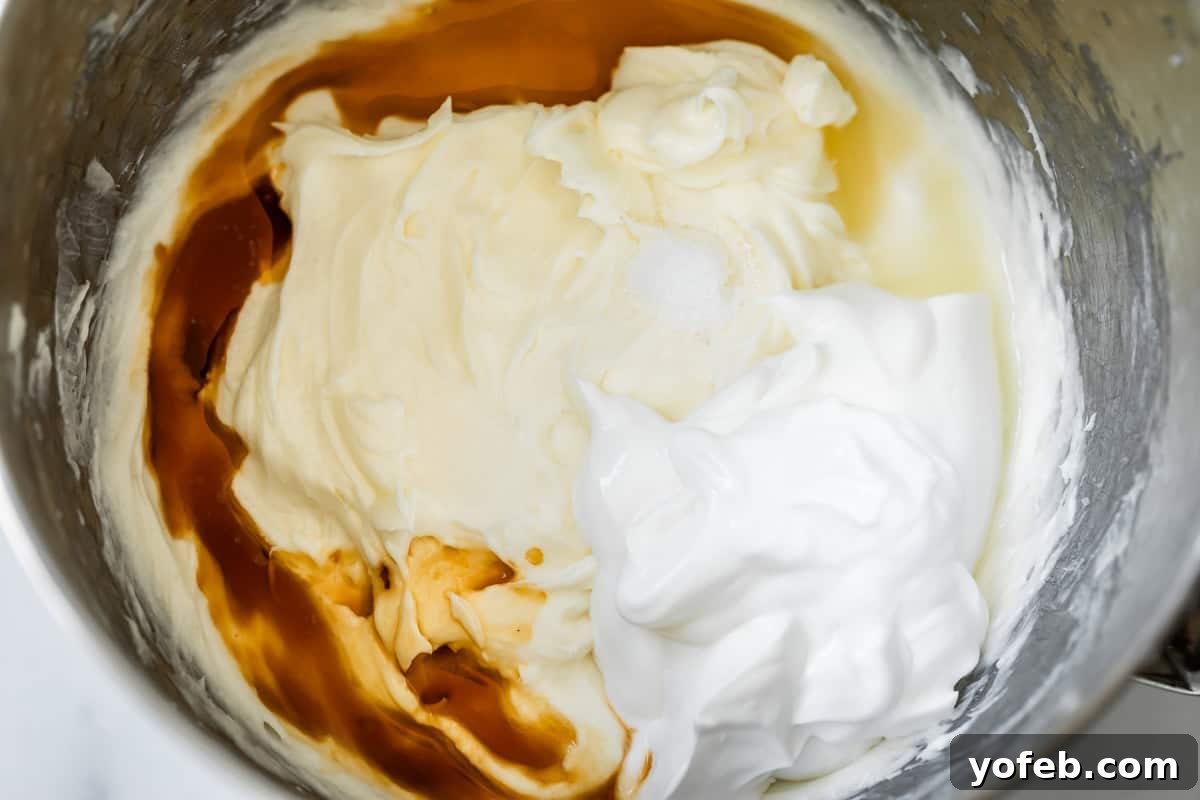
Now, incorporate the remaining cheesecake ingredients: granulated sugar, sour cream, vanilla, lemon juice, and a pinch of kosher salt. Beat everything together until well combined and smooth.
Once your browned butter is completely at room temperature (it must not be warm or solidified), gently beat it into the cream cheese mixture. If it has started to solidify, gently re-melt it in the microwave until it’s liquid again. We want a smooth, integrated flavor, not butter chunks.
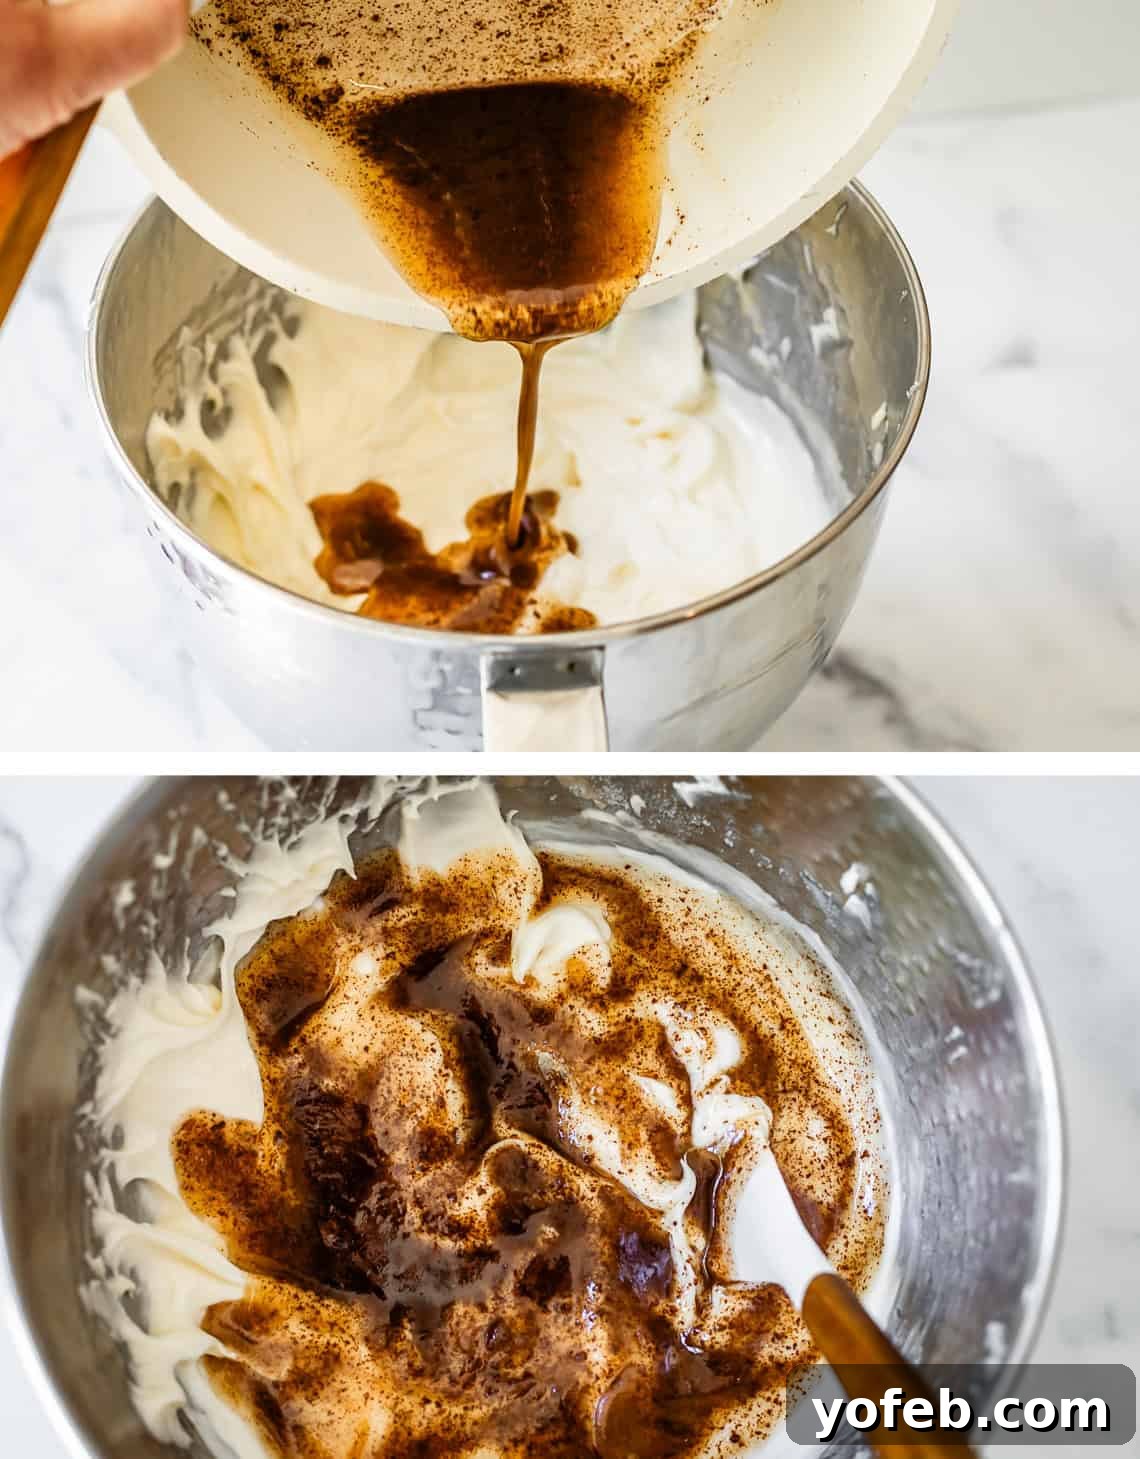
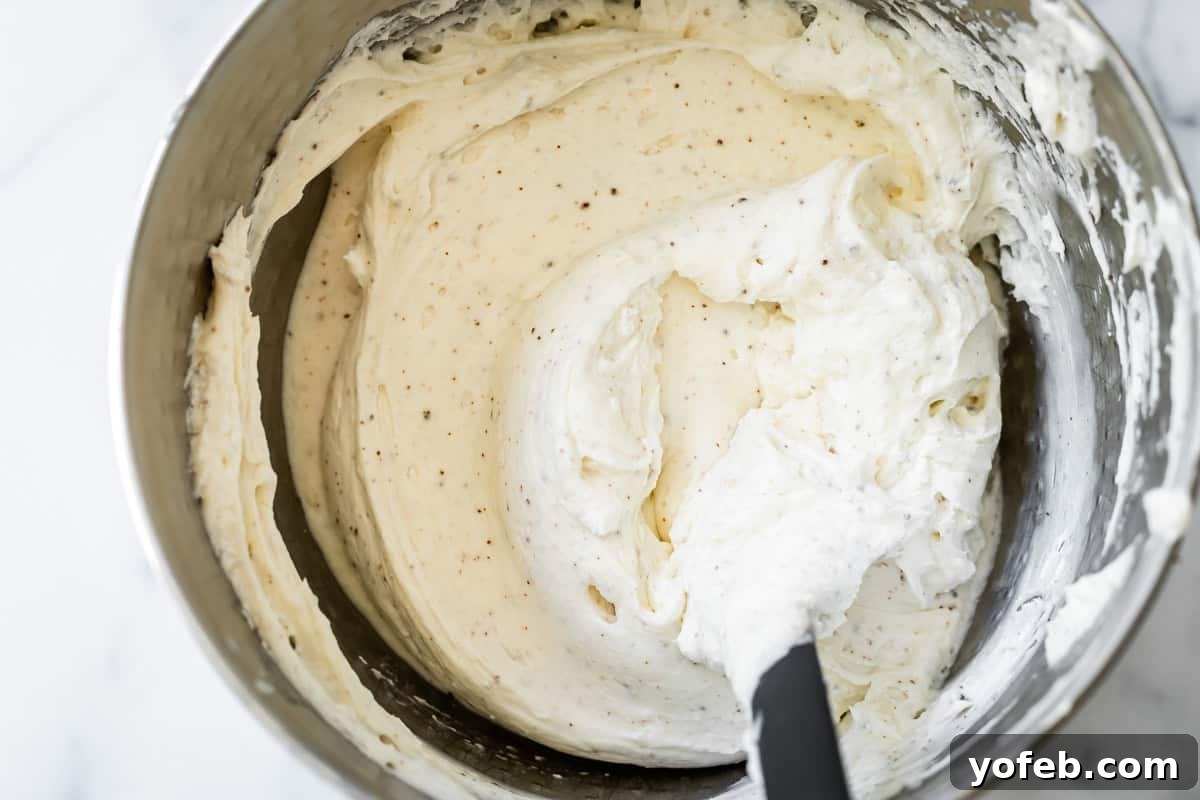
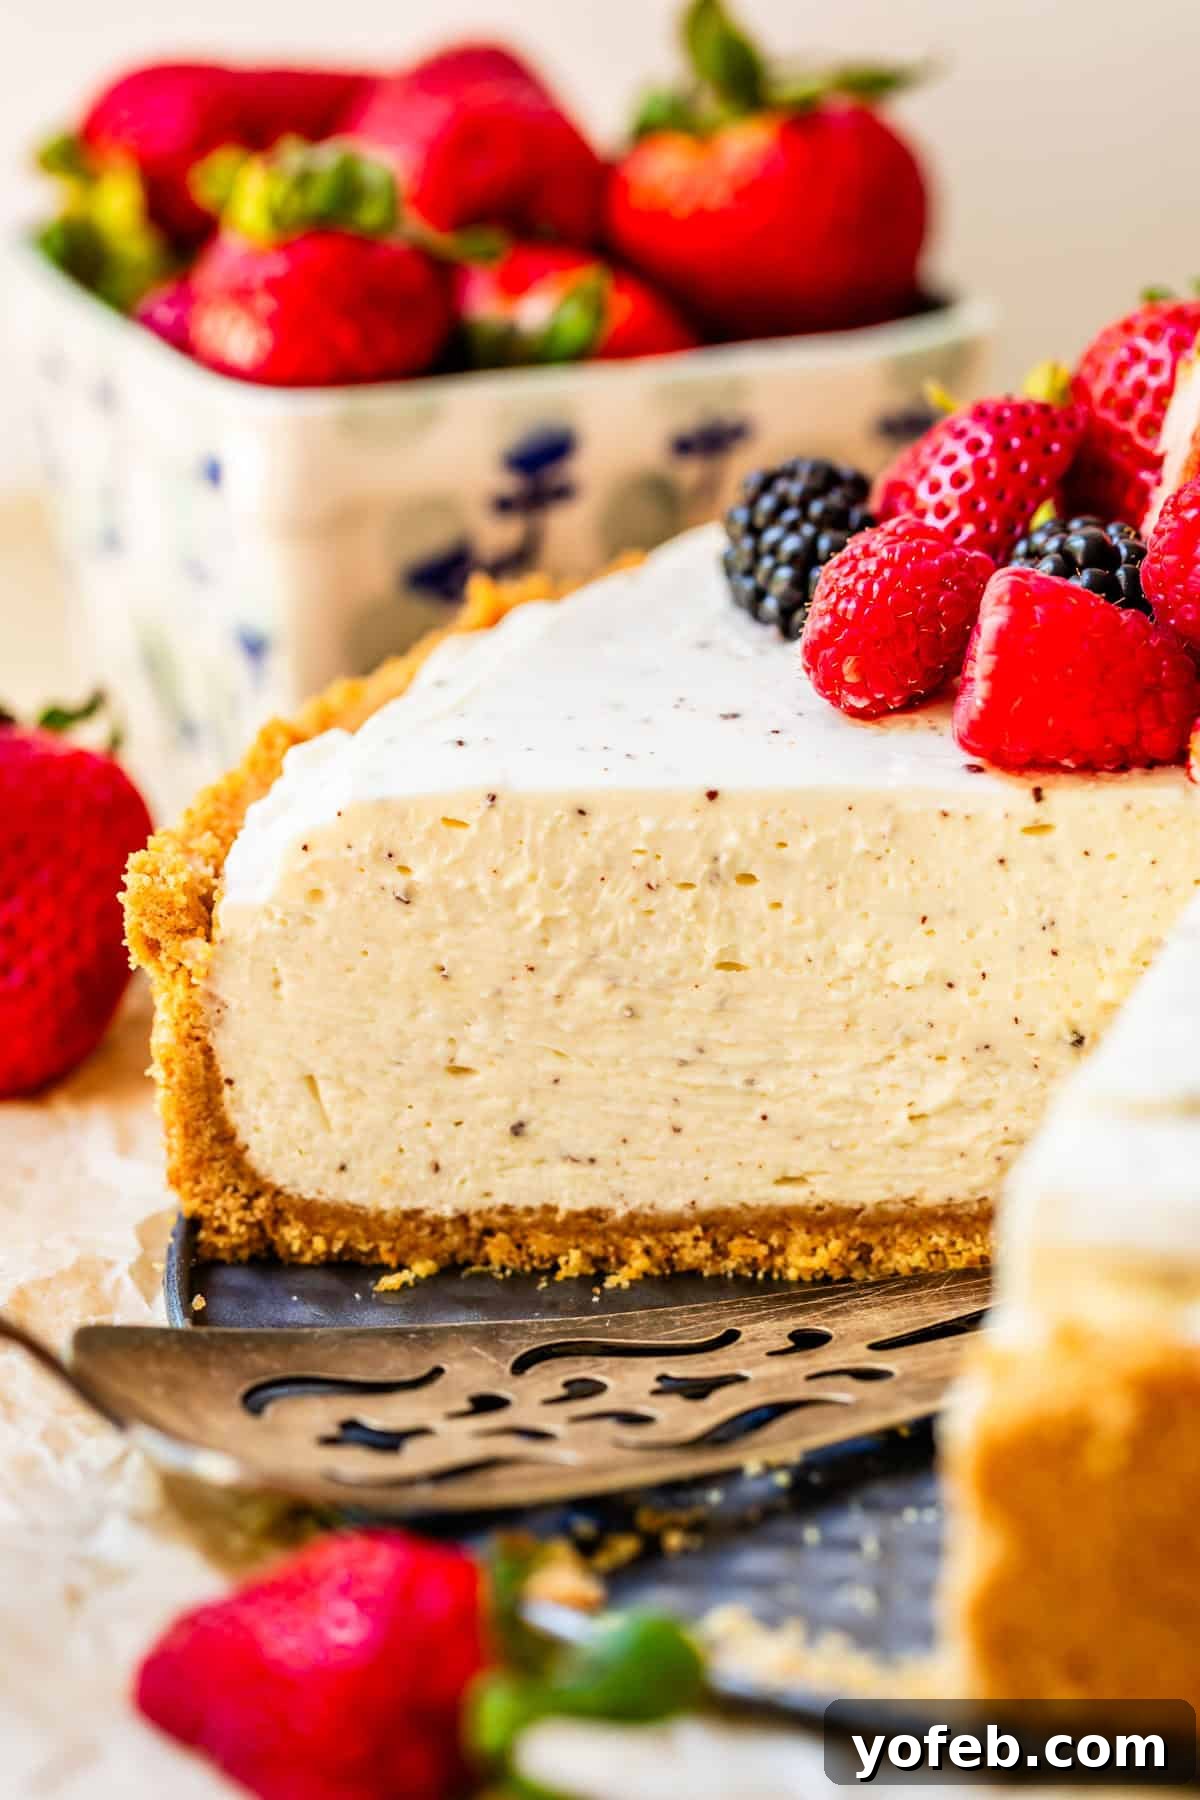
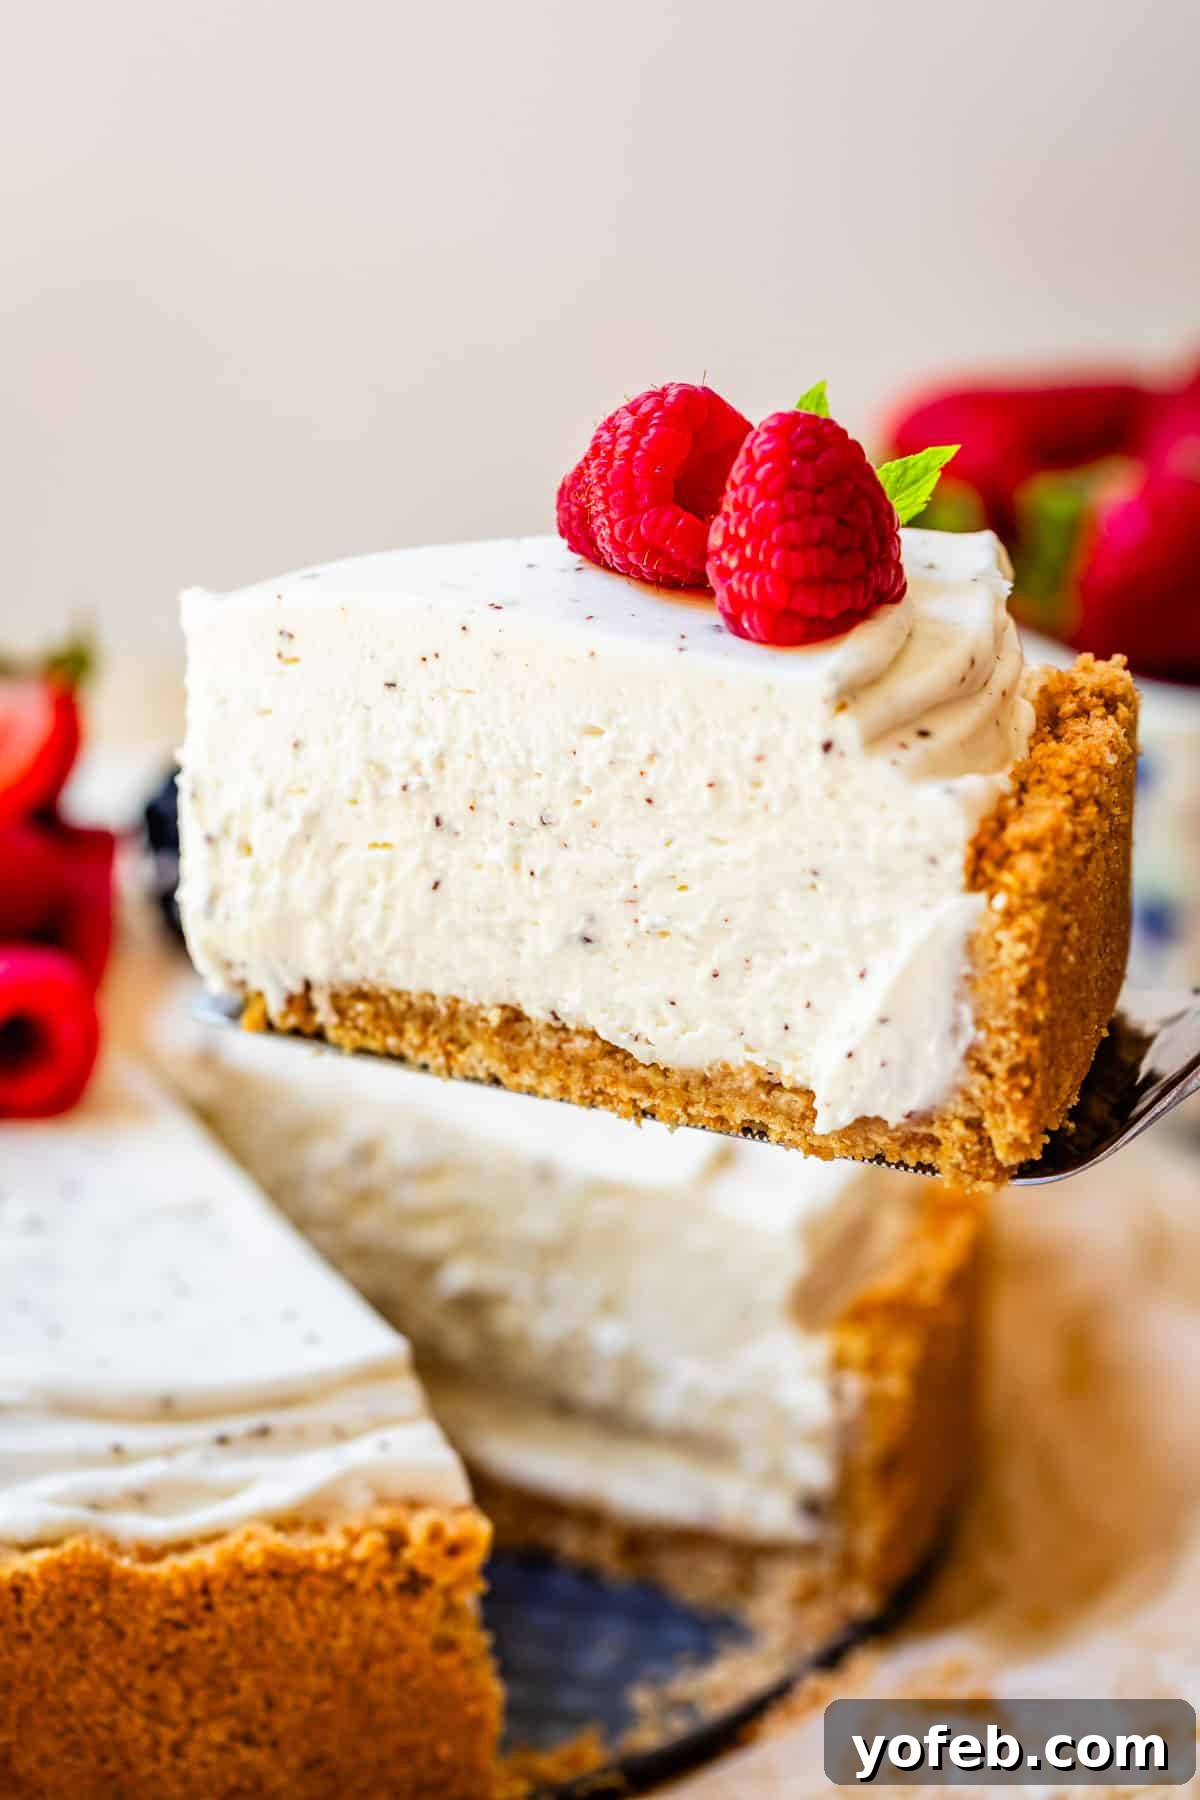
Finally, using a rubber spatula, gently fold in the chilled whipped cream in stages. Be careful not to overmix, as this can deflate the cream and compromise the cheesecake’s stability. Once the mixture is uniform and airy, pour it into your completely cooled graham cracker crust and smooth the top evenly. Look at those beautiful flecks of browned butter – each one promising an explosion of flavor!
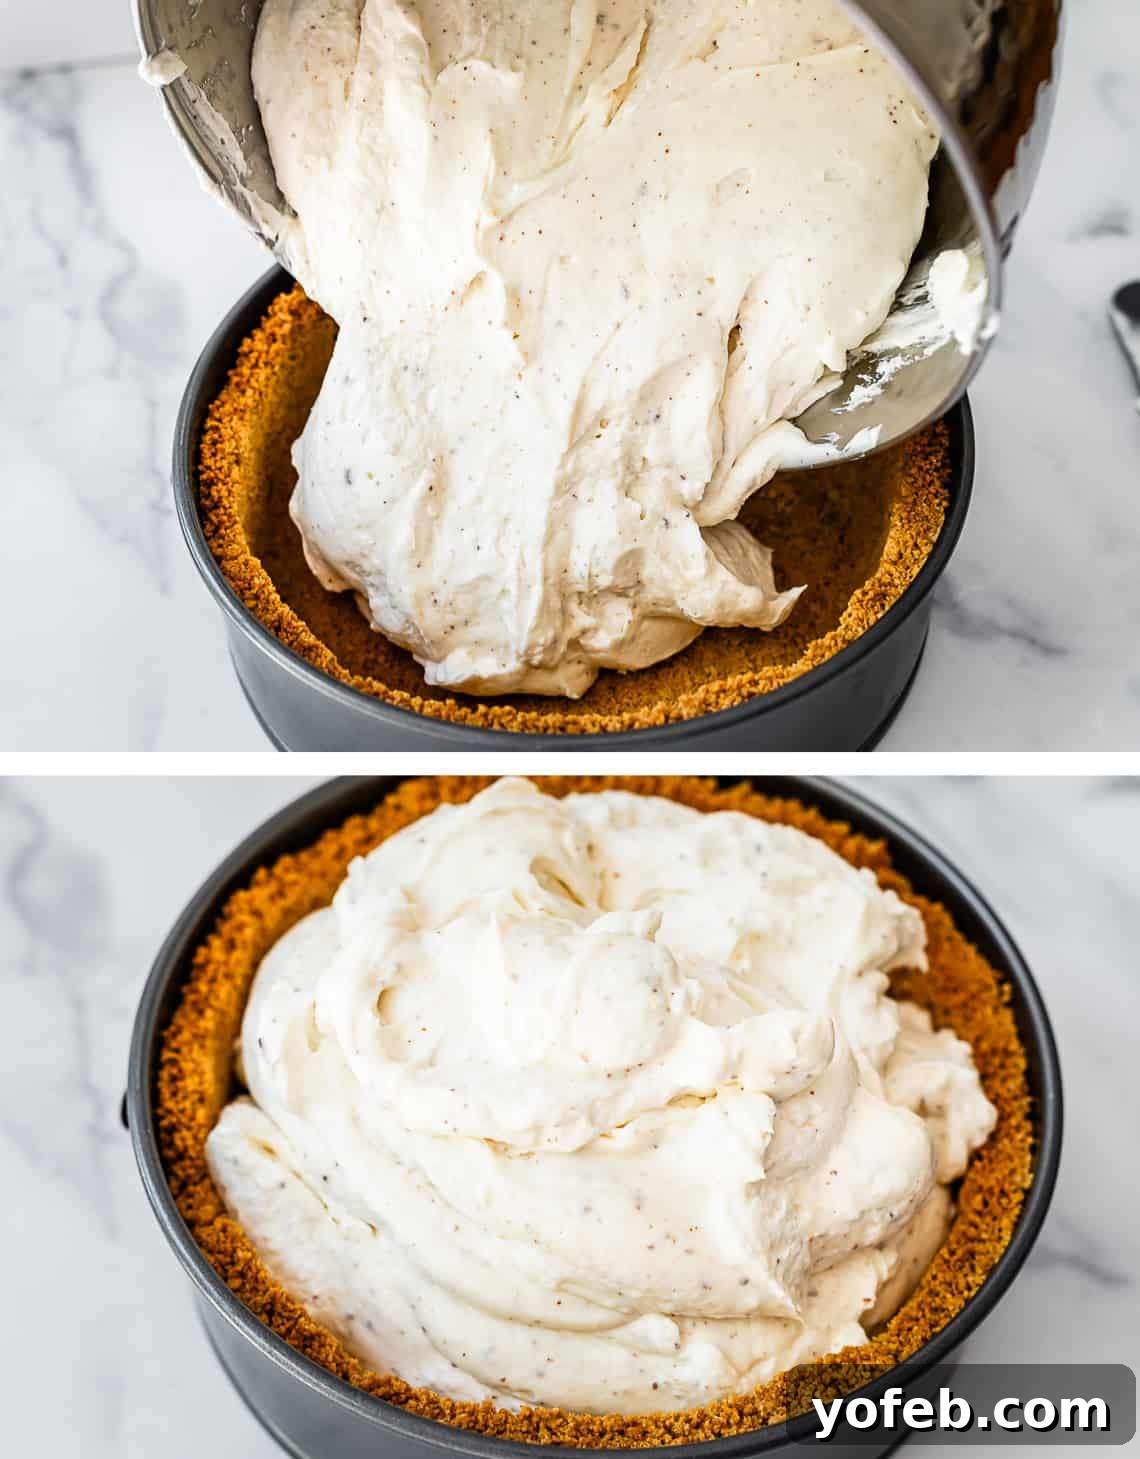
Cover the springform pan tightly with plastic wrap and chill for at least 4 hours. Six hours is better, and overnight (12 hours) is best. The longer it chills, the more stable and firm your cheesecake will be, resulting in cleaner slices and a superior texture. Remember, a perfectly chilled cheesecake is a delight – lukewarm cheesecake, I believe, is served in a less pleasant place!
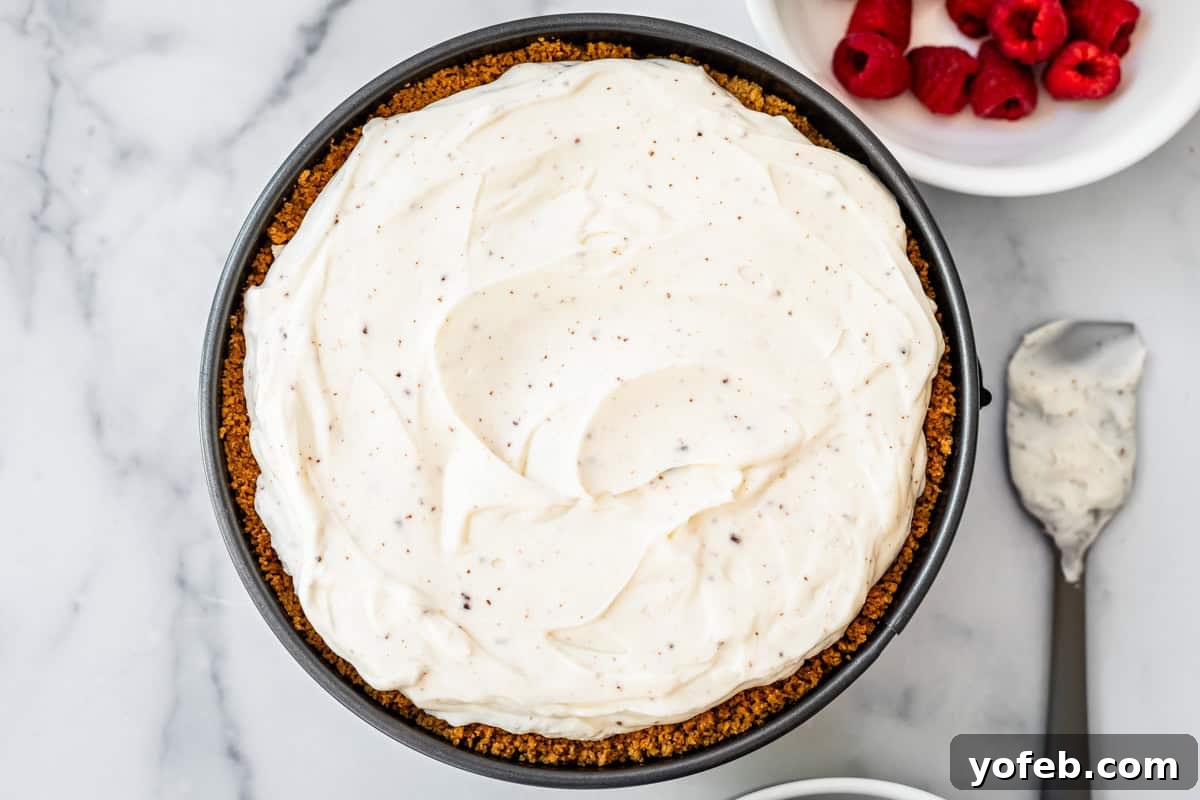
Topping and Serving Your Cheesecake
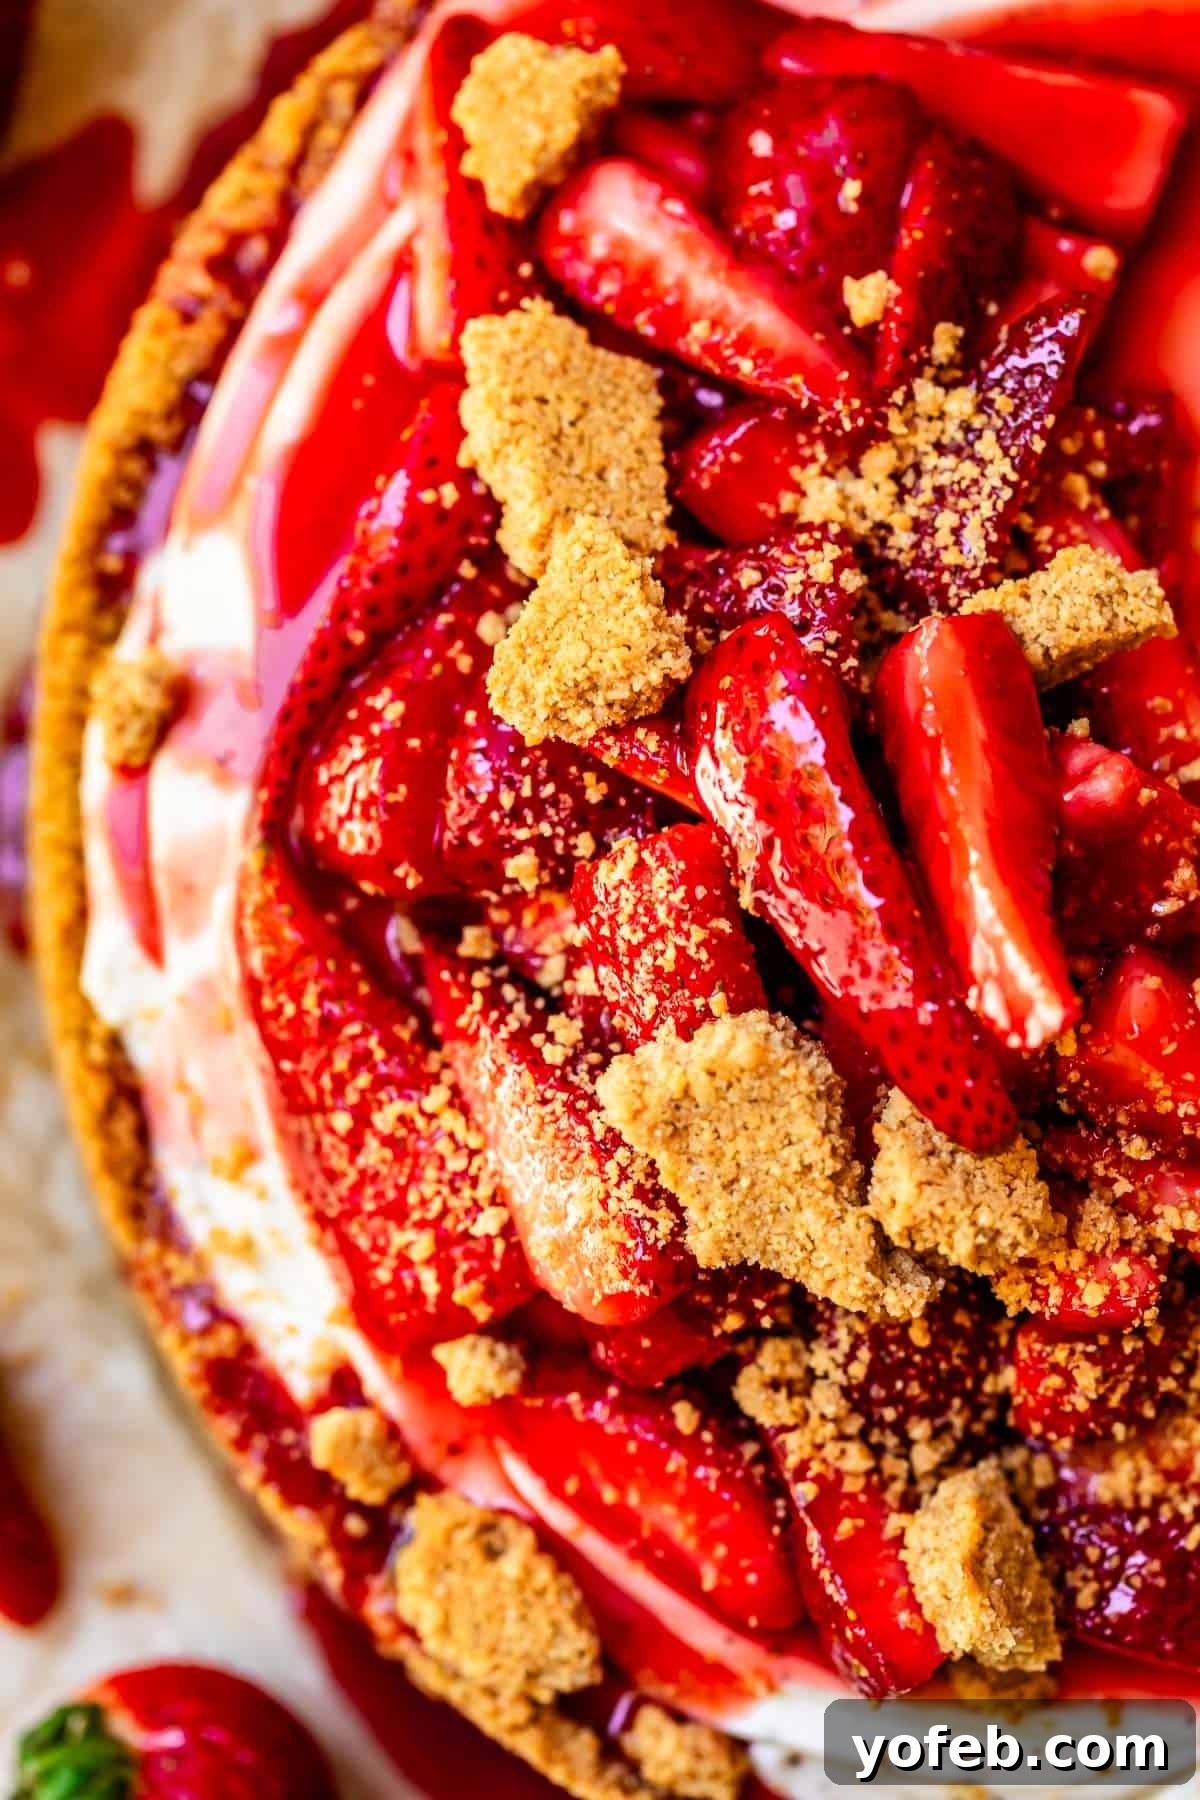
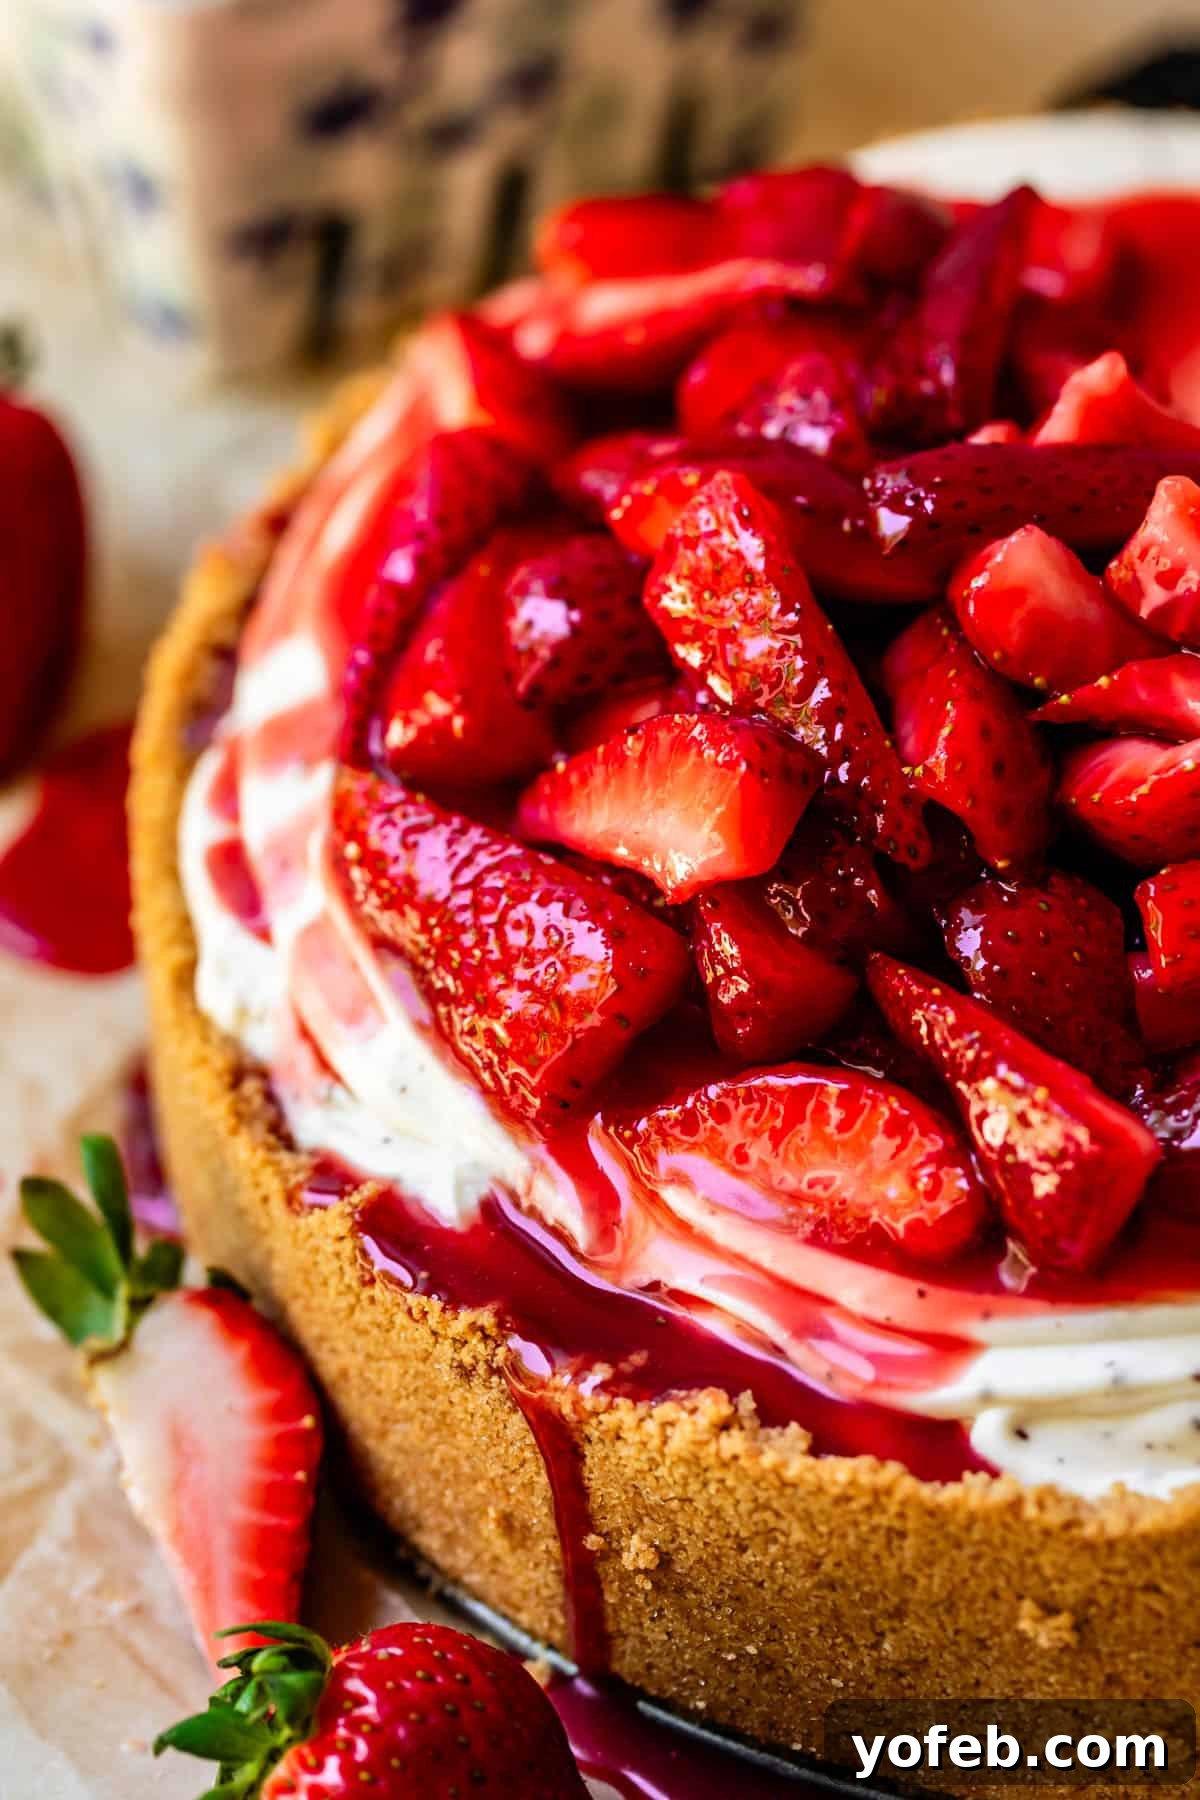
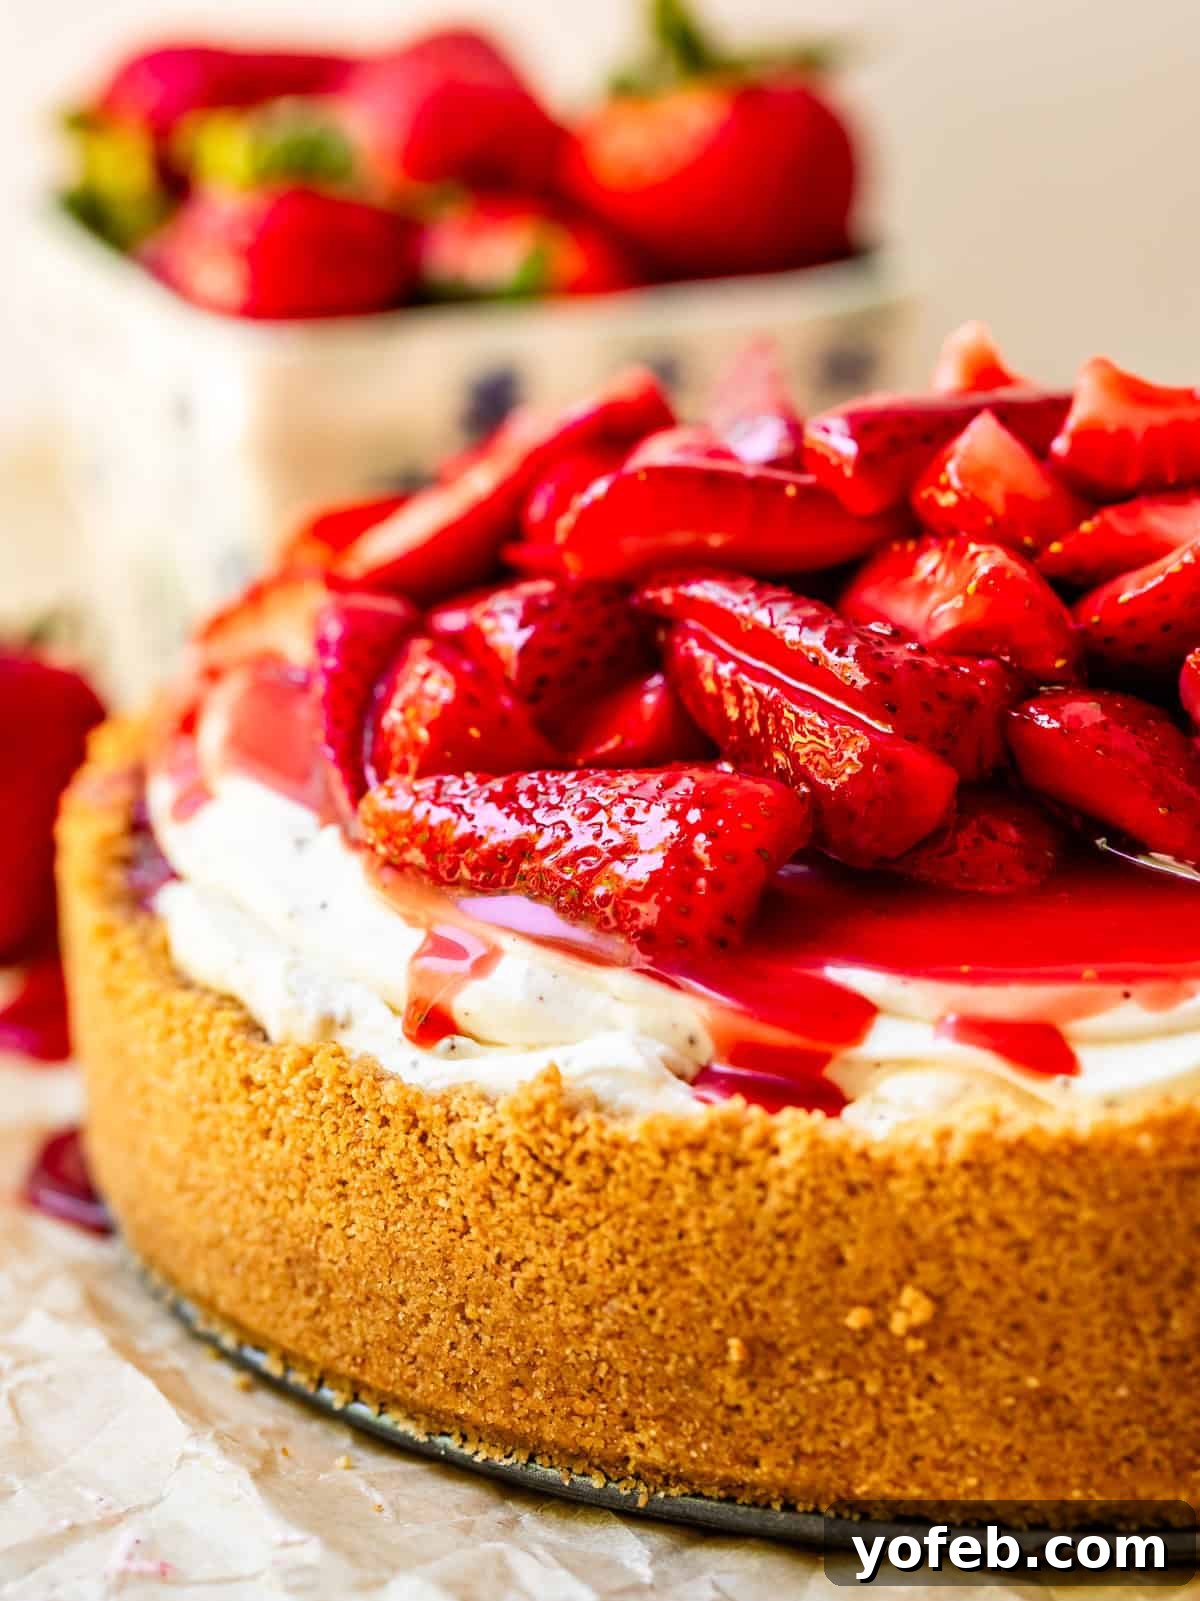
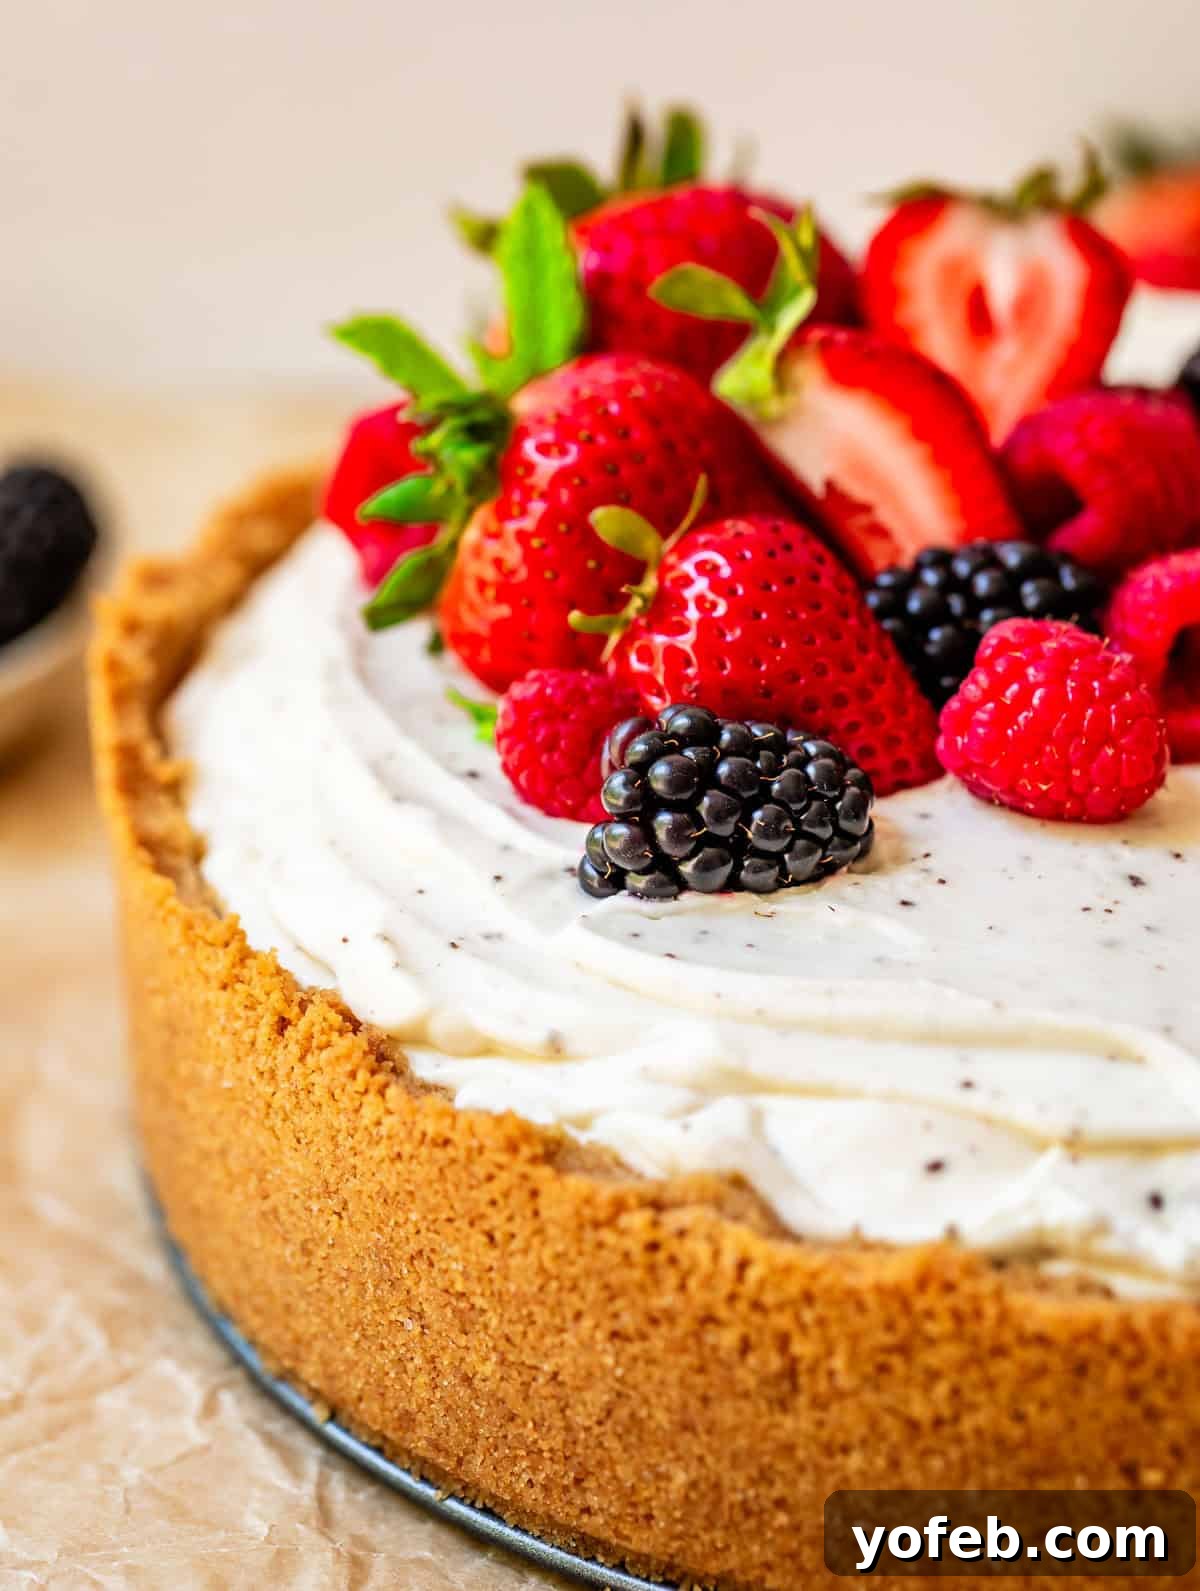
Once your cheesecake is thoroughly chilled, prepare the Fresh Strawberry Topping. This is my absolute favorite, the very same one I use for my Strawberry Shortcake. Instead of just macerating strawberries in sugar, we gently cook jam with a touch of cornstarch to create a luscious, syrupy sauce, then combine it with fresh berries. This technique yields the most incredible, rich berry topping. Of course, you can customize your no bake cheesecake with any topping you desire: fresh berries, a classic cherry pie filling, decadent Hot Fudge, or a velvety Caramel Sauce.
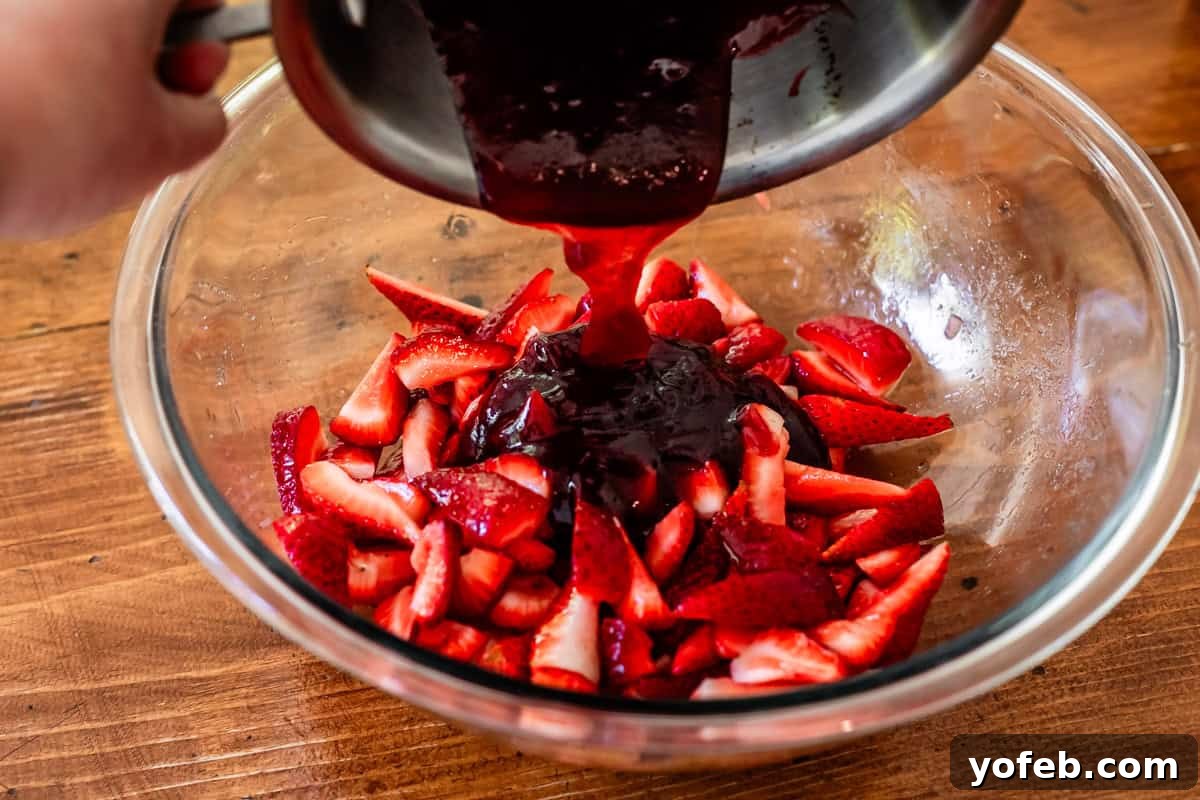
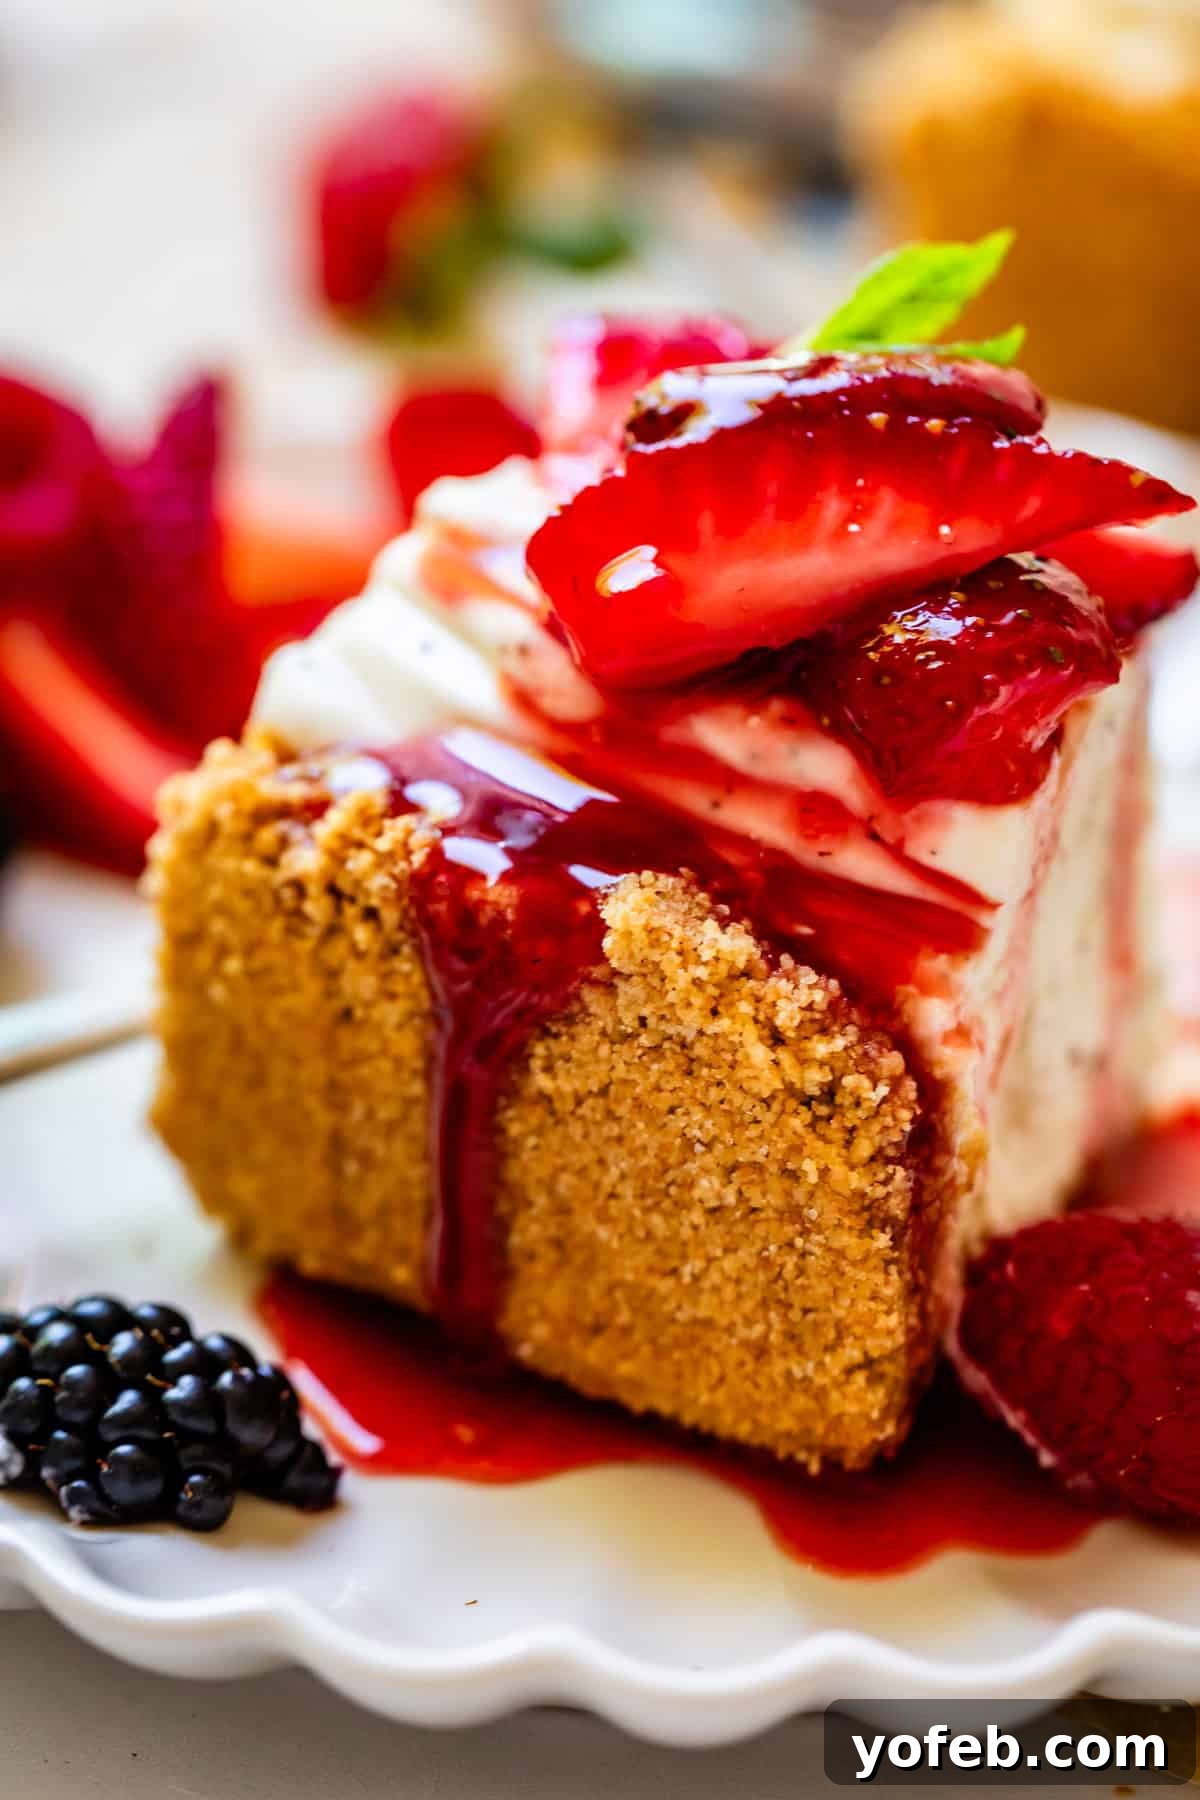
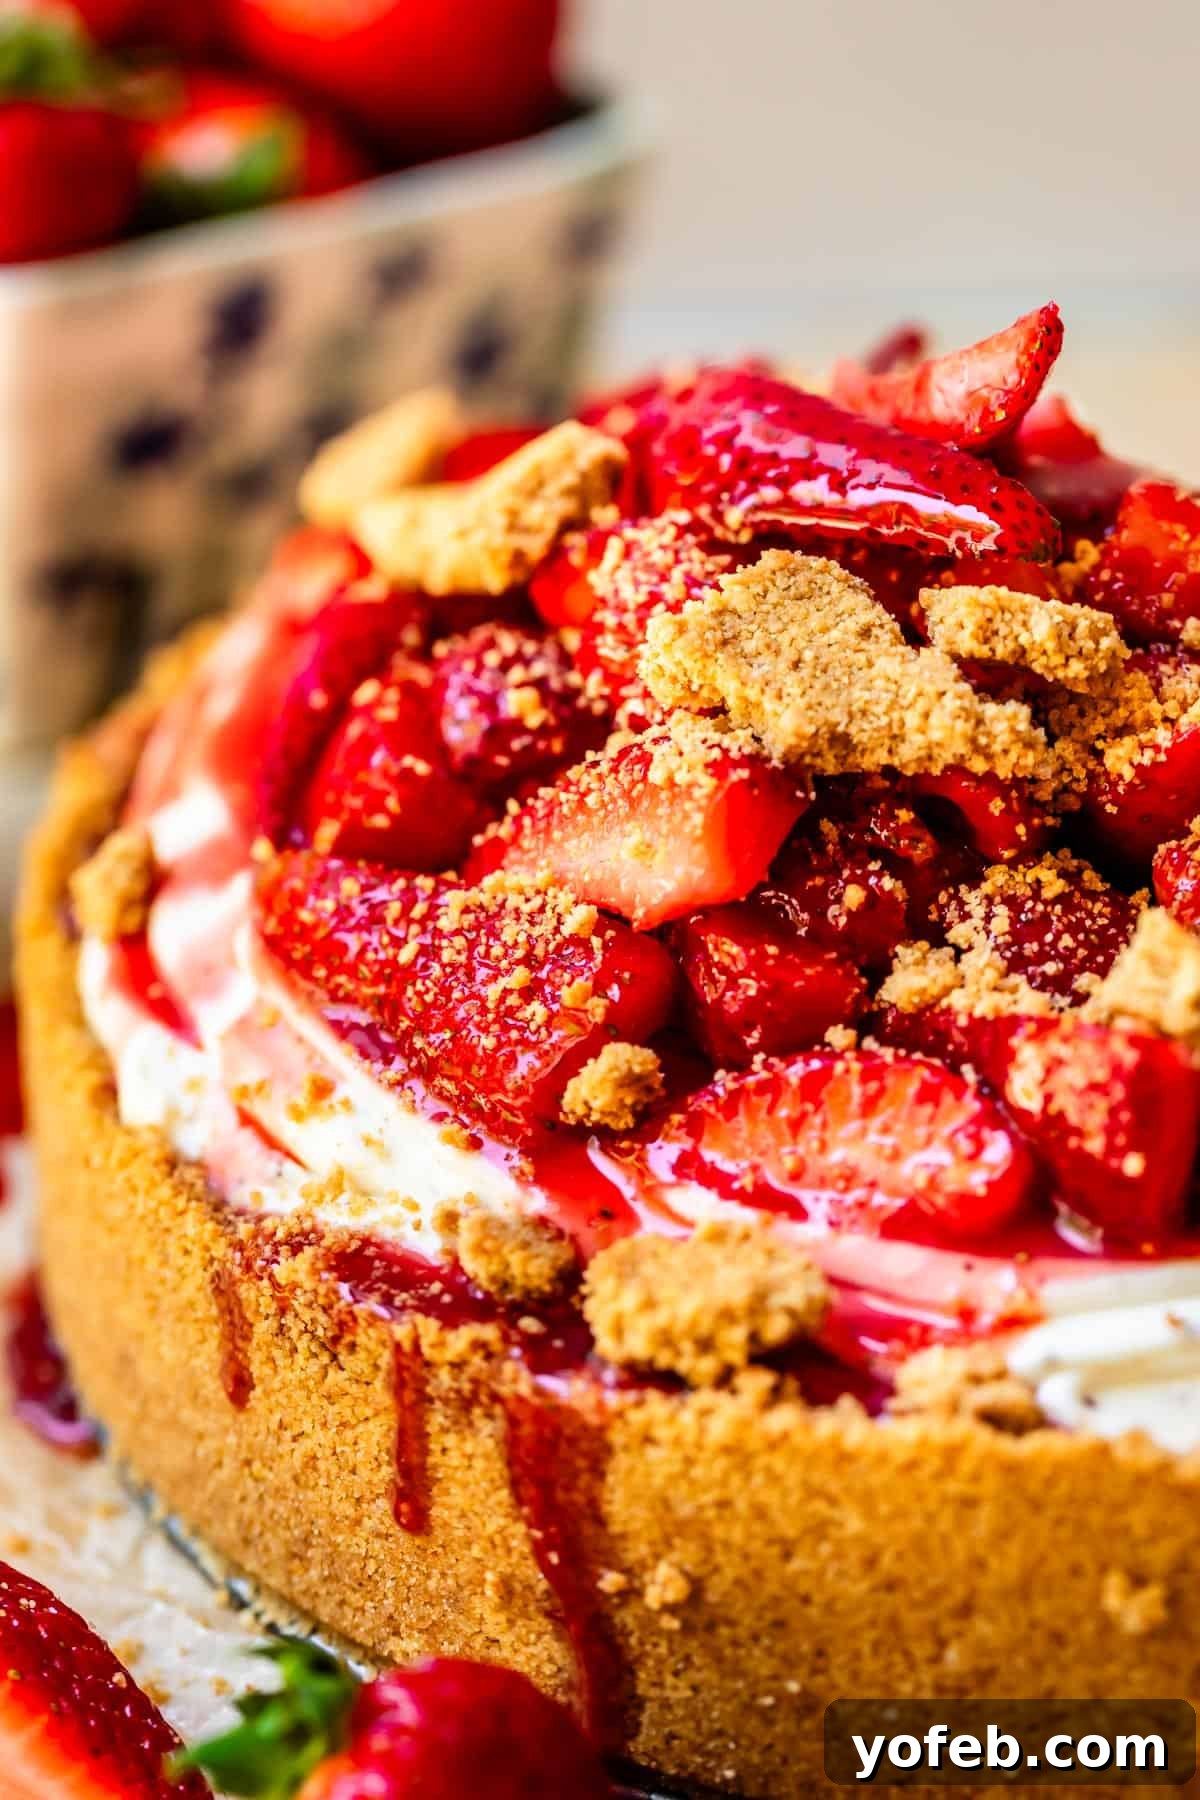
And don’t forget that extra graham crumble you prepared! It adds a fantastic textural contrast and boosts that beloved graham cracker flavor. If you’re confident the entire cheesecake will be devoured quickly, you can spoon the strawberry topping directly over the whole cheesecake for a stunning presentation. Otherwise, it’s best to slice individual portions and then top each one with the strawberry sauce and graham crumble to prevent the crust from becoming soggy.
Storing Your Easy No Bake Cheesecake: Tips for Freshness
One of the many benefits of an easy no bake cheesecake is its excellent make-ahead potential and storage convenience. If your springform pan comes with a lid, simply cover the cheesecake and refrigerate it. For pans without a lid, cover the top tightly with plastic wrap, ensuring no air can reach the surface. While cheesecake can last in the refrigerator for 4-7 days, I honestly wouldn’t know from personal experience as it’s usually devoured much faster!
This dessert is a fantastic option for preparing a day or two in advance. Just make sure to refrigerate it until you’re ready to serve. Crucially, hold off on adding any topping or whipped cream garnish until just before serving. Once you cut into the cheesecake, the crust will begin to absorb moisture and soften. Avoid leaving your no bake cheesecake out at room temperature for more than an hour or two; it will soften considerably, and dairy products can spoil if left out too long. Plus, in my opinion, cheesecake is best enjoyed when it’s perfectly chilled – remember, warm cheesecake is what they serve in hell!
Can You Freeze No Bake Cheesecake?
Absolutely, freezing no bake cheesecake is a straightforward process, making it an ideal option for meal prepping desserts or saving leftovers. After preparing the cheesecake as usual, ensure it has completely set in the refrigerator for the recommended time. Once firm, transfer the entire pan to the freezer for a quick flash freeze of about 30 minutes. This initial freeze helps solidify the outer layer, preventing damage to the surface.
After flash freezing, remove the cheesecake and wrap it tightly, first in plastic wrap, ensuring multiple layers to prevent freezer burn, and then in heavy-duty aluminum foil. Alternatively, you can place the entire springform pan into a large 2-gallon freezer-safe ziplock bag. Label the package with the date, then return it to the freezer. Your no bake cheesecake will maintain its quality for approximately 3-4 months. While it may technically be safe to eat for longer, I recommend consuming it within this timeframe for optimal taste and texture.
To thaw, simply transfer the sealed, frozen cheesecake to the refrigerator and allow it to chill overnight or for several hours until fully defrosted. It’s crucial not to thaw it at room temperature, as this can cause the cheesecake to become runny and compromise its smooth, creamy texture. Patience is key for enjoying a perfectly thawed and delicious slice!
No Bake Cheesecake Frequently Asked Questions
Most grocery stores offer premade tubs of cheesecake filling, typically found near the cream cheese in the dairy aisle. However, I wholeheartedly encourage you to try this homemade recipe! It’s incredibly easy, tastes exponentially better, and is free from the preservatives and fillers often found in store-bought versions. You might be surprised by how simple it is to whip up your own, and the flavor difference is truly remarkable!
No bake cheesecake filling is composed of just a few core ingredients. The primary component is, of course, cream cheese – always opt for a high-quality, full-fat brand like Philadelphia for the best flavor and texture. To achieve its characteristic lightness and sweetness, granulated sugar, stiffly whipped heavy cream, and sour cream are incorporated. My special recipe also includes an optional, but highly recommended, browned butter for an unparalleled depth of flavor. The result is a dessert that is much airier and lighter than traditional baked cheesecake, yet still boasts that unmistakable, rich cream cheese flavor.
The primary thickening agents in a no bake cheesecake are the cream cheese itself, which provides a dense base, and stiffly whipped heavy cream, which adds volume, airiness, and crucial stability. Unlike baked cheesecakes that rely on eggs and often a water bath, or some no-bake recipes that use gelatin, this recipe achieves its structure through proper chilling and the right balance of dairy fats. Because it lacks eggs or gelatin, a no bake cheesecake will naturally be lighter and less dense than its baked counterpart. The most vital step for proper thickening is allowing ample time for the cheesecake to set. The cream cheese and whipped cream need sufficient time in the refrigerator to cool down and firm up. I strongly recommend at least 6 hours of chilling, or even better, 12 hours overnight. If it still feels softer than you prefer after this time, a brief 30-minute stint in the freezer can help firm it up further.
The debate between baked and no bake cheesecake ultimately comes down to personal preference, as both offer distinct and delicious experiences! In my opinion, there’s ample room for both versions in a dessert lover’s life. Baked cheesecake typically features a much denser, almost velvety smooth, and rich texture. I often gravitate towards baked versions for winter holidays, as they feel a bit more formal and involve a longer baking process. No bake cheesecakes, on the other hand, are celebrated for their light, airy, and creamy consistency. They are perfectly suited for spring and summer gatherings, requiring minimal oven time, and their lightness feels wonderfully refreshing in warmer weather. Given the choice, I’d happily enjoy a slice of either at any time of year!
Yes, absolutely! Whether you’re referring to a store-bought Philadelphia no bake cheesecake filling or this homemade version, the filling is perfectly safe to eat. Once prepared, the filling isn’t baked or altered (aside from chilling in the refrigerator). It contains no raw ingredients that would cause illness. So, if you prefer to enjoy your creamy cheesecake filling straight from a bowl with a spoon, without the crust, I certainly won’t judge you!
Explore More Cheesecake Creations to Love
My passion for cheesecake knows no bounds! Whether it’s a quick no bake version, a grand Classic Baked Cheesecake, individual Cheesecake Parfaits, or even unexpected delights like cheesecake stuffed inside Strawberries, baked into Cupcakes, or woven into Baklava, I adore them all. Here are some of my other favorite cheesecake recipes to inspire your next dessert adventure:
- Classic Cheesecake Recipe: Easier than you think, this simple and perfect recipe turns out beautifully every time!
- Sensationally Smooth Recipe for Chocolate Cheesecake: One of the most decadent and incredibly smooth desserts you’ll ever encounter.
- Creme Brûlée Cheesecake: A brilliant fusion of two beloved desserts, combining creamy cheesecake with a crisp caramelized sugar topping.
- No Bake Cherry Cream Cheese Pie: The absolute easiest no bake cream cheese pie recipe out there, perfect for a quick and satisfying dessert.
- No Bake Cheesecake Parfait Bar: The simplest way to enjoy cheesecake flavors, requiring only a handful of ingredients and about 5 minutes of prep time.
- Maple Cheesecake with Roasted Pears: An amazing combination of rich fall flavors, this cheesecake is a personal favorite.
- Raspberry Swirl Cheesecake Bars: All the goodness of cheesecake, but with a delightful sugar cookie crust – pure bliss!
- Cheesecake Stuffed Strawberries (Strawberry Blossoms): Like mini cheesecakes, perfectly portable in a fresh strawberry shell. They make a fantastic appetizer or light sweet treat.
- No Bake Dulce de Leche Cheesecake with Caramelized Peaches: All the amazingness of cheesecake, enhanced with sweet, caramel-y dulce de leche, and topped with succulent caramelized peaches.
- Keto Cheesecake from Wholesome Yum: A fantastic option for those seeking a low-carb, gluten-free, and sugar-free cheesecake.
Cool Treats for Hotter Days: Refreshing Desserts
While I love baking year-round, some flavors, textures, and temperatures simply shine brighter in specific seasons. As the days grow warmer, I find myself craving lighter, cooler treats. Here are some of my favorite warm-weather desserts that are perfect for those hotter days:
- Pig Pickin’ Cake (Sunshine Cake): A delightful mandarin orange cake topped with a fluffy pineapple whipped cream – pure sunshine in dessert form!
- Homemade Vanilla Pudding Recipe: Smooth, creamy, and bursting with incredible vanilla flavor, far superior to any boxed mix.
- The Best Tres Leches Cake: A fluffy white sheet cake delicately poked with holes and soaked in a mixture of three milks, resulting in an irresistibly moist and rich dessert.
- How to make Strawberry Shortcake: Just like my Grandma Georgia made it! Despite the baked shortbread, this will always be a quintessential spring and summer dessert in my heart.
- Lemon Lush Dessert: Featuring a creamy cheese layer, a tangy lemon pudding layer, and a light whipped cream topping – what more could you possibly ask for in a refreshing dessert?
- Peppermint Ice Cream (Nana’s Famous Homemade Recipe): A cherished tradition in our family, enjoyed every 4th of July and Christmas!
- No Bake Frozen Peanut Butter Pie with Hot Fudge: The classic combination of peanut butter and chocolate, transformed into a smooth, creamy, and wonderfully cold pie.
- Dreamy Creamy Orange Milkshake from The Slow Roasted Italian: A nostalgic and refreshing treat that perfectly captures the flavor of an orange creamsicle.
Facebook | Pinterest | Instagram

No Bake Cheesecake
Ingredients
For the crust
- 18 full sheets graham crackers*, 9.7 ounces, about 2 and 1/2 cups crumbs
- 2 tablespoons granulated sugar
- 1/4 teaspoon kosher salt
- 1/2 cup butter, melted
For the graham crumble (optional):
- 9 full sheets graham crackers
- 1 tablespoon sugar
- 1 pinch kosher salt
- 1/4 cup butter, melted
For the cheesecake:
- 6 tablespoons butter, optional
- 2 tablespoons whole milk, optional
- 1 and 1/4 cups heavy cream**
- 3 (8-ounce) packages full fat cream cheese, softened
- 1 and 1/2 cups granulated sugar
- 1/2 cup sour cream
- 2 teaspoons vanilla
- 1 tablespoon lemon juice
- 1/4 teaspoon kosher salt
- 1 batch Fresh Strawberry Topping
Instructions
-
Set out 3 packages of cream cheese to allow them to come to room temperature. This is essential for a smooth, lump-free filling.
-
Prepare the Crust: Preheat your oven to 350°F (175°C). In a food processor, combine 2 packages of graham crackers (which equals 18 full sheets, or approximately 9.7 ounces), 2 tablespoons of granulated sugar, and 1/4 teaspoon of kosher salt. Pulse until the crackers are reduced to fine, uniform crumbs. If you don’t have a food processor, place the crackers in a large zip-top bag and crush them thoroughly with a rolling pin.
-
Melt 1/2 cup (1 stick) of butter in the microwave. Add the melted butter to the graham cracker mixture and pulse again (or stir well in a bowl) until everything is thoroughly combined and resembles wet sand.
-
Press the crumb mixture firmly into the bottom of a 9-inch springform pan, extending it almost all the way up the sides. Use the bottom of a glass or a measuring cup to pack the crumbs tightly, especially along the top edge of the crust, to create a sturdy foundation.
-
Optional Crumb Topping: For an extra crunchy topping, immediately prepare a second batch of graham crumbs. In the same food processor (no need to clean), add another package of 9 full graham crackers, 1 tablespoon of sugar, and a pinch of salt. Pulse until finely crushed, then add 1/4 cup of melted butter and process until combined. Scrape this mixture onto a separate baking sheet and press it into a flat layer with your hands or a glass.
-
Bake both the main crust in the springform pan and the optional crumb topping on the baking sheet simultaneously for 10-12 minutes, or until the edges begin to turn golden brown. Once baked, remove from the oven. Let the springform pan cool completely. For the crumb topping, break it into irregular chunks using your hands or a fork. Store this delicious crumble in a covered serving bowl at room temperature until ready to serve with your cheesecake. (Try your best not to snack on it all immediately!)
-
Optional: Prepare Browned Butter for Filling: If using, it’s time to make the extra-browns butter, allowing it ample time to cool. In a small saucepan, combine 6 tablespoons of butter and 2 tablespoons of whole milk. Place the pan over medium heat and whisk continuously or very frequently. The butter will melt, then bubble and foam. Continue whisking as the milk solids at the bottom begin to brown. You’ll recognize it’s ready when you see golden-brown flecks rising through the foam and a distinct nutty aroma. Immediately transfer the browned butter to a small bowl and set it aside to cool completely to room temperature. It’s crucial it’s not warm when added to the cheesecake filling.
-
Whip the Cream: In a large mixing bowl (preferably a stand mixer with a whisk attachment), add 1 and 1/4 cups of heavy cream**. Beat on high speed for about 2-4 minutes until the cream is stiff and holds its shape, almost appearing “shaggy.” This stiff consistency is vital as it acts as the main stabilizer for our no bake cheesecake. Carefully scrape the whipped cream into another bowl and place it directly into the refrigerator to keep it chilled.
-
In the same mixer bowl (no need to wash it), beat the completely softened cream cheese using the whisk attachment. Continue beating, stopping occasionally to scrape down the sides of the bowl, until the cream cheese is incredibly smooth, light, and fluffy, with absolutely no lumps remaining.
-
Add the remaining cheesecake ingredients to the whipped cream cheese: 1 and 1/2 cups of granulated sugar, 1/2 cup of sour cream, 2 teaspoons of vanilla extract, 1 tablespoon of lemon juice, and 1/4 teaspoon of kosher salt. Beat on medium speed until all ingredients are well combined and the mixture is smooth.
-
Now, gently incorporate the completely cooled browned butter (if using) into the cream cheese mixture. Beat until fully combined, scraping down the sides as needed. Ensure the butter is liquid and at room temperature; if it has solidified, gently re-melt it before adding.
-
Remove the whisk attachment or beaters. Using a rubber spatula, carefully fold in one-third of the chilled whipped cream into the cream cheese mixture until just incorporated. Then, gently fold in the remaining two-thirds of the whipped cream. Be delicate and avoid overmixing to prevent deflating the airy cream.
-
Once the whipped cream is fully incorporated, scrape the creamy cheesecake filling into the completely cooled graham cracker crust. Spread the top evenly with your spatula. Cover the springform pan tightly with plastic wrap and refrigerate for a minimum of 4 hours. For the best stability and texture, chilling for 6 hours or even overnight (up to 2 days) is highly recommended.
-
Prepare the Topping: Approximately one hour (or up to 24 hours) before you plan to serve your cheesecake, prepare the Fresh Strawberry Topping. Keep the prepared strawberries chilled until serving. While this strawberry topping is my personal favorite, feel free to customize your cheesecake with any fresh berries, a can of cherry pie filling, a drizzle of Hot Fudge, or a rich Caramel Sauce.
-
Serve: If you are certain the entire cheesecake will be consumed at once, you can pour the strawberry topping directly over the top of the chilled cheesecake for a beautiful presentation. Finish by sprinkling generously with the reserved graham crumble. However, if you anticipate leftovers, it’s best to slice individual portions and then ladle the strawberry topping and sprinkle the graham crumble onto each plate. This helps prevent the crust from becoming soggy over time.
Store any leftover cheesecake covered in the refrigerator. Refer to the blog post above for detailed freezing options!
Notes
**Heavy cream: You’ll find heavy cream in the dairy section, usually near the milk. Please note that it is not coffee creamer. It might also be labeled as “whipping cream” or “heavy whipping cream,” sometimes indicating different fat content levels. For optimal whipped cream stability and volume, always choose the cream with the highest fat content available (ideally 36% or 40%).
Nutrition Facts provided do not include the Strawberry Topping.