
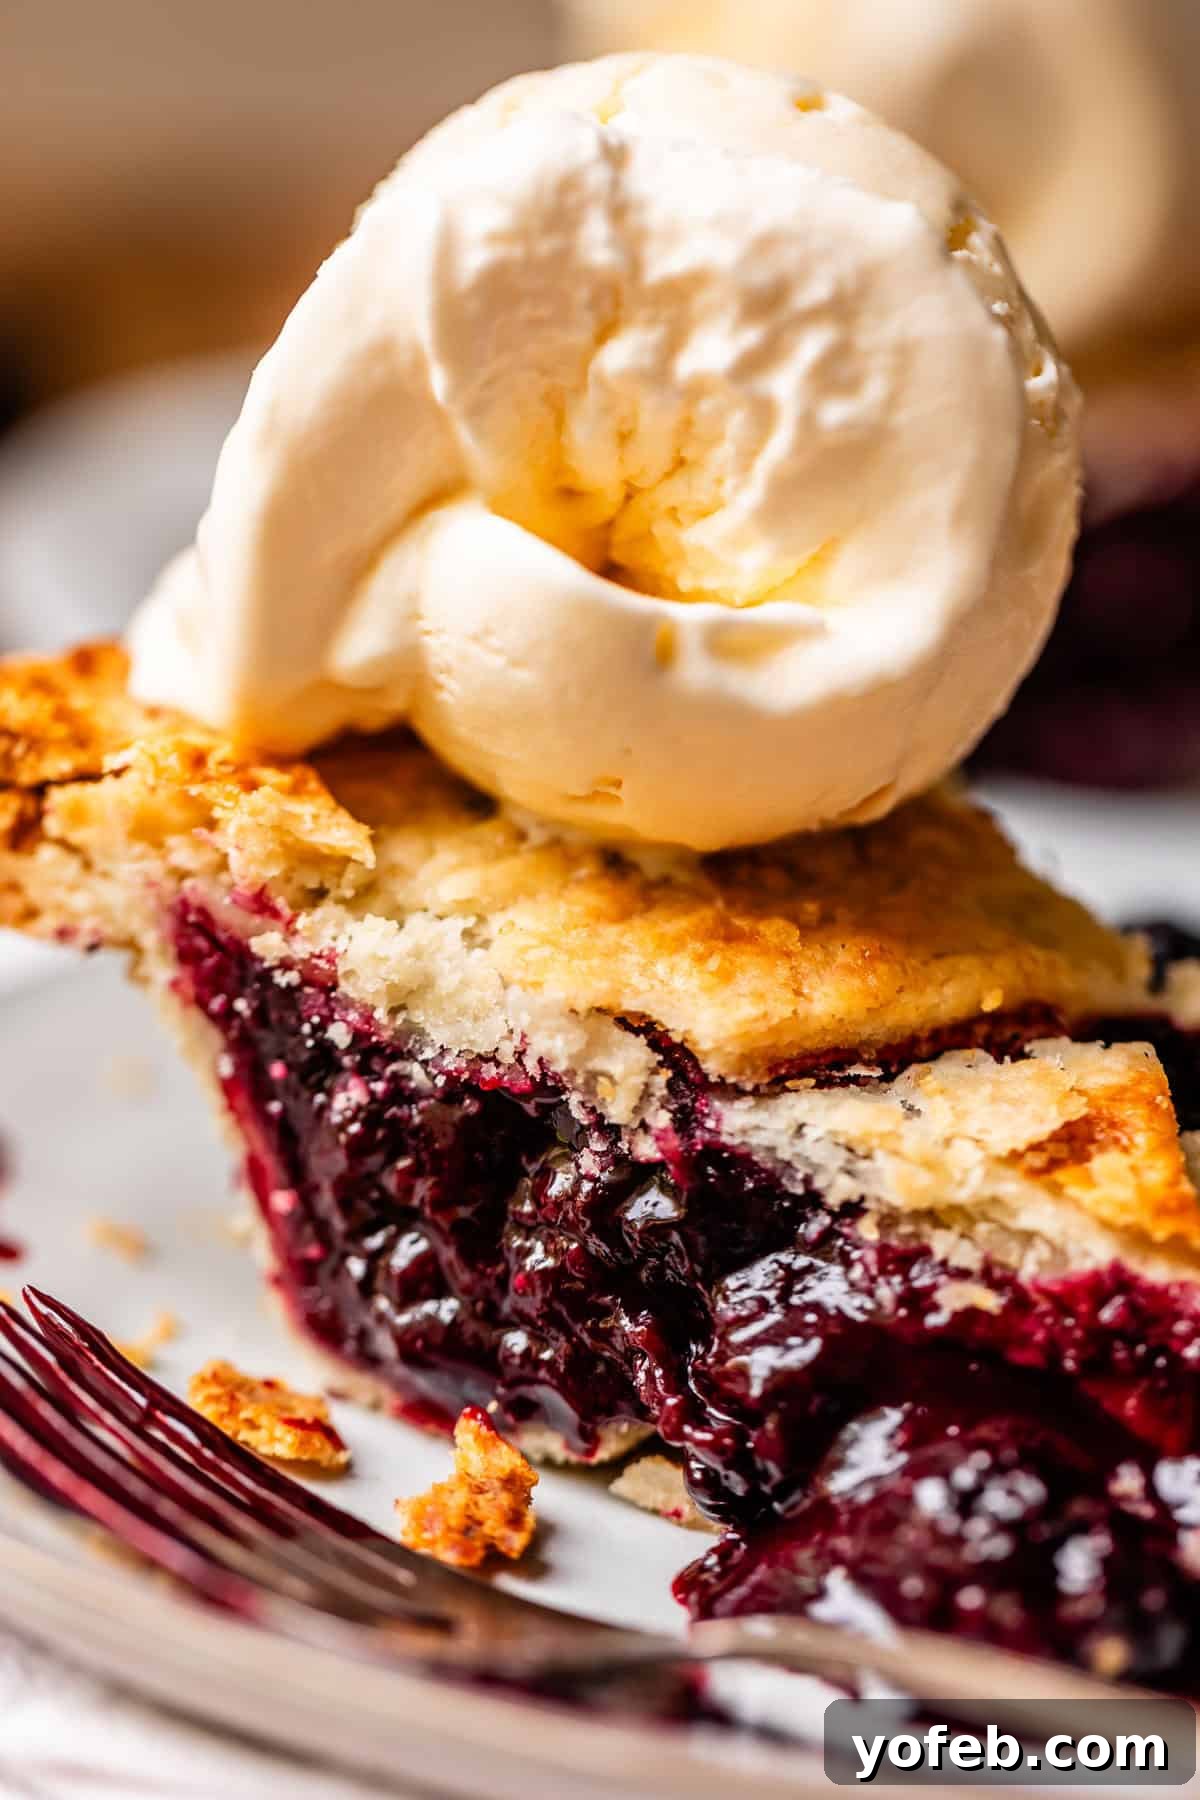
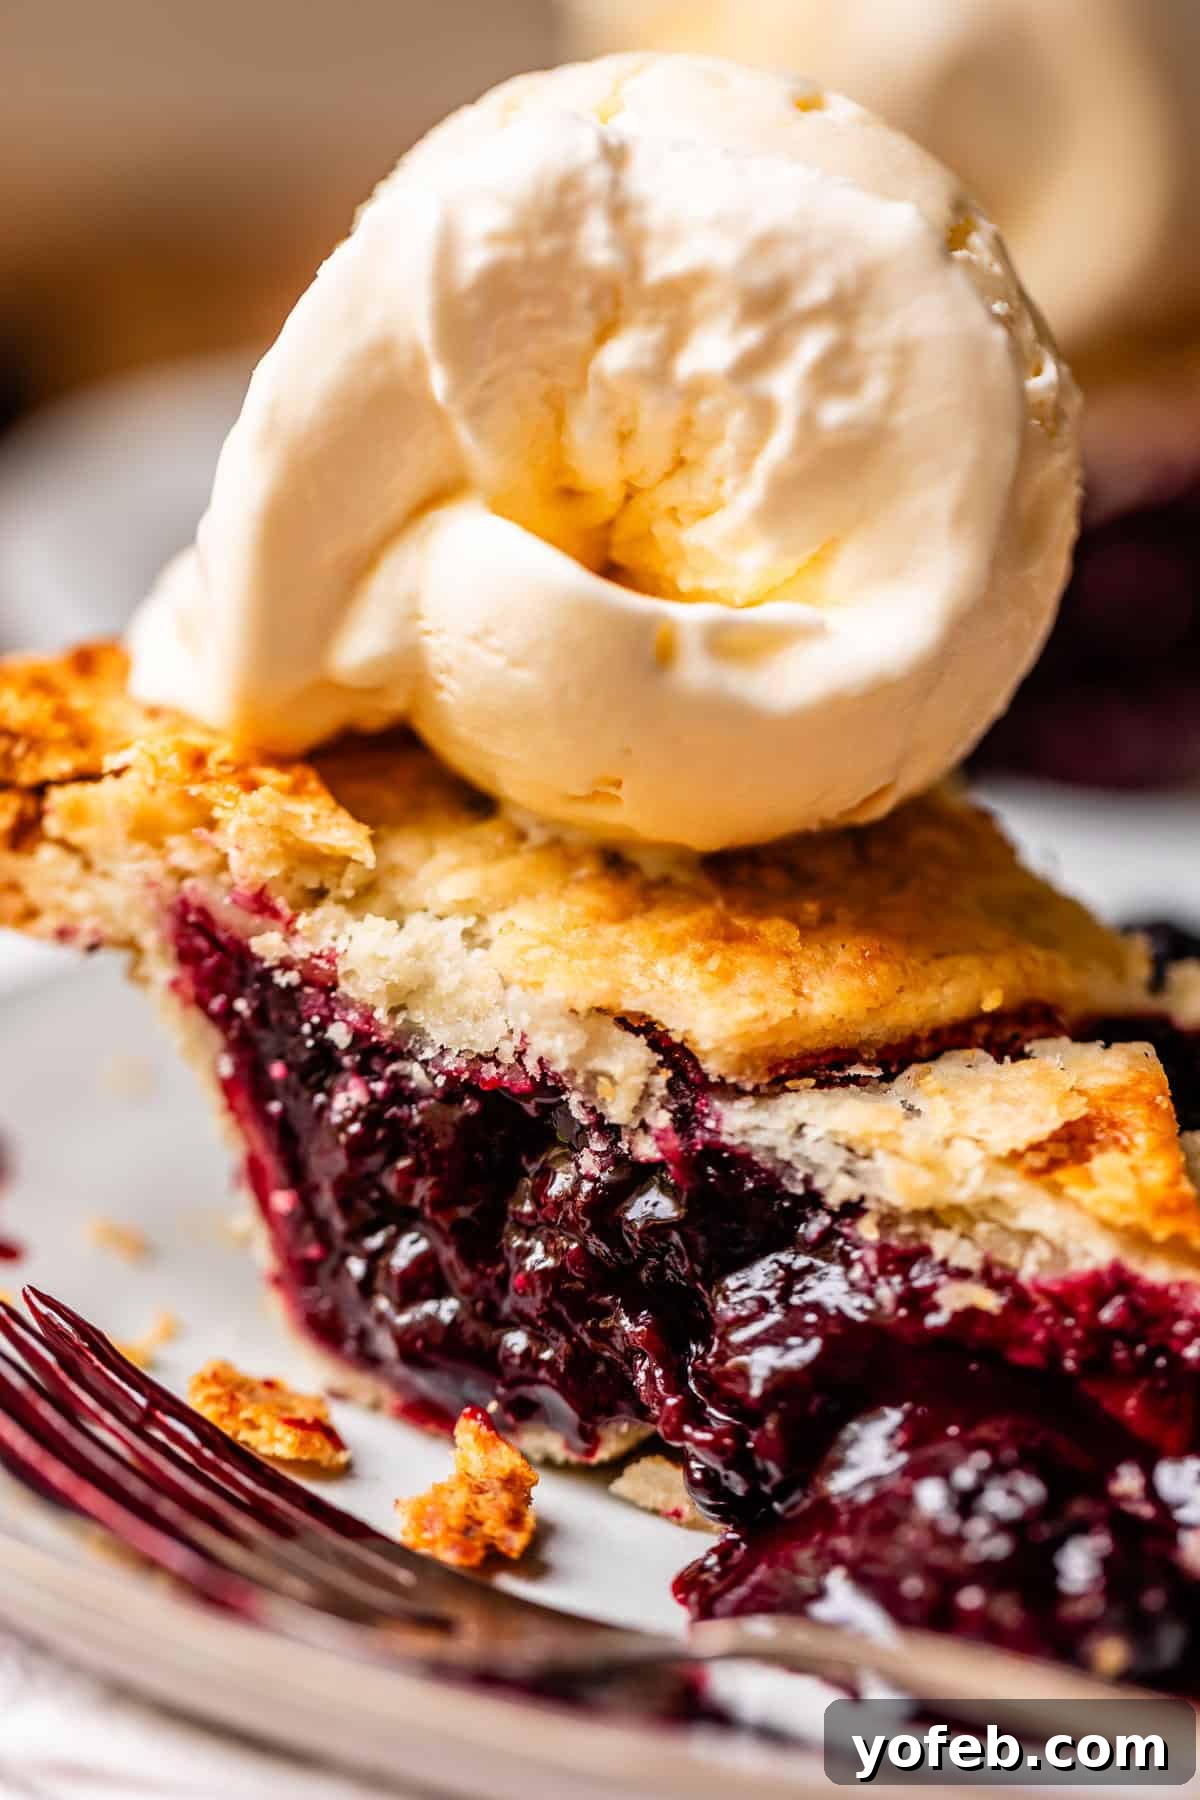
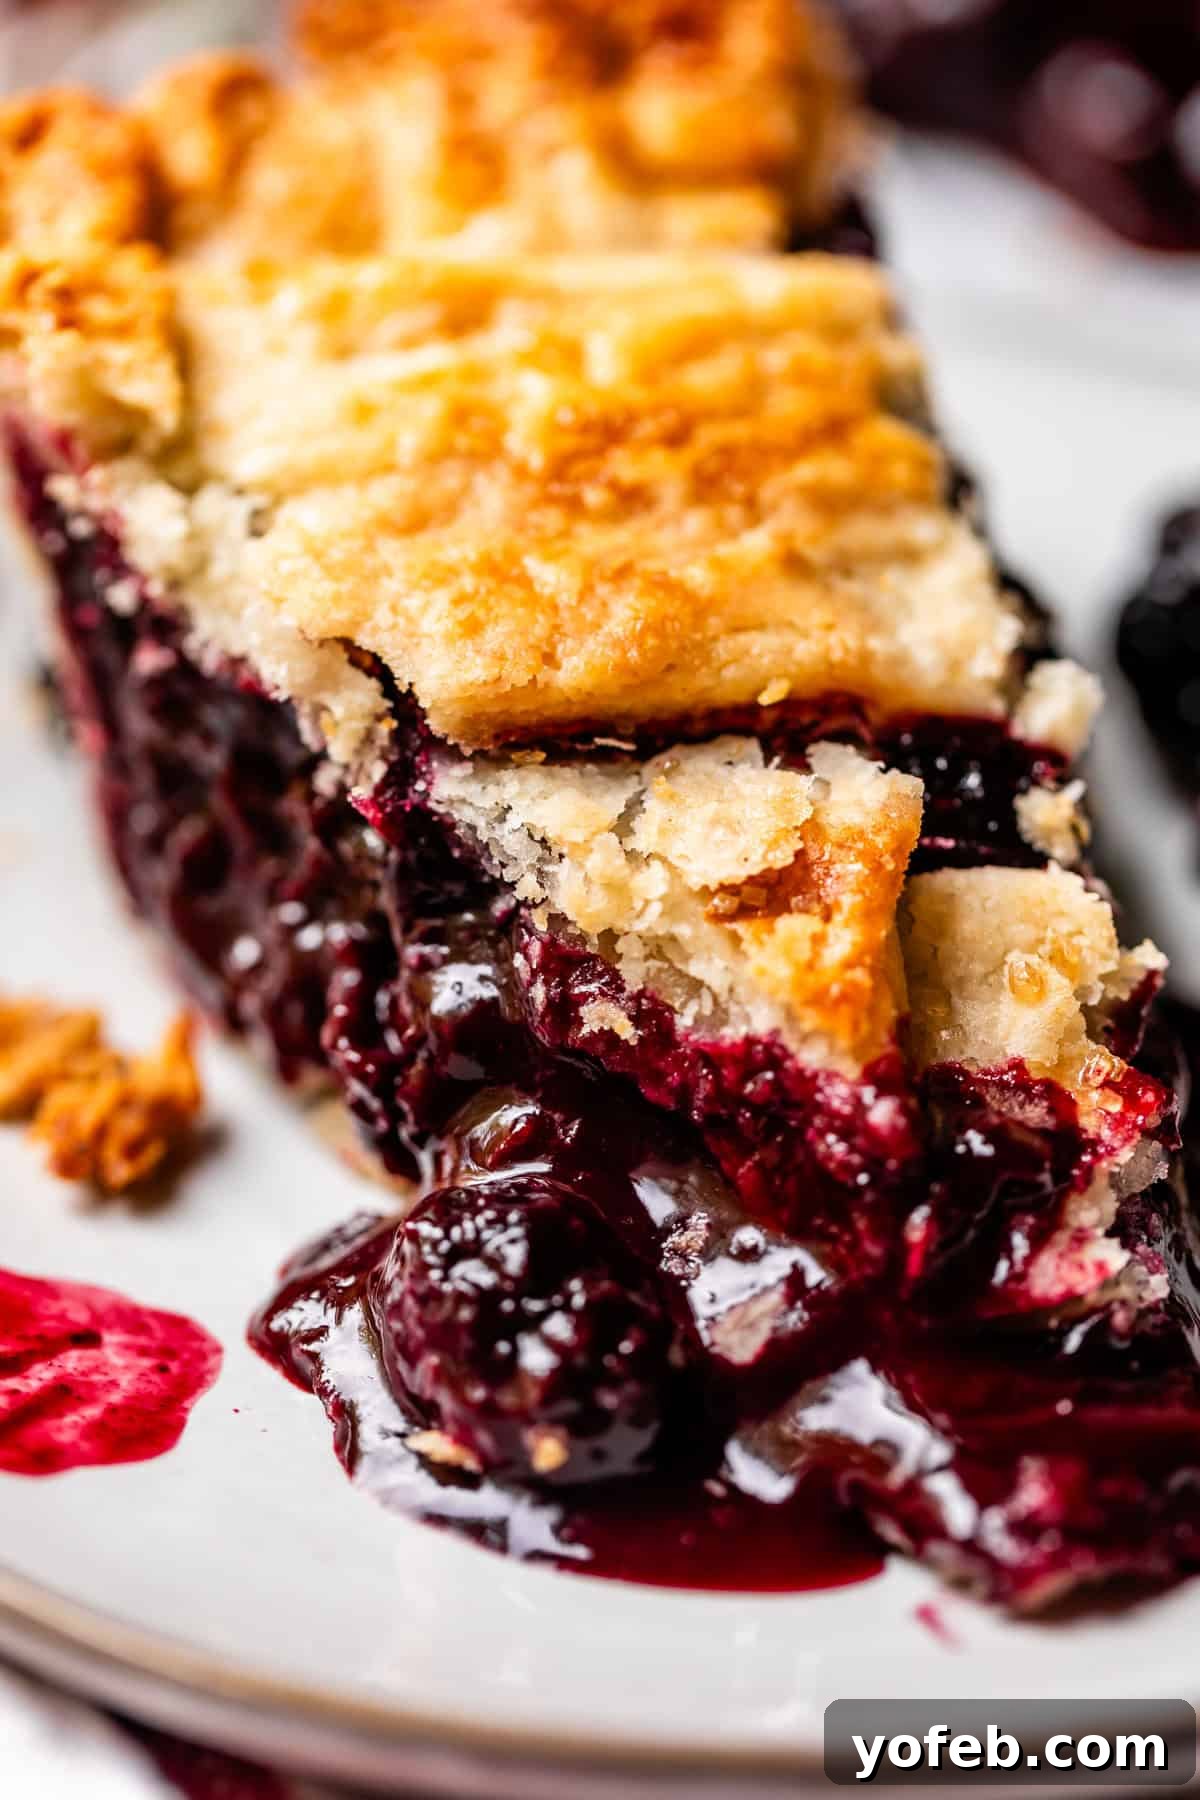
No pie will ever truly surpass this Blackberry Pie, not for me, and certainly not for anyone in my family. This isn’t just a recipe; it’s a legacy from Grandma Georgia, who was legendary for this particular pie. The secret lies in using fresh or frozen blackberries, which are meticulously crushed and cooked on the stove to create a consistently juicy, saucy, and perfectly tart filling. This exquisite filling is then nestled into a Flaky Homemade Pie Crust and baked to golden perfection. While cooking the filling ahead of time might seem like an extra step, the unparalleled flavor and texture of this impossible-to-resist berry pie make every ounce of effort worthwhile. This isn’t merely a dessert; it’s a taste of generations, a cherished tradition passed down and savored by all.
Table of Contents
- The Homemade Blackberry Pie of Your Dreams
- Grandma Georgia’s Secrets to the Best Homemade Blackberry Pie
- Why Frozen Berries Are a Game Changer for Your Pie
- Mastering the Blackberry Pie Filling
- Essential Ingredients for This Easy Blackberry Pie
- Step-by-Step: How to Bake the Perfect Blackberry Pie
- How to Store and Enjoy Leftover Blackberry Pie
- Freezing Blackberry Pie for Future Enjoyment
- Frequently Asked Questions About Blackberry Pie
- Explore More Irresistible Pie Recipes
- A Nostalgic Glimpse into the Past: Original Post from 2012
- Grandma Georgia’s Blackberry Pie Recipe
Imagine a late June afternoon in our backyard: the sun beating down at 108 degrees Fahrenheit, the thorny vines of blackberry bushes everywhere, sweat dripping, fingers bleeding from tiny pricks, and ants seemingly everywhere. In my arms, a large 9×13 metal pan, serving as our humble collection tin.
This was the quintessential scene, year after year, as we embarked on our annual blackberry harvest. The real MVP of the harvest? My dad, who could out-pick us all, every single time. The symphony of complaints? Those usually came from us, the children, weary from the heat and the thorns. And the magic of pie-making? That was exclusively reserved for Grandma Georgia, and later, my mom, who carried on the tradition.
But the collective moans of pure pleasure, the instant that first warm, sweet-tart bite of Blackberry Pie hit our mouths? Oh, that was undeniably ALL of us. This wasn’t just pie; it was the reward for our shared labor, a taste of home, and a symbol of family togetherness.
The Homemade Blackberry Pie of Your Dreams
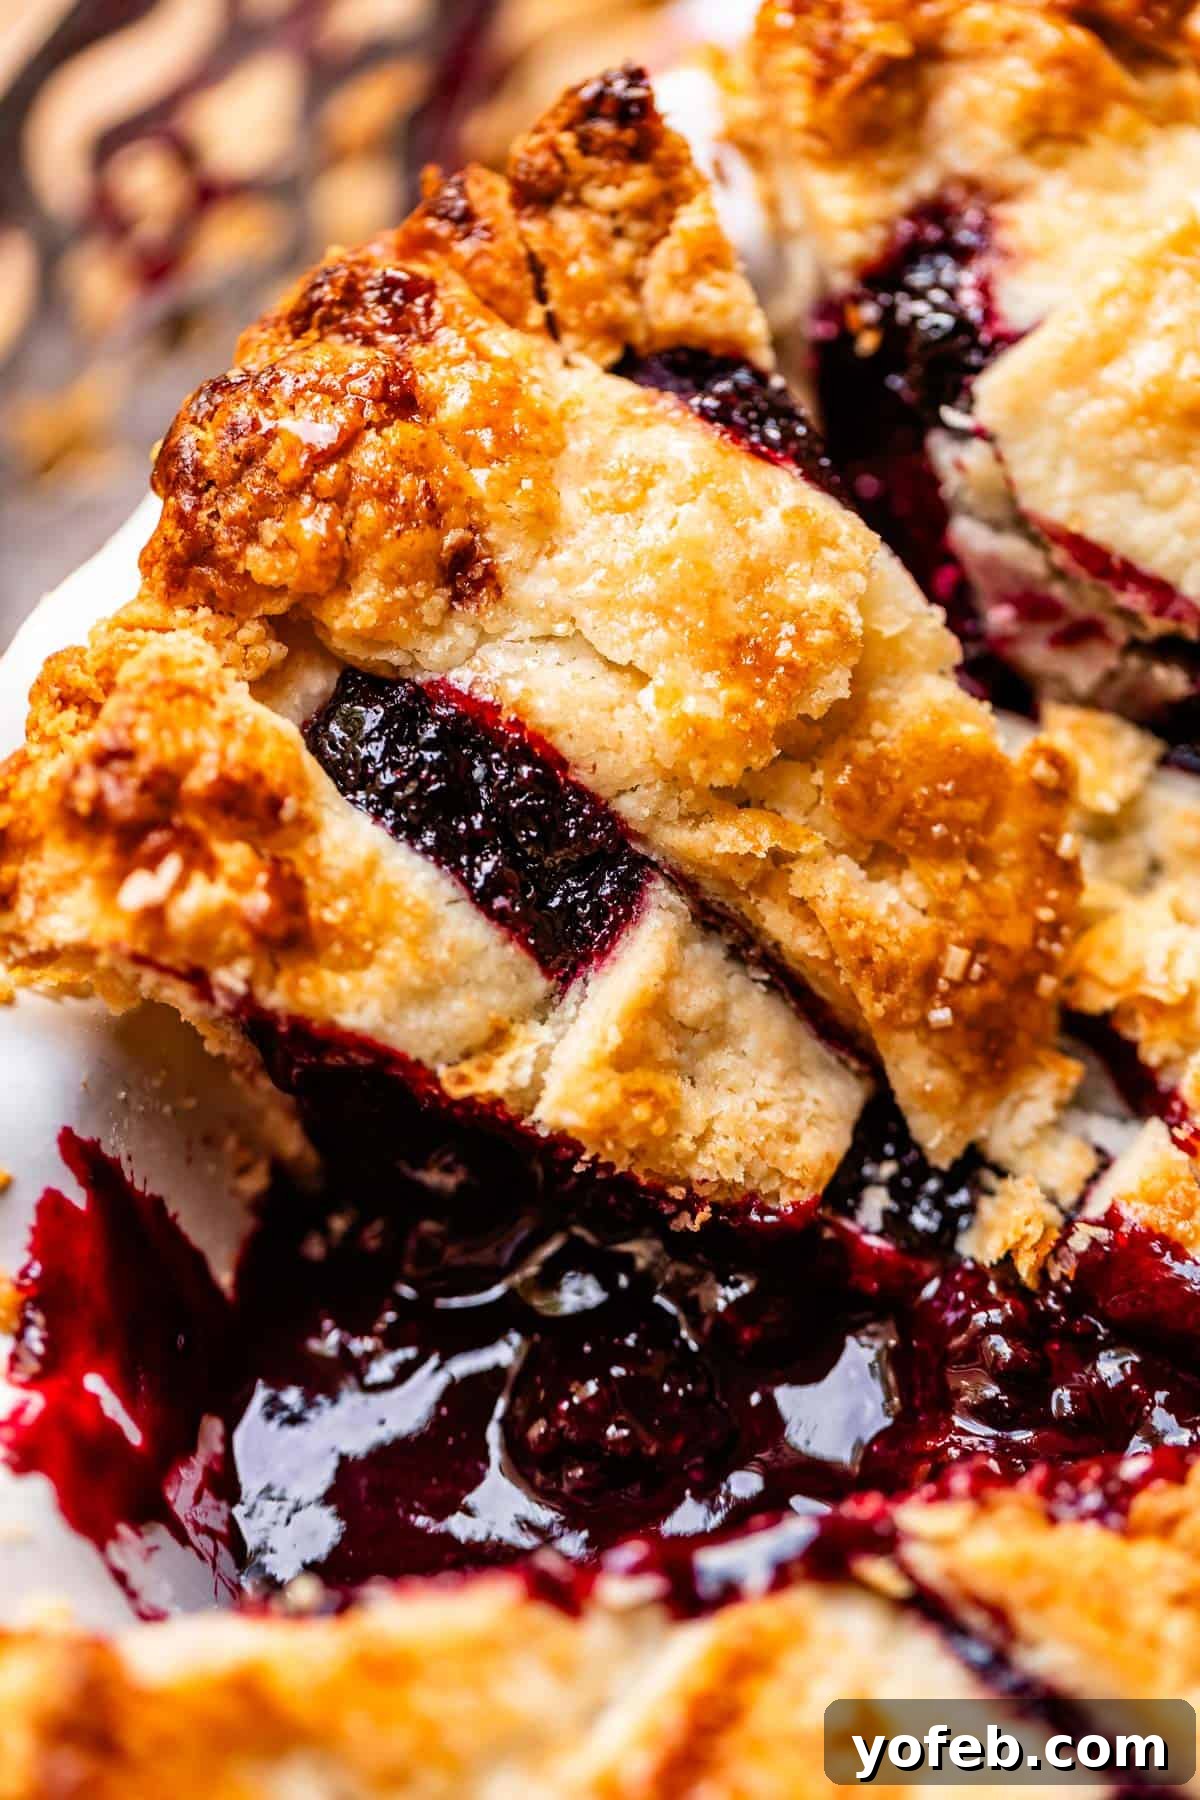
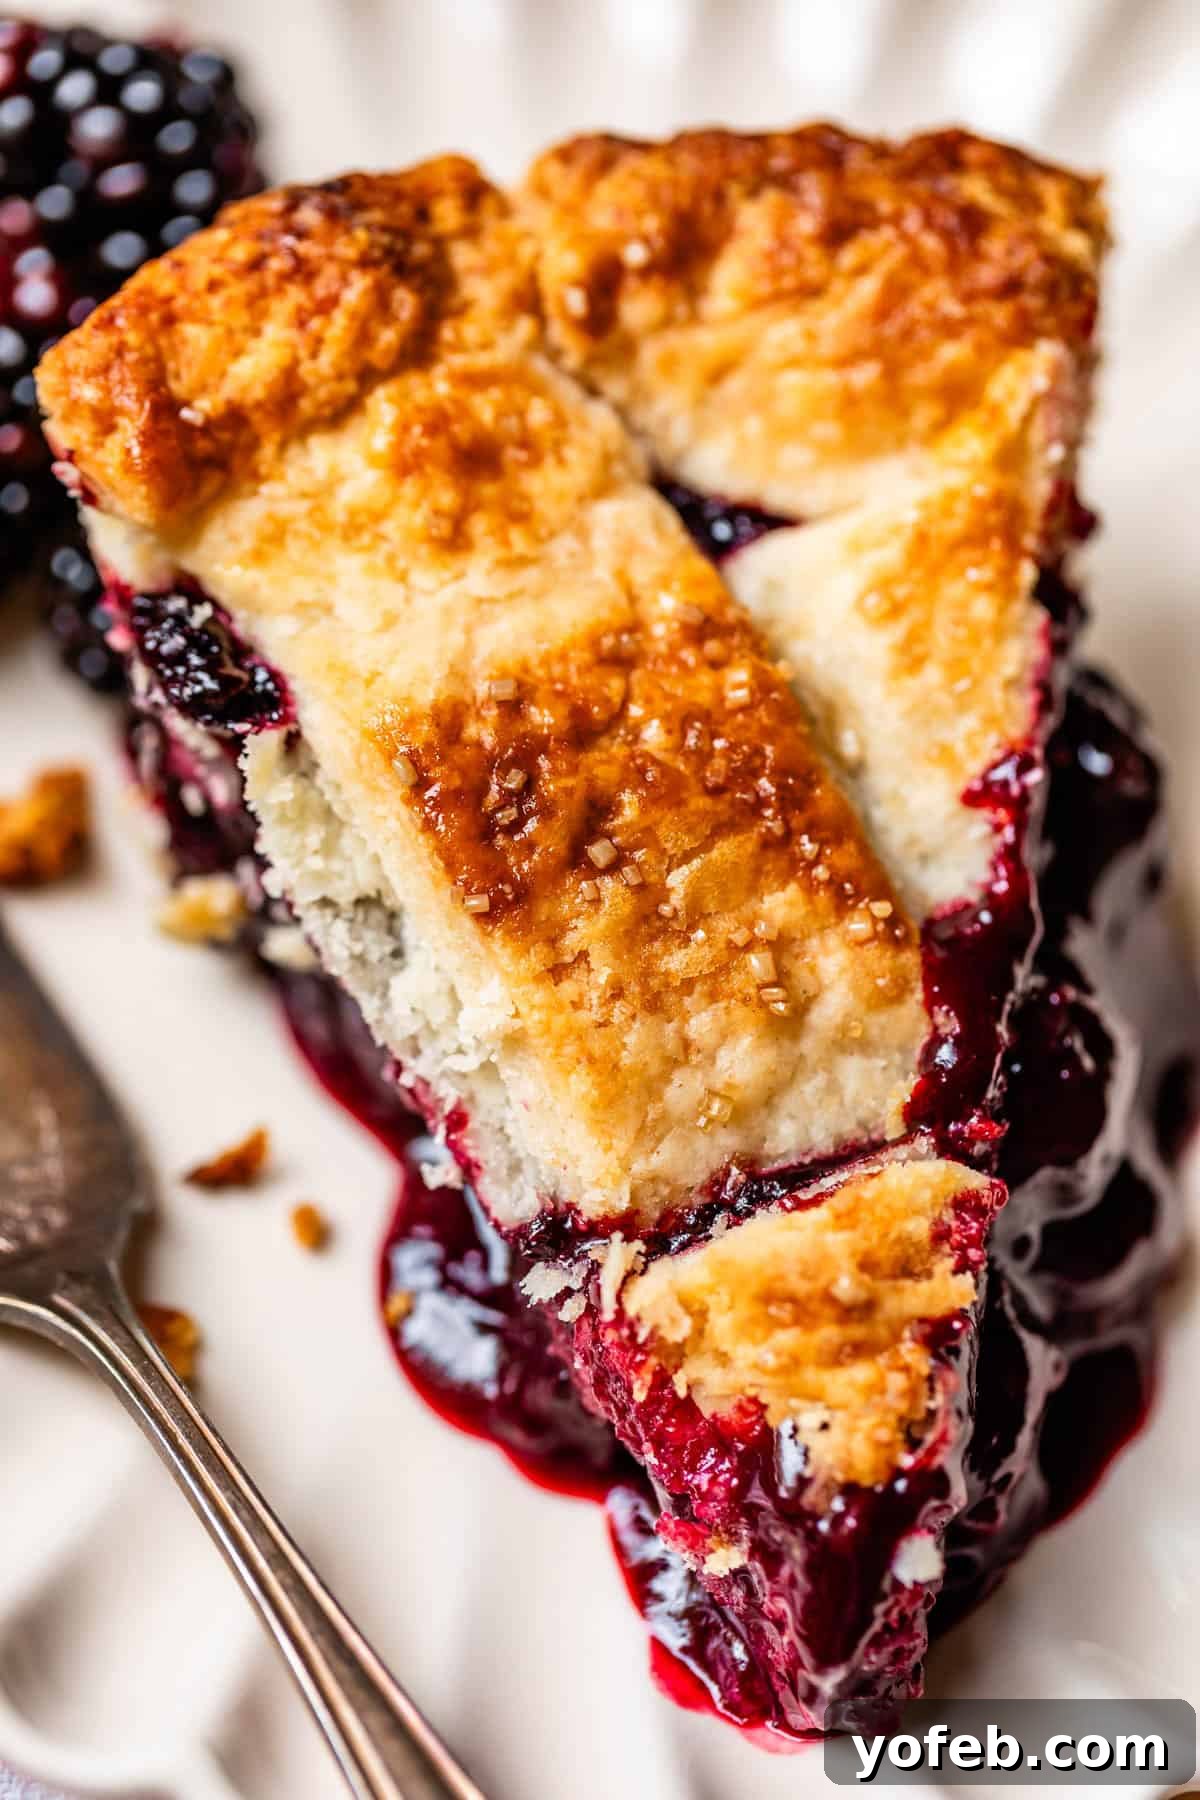
This homemade blackberry pie isn’t just a dessert; it embodies my most cherished childhood memories. It’s a recipe directly from my beloved Grandma Georgia, the same culinary genius behind other family classics like Slow Cooker Chicken and Dumplings and her comforting Chicken and Rice Casserole. Her blackberry pie offers an unparalleled balance of perfectly sweet and tart berries, lovingly enveloped in a buttery, incredibly flaky pie shell.
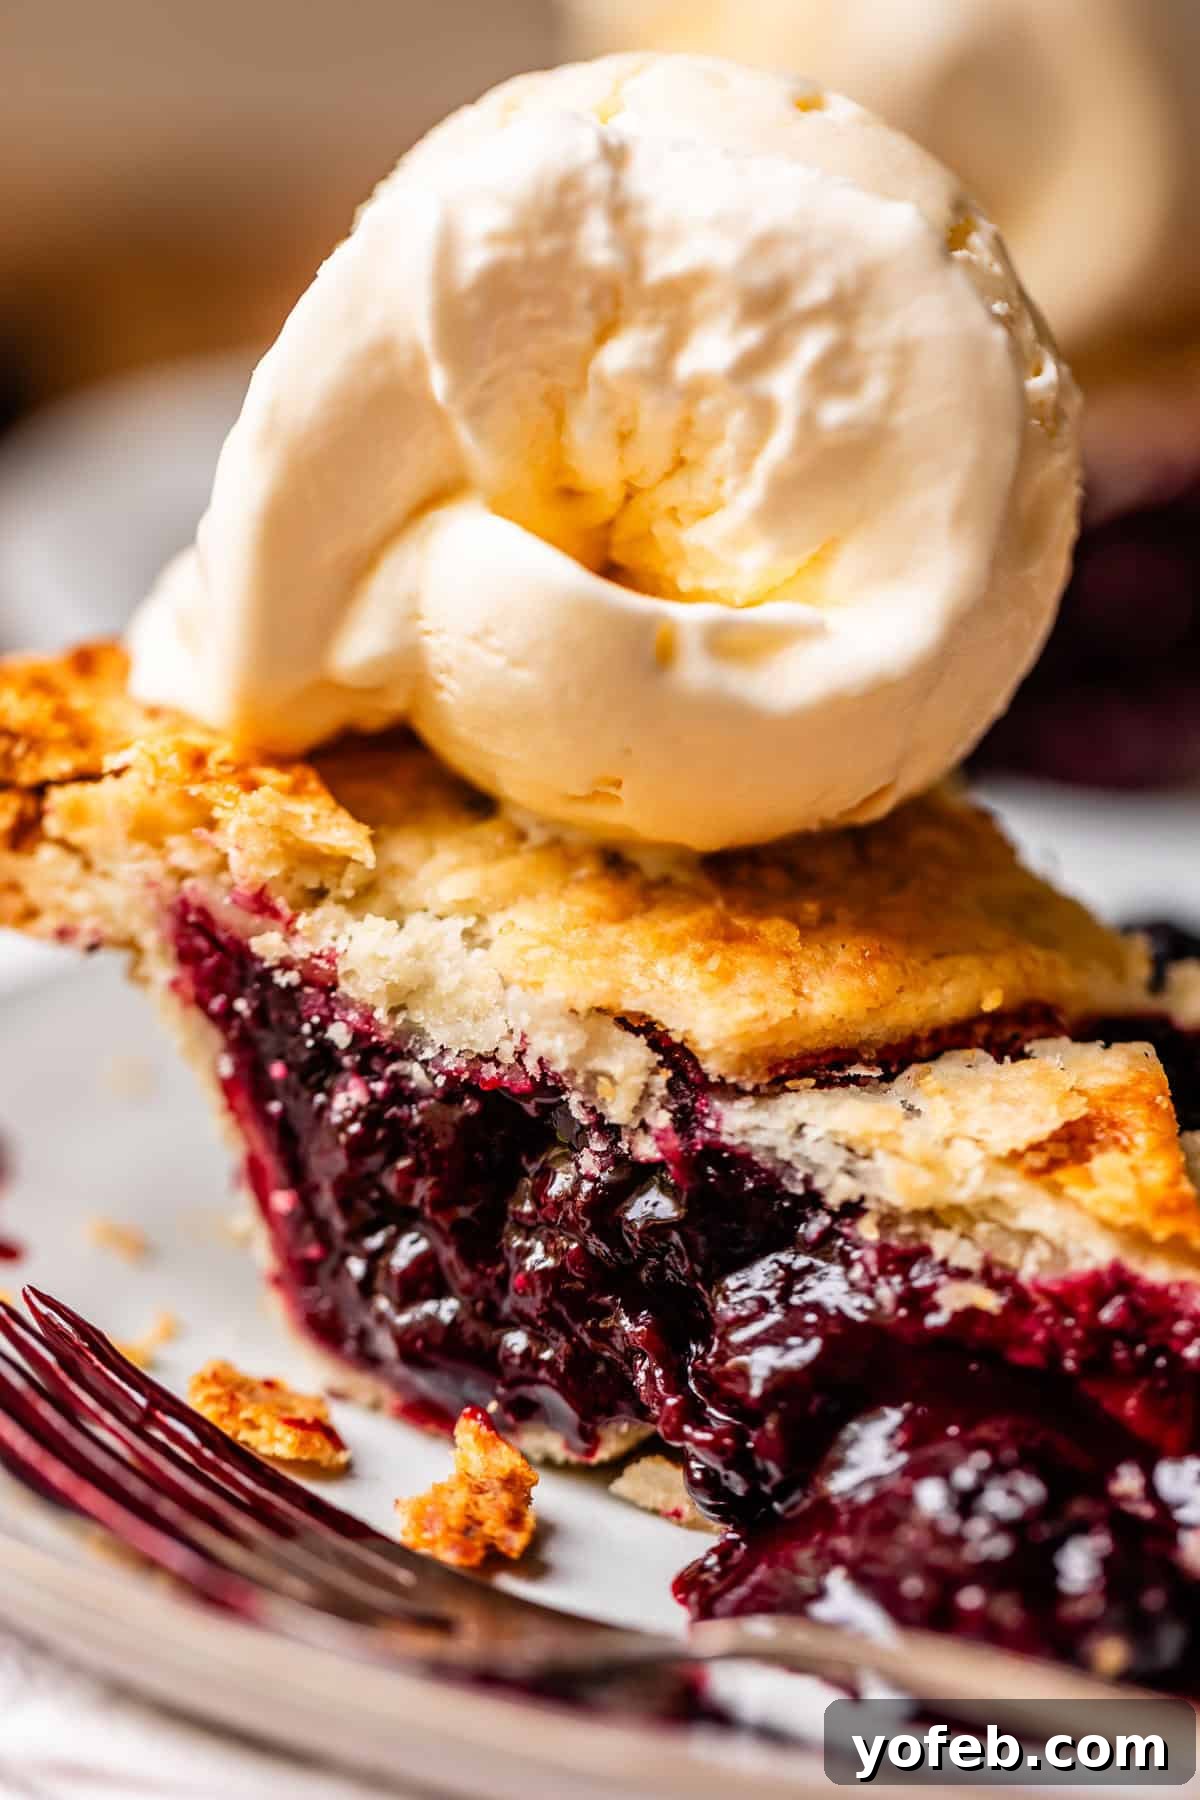
And if you truly know the joy of good pie, you’ll ensure it’s served with a generous scoop of creamy vanilla ice cream or a dollop of freshly made whipped cream on top. Trust me, nothing else even comes close to this culinary experience! This isn’t just a claim; it’s a fact etched into the hearts and palates of everyone who’s ever tasted it. Grandma Georgia spent years perfecting this recipe, using the abundant blackberry crops from her own backyard in Stockton, California. As generations passed, my dad continued the tradition by planting his own vines, and my mom meticulously documented Grandma’s recipe. The rest, as they say, is delicious history, ensuring that this perfect blackberry pie recipe continues to delight.
When you’re blessed with row upon row of fresh, ripe blackberries, consuming them all at once is simply impossible. That’s where the magic of the freezer comes in! Growing up, our freezer was always lined with ziplock bags brimming with beautiful, vine-ripened blackberries, flash-frozen to preserve their peak freshness. Visiting Grandma’s house for dinner, which happened with delightful regularity, often meant the joyous surprise of her famous blackberry pie for dessert. We felt incredibly rich, not in monetary terms, but in the abundance of these sweet, tangy treasures.
The freezer, in many ways, is the unsung hero that cemented blackberry pie as an iconic memory across virtually every holiday in my family. Easter? We’d be enjoying blackberry pie. Dad’s birthday? Absolutely, blackberry pie. Thanksgiving and Christmas? We didn’t just make one; we baked TWO blackberry pies, knowing full well that a single pie would never suffice for the large gatherings of our extended family. This is more than just a berry pie recipe; it’s a dish imbued with profound meaning, tradition, and love.
Do you have a family meal like that—a dish that signifies so much more than just its ingredients? This blackberry pie is precisely that for us. There’s nothing quite like it to evoke a sense of security, comfort, and the warm embrace of home, making it the ultimate comfort food dessert.
Grandma Georgia’s Secrets to the Best Homemade Blackberry Pie
For those eager to recreate this legendary homemade blackberry pie, here are the non-negotiable pillars that elevate it from good to truly extraordinary:
- **Unrivaled Flavor:** This is, without exaggeration, the finest blackberry pie you will ever taste. Its perfectly balanced sweet-tart profile and rich berry flavor are simply unmatched.
- **The Indispensable Homemade Pie Crust:** You absolutely, positively MUST use a Homemade Flaky Pie Crust. This pie is a celebration of simple, high-quality components, and an exceptional crust is paramount. A store-bought crust simply won’t do justice to the magnificent filling.
- **Pre-Cooked Filling: The Ultimate Game Changer:** The secret to a perfectly set, saucy, and juicy filling (never runny or gummy!) is to cook it on the stove *before* it goes into the oven. This method is a revelation, one I also proudly use for my Homemade Blueberry Pie. It ensures consistent thickness and flavor every time.
- **The Unexpected Advantage of Frozen Blackberries:** Prepare for a surprise! I actually prefer to make this pie with frozen blackberries. While it might sound counterintuitive, there are compelling reasons why frozen berries often yield a superior pie.
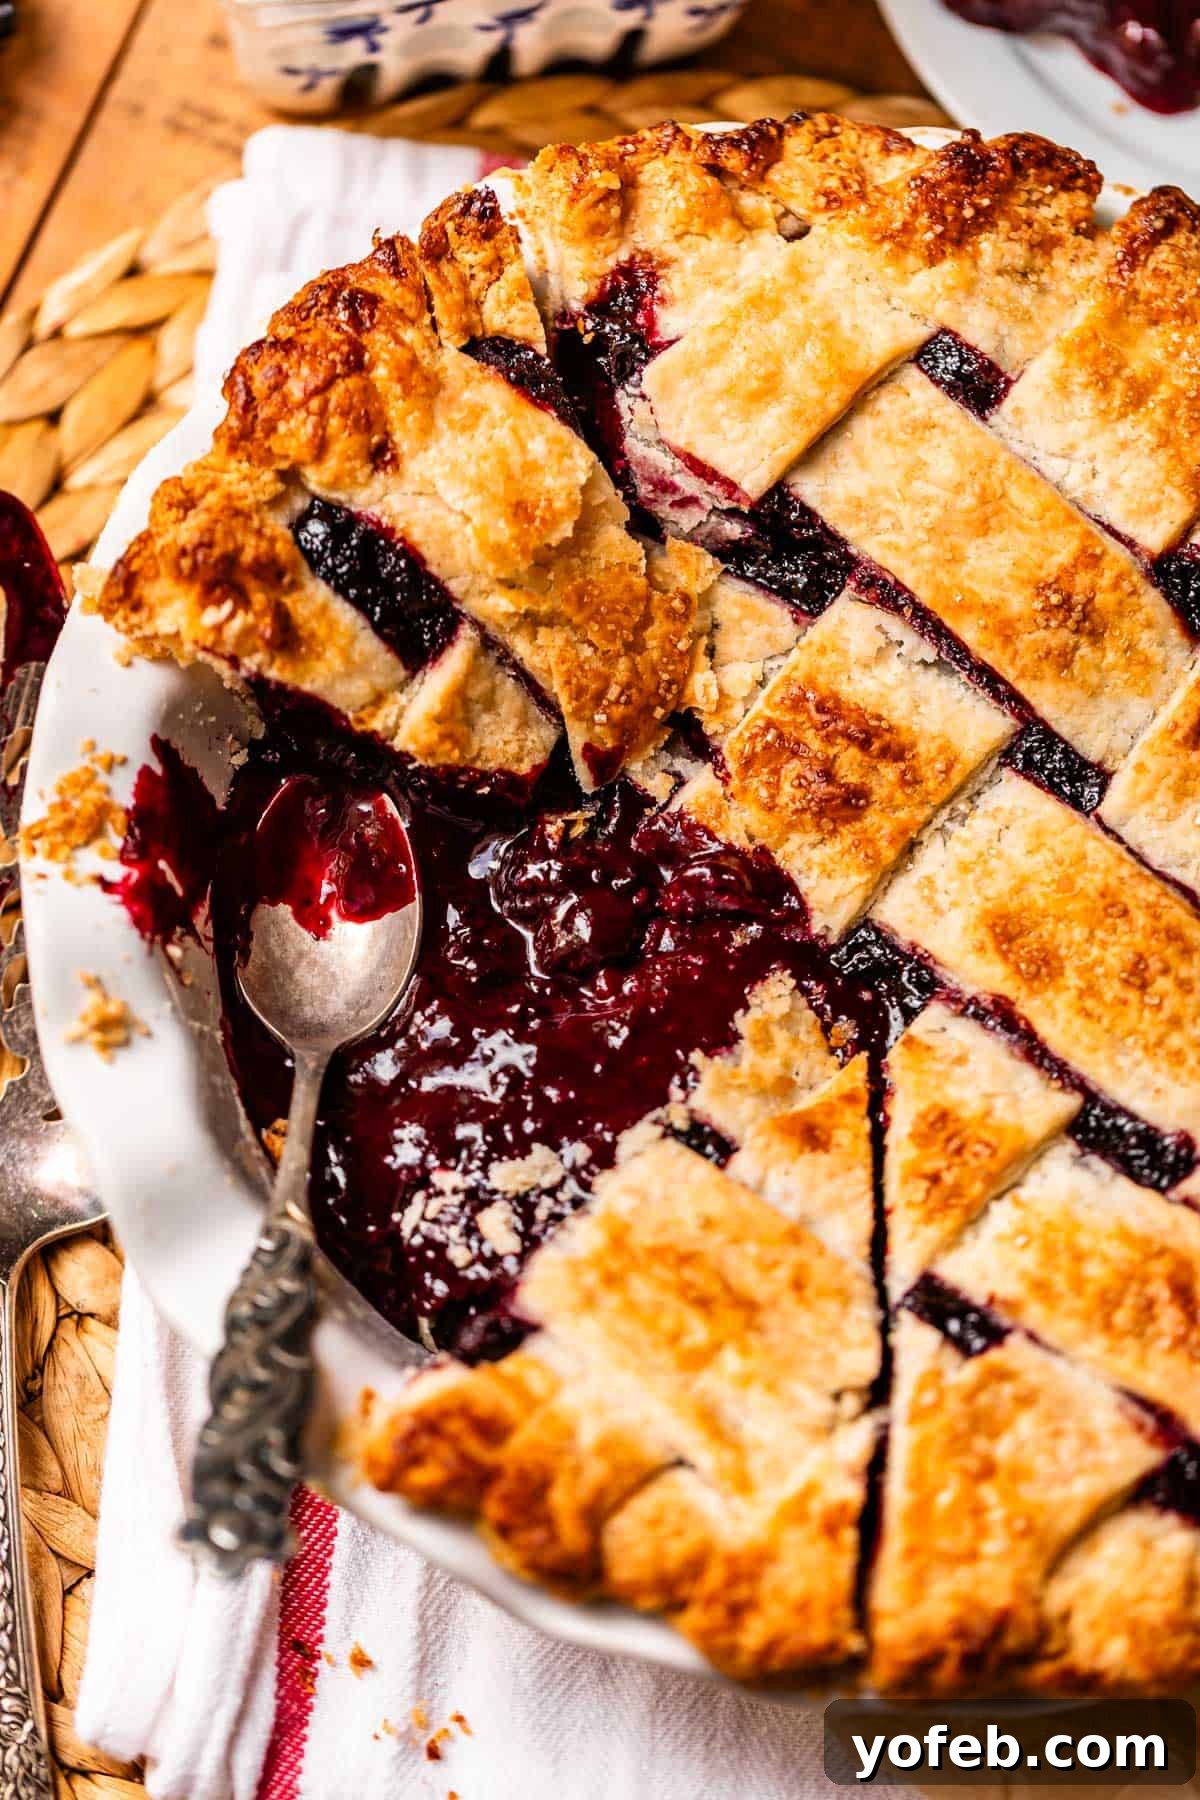
Why Frozen Berries Are a Game Changer for Your Pie
I know, I know—the very idea of choosing frozen over fresh might sound like heresy to some. Doesn’t “fresh” always mean “best”? Well, not necessarily, especially when it comes to baking a perfect blackberry pie.
Consider the journey of “fresh” berries you buy at the grocery store. Depending on your location and the season, these berries could have been picked five or more days before they even reach your local market. During this time, they are transported, handled, and stored, inevitably losing some of their peak freshness, flavor, and structural integrity.
Now, let’s talk about frozen berries. These beauties are typically harvested at their absolute peak ripeness and then flash-frozen almost immediately after picking. This rapid freezing process locks in their flavor, nutrients, and texture far more effectively than days of transportation and shelf life. While they’ve been frozen, they were frozen at a moment of much higher quality than many of the “fresh” berries you might encounter at the store. For this blackberry pie recipe, this distinction is crucial.
Another significant advantage of using frozen berries, particularly for this recipe, is a practical one: they instantly cool the hot filling you’ve just cooked on the stove. This immediate temperature drop allows you to fill your pie crust without delay, getting your pie into the oven much sooner. If you opt for room-temperature fresh berries, you’ll need to allocate additional time for the filling to cool completely, a vital step to prevent a soggy crust. So, for superior flavor, texture, and convenience, give frozen blackberries a try!
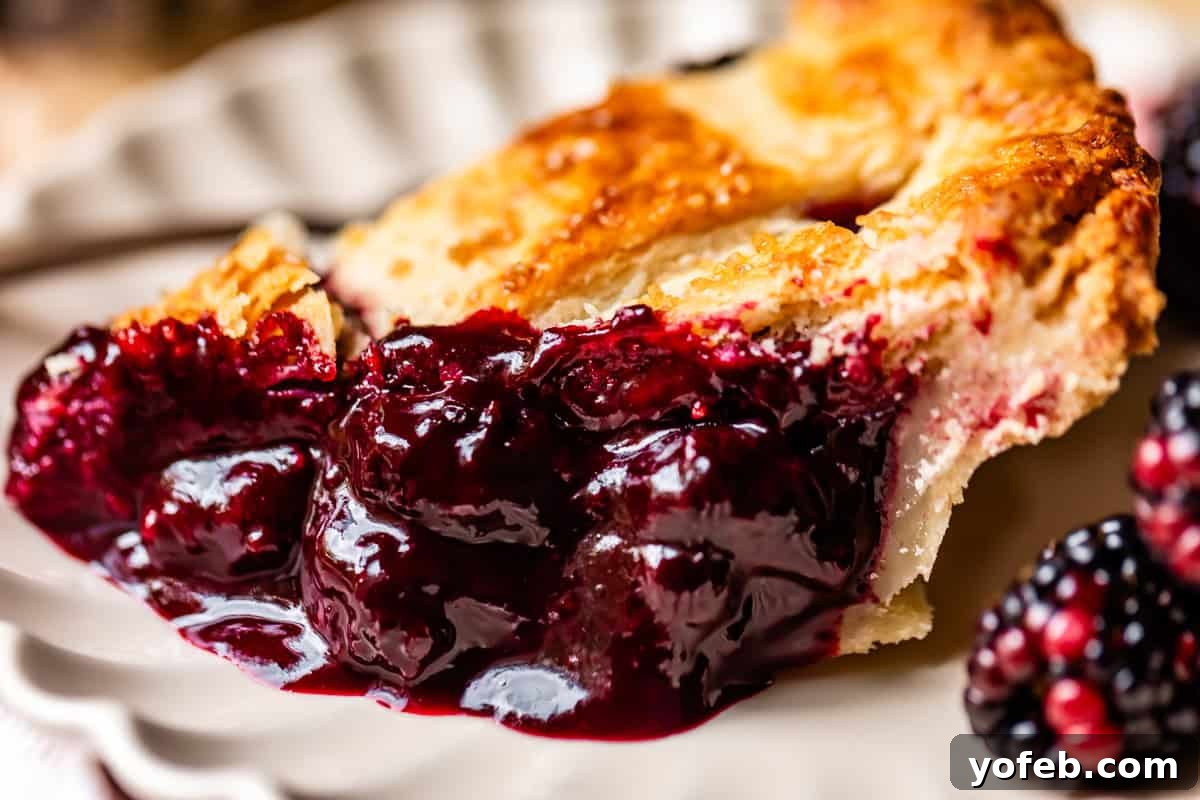
Mastering the Blackberry Pie Filling
While I hold strong opinions about the importance of a perfect pie crust (and I highly recommend checking out my extremely detailed post on How to Make Pie Crust from Scratch!), let’s shift our focus to achieving the absolute BEST blackberry pie filling. We’re aiming for a luscious, thick, and fruit-packed filling—no goopy, liquidy messes or over-baked, mushy berries allowed here, thank you very much! Stick to these essential rules, and you’ll be rewarded with a pie filling that’s truly magnificent:
- **Create a Berry Puree:** Start by blending a portion of your blackberries to create a smooth, vibrant puree. This forms the foundational sauce for your pie, ensuring a rich, consistent flavor throughout.
- **Pre-Cook for Perfect Thickness:** This is a crucial step! Cook the blackberry puree on the stove until it reaches the ideal thickness. By doing this *before* it even enters the oven, you gain complete control over the filling’s consistency, preventing a watery pie and guaranteeing a beautifully set result.
- **Incorporate Whole Berries:** Once your sauce is perfectly thickened, gently fold in the remaining whole berries. This ensures that every single bite of your pie offers a delightful burst of uncrushed, juicy fruit, surrounded by that rich, cooked sauce.
- **Crucial Cooling Step:** You absolutely MUST allow the filling to cool completely before transferring it to your pie crust. Skipping this step will utterly destroy the delicate, flaky texture of your crust, turning it gummy and unappealing. The science behind it is simple: a COLD pie crust entering a HOT oven creates the steam necessary for the flakiest, butteriest pie crust imaginable! Patience here truly pays off for the ultimate blackberry pie experience.
Essential Ingredients for This Easy Blackberry Pie
Compared to many other pie recipes, the ingredient list for this easy blackberry pie is delightfully short. The star of the show, of course, is blackberries, and you’ll need a generous quantity of them! Below is an overview of what you’ll need to gather, but for precise measurements and detailed instructions, always refer to the full recipe card.
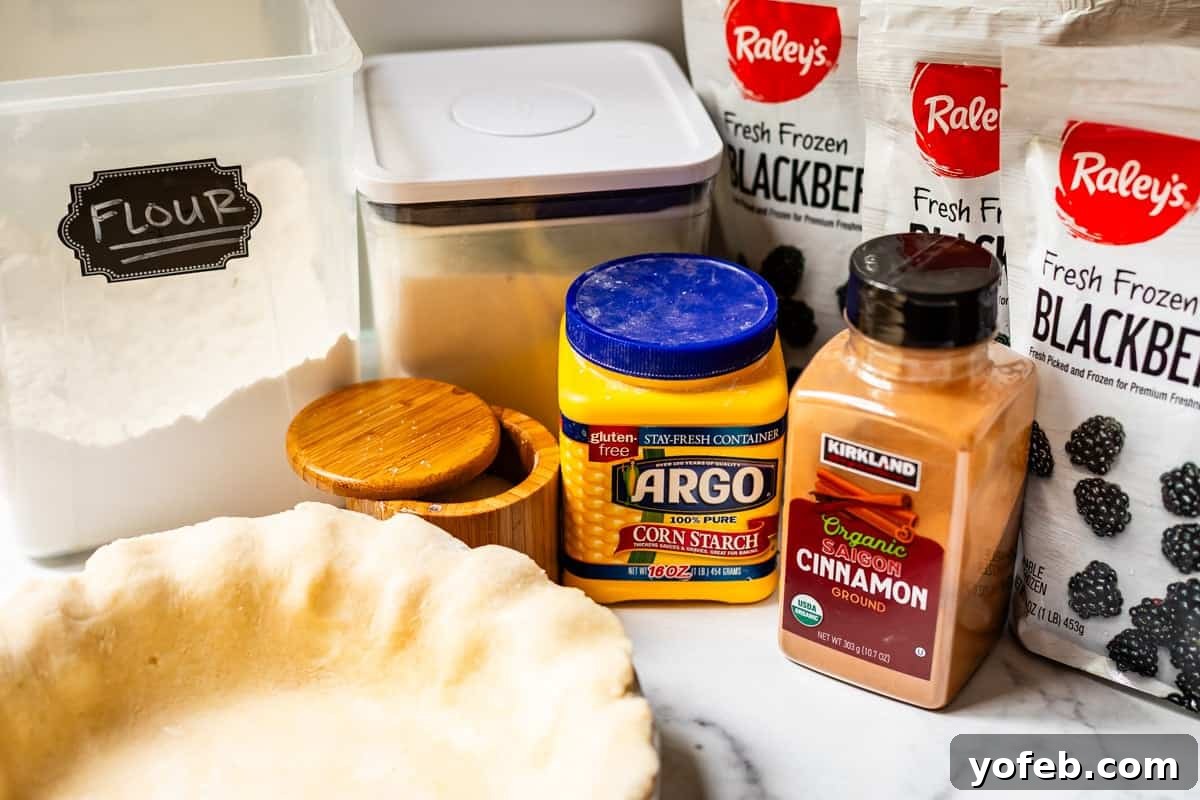
- **One Batch of Flaky Pie Crust:** This is non-negotiable for this simple pie. A homemade crust truly makes all the difference in achieving an exceptional result.
- **Blackberries:** Whether you have fresh, peak-season berries or a stash of frozen ones, you’ll need a substantial amount to create a truly fruit-filled pie.
- **Granulated Sugar:** This provides the perfect sweetness, which you can adjust slightly to match the tartness of your specific berries and your personal preference.
- **Cornstarch:** An essential thickening agent for the berry sauce, ensuring it sets beautifully without being overly runny. Note that the amount needed may vary slightly if you’re using fresh versus frozen berries, so check the recipe notes carefully!
- **All-Purpose Flour:** Used in combination with cornstarch, flour contributes to the filling’s texture and also offers a slightly richer, more nuanced flavor compared to cornstarch alone. It’s a powerful thickener that enhances the overall mouthfeel.
- **Cinnamon:** Just a hint is all you need! We’re not aiming for a spicy pie, but a small touch of cinnamon beautifully rounds out the tartness of the blackberries and adds subtle warmth without overpowering the fruit’s natural flavor.
- **Kosher Salt:** A culinary magician, salt acts as a flavor amplifier, making all the other ingredients in your pie filling taste more vibrant and pronounced.
- **Milk:** A small amount of milk is brushed onto the top crust before baking to encourage beautiful browning and a lovely golden finish.
- **Raw Sugar:** For sprinkling over the top crust, adding a delightful crunch and sparkle. My personal favorite is to use a sprinkle of cinnamon-sugar for an extra layer of flavor.
- **Vanilla Ice Cream or Whipped Cream:** For serving. This is NOT optional! The cool, creamy richness provides the perfect counterpoint to the warm, tart blackberry filling, making every bite an unforgettable experience.
Step-by-Step: How to Bake the Perfect Blackberry Pie
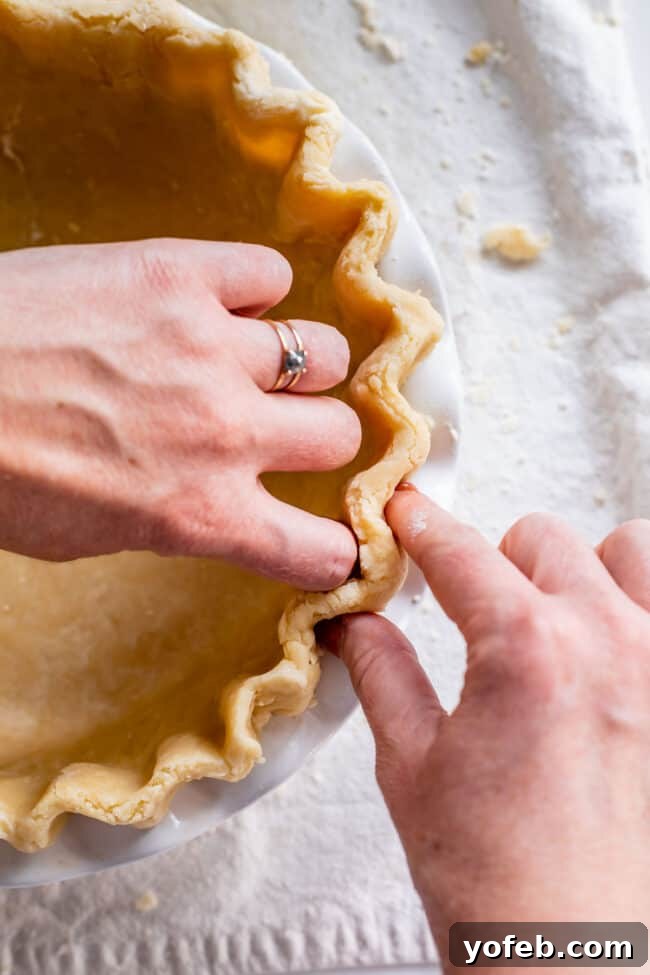
Alright, let’s dive into the delightful process of making this incredible blackberry pie! Every day is a good day for pie, and we’re about to embark on creating a truly memorable one. Your journey begins with crafting your homemade pie crust – please don’t skip this critical step! Since blackberry pie is a relatively simple recipe, a stellar crust truly has the opportunity to shine as the foundational star. Let it have its moment! Making pie crust isn’t as daunting as it seems, and I’ve broken down the entire process with tons of helpful photos for beginners in my dedicated How to Make Flaky Pie Crust post. Tap that link for all the visual guidance you’ll need.
You can create this luscious pie using either fresh or frozen blackberries. The process is remarkably similar for both, so I’m illustrating the frozen version primarily, with interspersed photos to highlight any minor differences when using fresh berries.
If you’re starting with frozen berries, measure out approximately 2 ½ cups into a microwave-safe bowl. Gently microwave them in 1-minute intervals, stirring in between, until they are mostly thawed and have started to release some liquid at the bottom of the bowl. This partial thawing helps them blend smoothly.
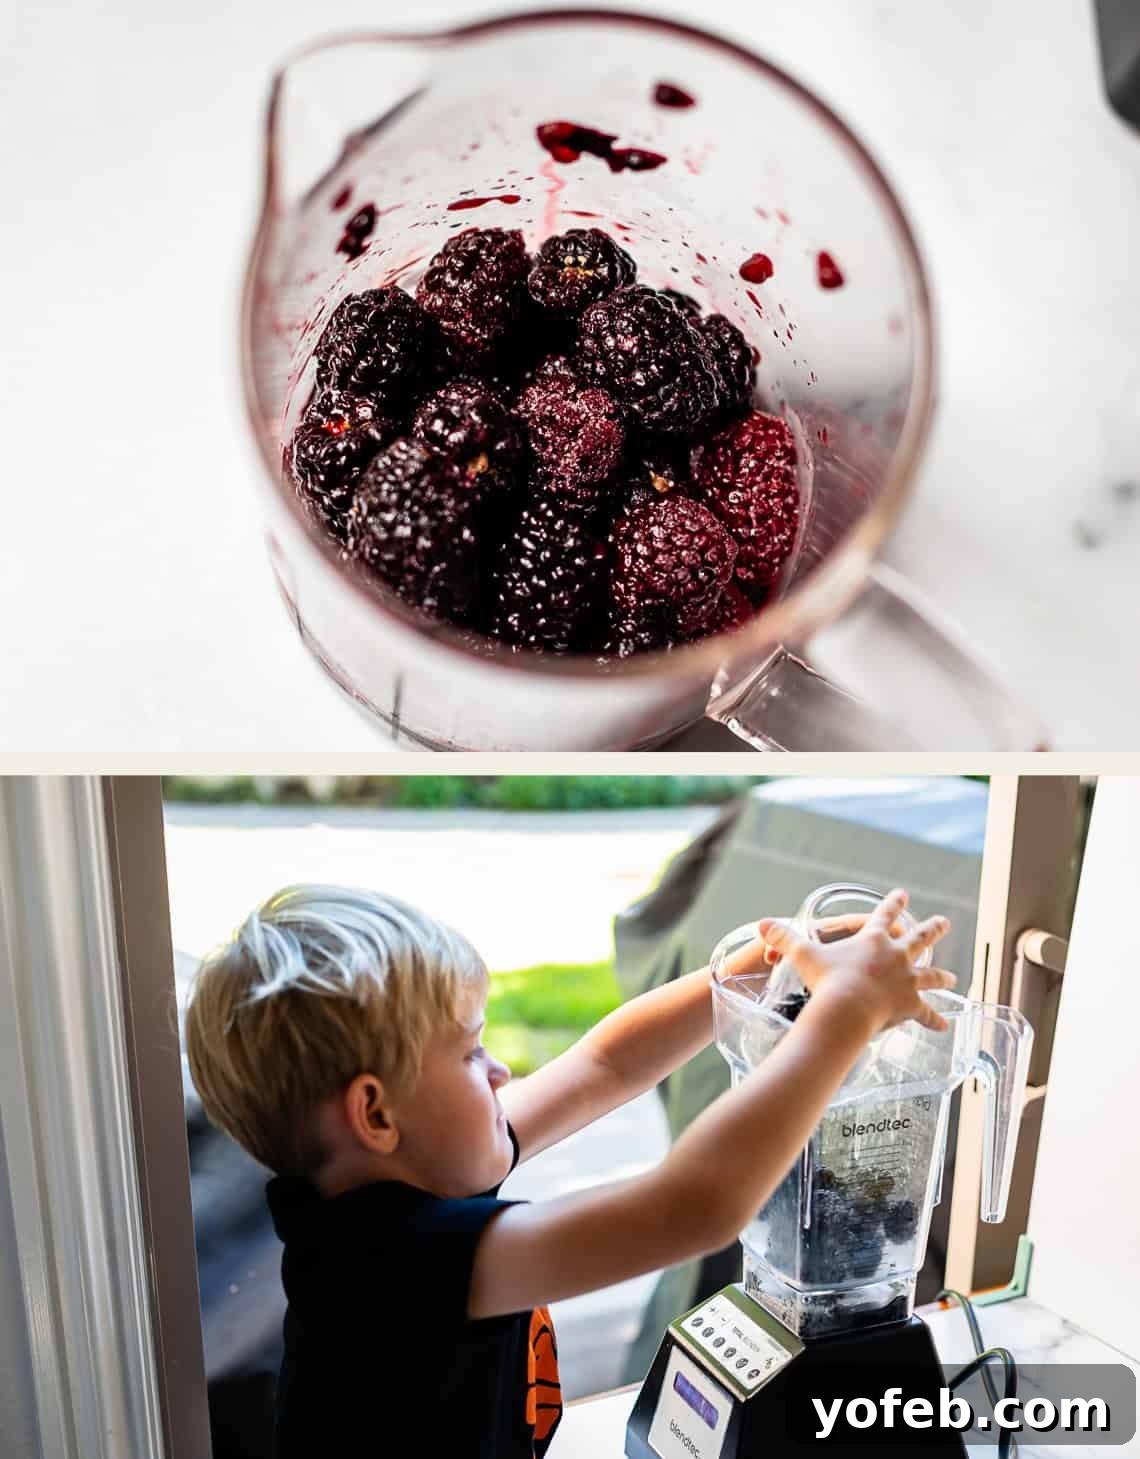
For those using fresh berries, simply add them directly to your blender. And if you have a charming 5-year-old assistant eager to help, now’s the perfect time to enlist their eager hands!
Now, it’s time for a surprising step: making a berry smoothie! “What?!” you might exclaim.
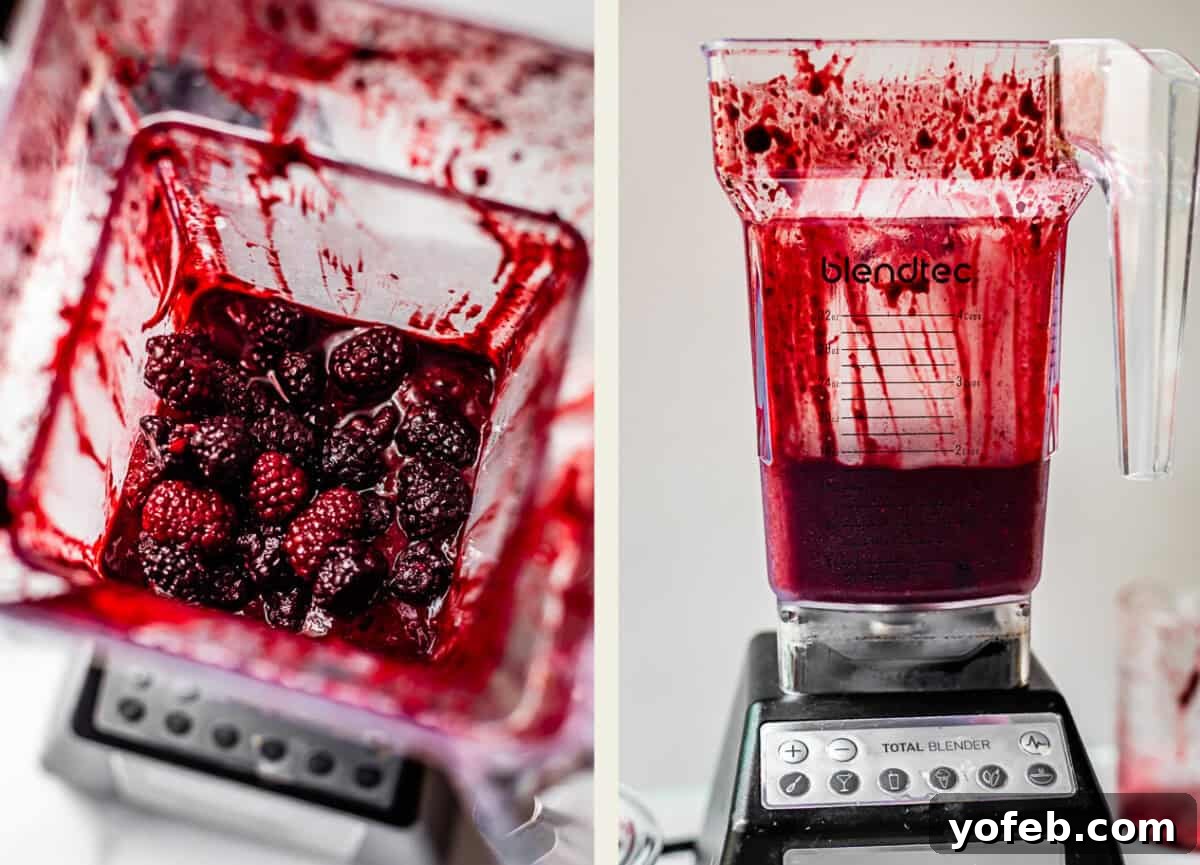
Hear me out: blending a portion of the berries creates a rich, flavorful sauce that forms the backbone of your pie filling. Pre-cooking this sauce on the stove allows for much greater control over the final liquid levels, preventing a runny pie. This is the single greatest tip my Grandma Georgia ever imparted for fruit pies! It might seem like an extra step, but I promise, the consistently perfect, juicy filling is absolutely worth the minimal extra effort. While Grandma preferred to mash her berries directly in the pot with a potato masher, I find the blender yields a wonderfully smooth and consistent puree.
However you choose to do it, process enough berries to yield precisely 1 ¾ cups of liquid puree.
Meanwhile, in a saucepan (currently turned off, resting on the stove), combine all your dry ingredients: the granulated sugar, cornstarch, flour, cinnamon, and kosher salt. Whisk these together thoroughly until they are well combined and completely smooth, ensuring there are no lumps.
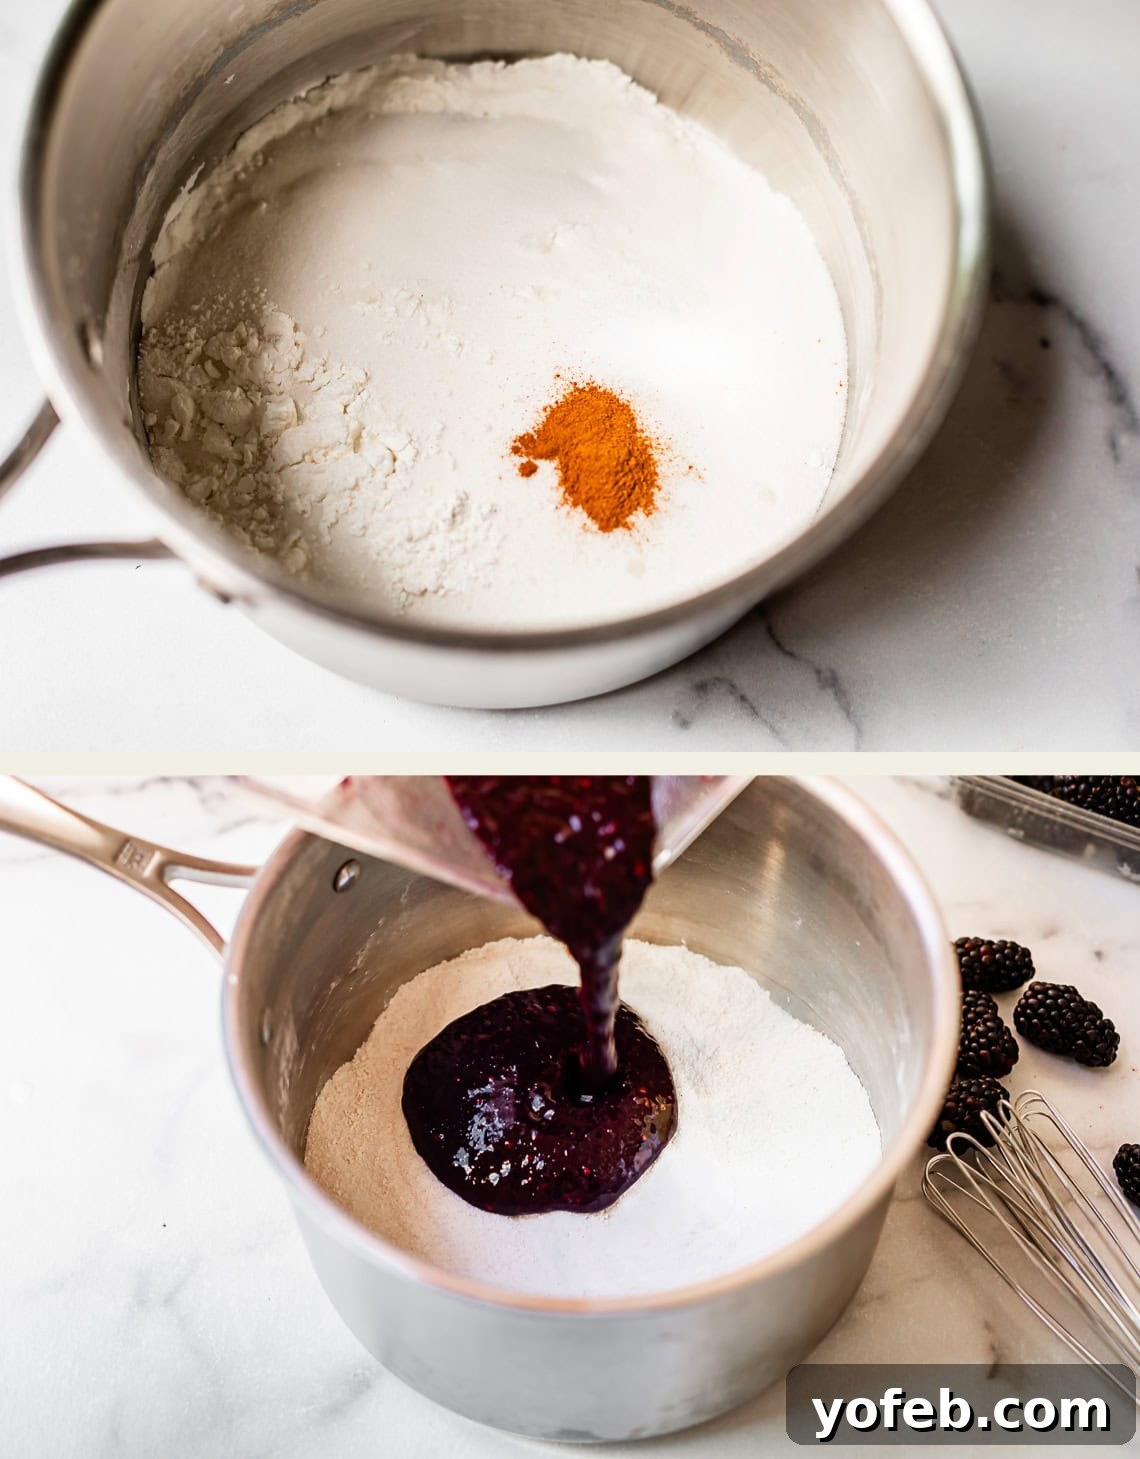
Next, pour the prepared blackberry puree from the blender into the saucepan with your dry ingredients.
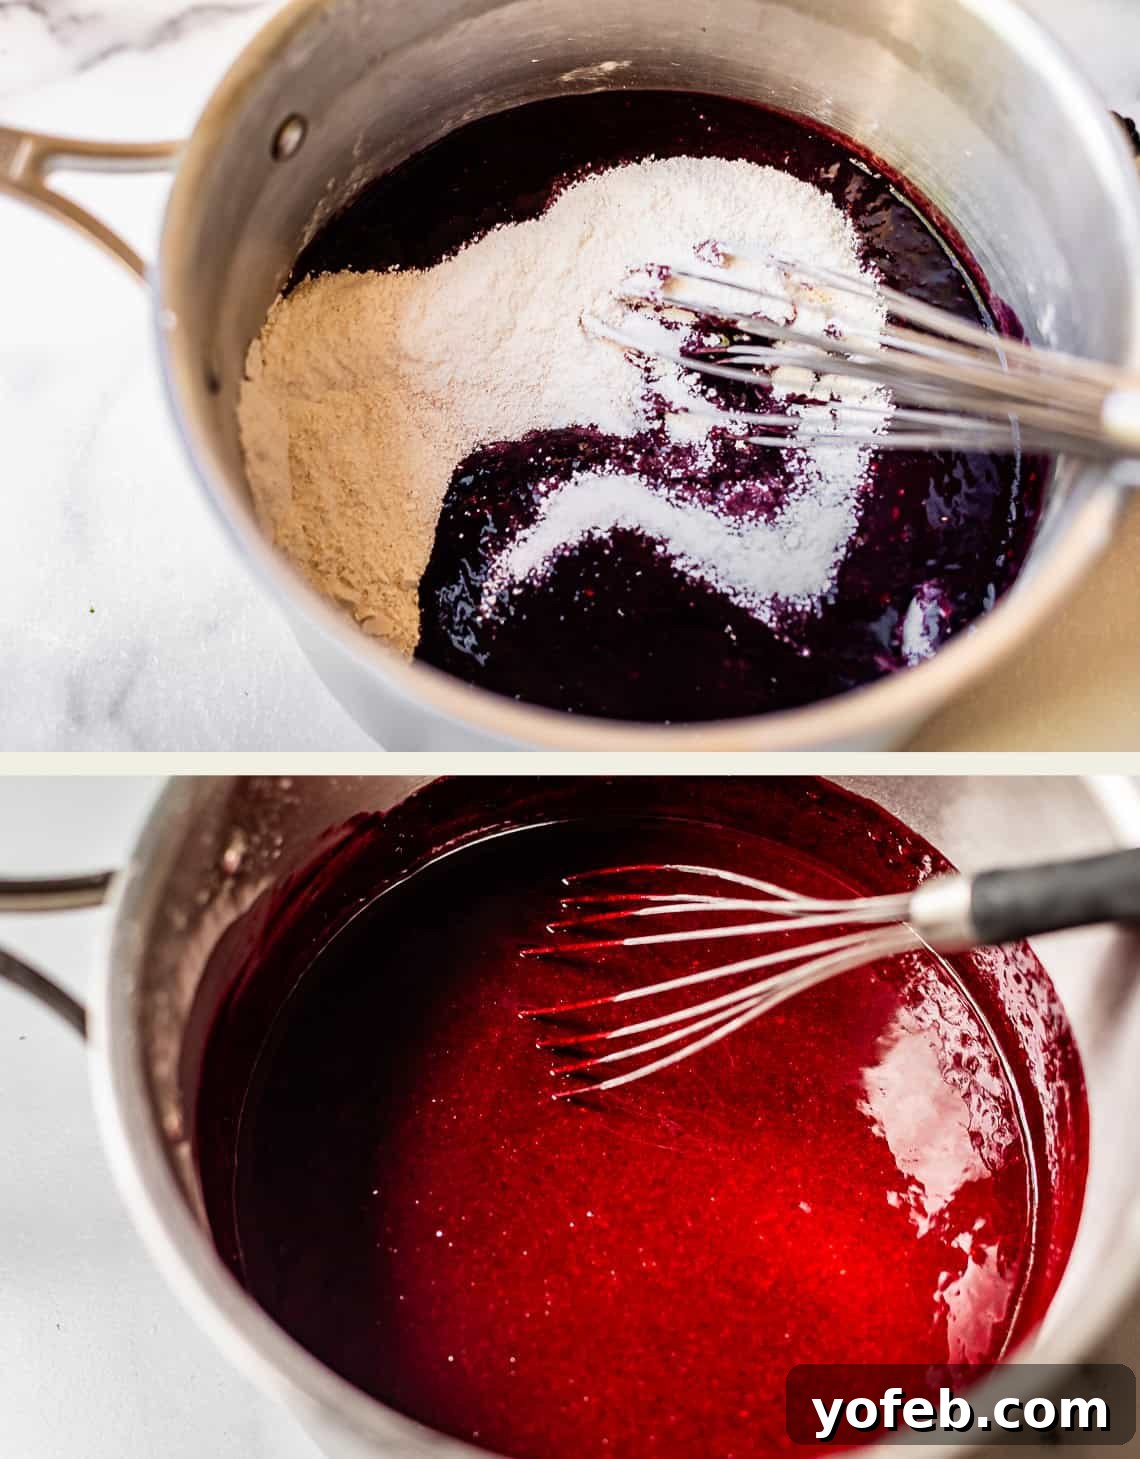
Whisk vigorously to eliminate all lumps BEFORE you even think about turning on the heat! This ensures a silky-smooth sauce.
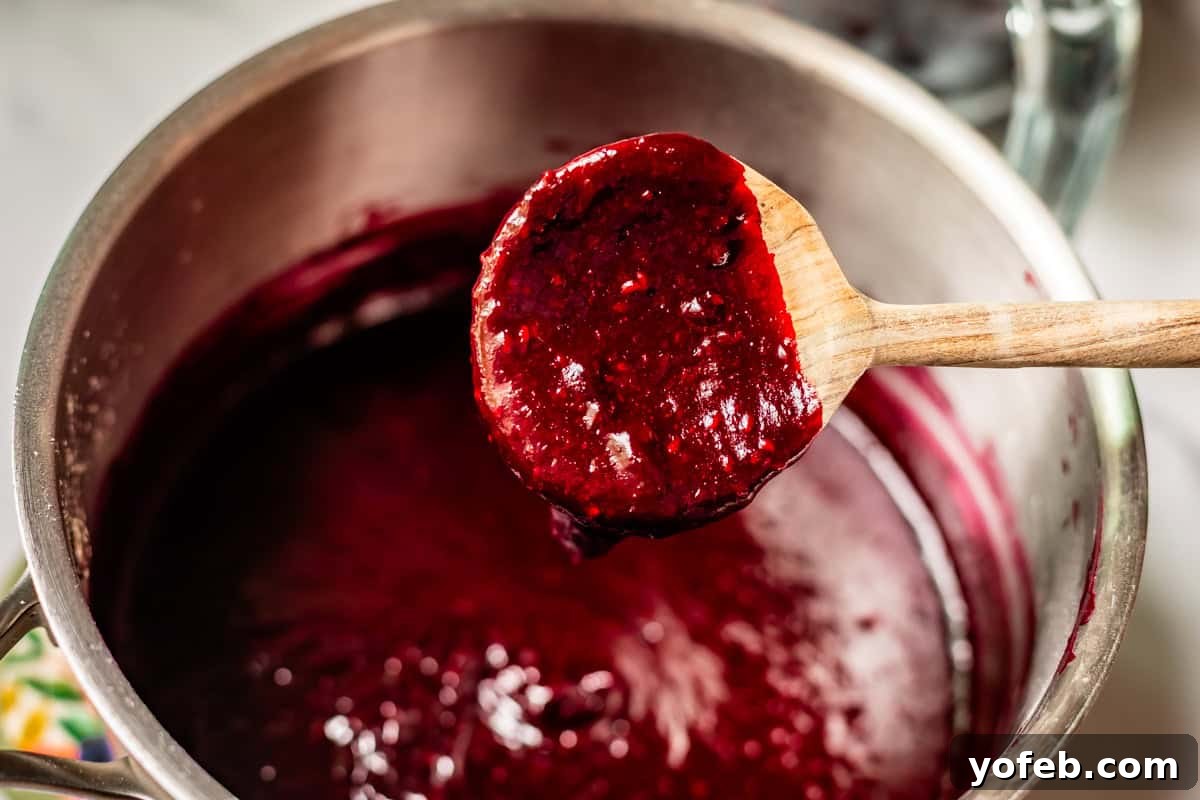
Now, turn the heat to medium and cook the mixture for about 3-5 minutes, stirring occasionally, until it just begins to bubble and boil. It should visibly thicken into a glossy, rich sauce, much like the image shows. As soon as it reaches this consistency, immediately remove the pan from the heat.
If you are using frozen berries for the whole fruit component, add them into the hot sauce while they are still completely frozen!
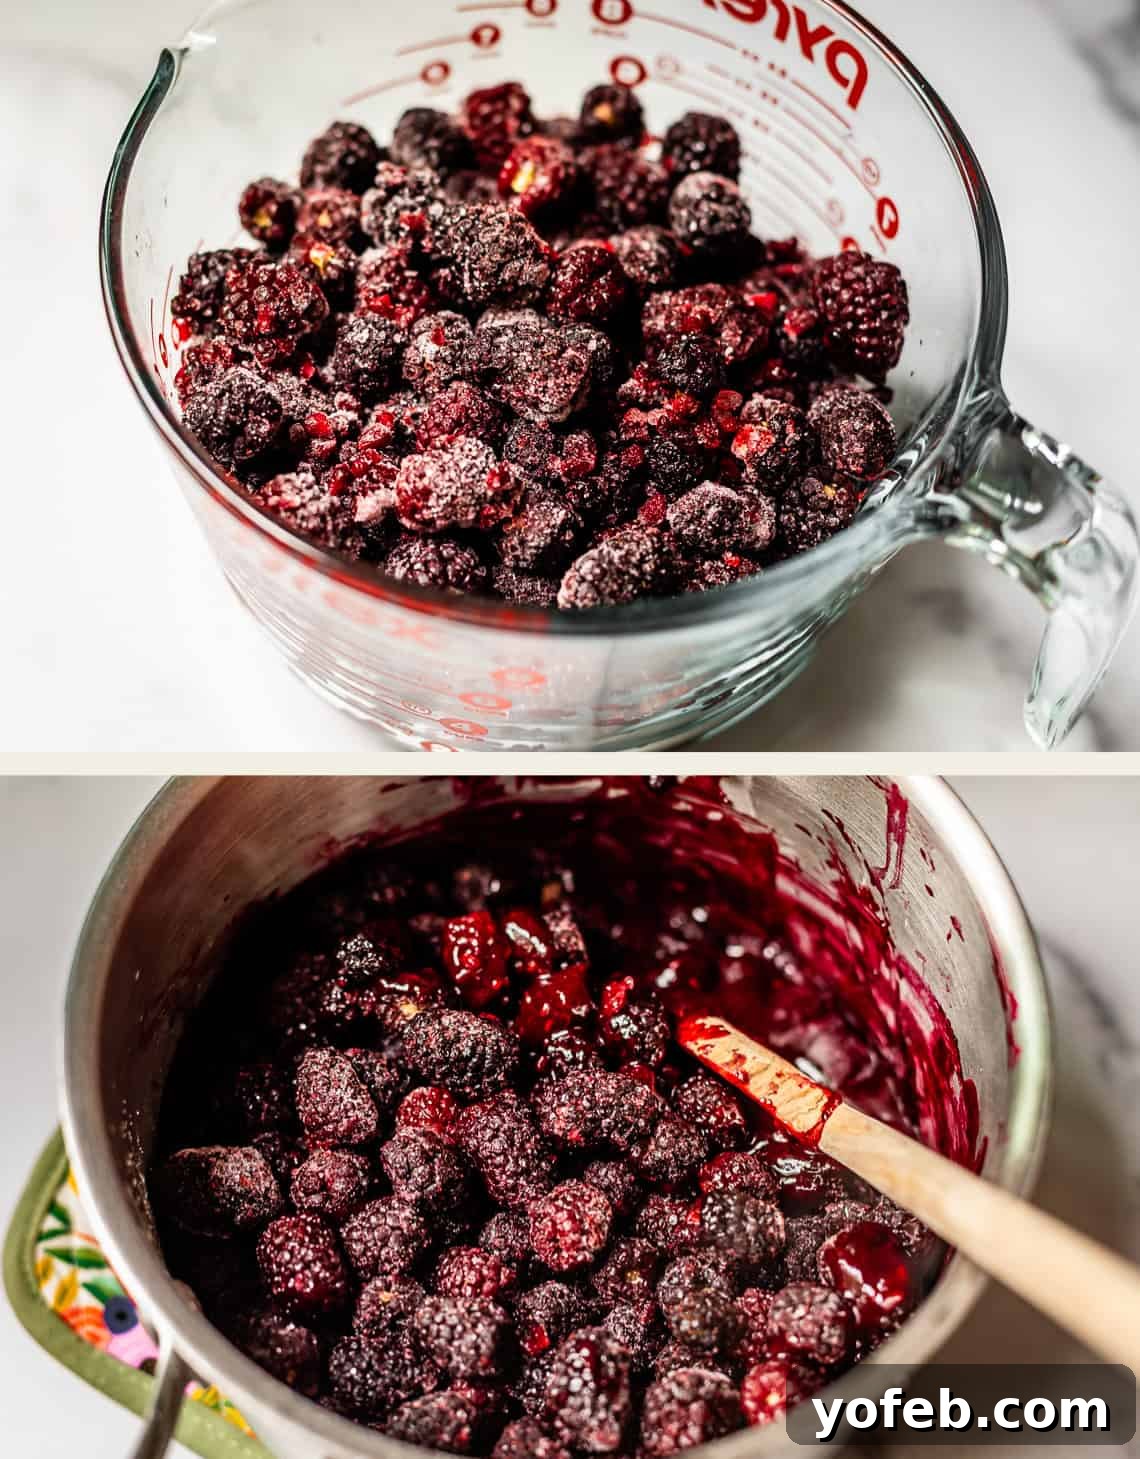
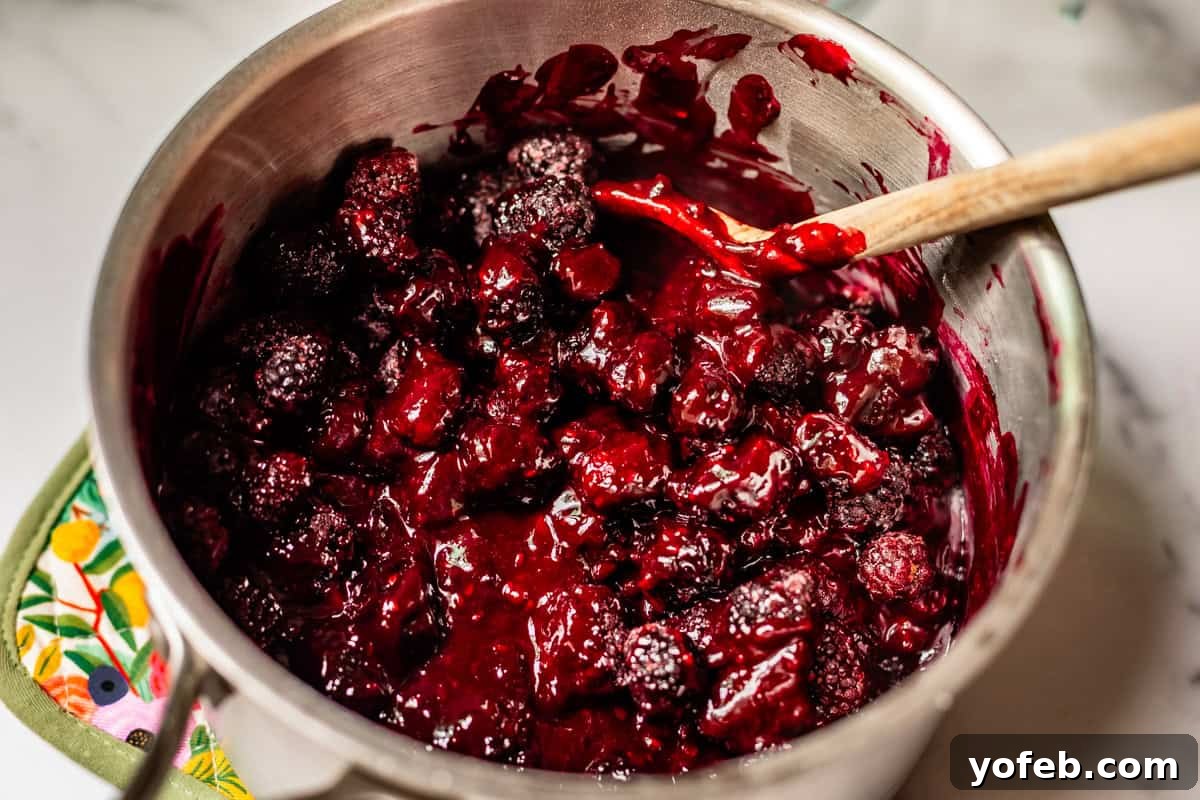
I truly love making this pie with frozen berries. When the cold, solid frozen berries are stirred into the hot, thickened sauce, they instantly cool the entire filling mixture. This means you don’t have to wait at all before spooning it into your prepared pie crust, saving you valuable time!
Here are **the same key steps** for working with fresh, room-temperature berries:
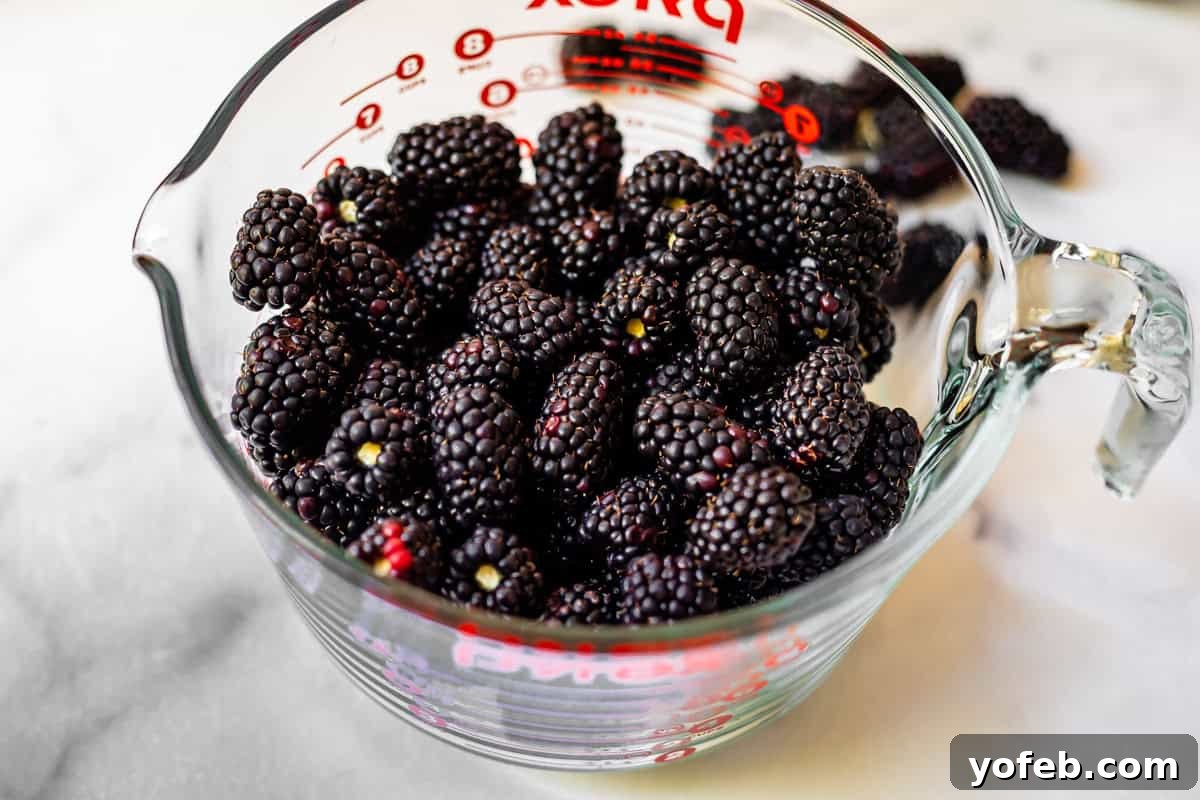
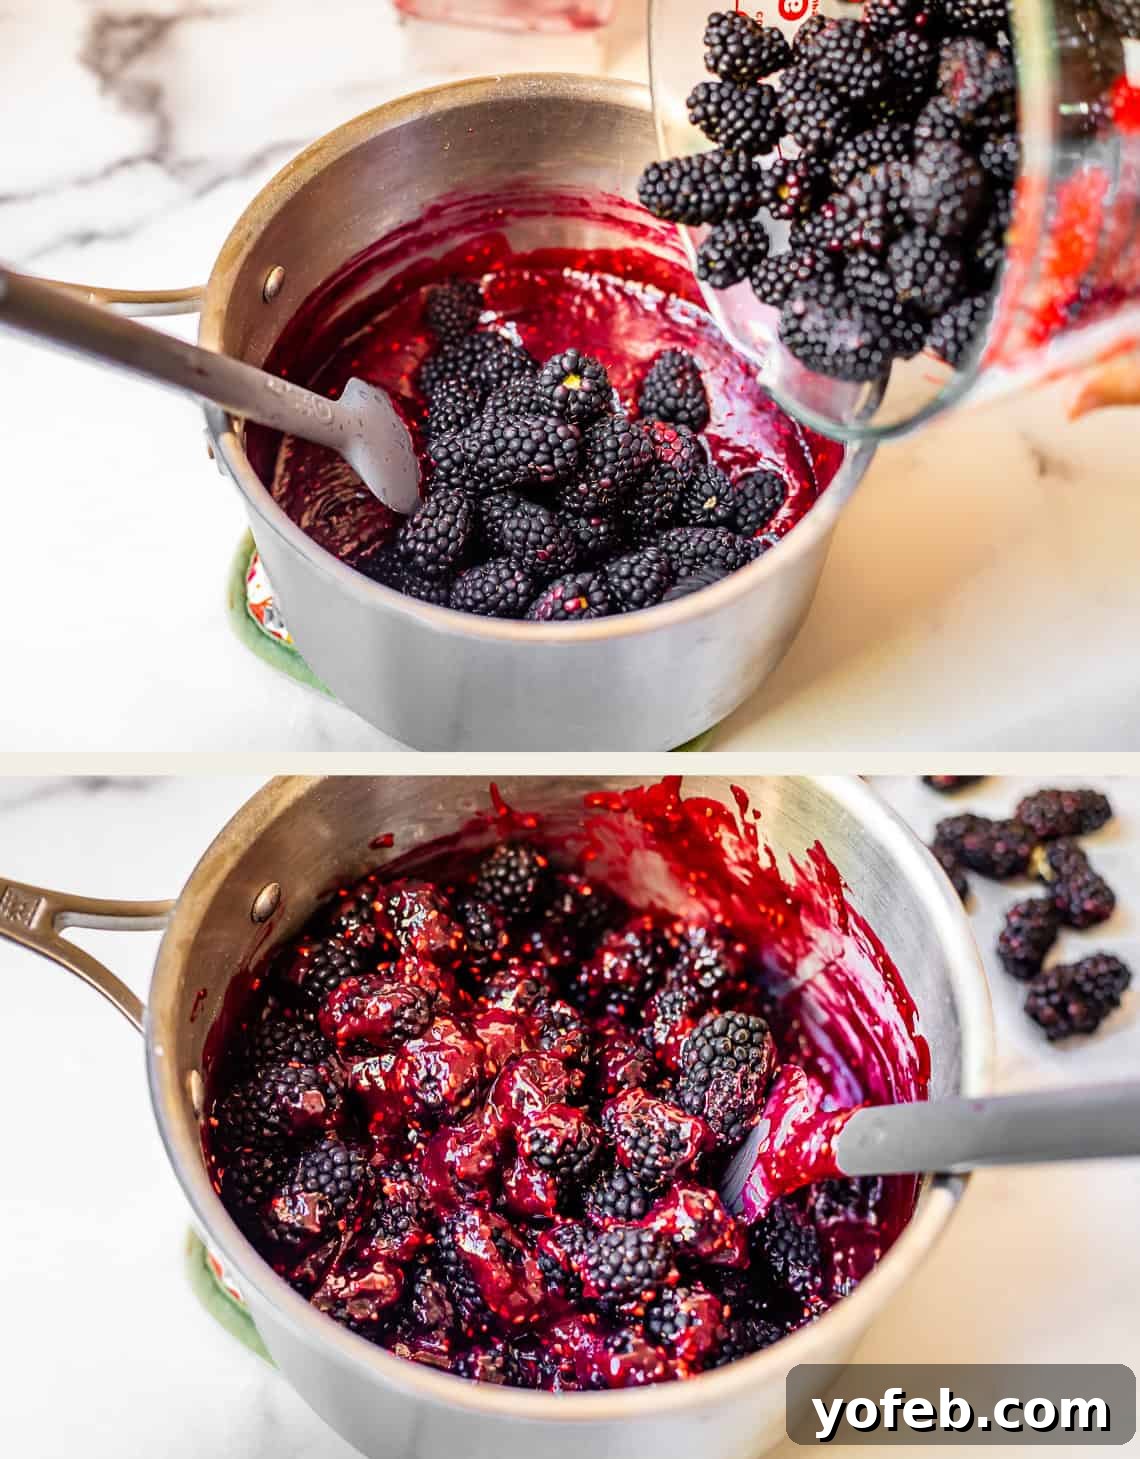
When you add fresh, room-temperature berries to the hot sauce, the entire mixture will remain quite warm. This is where patience comes in! You MUST allow the filling to chill for at least 30-45 minutes before adding it to your pie crust. Skipping this crucial cooling step will cause the hot filling to melt the butter in your cold pie dough, resulting in a soggy, gummy crust that won’t flake beautifully. I’ve even placed the hot filling in the freezer, stirring every few minutes, to expedite this cooling process when I’m short on time.
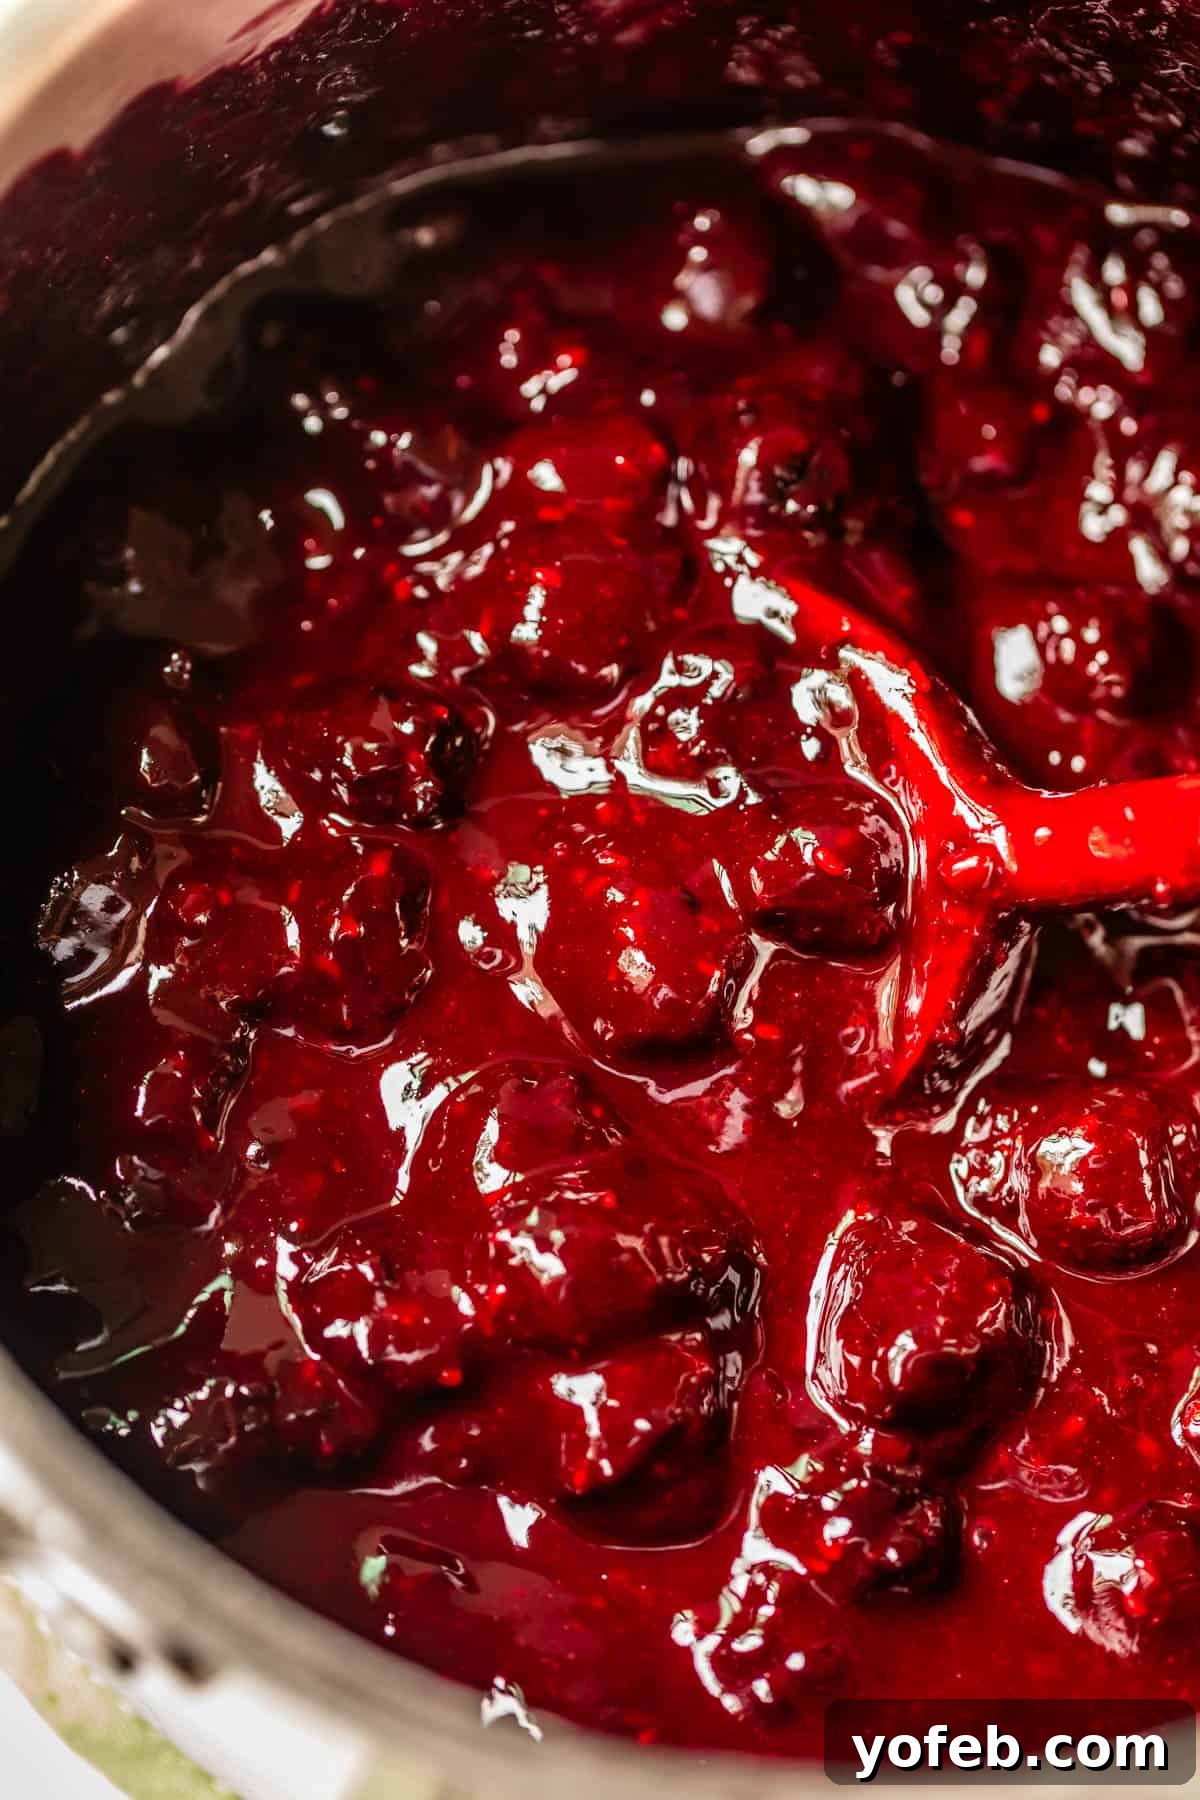
Once your luscious blackberry pie filling has cooled completely, it’s ready for its grand entrance into the pie crust! But first, snag a little taste – it’s practically mandatory, and I often find myself “stuck” on this step, savoring the deliciousness! The rich, thick, and perfectly balanced sweet-tart flavors are truly irresistible at this stage.
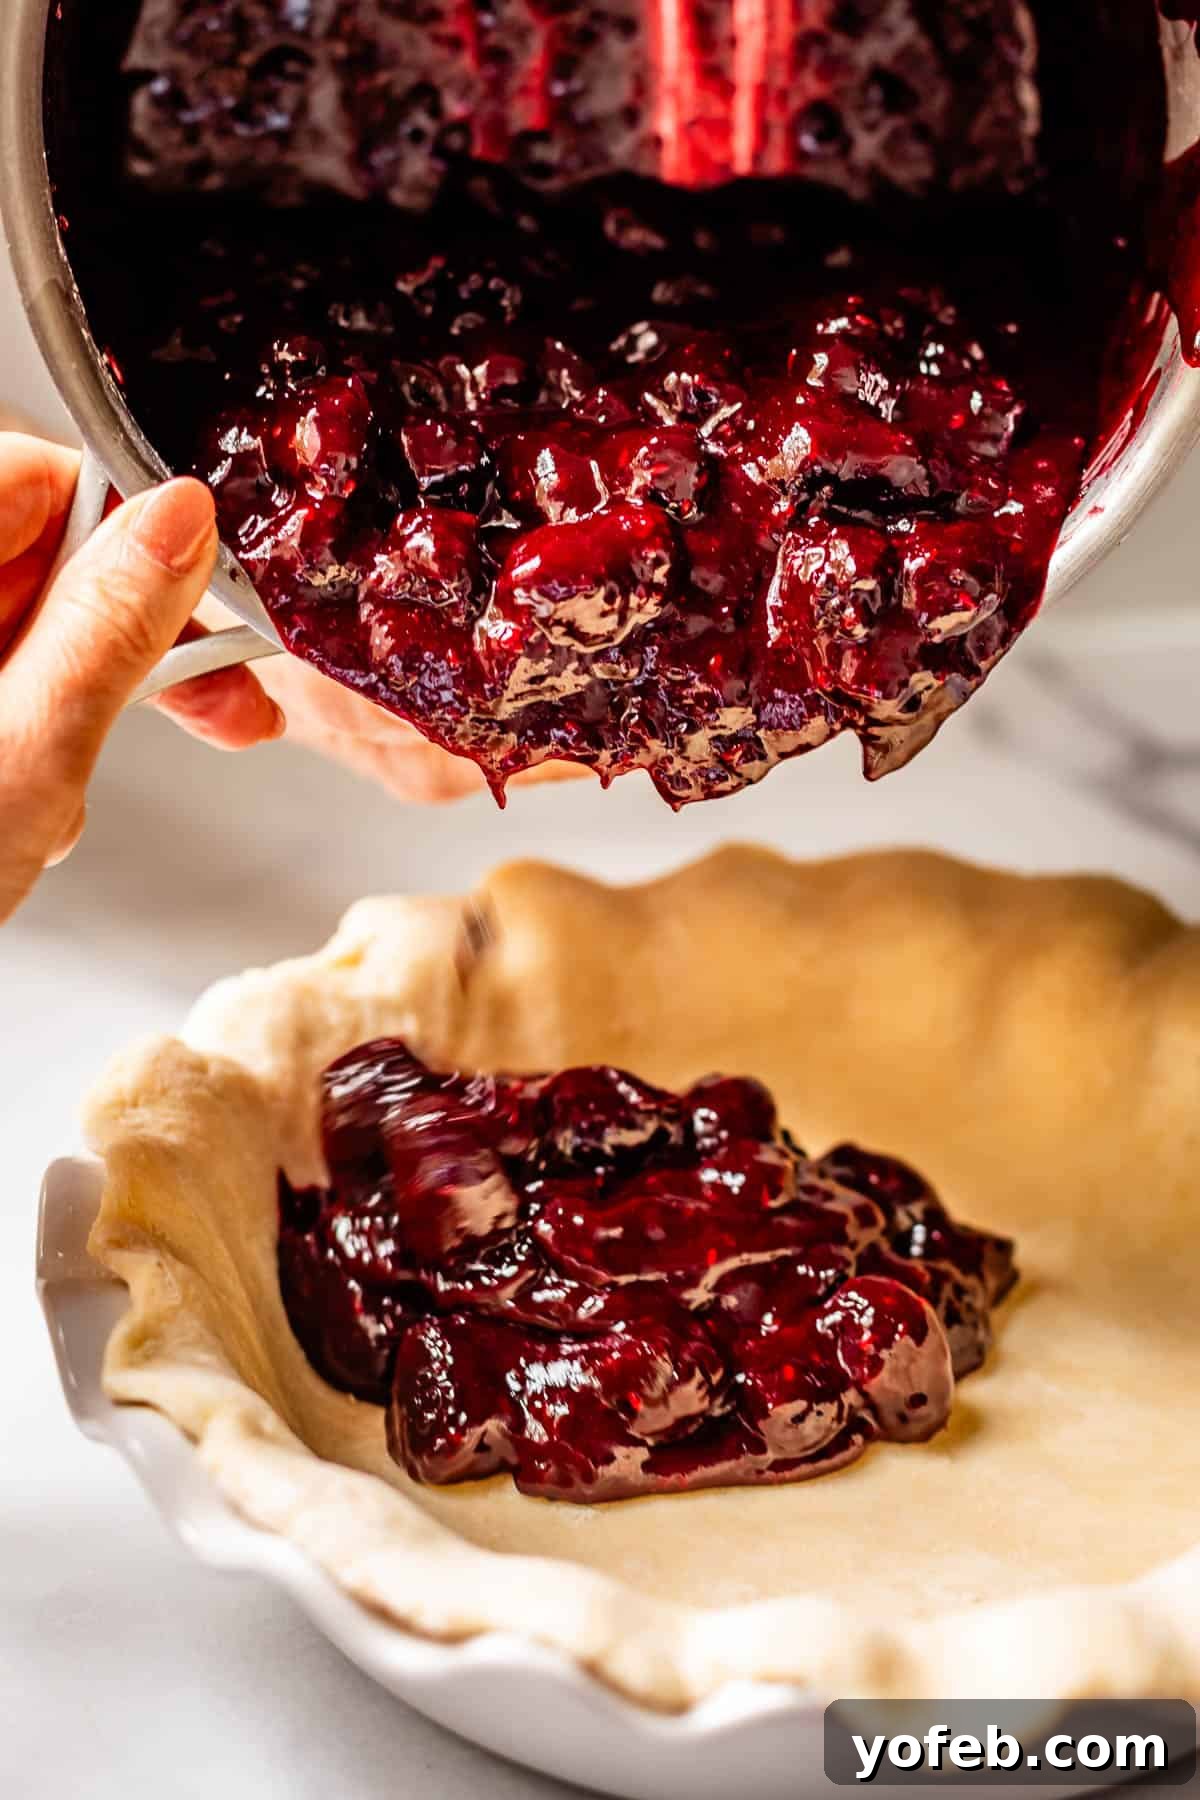
Pour the cooled blackberry pie filling into your prepared, unbaked pie crust. The filling should generously mound, almost reaching the very top edge of the crust, ensuring a truly substantial and satisfying pie.
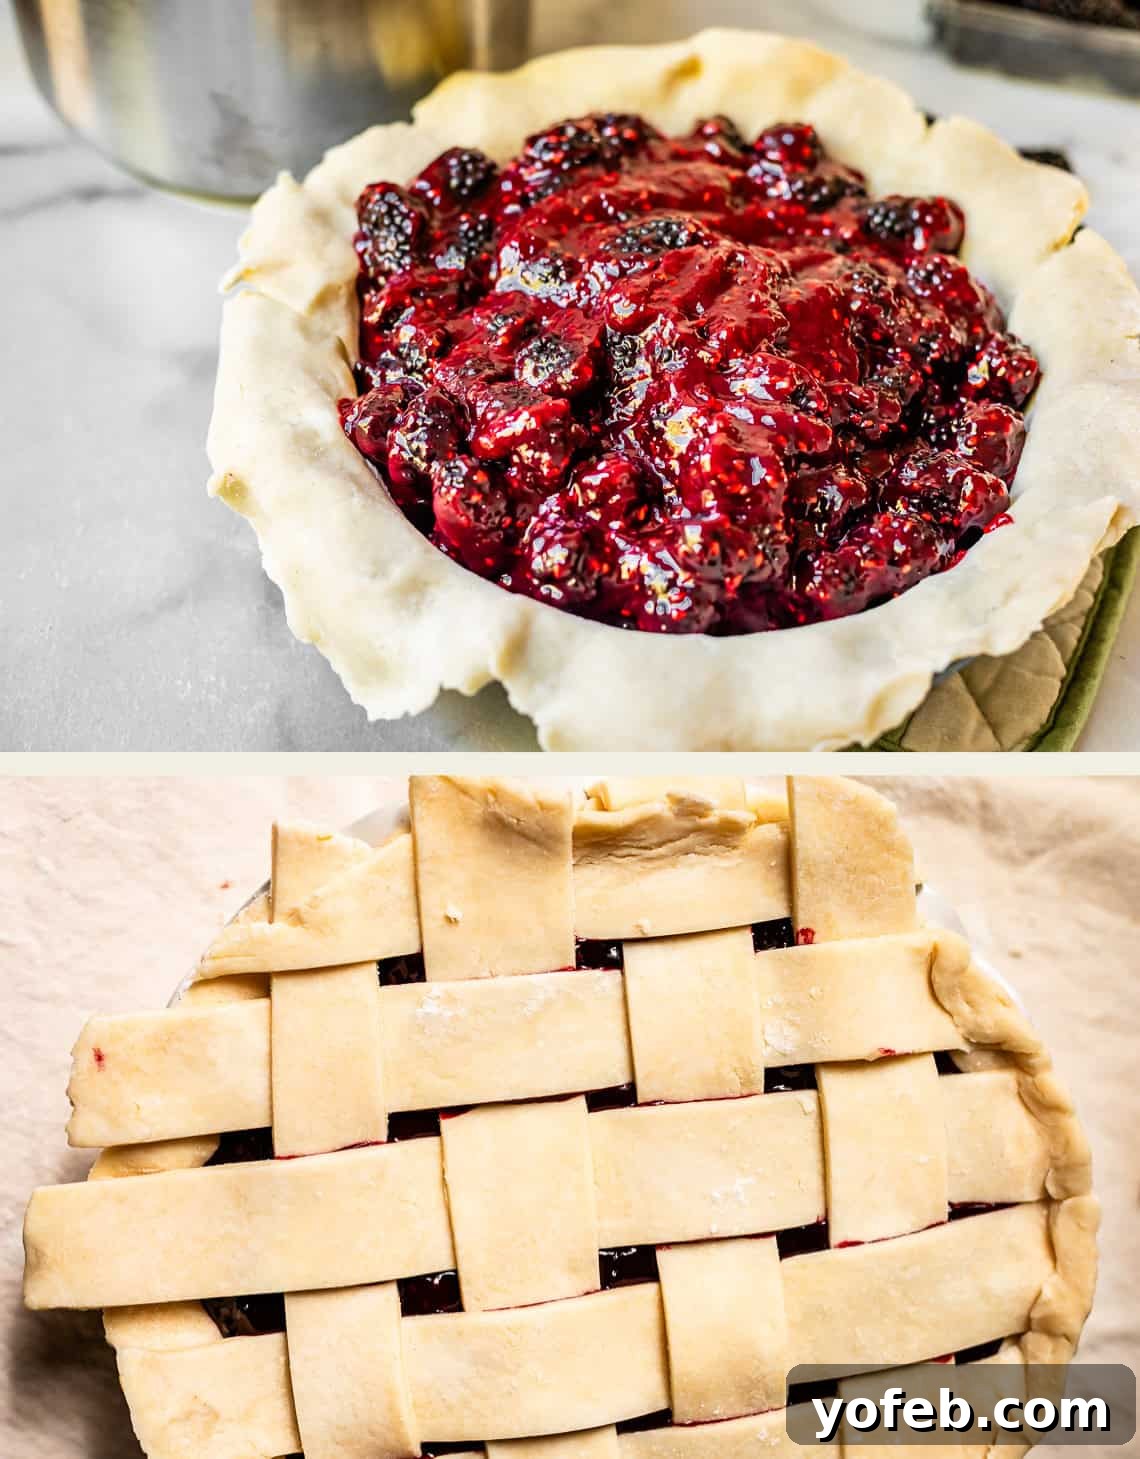
Now for the artistic flourish! Roll out your second pie crust. If you’re feeling fancy and want to impress, transform it into a beautiful Lattice Pie Crust. Don’t be intimidated; my tutorial linked above offers all the detailed instructions and pictures you’ll need to create a stunning woven top (even I still refer to these photos every time!). Alternatively, you can simply place the second pie crust on top as a whole piece. If you choose the latter, remember to use a sharp knife to cut several slits into the top crust. These vents are crucial for allowing steam to escape during baking, preventing a soggy crust and ensuring even cooking.
Once your top crust is in place, trim any excess dough, leaving about an inch of overlap from both the top and bottom crusts. Fold this overlapping dough underneath itself, then meticulously crimp the edges with your thumb and fingers to create a beautiful, sealed border. Next, brush the top of the pie with a little milk – this helps achieve a lovely golden-brown crust. Finally, sprinkle generously with raw sugar (or my absolute favorite, cinnamon-sugar!) for extra crunch and sparkle, then carefully pop your pie into the oven at 425°F for about 15 minutes.
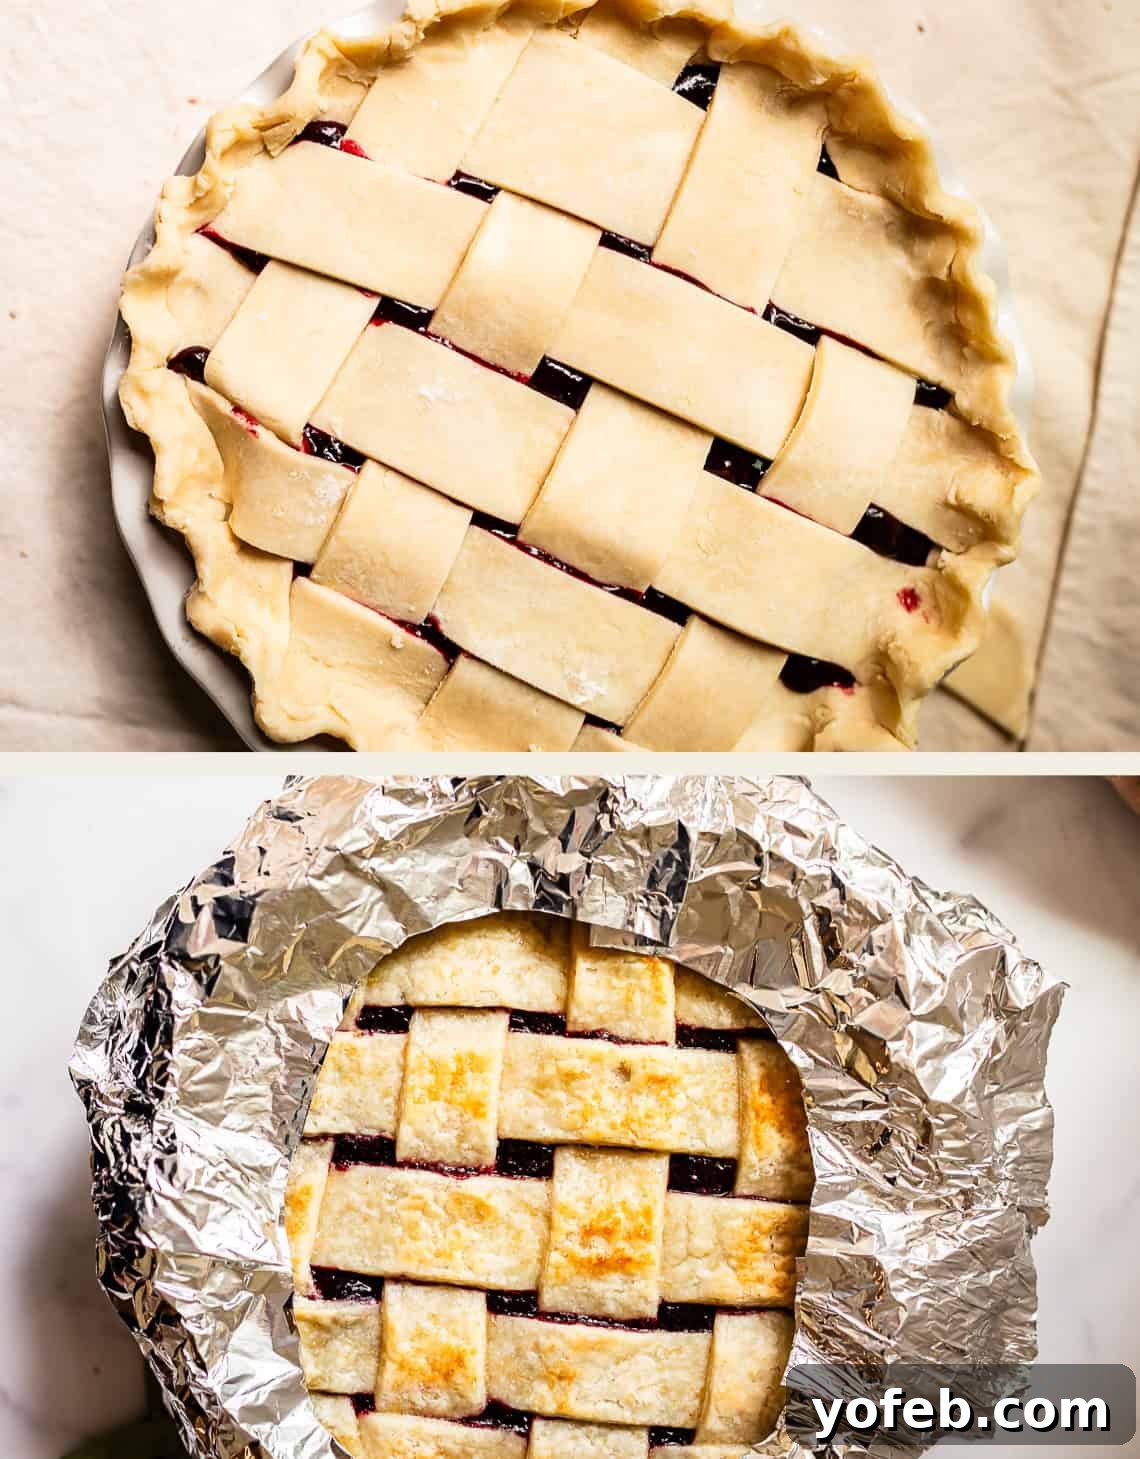
After the initial 15 minutes, carefully remove the pie from the oven. Now, it’s time to protect those beautiful, browning edges from over-baking. Create a pie shield using aluminum foil: take a square of foil the same size as your pie, fold it in half, then in half again, and cut out the center to form a ring. You can see detailed photos of this process in my Pie Crust post. While you can purchase a fancy reusable pie shield, I actually prefer foil for its flexibility; it’s lighter, won’t crush the crust, and can be molded perfectly to the unique shape of your pie. Place this foil shield over the edges of your pie.
Crucially, reduce the oven temperature to a LOWER setting of 350°F. Return the pie, with its foil shield, to the oven and continue baking for another 45-50 minutes, or until the center of the crust is golden brown and the filling is bubbling thickly.
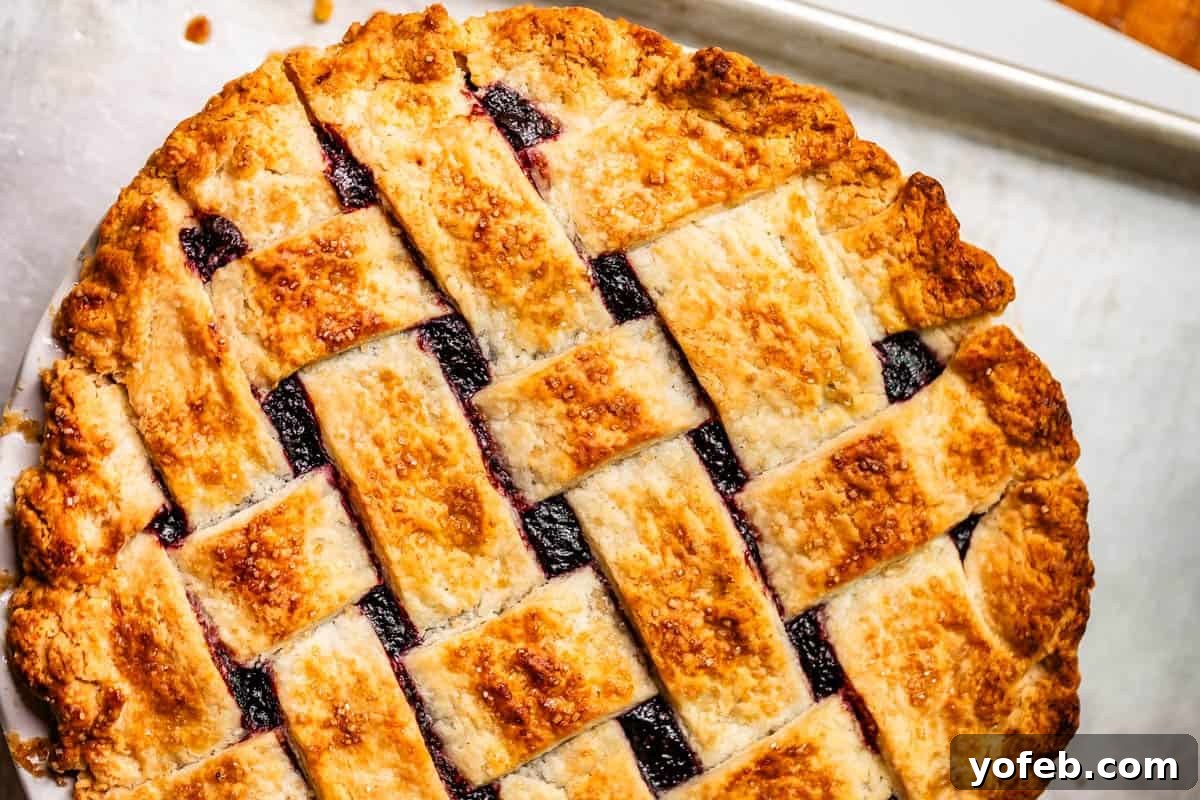
And voila! Your freshly baked, golden-brown blackberry pie is ready. Ensure the top crust has achieved a beautiful crispness and rich brown color. Now comes perhaps the hardest part: the wait. You must allow the pie to cool completely, ideally for at least a few hours, before slicing into it. I know, I know—the aroma is tantalizing, and you’re undoubtedly hungry! But if you cut into it too soon, the filling will still be too hot and liquidy, resulting in a runny, messy slice that won’t hold its shape. To expedite this agonizing wait, I often stick mine in the freezer for an hour or two, which helps the filling set more quickly. Patience is truly a virtue when it comes to perfect pie!
How to Store and Enjoy Leftover Blackberry Pie
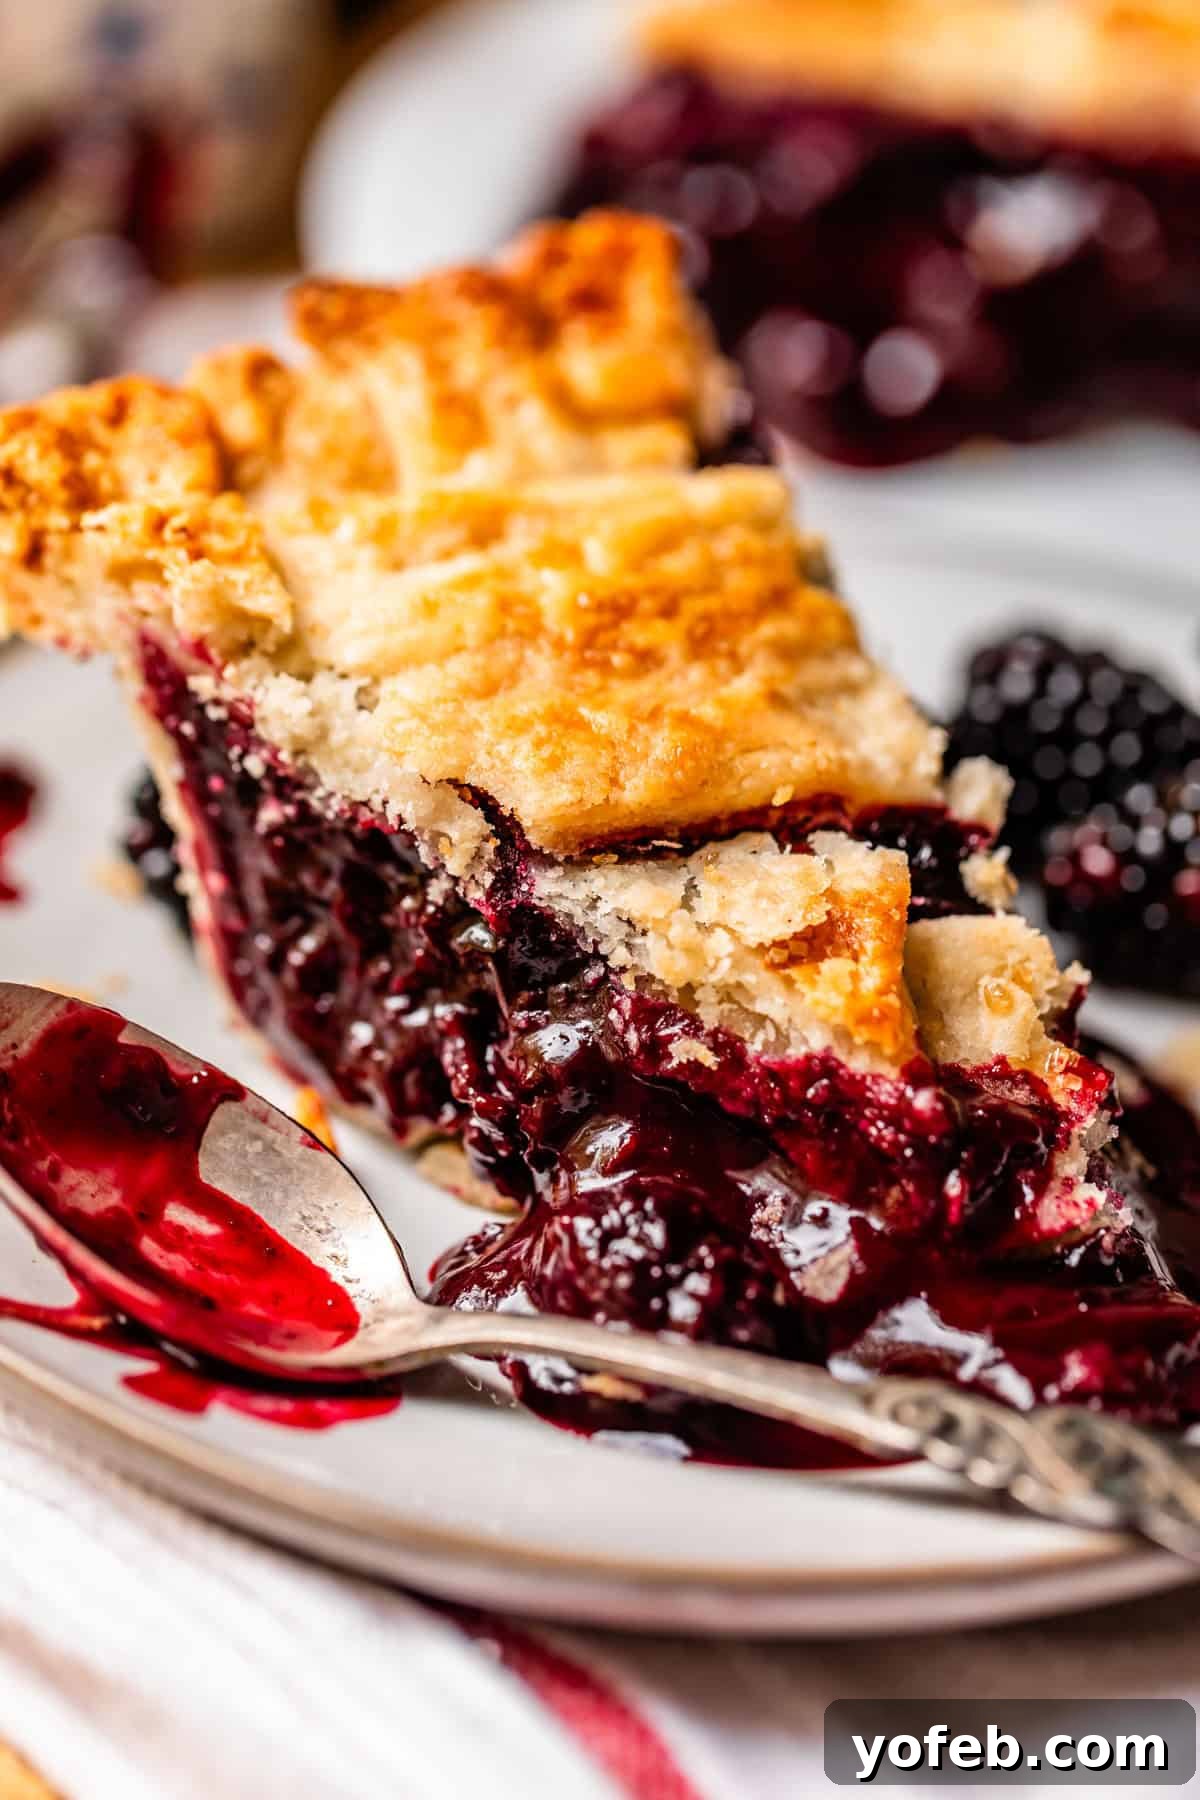
Should you be so fortunate as to have any leftover blackberry pie (a rare occurrence in my family!), proper storage is key to maintaining its deliciousness. For the first couple of days, your blackberry pie will fare best at room temperature. Simply cover the pie pan loosely with plastic wrap to prevent the crust from becoming soggy, or if you happen to own one of those convenient pie covers, that will work perfectly.
If, by some miraculous display of self-control, you still find leftover pie gracing your counter after two days, it’s advisable to transfer the covered pie to the refrigerator. It will keep well there for an additional day or two. However, please note that while the pie won’t spoil quickly, the longer it sits, especially in the fridge, the more the crust (particularly the bottom) will absorb moisture from the filling and lose its crispness. In my humble opinion, blackberry pie is truly at its peak and best enjoyed within 24-48 hours of baking for optimal texture and flavor!
Freezing Blackberry Pie for Future Enjoyment
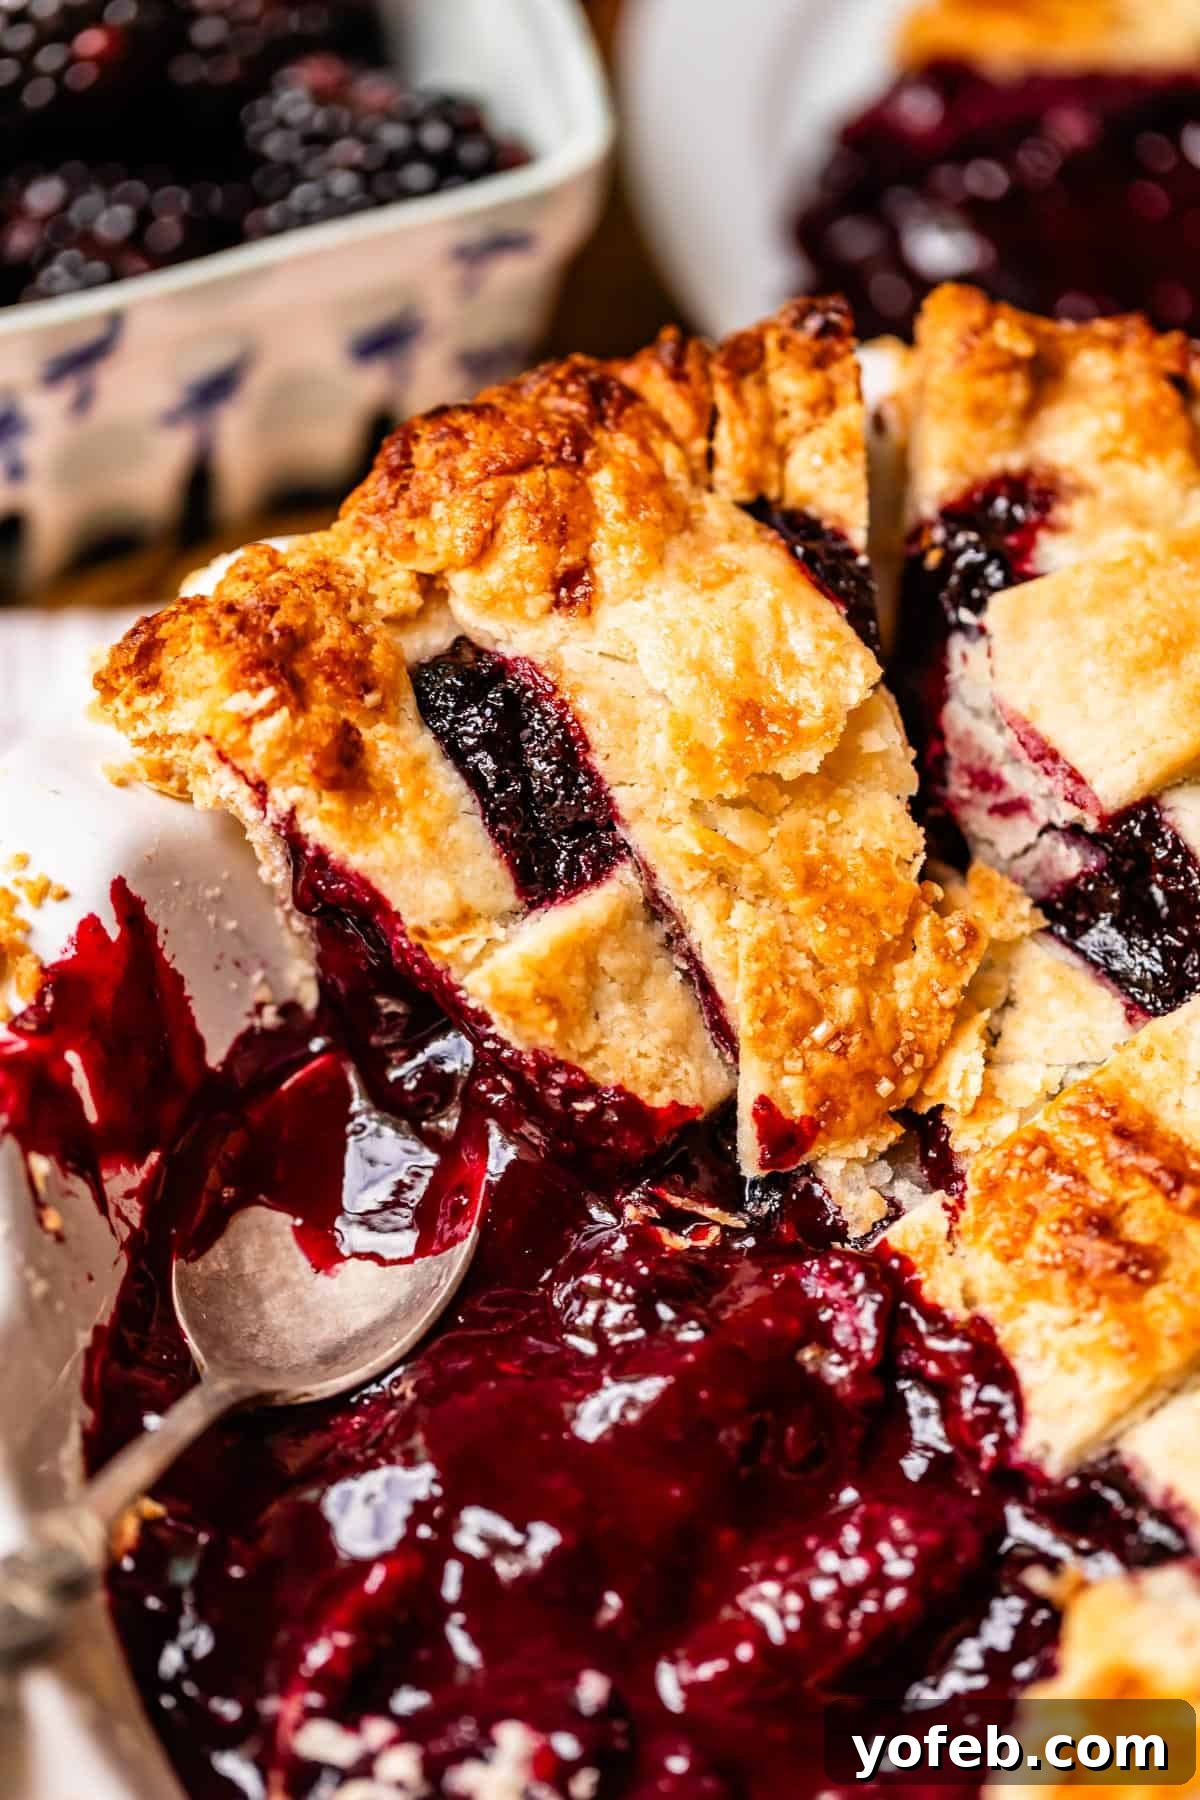
One of the best make-ahead hacks for special occasions or busy times is to freeze an entire unbaked blackberry pie! This method is fantastic for getting all the prep work out of the way well in advance of holidays like Thanksgiving or any other large gathering. Here’s how to do it:
After assembling the pie with its filling and top crust, but before brushing with egg/milk or sprinkling with sugar, place the entire pie dish in the freezer for about an hour to flash freeze. Once solid, wrap it thoroughly with a layer of plastic wrap, then a second layer for extra protection. Finally, wrap it tightly in aluminum foil, ensuring it’s sealed as best as you can to prevent freezer burn. For ultimate protection, if you have one, place the foil-wrapped pie into a 2-gallon ziplock freezer bag to seal it completely. This frozen pie can be stored for up to 3 months.
When you’re ready to bake, you can cook it straight from frozen! Simply brush the top crust with milk or an egg wash, sprinkle with sugar, and then bake it in the oven according to the recipe’s specified temperatures and times. You might find it needs just a few extra minutes to achieve a perfectly golden-brown crust. Important note: double-check the recipe notes to ensure you are using the correct type of pie pan that is safe to go directly from the freezer to a hot oven to prevent thermal shock and potential shattering!
Freezing an Already Baked Pie? Not Recommended
While technically you *can* freeze whole, already baked pies (allow them to cool completely, then follow the same wrapping instructions as for unbaked pies), the results are generally not as ideal. The crust tends to shrink slightly, and it almost certainly will become soggy upon thawing. For the best possible texture and flavor, I highly recommend freezing your blackberry pie *before* baking.
Freezing the Pie Crust: A Smart Make-Ahead Hack!
Absolutely! You can also prepare and freeze your pie crusts and the filling separately, making pie day much less stressful. For comprehensive instructions on how to perfectly freeze your homemade pie crusts, refer to my detailed Flaky Pie Crust post. This is a fantastic hack for streamlining your holiday baking!
Freeze the Berry Pie Filling!
Yes, you can absolutely freeze the delicious blackberry pie filling on its own! Once the filling is cooked and completely cooled, transfer it to a ziplock freezer bag, removing as much air as possible before sealing. This frozen filling will remain fresh and flavorful in your freezer for a significant period, typically 5-6 months. If you’re lucky enough to grow your own blackberries in the summer, this is a brilliant way to capture their peak freshness and enjoy them during the colder holiday months. My Grandma Georgia and my mom practiced this tradition every year, which is precisely why Blackberry Pie has become an enduring and beloved classic Thanksgiving dish in our family!
Frequently Asked Questions About Blackberry Pie
For this particular blackberry pie recipe, we employ a combination of two thickeners: both flour and cornstarch. This strategic pairing yields the best results. Cornstarch is renowned for creating a shiny, almost silky thickening effect without altering the flavor of the fruit. Flour, on the other hand, contains more protein, which contributes a richer flavor and a creamier, more satisfying mouthfeel to the filling. In essence, cornstarch offers superior thickening power, while flour enhances taste and texture. By using both, we achieve a perfectly balanced filling. It’s important to note that you cannot simply swap one for the other in equal amounts, as this would drastically change the consistency. Using only flour might result in a too-liquid pie, while exclusively using cornstarch could make it excessively thick. Always consult the recipe notes for specific adjustments, especially when using frozen berries, as they require a different cornstarch amount.
The key to seasoning a truly great blackberry pie is restraint, allowing the vibrant, natural flavor of the berries to take center stage. This recipe calls for a touch of kosher salt, which doesn’t add a distinct flavor but acts as a powerful enhancer, bringing out the inherent sweetness and tartness of the blackberries. We also include a tiny amount of cinnamon—just ½ teaspoon for the entire pie! This subtle addition provides a layer of warmth and complexity without overwhelming the delicate berry notes. If you prefer a more boldly spiced pie, you certainly can experiment. Consider slightly increasing the cinnamon, or introducing other warm spices such as cardamom, allspice, or nutmeg. However, keep in mind that these are potent spices, and a little truly goes a long way. Happy spice adventures, but remember the berries are the stars!
While this recipe is optimized for blackberries, you can absolutely experiment with other berries! Blueberries, raspberries, or a mix of berries would work beautifully. If using a mix, ensure the total quantity remains the same. Be aware that different berries release varying amounts of juice, so you might need to adjust the cornstarch slightly. For very juicy berries like raspberries, you might add an extra half tablespoon of cornstarch. For firmer berries, you might stick to the original amount. Always taste and adjust for sweetness, as berry tartness can vary.
A runny pie filling is often due to a few common culprits. Firstly, not pre-cooking the filling on the stovetop is a major factor; this step ensures the starches fully activate and thicken before baking. Secondly, not allowing the filling to cool completely before pouring it into the crust can negatively impact the final set, as the heat can break down the thickening agents. Lastly, sometimes berries can be extra juicy due to ripeness or type, in which case a slight increase in cornstarch (as noted for frozen berries in the recipe, or a small addition for fresh) might be necessary. Ensuring proper baking time until the filling is visibly bubbling thickly is also crucial for it to set properly.
Explore More Irresistible Pie Recipes
One of the absolute best parts of the holiday season (besides all the festive cookies, of course) is the glorious abundance of pies! There are so many exciting and comforting flavors to choose from. My ideal plate features tiny slivers of as many different kinds as possible! Below, I’ve curated a list of some of my personal favorites, alongside some highly acclaimed reader favorites. For an even wider array of ideas to inspire your next baking adventure, feel free to peruse the dedicated Pies, Pastries & Tarts page on the blog!
- **Fresh Blackberry Glacé Pie** >> This is the delightful sister recipe to today’s classic blackberry pie. It features a gloriously fresh, unbaked filling and includes a delightful surprise cream cheese layer that perfectly balances the sweetness. You’ll fall in love with its vibrant, fresh flavors.
- **Best Apple Pie** >> Prepare yourself for one of my most popular recipes of all time! I can confidently tell you that this apple pie will capture your heart. (P.S., if you prefer, you could also whip up a fantastic Dutch Apple Pie – the choice is yours!)
- **Strawberry Rhubarb Pie** >> This holds a special place as one of my absolute favorite pies ever, and that’s truly saying something given my love for pie! The balance of sweet strawberries and tart rhubarb is simply divine.
- **Homemade Blueberry Pie Recipe** >> This exquisite blueberry pie is lovingly based on the foundational techniques of Grandma’s legendary blackberry pie. It’s the only blueberry pie I’ve ever truly enjoyed!
- **Sweet Potato Pie with Salted Caramel Whipped Cream** >> This dessert is the embodiment of all your Southern comfort dreams, elevated with a luscious salted caramel topping.
- **Gooey Chocolate Chip Cookie Pie** >> Imagine your favorite warm, chewy chocolate chip cookie, but supersized and baked inside a flaky pie shell. It’s pure, unadulterated YUM!
- **Best Key Lime Pie** >> If your palate yearns for tart, zesty flavors, this key lime pie is your ultimate destination. Not to mention, it boasts the perfect amount of creamy, rich custard (no thin, watery custard allowed!).
- **Hoosier Sugar Cream Pie** from State of Dinner >> A classic, simple, and utterly comforting pie that will transport you straight to the heartland.
- **Chess Pie** from Grandbaby Cakes >> A rich, sweet, and custardy Southern favorite that’s surprisingly easy to make and incredibly satisfying.
A Nostalgic Glimpse into the Past: Original Post from 2012
This blackberry pie recipe was originally published on May 28, 2012. It’s fascinating to look back at what was happening in my life at that time. My daughter, Charlotte, was just a baby, and life felt like a whirlwind of new experiences and, occasionally, irrational fears. Here’s a snippet from that initial post:
Eric, Charlotte, and I embarked on a memorable trip to the Grand Canyon that weekend. It was, of course, utterly awe-inspiring. However, for me, much of the time was spent battling an overwhelming, irrational fear that we might accidentally drop Charlotte down the mile-deep canyon, or that she would somehow manage to dart off the edge. Irrational fears, yes, but isn’t that just part and parcel of being a new mom?
This journey reminded me of a story my dad used to recount from his own childhood visit to the Grand Canyon when he was a mere three years old. His mother, my Grandma Georgia, would often share the tale of a particular viewpoint they stopped at. The only barrier separating them from the dizzying expanse of the canyon was a rudimentary fence: poles spaced every few feet, with chains strung between them.
She had momentarily turned from gazing at the breathtaking view, only to spin back and see her tiny three-year-old son perched on one of those chains, swinging back and forth, completely oblivious to the terrifying 5,000-foot drop directly behind him. He obviously lived to tell the tale, but I’m quite certain my poor Grandma Georgia came dangerously close to having a heart attack right there on the spot!
Grandma Georgia (and now my mom, carrying on the tradition) was famously known for this very Blackberry Pie. The entire back wall of our family garden was always enveloped by vigorous blackberry vines. I hold many vivid (and now, fondly remembered) memories of picking blackberries with my siblings in the scorching 108-degree heat, meticulously trying to avoid gouging ourselves on the treacherous thorns. Yet, it was always, always worth the effort, because this pie was the guaranteed, sweet fruit of our labors. It truly shines when served with a generous dollop of whipped cream or a scoop of creamy homemade ice cream.
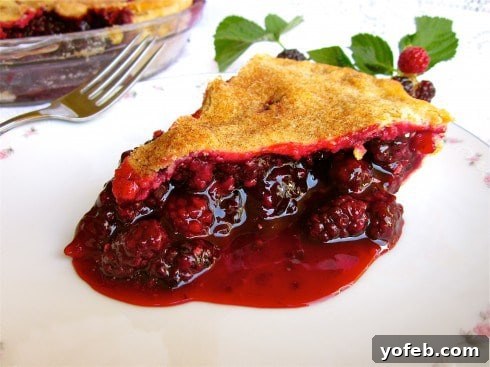

Grandma Georgia’s Blackberry Pie Recipe
50 mins
1 hr 5 mins
4 hrs 50 mins
6 hrs 45 mins
10
Ingredients
For the crust
- 1 batch Homemade Flaky Pie Crust, tap for the recipe
For the filling
- 3 cups fresh blackberries, to puree (see note for frozen blackberries)
- 6 cups fresh blackberries, to leave whole (see note for frozen blackberries)
- 1 ½ cups granulated sugar, packed
- ¼ cup cornstarch, SEE NOTES if using frozen berries
- 2 tablespoons flour
- ½ teaspoon cinnamon
- ½ teaspoon kosher salt
- 1 tablespoon milk, for brushing on pie
- 1 tablespoon raw sugar, for sprinkling on top crust
- vanilla ice cream, or whipped cream, for serving, not optional 😉
Instructions
-
Make the pie dough. Begin by preparing your pie dough. If you’re new to pie making, I highly recommend consulting my Flaky Pie Crust post, which offers numerous helpful photos and tips for beginners. Once prepared, chill the dough thoroughly.
-
Prepare the filling. (Refer to notes for frozen blackberry instructions) Place 2 cups of fresh blackberries into a blender. Process until they are fully liquified and form a smooth puree. You should aim for approximately 1 ¾ cups of blackberry pulp. If you fall short, add a few more fresh blackberries and blend again. If you don’t have a blender, you can achieve a similar result by adding 2 cups of blackberries to a large glass measuring cup and using a potato masher to crush them into a pulp.
-
Transfer the 1 ¾ cups of pureed blackberries to a 3-quart saucepan. Add 1 ½ cups granulated sugar, ¼ cup cornstarch, 2 tablespoons flour, ½ teaspoon cinnamon, and ½ teaspoon kosher salt. Whisk all these ingredients together thoroughly until they are completely combined and there are absolutely no lumps of dry powder remaining.
-
Place the saucepan over medium heat. Whisk the mixture occasionally for about 3-5 minutes, until it reaches a very light boil and has visibly thickened. As soon as you observe it thickening (even if no prominent bubbles appear), immediately remove the pan from the burner.
-
Gently fold in the remaining 6 cups of whole blackberries into the thickened sauce in the pot. Stir carefully to combine without crushing the whole berries. Taste the filling! If it’s overly sweet, incorporate a few more blackberries if available. If it tastes too tart, stir in an extra tablespoon or two of sugar to balance the flavors.
-
Chill the filling. This step is absolutely crucial. Allow the blackberry mixture to cool completely before proceeding. I often place it in the refrigerator to accelerate the cooling process. Pouring hot or even warm pie filling into your pie crust will result in a gummy bottom crust that lacks flakiness. (If you opted to use frozen whole blackberries, they will instantly cool your filling, making this step much faster – refer to the notes for more details.)
-
Roll out the pie crust. On a generously floured work surface or using a pastry cloth, roll out one disc of your chilled pie dough into an even circle, keeping the other disc refrigerated. Carefully transfer the rolled-out crust into a 9-inch pie pan, allowing the edges to hang over the sides. If the pie dough has warmed significantly during rolling, place the entire pie pan into the fridge or freezer for about 15 minutes. A cold pie dough is essential for flakiness.
-
Add the chilled blackberry filling. Pour the completely cold blackberry pie filling into the prepared pie crust, mounding it slightly in the center to account for some settling during baking.
-
Roll out the second pie crust. You can choose to create a beautiful Lattice Pie Crust for a stunning presentation (my tutorial provides detailed photos to guide you!), or simply place the second pie crust on top as one whole piece. If using a solid top crust, remember to use a sharp knife to cut several slits into it. This is vital for venting the pie and allowing steam to escape during baking.
-
Trim any excess pie dough, leaving approximately one inch of overhang from both the top and bottom crusts. Fold this overlapping dough underneath itself, then meticulously crimp the edges using your thumb and fingers to create a decorative and securely sealed border for your pie.
-
Preheat the oven. Place a baking sheet on the center rack of your oven and preheat to 425 degrees F (220°C). Allow the oven to heat for at least 20-25 minutes to ensure the baking sheet is thoroughly hot, which promotes a crisp bottom crust.
-
Freeze the pie. While the oven is preheating, place the entire assembled pie in the freezer for 20 minutes. If freezer space is limited, the refrigerator for 30 minutes will also work. This extra chilling step is a secret to achieving an incredibly flaky and tender crust.
-
Brush the top of the pie. Just before it goes into the oven, lightly brush the entire crust of your pie with about a tablespoon of milk. For an added golden sheen, you can use a mixture of 1 tablespoon milk beaten together with 1 tablespoon of leftover egg wash from making the crust. Milk will help the crust brown with a matte finish, while egg adds a lovely gloss and shine.
-
Generously sprinkle the entire top of the pie with 1 tablespoon of raw sugar. Regular granulated sugar also works wonderfully. My mom’s secret touch, and my personal go-to, is a delightful sprinkle of cinnamon-sugar for an extra layer of flavor and crunch!
-
Bake the pie. Carefully place the chilled pie onto the hot baking sheet in the preheated oven. Bake at 425 degrees F (220°C) for 15 minutes. During this initial phase, the crust on the edges should begin to turn a light golden brown.
-
Meanwhile, prepare a foil pie shield. Take a square of tin foil roughly the same size as your pie. Fold it in half, then in half again. Carefully cut out the center to create a circle. Unfold the foil, and you should have a square with a circular opening in the middle. For visual guidance, refer to the photos in my pie crust post.
-
Reduce the oven heat. Remove the pie from the oven (close the door quickly to retain heat!) and carefully place the prepared foil shield on top. Loosely crimp the foil around the crust on the edges, ensuring they are completely covered while the center of the pie crust remains exposed. This will prevent the delicate edges from burning.
-
Crucially, don’t forget to lower the oven temperature to 350 degrees F (175°C). Return the pie, with its foil shield, back onto the baking sheet in the oven. Continue to bake at 350°F for an additional 40-50 minutes. You’ll know the pie is perfectly done when the protected edges are golden brown, the center of the exposed crust is a light golden brown, and the filling is visibly bubbling thickly and no longer appears wet on top.
-
Allow the pie to cool. Transfer the baked pie to a wire rack and let it cool completely for about 4 hours. I know, this is the ultimate test of patience! However, if you attempt to cut into it prematurely, the juices will still be piping hot and excessively liquidy, leading to a messy, runny slice. You must allow it to cool to room temperature for the filling to properly set and achieve the ideal texture. Pie truly is a lesson in delayed gratification!
-
Once the pie is completely cool and set, it’s finally time to slice and serve! A word to the wise: this Blackberry Pie, in its truest form, is incomplete without a generous scoop of creamy vanilla ice cream. Or, at the very least, a dollop of fresh whipped cream. Treat yourself right; it’s a dessert experience not to be missed!
-
Store any leftover pie on the countertop, loosely covered with plastic wrap, for up to 2 days. After that period, transfer it to the refrigerator to maintain freshness.
-
Freezing: You can successfully freeze an entire unbaked blackberry pie, which is an excellent strategy to prepare ahead for holidays or special events! After assembling the pie with its filling and top crust, but before brushing it with milk/egg or sprinkling with sugar, place the pie dish in the freezer for one hour to flash freeze. Once solid, wrap it first in a layer of plastic wrap, then a second layer, and finally tightly in aluminum foil. Ensure it’s as airtight as possible. For maximum protection against freezer burn, place the wrapped pie in a 2-gallon ziplock bag if you have one. It can be frozen for up to 3 months.
To bake, simply take it straight from the freezer. Brush with milk/egg, sprinkle with sugar, and bake according to the recipe instructions. Use the same temperatures and times, though it might require a couple of extra minutes to achieve a perfect golden-brown crust. Ensure you are using a ceramic or borosilicate glass pie pan that can withstand direct freezer-to-oven temperature changes (see notes on pie plates).
Notes
- When making this pie with frozen berries, use a total of 6 tablespoons of cornstarch.
Remember, your goal is to have approximately 1 ¾ cups of pureed or liquid blackberry, and about 5 cups of whole blackberries for the filling.
Method for frozen berries: (Keep the 6 cups of whole blackberries frozen until the very last minute). Add about 2 ½ cups of frozen blackberries to a bowl. Microwave them in 1-minute intervals, stirring after each minute, for approximately 2 minutes, or until they are mostly thawed and appear ready to blend thoroughly. Transfer these blackberries and any accumulated liquid to a blender. Blend until smooth. You should yield about 1 ¾ cups of blackberry puree. If you are slightly short, add a few more thawed blackberries and blend again.
Proceed with the recipe instructions exactly as written, making the one change: increase the total cornstarch amount to 6 tablespoons. Combine the pureed blackberries with the dry ingredients (including the 2 tablespoons of flour!) in the saucepan on the stovetop. Cook to a boil to thicken, as described in the main recipe steps. Then, stir in the approximately 6 cups of whole frozen blackberries. The cold temperature of these frozen berries should instantly cool down the hot filling, eliminating the need to wait for it to cool before adding it to your chilled pie crust.
Continue with the rest of the recipe instructions exactly as written!
***PIE PLATE: To prevent your pie pan from shattering due to abrupt temperature changes (such as going from freezer to hot oven), it is highly recommended to use a ceramic pie pan or a glass pie pan specifically made with borosilicate glass construction. While I personally have not experienced this issue (even with some lower-quality glass pans), it is always a potential risk if the correct type of glass is not used.
See the main post for detailed instructions on how to freeze an entire blackberry pie.
Nutrition
Carbohydrates: 48g |
Protein: 2g |
Fat: 1g |
Saturated Fat: 0.1g |
Polyunsaturated Fat: 0.4g |
Monounsaturated Fat: 0.1g |
Cholesterol: 0.2mg |
Potassium: 215mg |
Fiber: 7g |
Sugar: 38g |
Vitamin A: 280IU |
Vitamin C: 27mg |
Calcium: 41mg |
Iron: 1mg
Dessert
American
195
Blackberry, pie, pie crust