
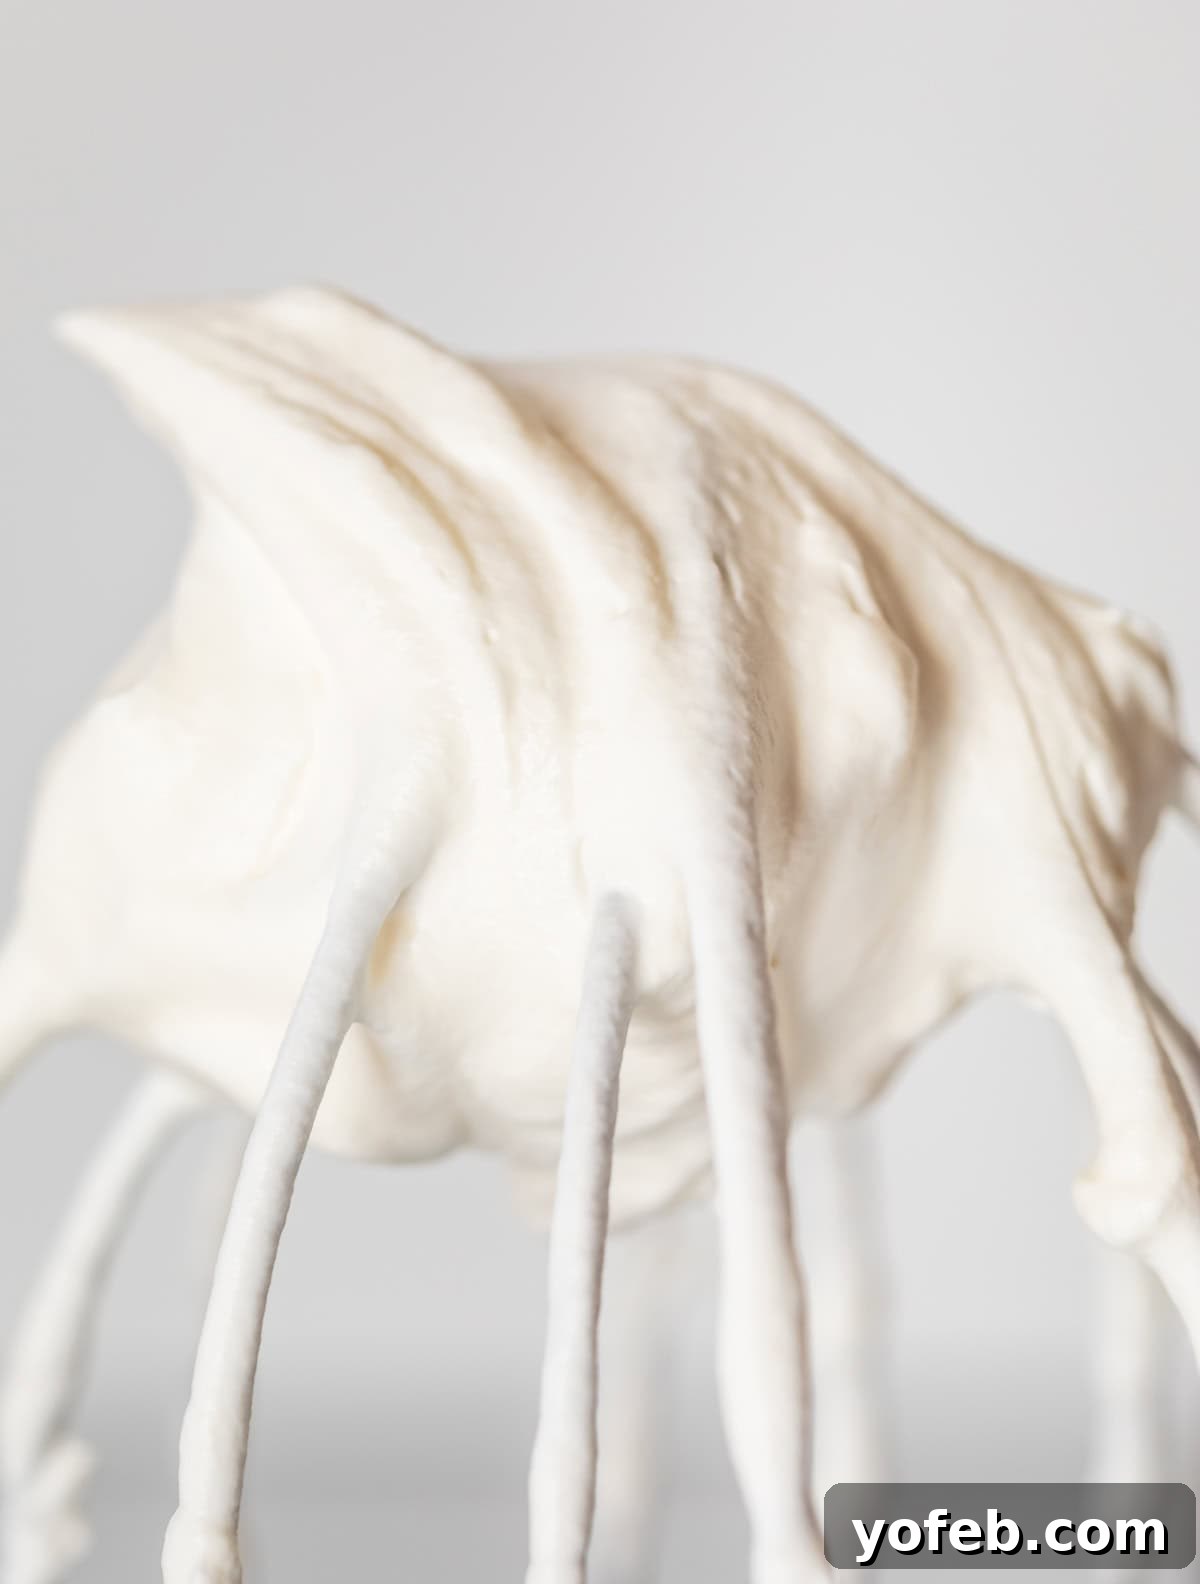
Welcome to the enchanting world of homemade whipped cream, where culinary magic is just minutes away! Forget everything you thought you knew about store-bought toppings, because once you experience the ethereal lightness and rich flavor of fresh, homemade whipped cream, there’s no turning back. It’s the ultimate dessert enhancer, a versatile companion that elevates everything from a humble bowl of berries to a majestic pie. And guess what? It’s surprisingly simple to make, requiring just a few common ingredients and a mixer. Prepare to transform your desserts and perhaps even your everyday snacks with this creamy, dreamy confection.
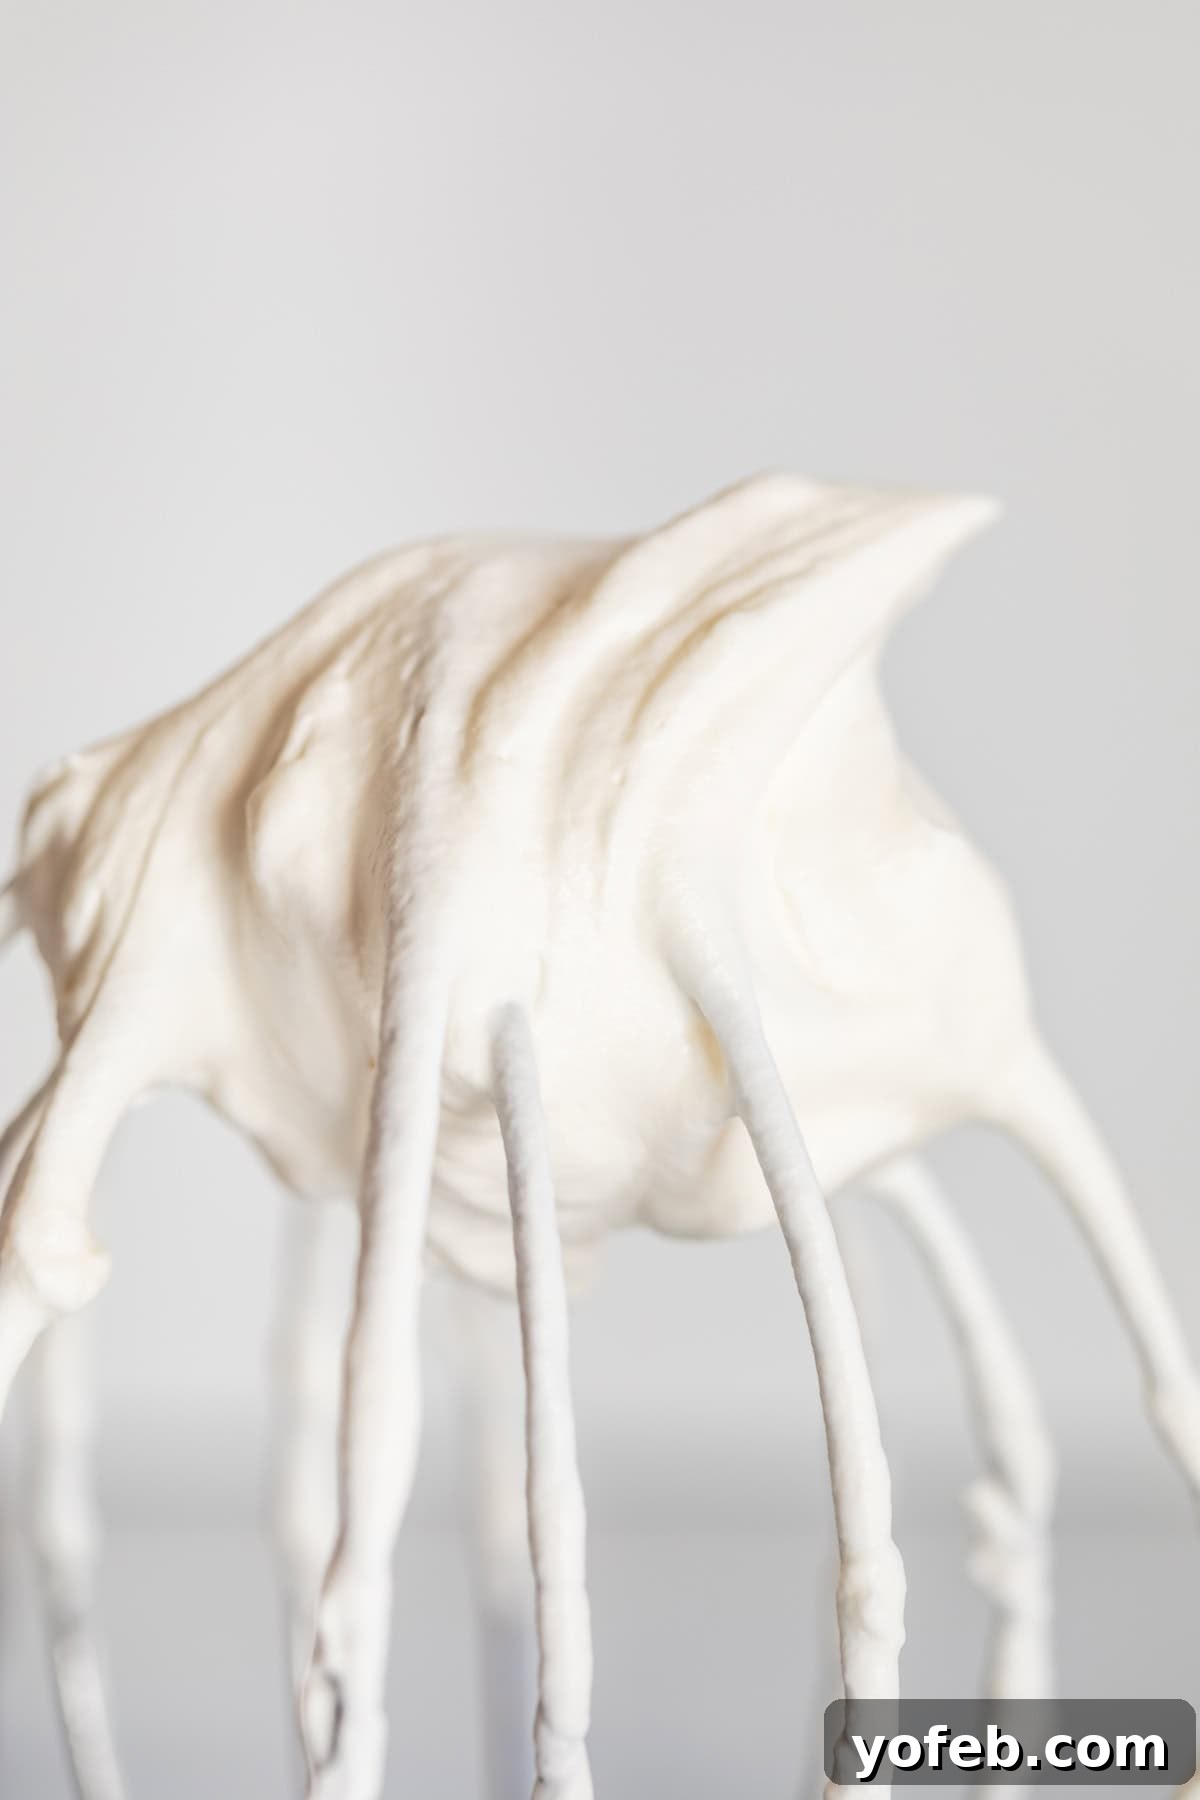
Table of Contents
- The Unrivaled Taste of Homemade
- The Surprising Ease of Homemade Whipped Cream
- Heavy Cream, Whipping Cream, and Fat Content: What You Need to Know
- Essential Ingredients for Perfect Whipped Cream
- Step-by-Step Guide to Perfect Whipped Cream
- Rescuing Over-Whipped Cream
- Stabilizing Whipped Cream for Piping and Lasting Fluffiness
- Creative Flavor Variations for Whipped Cream
- What to Serve with Your Homemade Whipped Cream
- Storing Your Fluffy Creation
- Freezing Whipped Cream: A Game-Changer!
- Whipped Cream Frequently Asked Questions
- How to Make Whipped Cream Recipe Card
Before we dive into the delicious details, let’s explore some fascinating tidbits about this beloved topping:
- In the UK, aerosol whipped cream is charmingly referred to as “Squirty Cream.”
- While many associate whipped cream with French cuisine, its origins trace back to 16th-century Italy, often attributed to the chef of Catherine de’ Medici. The French, however, perfected it and gave it the elegant name “Crème Chantilly.”
- There’s an actual, official organization dedicated to the art of hand-whipping cream! La Confrérie des Chevaliers Fouetteurs de Crème Chantilly (The Brotherhood of Knights of Chantilly Cream Whippers) requires aspirants to successfully whip cream by hand to earn their “Whipping Squire Diploma.” Yes, it’s real, and yes, it sounds like an incredibly fun challenge!
- Centuries ago, before the advent of modern mixers, people used natural tools like tree branches to aerate cream into a fluffy dessert topping. Talk about rustic!
- Whipped cream isn’t just for desserts; it’s a mood enhancer! Many parents (including my friend Jamie, who’s a genius) have discovered that a surprise dollop of Reddi-Whip can instantly turn a grumpy child’s frown upside down. Consider it a secret weapon for parental cool points.
The Unrivaled Taste of Homemade
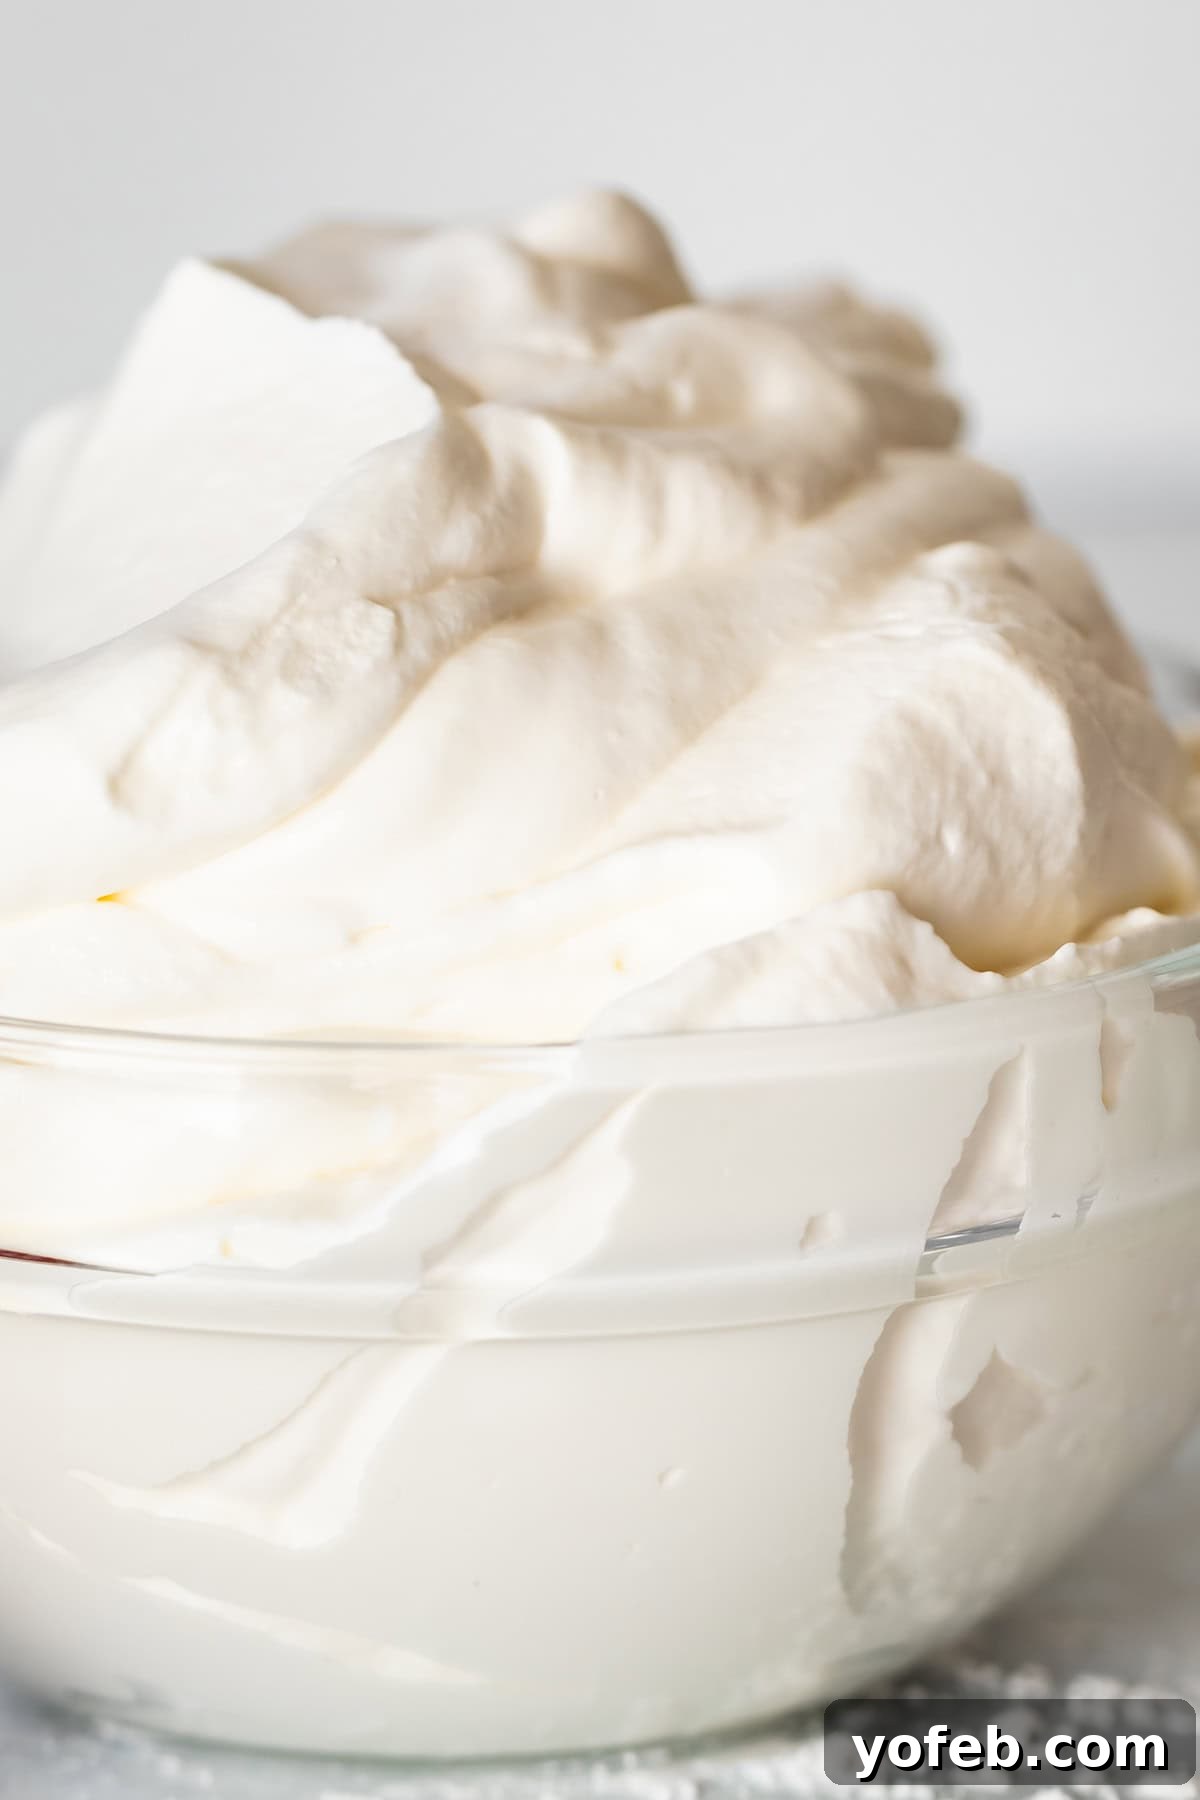
Let’s be clear: there’s no judgment here for those who reach for the canned stuff or the tubs of Cool Whip. They certainly have their place for convenience. However, if you’ve never experienced truly fresh, homemade whipped cream, you’re missing out on a culinary revelation. Pre-made versions simply cannot compare to the real deal, neither in flavor nor in texture.
Consider the ingredients: Cool Whip, for instance, is primarily composed of corn syrup and vegetable oil. While it provides a sweet, airy topping, it lacks the depth and richness of actual dairy cream. Reddi-Wip, a step up, does contain heavy cream, but it’s often diluted with water and corn syrup, resulting in a lighter texture that still doesn’t quite match the velvety mouthfeel of freshly whipped cream. The good news? You can achieve that superior quality at home with minimal effort.
The Surprising Ease of Homemade Whipped Cream
Gone are the days when whipping cream meant an hour of strenuous hand-beating with primitive tools. Thanks to modern kitchen gadgets, you can transform liquid cream into a fluffy cloud of deliciousness in as little as 3-5 minutes with a stand mixer or hand mixer. Imagine the dedication of my brother, Nathan, who once spent 45 minutes whipping cream by hand during his frugal medical school days – a true “Whipping Squire” without a diploma, but certainly with an iron will!
Incorporating fresh whipped cream into your meal planning doesn’t have to be a chore. For special occasions like Thanksgiving, I always allocate a few minutes after dinner specifically for whipping cream. This ensures it’s at peak freshness, perfectly complementing every slice of pie. The impact of freshly made whipped cream is undeniable; it adds a level of luxury and flavor that store-bought simply can’t replicate. It’s so easy that you can even whip it up at a friend’s house just before serving dessert, making a truly memorable impression. Take, for example, a classic dessert like Strawberry Shortcake:
Heavy Cream, Whipping Cream, and Fat Content: What You Need to Know
A common pitfall for aspiring whipped cream makers is choosing the wrong dairy product. To achieve those glorious peaks, you need *actual* cream, not coffee creamer! Coffee creamer, whether liquid or powdered, lacks the essential fat content necessary for whipping. Always ensure you’re grabbing a carton from the refrigerated dairy aisle.
When browsing the dairy section, you’ll typically find cream labeled as one of the following:
- “Heavy Cream”
- “Whipping Cream”
- “Heavy Whipping Cream”
- “Ultra-Pasteurized Heavy Whipping Cream” (or similar)
These terms are used by the dairy industry to broadly categorize the fat content. While it can be frustratingly difficult to find the precise fat percentage on some packaging, rest assured that any product simply labeled “cream” will have at least the minimum 30% fat required for whipping. This 30% threshold is an industry standard and ensures your cream will aerate and hold its shape.
However, if you spot labels like “heavy” or “ultra heavy,” these indicate a higher fat content, usually 36% or more. The higher the fat content, the faster your cream will whip, and the more stable and voluminous it will be. It’s a game-changer for speed and structure, making your whipping experience even more rewarding. For example, I often seek out Darigold’s 40% heavy cream at Costco – that extra fat makes a noticeable difference!
To demystify cream labels, here’s a quick guide based on FDA regulations:
- **Whipping Cream:** Contains 30% to 35% milk fat.
- **Heavy Cream (or Heavy Whipping Cream):** Contains 36% milk fat or higher.
So, for the quickest, fluffiest, and most stable results, always aim for heavy cream with the highest fat percentage you can find!
Essential Ingredients for Perfect Whipped Cream
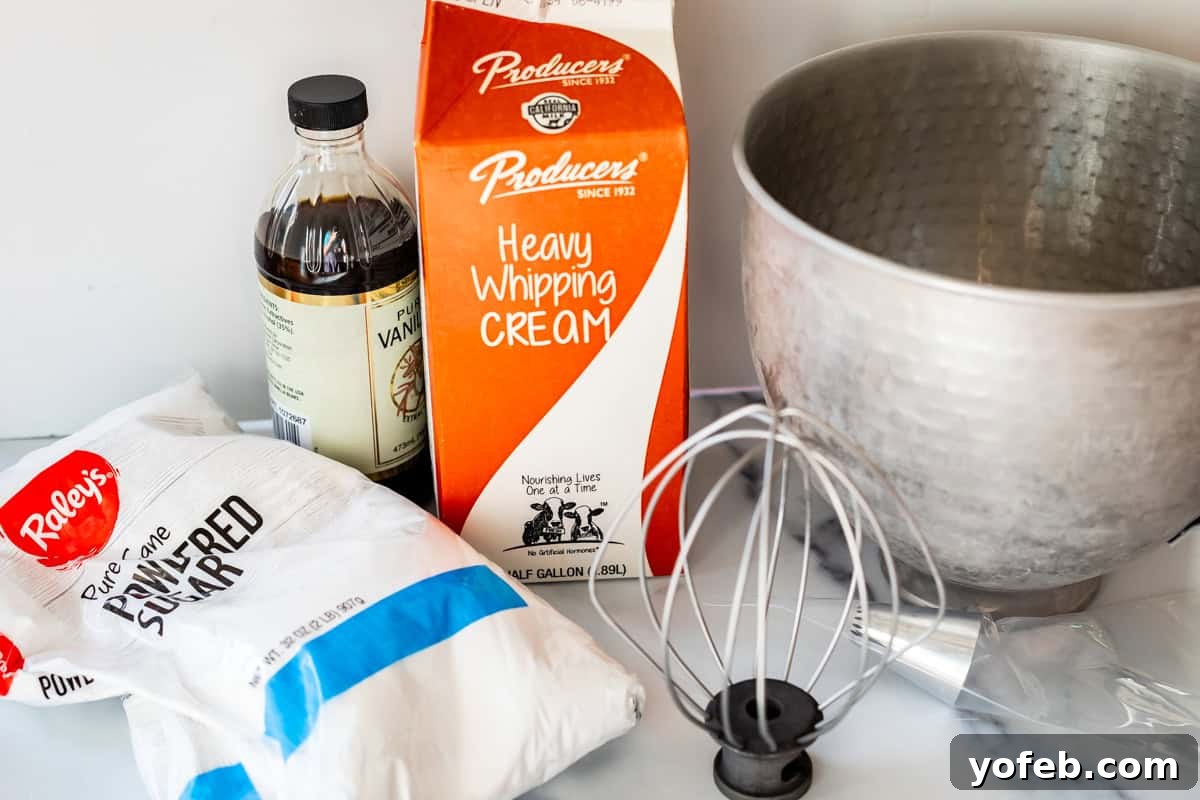
Creating delightful homemade whipped cream requires very few ingredients, focusing on quality to achieve the best results:
- **Heavy Whipping Cream:** The star of the show. Ensure it’s very cold for optimal whipping.
- **Powdered Sugar (Confectioners’ Sugar):** This finely milled sugar dissolves easily, preventing a gritty texture. You can adjust the amount to your preference.
- **Vanilla Extract:** A classic flavor enhancer that adds warmth and depth. Don’t skip it!
- **Pinch of Kosher Salt (Optional, but Recommended):** A tiny touch of salt balances the sweetness and brings out the cream’s natural richness.
That’s it! Simple, yet incredibly effective for creating a truly luxurious topping.
Step-by-Step Guide to Perfect Whipped Cream
Ready to create clouds of deliciousness? Let’s get started!
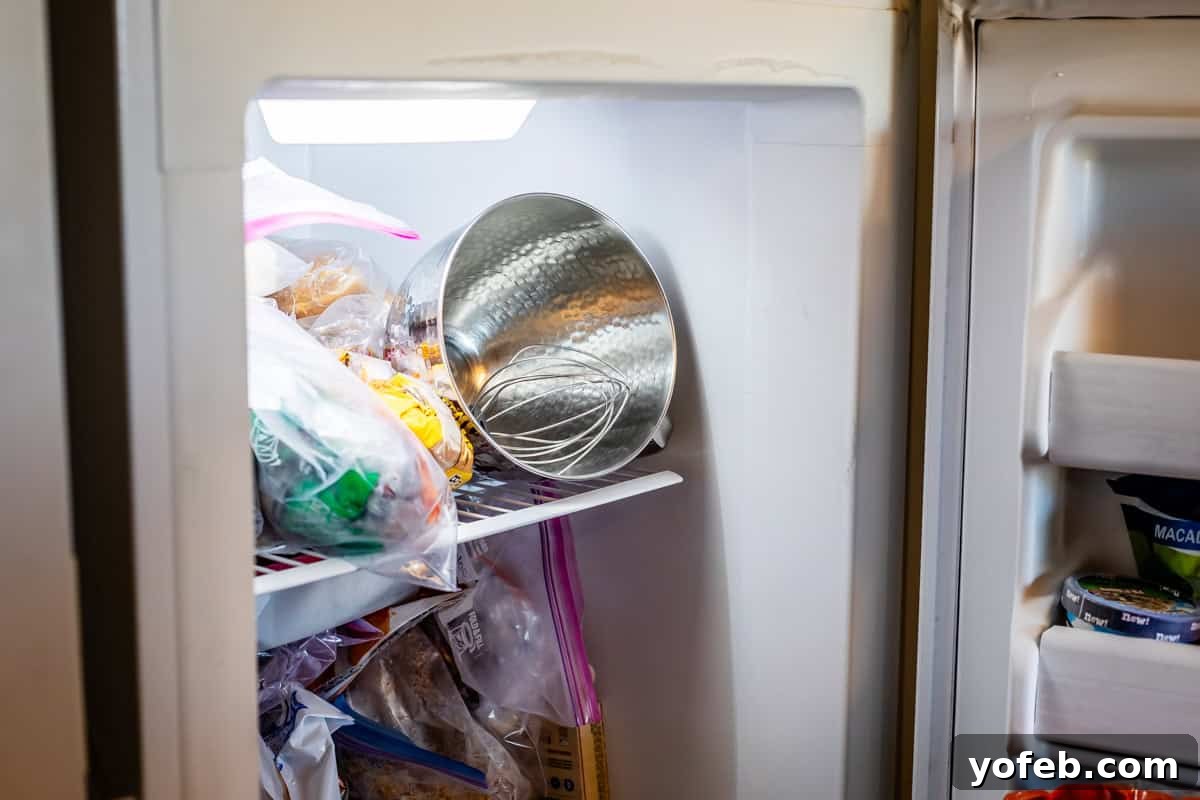
First things first: **Chill your equipment.** For the fastest and most voluminous whipped cream, place your mixing bowl (whether a stand mixer bowl or a large, high-sided bowl for a hand mixer) and whisk attachments into the freezer for 10-15 minutes, or the refrigerator for 20-30 minutes. The cold metal helps keep the cream chilled, which is crucial for successful whipping. If your bowl is warm from the dishwasher, run it under cold water and dry thoroughly before chilling. For hand mixers, a high-sided bowl is essential to prevent cream from splattering everywhere!
Next, ensure your **heavy cream is as cold as possible.** Keep it in the refrigerator until the very moment you’re ready to whip. You can even pop the carton into the freezer for 5 minutes just before starting for an extra chill boost.
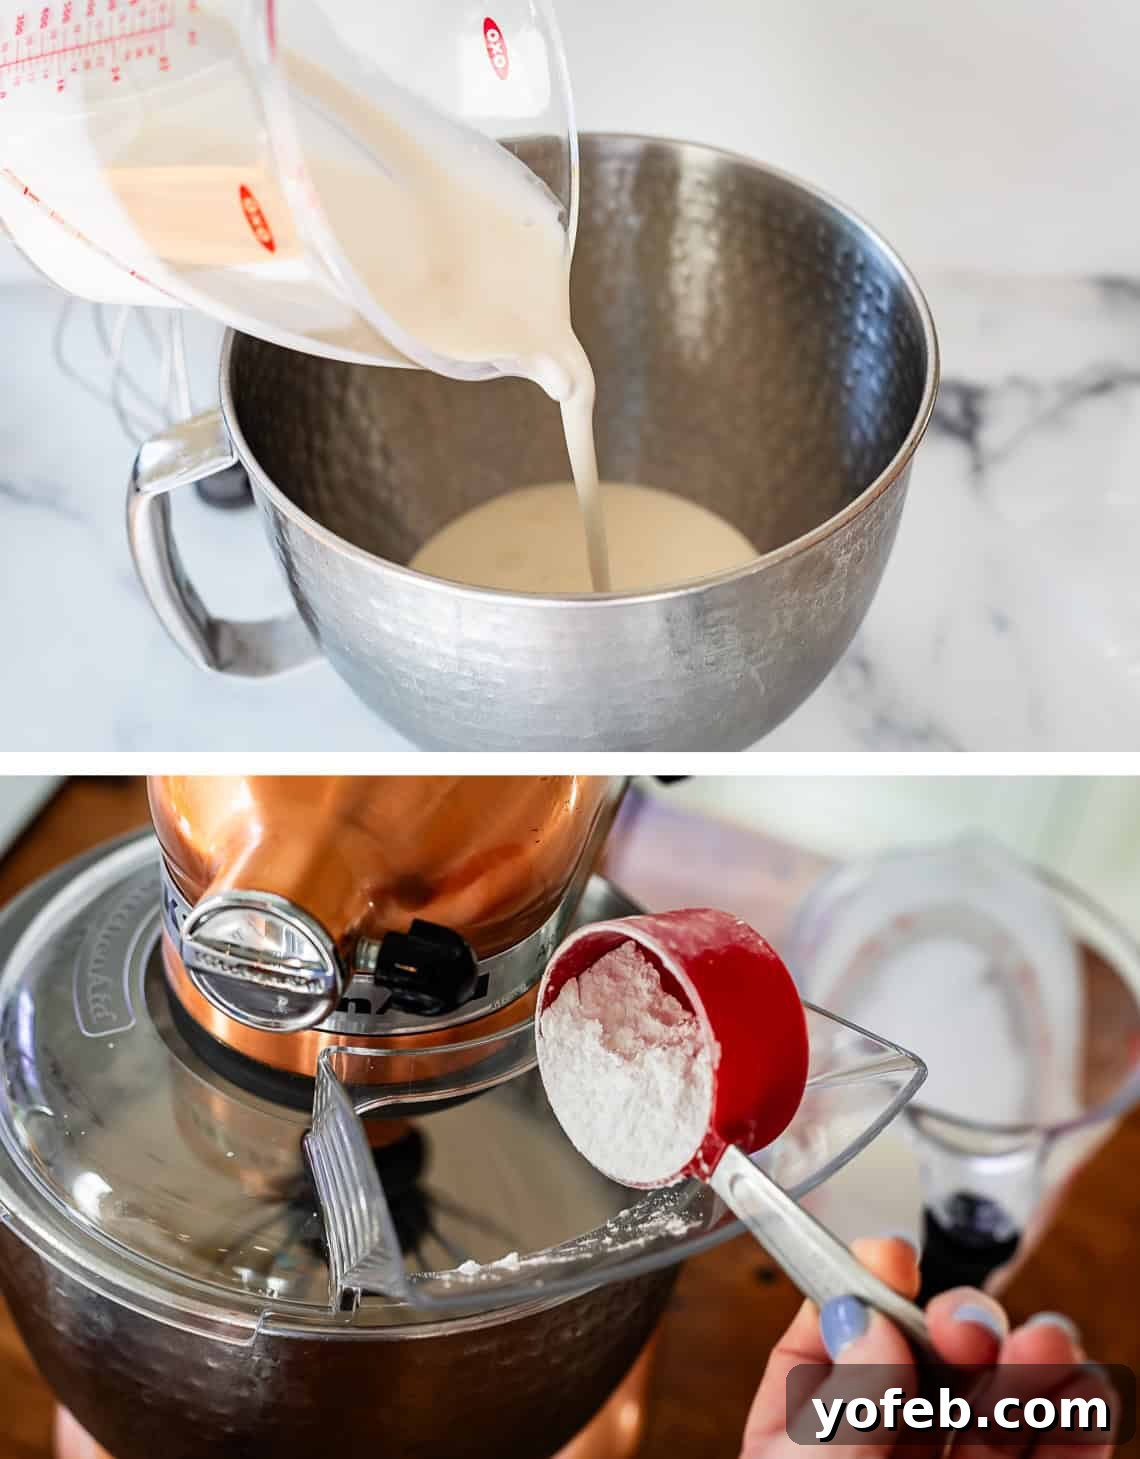
**Pour the cold cream into your chilled bowl.** If you’re using a stand mixer, you can start beating the cream on low speed immediately, then gradually increase to medium-high. While it’s whipping, add your powdered sugar, vanilla extract, and a pinch of salt. If using a hand mixer, combine all ingredients in the bowl before you begin beating.
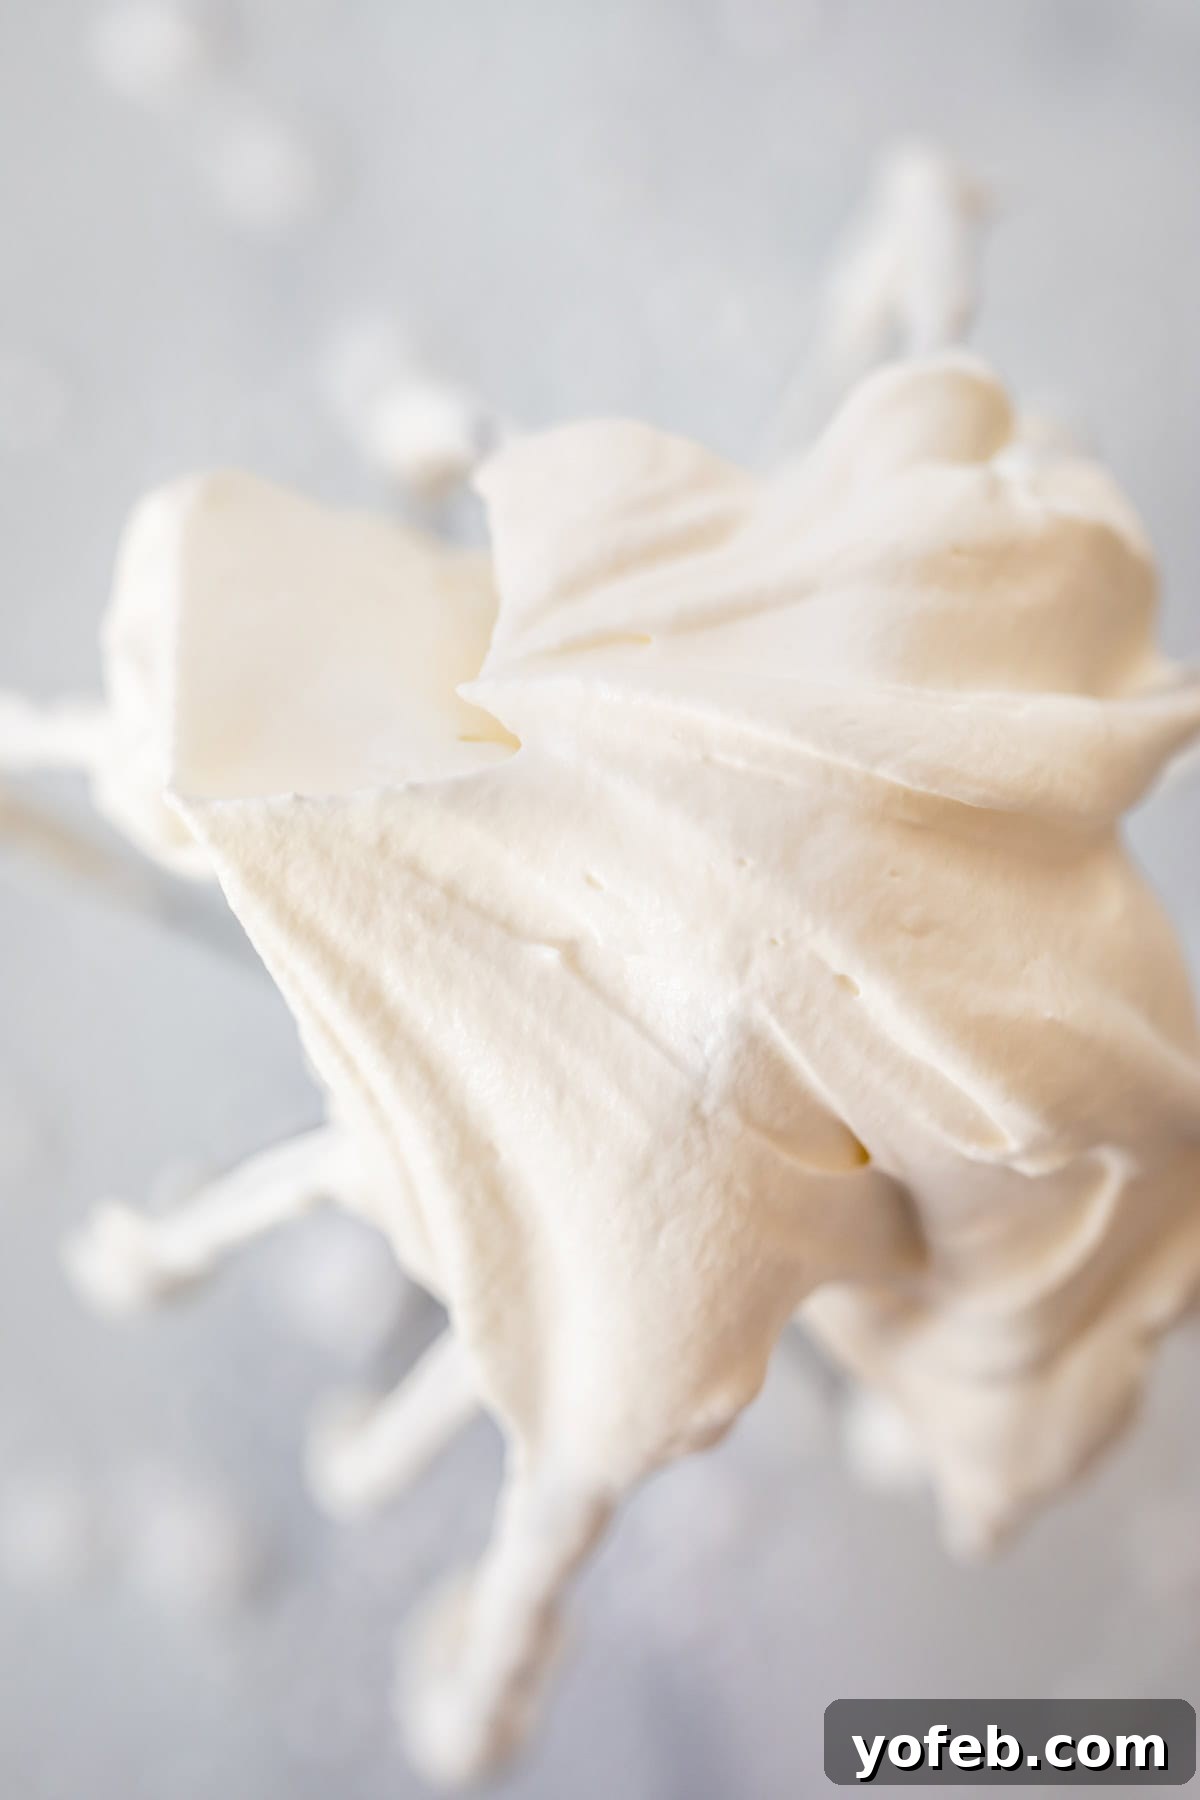
As the cream whips, you’ll notice it gradually thickening. For stand mixer users, resist the urge to walk away! Whipped cream can go from perfect to over-whipped in mere seconds. You’re aiming for **medium peaks** – not stiff peaks like meringue that stand rigidly, and not soft, droopy peaks that collapse immediately. The ideal consistency is light and airy, holding its shape but with a slight, elegant curl at the tip.
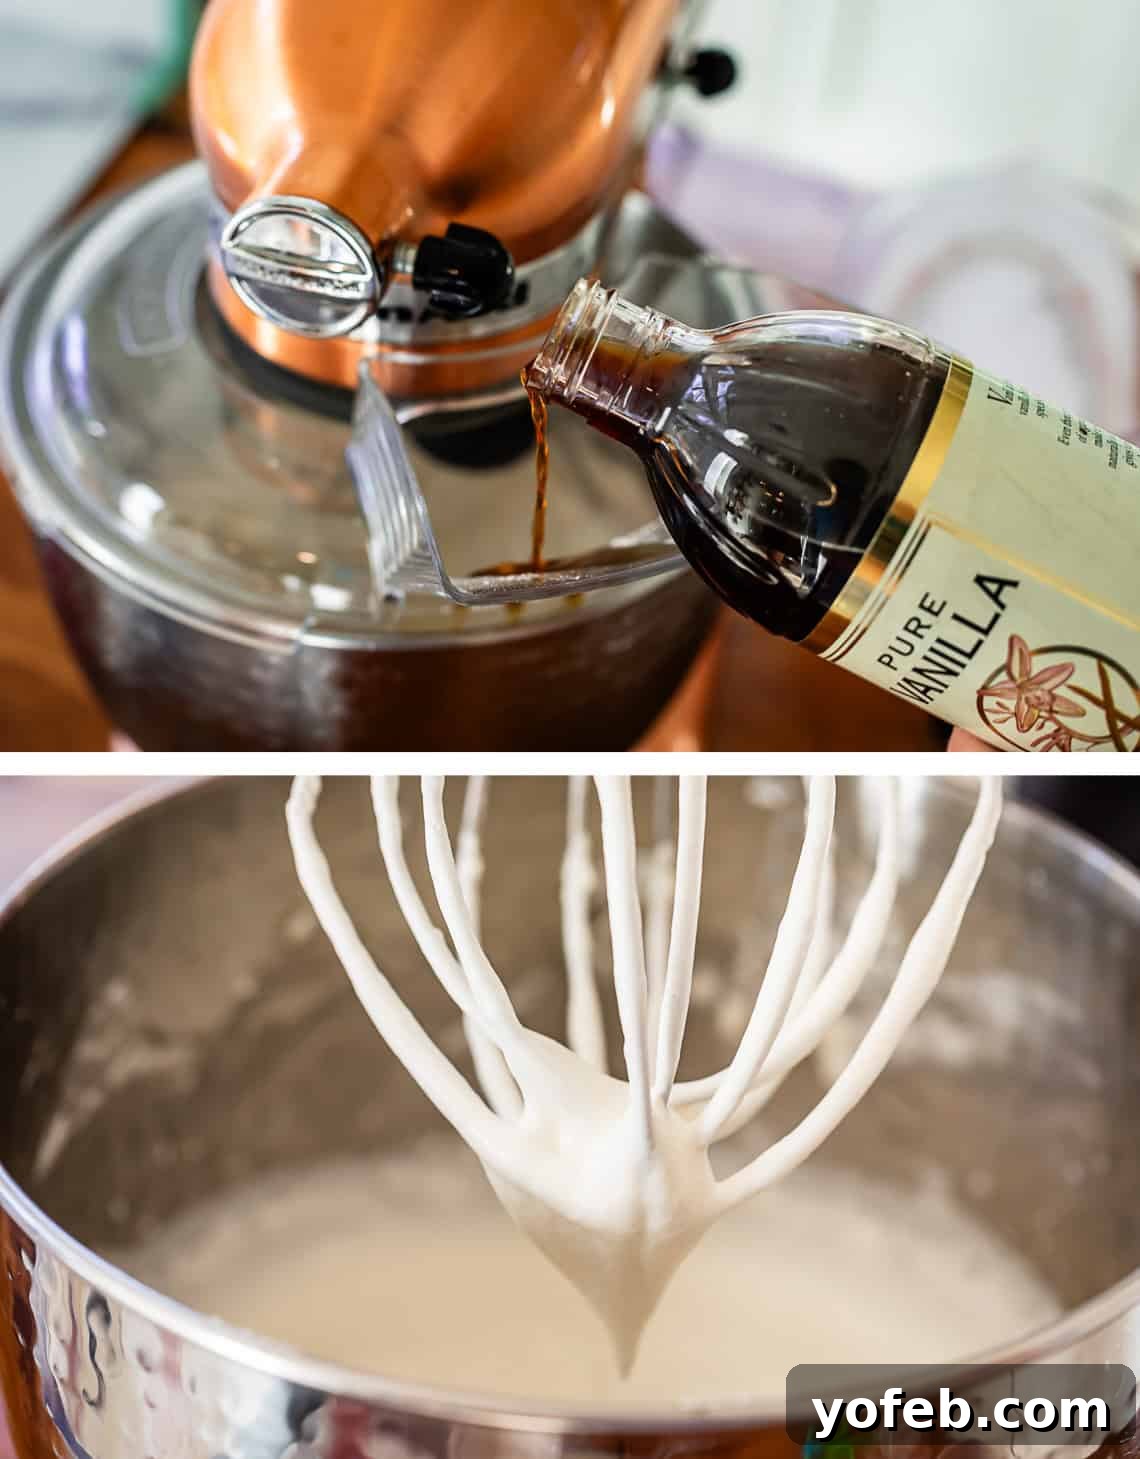
Initially, the cream will look loose and “drippy.” Keep beating! A minute or two later, it will be thicker, but the peaks might still fall over. More beating is needed!

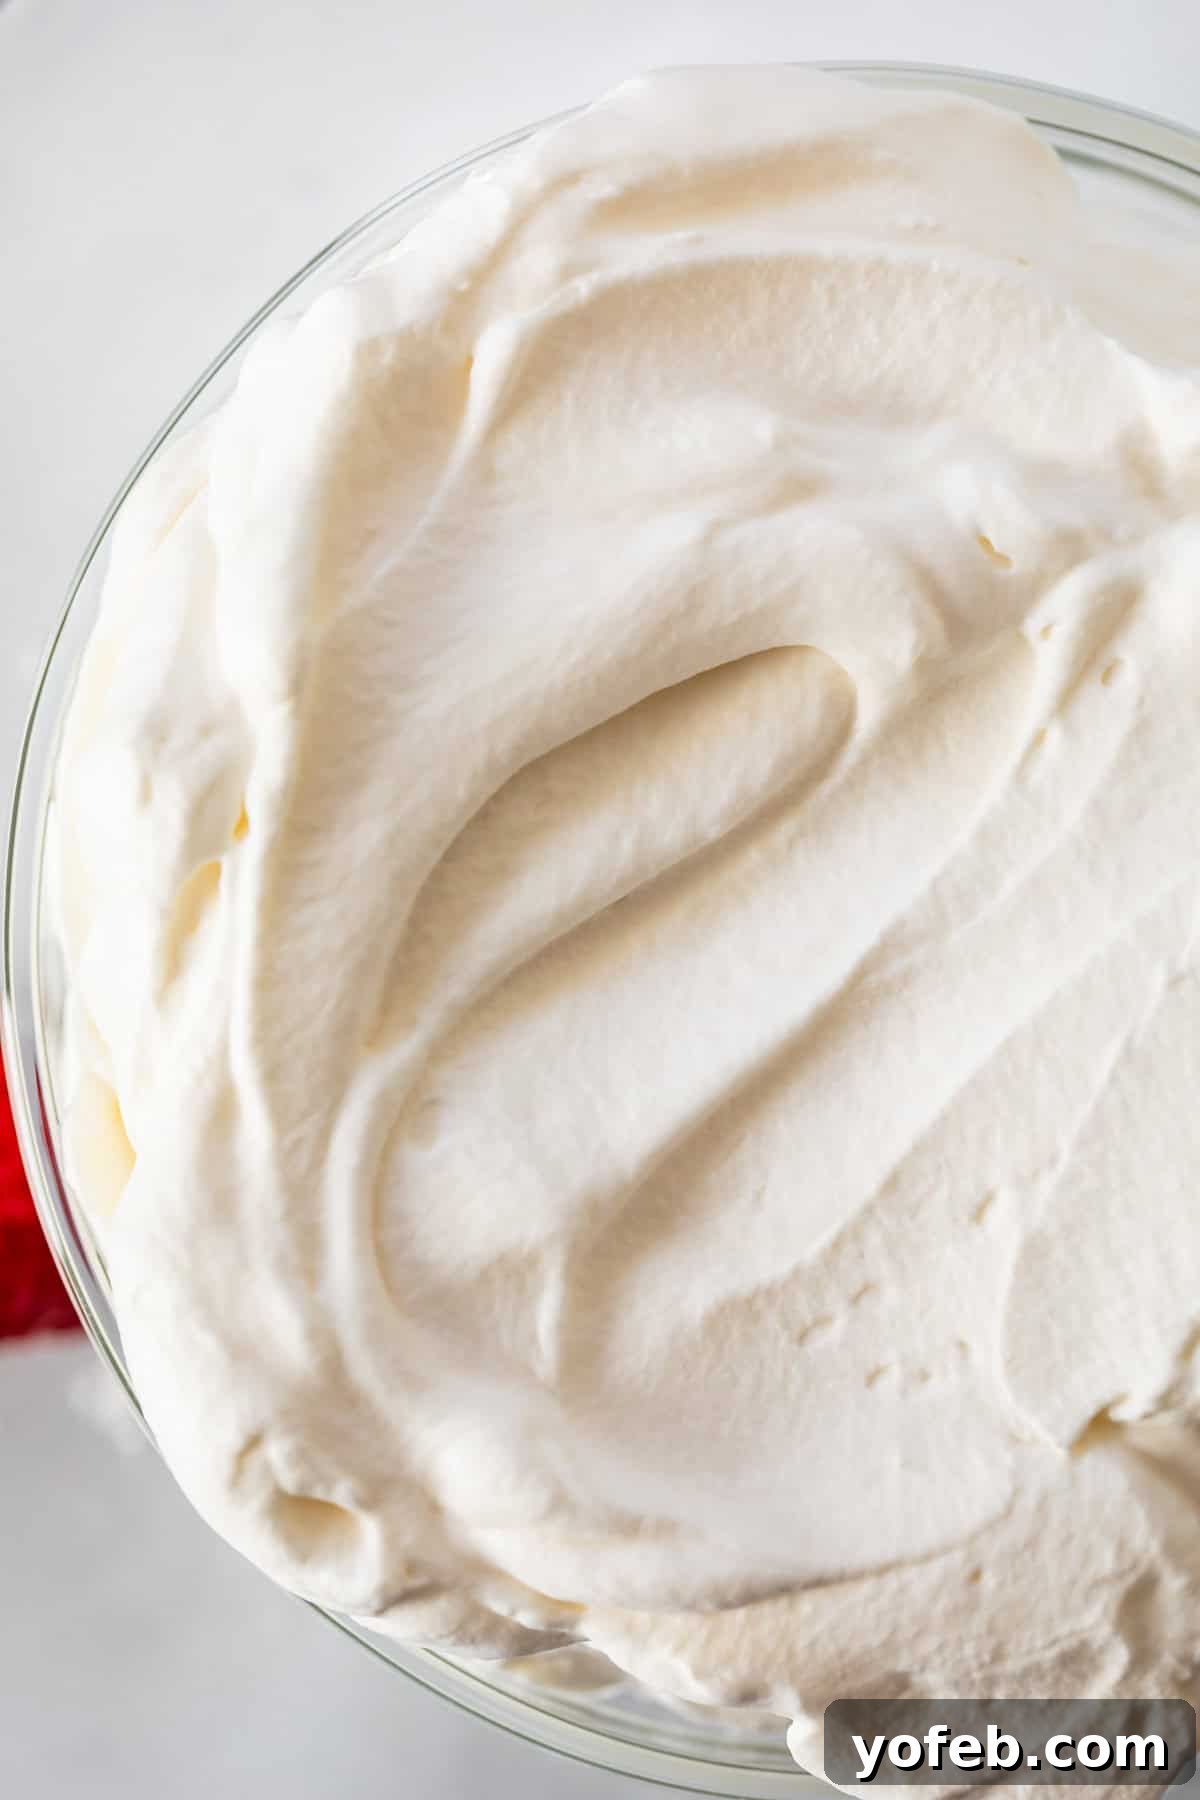
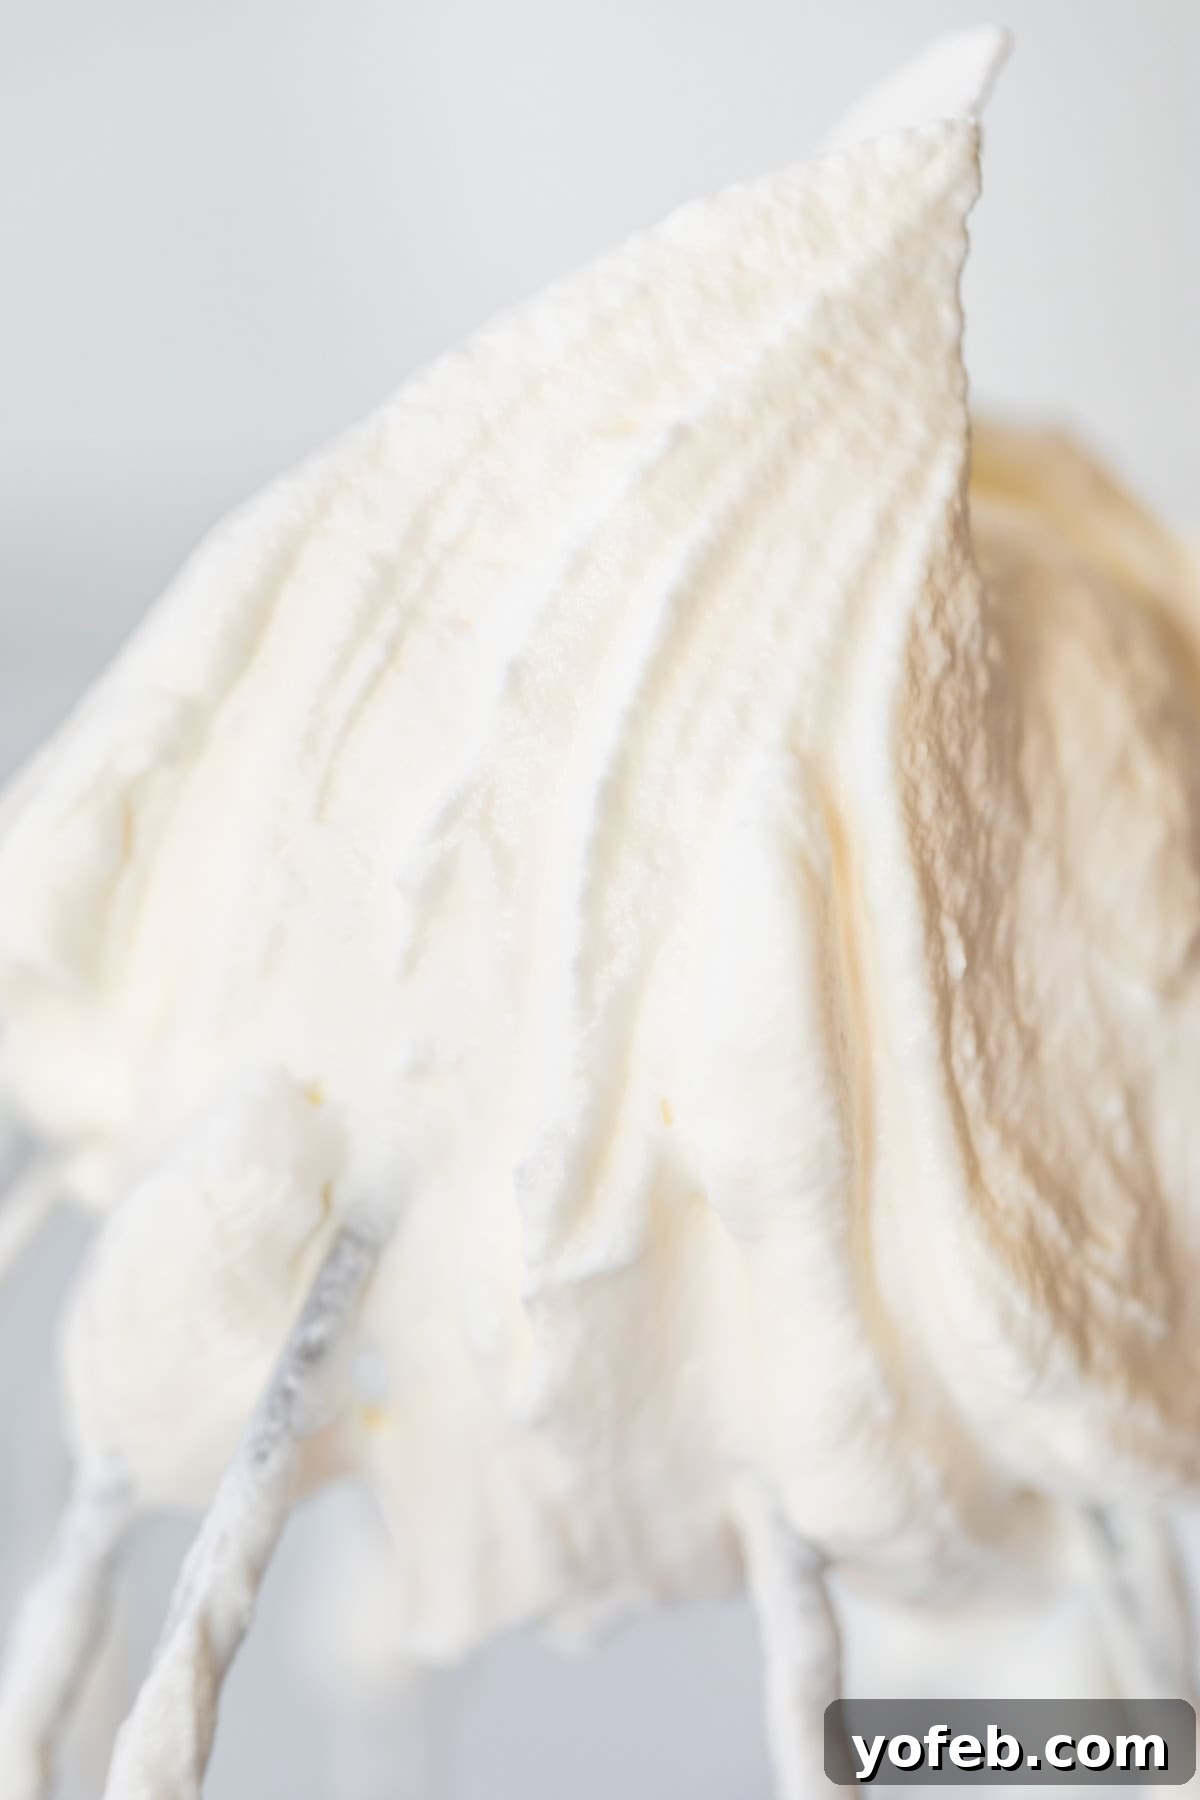
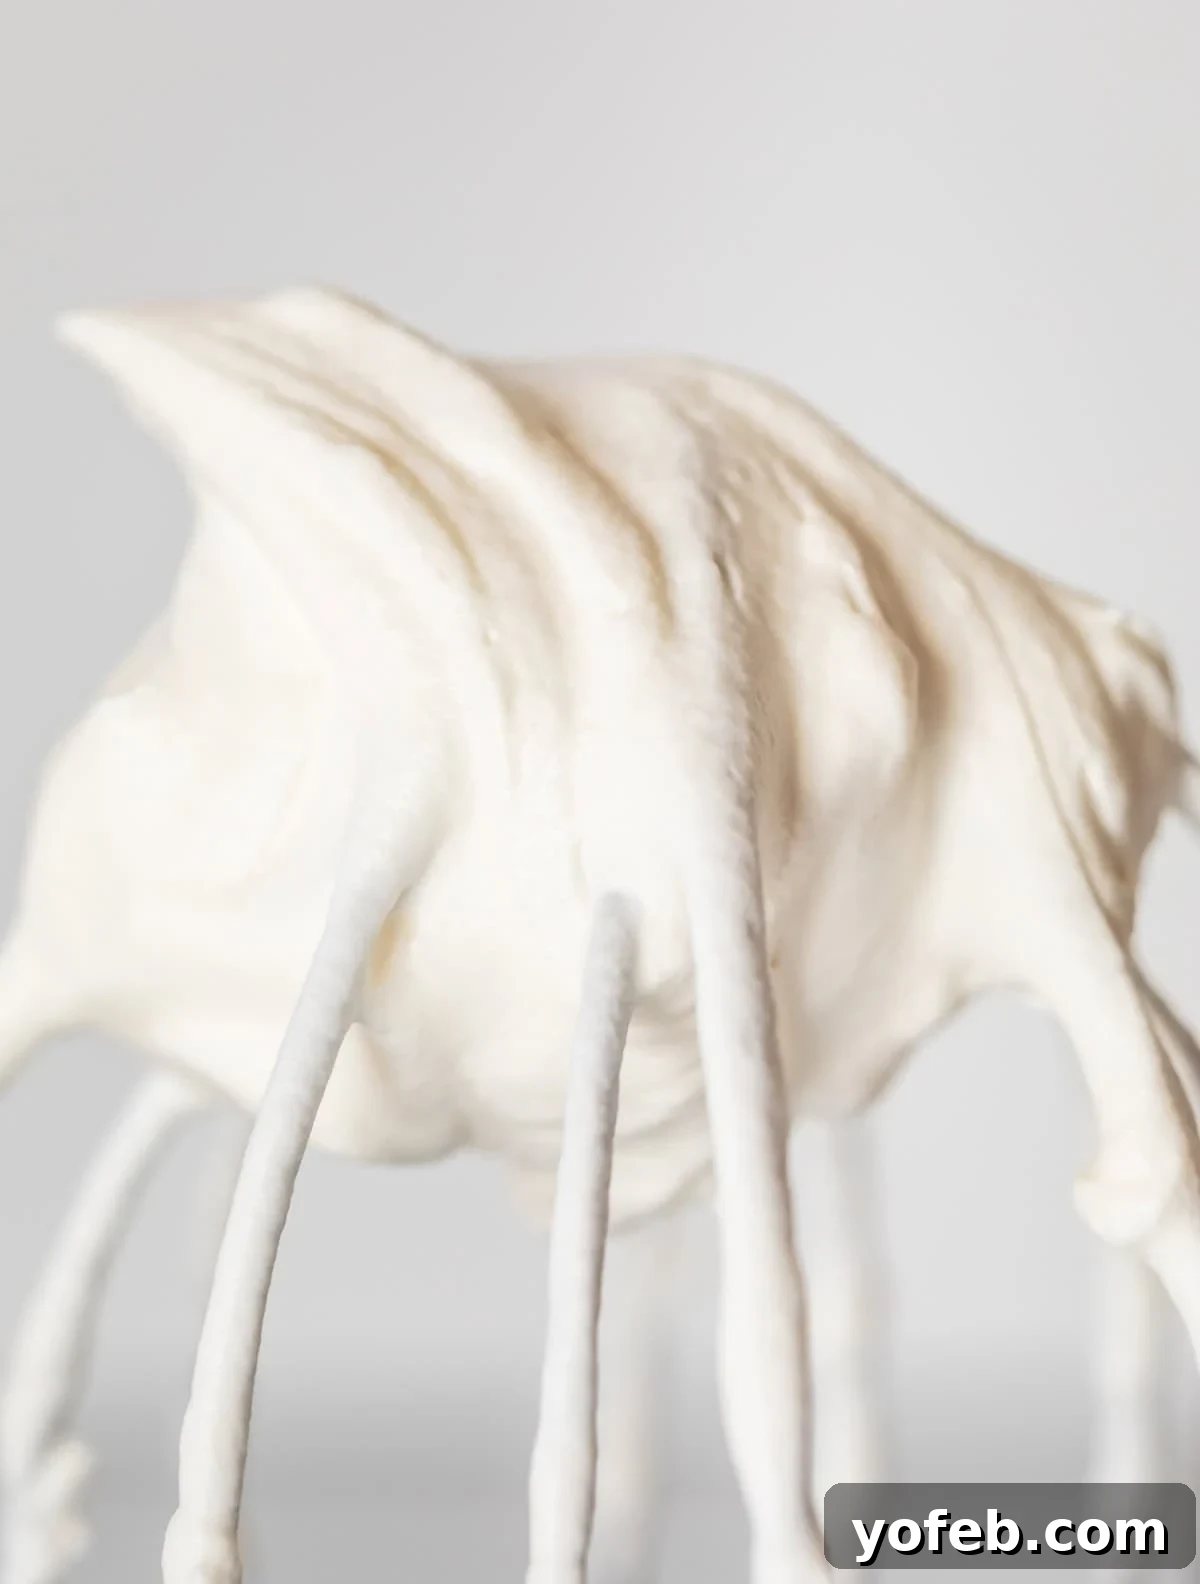
**How to Test for Doneness:** The most reliable method is to lift the whisk attachment (or one of the beaters if using a hand mixer) and flip it upside down. A peak should form and hold its shape with a gentle curl. It should point upwards, not completely droop downwards. The texture should be smooth and airy, not chunky or liquidy. This visual test is far more accurate than relying on a specific time, as variables like cream fat content, temperature, and mixer power all affect whipping time.
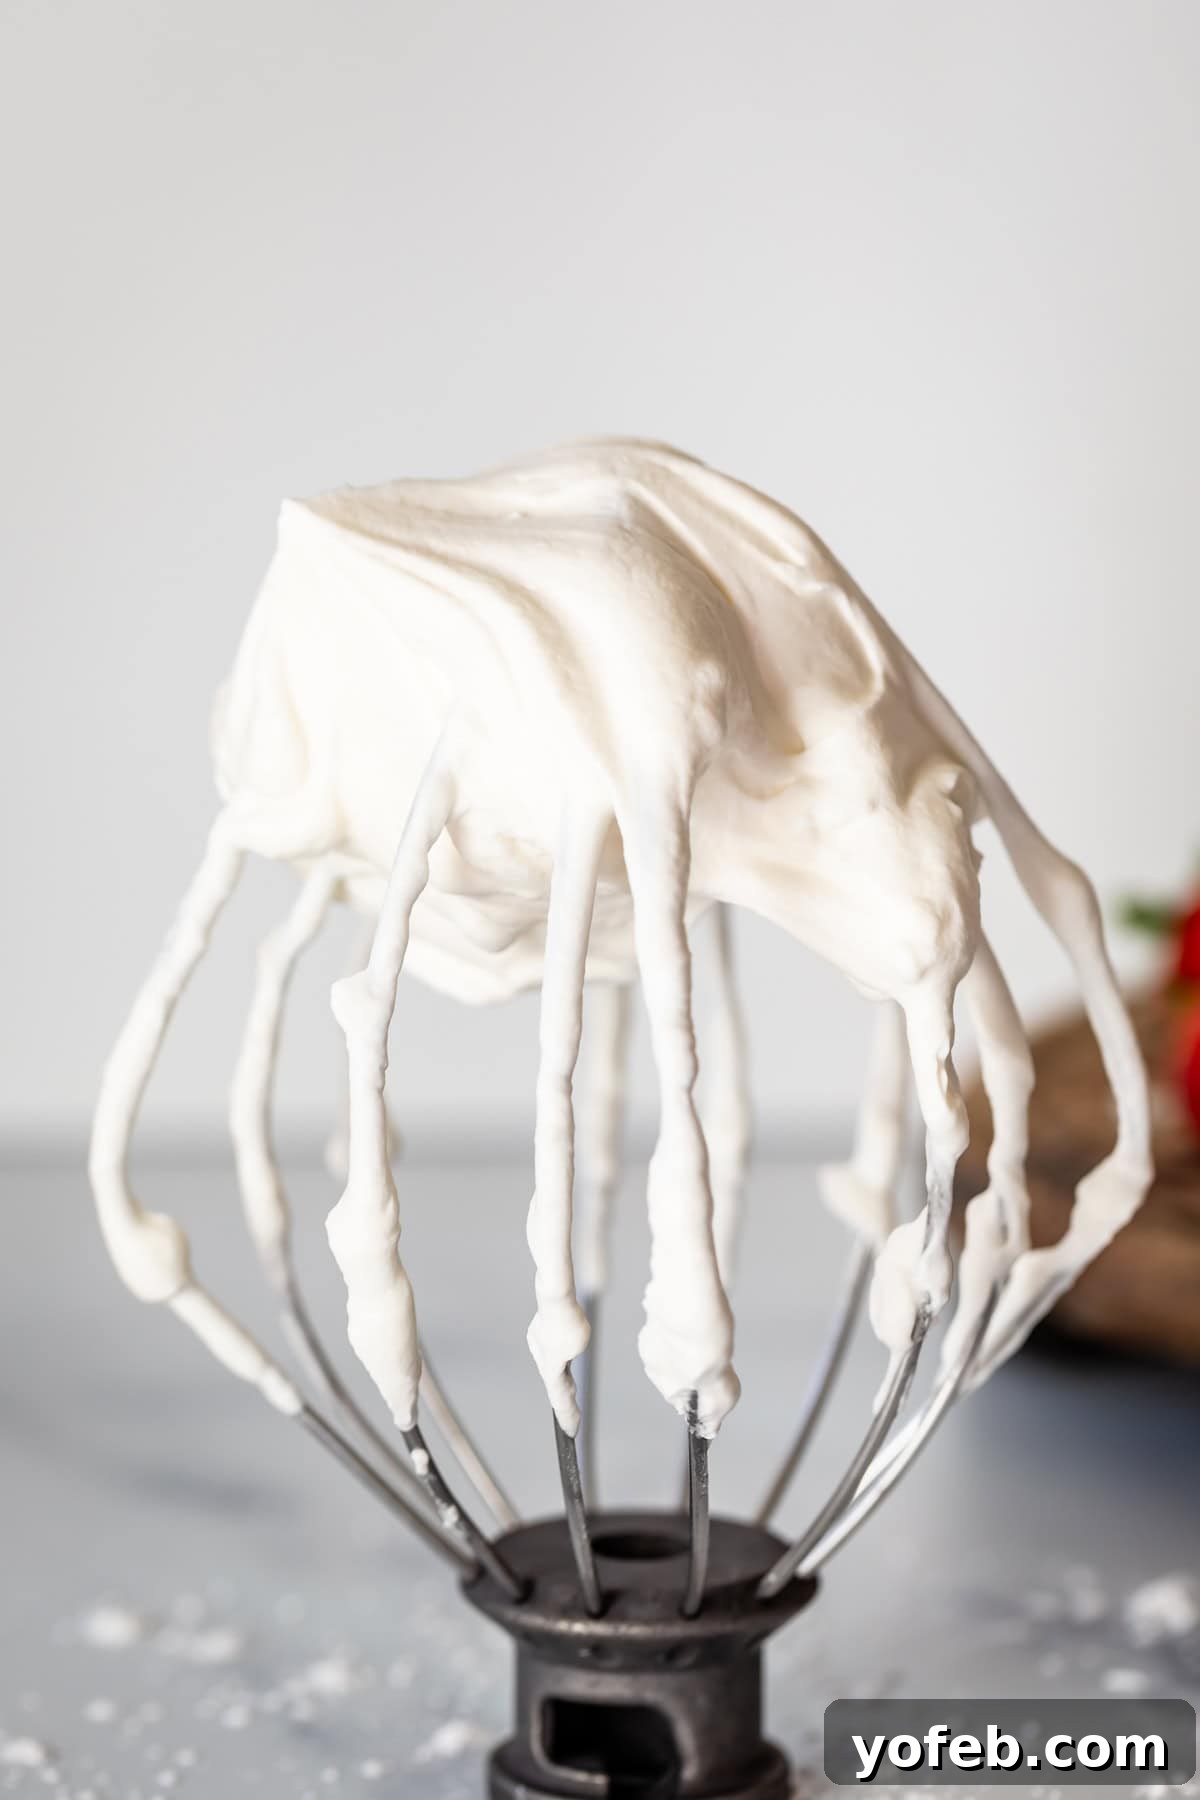
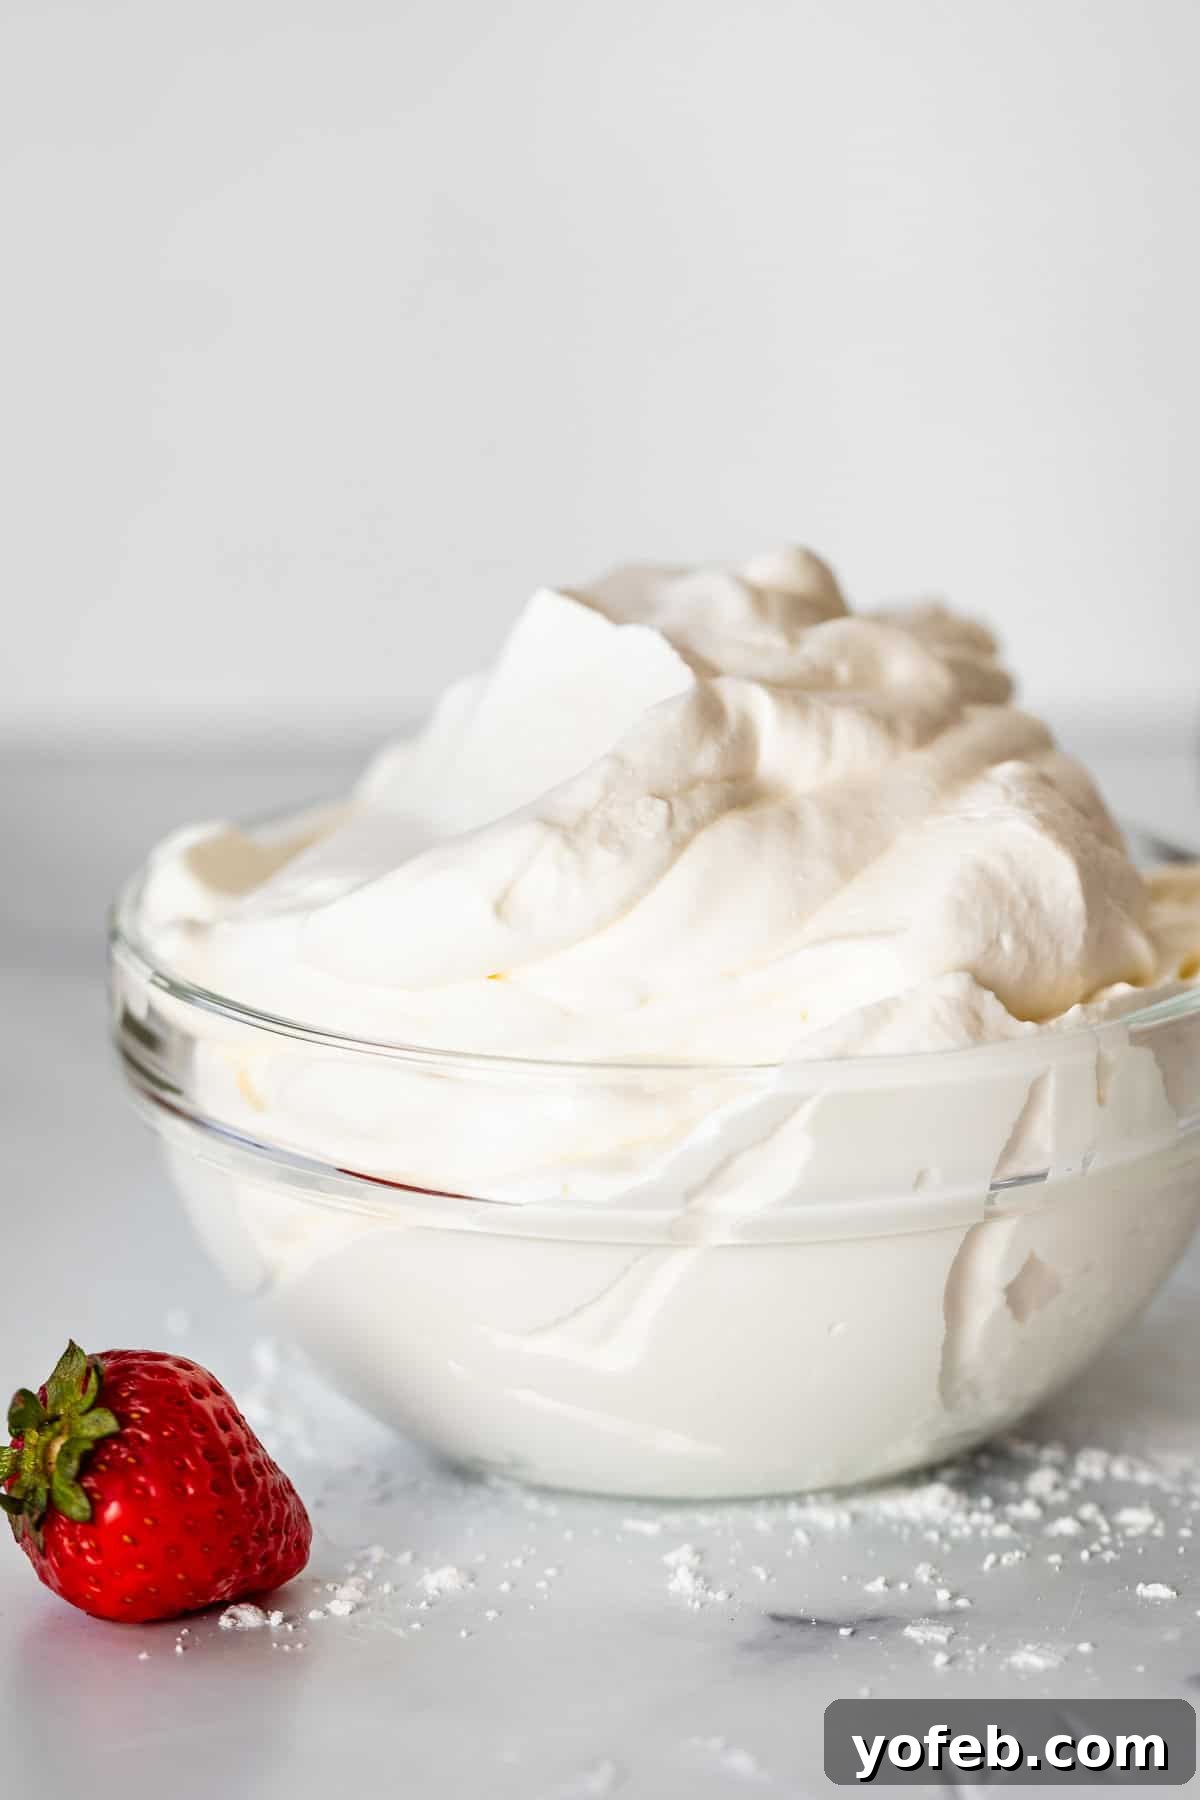
Voilà! That’s the ideal medium peak. The peak forms and holds, but with a slight, elegant bend. This indicates perfect lightness and airiness.
Another fun, albeit slightly riskier, test is to momentarily tip the mixing bowl upside down. If done correctly, the whipped cream should stay put! (Proceed with caution on this one, or just stick to the whisk test.)
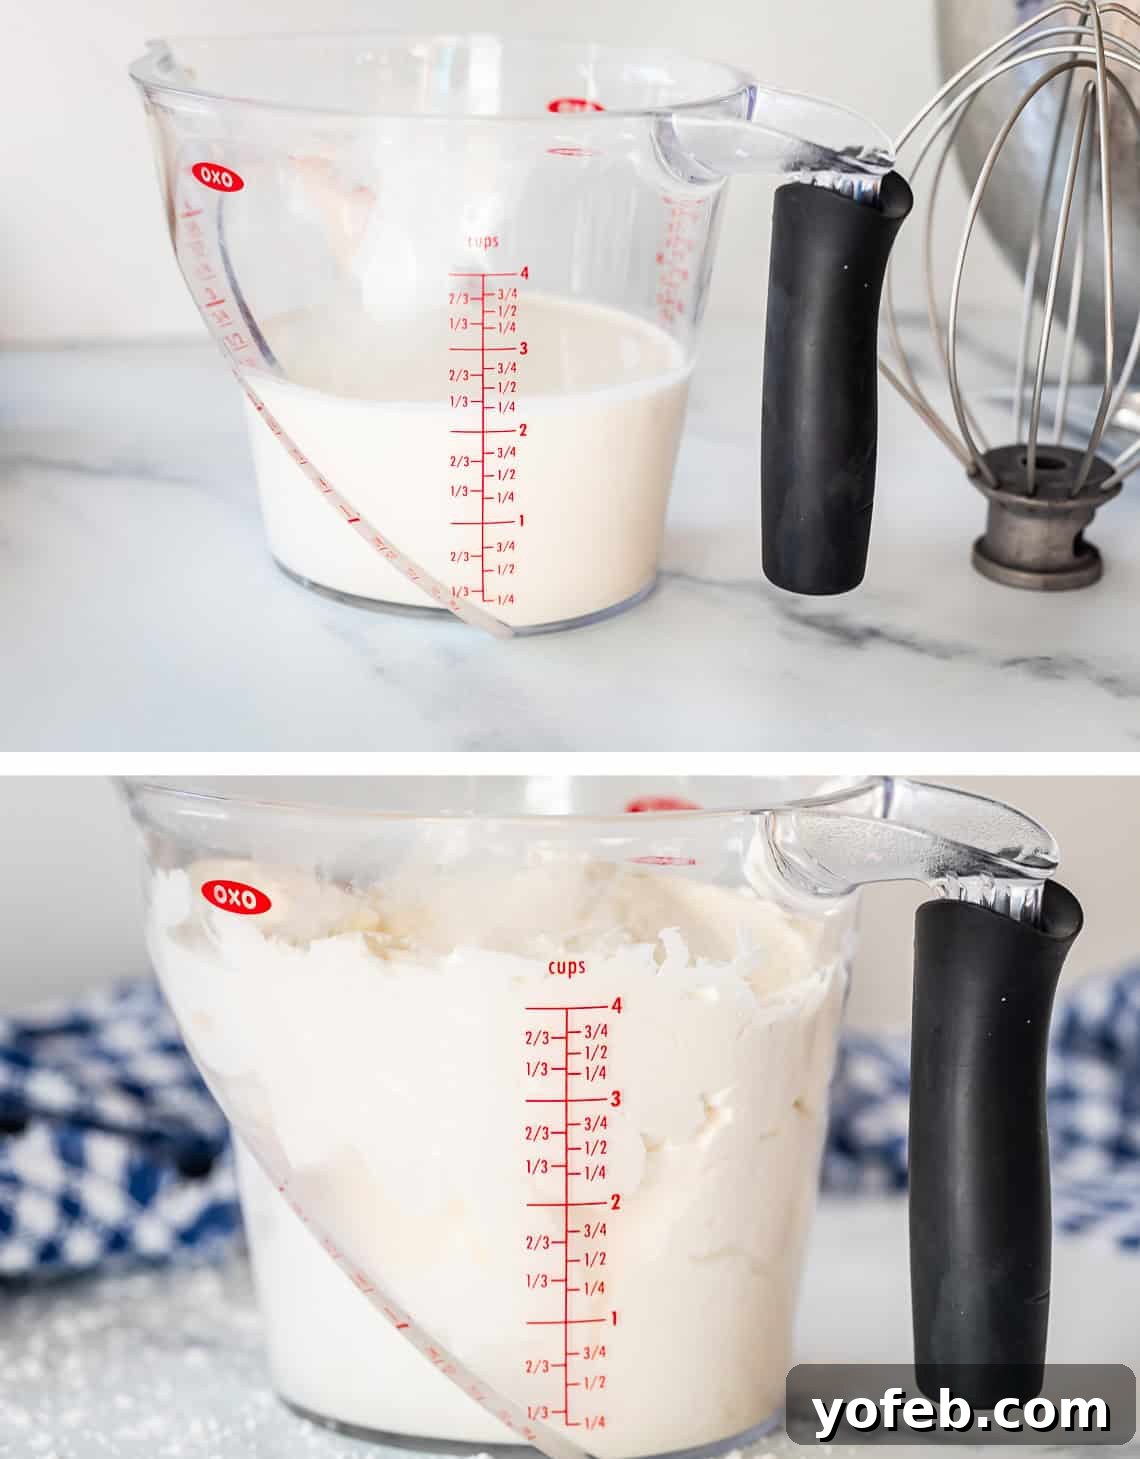
One of the impressive aspects of whipping cream is its volume increase. Typically, cream will nearly double in volume. So, 2 cups of liquid heavy cream will yield approximately 4 cups of light, fluffy whipped cream.
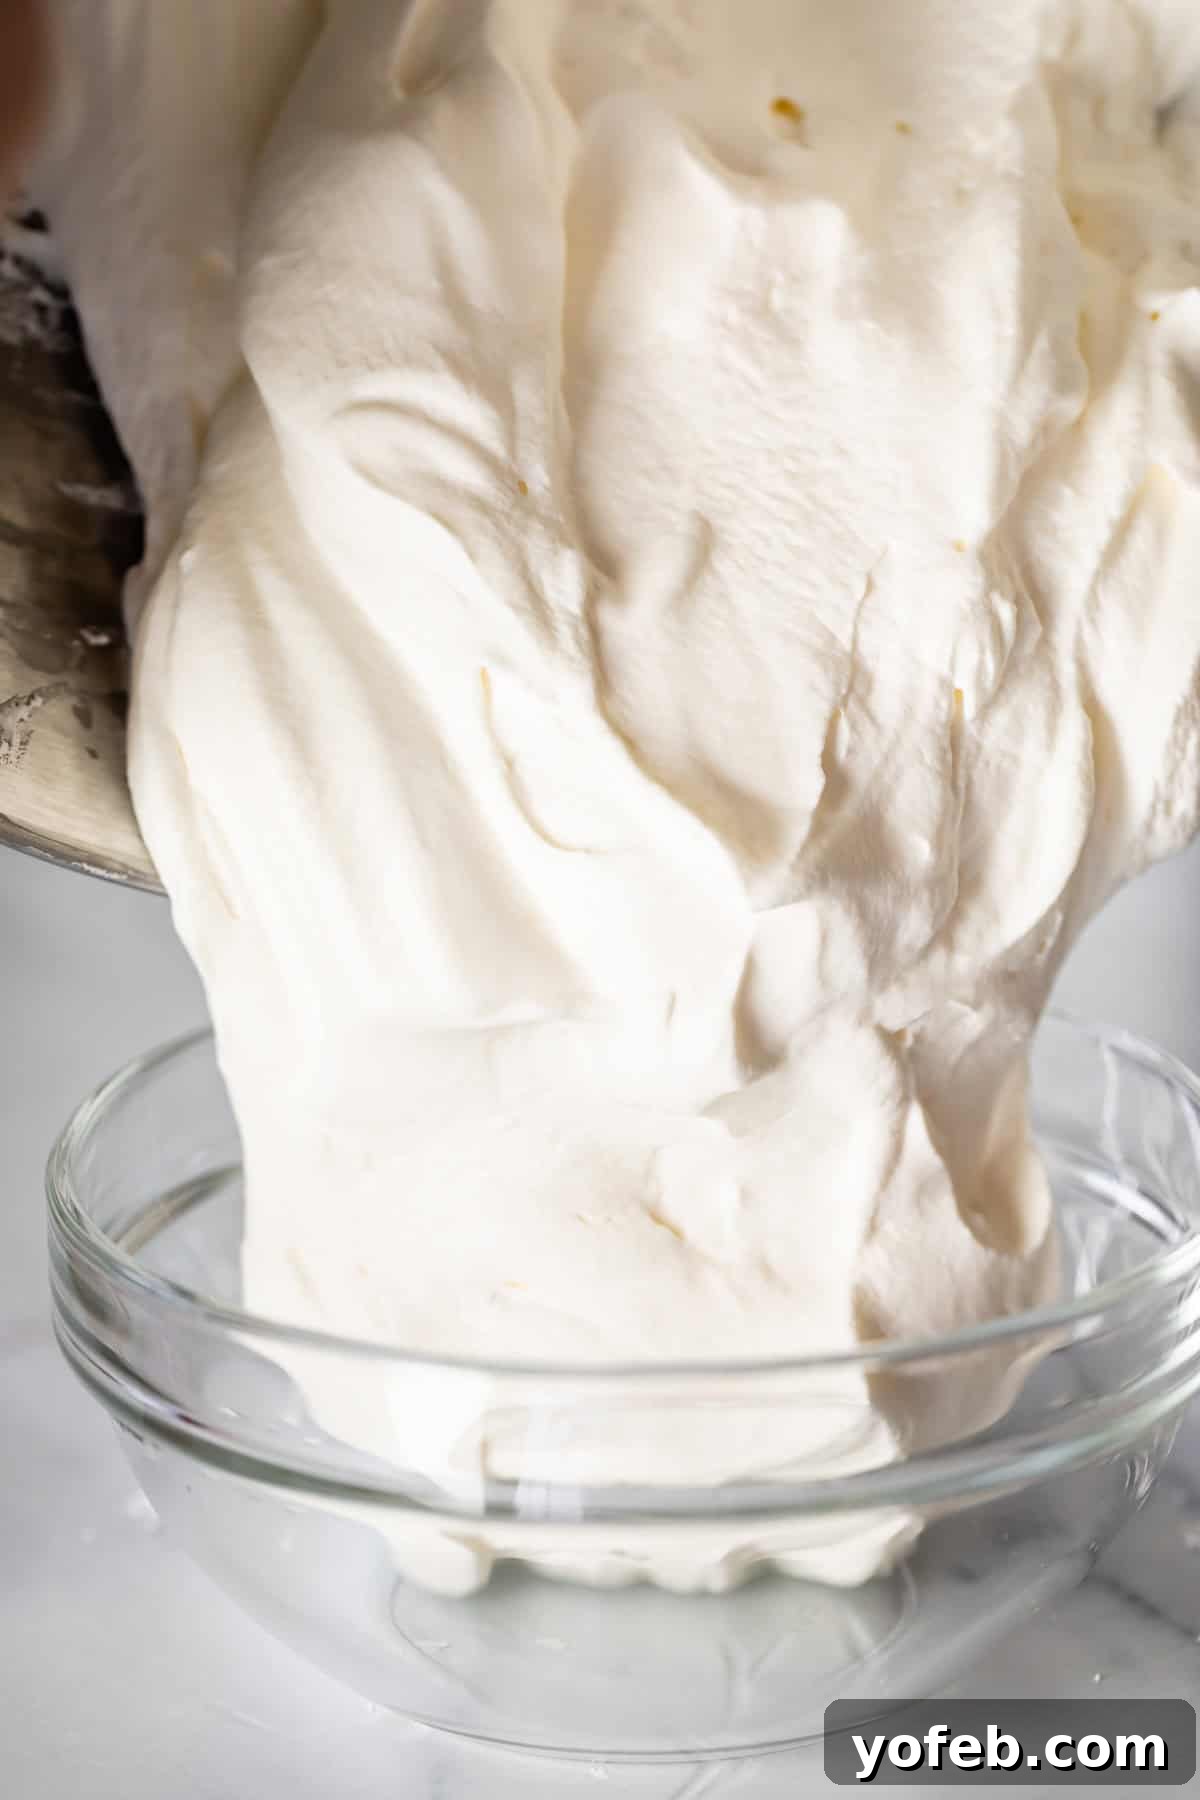
Now that you have your perfect whipped cream, go ahead and treat yourself (or a grumpy loved one!). A spoonful of this fluffy cloud can truly brighten any situation.
Rescuing Over-Whipped Cream
Uh-oh, did you get a little too enthusiastic with your mixer? Don’t despair if your whipped cream looks grainy or slightly clumpy. This is a common occurrence, and thankfully, it’s usually fixable!
A slightly over-whipped batch will have a less smooth, somewhat textured appearance. While it won’t taste bad, it won’t have that silky, melt-in-your-mouth creaminess you’re aiming for.
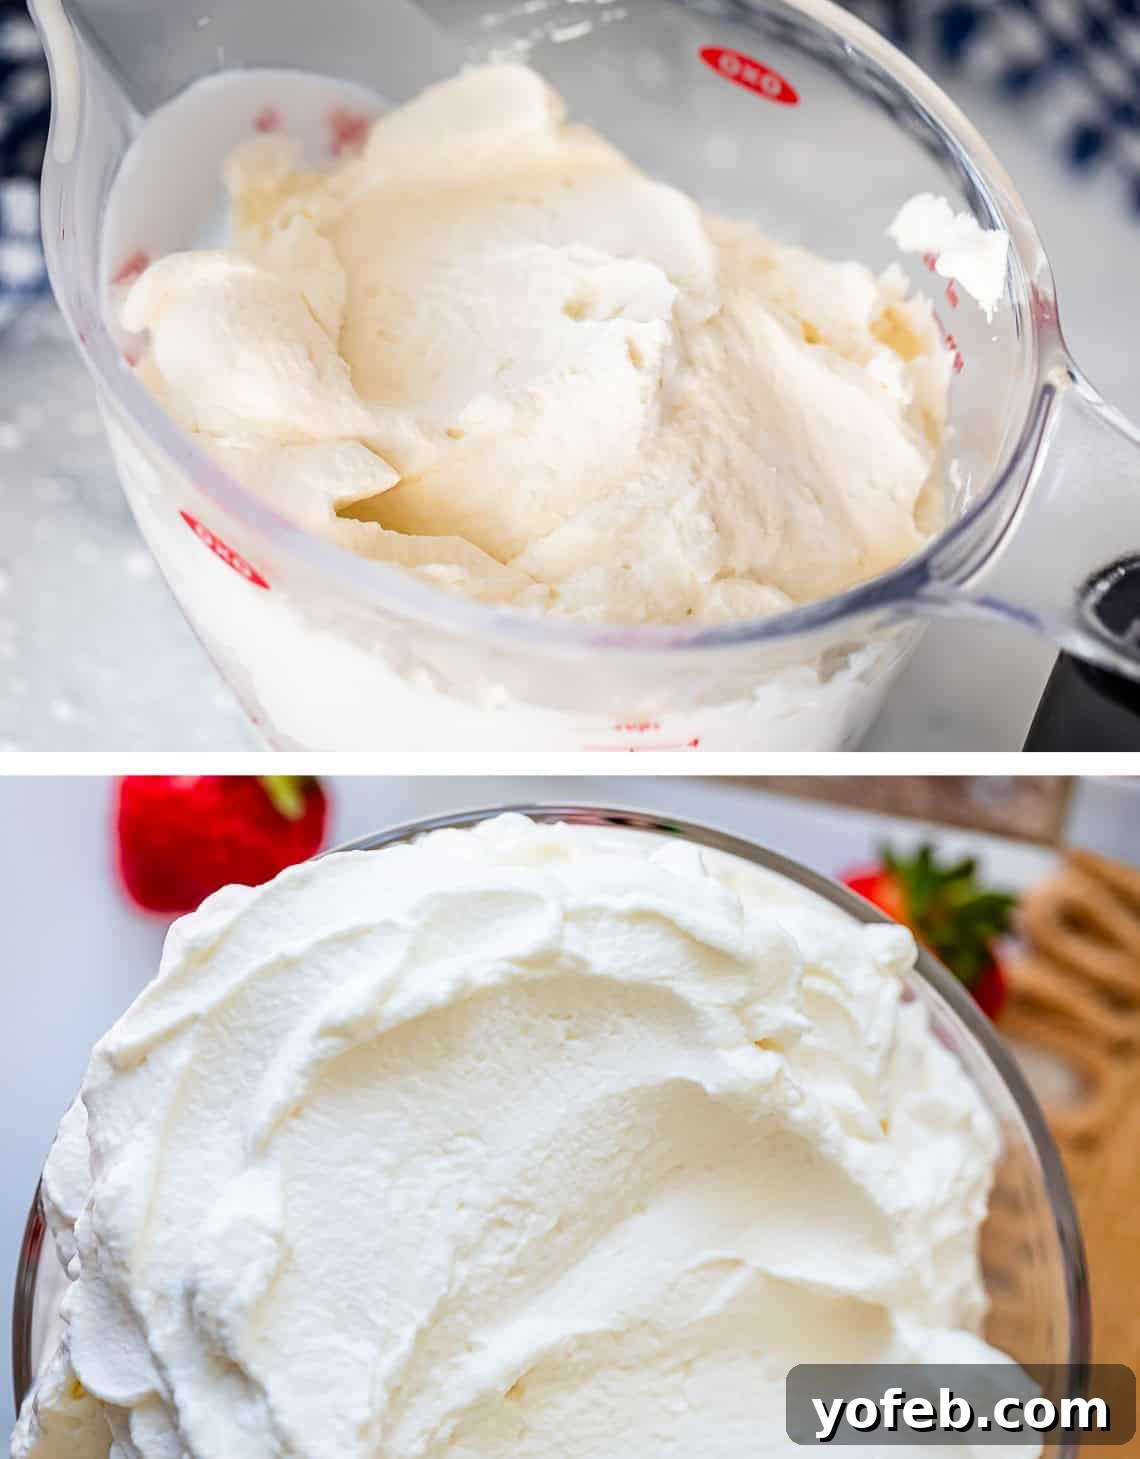
To rescue slightly over-whipped cream, simply add another tablespoon or two of cold, un-whipped heavy cream to the bowl. With your mixer running on a very low speed (or using a whisk by hand), gently incorporate the fresh cream. Watch carefully; within 10-20 seconds, the grainy texture should smooth out, and your whipped cream will regain its fluffy consistency. You may need to add a bit more cream depending on how severely it was over-whipped.
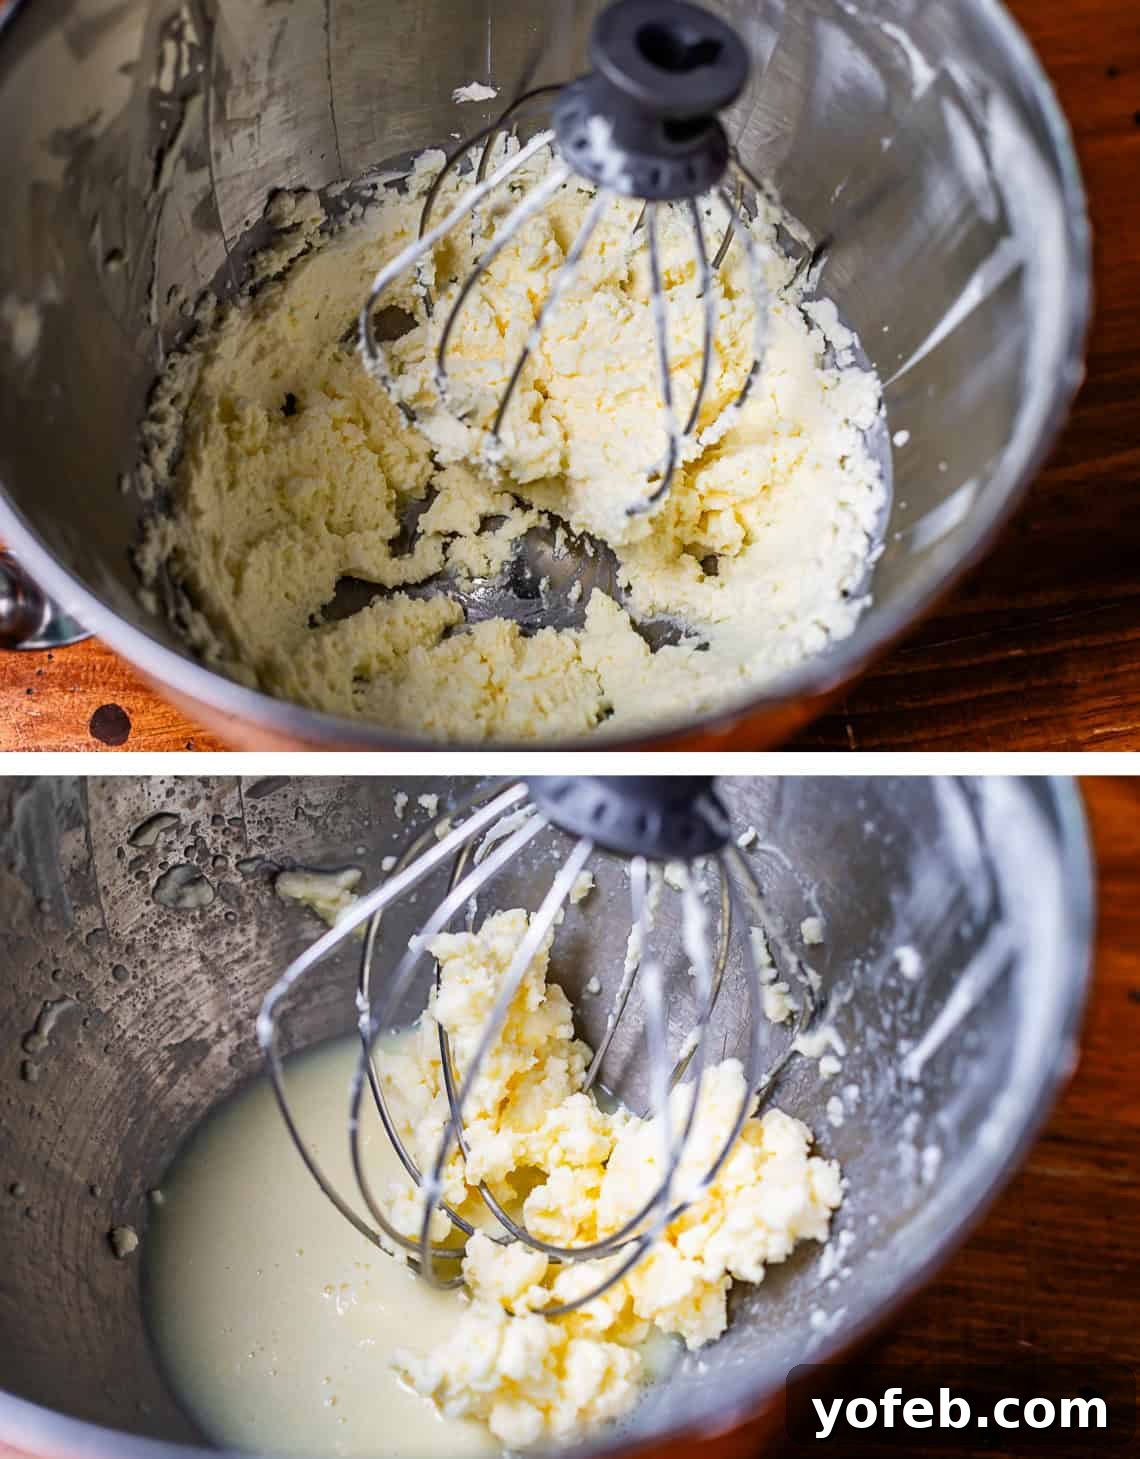
But what if you went *way* too far? If your cream has separated into solids and liquid, resembling curds, you’ve essentially made butter! While it’s no longer whipped cream, it’s not a total loss. Congratulations, you’ve got homemade butter! Add a pinch of salt and enjoy it on toast. The liquid left behind is buttermilk, perfect for your next batch of fluffy pancakes. For whipped cream, however, you’ll need to start fresh with a new carton of heavy cream.
Stabilizing Whipped Cream for Piping and Lasting Fluffiness
Freshly whipped cream is wonderfully delicate, and while it’s fantastic when served immediately, it can begin to weep and lose its volume if left sitting for extended periods, especially when used for piping or as a topping on pies that need to sit overnight. The simplest solution is to make it right before serving, but sometimes, you need it to hold its shape. That’s where stabilization comes in.
My favorite method for stabilizing whipped cream, perfected during my Coconut Cream Pie recipe development, is incredibly easy: just add a couple of tablespoons of **instant pudding mix!**
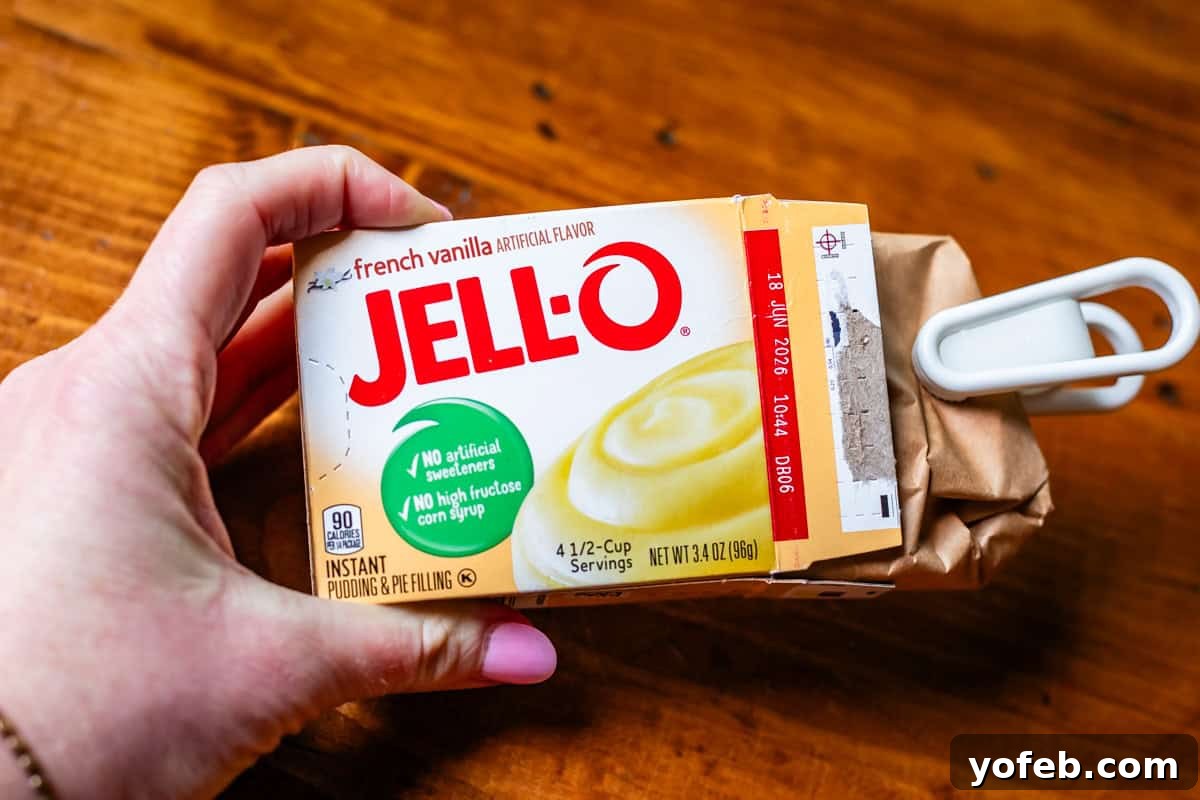
Instant pudding mix contains modified cornstarch, which has the magical ability to thicken mixtures without heat. This is precisely what allows “5-minute” instant pudding to exist at room temperature, and it works wonders to prevent whipped cream from deflating and weeping. A small amount is all you need, so keep a box of vanilla instant pudding in your pantry specifically for this purpose. You can use any flavor you prefer, though vanilla is the most neutral.
Alternatively, you can use a tablespoon of Dream Whip or a dedicated whipped cream stabilizer, both of which achieve similar results. These might be harder to find in regular grocery stores but are highly effective.
The beauty of stabilization is that your whipped cream will look and taste virtually identical to unstabilized cream, but it will maintain its structure and fluffiness for much longer. This is perfect for layered desserts or for gorgeous piped decorations, like those on this decadent Chocolate Cream Pie!
While I typically use vanilla instant pudding mix, feel free to experiment with other flavors if they complement your dessert. I still like to add vanilla extract even with vanilla pudding mix, because I believe you can never have too much vanilla flavor!
Creative Flavor Variations for Whipped Cream
While classic vanilla whipped cream is always a winner, don’t hesitate to get creative with flavors! The world of extracts offers endless possibilities. You can substitute the vanilla extract in this recipe with an equal amount of almond, rum, coconut, maple, peppermint, or even citrus extracts for a unique twist. Consider these delicious variations:
- Strawberry Pineapple Whipped Cream: A tropical and fruity delight, perfect for summer.
- Roasted Banana Whipped Cream: Adds a rich, caramelized banana flavor that pairs beautifully with puddings and pancakes.
- Coconut Whipped Cream: Infuse with coconut extract or even a touch of cream of coconut for an extra tropical note.
Beyond extracts, consider adding finely grated citrus zest, a spoonful of cocoa powder for chocolate whipped cream, or a drizzle of liqueur for an adult-friendly topping. Let your imagination guide you!
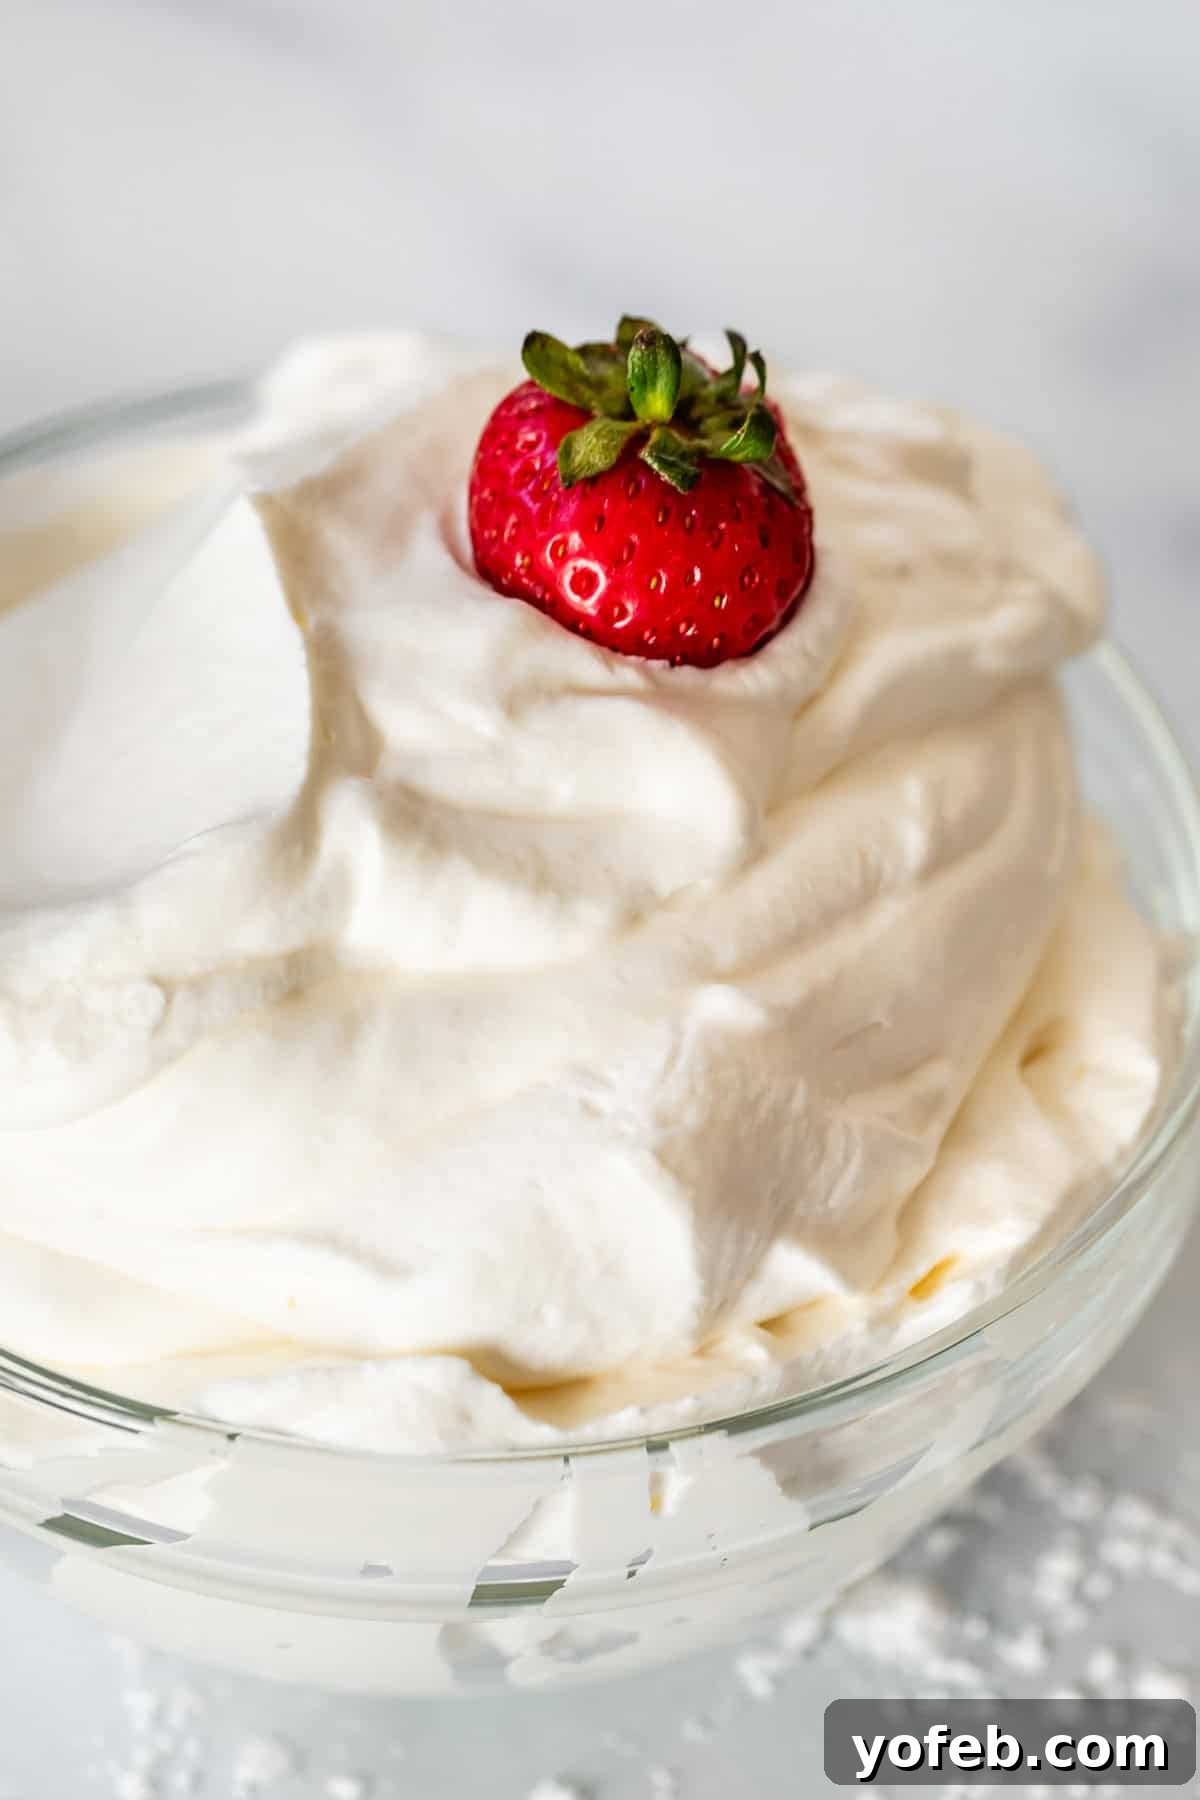
What to Serve with Your Homemade Whipped Cream
My golden rule for whipped cream is simple: never let anyone tell you where you can’t put it. They’re wrong! Whipped cream is an incredibly versatile topping that enhances almost anything it touches. Here’s a comprehensive list of ideas, but truly, the possibilities are endless:
- Best Apple Pie
- Homemade Hot Chocolate
- Best Pancake Recipe Ever
- Homemade Oatmeal Pancakes
- Dutch Pancakes
- Deep Dish Buttermilk Pancake
- Truly the Best Crepes I’ve Ever Had
- Best Waffle Recipe from Scratch
- Dark Chocolate Waffles with Ganache and Strawberries
- Candy Cane Brownie Trifle
- Strawberry Shortcake
- Lemon Strawberry Shortcake
- Chocolate Cream Pie
- French Silk Pie
- Chocolate Honey Chiffon Pie
- Dulce de Leche Cream Pie
- Pumpkin Pie
- Sweet Potato Pie
- Banana Cream Pie
- Pecan Pie
- Cheesecake Pecan Pie
- Pumpkin Cheesecake
- Tres Leches Cake
- Key Lime Pie
- Meyer Lemon Curd Tart
- Chocolate Cheesecake
- Cranberry Cherry Pie with Almond Glaze
- Fresh Blackberry Glace Pie
- Blackberry Pie
- Brown Butter Cranberry Tart
- Vanilla Pudding
- Shamrock Shake
- Homemade Chocolate Sauce Recipe
- Frozen Peanut Butter Pie Recipe
- Explore more ideas on our Dessert page!
Storing Your Fluffy Creation
Freshly whipped cream is best enjoyed within a day or two. Store any leftovers in an airtight container in the refrigerator. Over time, the liquid may start to separate from the solids, and the cream might lose some of its initial fluffiness. If this happens, you can gently re-whip it for a few seconds before serving to restore some of its volume. Even if it’s not as perfect as day one, it’s still absolutely delicious – especially when enjoyed straight from the container with a spoon! Adding fresh berries makes it a delightful (and arguably healthier!) snack.
Freezing Whipped Cream: A Game-Changer!
Yes, you can freeze whipped cream, and it’s a truly miraculous way to extend its life! There are two main methods:
- **Piped Dollops:** For individual servings, pipe small swirls or dollops of whipped cream onto a baking sheet lined with a silicone mat, waxed paper, or parchment paper. Freeze these until they are completely solid. Once frozen, transfer them to an airtight container or freezer bag. When you’re ready for a treat, simply place a frozen dollop directly onto your pie slice, hot chocolate, or other dessert. They soften quickly at room temperature and are ready to enjoy in just a few minutes.
- **Bulk Freezing:** If you have a larger quantity of leftover whipped cream, you can transfer it to a freezer-safe ziplock bag or airtight container. Freeze for up to two months for best flavor. To use, thaw completely in the refrigerator, then give it a light re-whipping before serving to restore its texture.
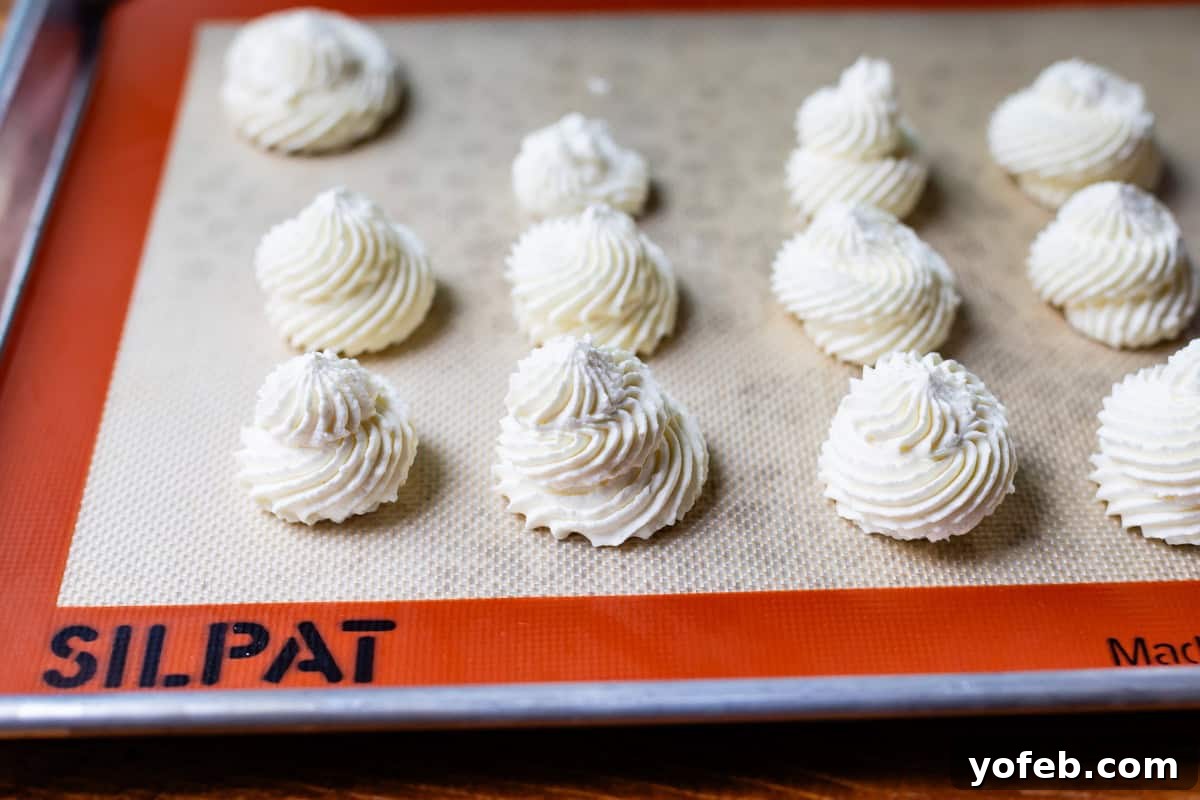
Freezing whipped cream is a fantastic way to ensure you always have a delightful topping on hand for any spontaneous dessert cravings!
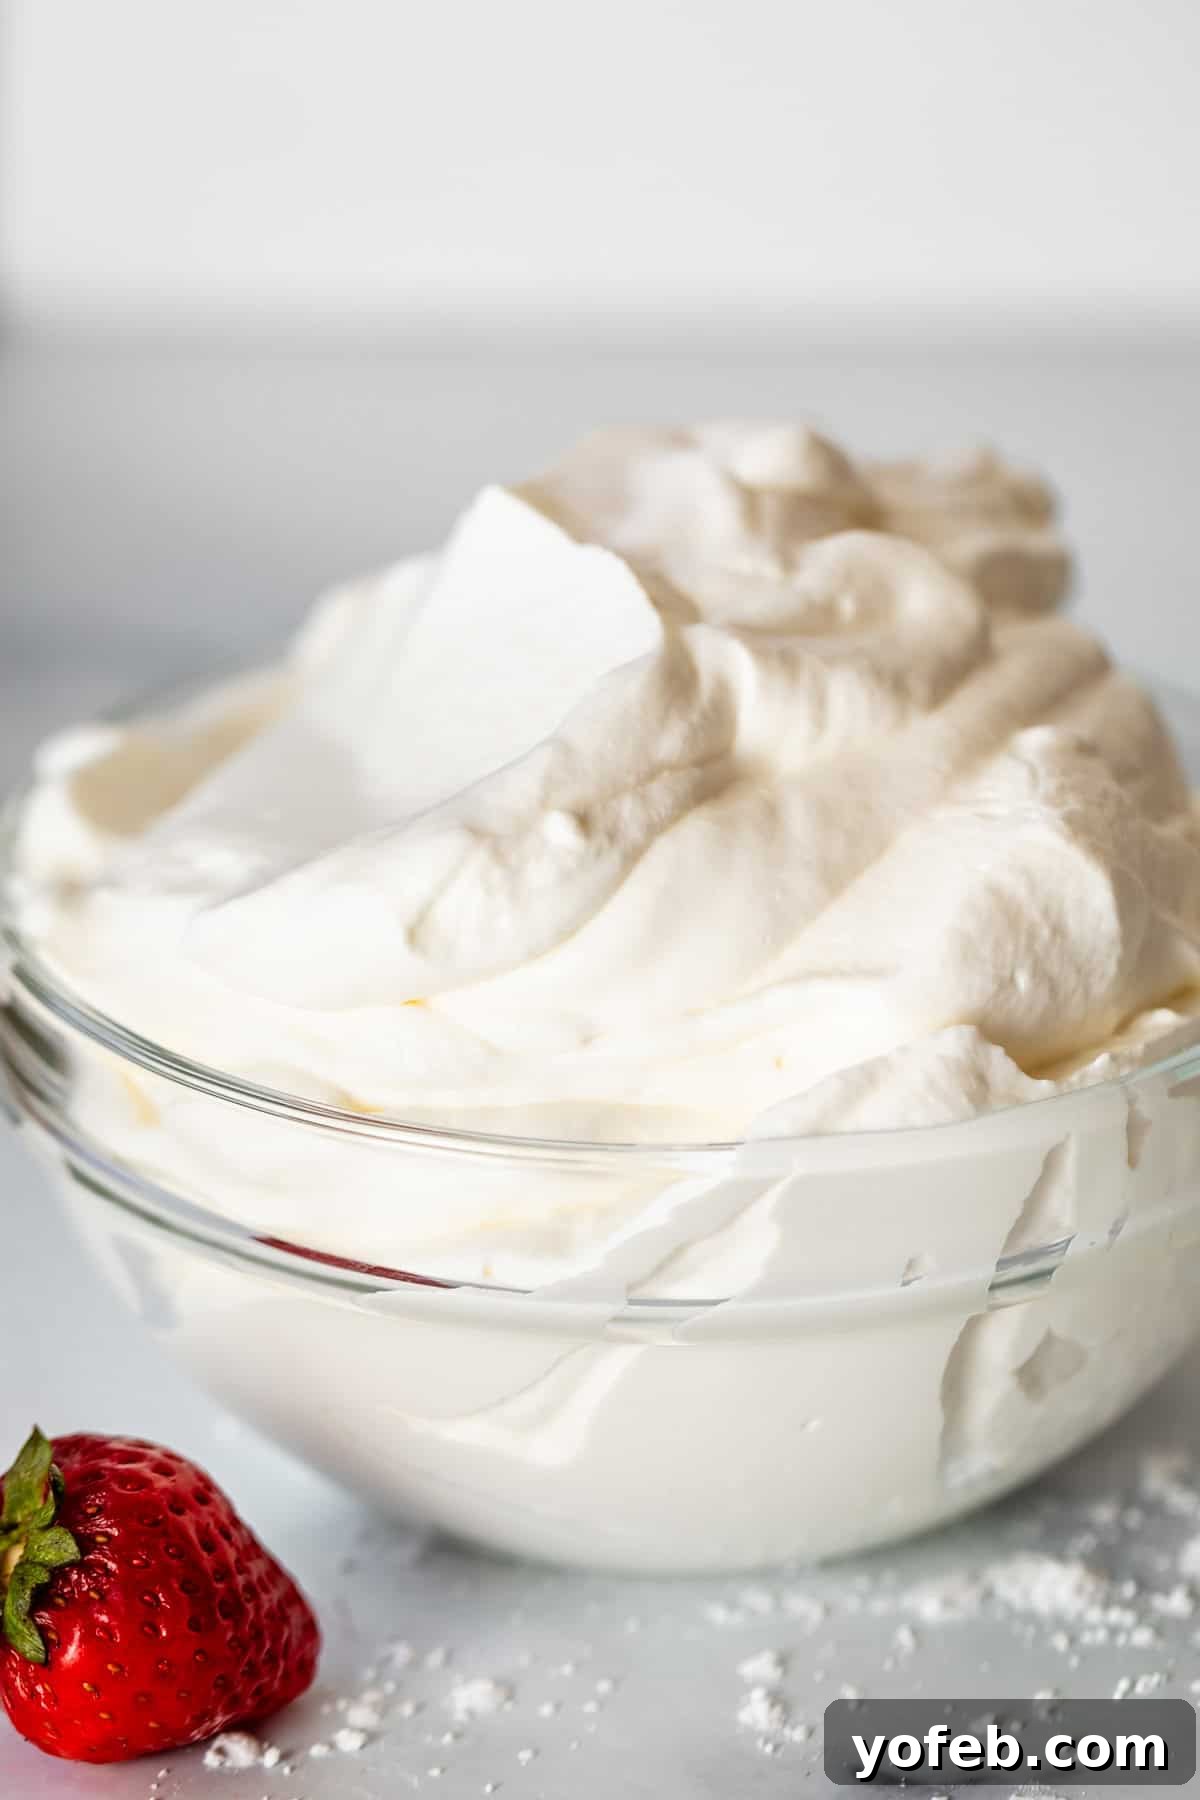
Whipped Cream Frequently Asked Questions
Whipped cream is created by rapidly beating heavy cream, incorporating air into its fat molecules. This process changes the cream from a liquid to a semi-solid foam, creating a light, airy texture. Adding a touch of powdered sugar and a flavor extract like vanilla enhances its taste, making it a perfect complement for countless desserts.
No, absolutely not. Traditional whipped cream cannot be made with water, as it lacks the necessary fat content to create a stable foam. While some processed “whipped topping” mixes exist that require adding water, these are typically made from vegetable starches and glucose syrup, not actual dairy cream. The rich, creamy flavor and texture you expect from whipped cream come from the fat in the heavy cream itself.
Unfortunately, no. Regular milk (like whole, 2%, or skim milk) contains too little fat to be whipped into stable peaks. While you might achieve a slight foam, it won’t hold its shape or have the luxurious texture of true whipped cream. The fat content in heavy cream is essential for creating the structure that traps air, resulting in a light and fluffy topping. For authentic whipped cream, heavy whipping cream is indispensable!
Yes, absolutely! Homemade whipped cream can be used as a delicious 1:1 substitute for Cool Whip in virtually any recipe. While Cool Whip is convenient, homemade whipped cream offers a superior flavor and texture that truly elevates desserts. Once you try it, you’ll likely prefer the fresh, rich taste of real cream.
While technically possible, using granulated sugar is generally not recommended for whipped cream. Granulated sugar crystals are coarser and may not fully dissolve during the short whipping process, leading to a gritty or crunchy texture. For the smoothest, most luxurious whipped cream, always opt for powdered sugar (confectioners’ sugar). If you only have granulated sugar on hand, you can finely process it in a blender or food processor to create a makeshift powdered sugar before adding it to your cream.
Facebook | Pinterest | Instagram

How to Make Whipped Cream
Ingredients
- ▢ 1 cup heavy whipping cream (very cold)
- ▢ 2 tablespoons powdered sugar*, or more, to taste
- ▢ 1 teaspoon vanilla extract, essential for flavor
- ▢ pinch kosher salt, optional, but recommended
Instructions
-
Prepare your tools. For best results, place your large mixing bowl (or stand mixer bowl) and whisk attachment(s) in the freezer for 10-15 minutes, or in the refrigerator for 20-30 minutes. Cold equipment helps the cream whip faster and achieve maximum volume. If your bowl is warm, rinse it under cold water and dry thoroughly before chilling. If using a hand mixer, choose a high-sided bowl to prevent splatters.
-
Combine ingredients. Pour 1 cup of very cold heavy whipping cream into your chilled bowl. (This recipe is easily scaled up for larger batches, simply adjust whipping time accordingly.) Add 2 tablespoons of powdered sugar (or more/less to your taste preference), 1 teaspoon of vanilla extract, and a pinch of kosher salt.
-
For Stand Mixers: Attach the whisk attachment and start on the lowest speed. Gradually increase the speed to medium-high. You may use a splatter shield if you have one, or drape a tea towel over the mixer for larger batches. Do not leave unattended, as cream can over-whip quickly.
-
For Hand Mixers: Place the beaters into the bowl with all ingredients. Start on the lowest setting, keeping the beaters low in the bowl to prevent splashing. Slowly increase to a medium-high or high speed.
-
Whip to medium peaks. Continue beating for approximately 2-3 minutes (for stand mixers) or 3-4 minutes (for hand mixers) until the cream thickens. You are looking for a smooth, fluffy texture where the cream forms soft peaks that hold their shape but still have a slight curl when you lift the whisk/beaters. The peaks should point upwards, not fall over completely. Avoid over-whipping, as it can lead to a grainy texture or butter (see notes for fixing).
-
Serve immediately. Enjoy your freshly made whipped cream on your favorite desserts, such as Strawberry Shortcake, Lemon Lush, Crepes, or Chocolate Chip Cookie Pie!
-
Storage: Store leftover whipped cream in an airtight container in the refrigerator for up to 3 days. It may lose some fluffiness over time; a quick re-whip can help restore its volume.
-
Freezer instructions: For individual portions, pipe whipped cream dollops onto a parchment-lined baking sheet and freeze until solid. Transfer to a freezer-safe bag. Use directly from frozen on hot beverages or desserts. Alternatively, freeze leftover whipped cream in a ziplock bag; thaw in the fridge and re-whip lightly before serving. Freeze for up to 2 months for best quality.
Notes
**FIXING OVER-WHIPPED CREAM: If your whipped cream appears grainy or clumpy, indicating it’s slightly over-whipped, you can often salvage it. While the mixer is running on a very low speed, slowly drizzle in 1-2 tablespoons of cold, un-whipped heavy cream. Continue mixing for just 10-20 seconds until the cream returns to a smooth, fluffy consistency with soft peaks. Stop immediately once the desired texture is achieved. If you’ve gone too far and it’s turned into butter, unfortunately, it cannot be reverted to whipped cream, but you’ve got fresh butter for your toast!