
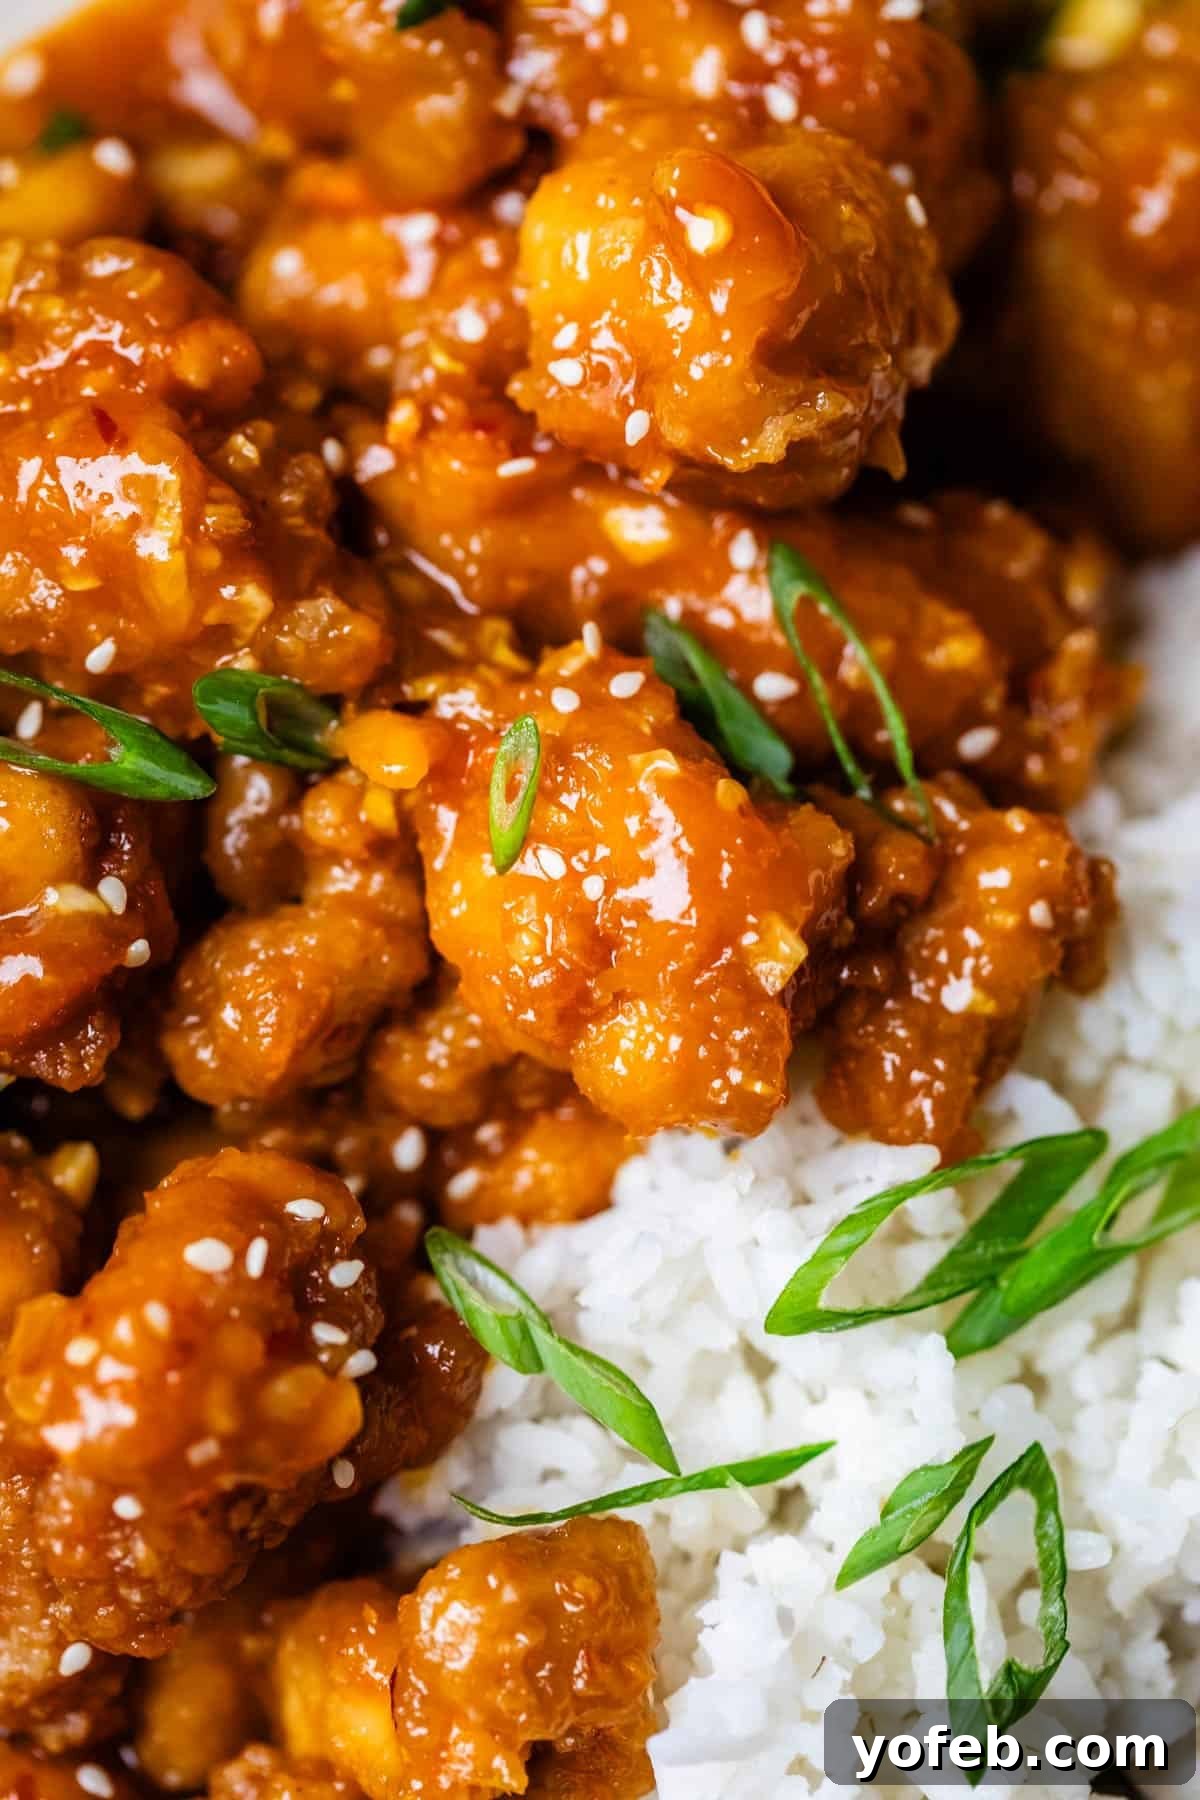
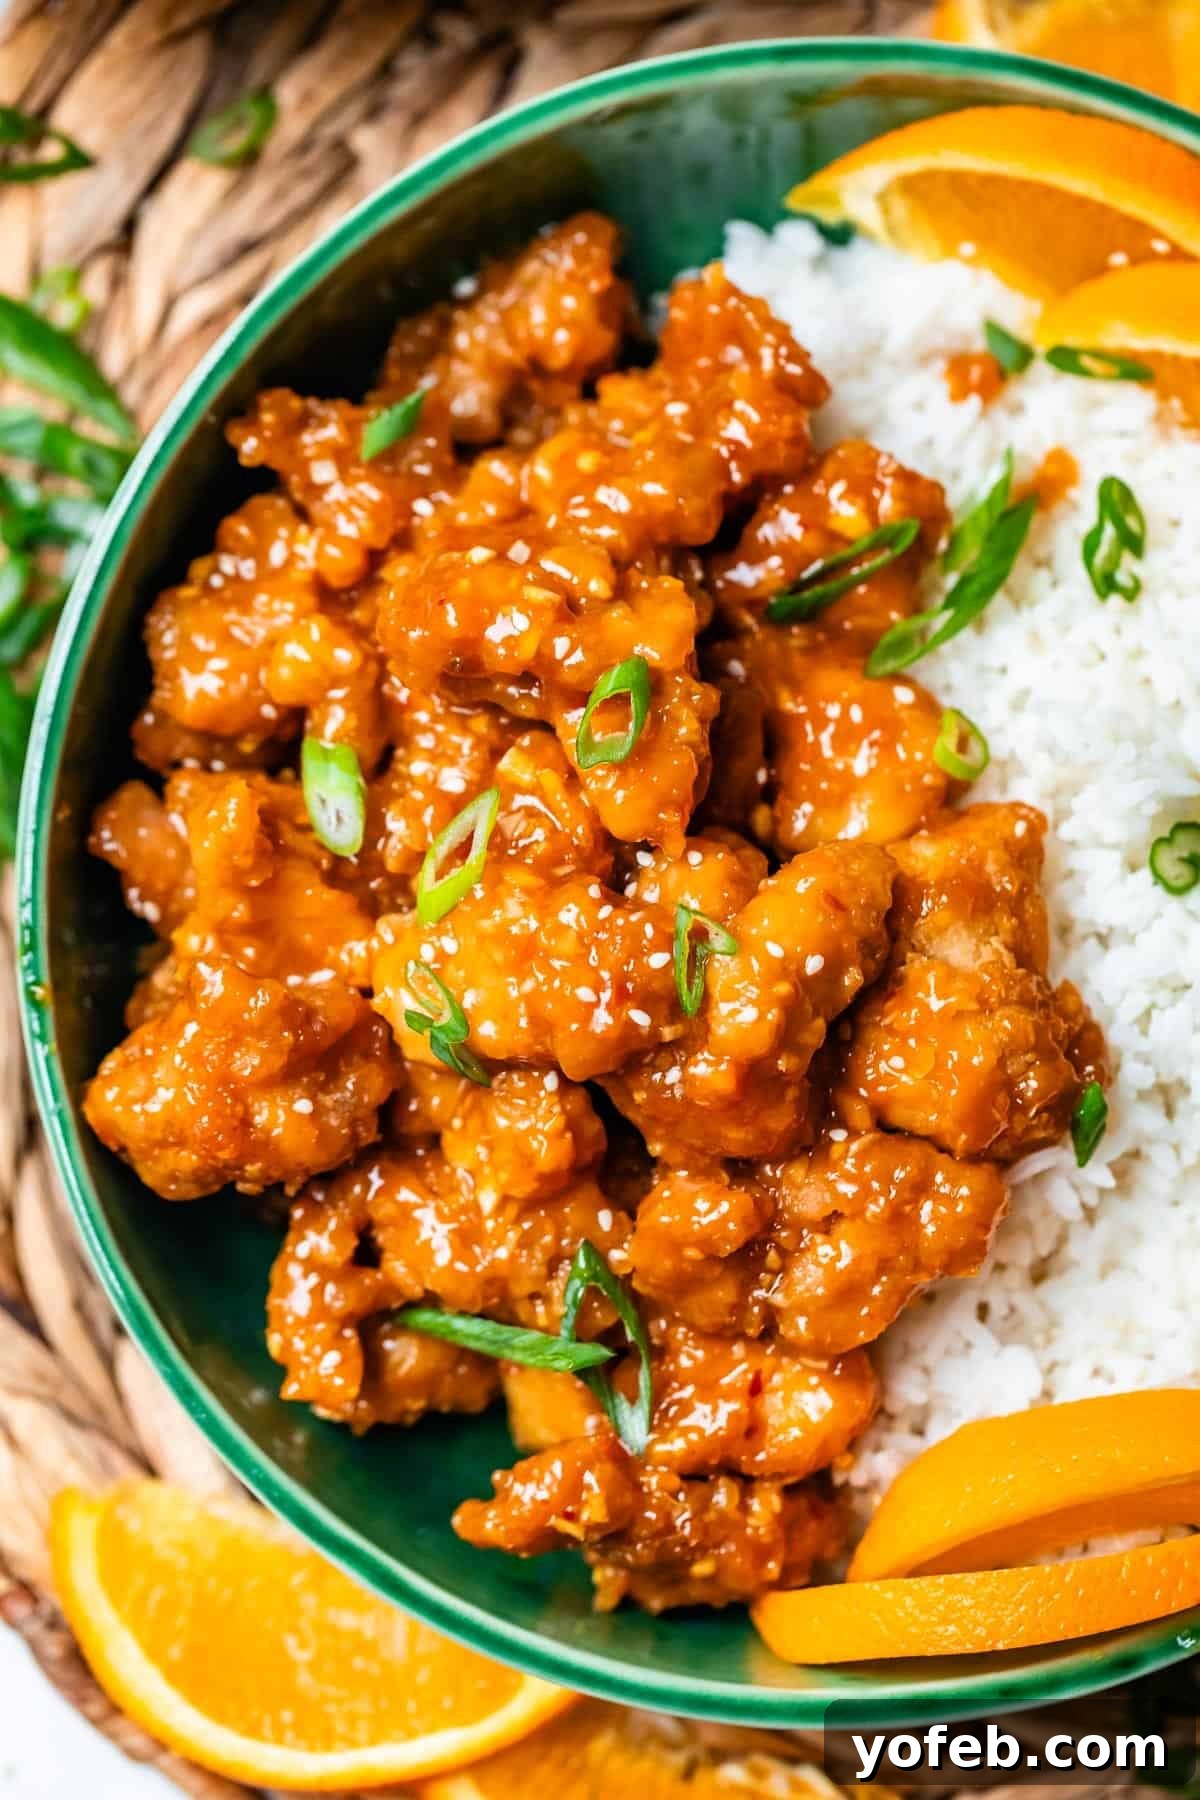
Get ready to transform your kitchen into your favorite takeout spot! If you’ve ever found yourself dreaming of that perfect plate of orange chicken—crispy, sticky, sweet, and bursting with tangy flavor—then this recipe is your ultimate culinary quest. Forget waiting in line or settling for lukewarm takeout; this homemade orange chicken isn’t just “better than takeout,” it’s a revelation. We’re talking about chicken so tender on the inside, with an exterior fried to golden, extra-crispy perfection, all enveloped in a deeply flavorful orange sauce. This isn’t just any sauce; it’s a symphony of bright citrus notes, amplified by ample orange zest and juice, plus a secret ingredient that takes it over the top. Serve this masterpiece alongside a mountain of fluffy white rice and a side of effortlessly delicious Oven-Roasted Broccoli, and prepare for a meal that will have your family vying for every last succulent bite. It’s truly a dish worth savoring, making weeknight dinners feel like a special occasion without the fuss.
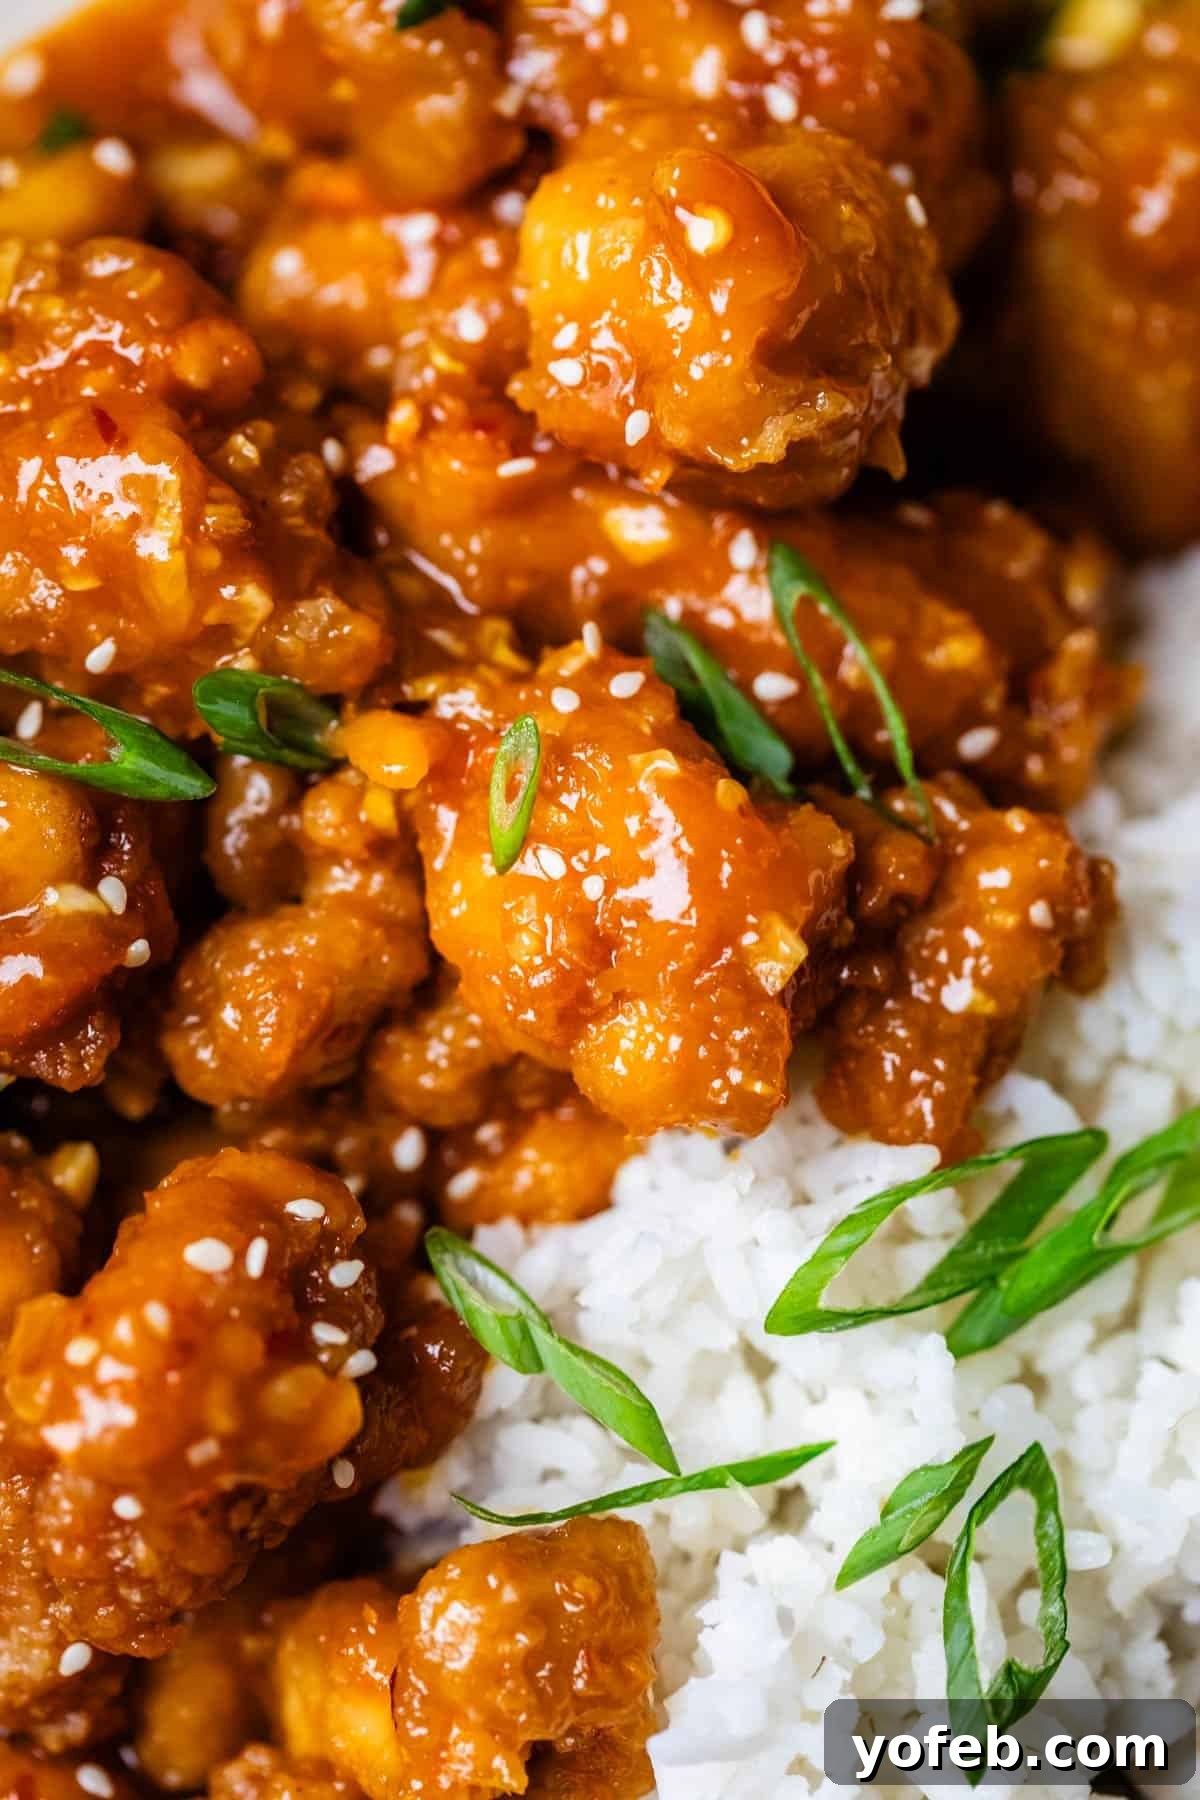
Table of Contents
- The Irresistible Allure of Orange Chicken
- Why Homemade Orange Chicken is Undeniably Superior
- Essential Ingredients for Your Homemade Orange Chicken
- Step-by-Step Guide to Making the Best Orange Chicken
- Perfect Pairings: What to Serve with Orange Chicken
- Storing and Reheating Tips for Orange Chicken
- Explore More Asian-Inspired Dinners!
- Orange Chicken Recipe
The dinner table can be a fascinating place for conversations, especially with little ones. Just the other night, my 5-year-old, Edison, paused mid-chew, looked at his plate, and asked, “Is this chicken we’re eating a type of animal?”
With a knowing smile, I replied, “Yes, it is.”
His curious eyes widened. “What animal?”
Holding back a laugh, I prompted, “I’m going to let you guess.”
What followed was a hilarious series of guesses: “Goat?” “Sheep?” “Wolf?” (Yes, wolf was really his third guess!). He continued with “Fish??” then, quite unexpectedly, “House.” My husband and I exchanged amused glances. “Okay, Lion!” “Cheetah.” “Cow.” “Horse.” “Moose.” It seemed like every animal on Earth was mentioned before I finally gave him a hint: “It’s a bird.” That’s when it finally clicked, and he triumphantly declared, “Chicken!” I don’t think he ever realized he was right from the very beginning. Ah, the delightful unpredictability of childhood! And it just goes to show, chicken, no matter how you serve it, always sparks joy and sometimes, a few wild guesses!
The Irresistible Allure of Orange Chicken
Orange chicken holds a special place in the hearts of many, a true icon of American-Chinese cuisine. It’s the dish you can’t get enough of, the one that inspires viral memes about overflowing takeout containers and the simple, undeniable plea: “Keep it coming.” This sentiment perfectly captures the universal love for this gloriously sweet, savory, and tangy creation that has become a staple in countless households across the nation.
What many might not realize is that orange chicken, as we know it, wasn’t imported from China but was actually an American invention. Believe it or not, the beloved chain Panda Express created this iconic dish in the 1980s. Since then, it has exploded in popularity, with Panda Express alone selling an astounding 100 million pounds of orange chicken every single year. This incredible volume speaks volumes about its widespread appeal and how deeply ingrained it has become in American dining culture. While it shares some vague similarities with General Tso’s Chicken, another Americanized classic, neither is truly authentic to traditional Chinese culinary practices. In fact, most people in China have never even tasted General Tso’s, let alone orange chicken!
Regardless of its origins, the enduring popularity of orange chicken is undeniable. It’s a dish that transcends cultural accuracy to deliver pure, unadulterated deliciousness. For many, it’s the ultimate comfort food, a “God’s gift to takeout” that brings joy with every bite. But here’s the best part: while takeout versions are fantastic, making orange chicken at home elevates the experience to an entirely new level. With fresh ingredients and careful preparation, you can achieve a depth of flavor and texture that simply cannot be matched by even the best restaurant versions.
Why Homemade Orange Chicken is Undeniably Superior
When it comes to orange chicken, homemade truly trumps takeout. Here’s why crafting this classic in your own kitchen will yield results far beyond your wildest dreams:
- A Tangier, More Flavorful Sauce: My biggest critique of many takeout orange chicken versions, including some popular chains, is that the sauce can sometimes lack that vibrant, zesty punch. If I’m eating “orange” chicken, I want a burst of authentic orange flavor! Our recipe maximizes this with generous amounts of fresh orange zest from 3-4 oranges, infusing the sauce with an unparalleled brightness and “ZING” that will awaken your taste buds. This depth of citrus flavor simply isn’t found in most mass-produced sauces.
- Luxuriously Saucy Chicken: Let’s be honest, who doesn’t love extra sauce? Often, takeout chicken can feel a bit dry or sparingly coated. Our recipe ensures an abundance of that glorious, sticky orange sauce, allowing every piece of crispy chicken to be thoroughly drenched in its sweet and tangy embrace. You’ll never be left wanting more sauce with this homemade delight.
- The Secret Ingredient: Orange Marmalade: This is where our sauce truly shines. While many recipes rely solely on orange juice, the addition of orange marmalade is a game-changer. Marmalade not only deepens the orange flavor but also adds a wonderful complexity and a slight bitterness from the peel, balancing the sweetness perfectly. It contributes to that beautiful glossy finish and rich texture that makes the sauce so irresistible.
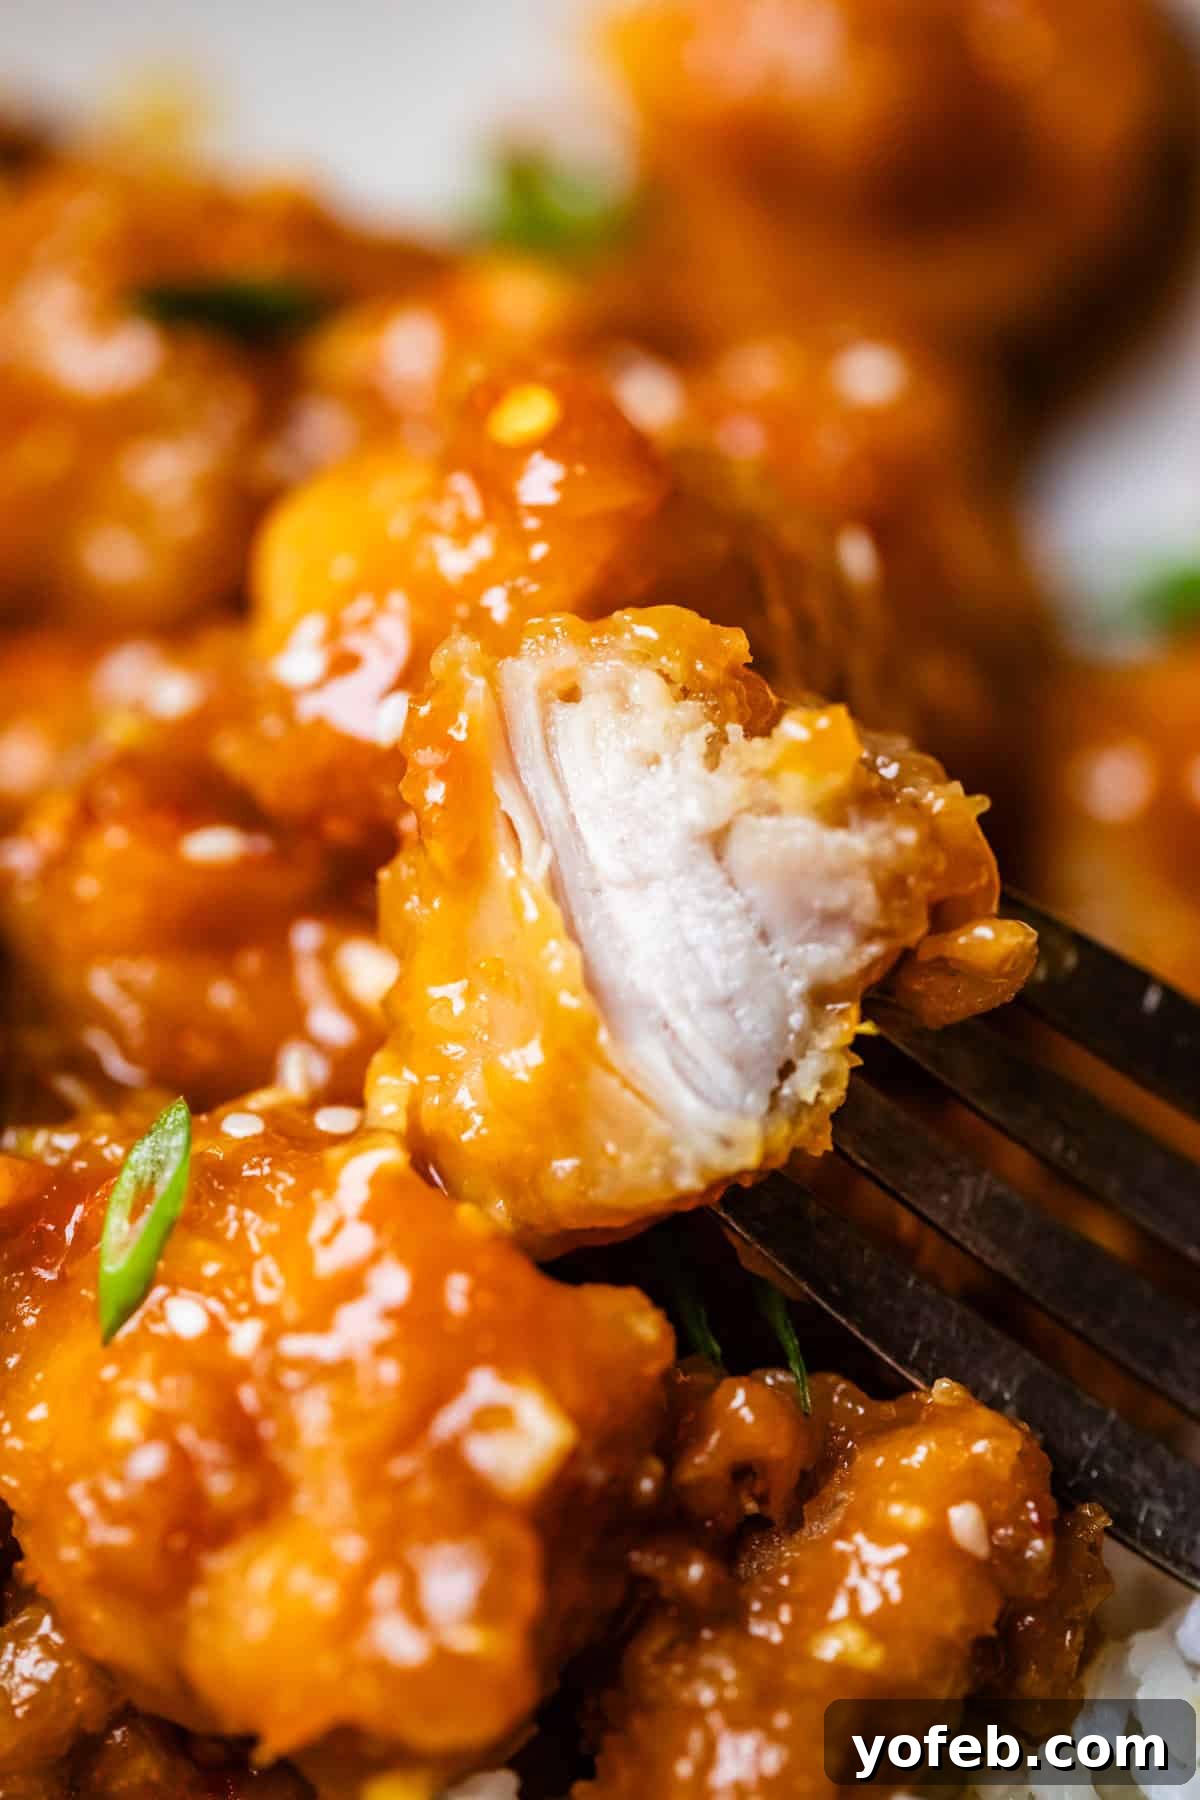
- Unrivaled Crispy Chicken, Every Time: As much as we appreciate the convenience of takeout, fried chicken from a restaurant often sits under heat lamps, inevitably losing its crispness and becoming a bit “mushy.” When you make it at home, you control the frying process, ensuring that each bite of chicken is freshly fried to golden perfection, boasting an extra-crispy exterior and a wonderfully juicy interior. It’s a textural marvel that can only be achieved fresh from the pan.
- The Magic of Baking Soda and Cornstarch: The secret to truly crispy, succulent fried chicken lies in these two humble ingredients. Incorporated into the breading, baking soda creates a light, airy, and exceptionally crispy crust, while cornstarch ensures an extra layer of crunch and helps prevent the chicken from becoming tough. This classic Asian cooking technique is often used for dishes like Asian Seared Chicken and is key to our orange chicken’s superior texture.
- A Touch of Spice for Depth: While orange chicken is inherently sweet and tangy, a subtle hint of spice can elevate its profile. Our recipe includes a whisper of crushed red pepper and optional chili paste, adding a warm undertone that complements the citrus and savory notes without overpowering them. It’s that extra “somethin’ somethin'” that makes this dish truly unforgettable, adding a nuanced complexity that many takeout versions lack.
Essential Ingredients for Your Homemade Orange Chicken
Ditch that takeout menu for good! This sensational orange chicken recipe relies on readily available ingredients, many of which are likely already pantry staples. The magic truly happens when these simple components come together to create an explosion of flavor. For precise measurements and quantities, be sure to scroll down to the full recipe card.
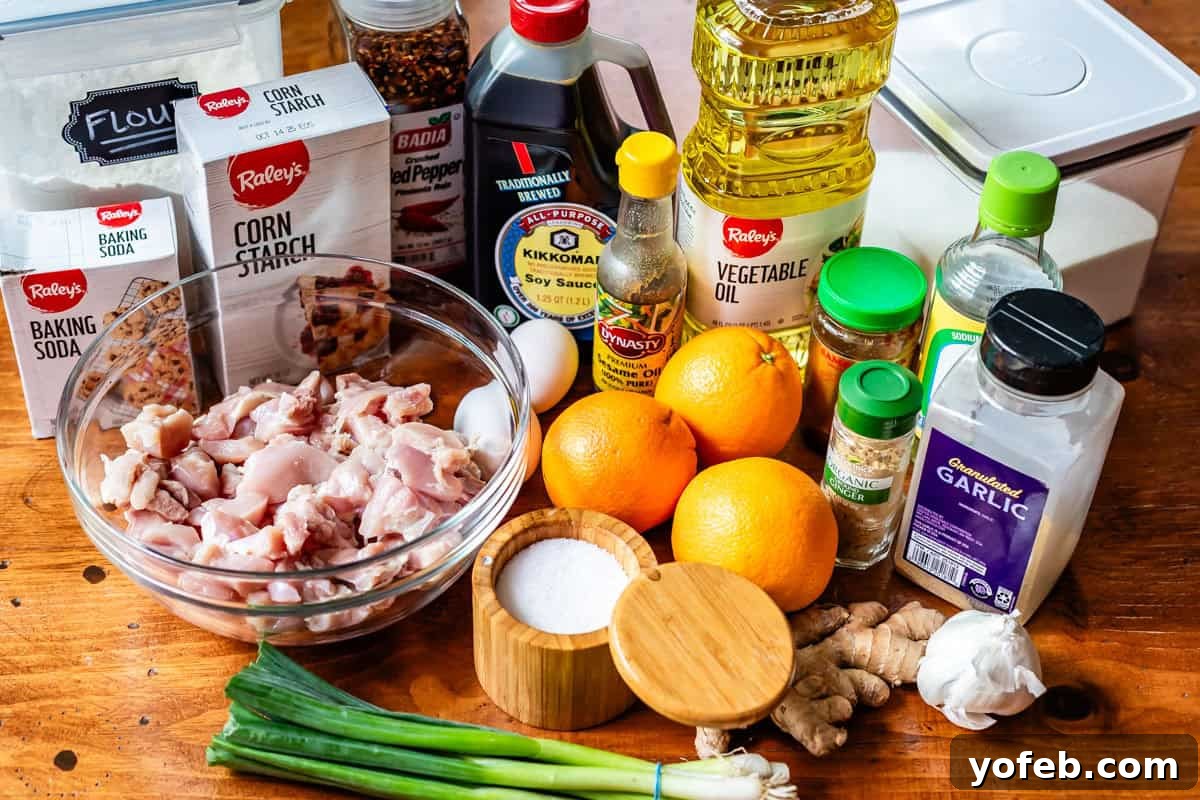
- Chicken Thighs: Boneless, skinless chicken thighs are the star here, offering unbeatable tenderness and flavor. They hold up beautifully to frying and remain juicy even after being coated in sauce.
- Eggs: Essential for the marinade, helping the coating adhere to the chicken and contributing to the crispy texture.
- Toasted Sesame Oil: A powerful flavor enhancer, used in both the marinade and the sauce for its distinct nutty aroma.
- Cornstarch: The secret weapon for achieving that ultra-crispy crust on the chicken and the perfect thickening agent for the sauce.
- All-Purpose Flour: Combined with cornstarch, it forms the ideal dredging mixture for maximum crunch.
- Kosher Salt: For seasoning the chicken and the flour mixture, bringing out all the savory notes.
- Canola or Vegetable Oil: The preferred choice for frying, offering a neutral flavor and high smoke point.
- Fresh Oranges: The star of the show, providing both the vibrant zest and fresh-squeezed juice for the sauce. Don’t skip the zest – it’s where much of the intense orange flavor comes from!
- Low Sodium Soy Sauce: Forms the savory backbone of both the marinade and the sauce. Using low sodium allows for better control of the saltiness.
- Rice Vinegar: Adds a crucial tanginess to the sauce, balancing the sweetness and other rich flavors.
- Brown Sugar: Provides sweetness and a subtle molasses note, contributing to the sticky glaze.
- Fresh Garlic: Minced garlic delivers a pungent, aromatic depth to the sauce that can’t be replicated with powder.
- Fresh Ginger: Finely minced ginger adds a warm, spicy, and incredibly aromatic kick, essential for authentic Asian flavors. You can use powdered ginger as a substitute, but fresh is highly recommended.
- Crushed Red Pepper: For a touch of heat that complements the sweet and tangy profile without overwhelming it. Adjust to your preferred spice level.
- Green Onions: A fresh garnish that adds a pop of color, mild oniony flavor, and crisp texture.
- White Rice: The classic accompaniment, perfect for soaking up every last drop of that amazing orange sauce.
Step-by-Step Guide to Making the Best Orange Chicken
Crafting this incredible orange chicken is a rewarding process, and with a bit of organization, it flows seamlessly. Let’s break it down:
1. Prepare Your Rice First: If you’re planning to serve this golden goodness over a hot, steaming bed of rice (and trust me, you should!), get that cooking right away. Perfect rice is the ideal canvas for our flavorful chicken. Need a refresher? Here’s my foolproof guide on how to make rice perfectly every single time.
2. Marinate the Chicken: Begin by cutting your boneless, skinless chicken thighs into uniform, bite-sized pieces, roughly 1-inch squares. This ensures even cooking. In a medium bowl, whisk together a couple of eggs, toasted sesame oil, soy sauce, and kosher salt. Add your chicken pieces to this mixture, tossing well to ensure every piece is coated. This marinade not only seasons the chicken but also acts as a binder for our crispy coating.
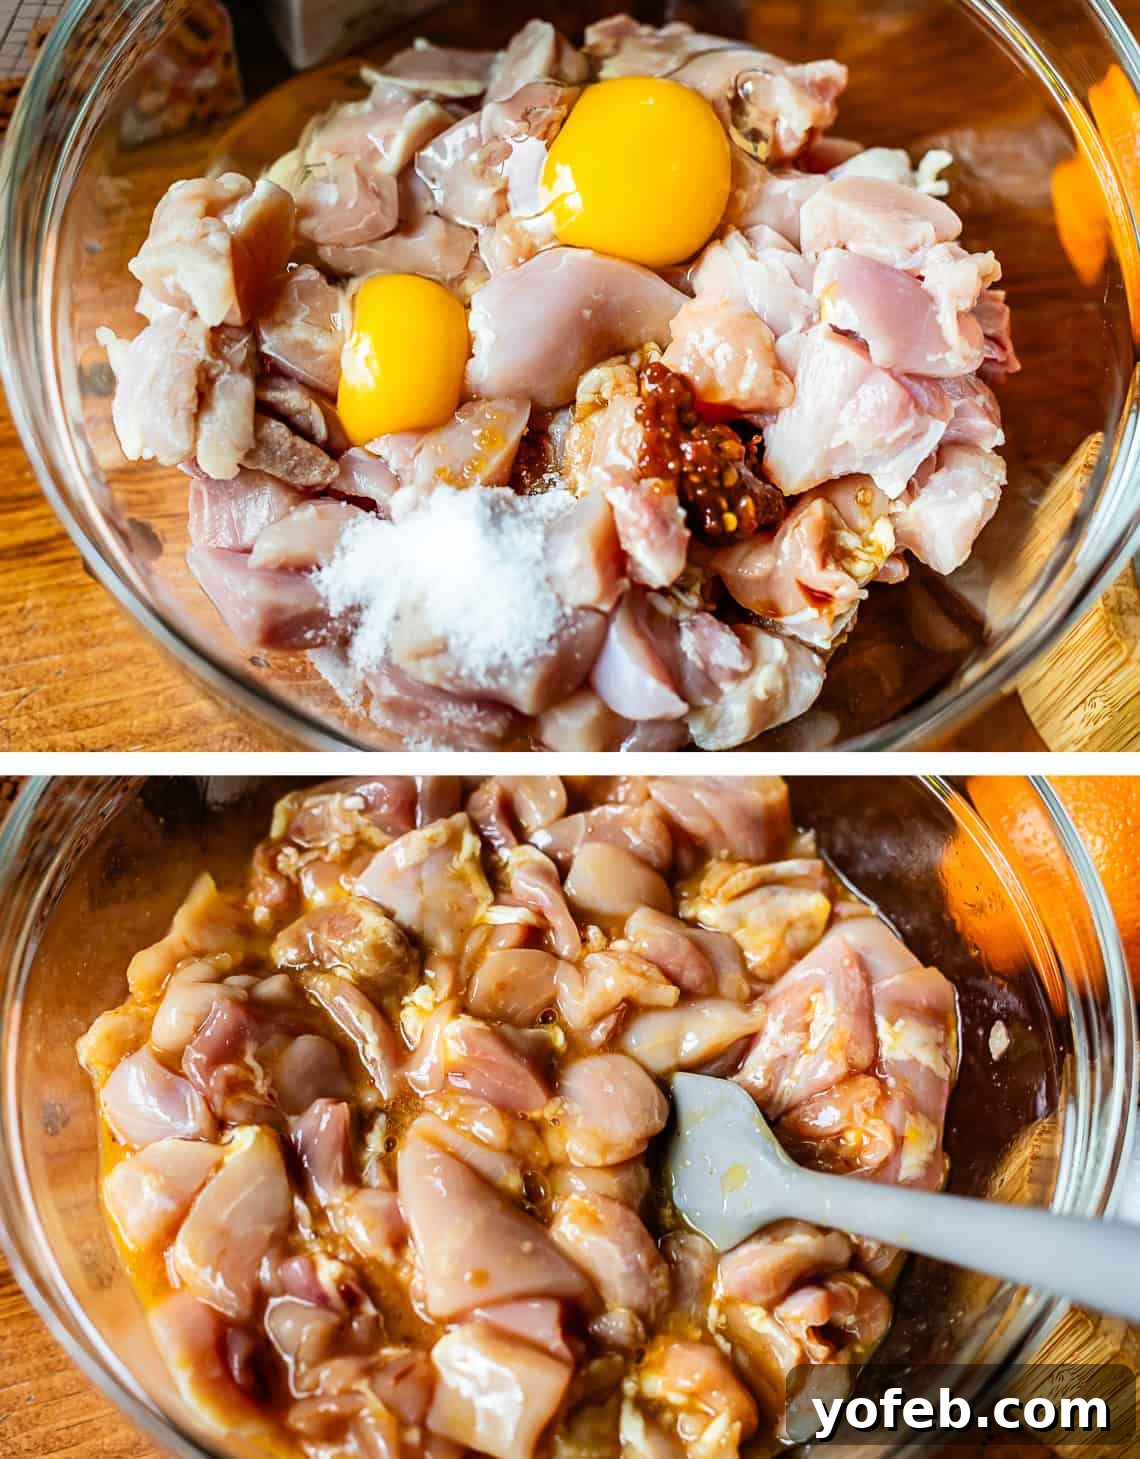
For an optional but highly recommended kick, stir in a teaspoon of Sambal Oelek chili paste or sriracha into the marinade. It adds a fantastic layer of subtle heat that truly complements the orange flavor. It’s so good!
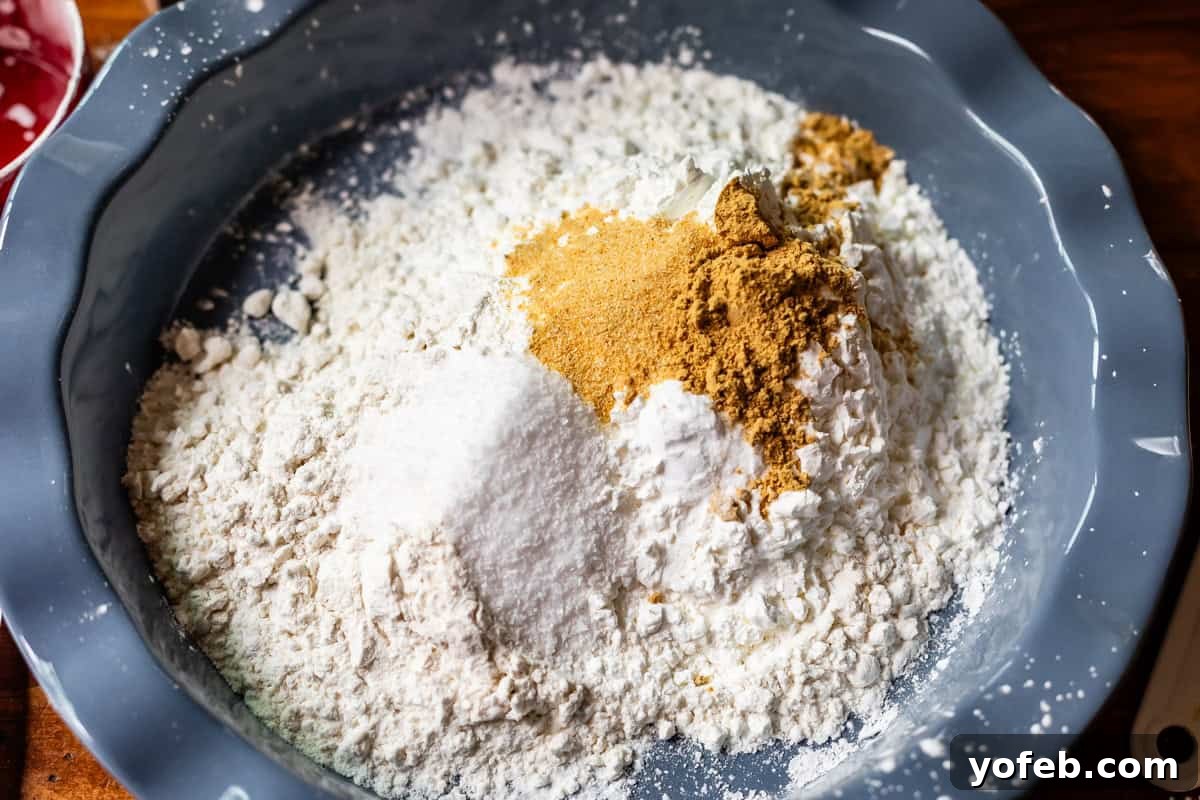
3. Prepare the Crispy Coating (Flour Mixture): In a shallow bowl or pie plate, combine the all-purpose flour and a generous amount of cornstarch – yes, a full cup! This might seem like a lot, but it’s the secret to that magical, shatteringly crisp coating. The baking soda also plays a crucial role here, contributing to the ultimate crispiness, an old and cherished Asian cooking method for frying meats. Add in powdered ginger and granulated garlic for an extra layer of savory aroma. Mix everything well until fully combined.
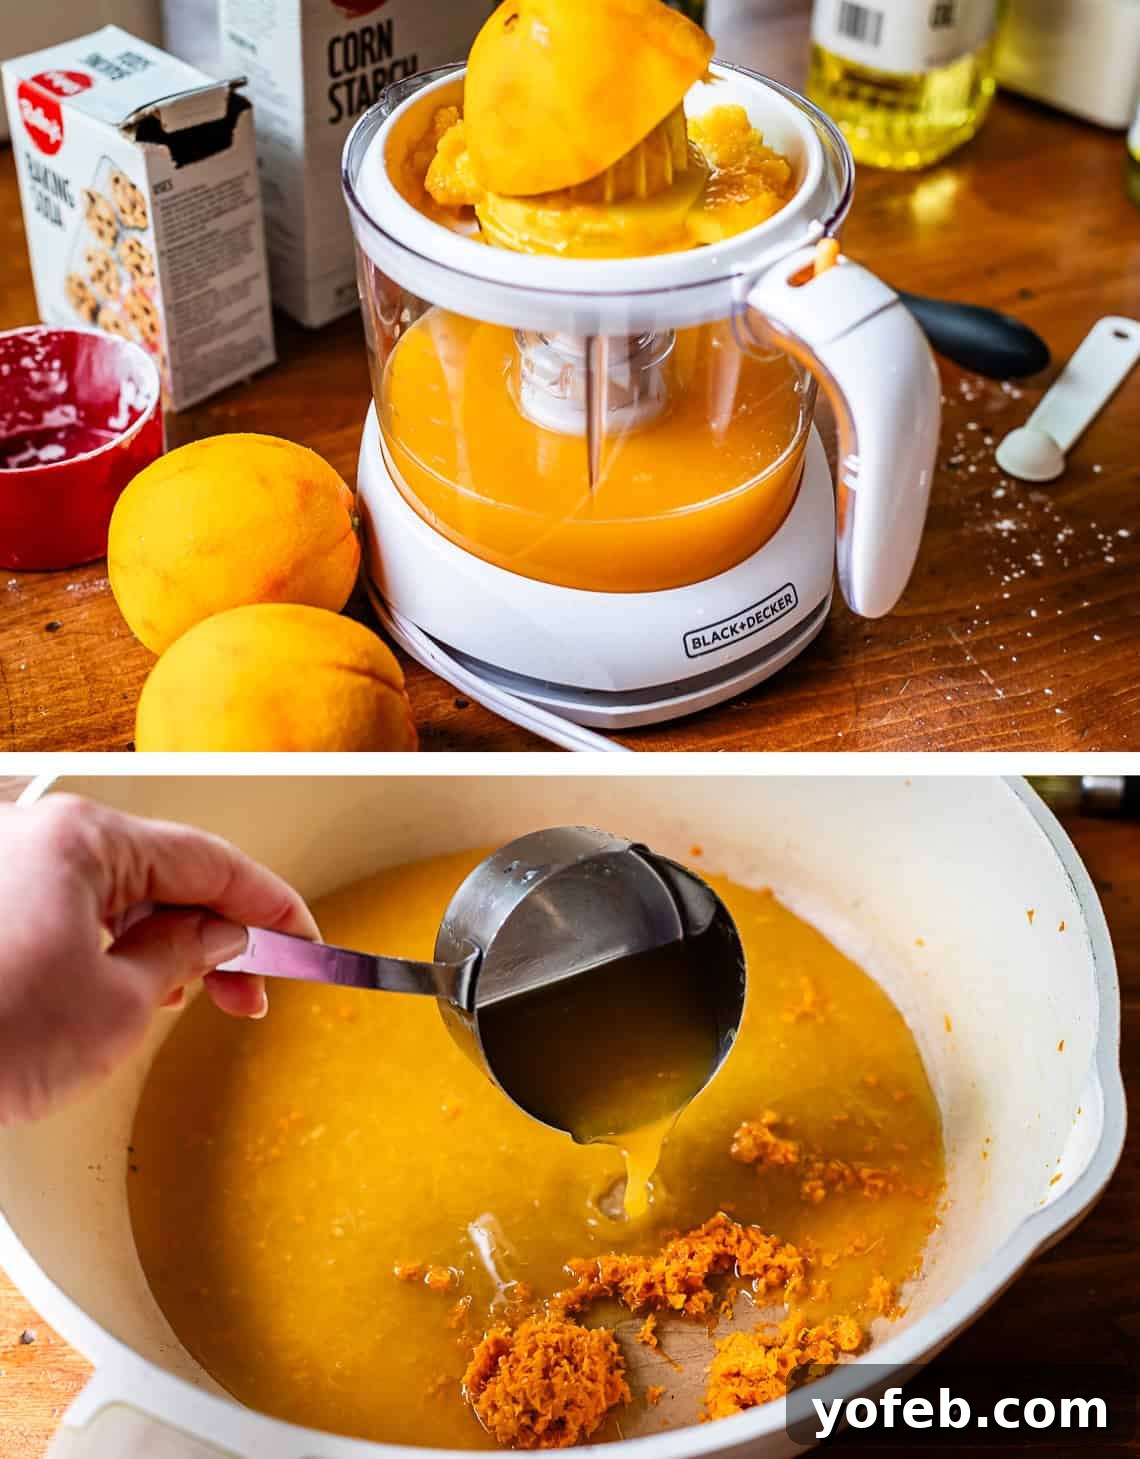
4. Assemble the Orange Sauce: This step is critical for a smooth cooking process later. Prepare your sauce ingredients *before* you start frying. You’ll thank yourself for not trying to juice oranges with hot oil splattering around! In a large skillet or wok (ensure it’s big enough to hold all the chicken later), microplane the zest from 3-4 large oranges until you have about two tablespoons. Then, cut those oranges in half and squeeze out a full cup of fresh orange juice into a measuring cup before adding it to the skillet.
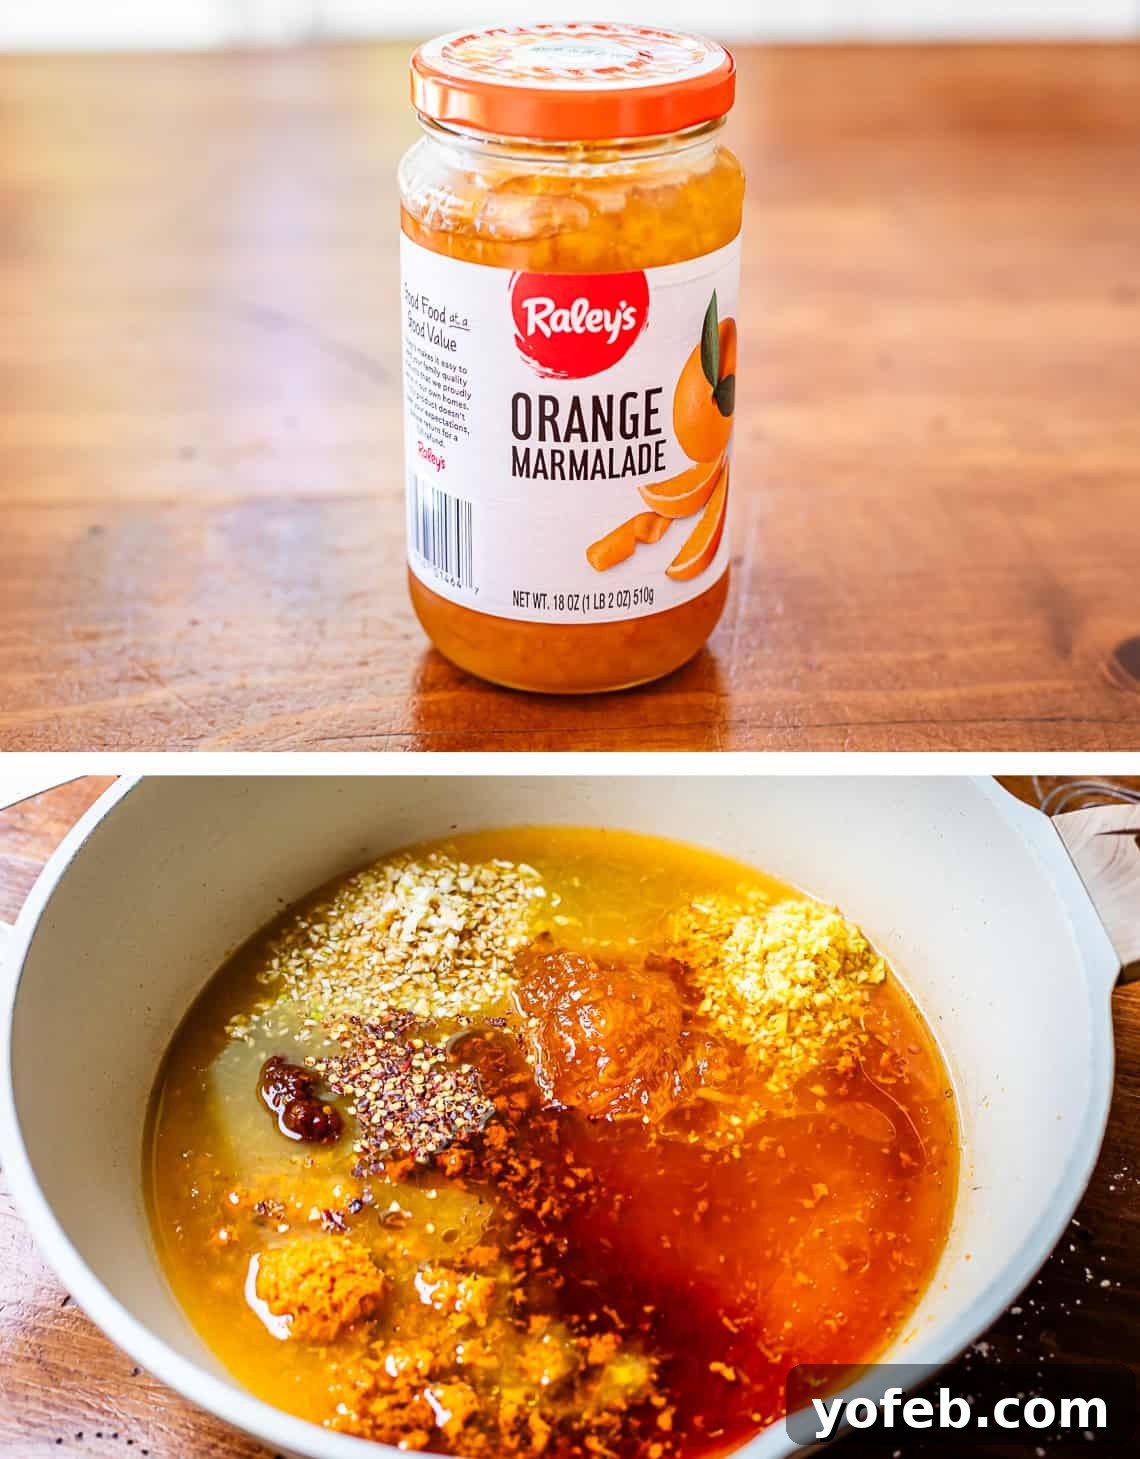
Now, add the remaining sauce ingredients: white sugar, orange marmalade (our secret weapon for deep orange flavor!), soy sauce, rice vinegar, toasted sesame oil, crushed red pepper, optional red chili paste, minced fresh garlic, and minced fresh ginger. Stir everything together thoroughly. Set this glorious sauce mixture aside; we’ll cook it after the chicken is fried.
Finally, in a separate small bowl, whisk together the cornstarch slurry: cornstarch and cold water (or orange juice). This slurry will be added at the very end to thicken the sauce to perfection. Keep it handy!
5. Set Up Your Frying Station: Frying can be an adventure, so prep is key! Clear your counter space and arrange your “assembly line”: 1) the bowl of marinated chicken, 2) the shallow dish with the flour/cornstarch mixture, 3) your frying pan with oil, and 4) a baking sheet lined with several layers of paper towels or, even better, a torn paper grocery bag for maximum oil absorption. This setup will make the frying process efficient and organized. Now, turn on a fan, open a window if possible, and maybe send the kids and pets to another room – it’s frying time!
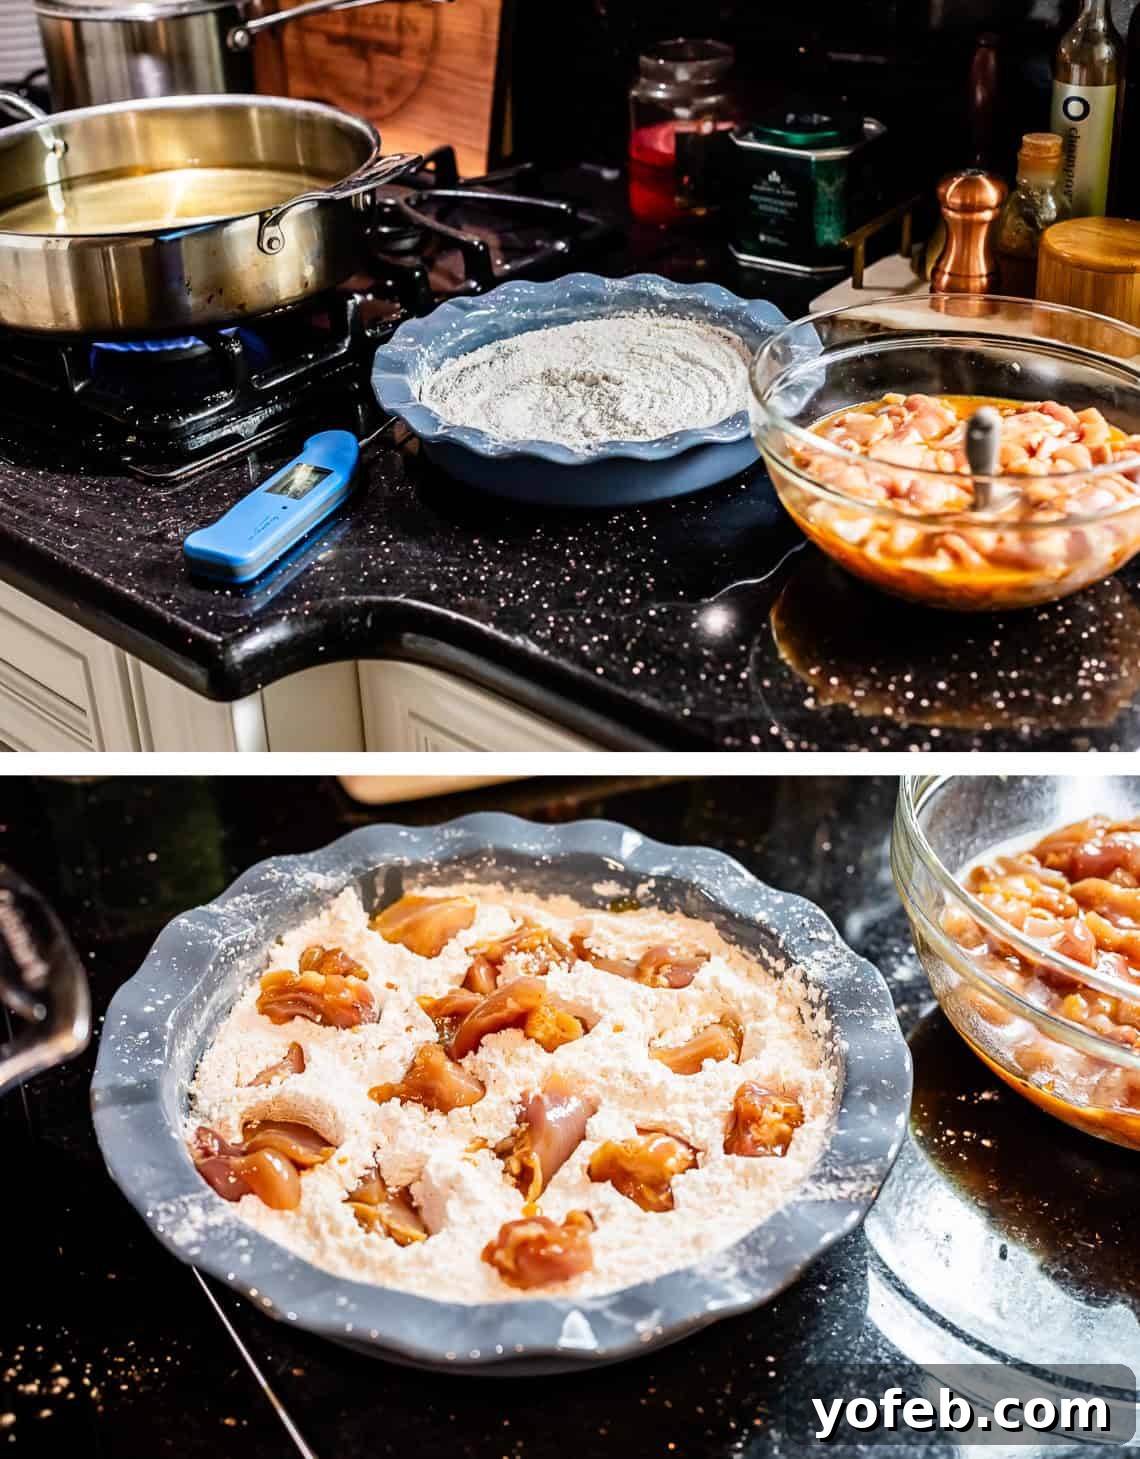
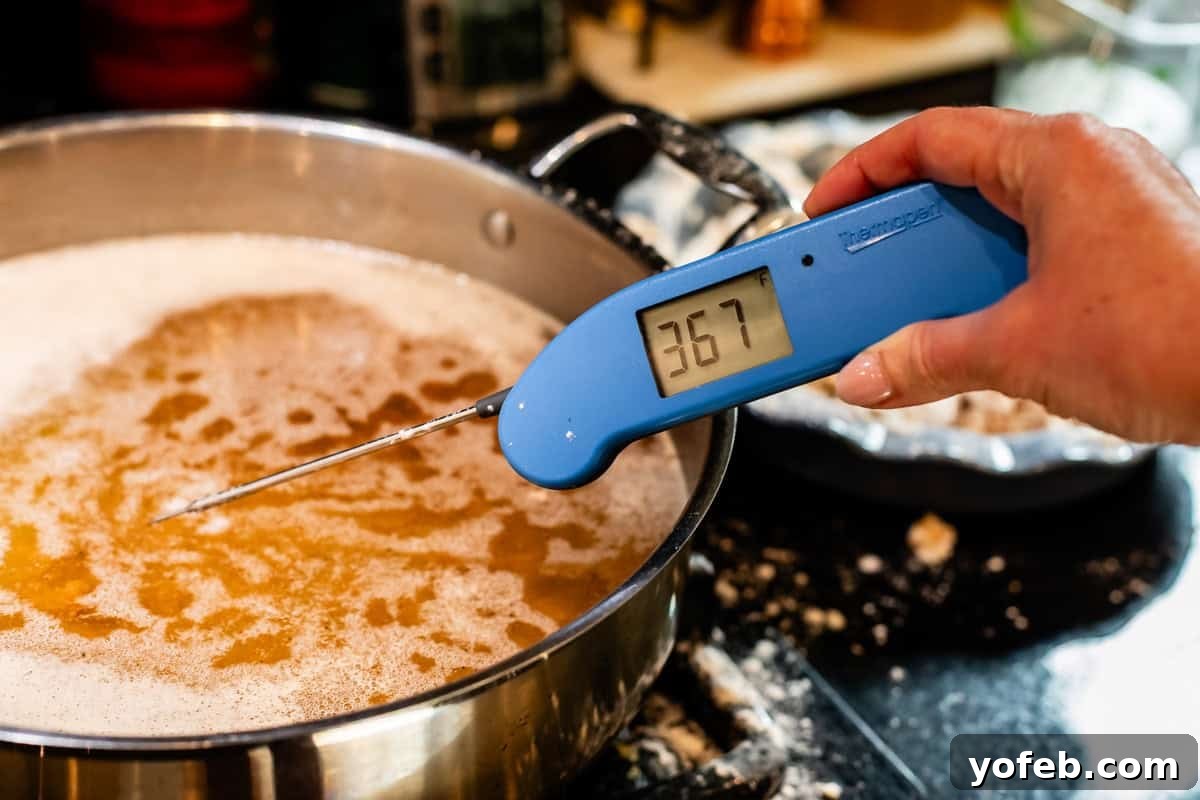
6. Heat the Oil: Pour canola, vegetable, or peanut oil into a high-sided skillet (I recommend a 12-inch high-sided skillet) until it reaches about 2 inches deep. This usually requires around 8 cups of oil. Heat the oil over medium heat, monitoring with a thermometer until it reaches a consistent 375°F (190°C). This can take 10-15 minutes. Maintaining the correct oil temperature is crucial for crispy chicken that isn’t greasy.
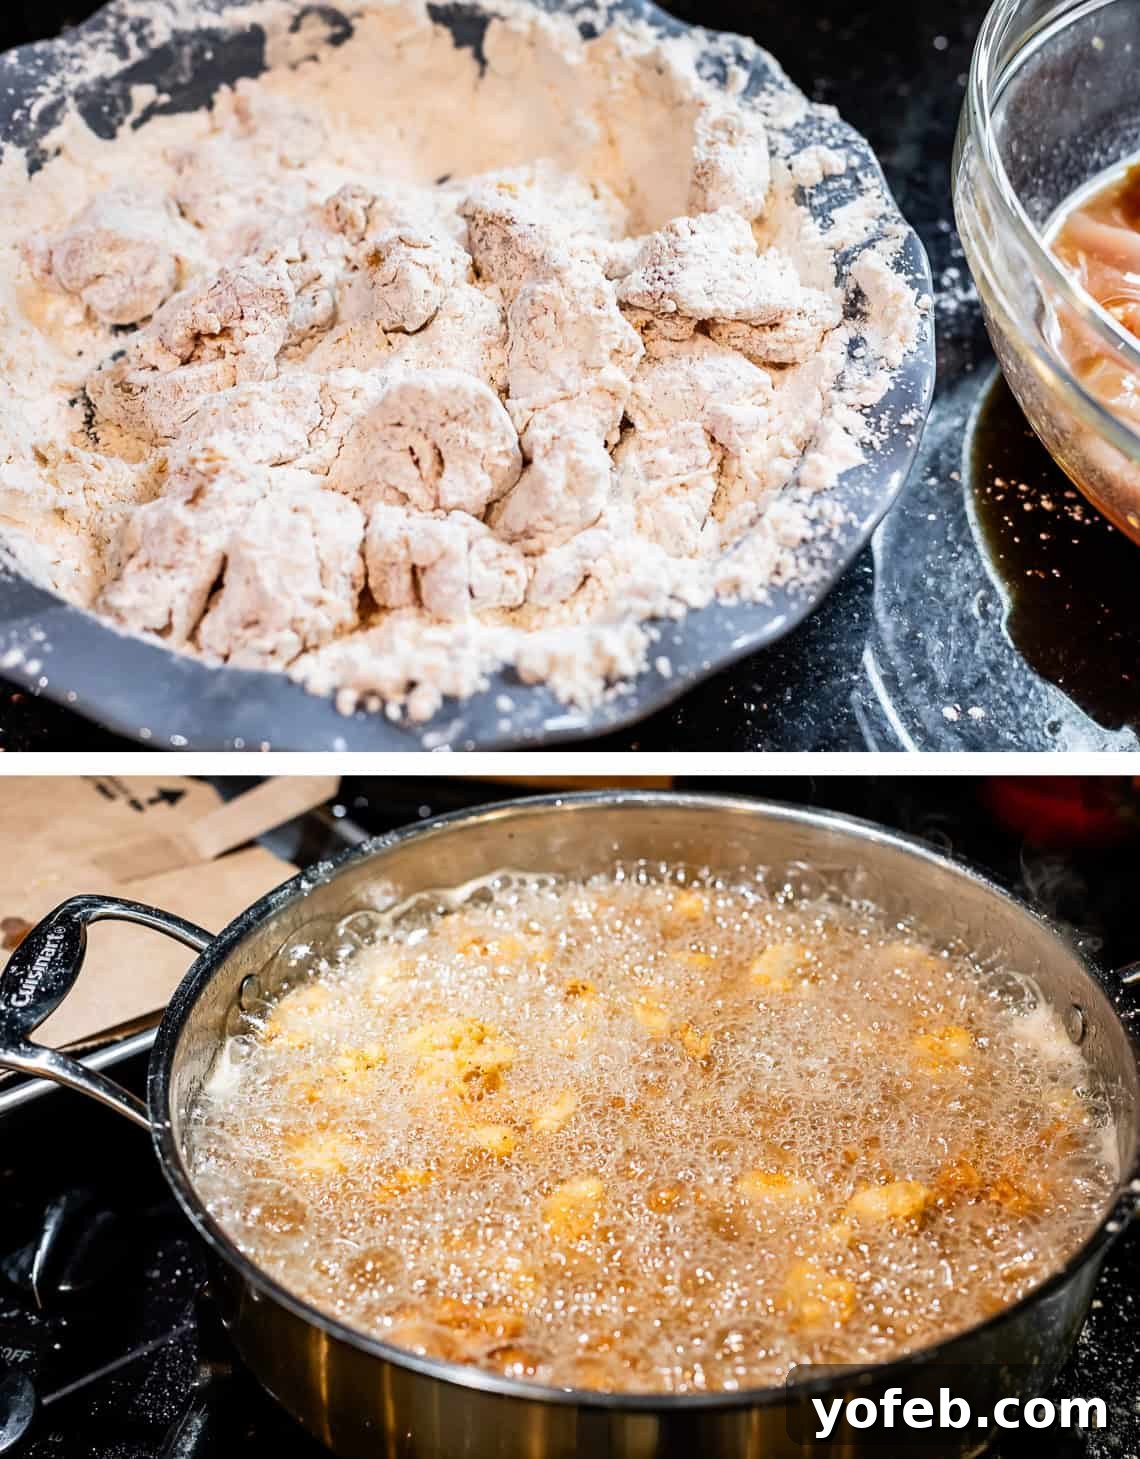
7. Fry the Chicken in Batches: Once the oil is at temperature, grab a handful of marinated chicken, letting any excess marinade drip off. Transfer it to the flour mixture and gently toss until each piece is fully coated. Carefully lower the coated chicken into the hot oil using tongs or a slotted spoon, ensuring not to overcrowd the pan. Frying in batches is essential to prevent the oil temperature from dropping too much, which would result in soggy chicken. Fry for 2-4 minutes, turning the pieces halfway through, until they are beautifully golden brown and crispy on all sides.
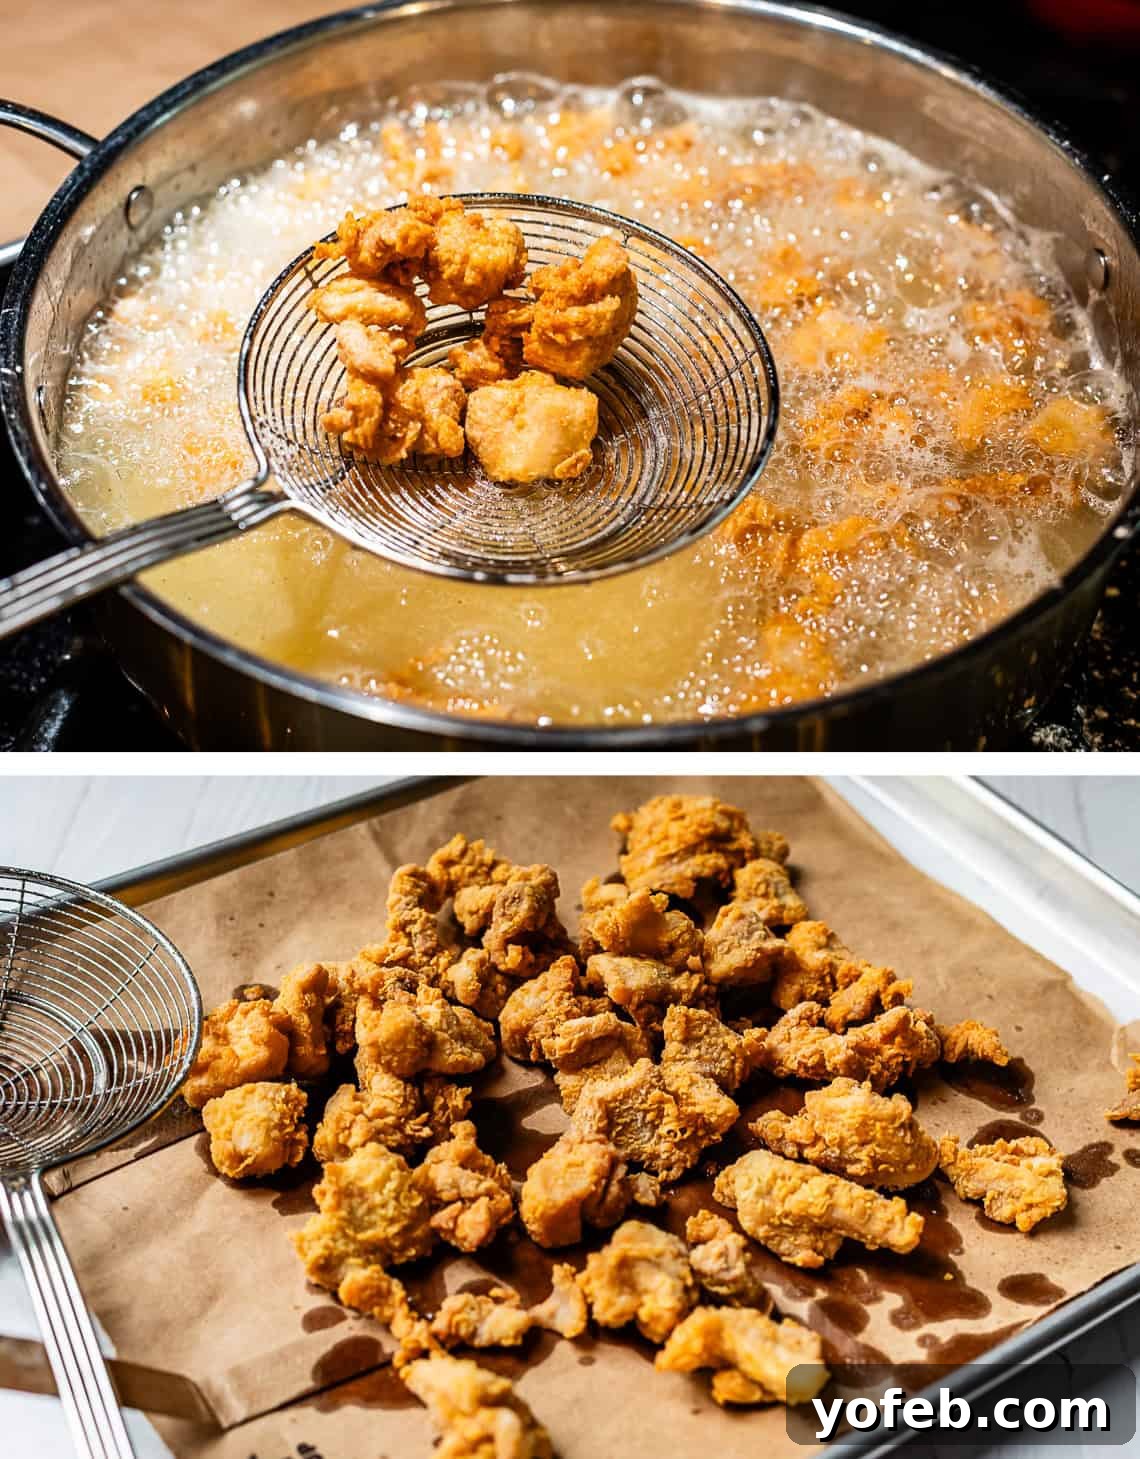
Remove the fried chicken to your prepared lined baking sheet to drain. Crucially, let the oil reheat to 375°F (190°C) between each batch. This step is often overlooked but guarantees consistent crispiness for every piece. A quick temperature check with an instant-read thermometer will confirm when it’s ready.
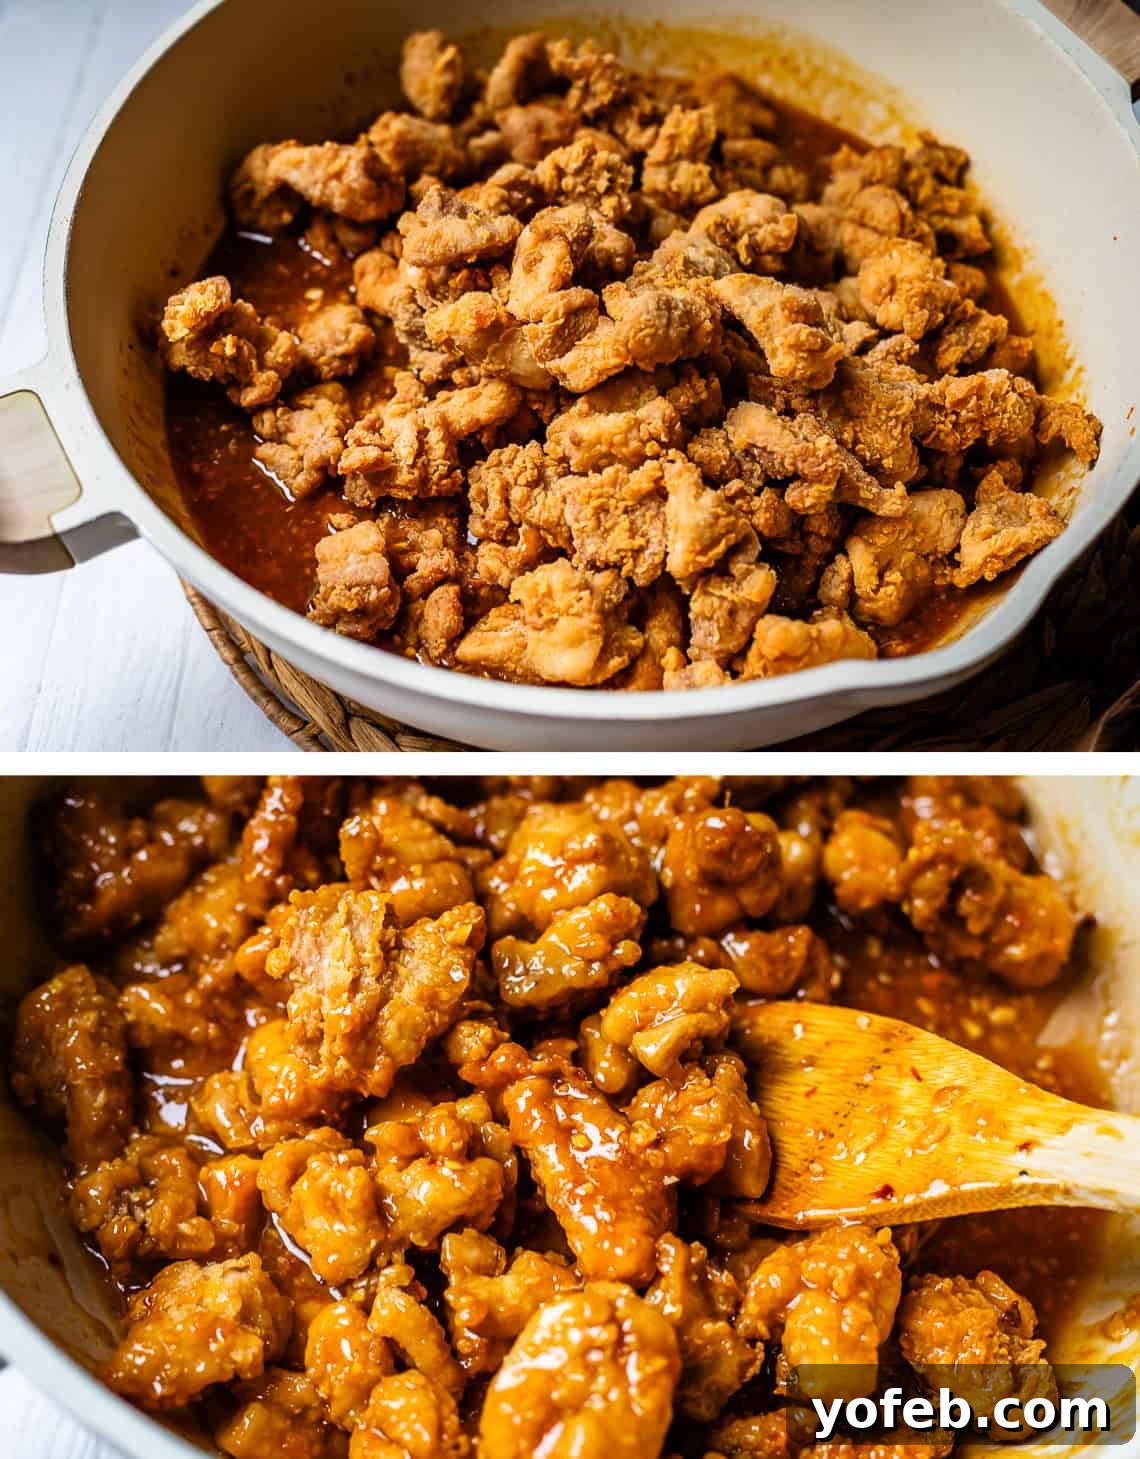
8. Cook the Sauce and Combine: As you’re frying your last batch of chicken, place the large skillet containing your pre-mixed orange sauce on the stove over medium heat. Bring it to a gentle simmer and let it cook for about 2 minutes, allowing the flavors to meld beautifully. (Look at you, multitasking and cooking your rice in the background – truly a dinner BOSS!)
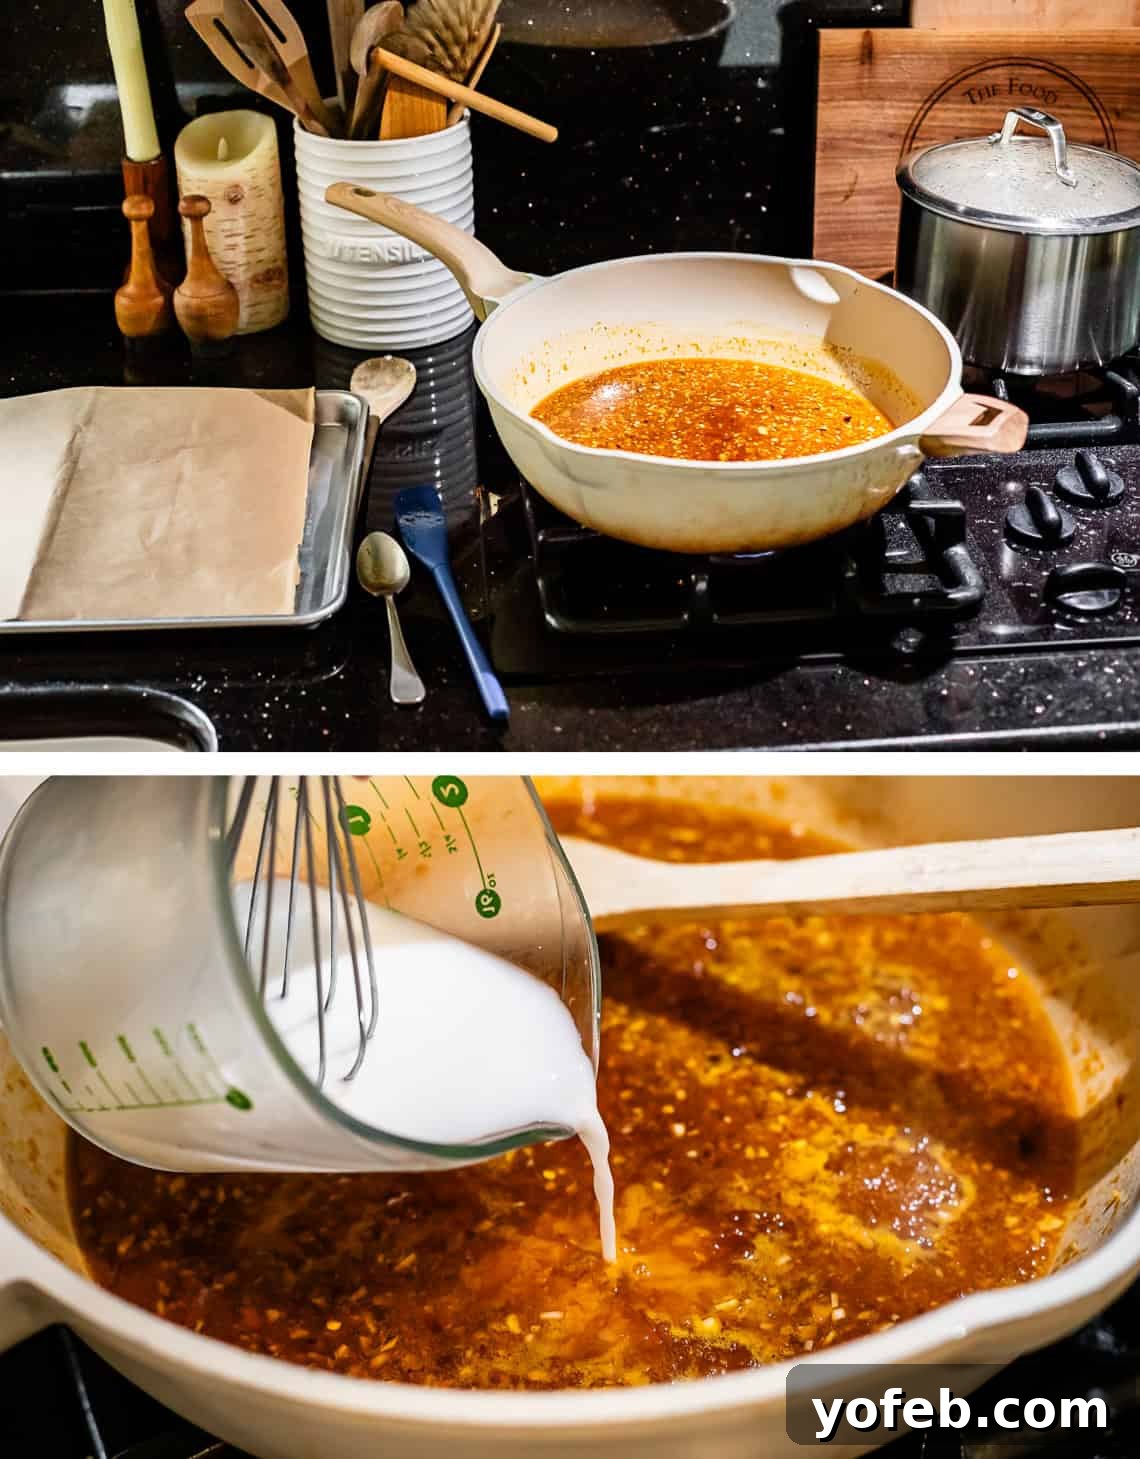
Give your cornstarch slurry a quick whisk to ensure the cornstarch is fully dissolved, then slowly pour it into the simmering sauce while whisking continuously. You’ll notice the sauce begin to thicken almost immediately. Cook for just 30-45 seconds, stirring constantly, until it reaches your desired consistency – you don’t want it too thick!
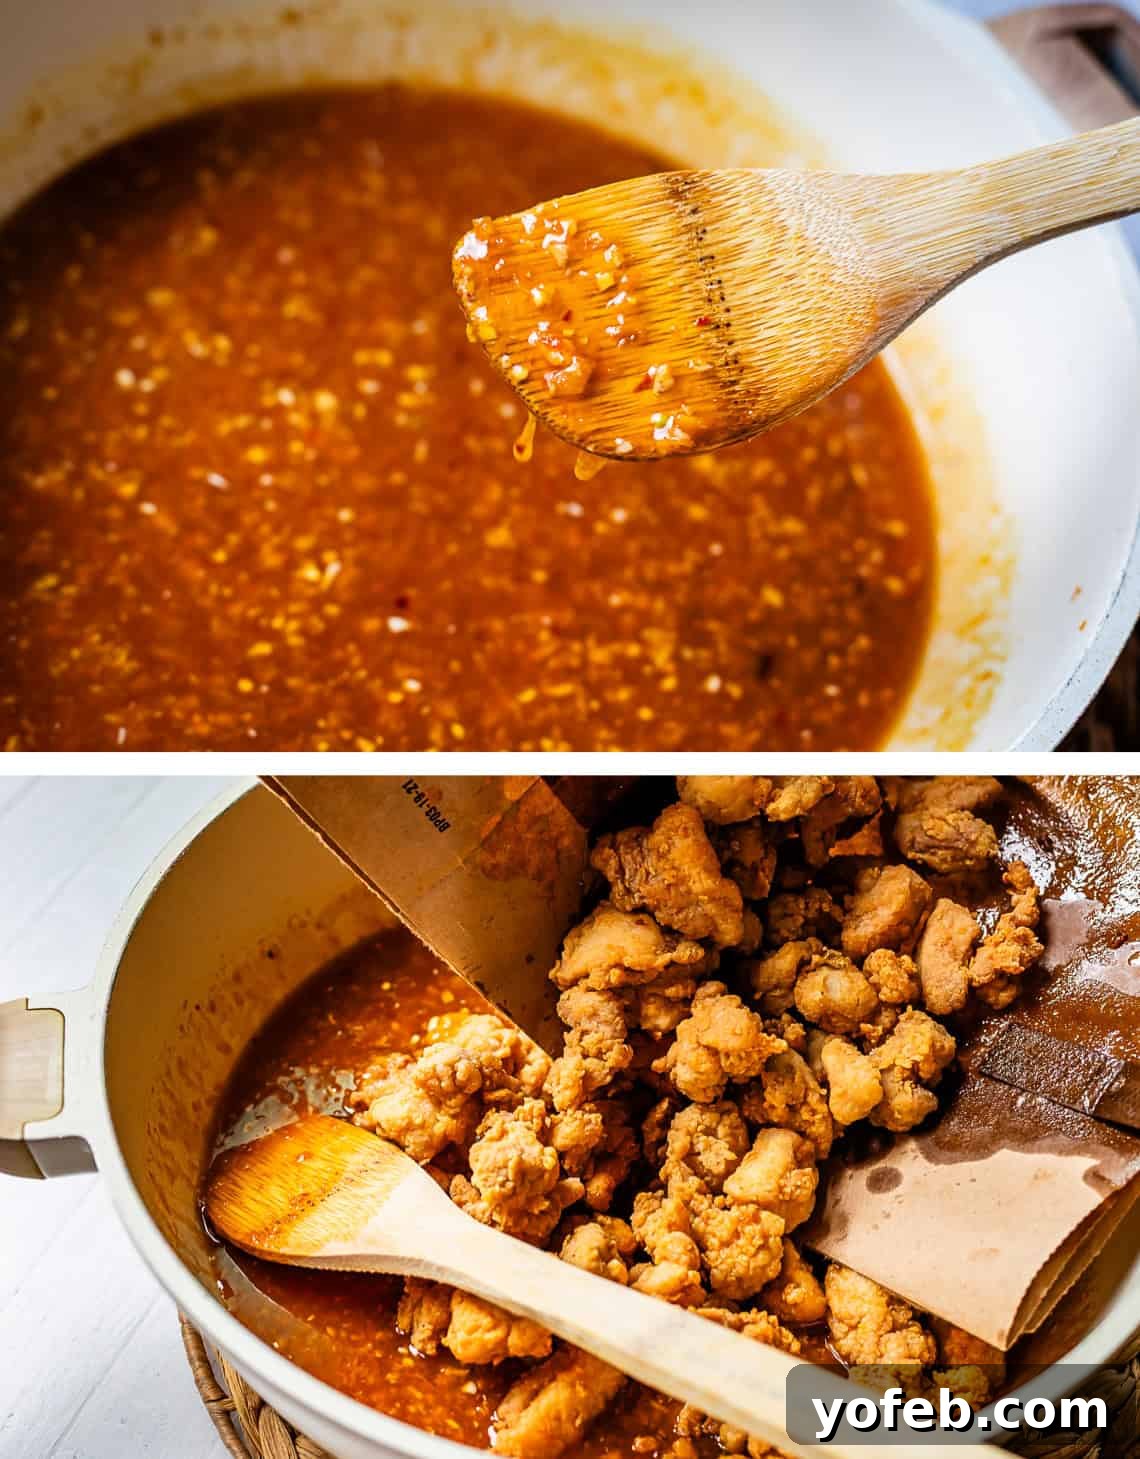
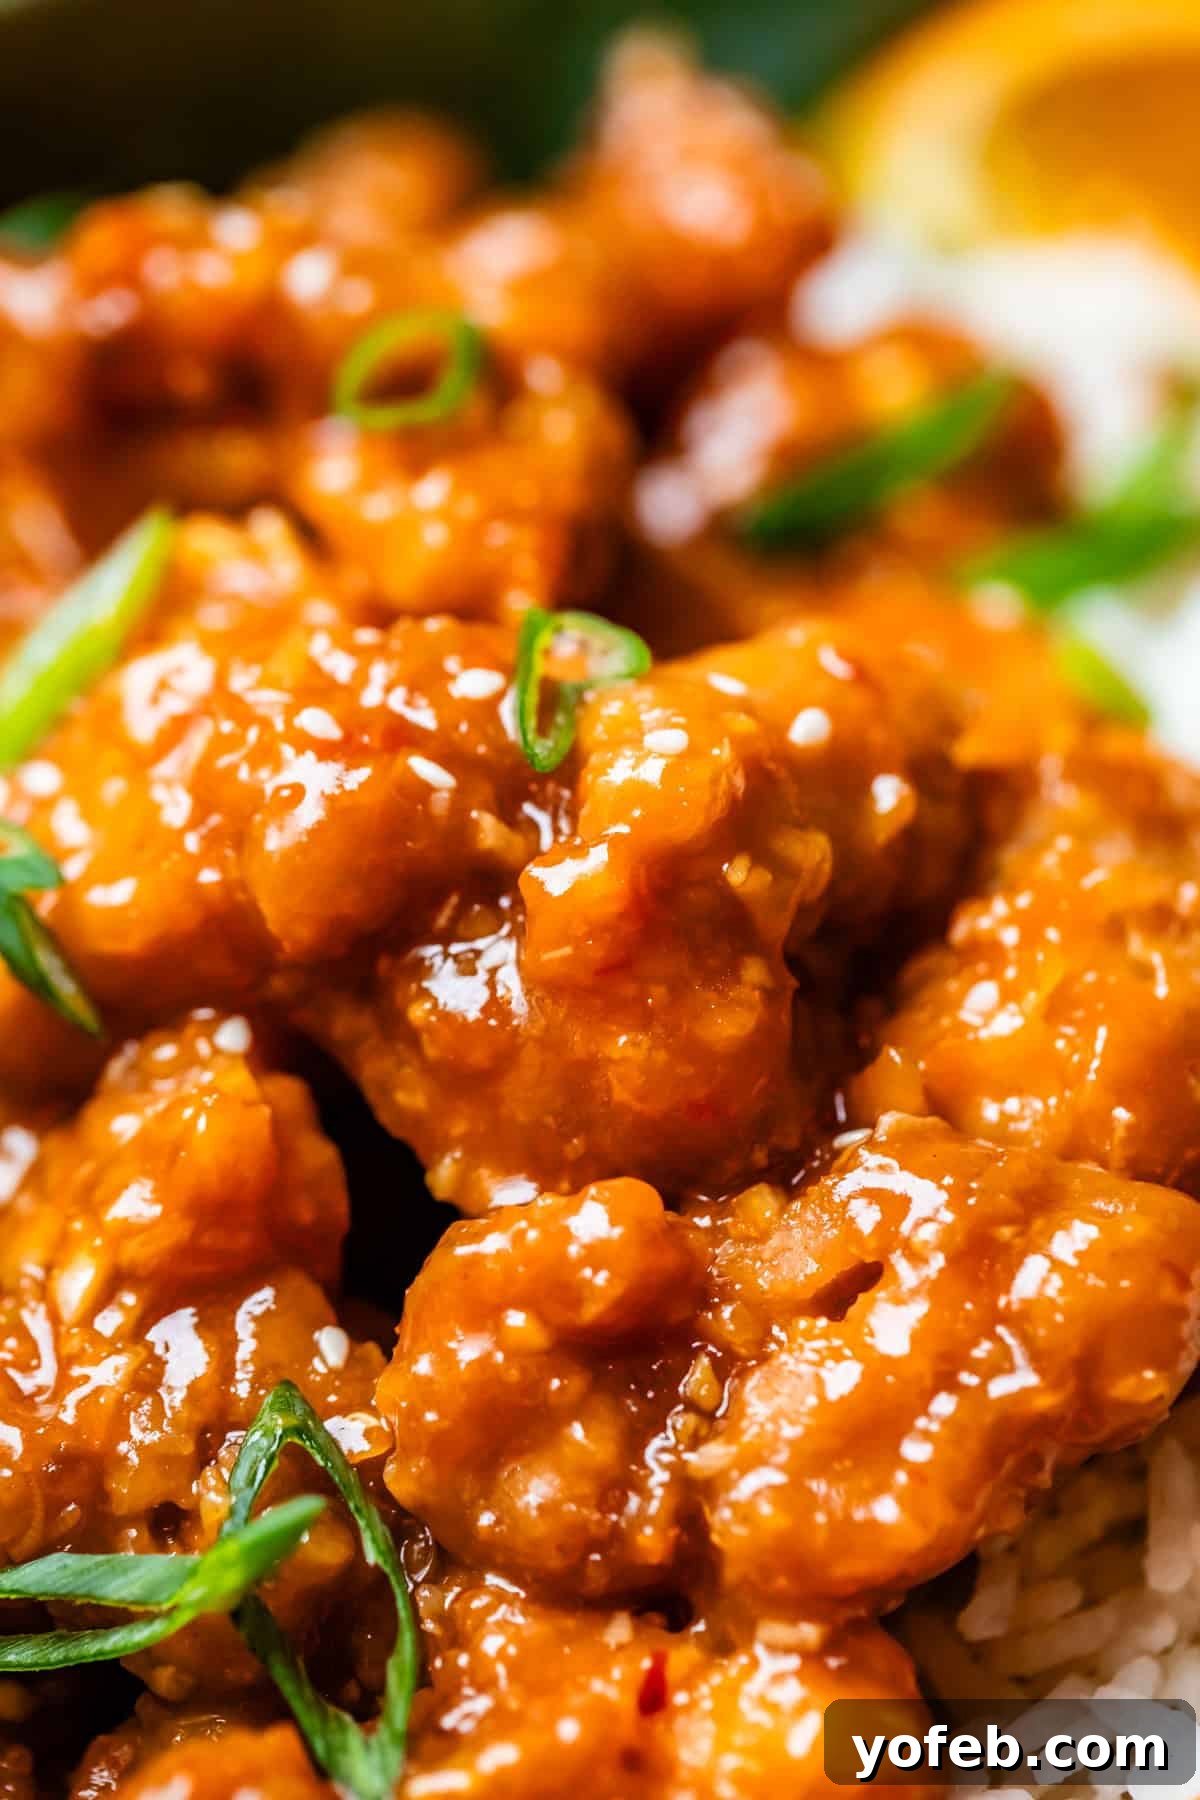
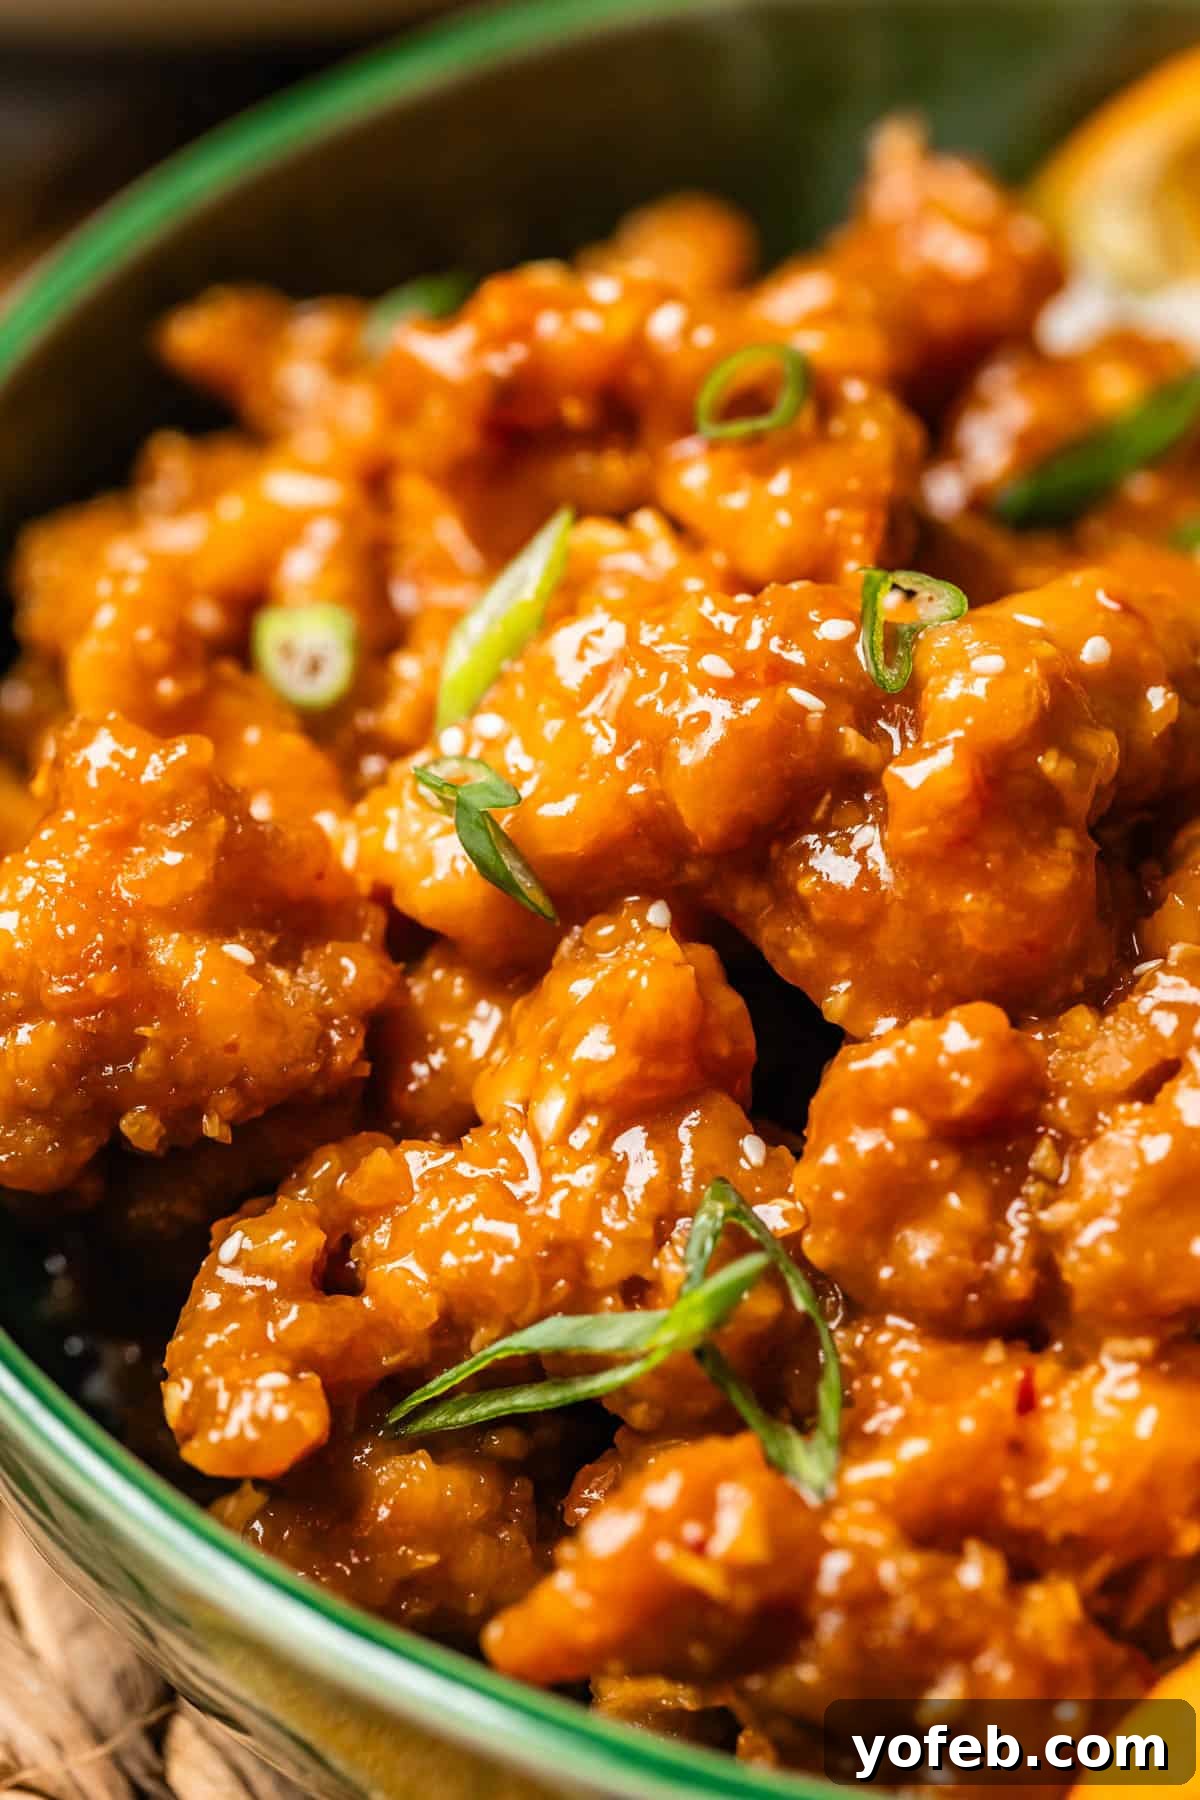
Immediately add all your freshly fried, crispy chicken into the skillet with the sauce. Use a spatula or spoon to gently toss and coat every single piece of chicken thoroughly with that magnificent, glossy orange glaze.
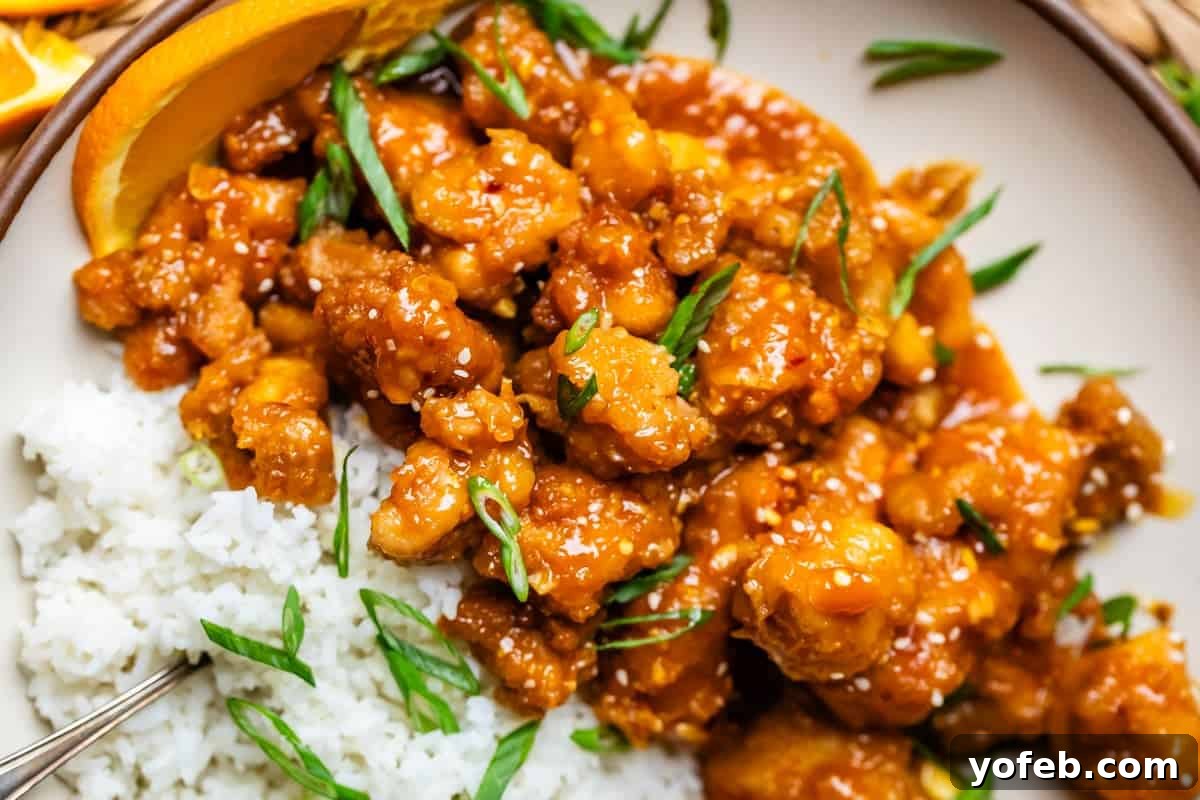
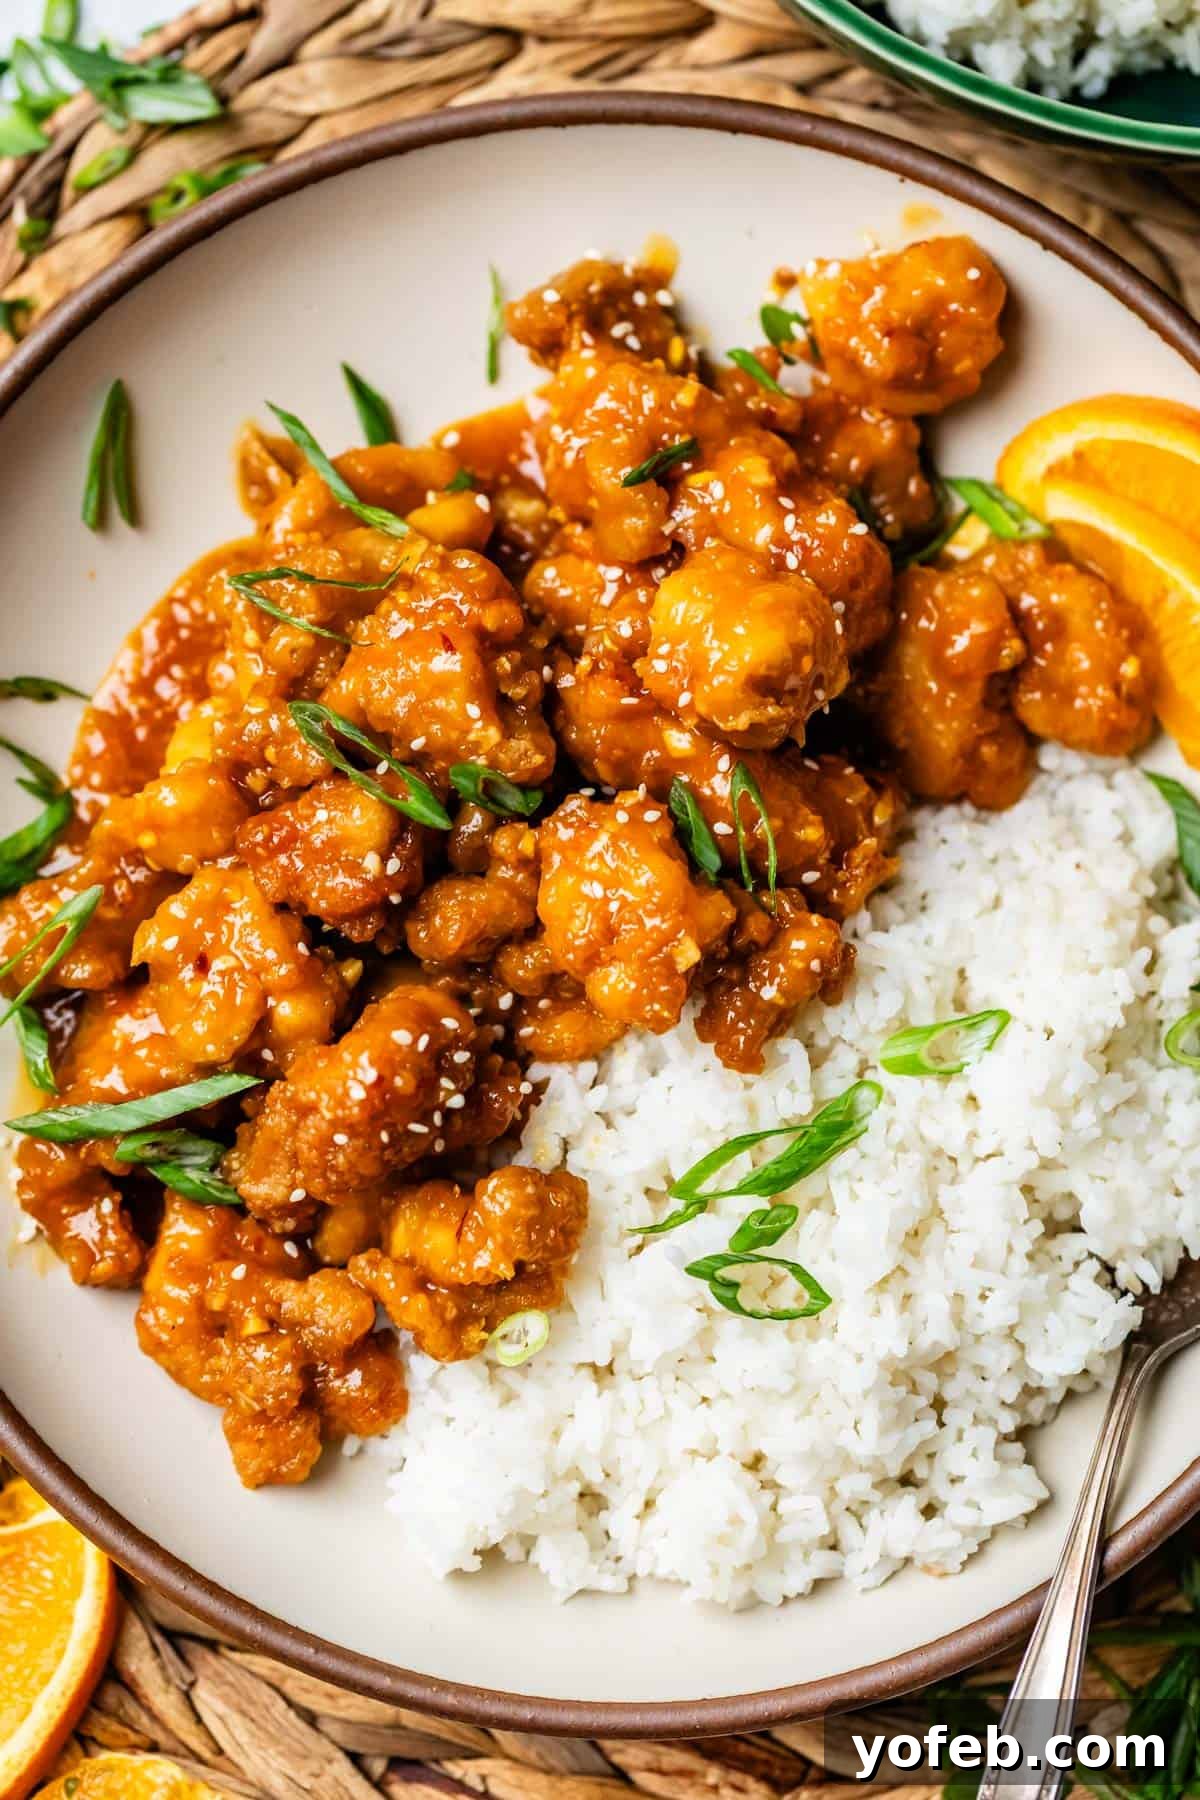
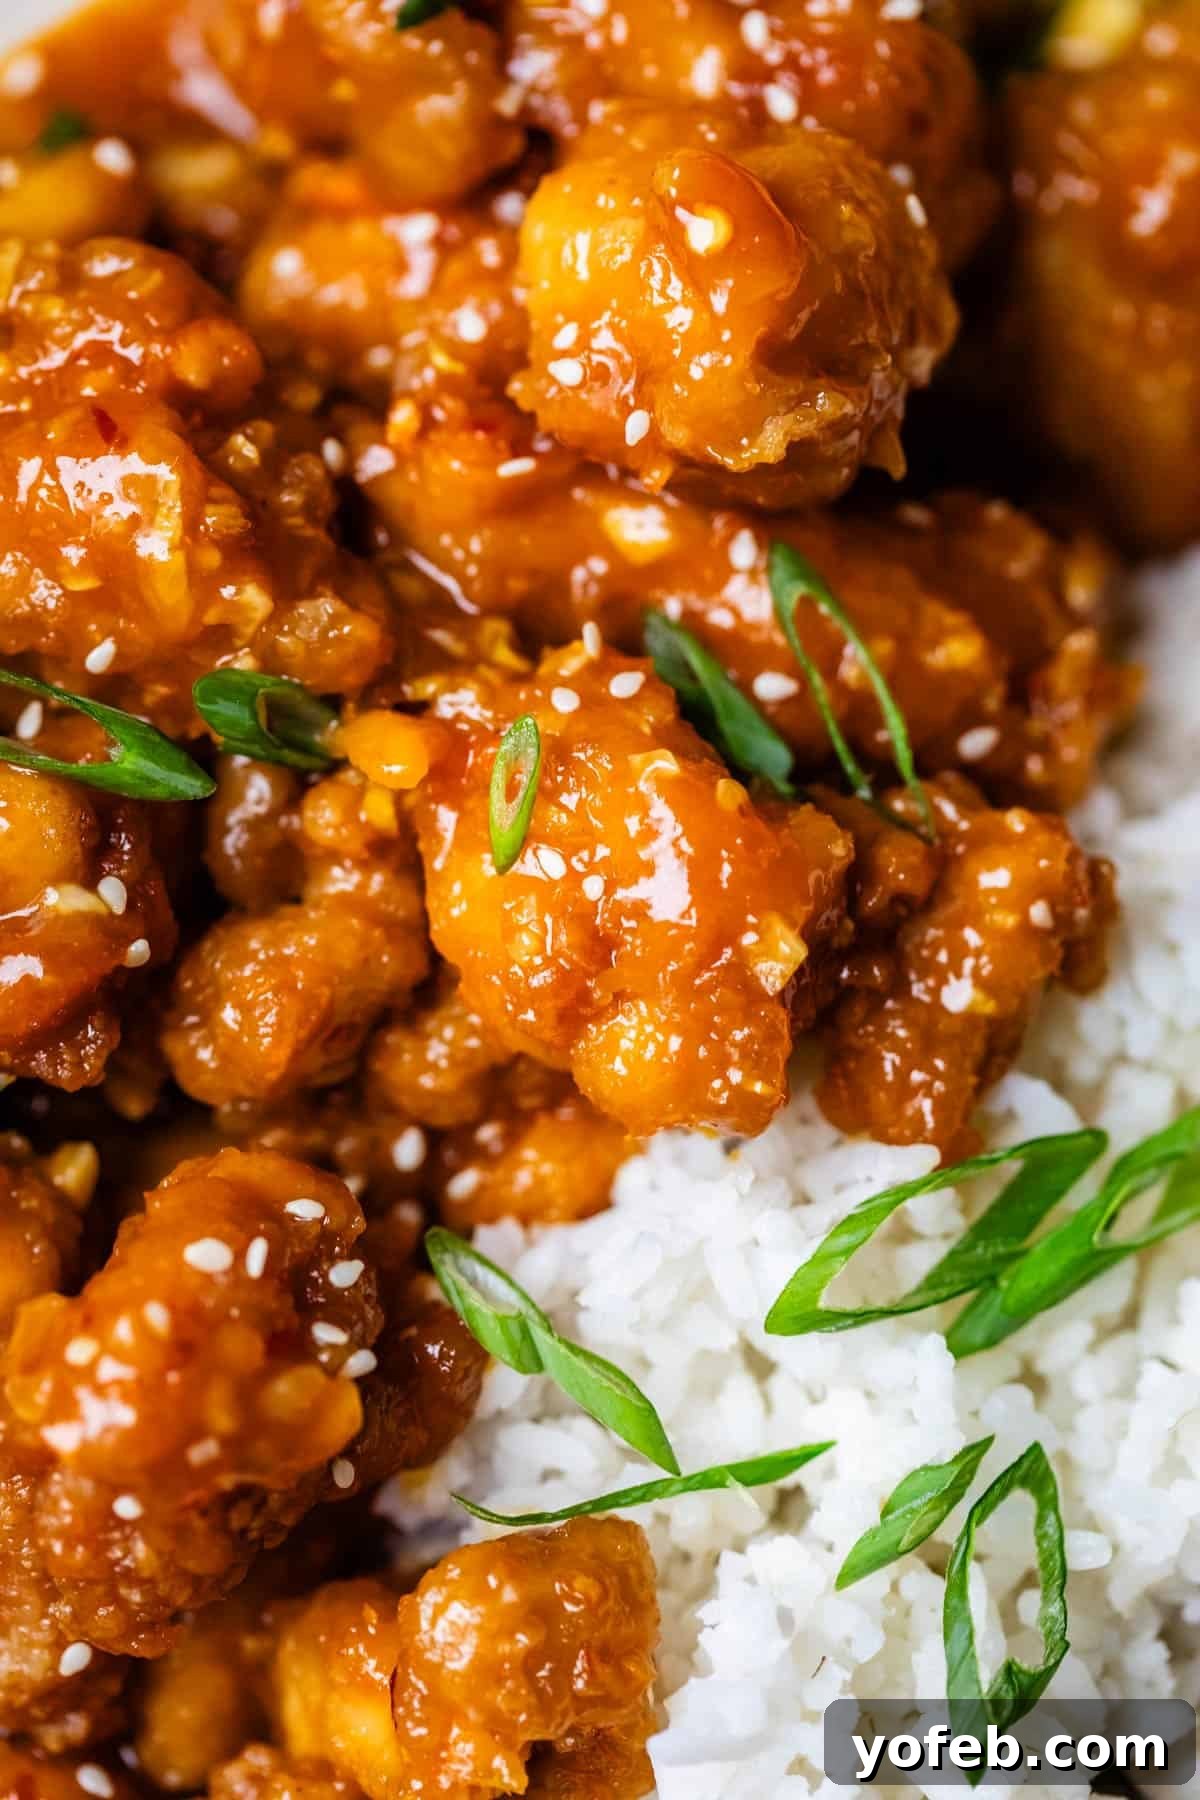
Just look at this masterpiece! The vibrant color, the irresistible aroma – oh man, it’s truly a sight to behold! Serve it up high on a bed of fluffy rice, perhaps even overflowing from a styrofoam takeout container for that nostalgic, ‘Merica-inspired full effect! Don’t forget to sprinkle generously with chopped green onions and a handful of sesame seeds for an extra touch of flavor and visual appeal. YUM! Enjoy every single mouthwatering bite of your superior homemade orange chicken!
Perfect Pairings: What to Serve with Orange Chicken
While orange chicken and rice is a match made in heaven and often all you need for a satisfying meal, sometimes you want to round out your plate with some vibrant greens or additional textures. Here are some fantastic side dishes that perfectly complement the sweet and tangy notes of our homemade orange chicken:
- Oven Roasted Broccoli: This isn’t just any broccoli; our recipe is designed to convert even the staunchest broccoli haters. Roasting brings out a delicious sweetness and tender-crisp texture that pairs wonderfully with the rich chicken. If you prefer simplicity, plain steamed broccoli is also a great, light option.
- Marinated Asian Cucumber Salad: For a refreshing contrast, this salad offers a delightful crunch and a cool, tangy bite. Its light and zesty dressing cuts through the richness of the orange chicken, making each mouthful incredibly satisfying.
- Asian Cauliflower Rice: Looking to lighten up your meal or add more veggies? Swap out traditional white rice for this flavorful cauliflower rice. It’s an excellent way to boost your vegetable intake without sacrificing the Asian-inspired profile of your dinner.
- Asian Cabbage Salad: While perhaps not traditionally authentic, this salad offers a fantastic medley of textures and flavors. Plus, it’s one of those rare salads where a touch of butter in the dressing magically enhances its deliciousness – a must-try!
- Strawberry Spinach Salad: A surprisingly versatile and incredibly refreshing choice. The sweetness of strawberries and the freshness of spinach, often paired with a light vinaigrette, provides a palate-cleansing counterpoint to the rich chicken. It’s truly a perfect salad for almost any meal.
- Chinese Beef and Broccoli Soup: Elevate your meal into a full Chinese-inspired feast by starting with this comforting and savory soup. It’s a hearty and flavorful beginning that sets the stage for the main course.
Storing and Reheating Tips for Orange Chicken
Let’s be honest: fried food, especially when tossed in sauce, is always at its absolute best fresh off the stove. While this homemade orange chicken is truly spectacular on day one, leftovers can still be enjoyed with a few smart tips for storage and reheating. It’s decently lunch-worthy, though perhaps not a top-tier meal-prep candidate.
Storage: Any leftover orange chicken, whether combined with sauce or kept separate (you smart cookie!), should be stored in an airtight container in the refrigerator. Consume within 2-3 days for the best quality.
Reheating:
- If Chicken and Sauce Were Kept Separate (the ideal scenario): If you had the foresight to store your fried chicken and sauce separately, you’re in for a treat! You can easily re-crisp the chicken. Pop it into an air fryer at 375°F (190°C) for 5-7 minutes, or bake it on a baking sheet at 350°F (175°C) for 10-15 minutes until it’s crispy again. Reheat the sauce gently in a microwave or a small saucepan, then toss the re-crisped chicken with the warm sauce just before serving. This method yields the closest experience to fresh.
- If Chicken and Sauce Are Already Combined: Reheating combined orange chicken can be tricky, as the crispy coating tends to soften. The microwave, unfortunately, often leads to a somewhat soggy texture. For better results, I recommend adding the leftovers to a skillet over medium-low heat and gently warming for a few minutes, stirring occasionally. This helps evaporate some moisture and can prevent it from becoming overly mushy. Alternatively, spread the chicken on a baking sheet and bake at 350°F (175°C) for 5-10 minutes. While it won’t be as crispy as fresh, it will heat through more evenly than in the microwave.
Freezing: I generally don’t recommend freezing the fried chicken, as its texture will suffer significantly upon thawing and reheating. However, you can absolutely freeze any extra sauce! Store it in an airtight container for up to 3 months. Thaw in the refrigerator overnight, then reheat on the stove and toss with freshly fried chicken for a much faster homemade dinner next time.
Explore More Asian-Inspired Dinners!
If you loved this orange chicken, you’re in for a treat! Our collection of Asian-inspired dinners offers a range of flavors and cooking styles, from quick weeknight meals to comforting slow-cooked dishes. Each recipe is designed to bring authentic taste and ease to your kitchen:
- Kung Pao Chicken: This show-stopping recipe is healthier and tastier than most takeout versions, delivering a perfect balance of spicy, sweet, and savory.
- Beef and Broccoli: An incredibly easy-to-make Chinese favorite. If you thought you didn’t like beef and broccoli, this recipe will change your mind!
- Easy Pork Ramen Recipe: A massive upgrade from packet ramen! This homemade version is rich, flavorful, and not even comparable to instant varieties.
- Honey Garlic Chicken: A fantastic slow cooker recipe that’s a weeknight savior. Just add rice and your favorite veggies for a complete meal.
- Asian Pork Tenderloin: You’ll adore the vibrant ginger glaze on this tender pork, a delicious riff on our popular Balsamic Pork.
- Chicken Curry Recipe: A warming and deeply flavorful curry that even the pickiest eaters (like my kids!) absolutely love.
- Sheet Pan Asian Salmon: A complete meal on one sheet pan, featuring delicious salmon, tender broccoli, and often noodles for a quick and healthy dinner.
- Asian Seared Chicken with Stir-Fried Green Beans: This recipe shares the same baking soda frying method used in our orange chicken for exceptionally crispy meat.
- Easy Curry Beef: An incredibly cozy and comforting dish, perfect when served with homemade naan or roti.
- Chili Garlic Shrimp from Bold Appetite
- Copycat Panda Express Chow Mein from Lite Cravings
- Chinese Lemon Chicken from Anna’s Family Kitchen
Facebook | Pinterest | Instagram

Orange Chicken Recipe
25 minutes
25 minutes
50 minutes
6 servings
Ingredients
For the chicken marinade:
- 1 and 1/2 pounds boneless skinless chicken thighs
- 2 eggs
- 1 tablespoon toasted sesame oil
- 1 tablespoon soy sauce
- 1 teaspoon Sambal Oelek chili paste , or sriracha
- 2 teaspoons kosher salt, (or use 1 teaspoon table salt)
For the flour mixture:
- 1 cup cornstarch
- 1 cup all purpose flour
- 2 teaspoons kosher salt, (use 1 teaspoon table salt)
- 1 and 1/2 teaspoons baking soda
- 1 teaspoon powdered ginger
- 1 teaspoon granulated garlic
- 48 ounces canola, vegetable, or peanut oil, for frying (enough to go 2 inches high in your pan)
For the sauce:
- 2 tablespoons orange zest, buy 3-4 large oranges for this recipe
- 1 cup fresh squeezed orange juice
- 1/4 cup white sugar
- 1/4 cup orange marmalade
- 1/4 cup soy sauce
- 1/4 cup rice vinegar
- 2 tablespoons toasted sesame oil
- 1/2 teaspoon crushed red pepper, or up to 1 teaspoon
- 1 teaspoon red chili paste (Sambal Oelek), or sriracha
- 8 cloves garlic, smashed and minced, about 2 tablespoons*
- 1 tablespoon fresh ginger, minced**
- 1/2 cup COLD water, or orange juice, add this AFTER simmering the sauce!
- 1 and 1/2 tablespoons cornstarch, add this AFTER simmering the sauce!
For serving
- green onions, to garnish
- sesame seeds, to garnish
- hot rice, for serving
Instructions
-
Cut your chicken into bite sized pieces. Use a sharp knife to cut the chicken into bite size pieces, about 1 inch by 1 inch.
-
Make the egg marinade. In a medium bowl, whisk 2 eggs, 1 tablespoon toasted sesame oil, 1 tablespoon soy sauce, 1 teaspoon Sambal Oelek (or sriracha), and 2 teaspoons kosher salt. Stir in the chicken and set aside.
-
Make the dry flour mixture: In a shallow bowl or pie plate, add 1 cup cornstarch (yes!! 1 cup!) and 1 cup flour. Add 2 teaspoons kosher salt, 1 and 1/2 teaspoons baking soda, 1 teaspoon ginger powder, and 1 teaspoon granulated garlic. Set it next to your stove.
-
Prep the sauce. We are not cooking this now, just getting it ready. In a wok or large skillet (that will be able to fit all the chicken later), zest 3 or 4 oranges using a microplane grater. Keep going until you have 2 tablespoons.
Cut the oranges in half and squeeze them into a measuring cup until you have 1 cup of fresh orange juice. Add to the skillet. -
To the skillet, add 1/4 cup granulated sugar, 1/4 cup orange marmalade, 1/4 cup soy sauce, and 1/4 cup rice vinegar. Add 2 tablespoons toasted sesame oil, 1/2 teaspoon crushed red pepper, and 1 teaspoon Sambal Oelek (or sriracha.)
-
To the skillet, add 8 cloves of garlic*, smashed and minced. Add 1 tablespoon freshly minced ginger.** Stir it all together. Set this sauce mixture aside.
-
In a small bowl, stir together 1 and 1/2 tablespoons cornstarch with 1/2 cup COLD water (or orange juice!) Set it the side.
-
Meanwhile, heat the oil over medium heat in a high-sided skillet. How much you need depends on how large your pan is. I use a 12-inch high sided skillet, and 2 inches of oil was at least 8 cups. You will need less oil in a smaller pan. Heat the oil over medium heat until a thermometer reads 375 degrees F. It will take 10-15 minutes. (Save the container for the oil, for discarding later)
-
Prepare to fry the chicken. While you’re waiting for the oil to heat up, lay out several sheets of paper towels on a baking sheet (or better yet, a torn paper grocery bag—they are so absorbent.)
-
Set up your frying assembly line. 1)chicken in marinade 2)flour/cornstarch 3)oil 4) lined baking sheet. Send the children and pets away and turn on a fan, maybe open a window. We’re frying chicken here!
-
Fry the chicken. You’ll be frying the chicken in batches, making sure not to crowd the pieces too much so that they don’t stick together. When the oil reaches 375 degrees F, take a handful of chicken and let the marinade drip off a bit. Add it to the flour mixture and gently move it around until all sides of each piece are coated in the mixture.
Using tongs or a slotted spoon, gently and carefully place the pieces of chicken into the hot oil. Turn each piece over with tongs halfway through, to ensure both sides cook thoroughly. The chicken will be done in 2-4 minutes, depending on how large they are. You will know they are done when they have turned a light golden brown on all sides. -
Remove the chicken to the lined baking sheet using a slotted spoon or a spider strainer.
-
Continue in batches until all the chicken is fried. Let the oil reheat to 375 degrees before frying the next batch! Check the temperature every time and wait if necessary.
-
Cook the sauce. When you’re getting ready to start frying the last batch, place the large skillet with the orange sauce on the stove. Turn the heat to medium and bring it to a low simmer. Let it cook for about 2 minutes.
-
Add the cornstarch mixture. Stir the cornstarch in the bowl of water/orange juice to make sure it is dissolved. Add this mixture to the simmering sauce and quickly whisk it in. The sauce will start to thicken right away. Cook for about 30-45 seconds, until it thickens just a little bit.
-
Combine and serve. Add the fried chicken to the skillet with the sauce, using a spatula to coat the chicken in the sauce. Stir it around and coat all the chicken.
-
Serve hot with lots of rice! Sprinkle with chopped green onions and sesame seeds. YUM! Pile it ridiculously high into a styrofoam takeout container for the full effect.
-
Storage: Not gonna lie, orange chicken is best on day one. But store any leftovers covered in the fridge. They are going to need some help when it comes to reheating. The microwave doesn’t help much, it just gets soggy. I recommend adding it back to a skillet and gently heating on medium-low, or adding chicken pieces to a baking sheet and baking at 350 for 5-10 minutes. Reheat the sauce in the microwave.
-
Freezing: Nope. Don’t go there. 😂
Notes
**GINGER: Ginger paste is a great sub here. Use 1 tablespoon. You can also sub powdered ginger, use 1 teaspoon.
RICE: Make 2 and 1/2 cups of dry rice to go with this orange chicken, to make about 5 cups of cooked rice. I wrote a whole post all about How to Cook rice on the Stove! It’s not as hard as the rice cooker companies want you to believe 😂
What to do with the leftover oil? Let it cool completely. Place a disposable container in your sink in case you have a spill. (I use the container the oil came in, or an empty milk jug). Place a funnel on the top. Ask someone to help you hold it. Pour the oil in slowly, wearing an apron! Set a strainer over the funnel to catch any fried bits, if you plan to reuse the oil. Discard in the trash, or use it again for next time (store it in the fridge.)
Nutrition
Did you make this? I’d love to see it!
Mention @thefoodcharlatan or tag #thefoodcharlatan!