
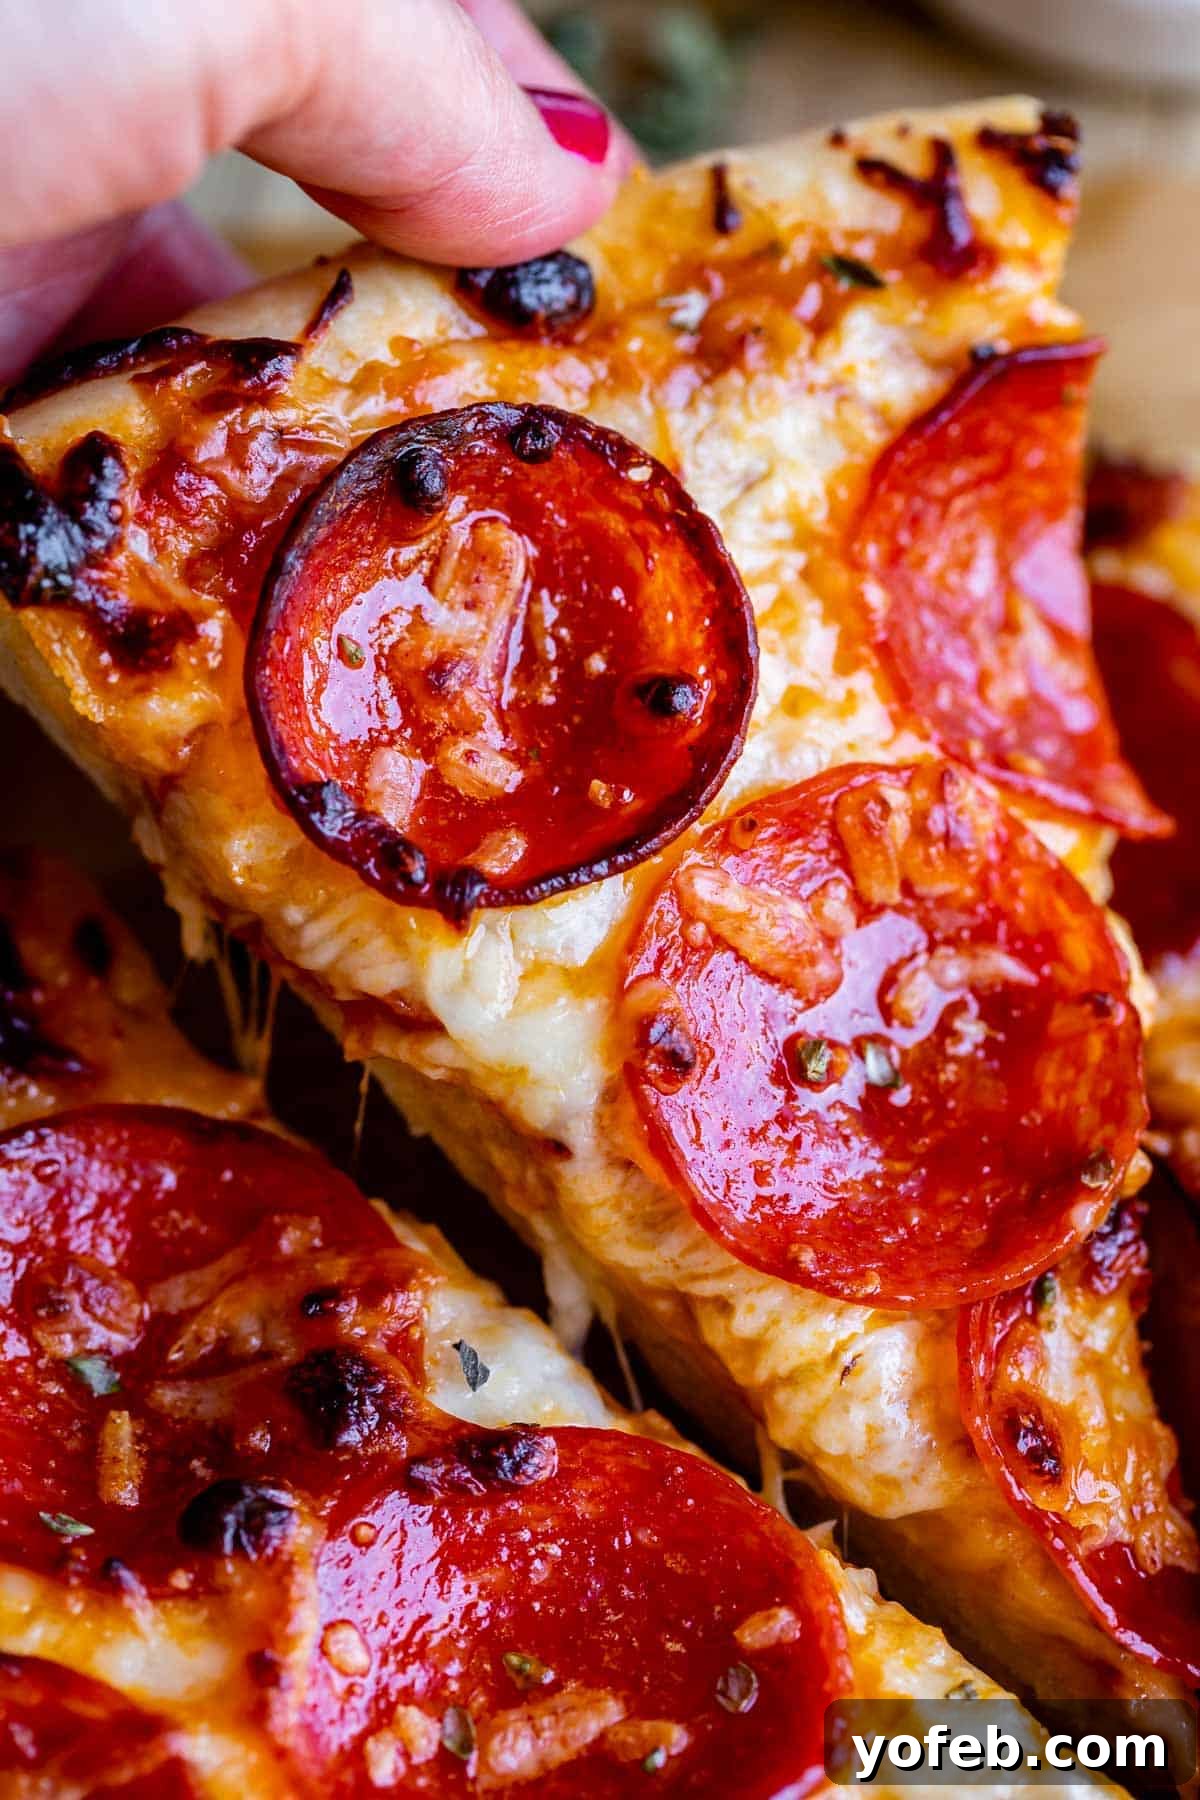
Unlocking the Secret to the Best Homemade Pizza Ever: A Comprehensive Guide
For years, I’ve been on a mission to perfect the ultimate homemade pizza recipe, and I’m thrilled to share all my hard-earned tips, tricks, and ingenious ideas with you. This isn’t just any pizza recipe; it’s a culmination of countless experiments, designed to help you create a truly exceptional pie right in your standard home oven – no fancy wood-fired setup required! Get ready to transform your kitchen into a pizzeria and impress everyone with a pizza that boasts a flavorful crust, delicious sauce, and perfectly melted cheese.
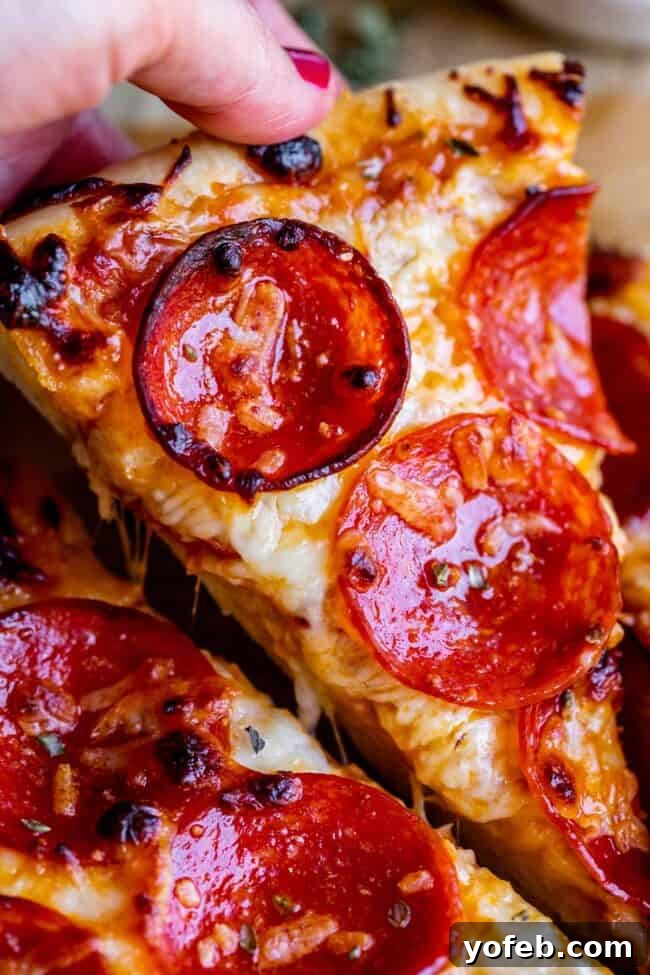
Homemade pizza offers a delightful blend of freshness, customization, and cost-effectiveness that store-bought options simply can’t match. It’s not just a meal; it’s an experience – a fun family activity and a rewarding culinary achievement. Whether it’s a Friday night tradition or a spontaneous craving, mastering homemade pizza means you’re always just an hour or two away from a truly satisfying meal. This guide will walk you through every critical step, from preparing your dough to achieving that coveted crispy crust and perfectly browned toppings.
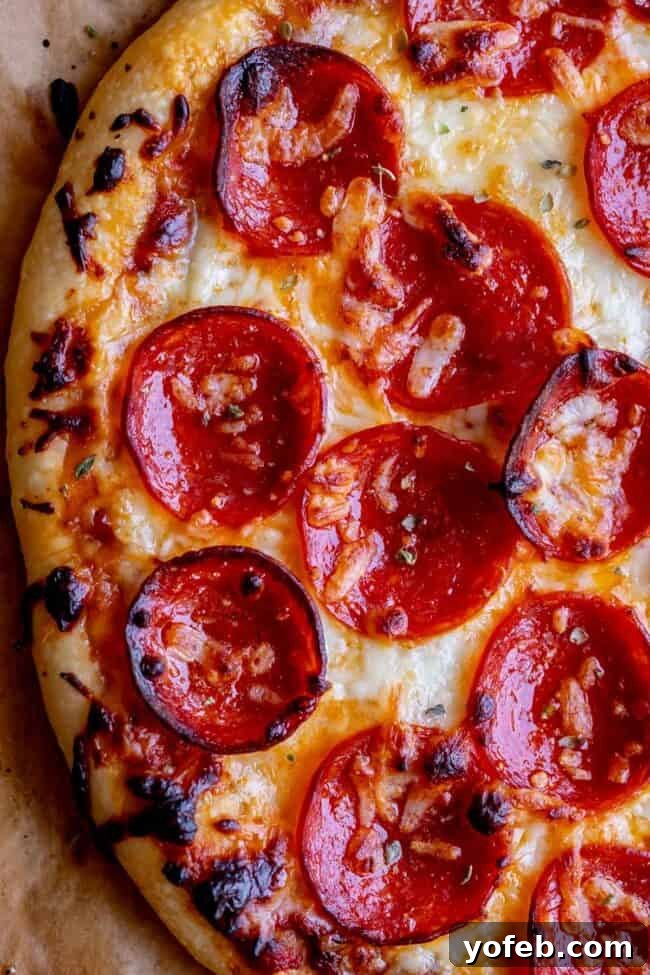
Are you a pizza aficionado? Chances are, the answer is a resounding yes! Pizza holds a special place in many households, often becoming a beloved weekly ritual. While ordering takeout certainly has its moments, there’s an unparalleled satisfaction that comes from crafting your own pizza from scratch. Over the years, I’ve gathered a wealth of knowledge on how to achieve pizzeria-quality results in a home kitchen, and I’m excited to share these secrets with you today.
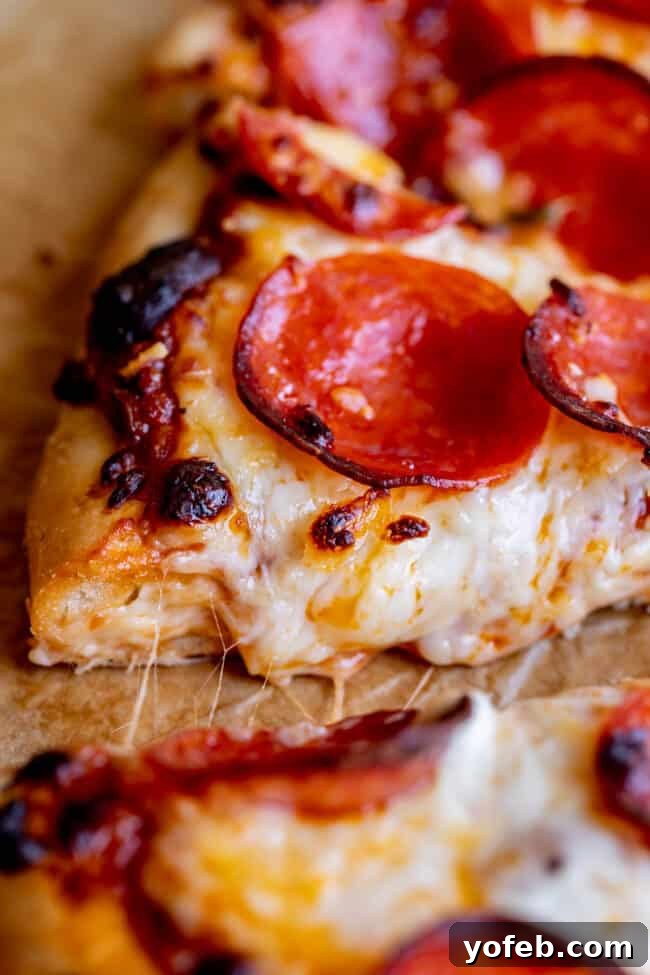
Crafting the Perfect Homemade Pizza
Making truly great homemade pizza hinges on a few fundamental principles. This guide is part of a comprehensive series designed to elevate your pizza-making skills. We’ve previously covered the essentials: my Easy Homemade Pizza Sauce recipe, and an in-depth look at Pizza Dough, covering everything you need for the perfect crust. Now, we’re bringing it all together to create the best homemade pizza you’ve ever tasted!
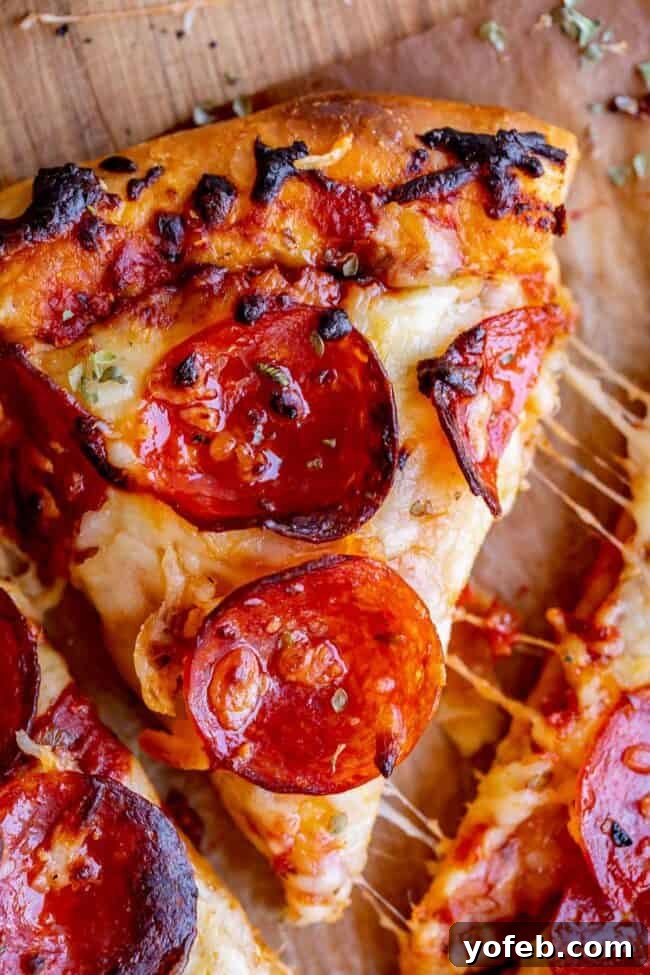
Essential Tips for Homemade Pizza Success
Achieving outstanding homemade pizza requires attention to a few key details. While I’ll delve into each of these in much greater detail below, here’s a quick overview of the crucial elements. For even more in-depth information on specific components, be sure to check out my related posts on Pizza Sauce and Pizza Dough.
- **Flavorful Homemade Dough:** The foundation of any great pizza is its crust. Using a homemade dough with rich flavor is non-negotiable for superior results. I’ve spent countless hours perfecting my Pizza Dough recipe, and I’ll share how to achieve an exceptionally delicious crust.
- **Quality Pizza Sauce:** A great pizza deserves a great sauce. Opt for a rich, robust Pizza Sauce that complements your toppings without overpowering them.
- **Extended Oven Preheat:** This step is critical and often overlooked. Preheat your oven, with your pizza stone inside, for at least 30 minutes, even if your oven signals it’s reached temperature sooner. This ensures the stone is thoroughly heated, mimicking a professional pizza oven.
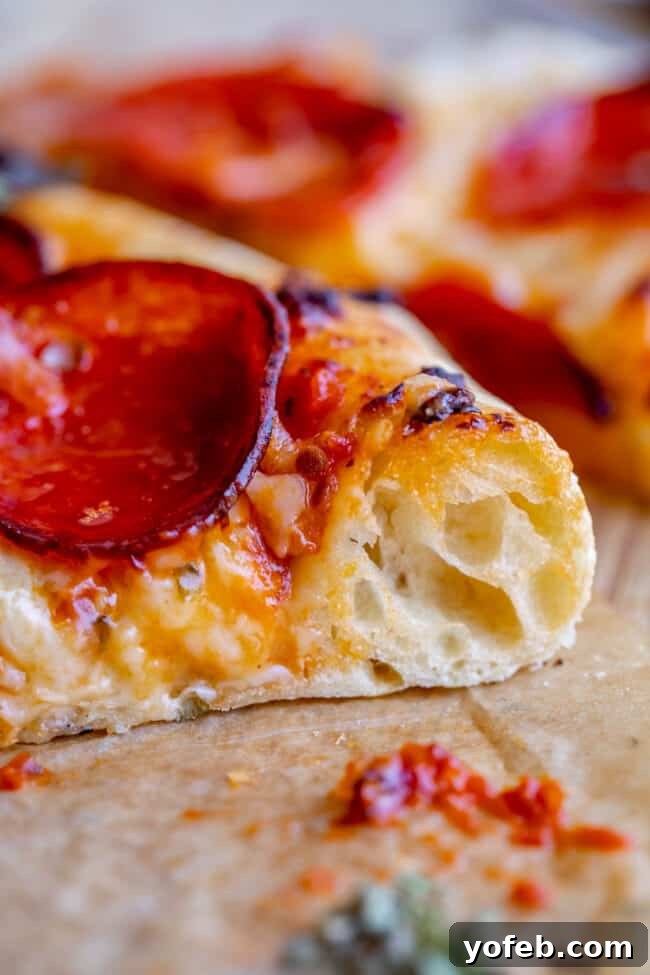
- **Par-Bake the Crust:** A brief initial bake of the dough before adding toppings is a game-changer. It ensures a fully cooked center and a wonderfully crisp bottom, eliminating any dreaded doughiness.
- **Utilize a Pizza Stone:** For truly crisp edges and an evenly cooked crust, a pizza stone is highly recommended. It acts as a thermal mass, providing intense, consistent heat that your regular oven simply can’t achieve on its own. It’s the secret weapon for turning your home oven into a mini brick oven.
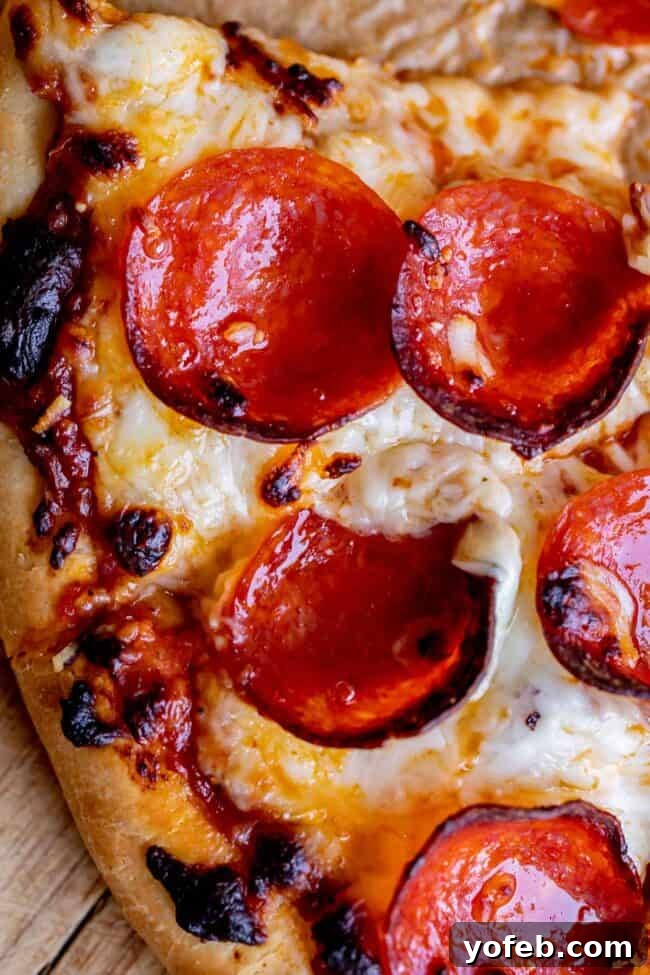
Step-by-Step Guide to Homemade Pizza
One of the most appealing aspects of pizza is how quickly it comes together once you have all your components ready. My proven method, refined over a decade, consistently delivers delicious, perfectly cheesy pizzas with an irresistible crispy crust every single time. Let’s dive into the process.
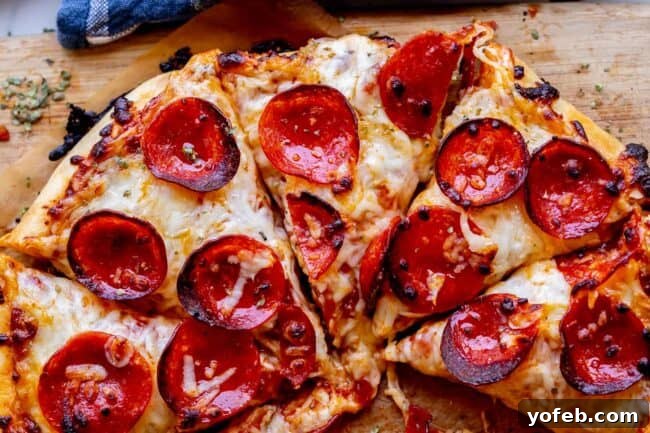
The very first and most crucial step is to preheat your oven to its highest possible temperature. This often takes longer than you might anticipate, so plan ahead. You’ll want to give your oven, with the pizza stone placed inside, at least 30 minutes to reach and stabilize at its peak heat. Don’t trust the oven’s “ready” beep; set a separate timer to ensure adequate preheating.
Optimal Oven Temperature for Homemade Pizza
When it comes to homemade pizza, the hotter, the better! Aim for the absolute maximum temperature your oven can achieve. For higher-end ovens, this might be around 550°F (287°C), while more modest ovens typically top out at 475°F (246°C). Traditional pizza is baked in ovens reaching 900-1000°F (482-538°C), so our goal is to get as close to that intense heat as possible in a home setting. Identify your oven’s maximum temperature and crank it up. The high heat is essential for a rapid bake, which results in a crispy crust and perfectly cooked toppings before they dry out.
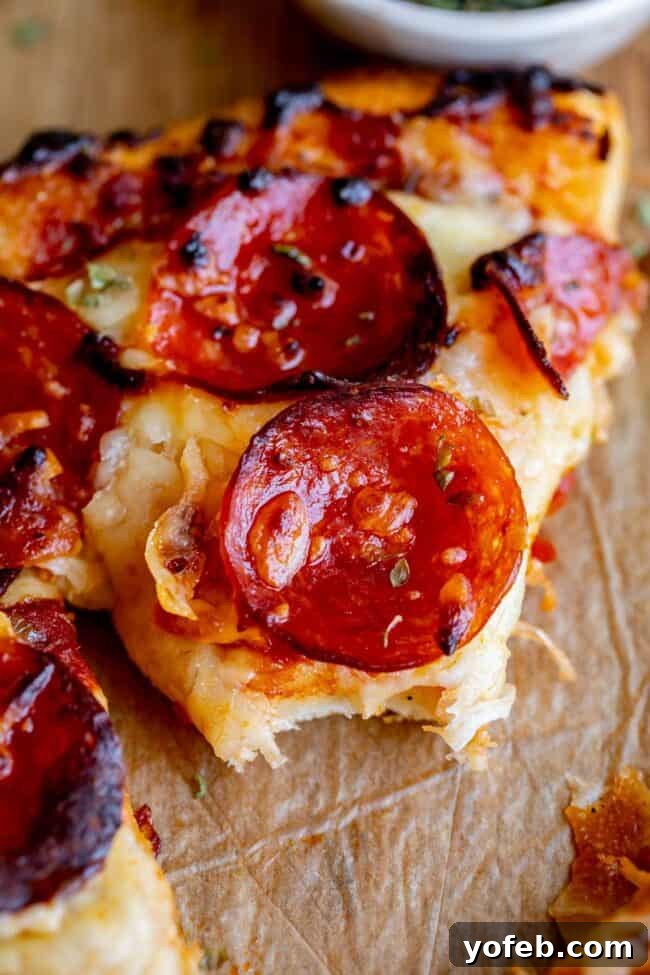
A quick word of caution: high-temperature baking can sometimes lead to smoke. Have towels ready near your smoke detector, as any dropped food particles (oil, sauce, or cheese) hitting the hot oven floor can quickly set off your alarm. This is a small price to pay for perfectly crispy pizza!
Rolling Out Your Pizza Dough Like a Pro
Begin with a ball of pizza dough weighing approximately 12-16 ounces. While I highly recommend my carefully developed Pizza Dough recipe for its superior flavor and texture, any good quality homemade or store-bought pizza dough will work beautifully with this method.
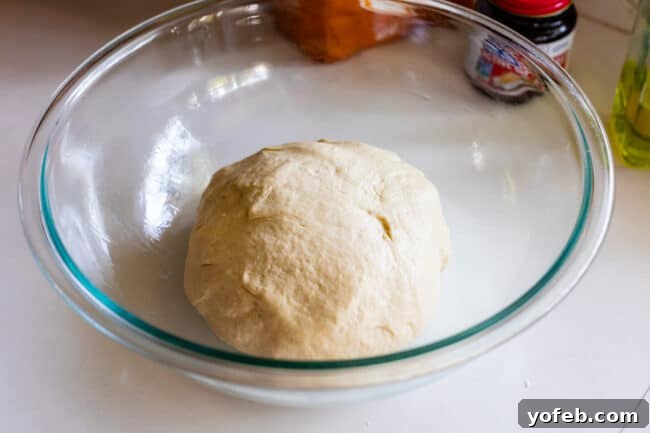
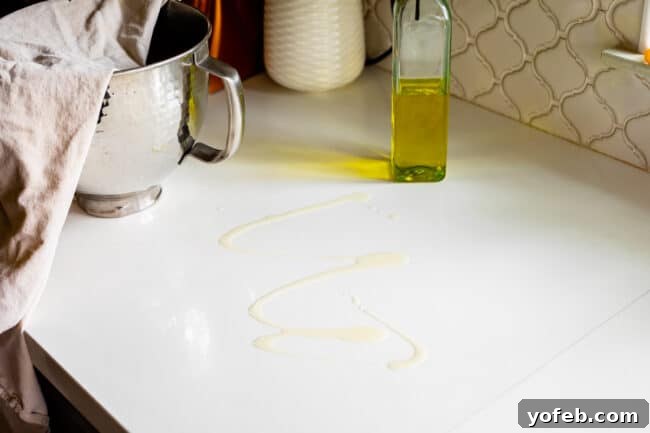
Prepare your work surface carefully. While many recipes suggest flouring the counter, I find this can sometimes lead to a tougher crust due to excessive flour incorporation. Unless your dough is exceptionally sticky, I prefer an alternative method. Instead of flour, drizzle a small amount of olive oil directly onto your clean countertop. Use your hands to spread the oil evenly across the surface.
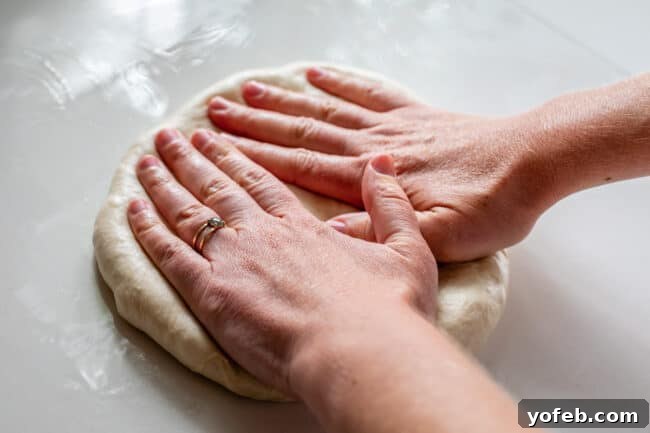
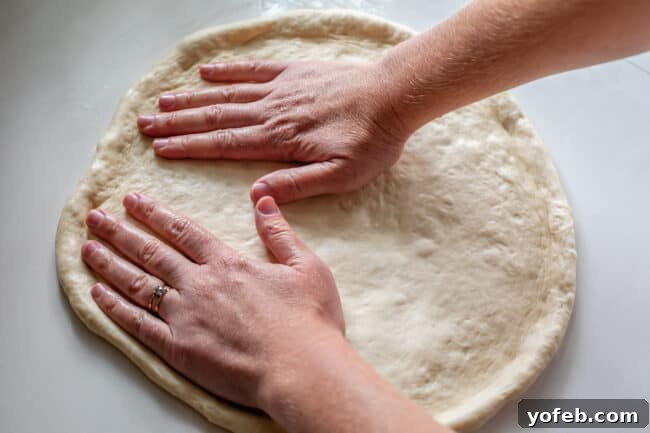
Place your dough ball in the center of the oiled surface. Using your fingertips, gently press the dough outwards from the center, maintaining an even thickness. As you work, you can lift and rotate the dough, letting gravity assist in the stretching process. I personally enjoy leaving a slightly thicker crust around the edges for that satisfying chewy bite. Continue patting and stretching until your dough reaches approximately 12 inches in diameter. While a rolling pin is an option, using your hands allows for a more rustic texture and better control over the crust thickness. Once stretched, use your hands to gently lift and define the edges, creating a nice lip for the crust.
Once your dough is shaped, carefully transfer it to a square of parchment paper. I cannot stress enough the convenience of parchment paper for transferring pizza to and from a hot oven. It makes the entire process significantly easier and safer. If the dough shrinks a bit during the transfer, simply stretch it gently back into shape on the parchment paper.
Drizzle a light coat of olive oil over the entire surface of the dough, particularly focusing on the edges of the crust. Use your hands or a pastry brush to ensure even coverage. This layer of oil serves multiple purposes: it acts as a barrier, preventing toppings from making the dough soggy, promotes even cooking, and adds a delicious flavor to your crust.
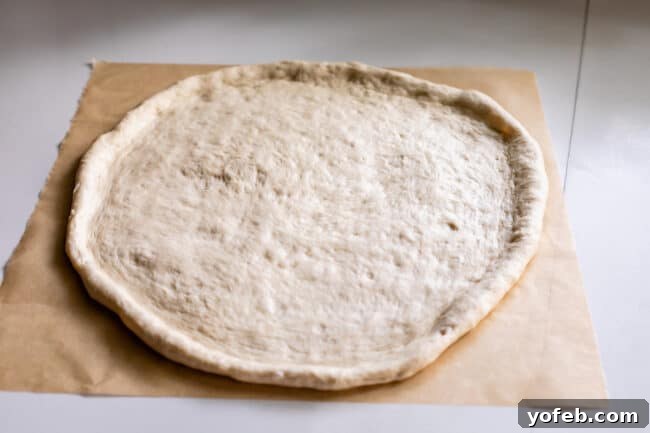
If you prefer a slightly thicker, chewier crust, allow the rolled-out dough to rest for about 10 minutes at room temperature before proceeding. This brief rest helps the gluten relax, allowing the crust to rise a bit more in the oven. For a thinner crust, you can skip this resting period.
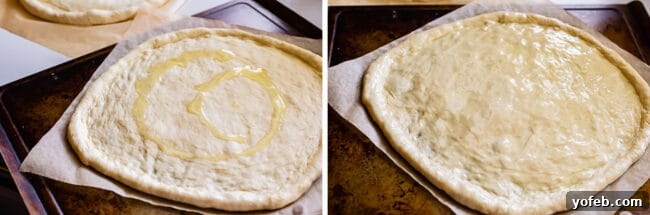
The Pizza Peel: A Helpful Tool, But Not Always Necessary
A pizza peel is the iconic wooden or metal board with a handle, commonly used in pizzerias to slide pizzas into and out of high-temperature ovens. While it adds a touch of authenticity and can be very useful, it’s not strictly essential for home pizza making. A large, flat baking sheet (without edges) can serve the same purpose effectively and often takes up less storage space in a home kitchen. However, you will definitely need a flat surface for the crucial next step: par-baking your crust.
The Magic of Par-Baking Your Pizza Crust
Once your oven and pizza stone are fully preheated, it’s time for a quick 1 to 2-minute par-bake. This step, though seemingly minor, is one I never skip. It’s your guarantee for a thoroughly cooked crust with a crisp bottom, banishing any hint of undesirable doughiness. The par-bake gives the crust a head start, setting its structure before the weight of the toppings is added.
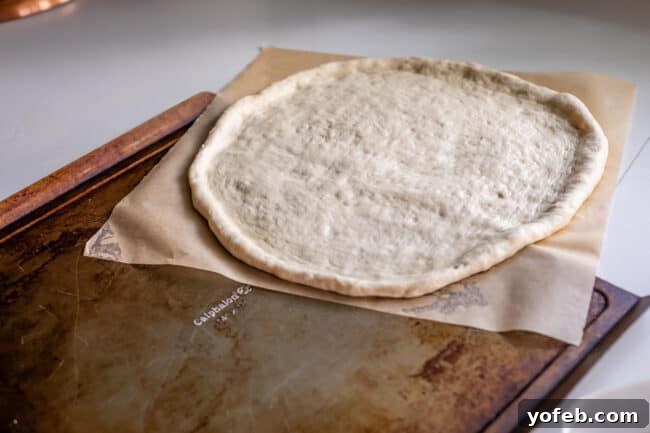
Using your pizza peel or a flat baking sheet, carefully transfer the pizza dough, still on its parchment paper, onto your hot pizza stone, pizza pan, or baking sheet. The parchment paper makes this transfer much smoother. Quickly close the oven door and bake for just 1-2 minutes, until the dough appears slightly puffed. Keep a close eye on it, as high heat means things happen fast!
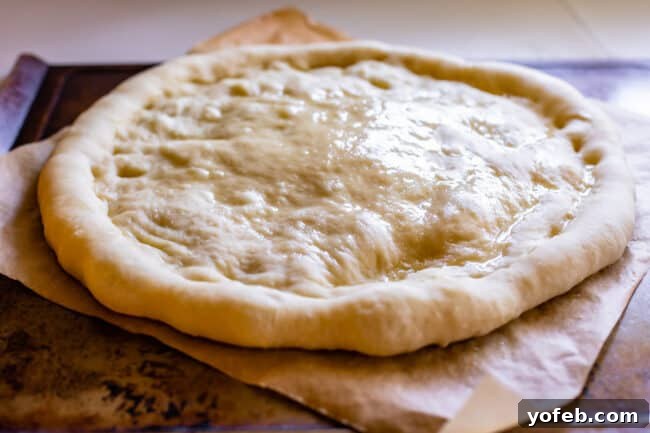
Carefully remove the par-baked crust (still on the parchment paper) from the oven using your peel or baking sheet. If any large bubbles have formed, gently poke them down with a fork. Keep the crust on the peel as you prepare to add your chosen toppings.
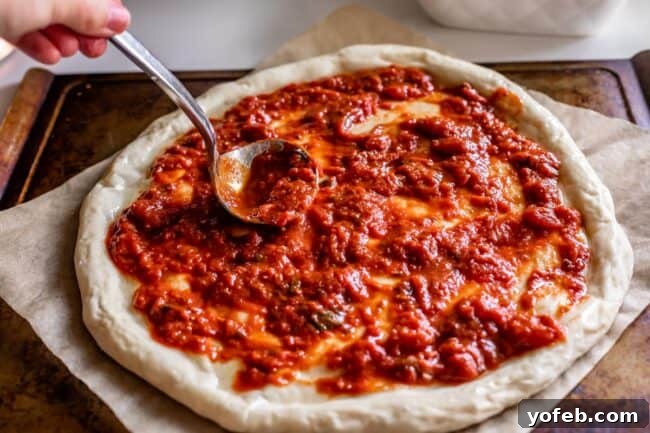
Of course, your next step is to generously spread your favorite pizza sauce over the par-baked crust. My personal preference is my favorite pizza sauce recipe, which offers a perfect balance of tang and sweetness.
The Ultimate Cheese Blend for Homemade Pizza
When it comes to pizza, mozzarella is king! It’s difficult to imagine a pizza without its signature stretchy, melty quality. However, for a truly nuanced flavor, don’t forget the Parmesan – it adds that irresistible savory depth. You’ll want to use both for a superior cheese experience.
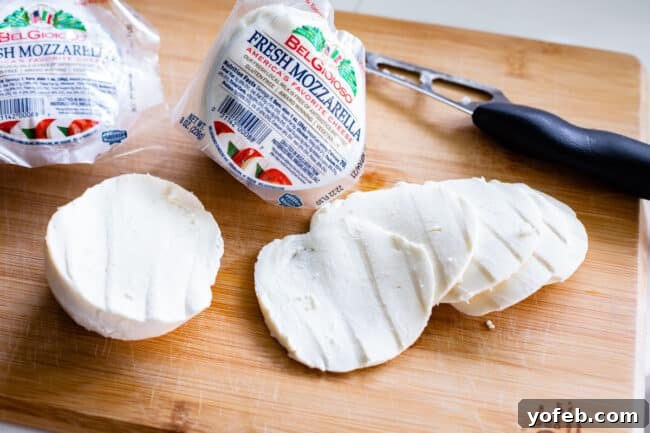
While pre-shredded, low-moisture mozzarella is convenient and what I often use, keep in mind that it contains anti-caking agents that can slightly inhibit melting. For the absolute best melt, consider shredding a block of mozzarella yourself. For an extra touch of gourmet, explore fresh mozzarella, typically found in the deli section of your grocery store. And while you’re there, grab a block of Parmesan to grate fresh over your pizza – it truly makes a difference.
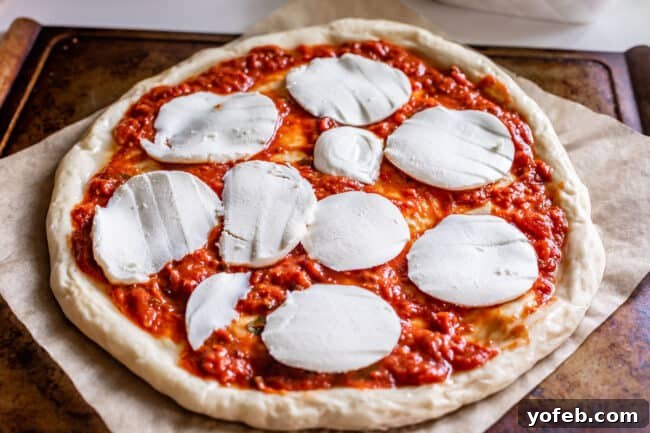
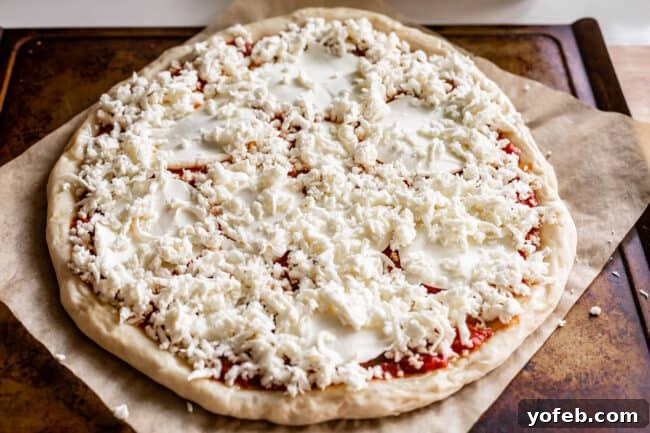
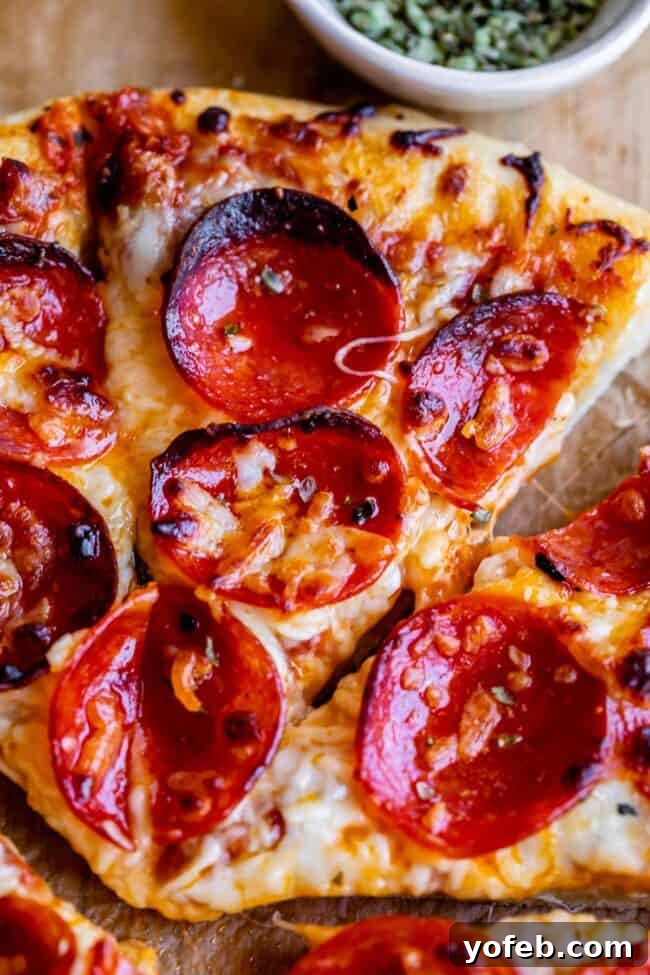
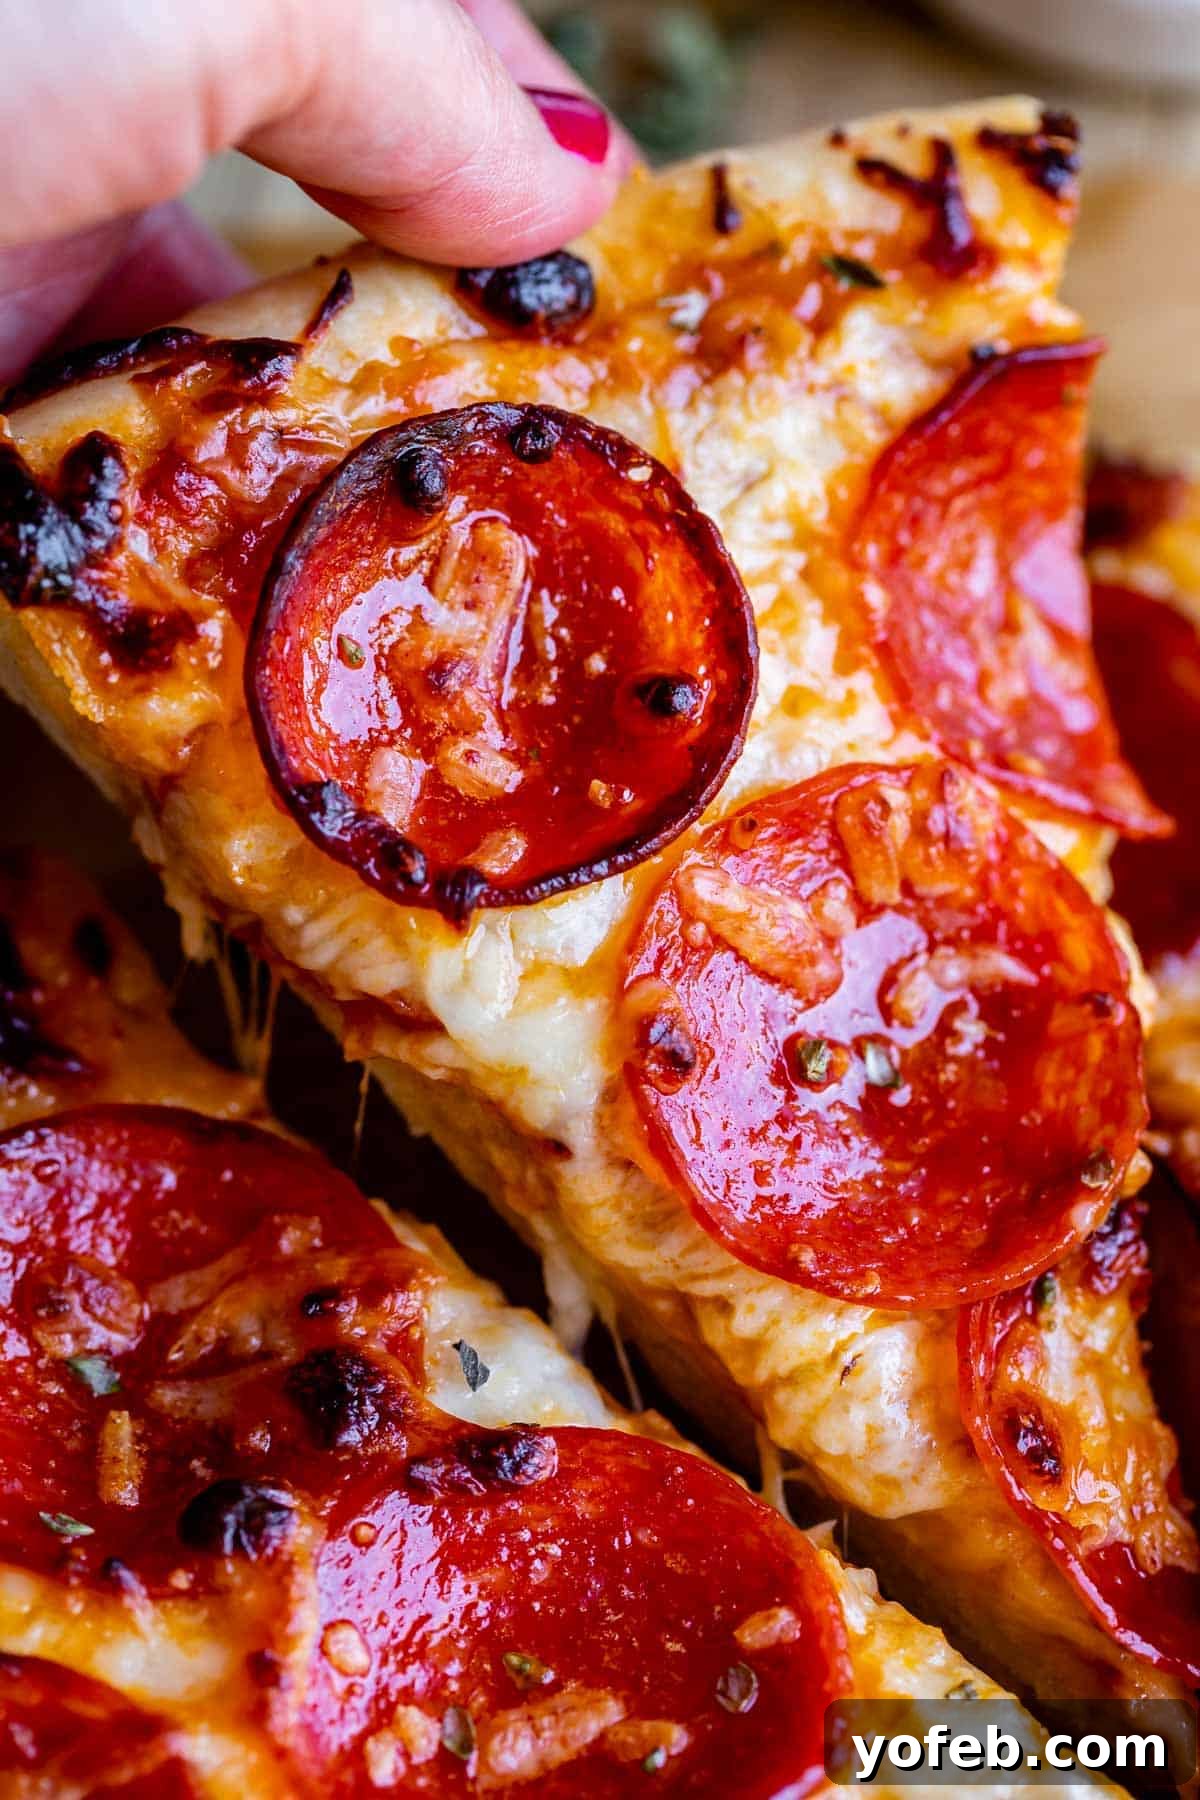
My top tip for achieving that perfect, gloriously melty cheese situation is to combine both sliced and shredded mozzarella. You don’t need expensive fresh mozzarella for this trick; regular low-moisture mozzarella works perfectly. Start by laying a few thin slices of cheese directly over your sauce, then follow with a generous layer of shredded cheese. This layering technique creates an incredible melt, distributing the cheese evenly and ensuring every bite is cheesy perfection.
Limitless Topping Ideas for Your Homemade Pizza
The beauty of homemade pizza lies in its endless customization possibilities. Your imagination is the only limit when it comes to toppings! Here are some of my all-time favorites, along with popular combinations, to inspire your next pizza creation:
- Classic Cheese: Never underestimate the power of a simple, well-made cheese pizza. For depth of flavor, consider a blend of Mozzarella, Fontina, Parmesan, and even a touch of Gorgonzola.
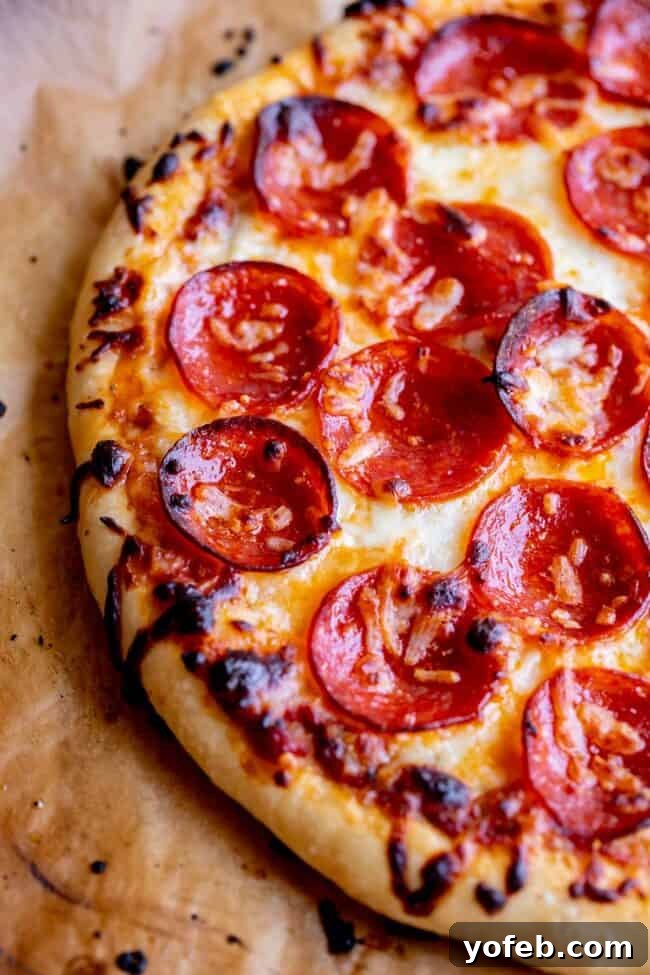
- Pepperoni Perfection: For those who love pepperoni, try the new Hormel Cup n’ Crisp Pepperoni. It’s designed to curl up into crispy, flavorful cups as it bakes, just like you find in your favorite pizzerias. While the photos here show regular pepperoni, this “cup and crisp” variety is a game-changer!
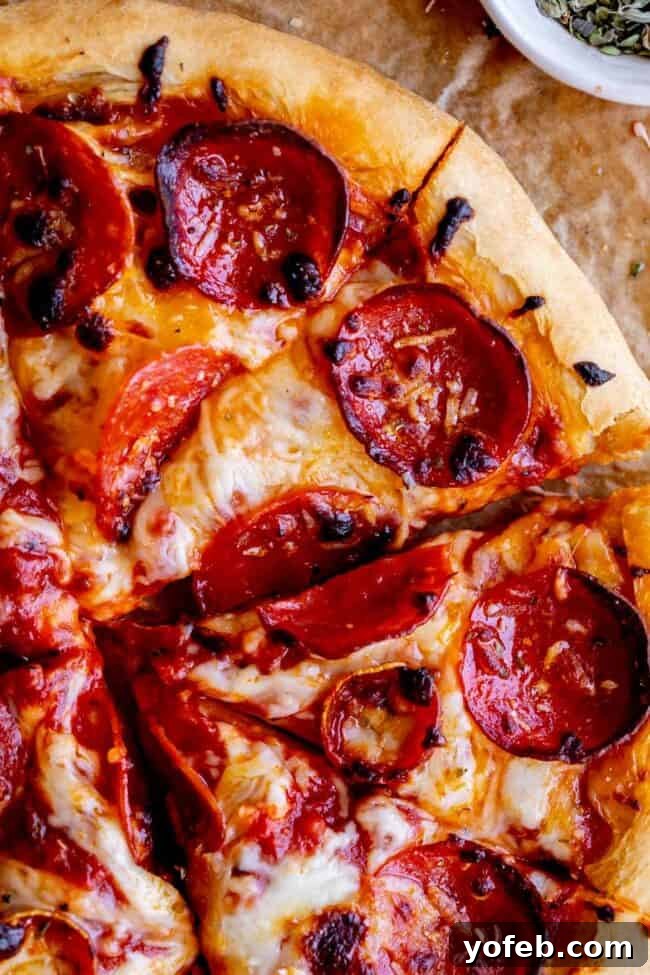
- Supreme Delight: A classic combination of pepperoni, mushrooms, red and green bell peppers, red onion, black olives, and fresh basil.
- Hearty Meat Lovers: Indulge with a savory blend of pepperoni, salami, Italian sausage, ham, and crispy bacon.
- Tropical Hawaiian: A sweet and savory favorite featuring Canadian bacon and pineapple chunks.
- Elegant Margherita: Simple yet exquisite, with fresh mozzarella, vibrant fresh basil, and ripe tomatoes.
- Tangy BBQ Chicken: Swap traditional tomato sauce for barbecue sauce, then top with shredded rotisserie chicken, red onions, and crispy bacon.
- Garden Veggie: A colorful and healthy option with spinach, fresh tomatoes, corn, various bell peppers, red onion, and sliced mushrooms.
- Spicy Buffalo Chicken: Use Frank’s hot sauce as your base, then add shredded rotisserie chicken, minced garlic, crumbled blue cheese, and red onions.
Baking Your Masterpiece
Once your pizza is beautifully topped with your chosen ingredients, it’s time for the final bake. This is where all your preparation pays off!
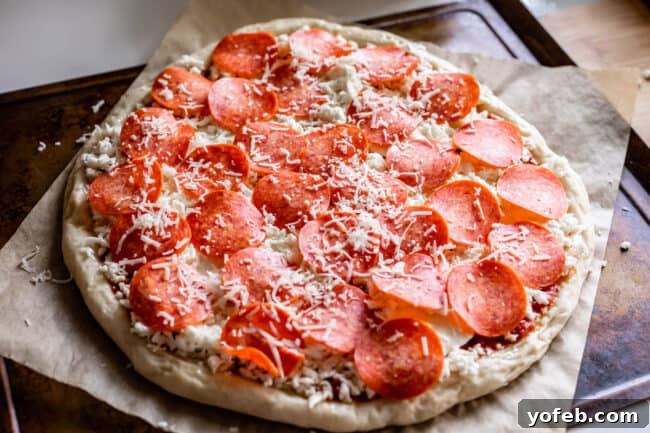
Carefully slide the pizza directly onto the preheated pizza stone. While it’s easier to leave the pizza on parchment paper for the bake, removing the parchment paper for this final step will yield a much crispier crust. The porous nature of the pizza stone allows it to absorb moisture from the dough, preventing a soggy bottom. After the 1-2 minute par-bake, your crust should be sturdy enough to transfer without the paper. This direct contact with the hot stone is crucial for that authentic pizzeria-style crispness.
Perfect Cooking Time for Homemade Pizza
Once your pizza is in the super-hot oven, it will typically cook in about 8-12 minutes. However, the exact timing can vary depending on your oven’s specific temperature and the thickness of your pizza. Look for visual cues: the crust should be golden brown, and the cheese should be bubbling vigorously and starting to brown in spots. If you’re baking without a pizza stone, use a spatula to lift an edge of the pizza to check if the bottom crust is evenly browned. A white bottom indicates an undercooked, doughy pizza, so leave it in for longer until it achieves that desirable golden hue.
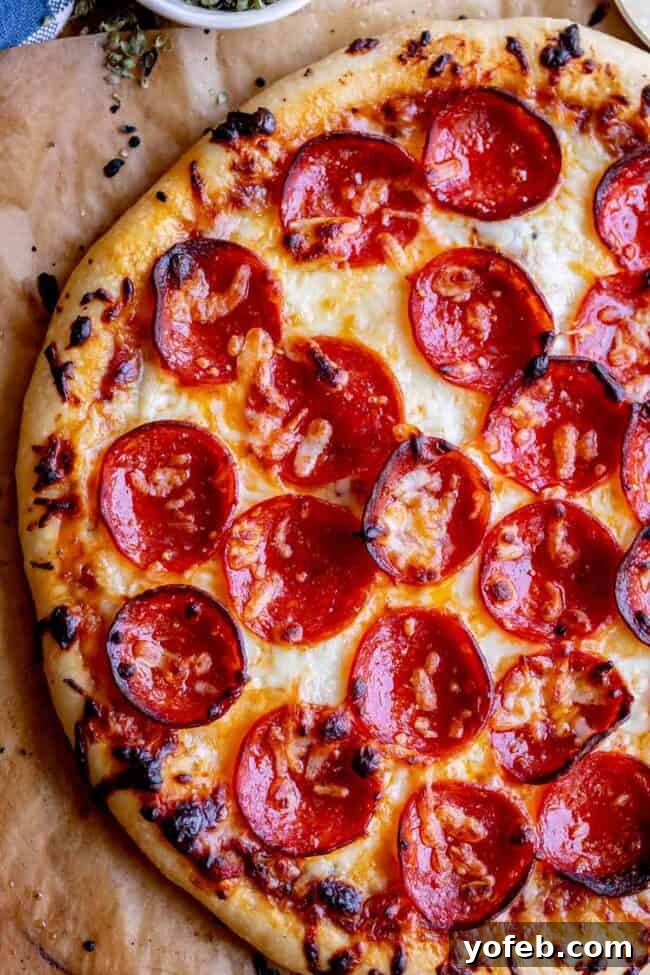
To maintain maximum oven temperature, try to minimize the time the oven door is open. Every second the door is ajar, precious heat escapes. If you notice the top of your pizza browning too quickly while the bottom crust isn’t quite done (which is less likely with a pizza stone), you can loosely tent the pizza with aluminum foil to slow down the browning on top.
The Indispensable Role of a Pizza Stone in Homemade Pizza
Do you *really* need a pizza stone for homemade pizza? The short answer is: yes, for truly exceptional results, but no, you can still make pizza without one. Let me explain why it makes such a significant difference. Your standard home oven, no matter how nice, typically maxes out around 550°F (287°C). Professional pizza ovens, however, reach temperatures between 700-1000°F (371-538°C) – a huge difference!
The solution to bridging this temperature gap in your home kitchen is a pizza stone. It effectively transforms your conventional oven into a mini brick oven. Pizza stones are thick slabs made of ceramic or stone, placed in the oven during preheating. They absorb and retain a tremendous amount of heat, acting as a “thermal mass.” Unlike metal pans, a pizza stone is a poor *conductor* of heat, meaning your crust is less likely to burn on the edges, even at high temperatures. Crucially, its thermal mass provides inertia against temperature fluctuations, ensuring consistent, intense heat directly to the bottom of your pizza. This even heat distribution is key to perfectly cooked pizza.
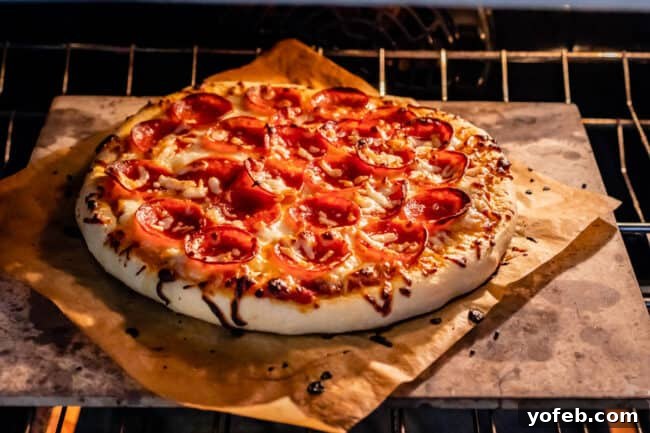
Furthermore, the porous nature of a pizza stone absorbs moisture from the bottom of your dough, which is essential for achieving that desirable crispy crust. Say goodbye to soggy-bottomed pizzas forever! As a homemade pizza enthusiast, investing in a pizza stone is a one-time purchase that pays dividends in quality. You can find excellent options on Amazon for around $30. This is the pizza stone I currently use.
If you’re new to pizza making and hesitant to invest in a stone, there are alternative methods, though they might not deliver the same level of crispness.
Avoiding the Inverted Baking Sheet Method
I once experimented with baking pizza on an inverted baking sheet, a method sometimes suggested as a substitute for a pizza stone. The idea is to preheat a large, upside-down baking sheet in the oven for about 30 minutes, then slide your pizza directly onto it. Frankly, my experience was less than ideal – it was quite a mess.
While the pizza did eventually cook, the high heat caused the center of the baking sheet to bow upwards, causing all the toppings and grease to slide off the edges and onto the oven floor. This resulted in significant smoking and, predictably, set off my smoke alarms. I strongly advise against this method. Instead, if you’re using a baking sheet, **preheat a rimmed baking sheet (right side up) for at least 30 minutes, then sprinkle it with a light dusting of cornmeal before sliding your pizza onto the center.** This approach is far more practical, though it won’t give you the same crispiness as a pizza stone, often resulting in a softer, “take-and-bake” style crust.
Tips for Baking Pizza on a Pizza Pan
While I haven’t personally tested baking on a pizza pan extensively, it shares some similarities with using a baking sheet. Metal pans, being excellent conductors of heat, can sometimes lead to burning the crust at very high temperatures. However, a good pizza pan can still produce a decent pizza with the right technique.
When choosing a pizza pan, look for one with holes in the bottom. These perforations allow moisture to escape, promoting better evaporation and a crispier crust. Also, ensure your pan does not have a non-stick coating, as these can break down at the high temperatures required for pizza. This Cuisinart pizza pan appears to be a solid and affordable option. Always place another baking sheet beneath your pizza pan to catch any potential drips and prevent a messy oven.
Embrace the Joy of Homemade Pizza!
That covers everything you need to know to make incredible homemade pizza! Do you have any lingering questions or extra tips to share? Please let me know in the comments below! I truly hope you embark on your pizza-making journey soon. It’s a culinary adventure that truly never gets old, offering endless possibilities for delicious meals and memorable experiences. And don’t forget to explore the other posts in this series for a complete pizza-making toolkit:
- Easy Homemade Pizza Sauce Recipe
- Easy Pizza Dough Recipe for Dummies
More Irresistible Pizza Creations to Explore!
If you’re hooked on homemade pizza, here are more fantastic recipes to expand your repertoire:
- Easy No-Cook Pizza Sauce – A super-fast sauce that requires no cooking or blending; just dump and stir!
- Cast Iron Pan Pizza (Pizza Hut Pan Pizza Copycat!) – Achieve that iconic thick, crispy pan crust right at home. You won’t believe how good this is!
- Blackberry Ricotta Pizza with Basil – A surprisingly popular and delightful sweet and savory combination, perfect for summer.
- Thai Pizza with Zucchini and Pickled Onions – Inspired by the famous California Pizza Kitchen favorite!
- Cherry Tomato and Goat Cheese Pizza – One of the very first recipes shared on this blog, a timeless classic.
- Classic Stromboli Recipe – All the deliciousness of pizza, cleverly rolled up and baked for an easy dinner or appetizer.
- Veggie Pizza from Neighborfood – A fresh and vibrant option for vegetable lovers.
- Asparagus Pizza with Garlic Confit from Fox and Briar – An elevated pizza experience with gourmet ingredients.
- Cheesy Pepperoni Pizza Puffs from Sweet Peas and Saffron – A fun, bite-sized twist on pizza, perfect for snacks or parties.
Facebook | Pinterest | Instagram

Homemade Pizza Recipe
Equipment
-
pizza stone This is the pizza stone I use!
-
parchment paper I highly recommend using parchment paper!
-
pizza peel or flat baking sheet I always prefer to use a flat cookie sheet!
Ingredients
- ▢ 1 16 ounce ball of pizza dough, 12 to 16 ounces is fine
- ▢ 1 tablespoon olive oil, for rubbing dough
- ▢ 1 cup pizza sauce
- ▢ 3 ounces thinly sliced mozzarella cheese
- ▢ 5 ounces shredded mozzarella cheese, about 1 and 1/4 cups
- ▢ 2.5 ounces pepperoni , about half a 5 oz package
- ▢ 2 tablespoons shredded parmesan cheese
Instructions
-
NOTE: The ingredient list provides the amounts needed for one 12-inch pizza. If you’re following my pizza dough recipe, you’ll likely have two dough balls. If you plan to bake both immediately, remember to double the topping ingredients listed here.
-
Position a pizza stone on the lowest third rack of your oven. (If you don’t have a stone, place a rimmed baking sheet or a pizza pan in the oven instead.)
-
Preheat your oven to 550°F (287°C), or its maximum temperature (at least 475°F/246°C). Allow the stone to preheat for a full 30 minutes. Ignore your oven’s “ready” beep; it’s essential for the stone to absorb enough heat.
-
Prepare your work surface. I recommend rubbing your counter with a light layer of olive oil. Alternatively, if your dough is very sticky, you can lightly dust the surface with flour (be cautious not to use too much, as it can make the crust tough).
-
Roll out the dough. Place your ball of pizza dough in the center of your prepared surface. Using your hands, gently press and stretch the dough outwards from the center. I prefer to use my hands for this, carefully patting, stretching, and occasionally tossing the dough, but a rolling pin can also be used. Continuously rotate the dough to achieve a roughly circular shape, which doesn’t need to be perfect. After using a rolling pin, you can use your fingers to shape and thicken the crust edges.
Continue patting and stretching until the dough is approximately 12 inches in diameter.
-
Transfer the dough to a square of parchment paper. I highly recommend using parchment paper for much easier transfer to the oven. You can carefully lift and reposition the dough on the paper, or use your rolling pin for assistance. (Note: attempting to roll dough directly onto parchment paper is generally not effective.) Ensure the dough is stretched to about 12 inches on the paper.
Drizzle approximately one tablespoon of olive oil over the dough’s surface. Use your hands or a pastry brush to spread the oil, paying special attention to the crust edges. This oil layer creates a barrier, aids even cooking, and enhances flavor.
If you prefer a thicker crust, let the rolled-out dough rest for 10 minutes. This step can be skipped for a thinner crust.
-
Par-bake the crust. Once the oven is at temperature, perform a 1 to 2-minute par-bake. This step, while optional, ensures a fully cooked and wonderfully crispy crust, avoiding any doughy texture. (If you choose to skip this, proceed directly to topping your pizza).
Using the edge of the parchment paper, slide your pizza dough onto your pizza peel or flat baking sheet. Open the oven and carefully pull the parchment paper again to slide the dough and paper onto the blazing hot pizza stone (or pizza pan). Exercise extreme caution during this step to avoid burns.
Close the oven door and par-bake for 1-2 minutes until the dough is slightly puffed. Set a timer and do not leave the oven unattended!
Using the parchment paper, pull the half-baked dough back onto your pizza peel. Keep the oven door shut as much as possible to retain heat. Gently poke down any large bubbles on the crust.
-
Top your pizza. Keep the crust on the peel while you add your desired toppings.
Spread 1 cup of your preferred pizza sauce evenly over the crust (a ladle works well for this).
Distribute 3 ounces of thinly sliced mozzarella, followed by 5 ounces of shredded mozzarella. This amount provides a generous, gooey cheese layer without overloading the pizza. Feel free to adjust cheese amounts to your preference, keeping in mind that too much cheese can hinder proper cooking.
Add about half a package of pepperoni (or your choice of toppings like olives, mushrooms, ham and pineapple, sausage, red onions, etc. Refer to the post for more ideas).
Finally, sprinkle 2 tablespoons of shredded parmesan cheese over all the toppings for an extra burst of flavor.
-
Bake the pizza. (See notes if you don’t have a pizza stone*). Transfer the pizza back onto the pizza stone (or pan), this time without the parchment paper. For the crispiest crust, direct contact with the stone is crucial as it absorbs moisture. The par-baked crust is now sturdy enough for this transfer.
Bake for approximately 8-12 minutes. Baking time will vary based on your oven’s heat and pizza thickness. The crust edges should be golden brown, and the cheese should be bubbly and lightly browned. If using a baking sheet/pan instead of a stone, lift the pizza’s edge with a spatula to ensure the bottom crust is browned. An unbrowned bottom indicates a doughy pizza; continue baking until it’s golden.
If the top of your pizza browns too quickly before the bottom is done, loosely tent it with aluminum foil to prevent over-browning.
-
Remove the pizza from the oven using your pizza peel. Slide it immediately onto a cooling rack to prevent the bottom crust from becoming soggy. Allow it to cool for a couple of minutes before transferring to a cutting board. Slice into 8 pieces and enjoy your perfect homemade pizza!
Video
(Video Player for Homemade Pizza Recipe embedded here)
Notes
Overnight instructions: Refer to the overnight instructions in my Pizza Dough Recipe for preparing the dough in advance. You can also make the Pizza Sauce a day or two ahead of time.