
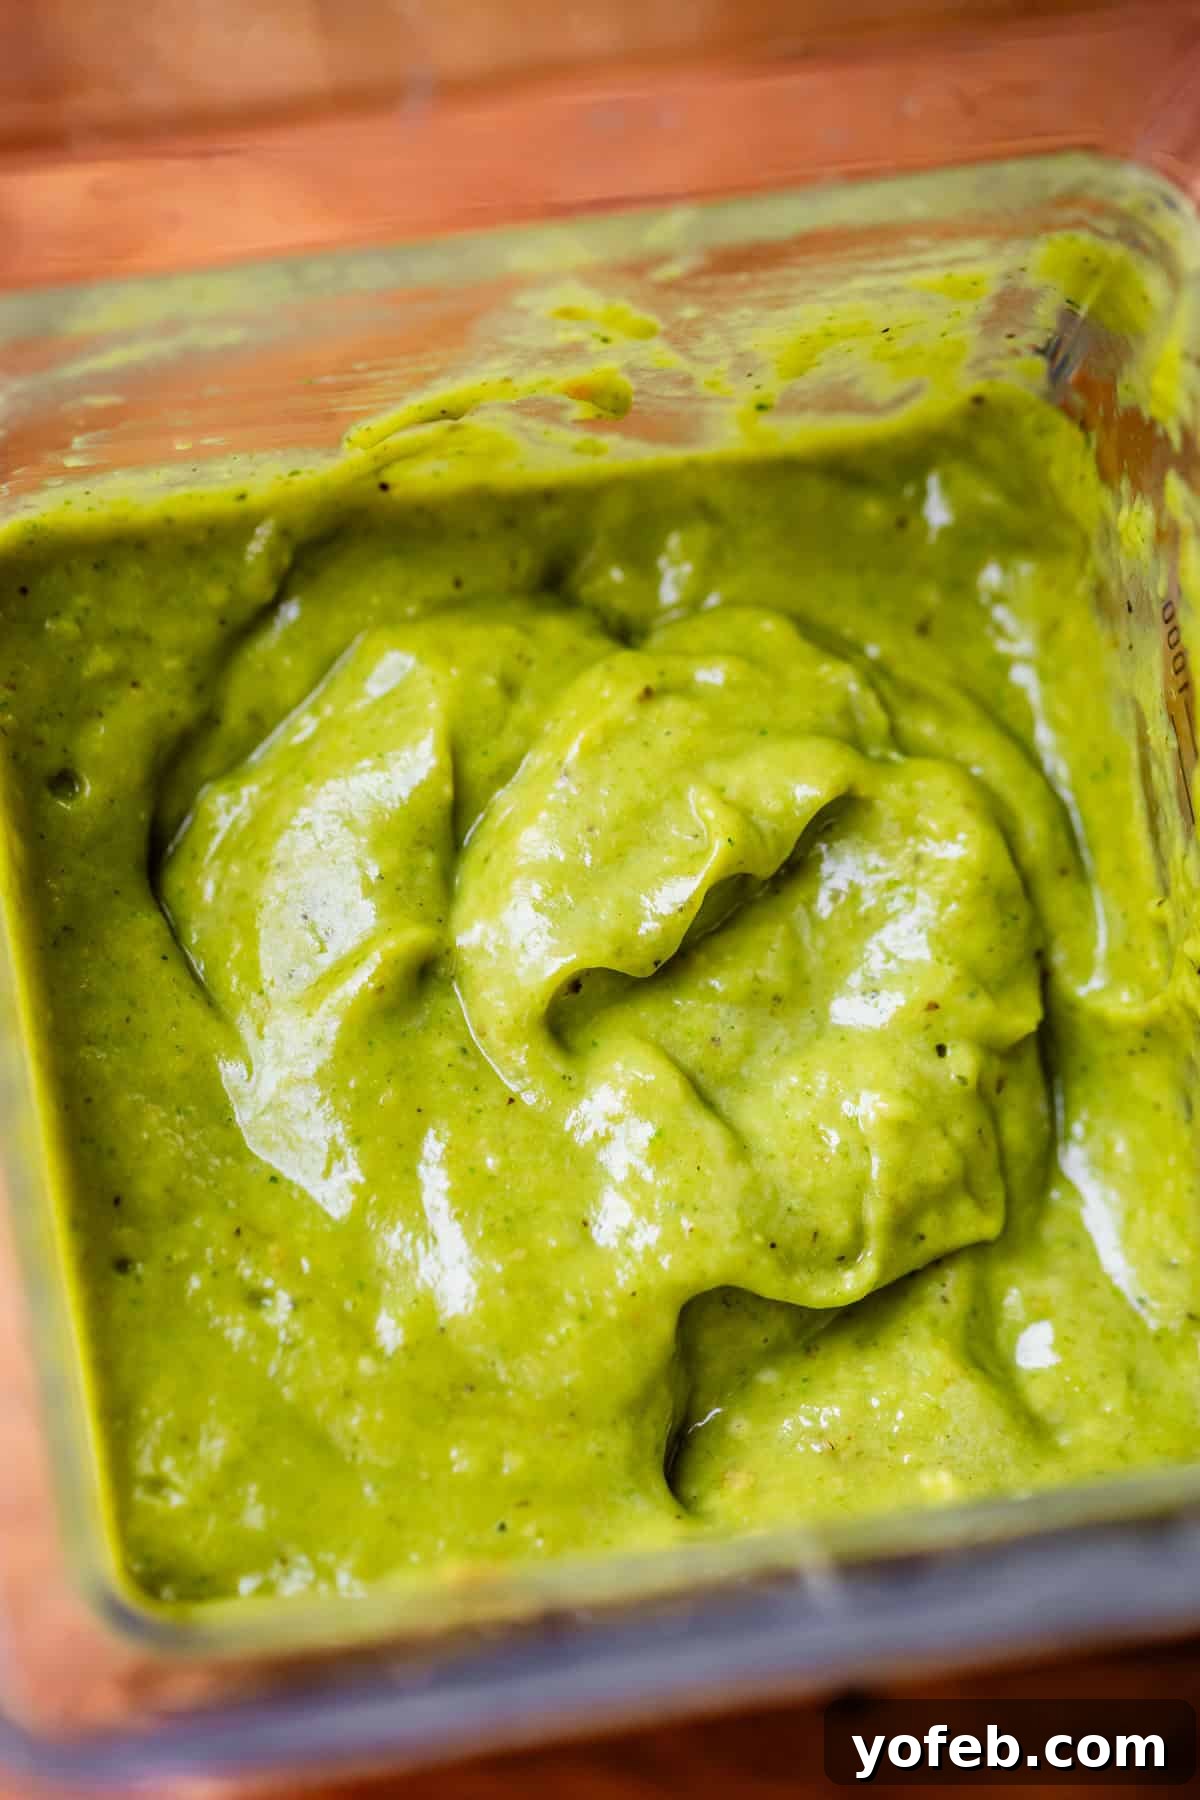
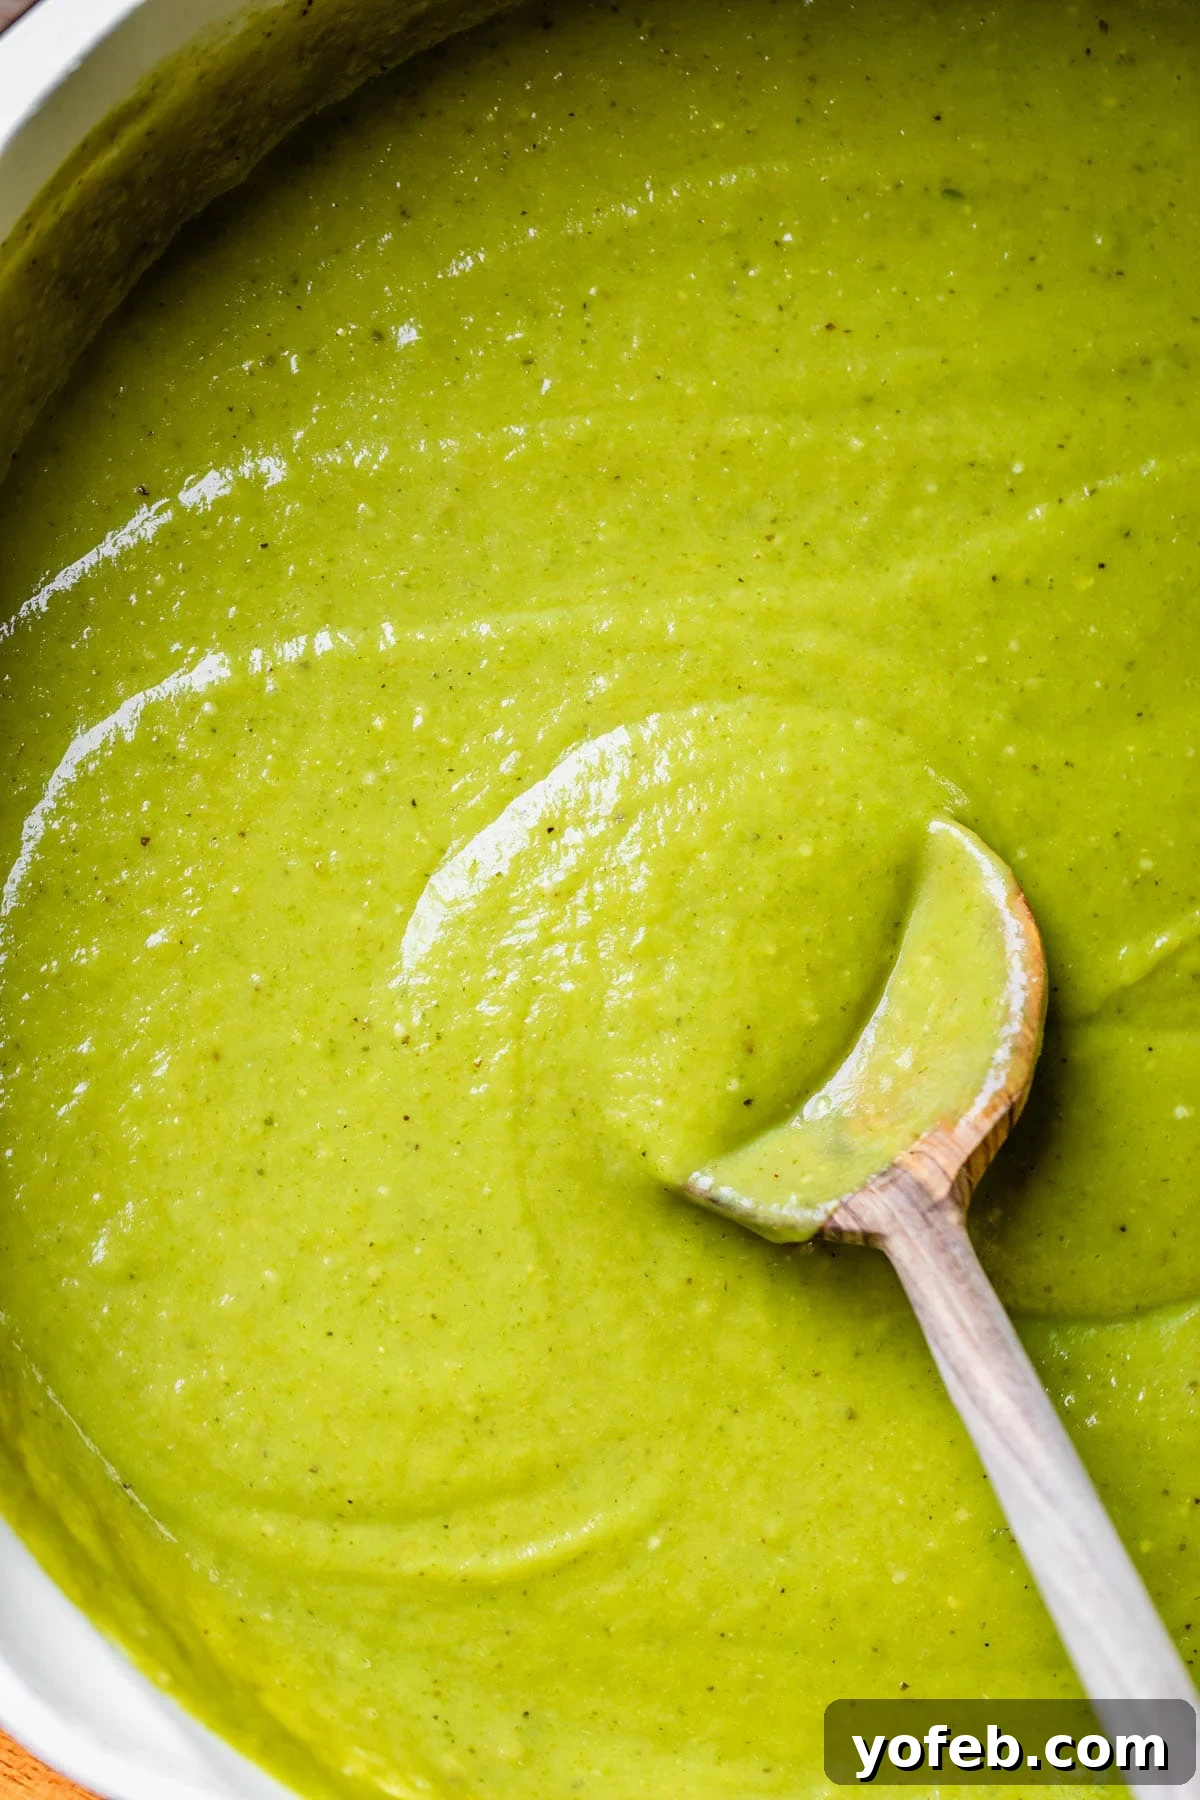
This authentic homemade Green Enchilada Sauce recipe is surprisingly easy to make and promises to transform your Mexican cuisine. Forget bland store-bought versions; this vibrant, flavorful sauce, also known as Salsa Verde, delivers an unparalleled freshness and depth that will instantly elevate your dishes. Crafted with tangy tomatillos, savory Anaheim chili peppers, aromatic cilantro, bright lime, pungent onion, and fiery jalapeño, every ingredient plays a vital role in creating a truly unforgettable experience. Simply roast these fresh components, blend them to perfection, and you’re well on your way to preparing the most amazing Green Chicken Enchiladas of your life, or enhancing countless other Mexican and Tex-Mex favorites.
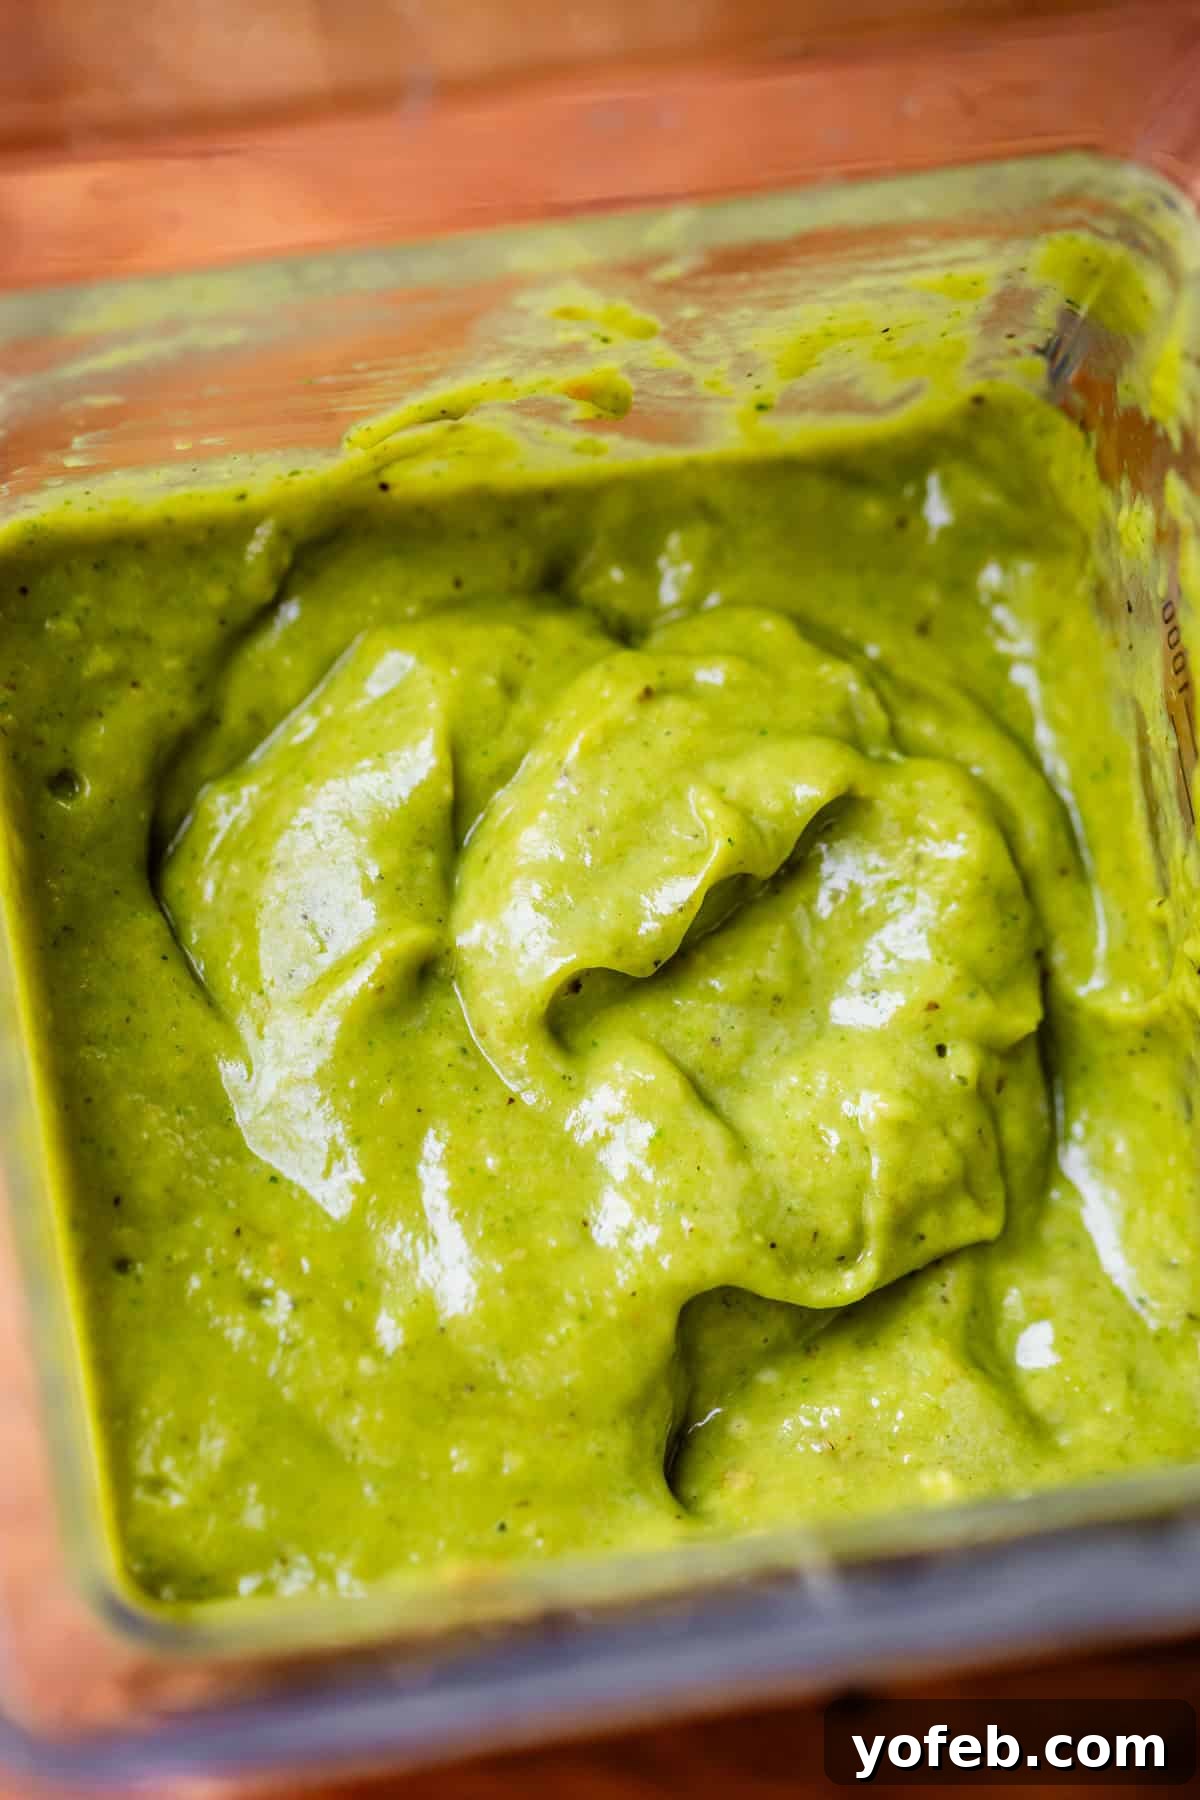
Table of Contents
- The Best Homemade Green Enchilada Sauce
- What Makes This Green Enchilada Sauce Recipe Stand Out?
- Essential Ingredients for Your Green Enchilada Sauce
- Step-by-Step Guide: How to Make Green Enchilada Sauce
- Serving Suggestions: What Pairs Well with Green Enchilada Sauce
- Storing Your Homemade Green Enchilada Sauce
- Green Enchilada Sauce: Frequently Asked Questions
- Perfect Sides for Your Mexican & Tex-Mex Feast
- Green Enchilada Sauce Recipe
Life can be a bit chaotic, and sometimes, even the simplest tasks prove challenging. Just the other day, after a chaotic Target run with my kids, we realized we’d accidentally bought the wrong size underwear—twice! It seems I can’t always be trusted with basic apparel purchases. However, when it comes to crafting the perfect green enchilada sauce, consider me your culinary confidante. I’ve dedicated countless hours to testing and perfecting this recipe, ensuring it’s the absolute best you’ll ever taste. So, while I might struggle with clothing sizes, rest assured, my enchilada sauce game is undeniably strong!
The Best Homemade Green Enchilada Sauce
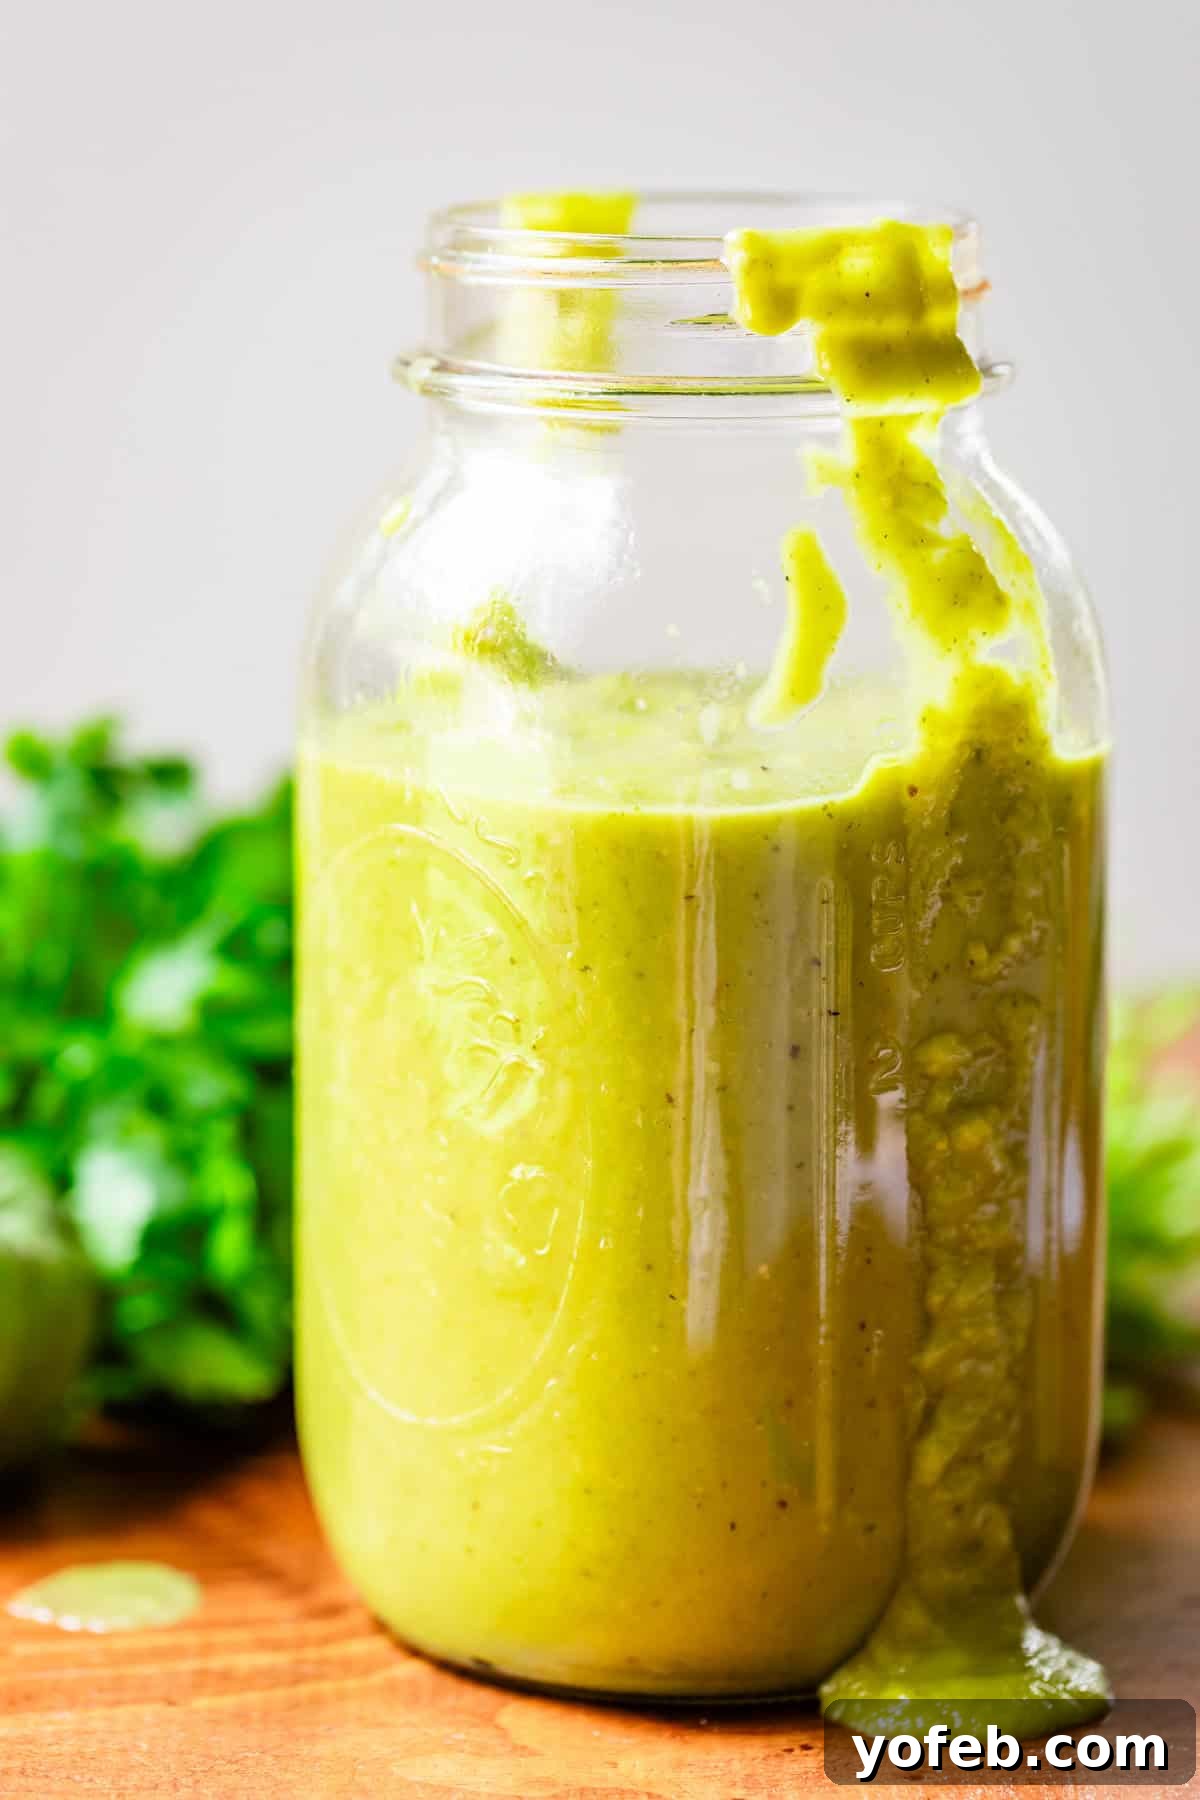
There’s a reason why green enchilada sauce holds a special place in the hearts of Mexican food enthusiasts. This isn’t just any sauce; it’s a dreamy, creamy, and vibrantly green concoction that brings a burst of fresh flavor to any dish. While red enchilada sauce certainly has its appeal, the unique blend of tangy, subtly spicy, and savory notes in this homemade green sauce makes it a true standout. Its bright “Elphaba green” hue is as enticing as its incredible taste, making it a feast for both the eyes and the palate.
This versatile sauce is perfect for so much more than just your beloved Enchiladas. Imagine drizzling it over nachos, filling burritos with its rich flavor, adding a tangy kick to fajitas, or even using it as a sophisticated dip for your favorite tortilla chips. The possibilities are truly endless, and its robust flavor profile ensures that every bite is an explosion of culinary delight.
While I wholeheartedly adore this slow-roasted, patient approach to green enchilada sauce, I understand that time isn’t always on our side. For those busier days, I also have a fantastic “cheater” recipe tucked away in the notes of my Chicken Enchiladas post. It’s surprisingly good and significantly faster to prepare! However, when you’re truly aiming to impress and savor every intricate layer of flavor, today’s authentic recipe is the one to reach for. It’s an investment in taste that promises extraordinary returns.
What Makes This Green Enchilada Sauce Recipe Stand Out?
What sets this green enchilada sauce apart is its straightforward yet incredibly effective preparation method: simply roast and blend. This two-step process unlocks deep, complex flavors that can’t be achieved with raw ingredients or store-bought alternatives. Each component is carefully selected and prepared to contribute to the sauce’s overall excellence.
- The Power of Roasting: The true magic of this recipe lies in the roasting process. Fresh tomatillos, crisp white onion, vibrant jalapeños, and robust garlic are all tossed with a hint of oil and kosher salt before being roasted until beautifully charred. This critical step intensifies their natural sweetness, adds a smoky depth, and mellows any raw pungency, creating a foundation of rich, complex flavors. The tomatillos, in particular, develop that distinctive tangy salsa verde taste you crave. Skipping this step would mean missing out on a world of flavor!
- Fresh Anaheim Chiles: We also roast Anaheim chiles until their skins are blistered and their flesh is tender. These mild to medium-heat peppers are not just about a gentle warmth; they contribute an incredible earthy and fruity flavor that enriches the sauce immensely. Roasting them dry brings out their inherent richness, adding another layer of aromatic complexity that is simply irreplaceable.
- Umami and Depth: To further enhance the sauce’s savory profile, we incorporate Better than Bouillon Chicken Base. This adds a profound umami flavor, mimicking hours of slow cooking. Alongside classic seasonings like fragrant oregano and warm cumin, it creates a well-rounded and deeply satisfying taste.
- Brightening Finish: The final touches are a squeeze of fresh lime juice for zesty acidity and a generous handful of fresh cilantro for its bright, herbaceous notes. These fresh additions cut through the richness of the roasted vegetables and spices, balancing the flavors and leaving a refreshing finish.
Essential Ingredients for Your Green Enchilada Sauce
Get ready to savor the incredible difference that fresh, high-quality ingredients make in this green enchilada sauce! Crafting your own sauce from scratch not only guarantees unparalleled flavor but also allows you to control the exact balance of tastes. This is a quick overview of the star ingredients; for precise measurements, please refer to the detailed recipe card below.
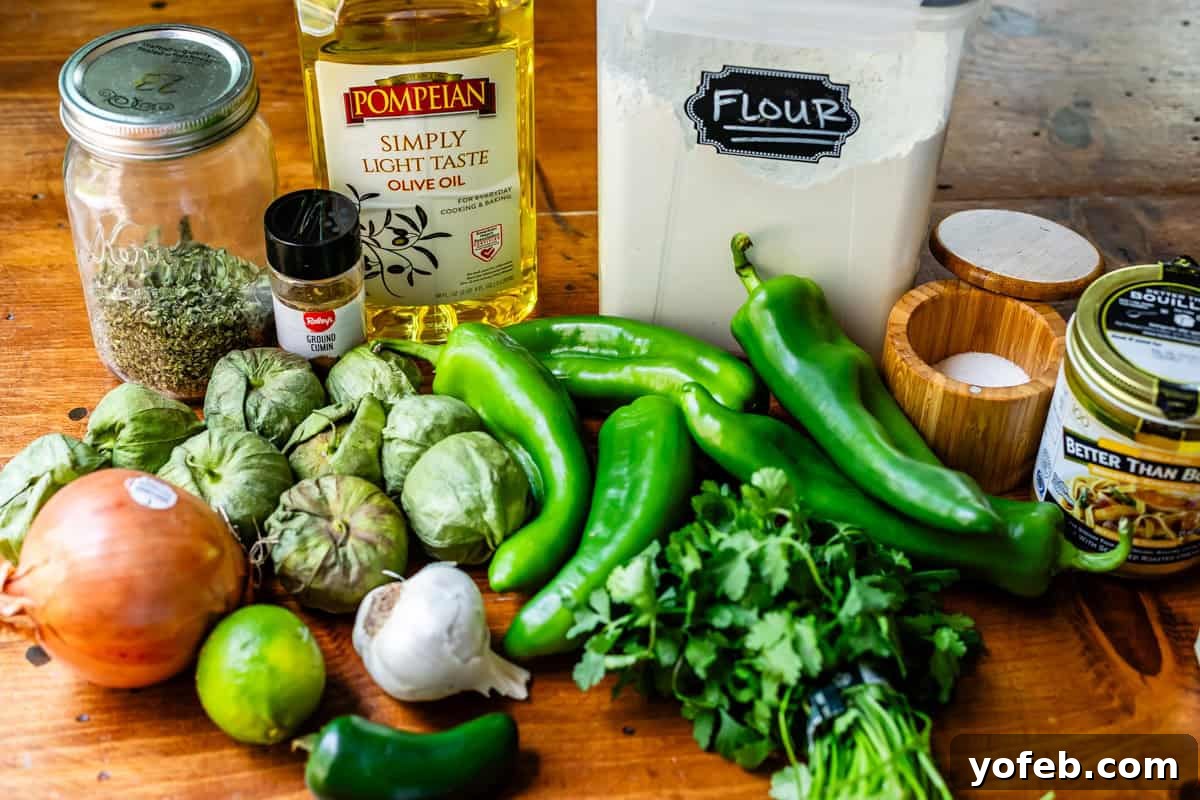
Note: The flour visible in the photo was part of an early test and was ultimately excluded from the final, perfected recipe to ensure a lighter, more authentic sauce consistency.
- Tomatillos: The cornerstone of green enchilada sauce, providing a signature tart and bright flavor. Choose firm, unblemished tomatillos with tight husks.
- White Onion: Adds a sweet and pungent aromatic base when roasted, mellowing out beautifully.
- Jalapeño Peppers: Offer a customizable level of heat and fresh, vibrant pepper flavor. Leave seeds in for more spice, remove for milder.
- Garlic: When roasted, garlic transforms into a sweet, creamy, and mild ingredient, adding incredible depth without sharpness.
- Vegetable Oil: Essential for coating vegetables before roasting, ensuring they caramelize beautifully and develop rich flavors.
- Kosher Salt: Enhances all the natural flavors and helps draw moisture out during roasting for better charring.
- Anaheim Chiles: These larger, milder green chiles contribute a robust, earthy, and slightly fruity pepper flavor that is crucial to the sauce’s character.
- Cilantro: Provides a burst of fresh, herbaceous flavor that brightens the entire sauce and gives it its signature “green” taste.
- Lime: Fresh lime juice adds essential acidity, balancing the richness and tang of the other ingredients, and making the flavors pop.
- Better Than Bouillon Chicken Base: A secret weapon for adding a concentrated savory, umami punch, giving the sauce a slow-simmered depth in minutes.
- Oregano: A classic Mexican herb, contributing earthy, slightly minty notes that complement the chiles and tomatillos.
- Cumin: Adds a warm, earthy, and slightly spicy aroma that is indispensable in Mexican cooking, tying all the flavors together.
- Water: Used to adjust the sauce’s consistency, ensuring it’s smooth and pourable, perfect for coating enchiladas.
Step-by-Step Guide: How to Make Green Enchilada Sauce
Crafting this incredible homemade green enchilada sauce is a rewarding experience that’s simpler than you might think. The key is in the roasting, which develops an unparalleled depth of flavor. Let’s walk through each step to ensure your sauce turns out perfect every time.
First, begin by properly preparing your tomatillos, the tangy heart of this sauce!
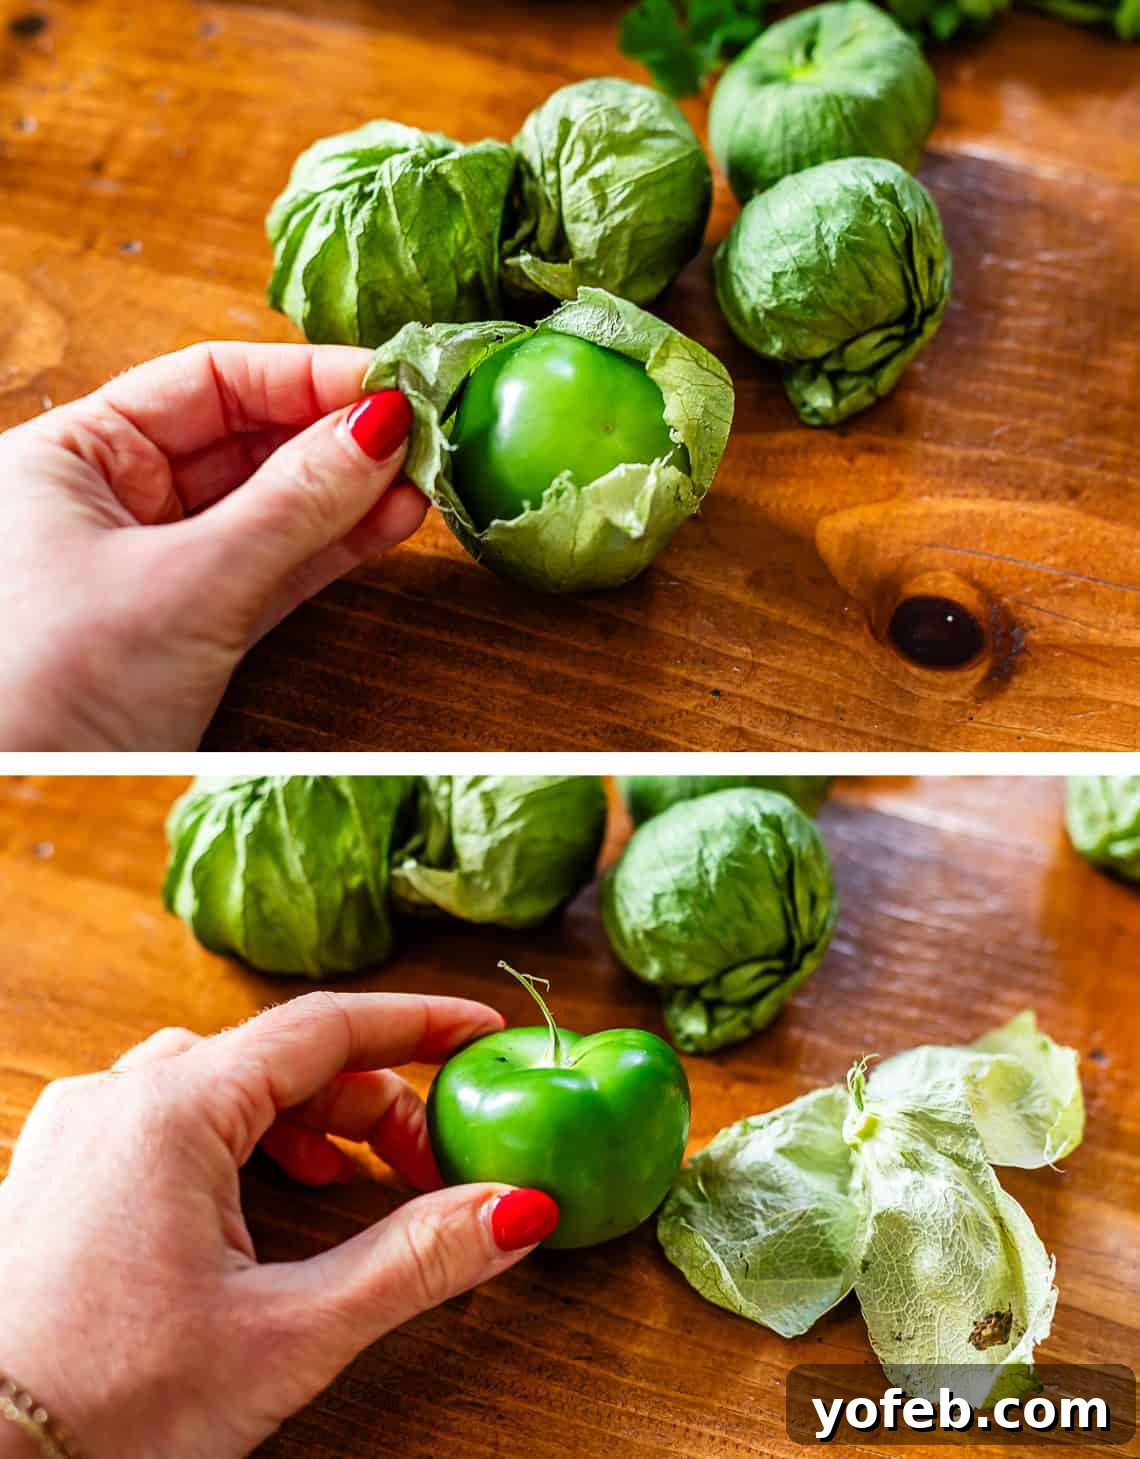
These unique “shy cousins” of the tomato require a little special attention. Gently peel off their papery husks, revealing their vibrant green skin. Then, give them a good scrub under running water to remove their naturally sticky coating. This ensures they roast evenly and don’t clump together.
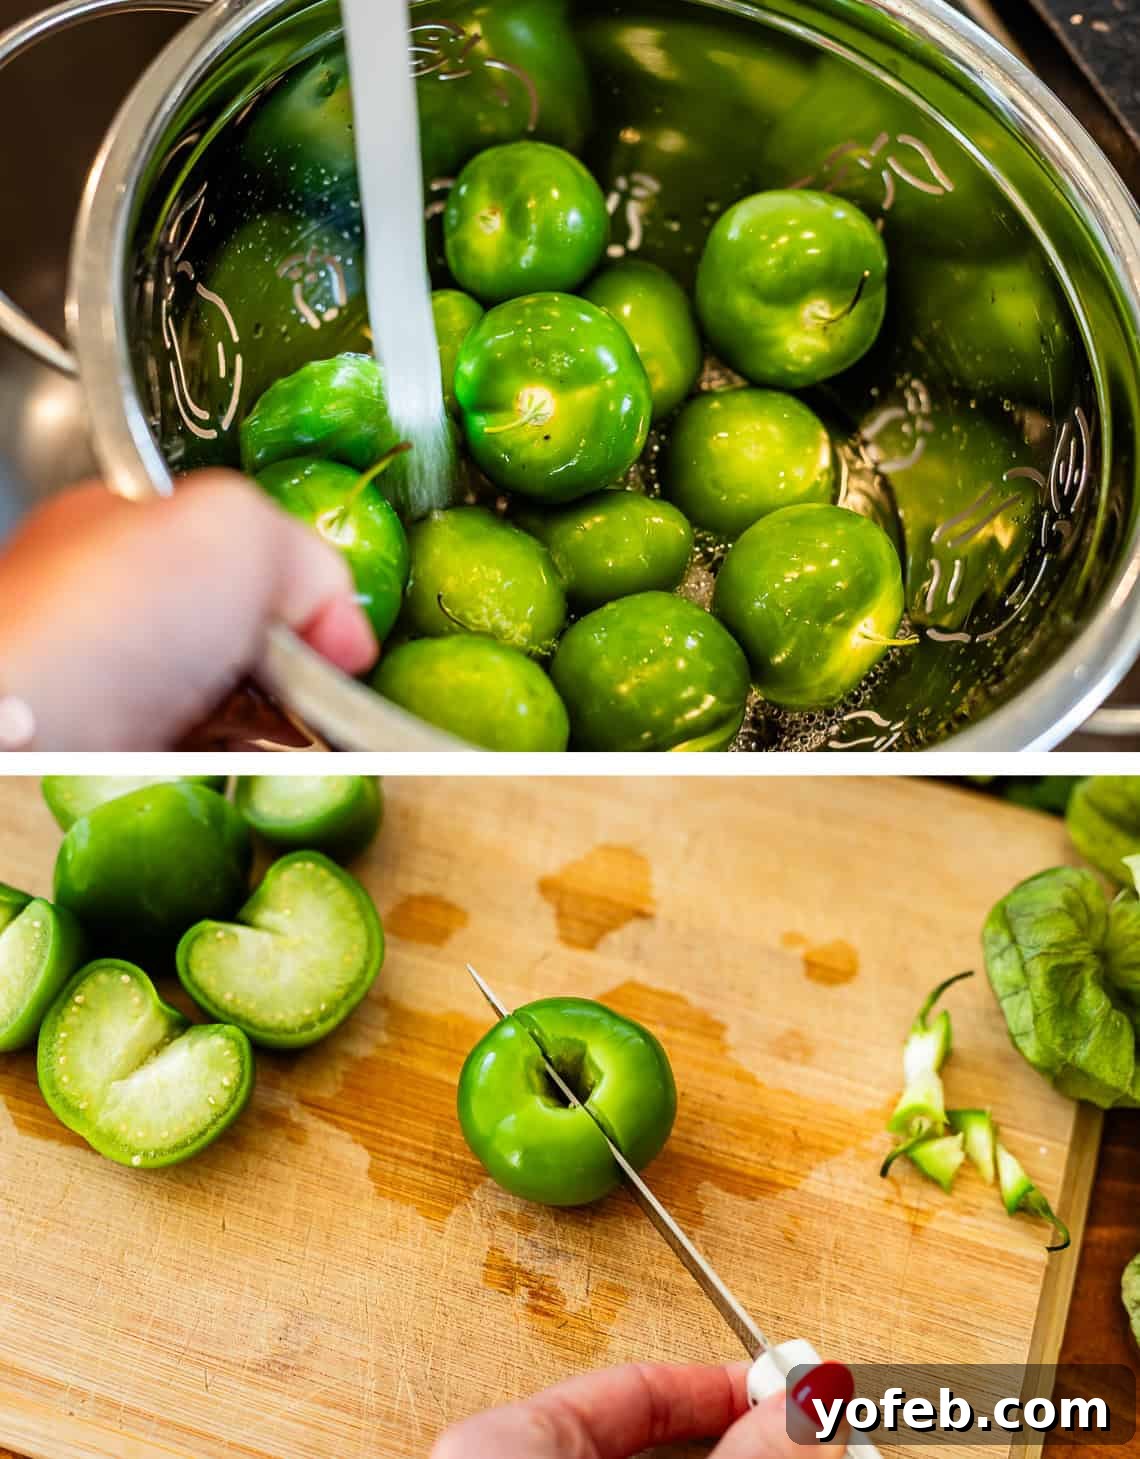
Once clean, slice each tomatillo in half. Arrange them cut-side down on a baking sheet. This orientation allows the cut surfaces to caramelize beautifully, deepening their flavor during roasting. Add your roughly chopped white onion, halved jalapeños (you can deseed them for less heat, but leaving them adds more authentic spice), and a whole head of garlic to the same pan. The garlic, wrapped in foil with a drizzle of oil, will roast to a sweet, mellow perfection.
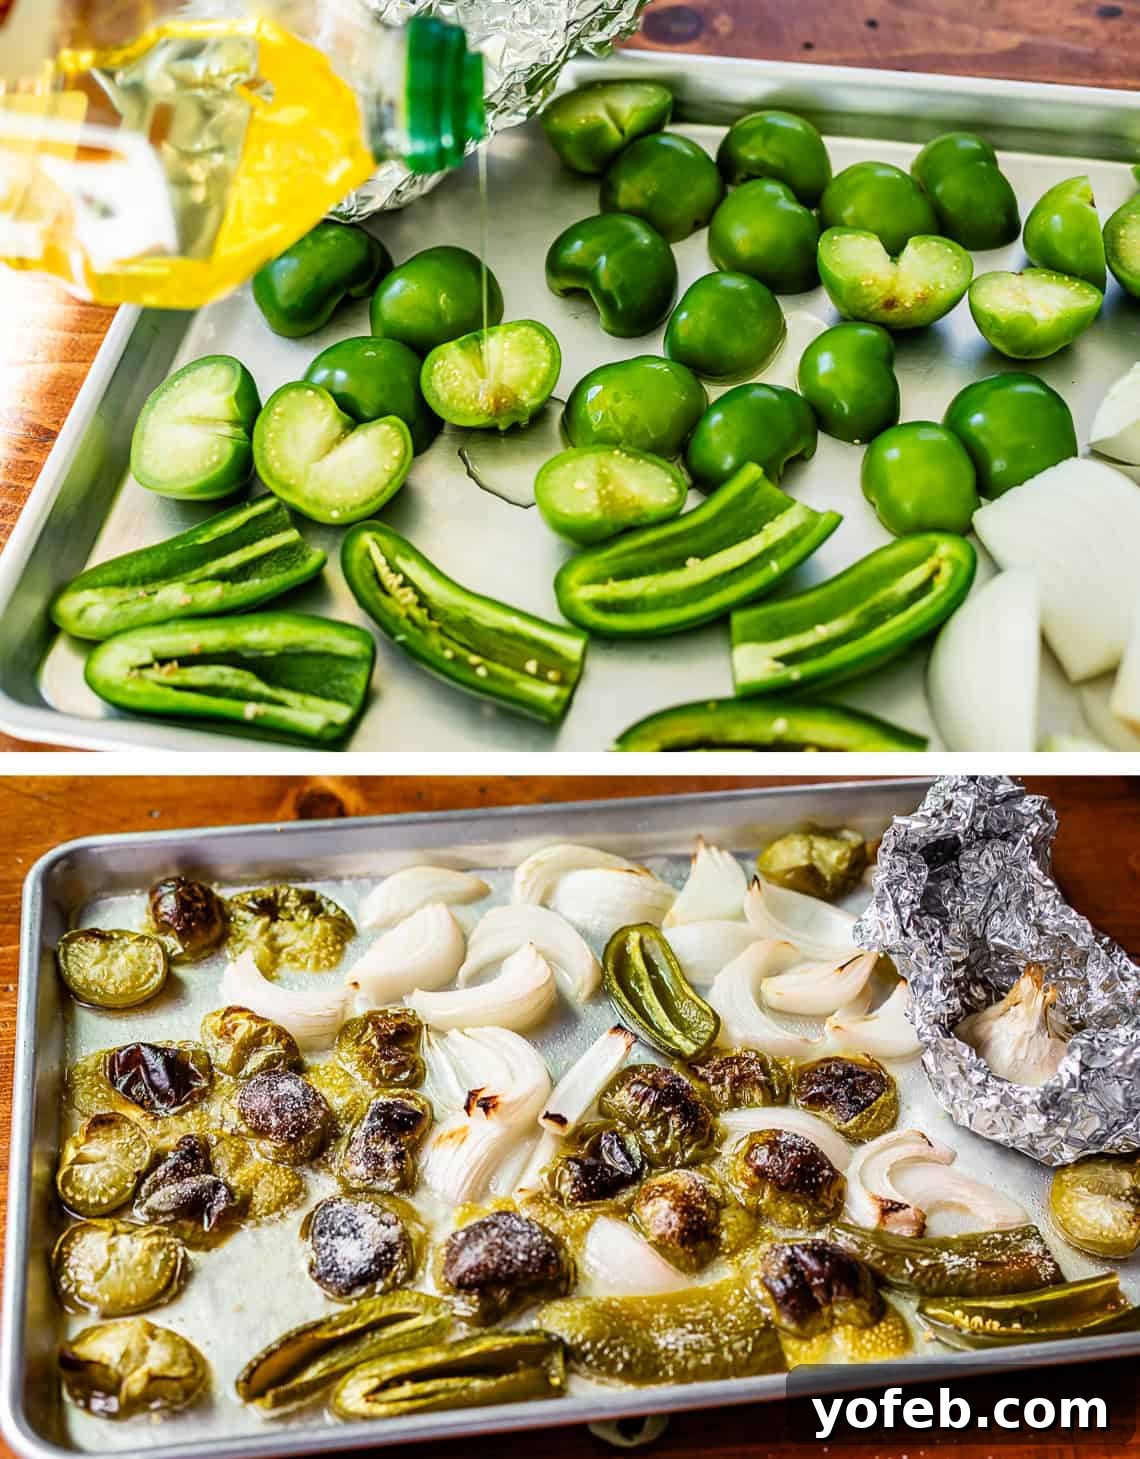
Drizzle the tomatillos, onions, and jalapeños with vegetable oil and a sprinkle of kosher salt. Use your hands to ensure an even coating, then spread them out to allow proper roasting and charring. Once roasted, they will emerge beautifully caramelized, with a rich aroma and intensified flavors. Here’s a closer look at that heavenly roasted garlic:
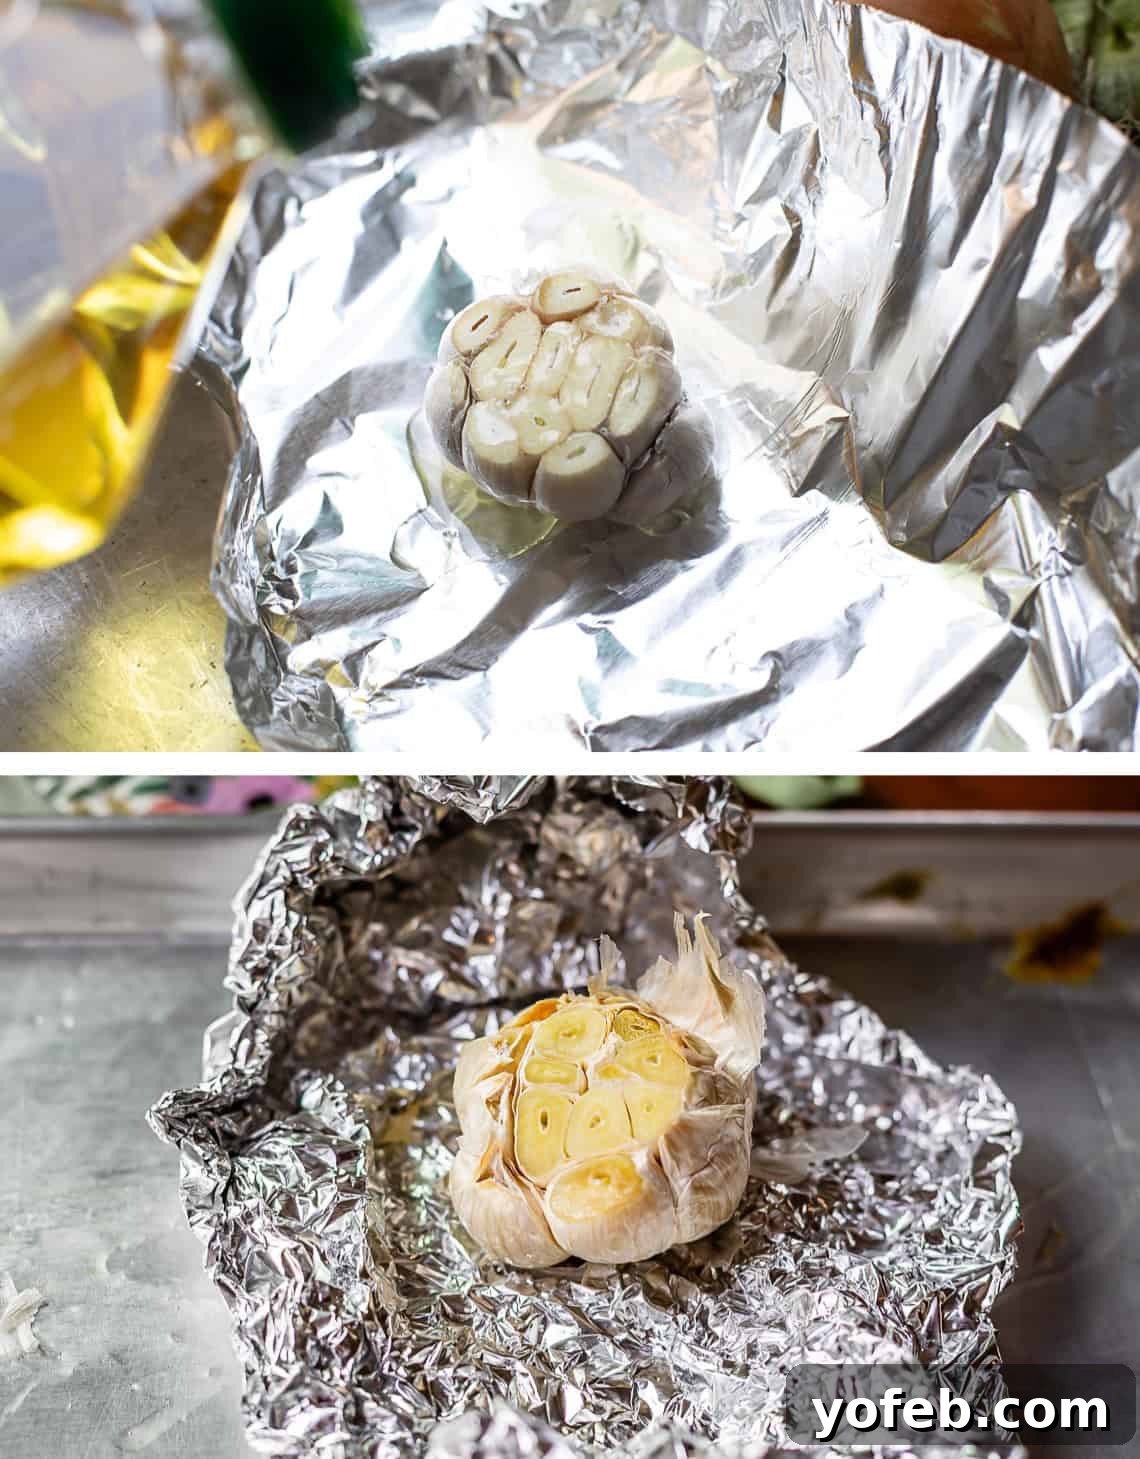
It’s hard to resist eating all the roasted garlic straight from the foil—its mild, sweet flavor is truly addictive! But save it for the sauce, where it will contribute an incredible depth.
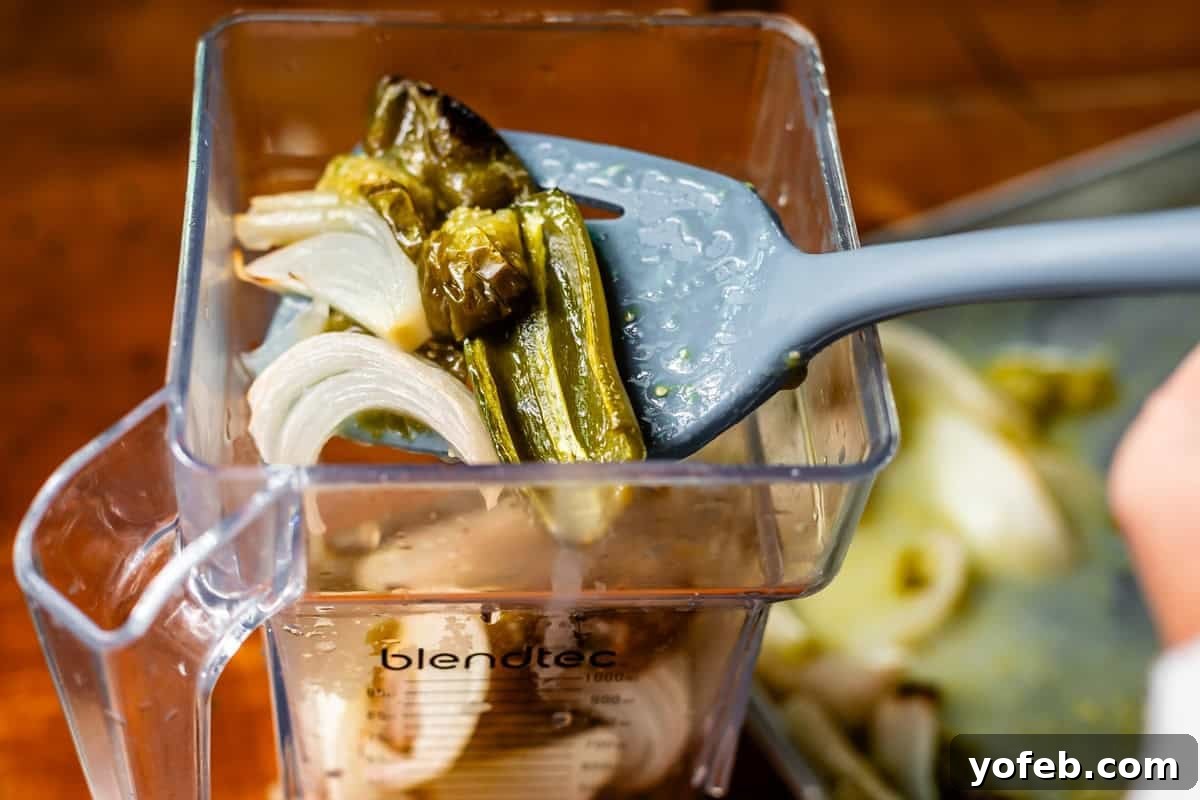
Once cooled slightly, scrape all the beautifully roasted vegetables and their flavorful juices from the pan directly into your blender or food processor. Don’t forget to squeeze out every luscious clove of roasted garlic!
Meanwhile, prepare the Anaheim chiles. These peppers are roasted dry on a separate baking sheet. Place them whole and un-oiled, ensuring they have enough space for even charring.
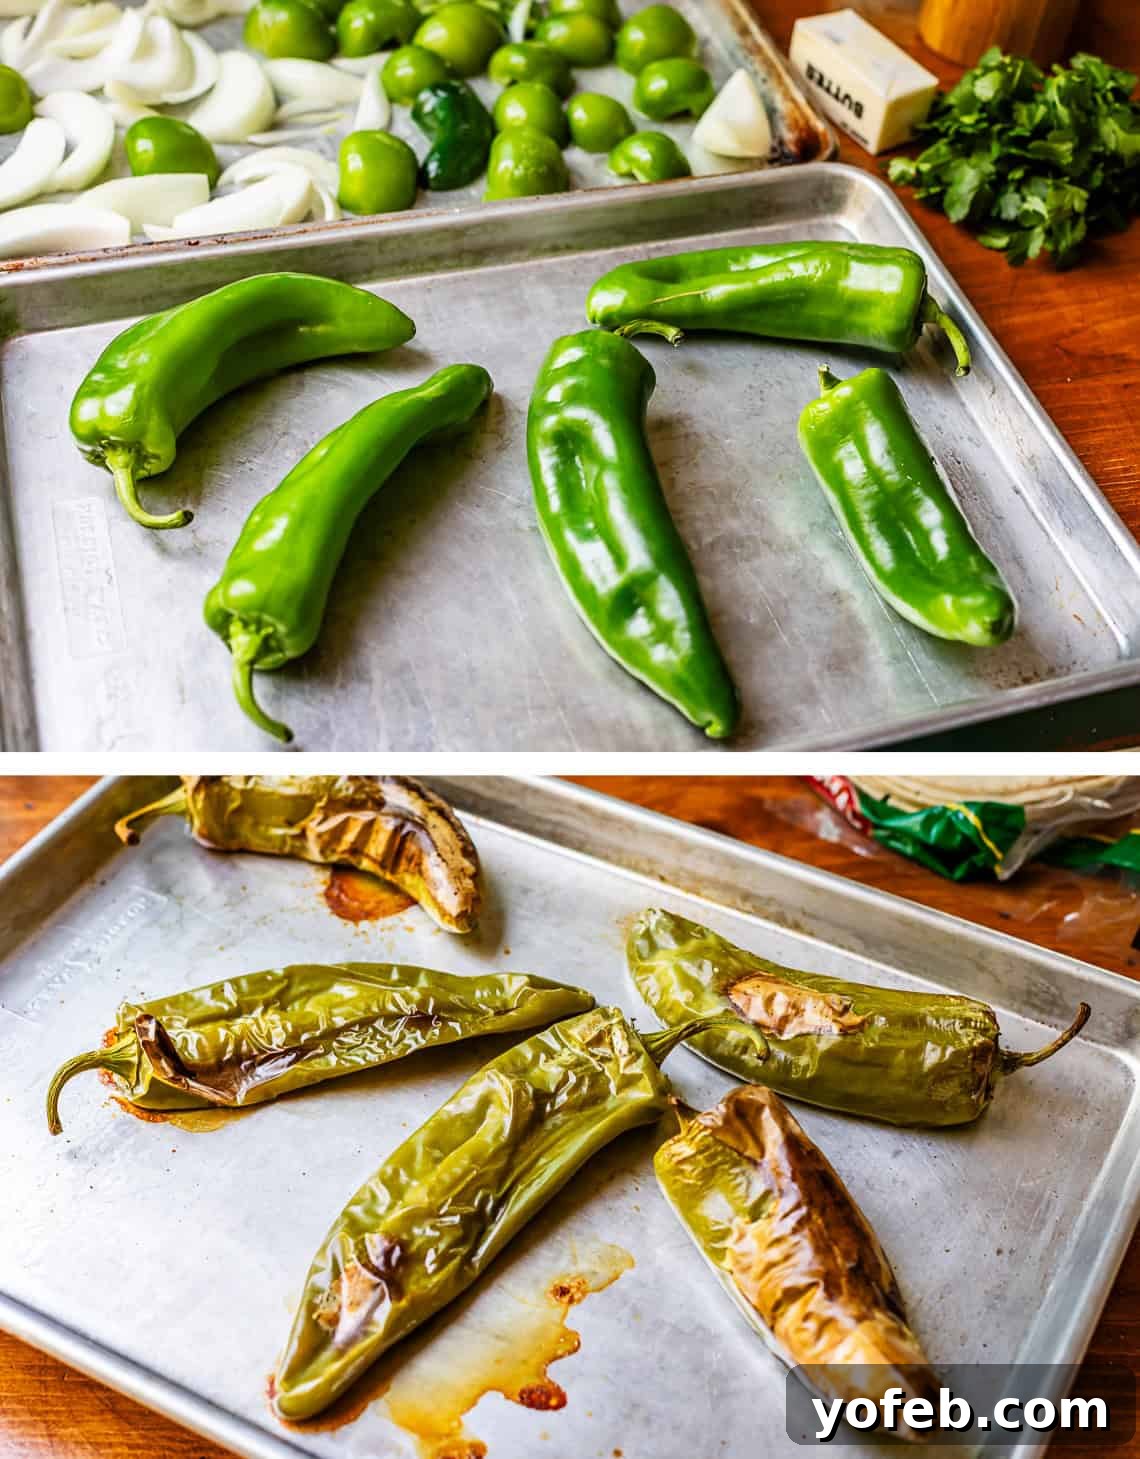
Roast them alongside the other pan, turning halfway through to ensure all sides blister and blacken. This charring is essential for developing their rich, smoky flavor. Once roasted, immediately cover the peppers with a tight-fitting bowl or transfer them to a sealed Ziploc bag. This steaming process helps loosen their papery skins, making them much easier to peel.
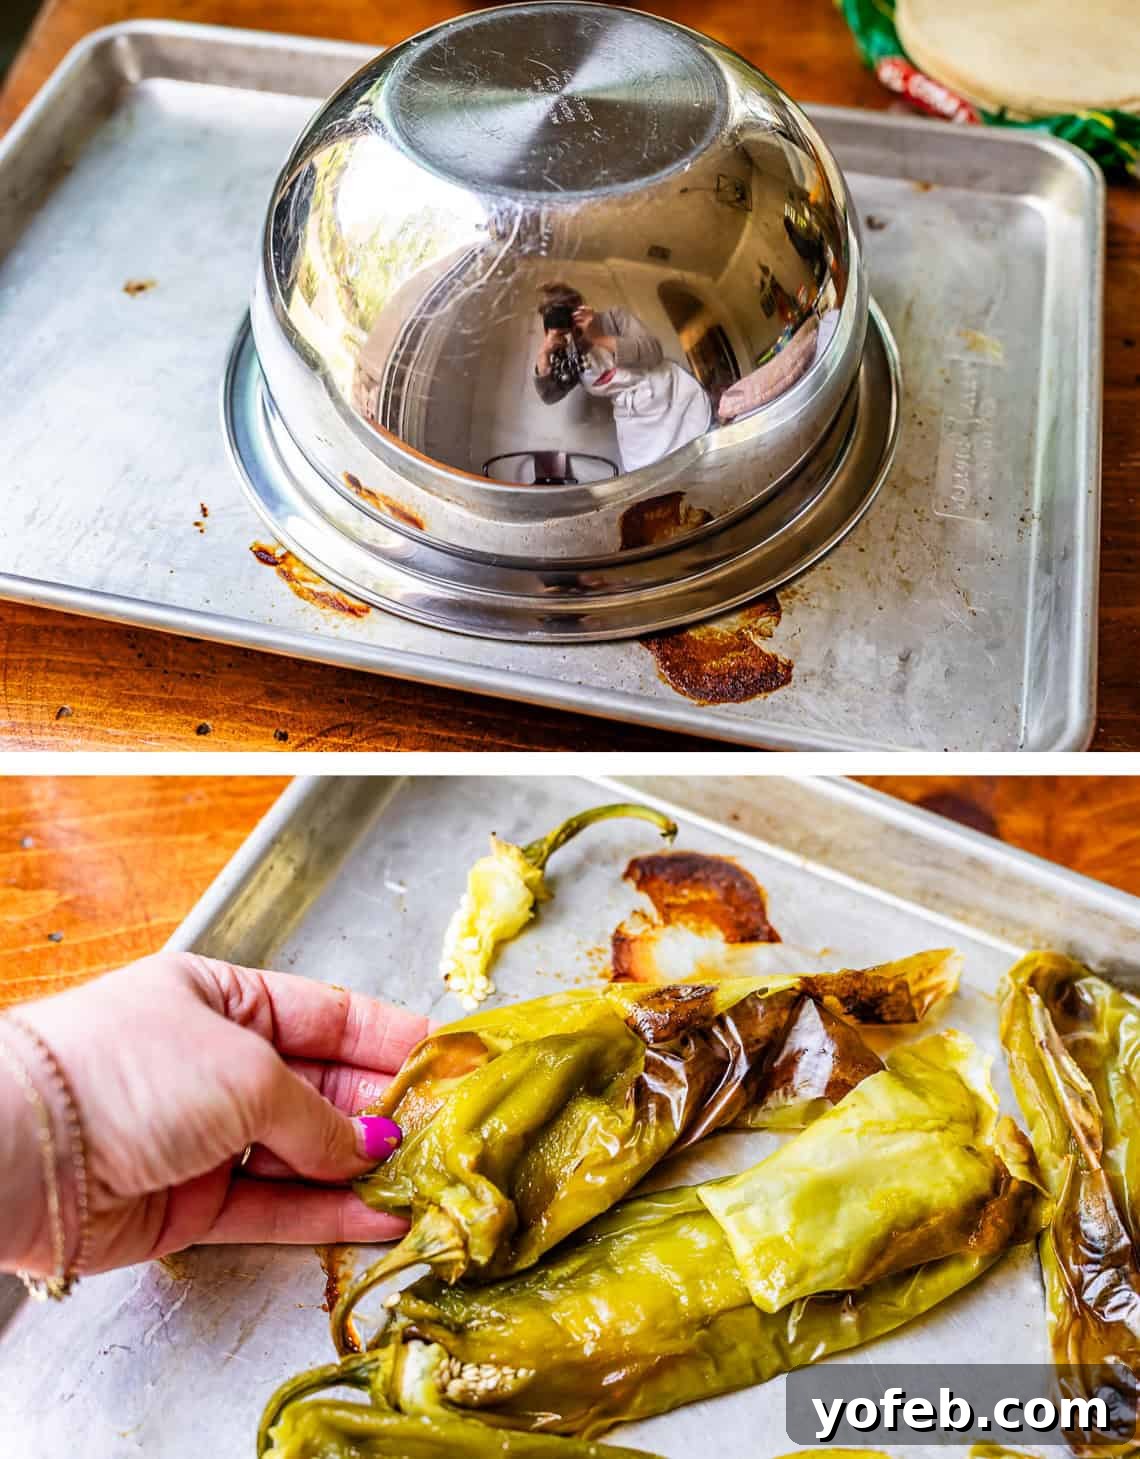
After they’ve steamed for about 10-15 minutes, the skins will be easy to remove. Discard the stems, seeds, and skins, keeping only the tender, flavorful flesh of the chiles. This ensures a smooth, refined sauce without any fibrous bits.
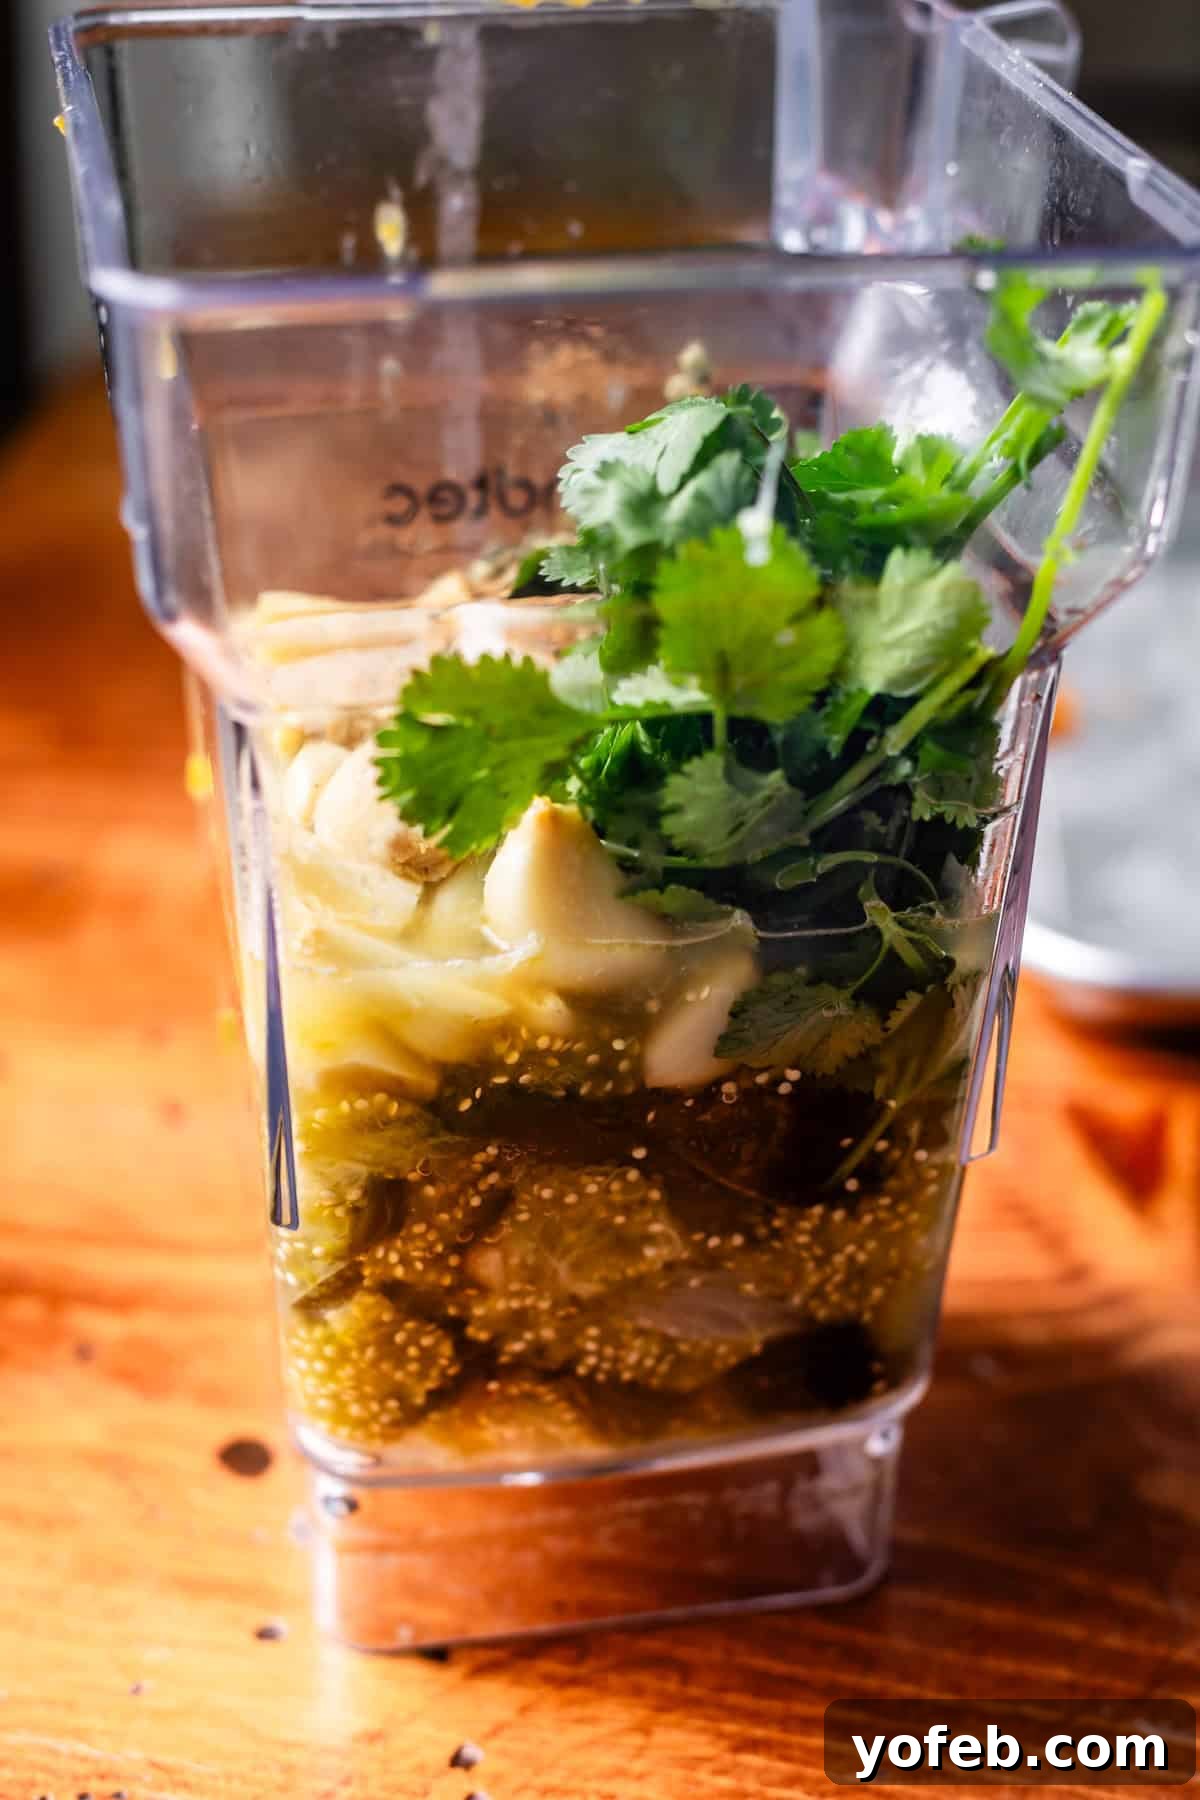
Now, add the peeled Anaheim chile flesh to the blender, along with fresh cilantro (stems removed for a smoother texture), freshly squeezed lime juice for a bright tang, Better Than Bouillon Chicken Base for umami depth, kosher salt, fragrant oregano, and warm cumin. Start with 1/4 cup of water to achieve a thick consistency, adding more in small increments if a thinner sauce is desired.
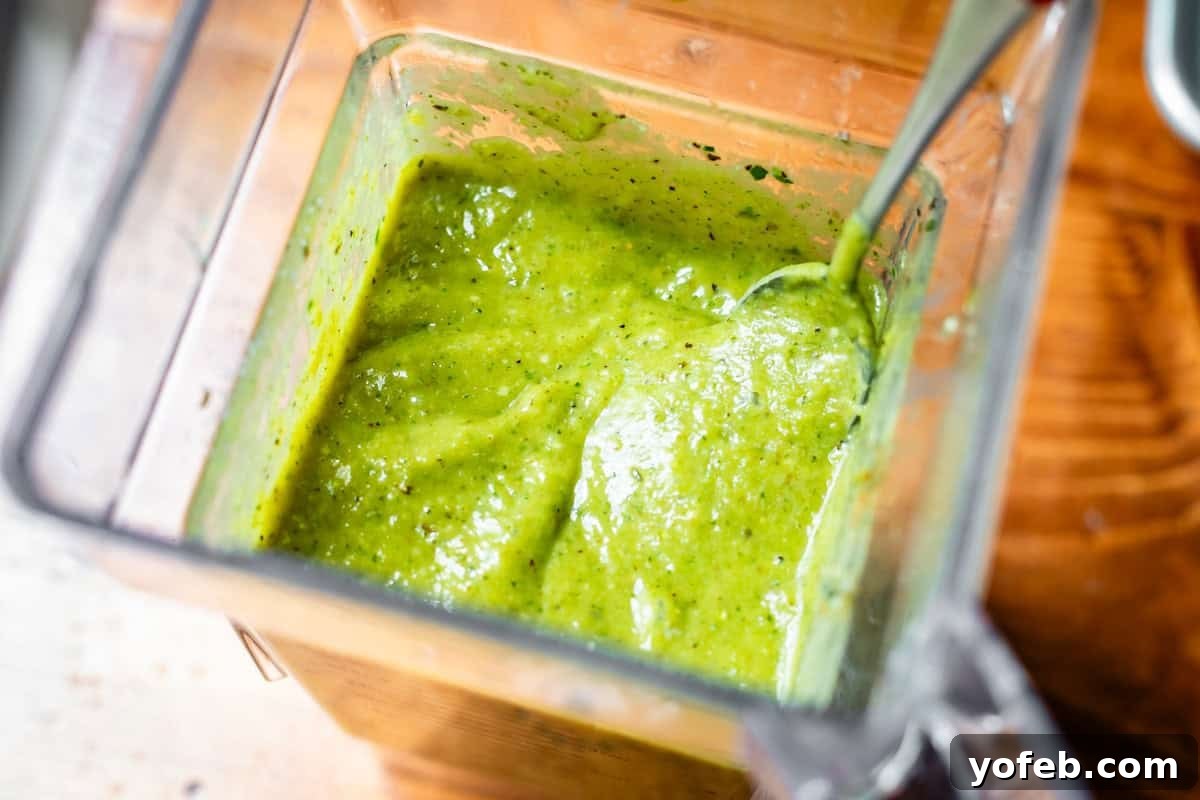
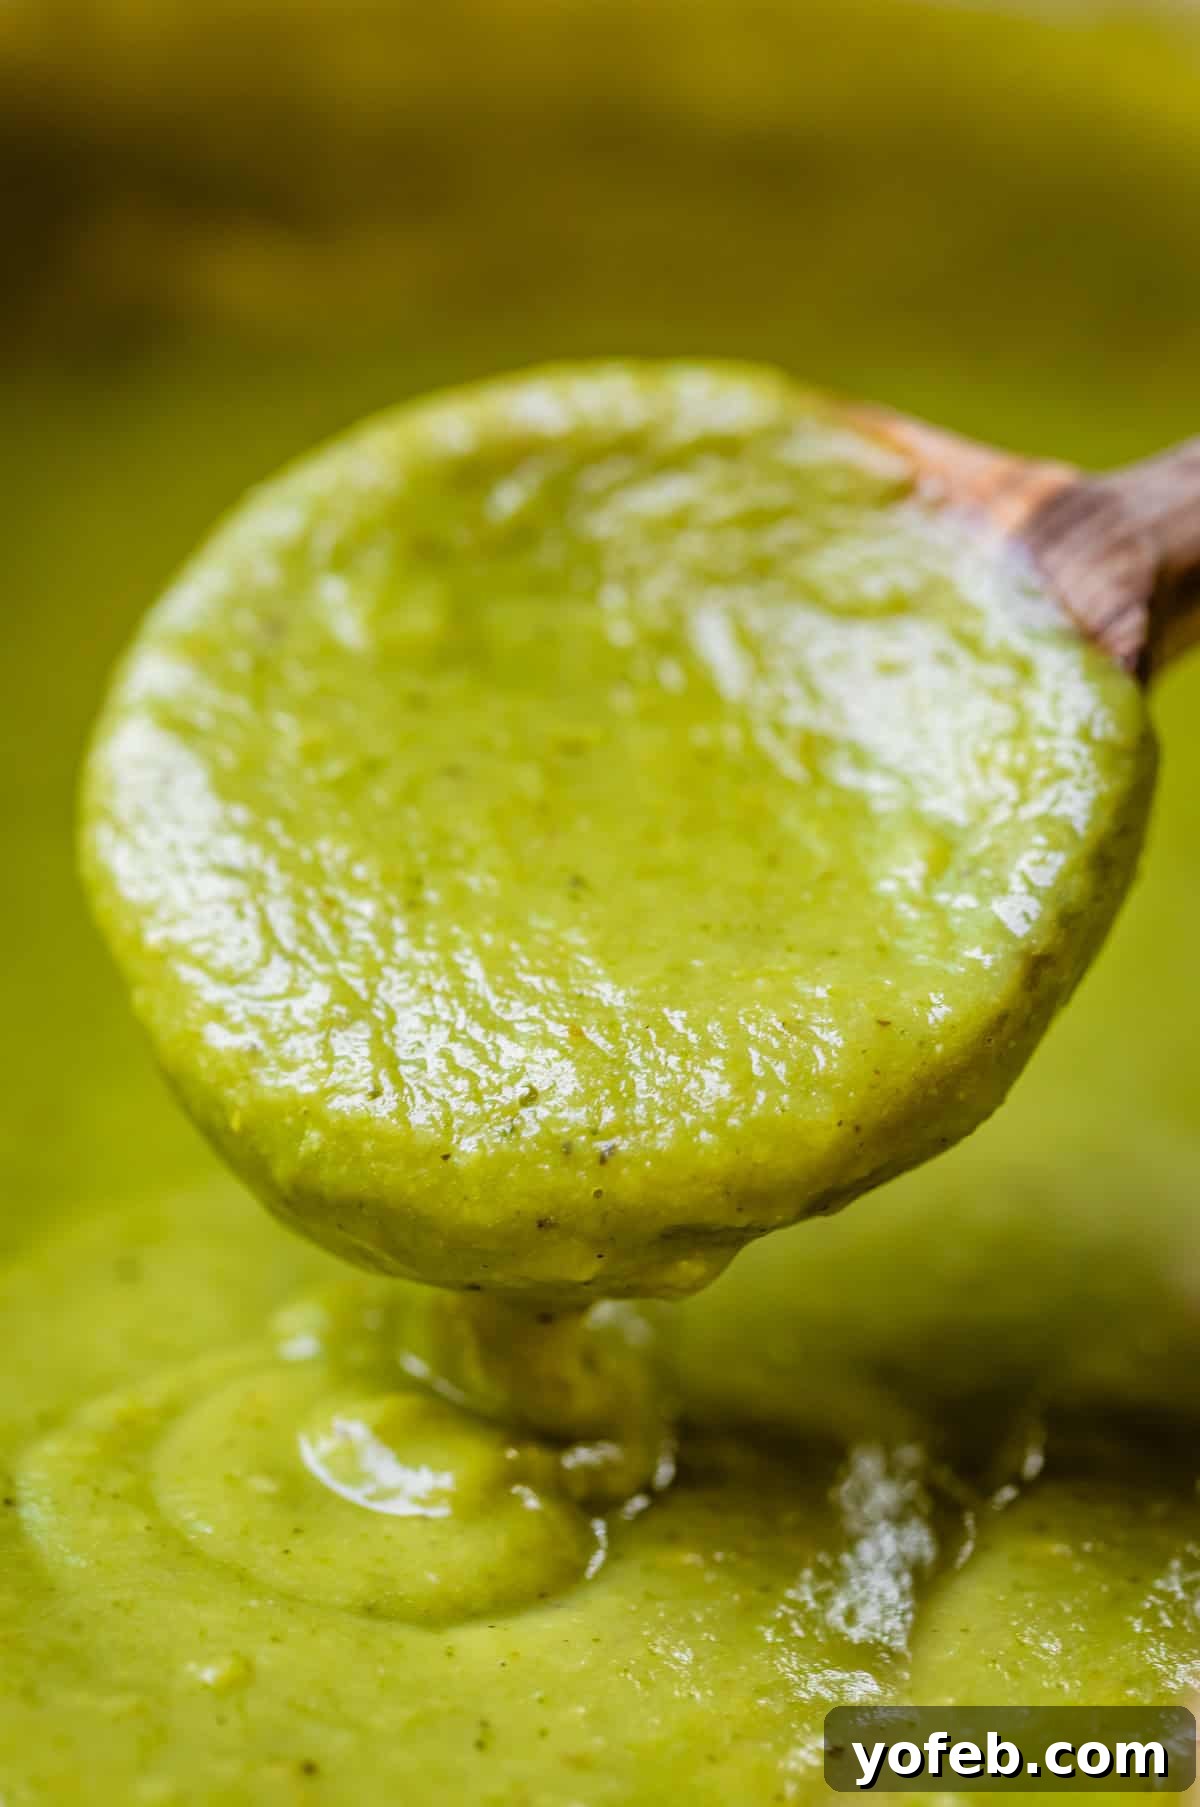
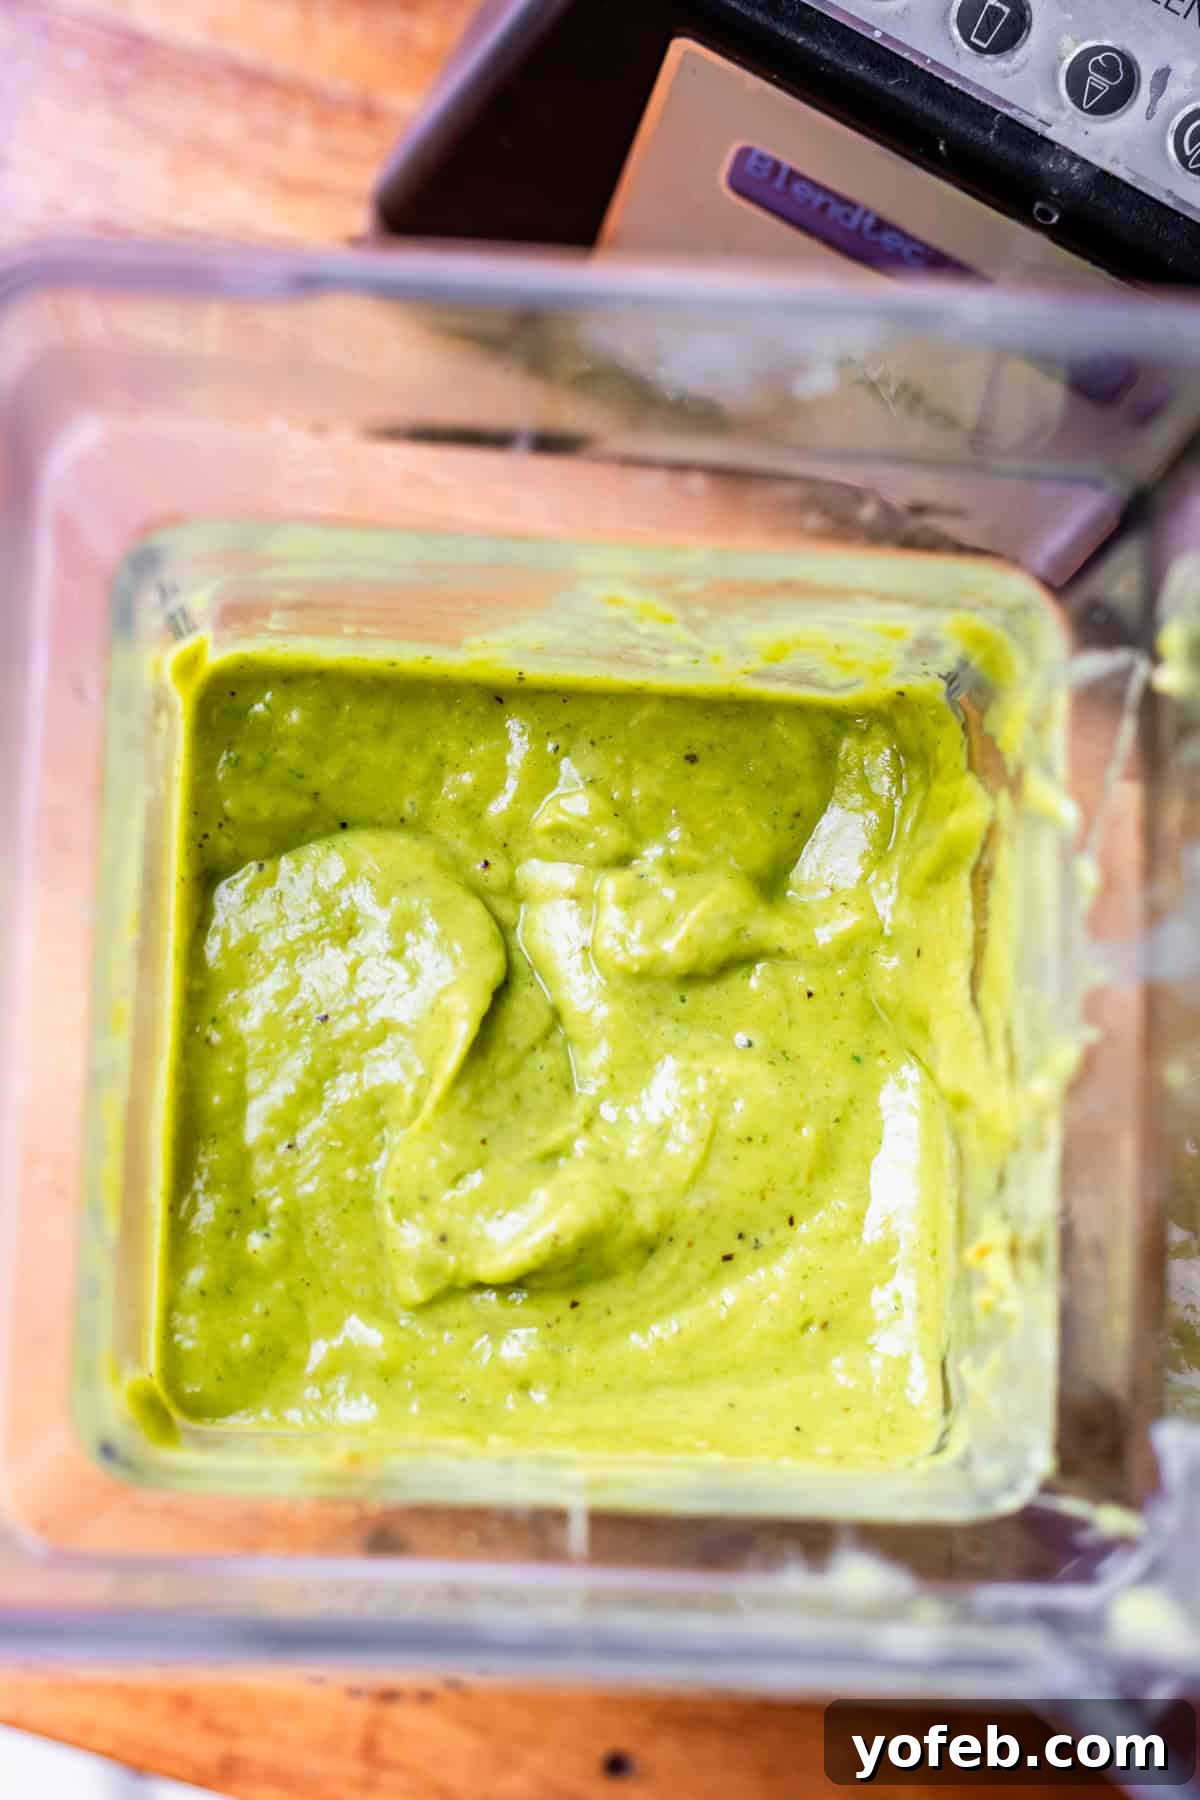
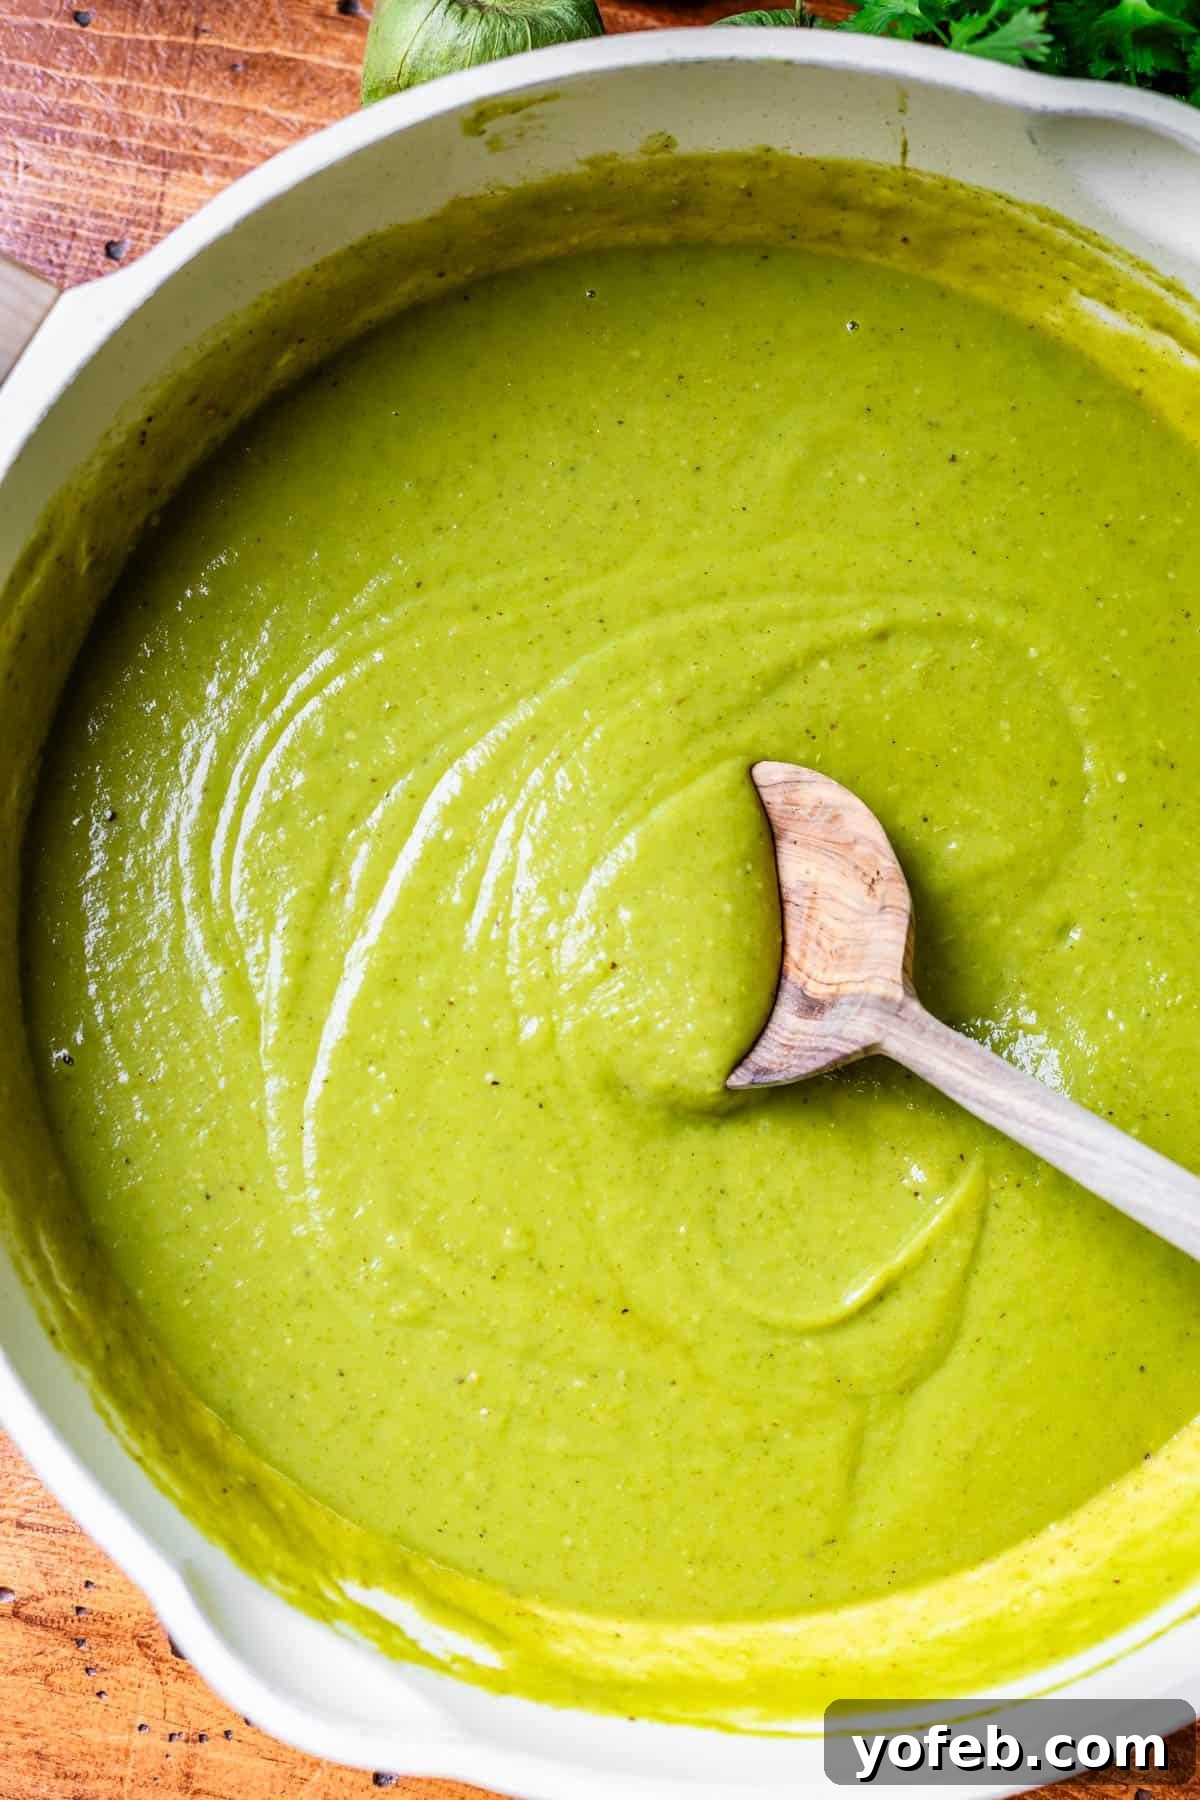
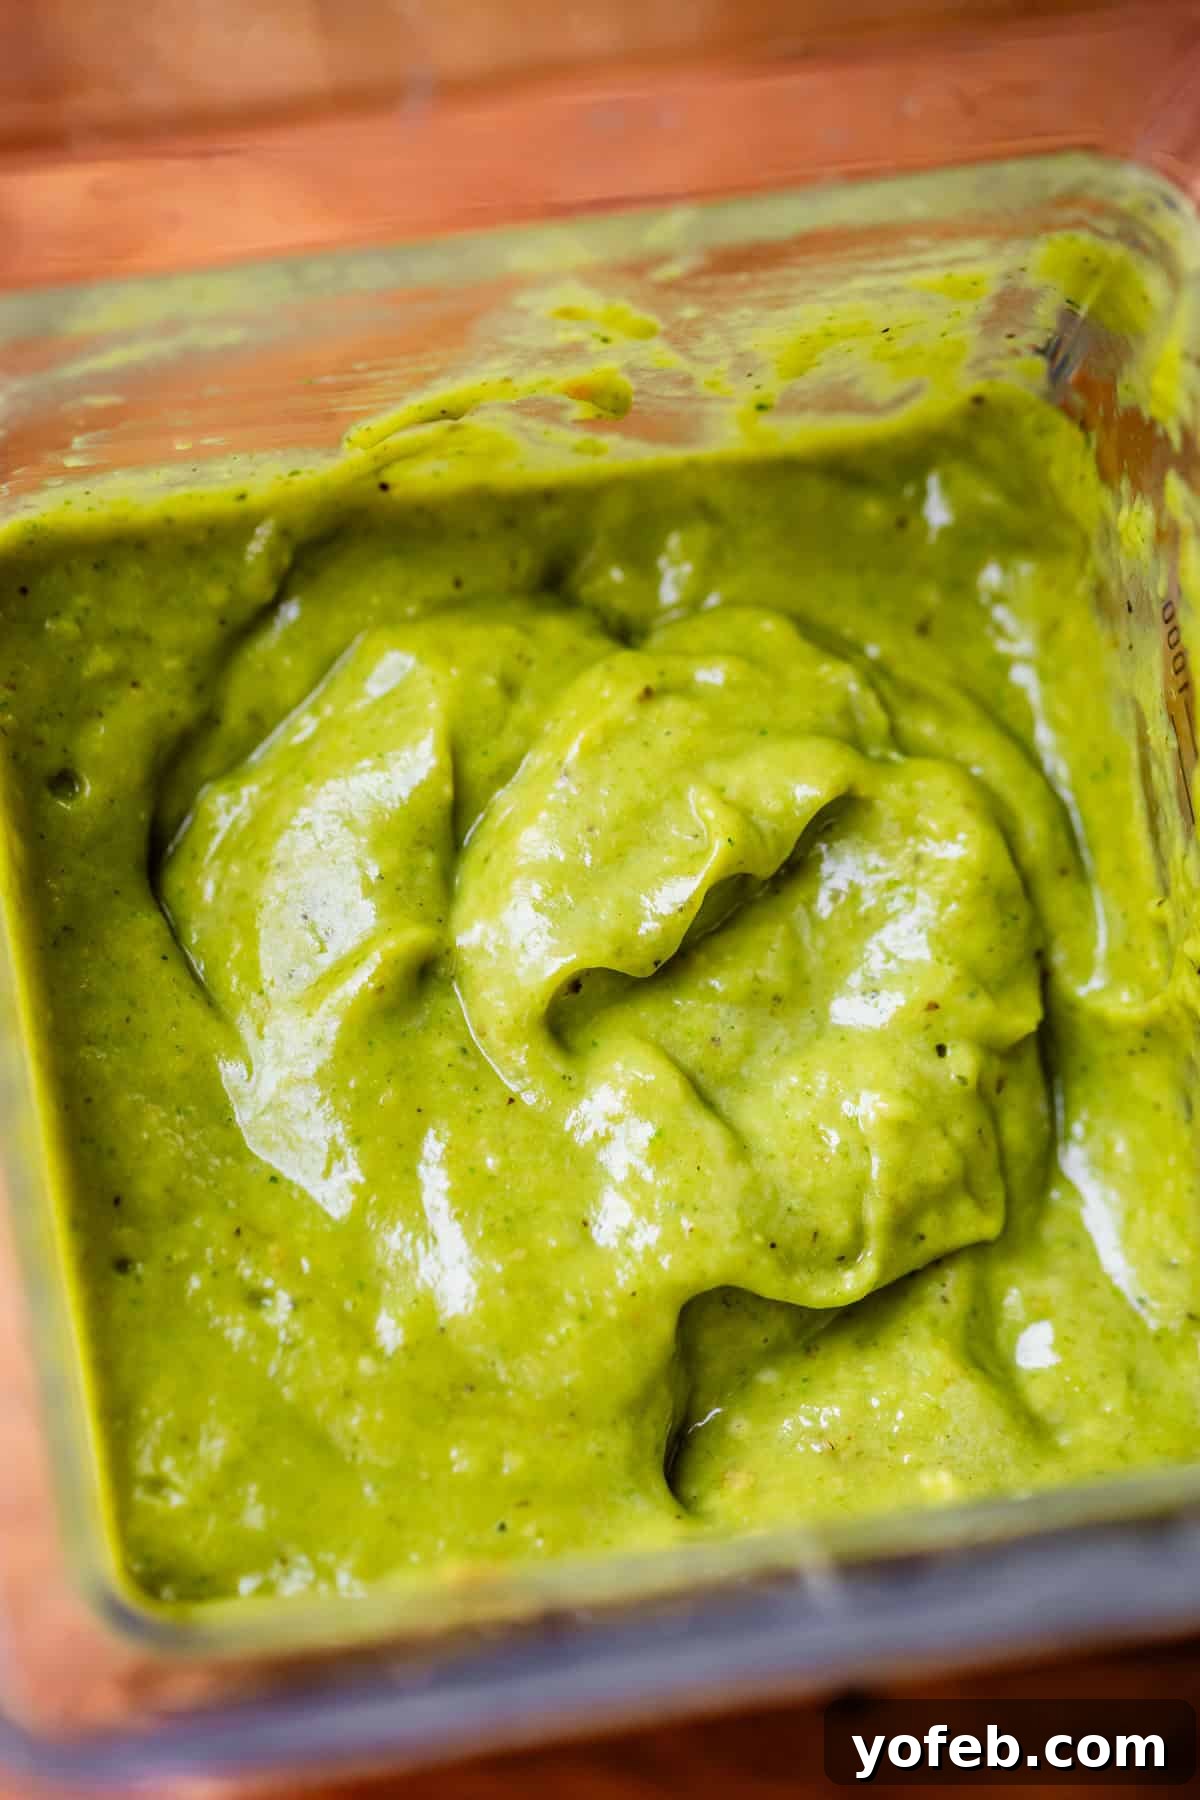
Blend everything until it’s perfectly smooth and creamy, scraping down the sides as needed to ensure all ingredients are incorporated. Taste and adjust the seasonings as desired—perhaps a little more salt to enhance the flavors, or an extra squeeze of lime juice for a brighter finish. And voilà! Your incredible homemade green enchilada sauce is ready. It’s so delicious, you’ll want to taste it by the spoonful!
Serving Suggestions: What Pairs Well with Green Enchilada Sauce
This roasted green chili enchilada sauce is incredibly versatile, extending far beyond just enchiladas. Its vibrant, tangy, and subtly spicy flavor profile makes it an outstanding addition to a myriad of Mexican and Tex-Mex dishes, transforming ordinary meals into extraordinary culinary experiences. Explore all my Mexican/Tex Mex Recipes for even more inspiration, but here are some of my favorite ways to enjoy this fantastic sauce:
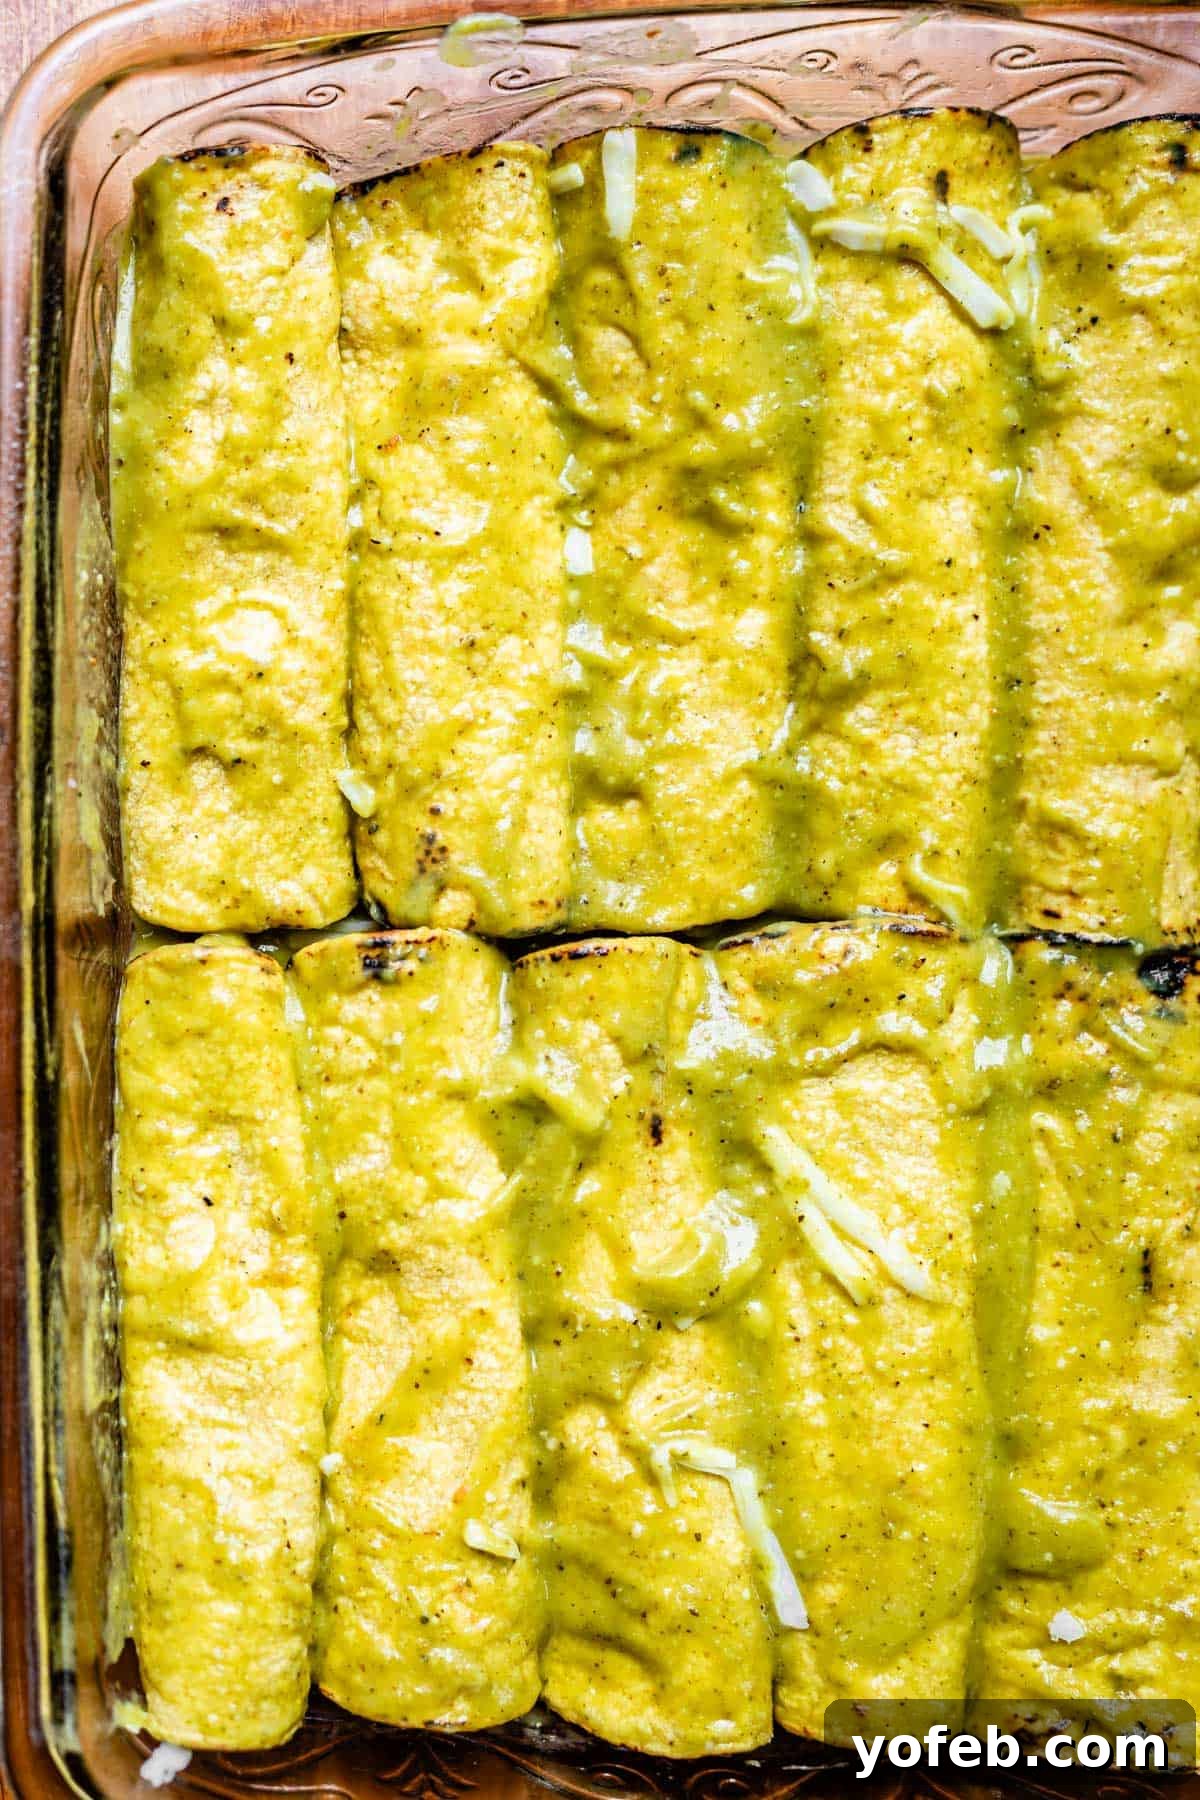
- Classic Chicken Enchiladas: Naturally, it’s the star ingredient for making the absolute best Chicken Enchiladas. The sauce coats each tortilla beautifully, infusing the chicken and cheese with its unique flavor.
- Salsa for Chips: Serve it chilled or slightly warmed as an irresistible salsa for tortilla chips. Its freshness and depth will have everyone reaching for more.
- Avocado Dip: Blend a ripe avocado into the sauce for an even creamier and greener dip. Perfect for a vibrant appetizer or snack.
- Creamy Dressing: Whisk it with sour cream or Mexican Crema to create a luscious dressing for your Best Taco Salad, adding a tangy kick to every bite.
- Street Tacos: Drizzle generously over any variety of street tacos—chicken, carne asada, or veggie—for an instant flavor upgrade.
- Carne Asada: Use it to complement Carne Asada. The sauce’s brightness beautifully cuts through the richness of the tender, flavorful meat.
- Chicken Tacos: Enhance your Best Chicken Tacos (Stovetop or Crockpot). This sauce prevents dryness and adds an explosion of flavor to your juicy chicken.
- Chile Rellenos Casserole: Pour this delicious sauce over a Chile Rellenos Casserole for a truly decadent and flavorful twist.
- Chicken Fajitas: Pair it with The Chicken Fajitas Recipe That Changed My Mind. The sizzling fajitas combined with this fresh green sauce create a sensational meal.
- Enchilada Chicken Quesadillas: Swap out red enchilada sauce for this green version in your 10 Minute Enchilada Chicken Quesadillas for a refreshing change.
- Mexican Meatballs: While traditionally served with red sauce, try simmering Easy Baked Mexican Meatballs in this green sauce for a unique and flavorful variation.
- Tostadas: Use it as a base or topping for homemade Tostadas, adding a burst of fresh flavor to every crunchy bite.
- Flautas & Taquitos: It makes an excellent dipping sauce for crispy Chicken Flautas or Black Bean Taquitos.
- Chili Nachos: Elevate your Ultimate Chili Nachos by generously drizzling this tangy green sauce over them.
The culinary possibilities are truly limitless with this vibrant, homemade green enchilada sauce!
Storing Your Homemade Green Enchilada Sauce
One of the many benefits of making your own green enchilada sauce is its excellent storage capabilities, allowing you to enjoy its fresh flavors long after preparation. Proper storage ensures your homemade sauce remains delicious and ready for your next culinary adventure.
For immediate use, simply transfer any leftover sauce into an airtight container and store it in the refrigerator. It will maintain its peak freshness for about 4 to 5 days. While some enjoy cold dips and salsas straight from the fridge, for optimal flavor in most dishes, I recommend warming it gently in the microwave for a minute or two until it reaches a pleasant temperature. This helps to revive and release its full aromatic profile.
If you’re looking to plan ahead or have a larger batch of sauce, freezing is an excellent option. Allow the sauce to cool completely before transferring it to a freezer-safe ziplock bag or an airtight container, ensuring as much air as possible is removed to prevent freezer burn. This homemade green enchilada sauce can be stored in the freezer for an impressive 4 to 6 months without significant loss of quality. Imagine the convenience of having delicious, homemade sauce ready whenever the craving for enchiladas strikes! To use the frozen sauce, simply thaw it overnight in the refrigerator or for 3-4 hours on the kitchen counter. Once thawed, give it a good stir, warm it up, and it’s ready to bring its vibrant flavor to your meal.
Green Enchilada Sauce: Frequently Asked Questions
Green enchilada sauce, often referred to as Salsa Verde, is a popular staple in Mexican cuisine. It distinguishes itself from its red counterpart by its base ingredients: primarily fresh tomatillos and a variety of green chiles such as jalapeño, Anaheim, or serrano peppers. This combination yields a bright, tangy, and subtly spicy flavor profile, offering a refreshing alternative to the richer, deeper notes of red chili sauces. It’s a fundamental component for many authentic Mexican dishes.
Beyond the essential green chiles and tomatillos, this vibrant sauce gets its incredible depth from a carefully selected blend of flavor enhancers. These typically include savory white onion, mellow roasted garlic, fresh cilantro, bright lime juice, and a robust chicken bouillon base (or vegetable bouillon for a vegetarian option). Aromatic spices like oregano and cumin complete the flavor profile. All these fresh, roasted ingredients are then blended with a bit of water to achieve a smooth, pourable consistency, resulting in a delightfully easy-to-make and flavorful sauce.
While the core ingredients for salsa verde and green enchilada sauce are quite similar (tomatillos and green chiles), the primary distinction lies in their preparation and consistency. For traditional salsa verde, the ingredients are often left raw or briefly boiled before blending, resulting in a fresher, brighter flavor and a typically chunkier texture. Green enchilada sauce, on the other hand, usually involves roasting the ingredients, which deepens their flavor and adds a smoky richness. Additionally, water or broth is typically added to enchilada sauce to thin it out to a pourable consistency suitable for coating enchiladas, whereas salsa verde is often thicker. Although technically different, these terms are sometimes used interchangeably in casual cooking, especially as both offer that signature tangy green chile flavor.
Absolutely! If you’re short on time or simply looking for a quicker option, a fantastic “cheater” sauce exists. You can find this convenient alternative in the notes section of my Chicken Enchiladas recipe. This simplified version skips the roasting step, combining a tub of fresh salsa verde with sour cream (or Mexican crema) and canned green chilies. It’s incredibly easy to make, delivering a deliciously creamy and tangy sauce that’s a perfectly acceptable and much-loved substitute. Both my family and I enjoy both the authentic roasted version and this speedy alternative!
Hatch green enchilada sauce recipes are typically very similar to this authentic homemade version. The key distinction is the use of Hatch chiles, famous for their unique flavor profile and varying heat levels, which are exclusively grown in the Hatch Valley of New Mexico. In this recipe, you can easily substitute the Anaheim chiles with Hatch chiles if you prefer their distinct taste or specific spice level. This small change will give your sauce that characteristic Hatch chile flavor while maintaining the same delicious roasting and blending process.
Perfect Sides for Your Mexican & Tex-Mex Feast
No Mexican or Tex-Mex meal is truly complete without an array of delicious sides and toppings. These accompaniments elevate your dining experience, adding layers of flavor, texture, and freshness. I could honestly make an entire meal out of these delightful extras and be perfectly content! I urge you to try these recipes to make your next taco, enchilada, or fajita night even more spectacular:
- My Favorite Guacamole is EASY: In just 5 minutes, you can whip up a batch of guacamole that far surpasses anything store-bought, with its creamy texture and fresh, zesty flavor.
- 5 Minute Restaurant Style Salsa: This salsa genuinely tastes like it came straight from your favorite Mexican restaurant, offering a perfect blend of fresh and savory notes.
- How to make Pico de Gallo: A classic fresh salsa bursting with diced tomatoes, onions, jalapeños, and cilantro. Its bright, uncooked flavors are incredibly refreshing.
- Mexican Rice Better than a Restaurant: This is my ultimate go-to rice recipe for any Mexican meal, perfectly fluffy and infused with savory flavors that complement everything.
- Better Than Chipotle Cilantro Lime Rice: If you’re seeking a rice dish with a tangy, herbaceous flavor similar to our green enchilada sauce, this zesty cilantro lime rice is an excellent choice.
- Traditional Tejano Pinto Beans (Slow Cooker Mexican Beans): These beans offer a delightful fusion of Southern and Mexican pinto bean styles, creating some of the most flavorful and tender beans you’ll ever taste.
- Mexican Street Corn Dip Recipe: A creamy, sweet, and savory dip featuring corn and tart cheese – it’s so good, you might just want to eat it with a spoon!
- Easy Calabacitas Recipe from Mexican Please: A simple yet flavorful side dish featuring sautéed squash, corn, and peppers, perfect for a fresh vegetable addition.
Facebook | Pinterest | Instagram

Green Enchilada Sauce
Ingredients
To roast:
- 1 head garlic
- 1/2 teaspoon vegetable oil, to go on garlic head
- 1 pound tomatillos, peeled and halved
- 1 white onion, roughly chopped
- 2 jalapeños, halved, not seeded
- 2 teaspoons vegetable oil, for rubbing on roasted veggies
- 1 teaspoon kosher salt, to sprinkle on roasted veggies
- 2 pounds Anaheim chilies, left whole; these go DRY on a separate pan
To go in the blender:
- 1/2 bunch cilantro
- 1 lime, juiced, at least 2 tablespoons
- 2 teaspoons Better Than Bouillon Chicken Base
- 1 teaspoon kosher salt
- 1 teaspoon oregano
- 1 and 1/2 teasoon cumin
- 1/4 cup water, plus another 1/4 cup, if necessary
Instructions
-
Preheat your oven to 400 degrees F (200°C). Set out two half baking sheets. Arrange two oven racks near the center of the oven.
-
Prep the garlic for roasting: Carefully remove the outer papery layers from the head of garlic, but leave the cloves intact. Slice off the top 1/4 of the garlic head to expose the cloves (see photos for guidance). Place the garlic head onto a sheet of foil. Drizzle the exposed cloves with 1/2 teaspoon of vegetable oil and gently rub it in. Wrap the garlic head completely in the foil to create a sealed packet. Place this packet on one of the baking sheets.
-
Prep the tomatillos. Peel 1 pound of tomatillos, ensuring all the papery husks are completely removed. Wash them thoroughly under cool water, gently rubbing to remove any sticky residue. Cut each tomatillo in half. If any stems are particularly large or woody, carefully cut them out; for tender tomatillos, this step may not be necessary. Arrange the halved tomatillos cut-side down on the same baking sheet as the foiled garlic.
-
Prepare onions and jalapeños. Take one white onion, cut it in half, then chop it into medium-sized wedges. For the two jalapeños, cut off the stems. You can choose to cut out the seeds and membranes for a milder sauce, or leave them in if you prefer more heat and spice (I typically leave them in for a bolder flavor!). Add the prepared jalapeños and onion wedges to the baking pan with the tomatillos and garlic.
-
Measure out exactly 2 teaspoons of vegetable oil and drizzle it evenly over the tomatillos, onions, and jalapeños on the baking sheet. It’s important not to use too much oil, as this can prevent proper roasting and charring. Sprinkle 1 teaspoon of kosher salt over all the vegetables. Use your hands to gently rub the oil and salt into the vegetables, ensuring they are well coated. Finally, rearrange the tomatillos so they are all facing cut-side down on the pan.
-
Prepare Anaheim peppers. On the second, DRY baking sheet, evenly spread out 2 pounds of whole Anaheim peppers. This typically amounts to about 10 large peppers. Do not cut, slice, or oil them; place them directly onto the dry pan. Ensure each pepper has an inch or two of space around it so they do not touch, allowing for even roasting and charring.
-
Begin roasting. Place both pans of vegetables into your preheated 400°F (200°C) oven. Roast for an initial 30 minutes. After this time, carefully open the oven door and switch the positions of the pans between the racks. Using tongs, turn the Anaheim peppers over to ensure all sides are exposed to the heat and begin to blister and brown. At this point, the skins of the Anaheim peppers should start to look brownish-black in spots.
-
Continue roasting for an additional 10 minutes, or until the tomatillos, onions, and jalapeños are visibly blackened and caramelized on top. Remove the pan of tomatillos and garlic from the oven and set it aside to cool slightly. Continue roasting the Anaheim peppers until their skins on all sides appear papery, dry, and thoroughly browned or blackened. This ensures maximum flavor development and makes them easier to peel.
-
Steam the peppers. As soon as you remove the roasted Anaheim peppers from the oven, they need to be transferred to an enclosed, steamy environment. You can achieve a good seal by immediately placing a large metal or glass bowl directly over the peppers on the baking pan. Alternatively, carefully transfer all the hot peppers into a large, sealable Ziploc bag and seal it tightly. Allow the peppers to steam for 10-15 minutes. This process is crucial for loosening their tough outer skins.
-
Peel the peppers. Once the peppers have cooled down and thoroughly steamed, use your hands to carefully pull out the stems and remove the seeds. The papery skin should now peel off quite easily. Discard the stems, seeds, and skins, saving only the tender, roasted fleshy part of the peppers. You should end up with approximately 2 cups of roasted Anaheim pepper flesh.
-
Combine roasted ingredients in the blender. Carefully unwrap the foil from around the roasted garlic. Squeeze each softened garlic clove directly into your blender or food processor. Resist the urge to eat it all—it’s incredibly delicious!
Next, using a spatula, scrape all of the roasted tomatillos, onions, and any flavorful juices from their pan into the blender.
Finally, add all the prepared Anaheim chili flesh (ensure no seeds or papery skin are included) into the blender with the other roasted vegetables.
-
Add the remaining ingredients to the blender: Incorporate 1/2 bunch of fresh cilantro (ensure stems are trimmed off), approximately 2 tablespoons of freshly squeezed lime juice, 2 teaspoons of Better than Bouillon Chicken Base (or a vegetarian alternative), 1 teaspoon of kosher salt, 1 teaspoon of dried oregano, 1 and 1/2 teaspoons of ground cumin, and an initial 1/4 cup of water.
-
Blend until smooth. Secure the lid on your blender and process all the ingredients for at least 1 minute, pausing to scrape down the sides with a spatula to ensure everything is thoroughly incorporated. Check the consistency: if the mixture is very thick and does not pour easily, add an additional 2 to 6 tablespoons of water, one tablespoon at a time, blending after each addition until your desired smooth, pourable consistency is reached.
-
Taste and adjust. Before serving or using, taste your freshly made enchilada sauce. This is your chance to perfect the flavor profile! Does it need a little more salt to enhance the ingredients? Perhaps another squeeze of lime juice for brightness? Adjust the seasonings to your personal preference.
-
Enjoy your versatile sauce! This incredible sauce is ready to elevate countless dishes. Use it as the star for making the best Chicken Enchiladas! It’s also an amazing dip for tortilla chips, a vibrant topping for 10 Minute Chicken Quesadillas, a refreshing dressing on Taco Salad, a zesty accompaniment for Fajitas, a perfect dip for Chicken Flautas or Black Bean Taquitos, or to top some hearty Chili Nachos.
-
Storage: For any leftover sauce, simply transfer it to an airtight container and store it in the refrigerator for up to 4-5 days. While it can be enjoyed cold as a dip, for most applications, I recommend warming it gently in the microwave for a minute or two until it’s pleasantly warm to enhance its flavors.
-
Freezing: To store for a longer period, allow the sauce to cool completely before transferring it to a freezer-safe ziplock bag or an airtight container, ensuring excess air is removed. This sauce freezes beautifully for 4-6 months! When you’re ready for enchiladas or other Mexican dishes, simply thaw the sauce overnight in the refrigerator or on the counter for 3-4 hours. Your future self will thank you for this thoughtful meal prep!