
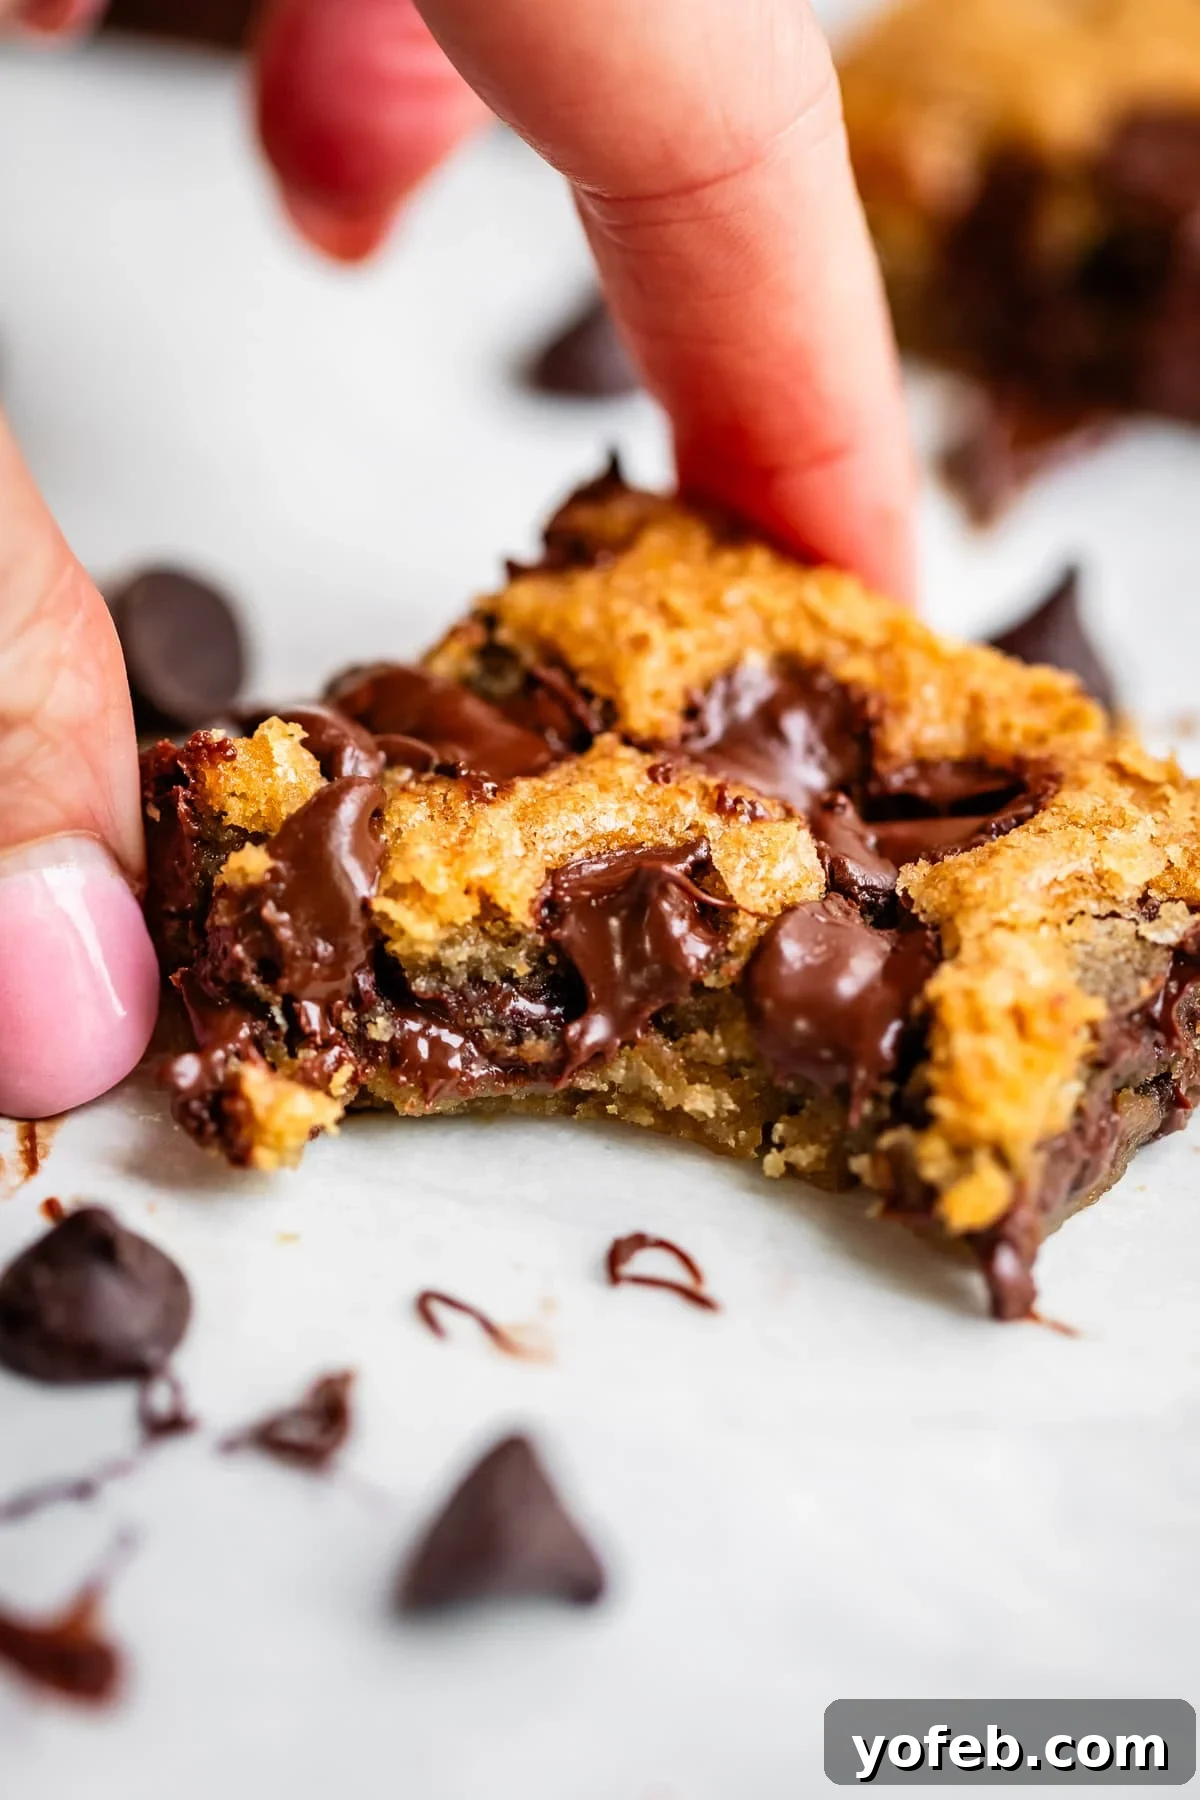
Welcome to the recipe that will permanently change your perception of Chocolate Chip Cookie Bars. For years, I, like many others, found cookie bars to be a frustrating endeavor. The edges would invariably become either too crispy or strangely chewy, while the center often suffered from a doughy collapse. It was a texture dilemma that led me to avoid them entirely in favor of individual cookies. But what if I told you there’s a simple, game-changing technique that eliminates these common pitfalls, resulting in perfectly baked bars every single time? Get ready to discover the secret to cookie bars that bake beautifully flat across the top, boasting delightfully crisp edges and an irresistibly ooey-gooey center. And the best part? No laborious scooping is required, making these a phenomenal dessert ready in just about 35 minutes!
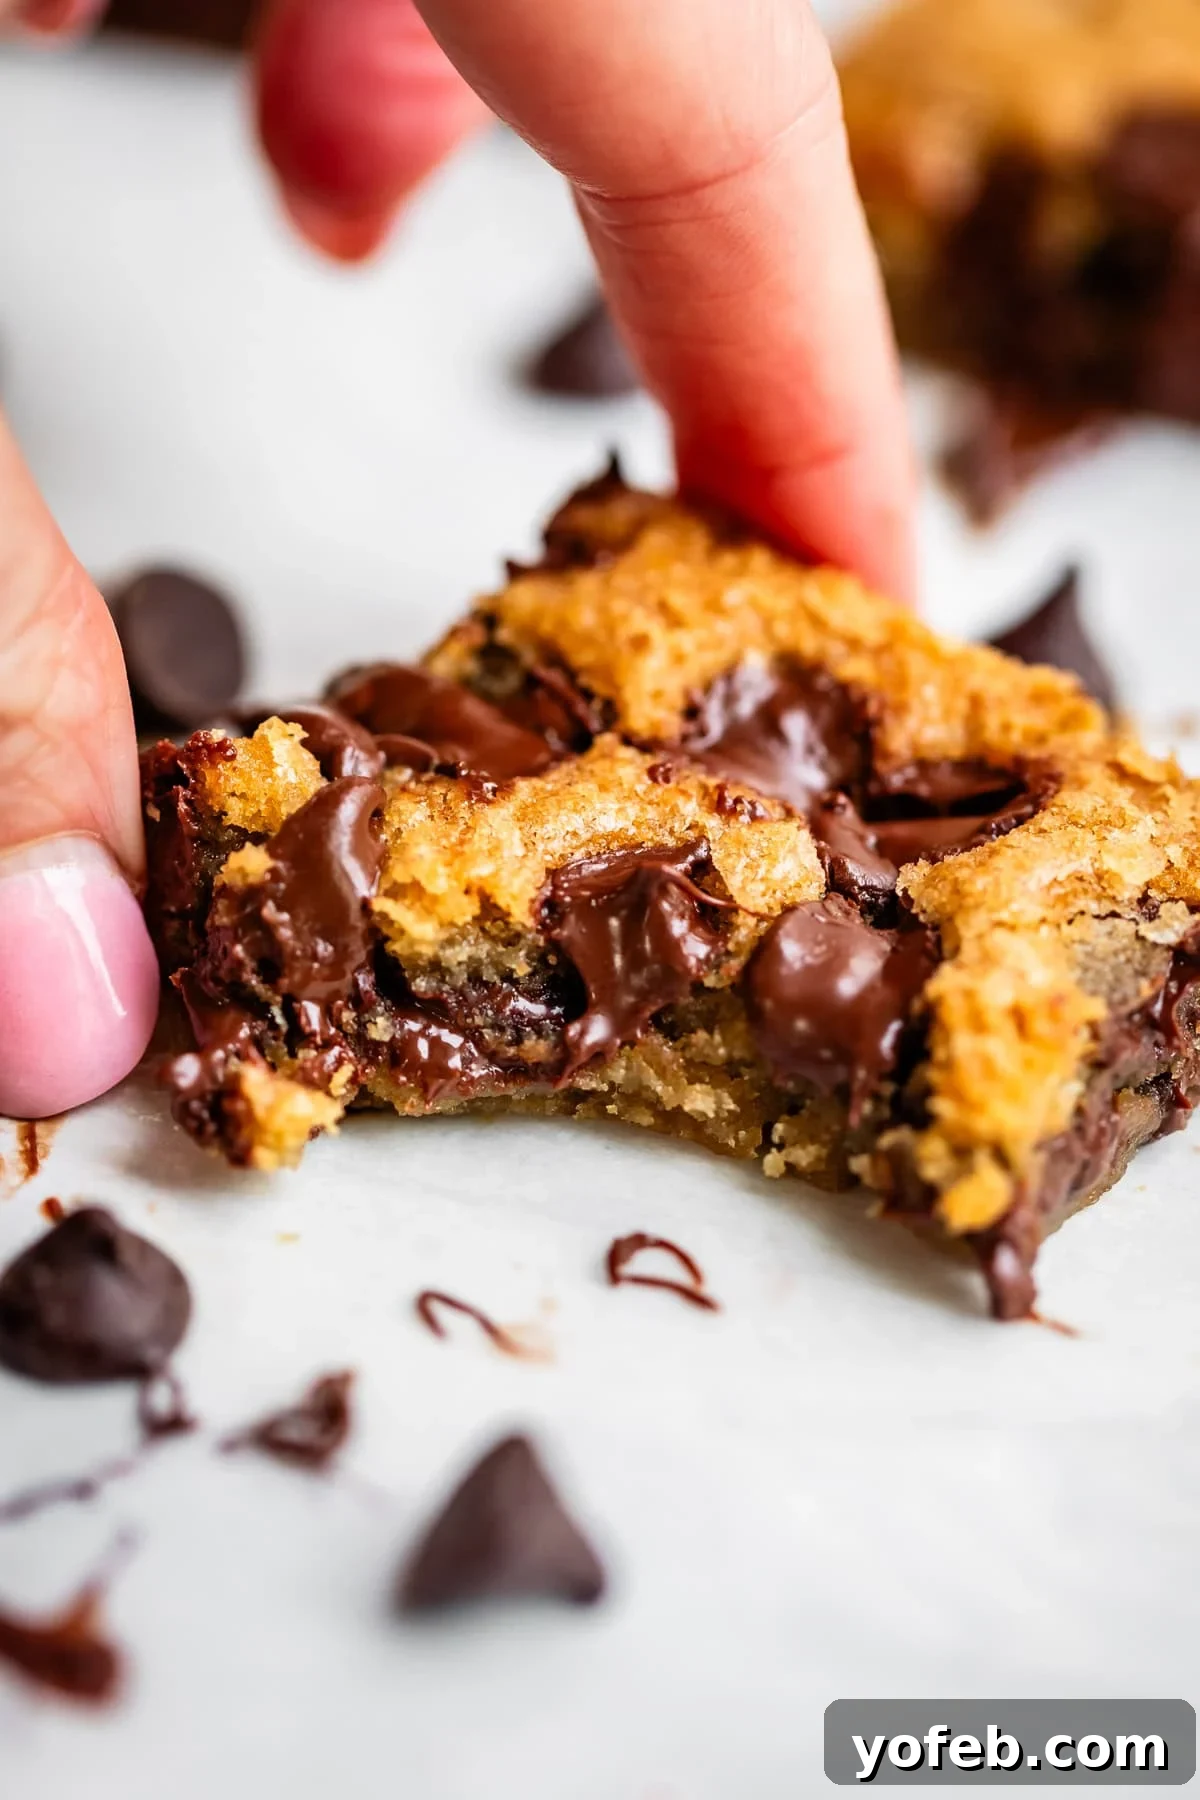
Life can be wonderfully chaotic, and sometimes, the most unexpected detours lead to the sweetest discoveries. Currently, our home is undergoing a significant kitchen renovation, and it’s an exciting, albeit messy, process. Each day brings a new crew – concrete pouring, intricate inspections, the sounds of demolition, and the meticulous work of framing. It’s a symphony of construction terms I’m only just beginning to understand. With what feels like a thousand trucks descending upon our street daily, I often ponder how I can ever adequately thank our incredibly patient neighbors. Perhaps a fresh batch of warm, homemade Chocolate Chip Cookie Bars might just do the trick?
When our contractor, Jeff, tries to explain the detailed mechanics of the project, I mostly just offer a polite smile and nod. It’s truly astounding how much I’ve realized I don’t know about the world of construction. This journey of discovery, however, also extends to the kitchen – specifically, to baking. Just like constructing a sturdy home, crafting the perfect cookie bar requires understanding the fundamentals and sometimes, a little secret technique.
A memorable moment from the renovation came last week when one of the subcontractors recounted a story about Jeff’s incredible problem-solving skills. He described a past job where Jeff needed to maneuver an enormous beam into a house, a task that seemed utterly impossible given the tight constraints and lack of crane access. The subcontractor enthusiastically explained, “We had a 40-foot LVL beam, and there was this tight setback with no crane access… and all of a sudden there was a bobcat in there—”
My eyes widened, and I let out an audible gasp, completely picturing a wild, furry bobcat somehow navigating a construction site. My husband, Eric, quickly nudged me and whispered, “Karen, not a real bobcat, he means a construction vehicle.” The immediate flush of embarrassment was real. It’s moments like these that make me grateful for Eric’s presence, saving me from another public admission of my sometimes-overactive imagination. It seems I’m easily convinced, so you can imagine how much more believable a truly delicious dessert needs to be!
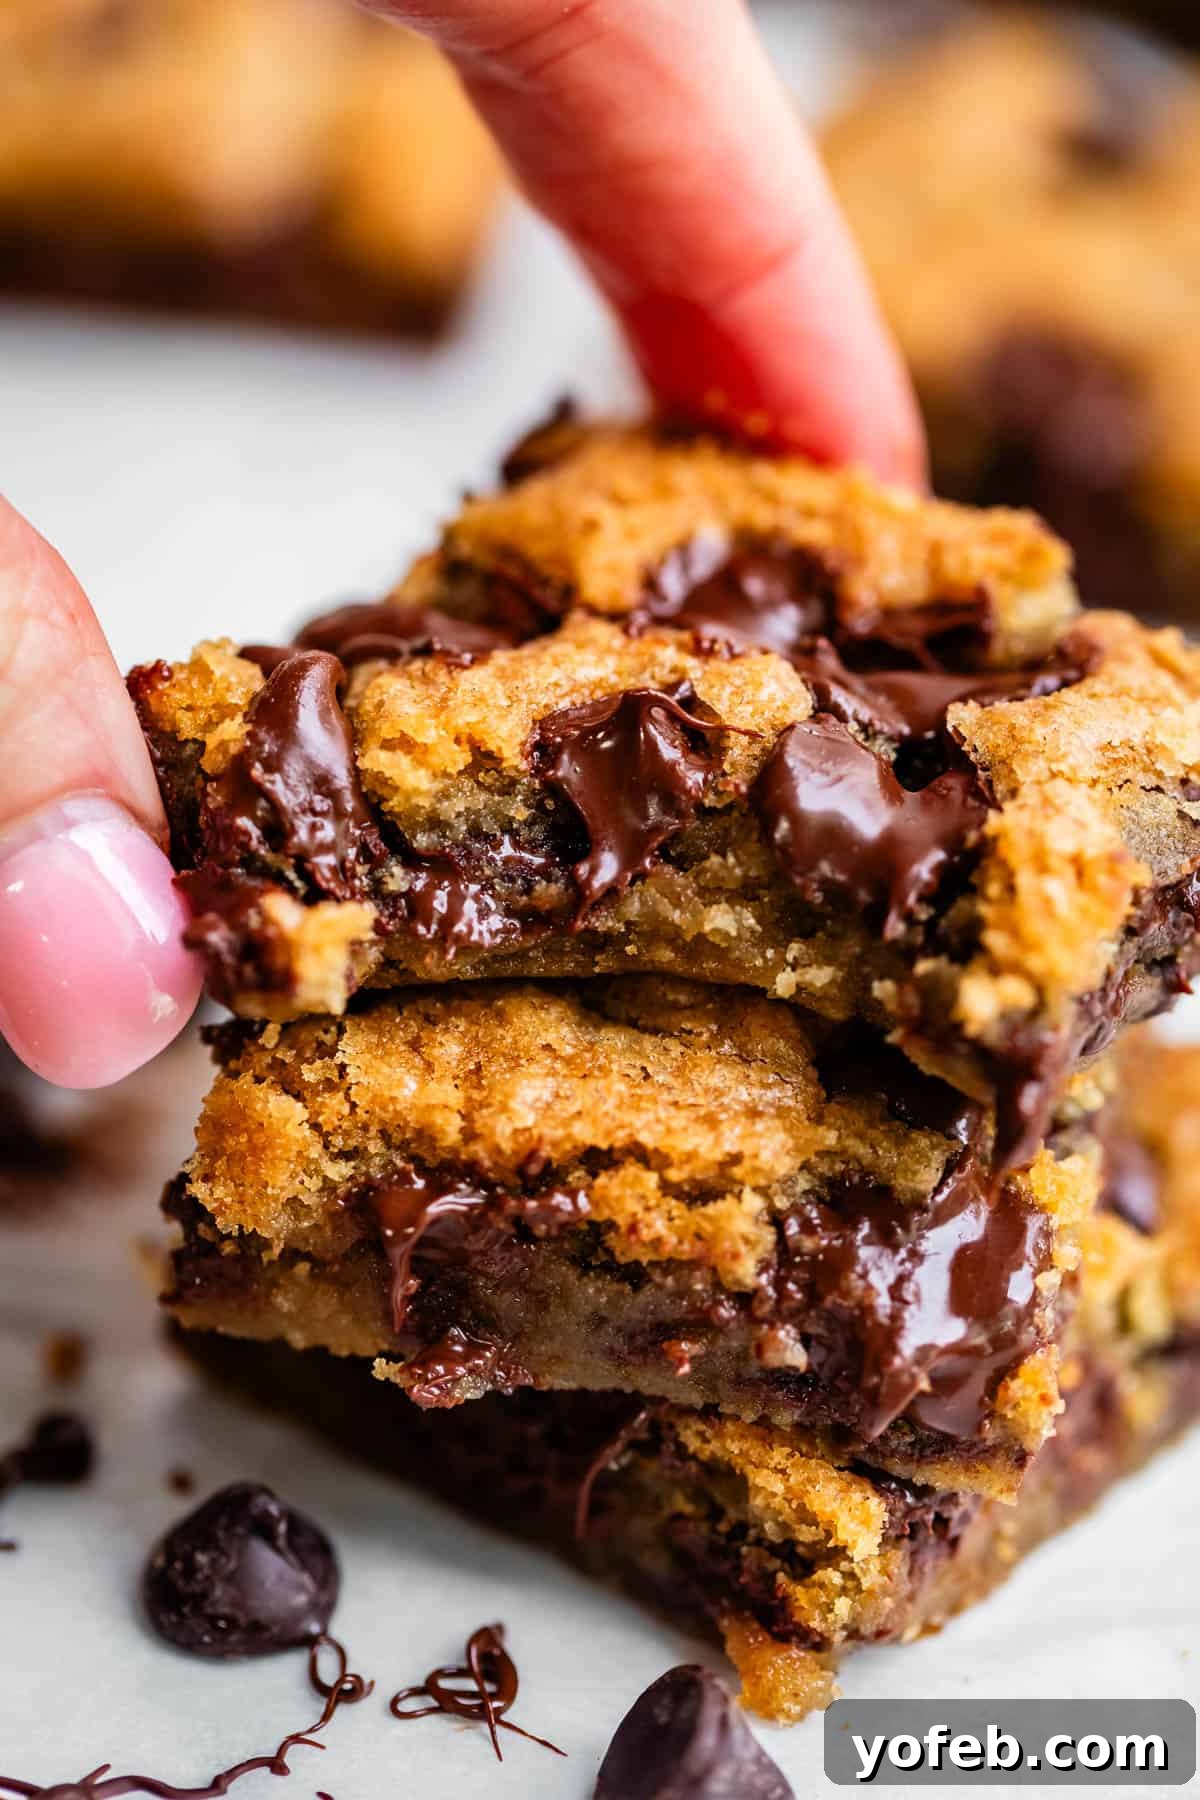
And speaking of things that are undeniably real and fantastic, these Chocolate Chip Cookie Bars are here to prove it! You don’t have to be easily swayed to fall in love with them, I promise. These bars are truly transformative, offering all the delightful flavors and textures of traditional chocolate chip cookies without the fuss of scooping endless batches. Let me share all the wonderful details about why these are about to become your new favorite dessert!
Why These Chocolate Chip Cookie Bars Stand Above The Rest
I’ve always approached generic cookie bar recipes with skepticism, and for good reason. The typical method of simply pressing cookie dough into a pan and baking it almost invariably leads to frustrating results. The edges, intended to be a lovely golden brown, often rise disproportionately, becoming overly dark, dry, and unpleasantly chewy. Meanwhile, the center often sinks, remaining dense or underbaked, creating an inconsistent texture that’s far from enjoyable.
This long-standing disappointment meant that I rarely, if ever, made cookie bars. I would instead opt for classic Chocolate Chip Cookies, or perhaps a rich pan of brownies, or even decadent Almond Roca Bars. While these are all fantastic in their own right, the sheer convenience of baking a single batch of cookie dough in a pan, rather than scooping and baking multiple rounds of cookies, was always an appealing thought. Cookies, as delightful as they are, can be quite a process! My search for a reliable, truly delicious chocolate chip cookie bar recipe seemed endless, a quest filled with attempts that never quite hit the mark.
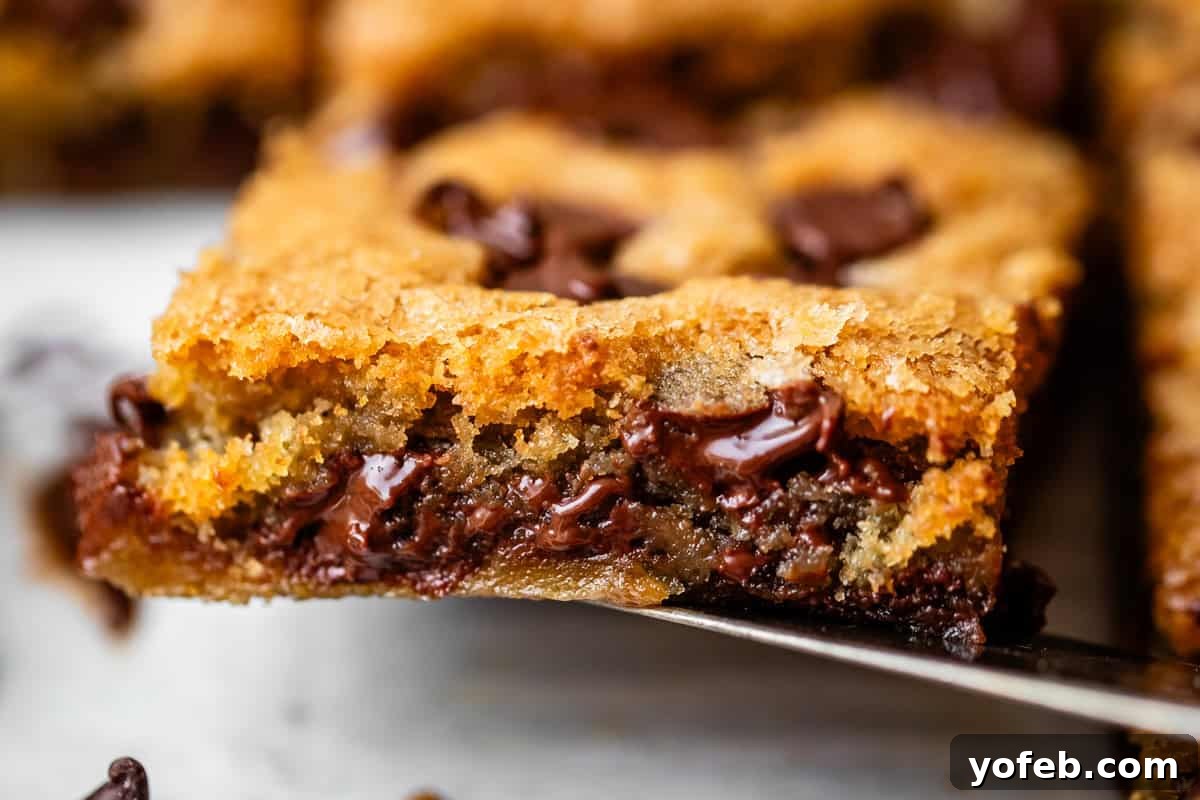
Over the years, I experimented with countless techniques to achieve a decent cookie bar. I tried adjusting baking temperatures, varying baking times, and even different types of pans, all in an effort to prevent those stubborn edges from over-rising and over-baking. The challenge was always the same: if you bake them long enough for the center to be cooked through and not doughy, the edges inevitably dry out and develop that unappealing, overly crispy texture. This usually left me wanting to eat only the small, ideal portion in the very center of the pan, deeming the rest of the bar unpardonable.
The turning point came during a dessert evening at my friend Jackie’s house. She served chocolate chip cookie bars that were unlike any I had ever encountered. They were remarkably even across the entire top surface, with a consistent, tender texture from edge to glorious edge. There was no pronounced rise or dramatic fall; just a beautiful, uniform bake. I was instantly captivated and knew I had to uncover her secret.
The Revolutionary Secret to Perfectly Flat Chocolate Chip Cookie Bars
My friend Jackie, a true baking genius, graciously shared her recipe and, more importantly, her ingenious secret with me. The magic lies in a seemingly simple step: dissolving the baking soda in a small amount of hot water *before* incorporating it into the dough. This isn’t just a minor tweak; it’s a revolutionary technique that fundamentally alters the baking process of your cookie bars.
Here’s how it works: Baking soda is a leavening agent that reacts with acidic ingredients in the dough to produce carbon dioxide gas, which creates lift and makes baked goods rise. When you activate the baking soda with hot water beforehand, it begins to react immediately, releasing some of its leavening power before it even enters the oven. By the time it’s mixed into your cookie dough and then baked, its rising intensity is significantly mellowed. This “pre-activation” ensures that the cookie bars don’t experience an aggressive rise during baking, preventing those undesirable high edges and the subsequent collapse in the center.
The result? Cookie bars that bake much more evenly, staying beautifully flat across the top without dramatic peaks or valleys. The traditional issue of the center sinking after removal from the oven becomes a thing of the past. Imagine baking soda with a “low battery” – it still works, but with a gentle, controlled power that yields a consistent, perfect texture throughout the entire pan. This method is a game-changer for anyone who has struggled with inconsistent cookie bar textures.
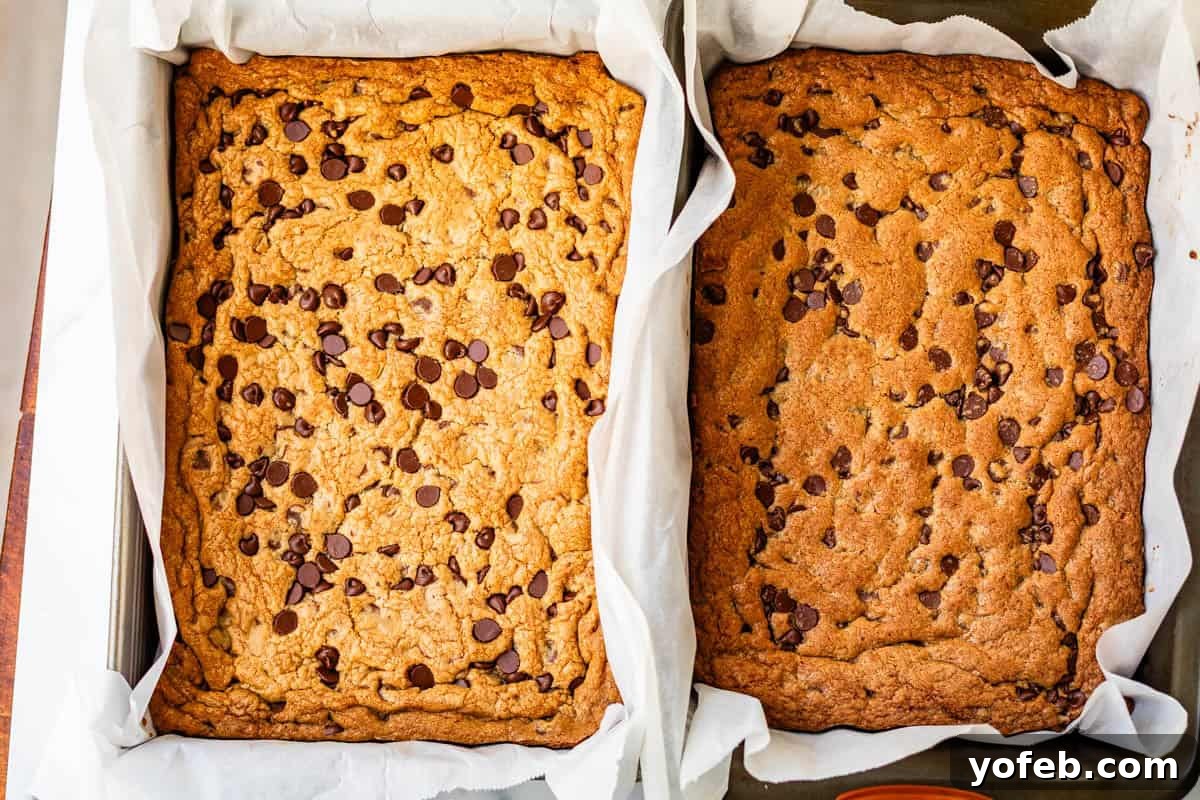
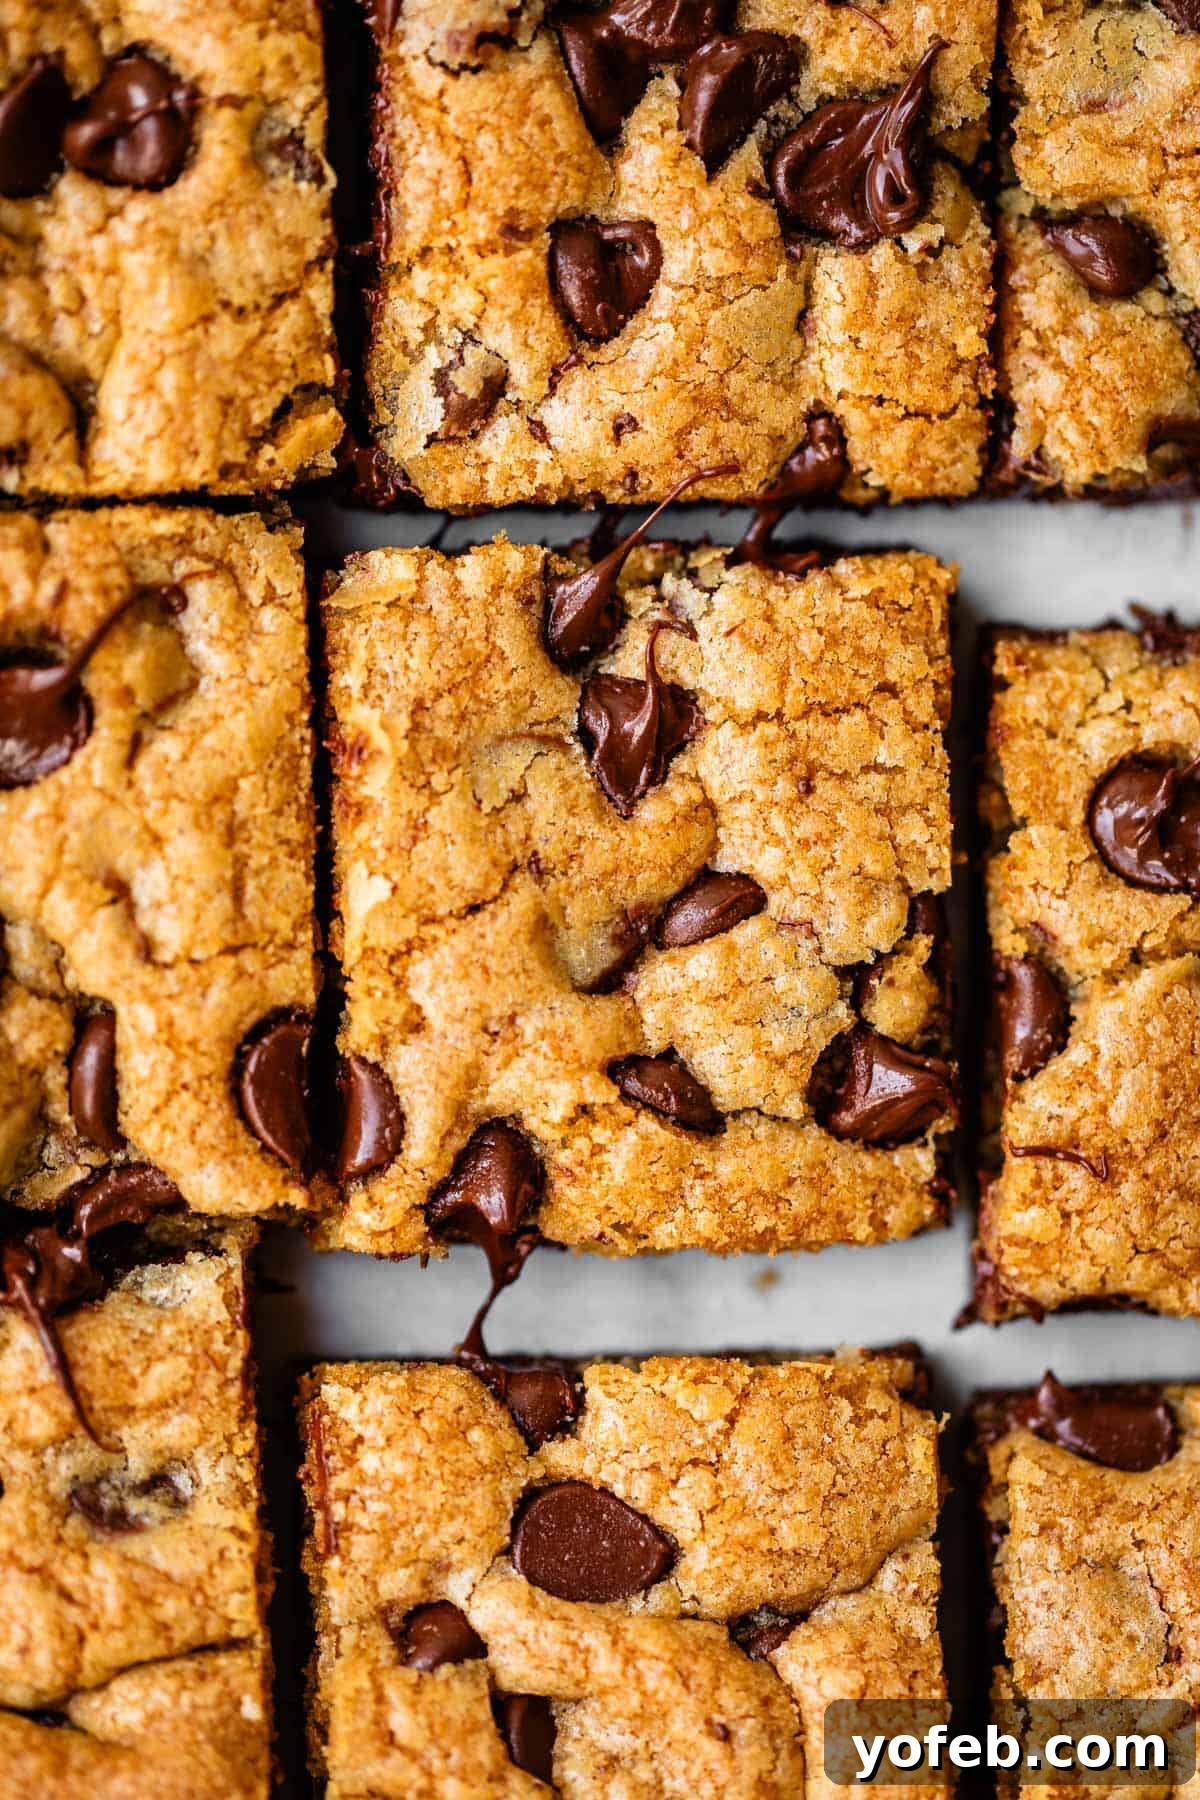
To illustrate the dramatic difference this simple step makes, observe the comparison. The pan on the left showcases our final, perfected recipe, utilizing the activated baking soda. Notice how uniformly golden brown it is, with beautifully even edges and a consistently flat surface. In stark contrast, the pan on the right was made using the conventional method, where baking soda is added directly to the dry ingredients. You can clearly see the much darker, more ridged edges, indicative of an over-rise followed by an unfortunate, flatter collapse in the center. The visual evidence truly speaks for itself, highlighting the superior texture and appearance achieved with this secret technique.
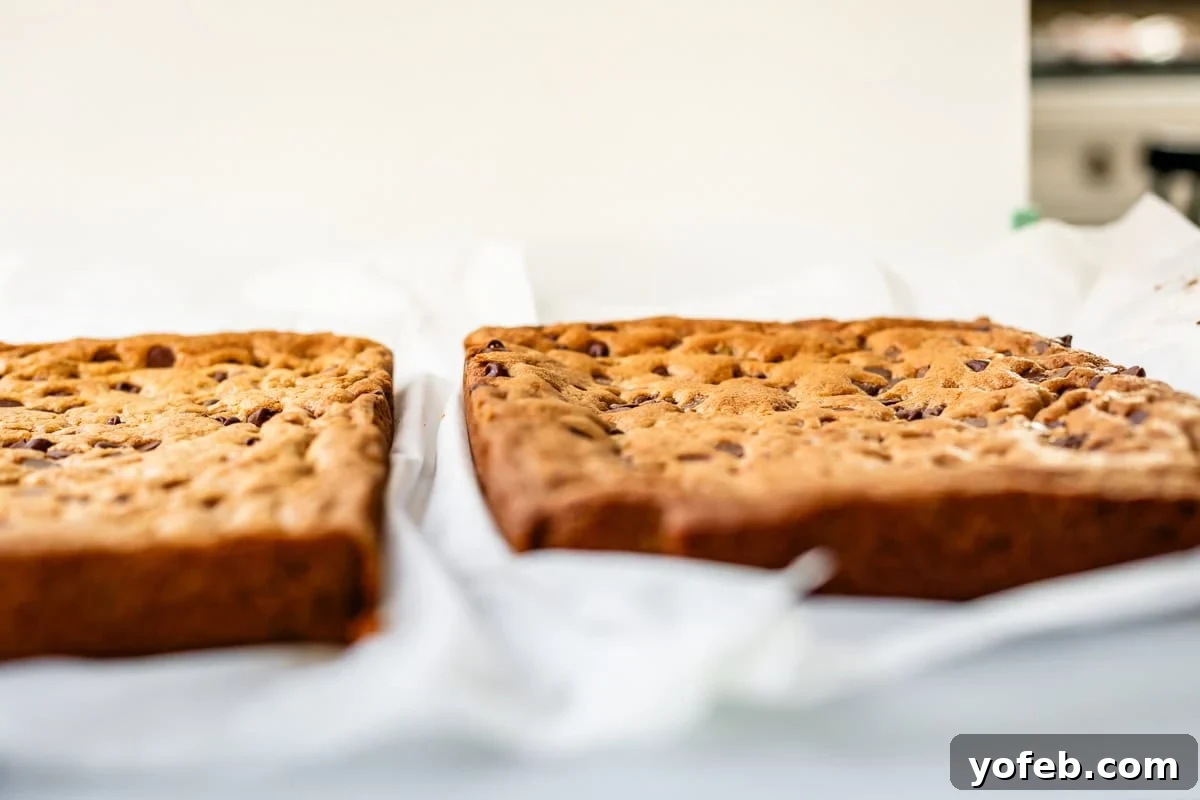
This side-by-side comparison further emphasizes the profound impact of our “secret method.” On the left, you can clearly distinguish the cookie bars from the final recipe, exhibiting an almost perfectly even surface with just the right amount of gentle lift at the very edges. This is the ideal structure we’re aiming for – a consistent bake that ensures every bite is equally delicious.
Now, direct your attention to the pan on the right, prepared using the traditional, “old way.” The visual difference is striking. Notice the dramatic, undesirable drop towards the center of the pan. This is precisely the outcome we want to avoid. The edges of these conventionally baked bars become overly browned and baked to the point of being dry and brittle, while the collapsed center often transforms into a dense, gummy mass lacking any of the desired lightness. This happens because the dough initially rises too high and then, lacking proper structural support, falls too low, creating an inconsistent and disappointing texture. This revelation truly astonished me. I would never have thought to pre-activate baking soda, but the consistent, delightful results are undeniable. I’m already envisioning applying this brilliant technique to other bar recipes!
Key Ingredients for the Ultimate Soft and Chewy Chocolate Chip Cookie Bars
While the baking soda trick is undeniably the star of this recipe, a few other carefully selected ingredients play crucial supporting roles in giving our cookie bars their unparalleled texture and ensuring they remain wonderfully soft and fresh for days. Each component is chosen to contribute to that perfect ooey-gooey, soft-baked experience.
- Cornstarch: You might not typically find cornstarch in your standard chocolate chip cookie recipe, but it’s an absolute essential here. When baking bars, the extended baking time compared to individual cookies can often lead to a tough, dry, or crumbly texture. Cornstarch acts as a tenderizer, helping to create an incredibly soft and chewy crumb that withstands longer baking. It locks in moisture and prevents the bars from drying out, ensuring they stay delightfully soft and fresh for multiple days.
- Less Brown Sugar: This might seem counterintuitive if you’re familiar with classic chewy cookie recipes, which often rely heavily on brown sugar for moisture and chewiness. However, for cookie bars, which bake for a longer duration in a confined pan, an excessive amount of brown sugar can cause them to become overly dark and dried out very quickly. By slightly reducing the brown sugar and increasing the white granulated sugar, we strike a perfect balance. We retain those lovely notes of caramel-like brown sugar flavor while ensuring the bars bake to a beautiful golden hue without over-browning, contributing to their soft texture.
- Pre-activated Baking Soda: As previously detailed, this is our secret weapon for achieving that perfectly even, flat top and consistent texture. By dissolving the baking soda in warm water before adding it to the dough, we pre-emptively activate it. This mellows its leavening power, preventing the bars from rising too aggressively and then collapsing. The result is a uniform rise and an ideal, tender crumb throughout the entire pan, eliminating those frustratingly dense centers and tough edges.
These thoughtful ingredient choices, combined with our special baking soda technique, work in harmony to produce chocolate chip cookie bars that are truly exceptional – soft, chewy, perfectly golden, and irresistible from the very first bite to the last!
Crafting Your Perfect Chocolate Chip Cookie Bars: A Step-by-Step Guide
The beauty of this recipe lies in its simplicity and the fact that you likely already have all the necessary ingredients for incredible chocolate chip cookies readily available in your pantry. We’re talking about baking staples that are always on hand for those spontaneous baking urges, right? (I once babysat my friend Mardee’s kids and decided to whip up some cookies, only to discover her pantry was entirely devoid of butter and sugar. My mind was blown! Mardee, you are truly built different, destined for a long, sugar-free life.) Rest assured, for this recipe, you’ll need the usual suspects: butter, sugars, eggs, vanilla, flour, and of course, plenty of chocolate chips.
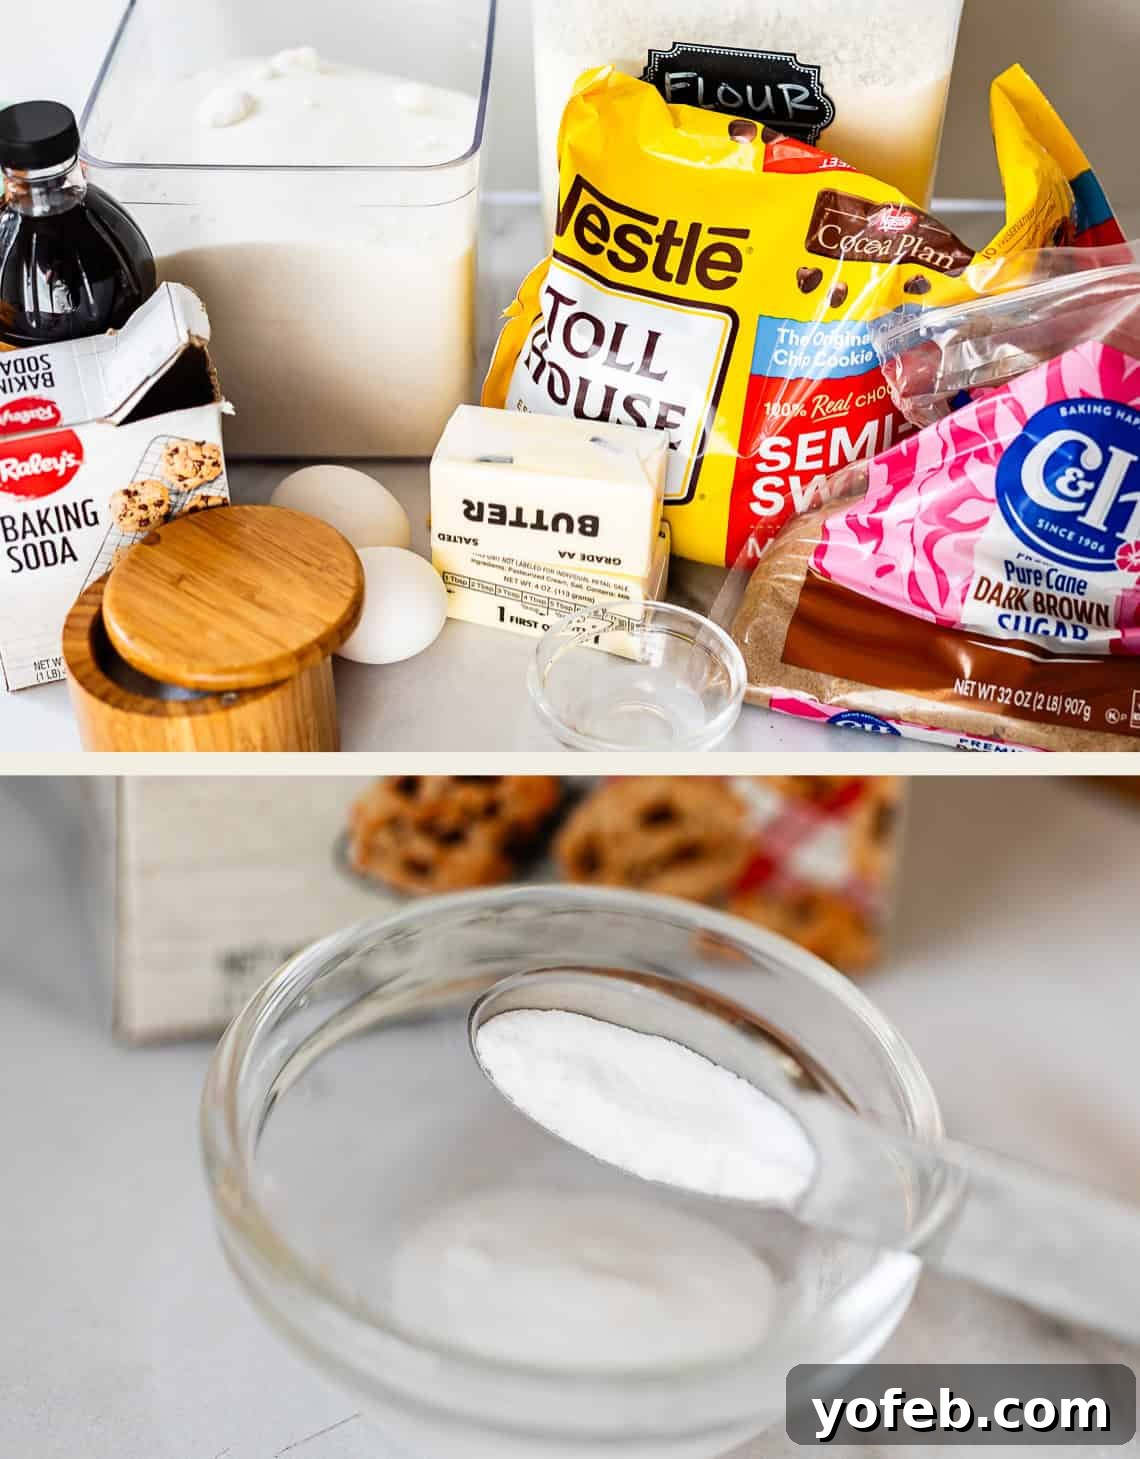
Let’s dive into the baking process, starting with our secret weapon! The very first step is to prepare the baking soda and hot water mixture. This crucial pre-activation process needs a few minutes to work its magic, so we’ll get it ready first while we prepare the rest of the dough. It sets the stage for those perfectly even, soft bars.
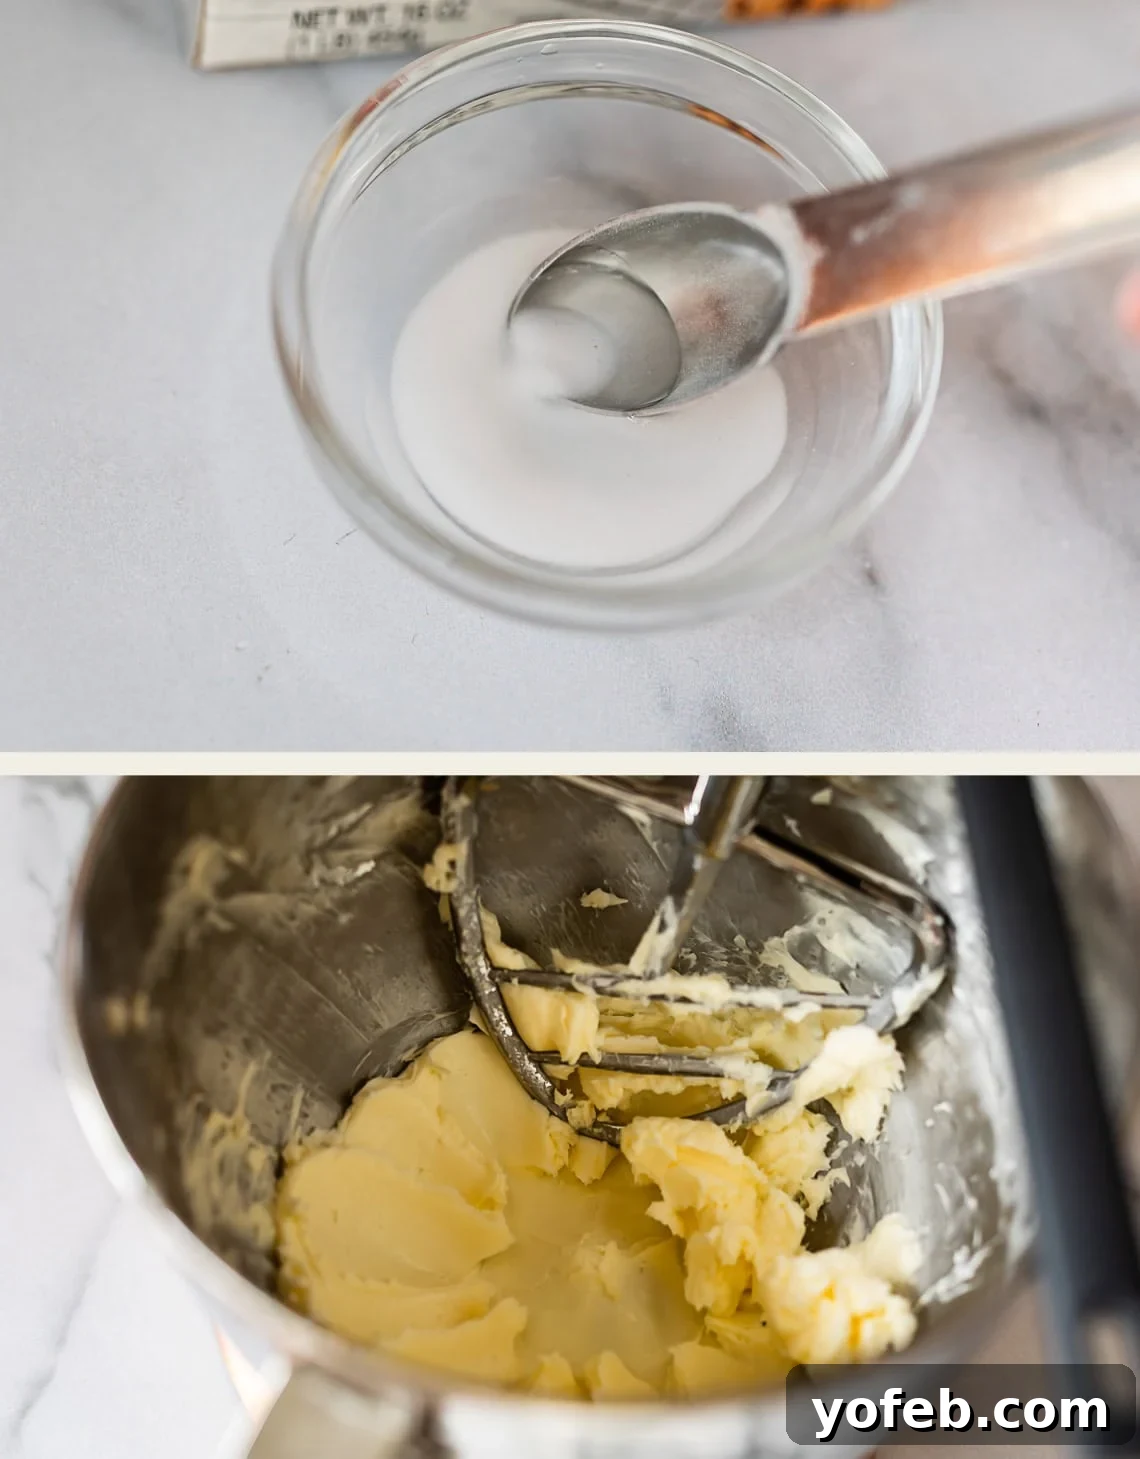
Next, in a large mixing bowl, add your softened butter. If you’re using a stand mixer, you can even start with cold butter and let the mixer work it until fluffy. For electric hand mixers, ensure your butter is properly softened. Beat the butter until it’s light and creamy, typically for about two minutes, remembering to scrape down the sides and bottom of the bowl at least once to ensure everything is evenly incorporated.
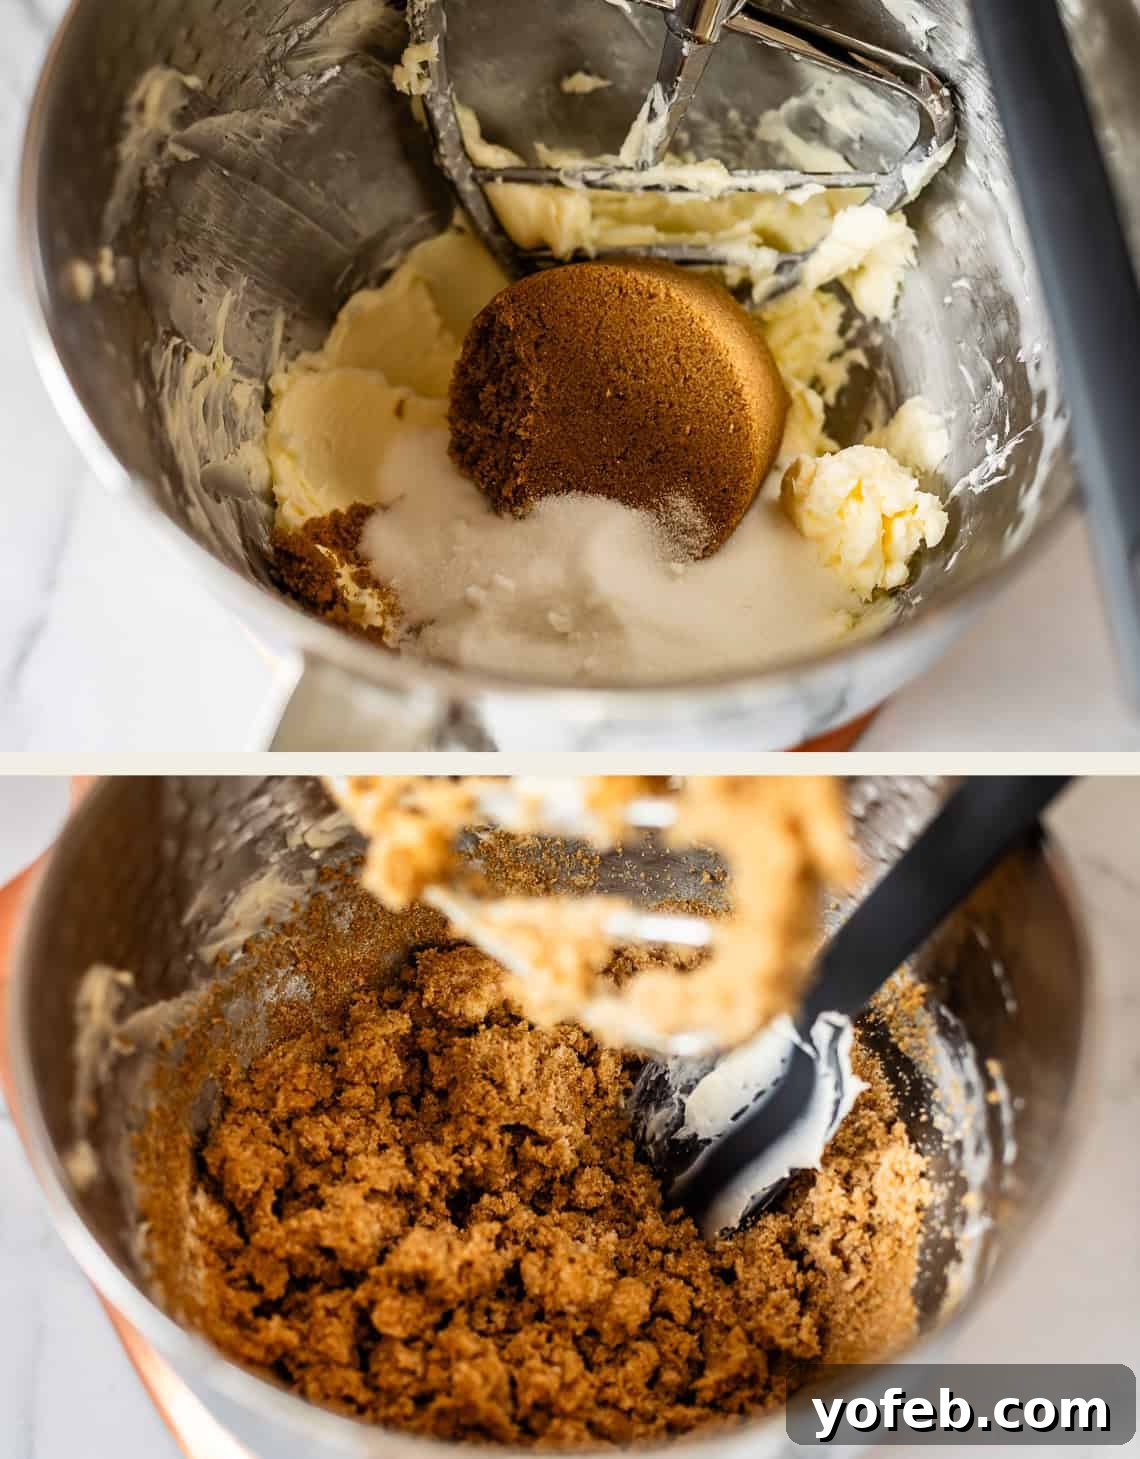
Once your butter is wonderfully creamy, add in both the granulated sugar and the packed brown sugar. Continue beating the mixture thoroughly for another two minutes until it becomes light, fluffy, and well-combined. Again, pause halfway through to scrape down the sides of the bowl, ensuring no pockets of unmixed ingredients remain.
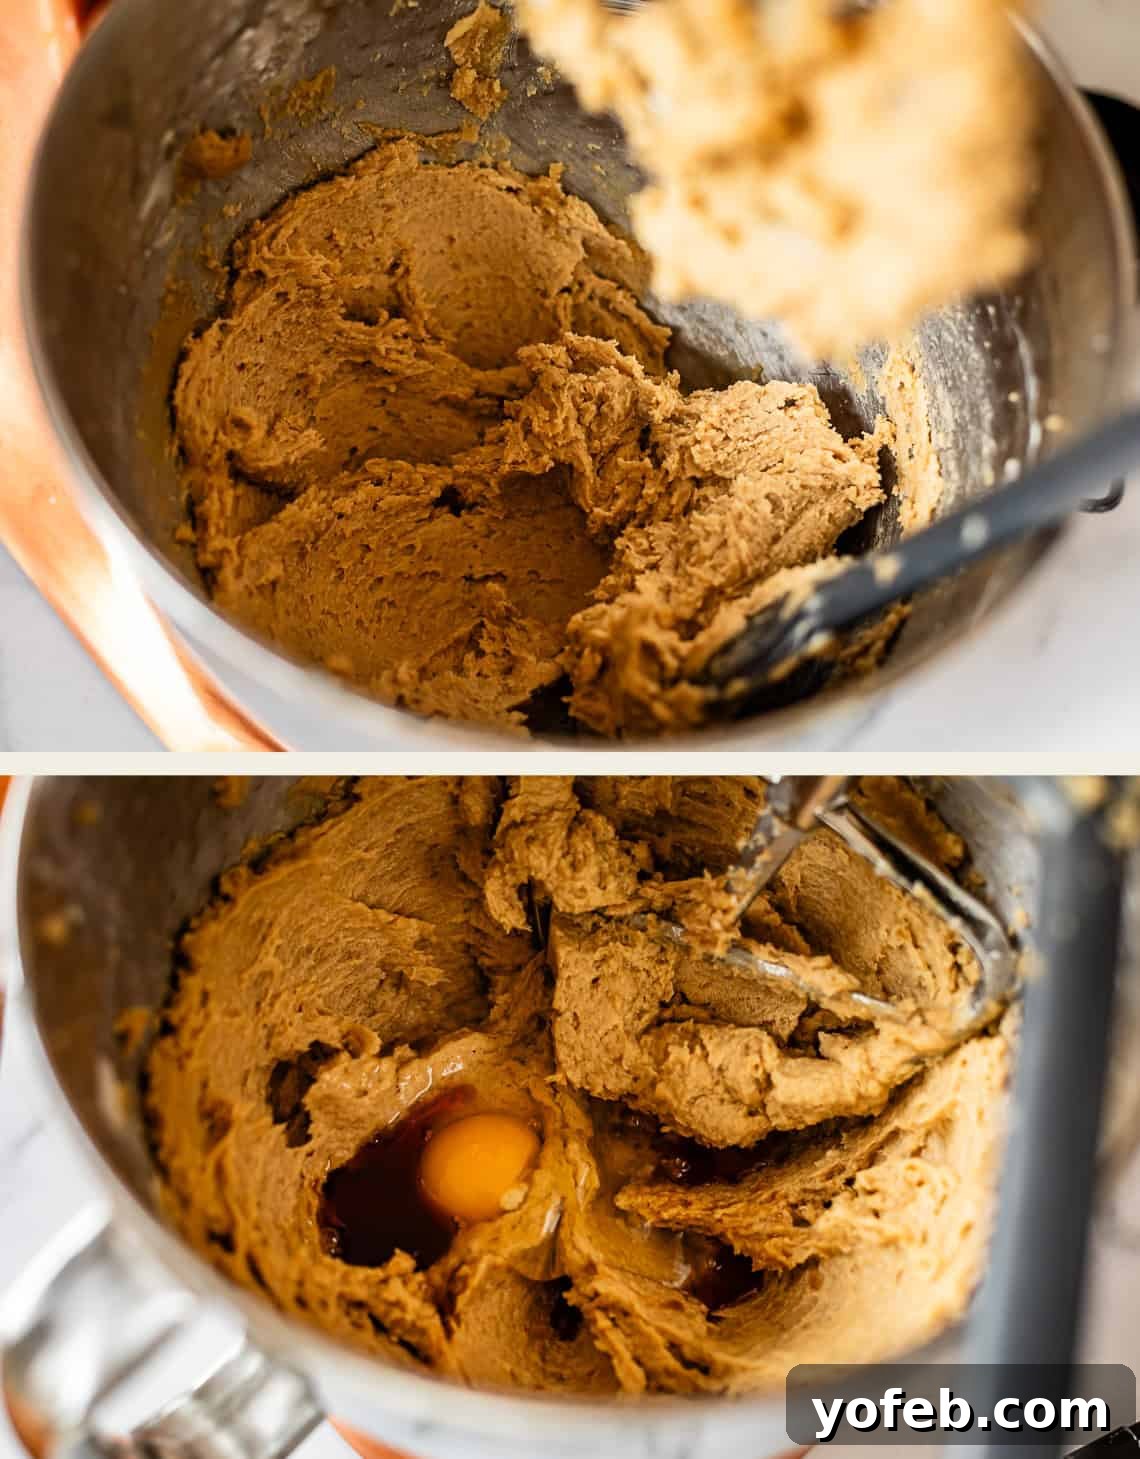
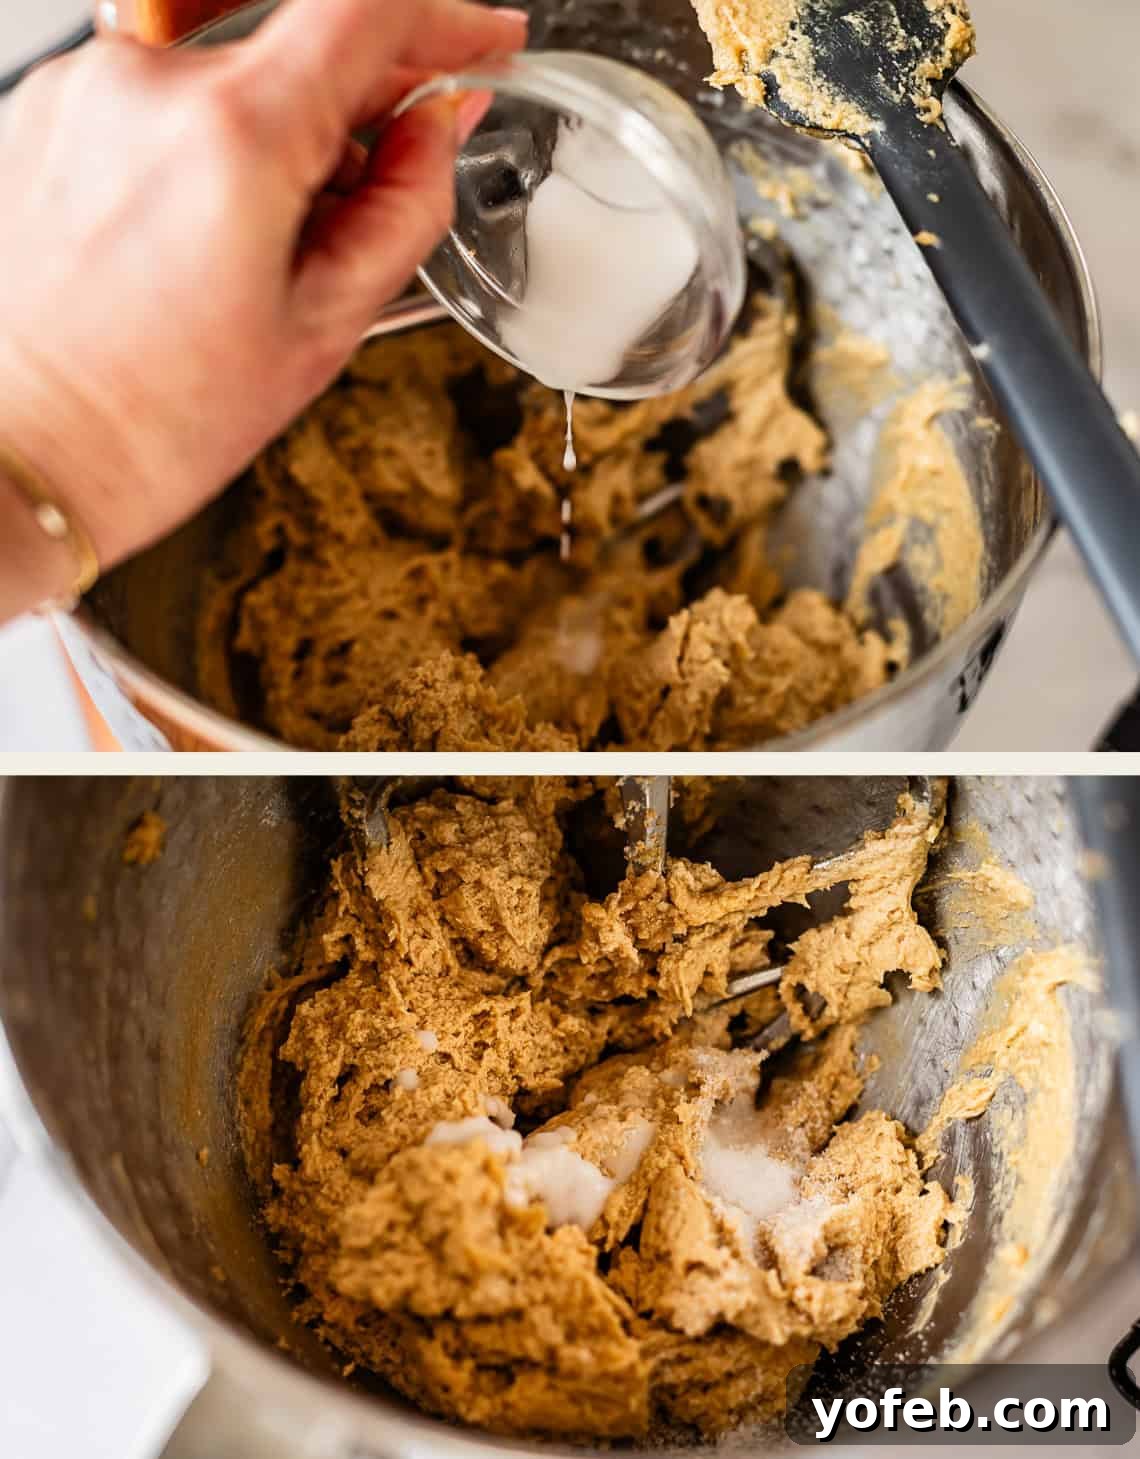
Now it’s time to add the wet ingredients. Incorporate the first egg, beating it well until fully integrated, then scrape the sides of the bowl. Next, add the second egg along with the vanilla extract. Finally, introduce that activated baking soda and hot water mixture into the wet ingredients. Beat everything together for at least another minute, ensuring all ingredients are thoroughly combined and the mixture is smooth and cohesive. Don’t forget to scrape down the sides and bottom of the bowl once more during this step.
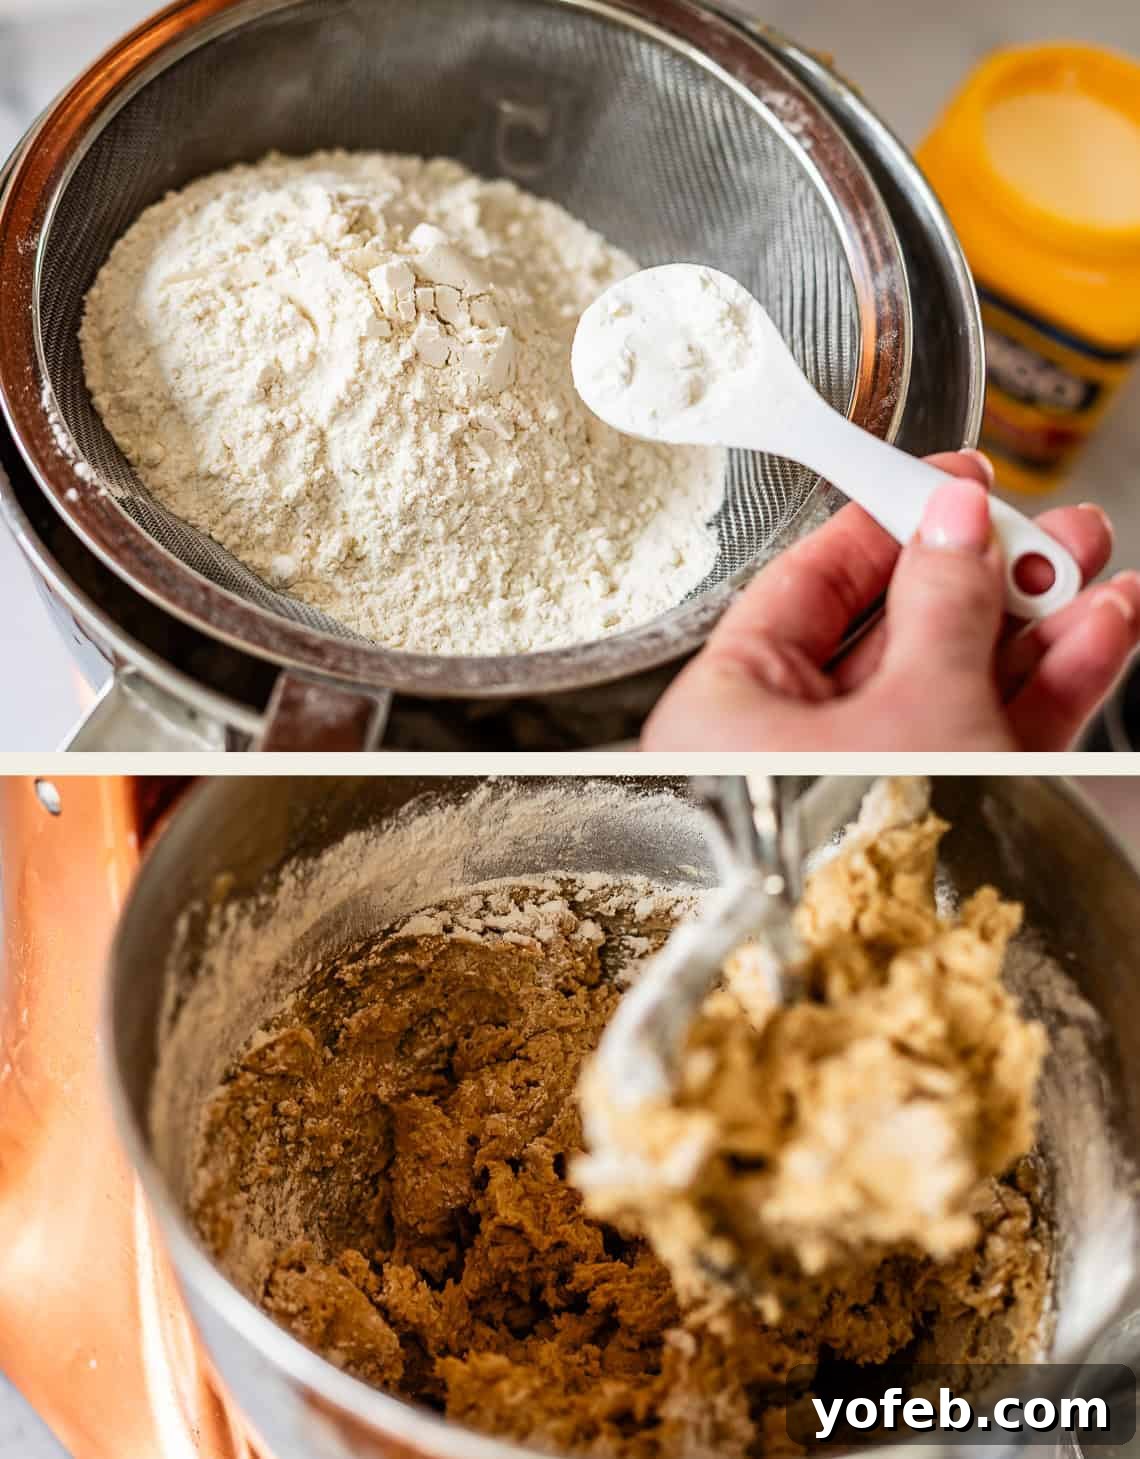
For the dry ingredients, measure out your all-purpose flour. A key tip for accurate baking is to spoon the flour into your measuring cup and then level it off with a straight edge; avoid scooping directly with the cup, as this can compact the flour and lead to an overly dense dough. Add the cornstarch and kosher salt (adjusting for table salt if necessary) directly on top of the flour. Begin mixing on low speed, just until a few streaks of white flour are still visible. Overmixing the flour can develop the gluten too much, resulting in tough cookie bars. Scrape down the sides and bottom of the bowl, and give it just a few more gentle turns until almost combined.
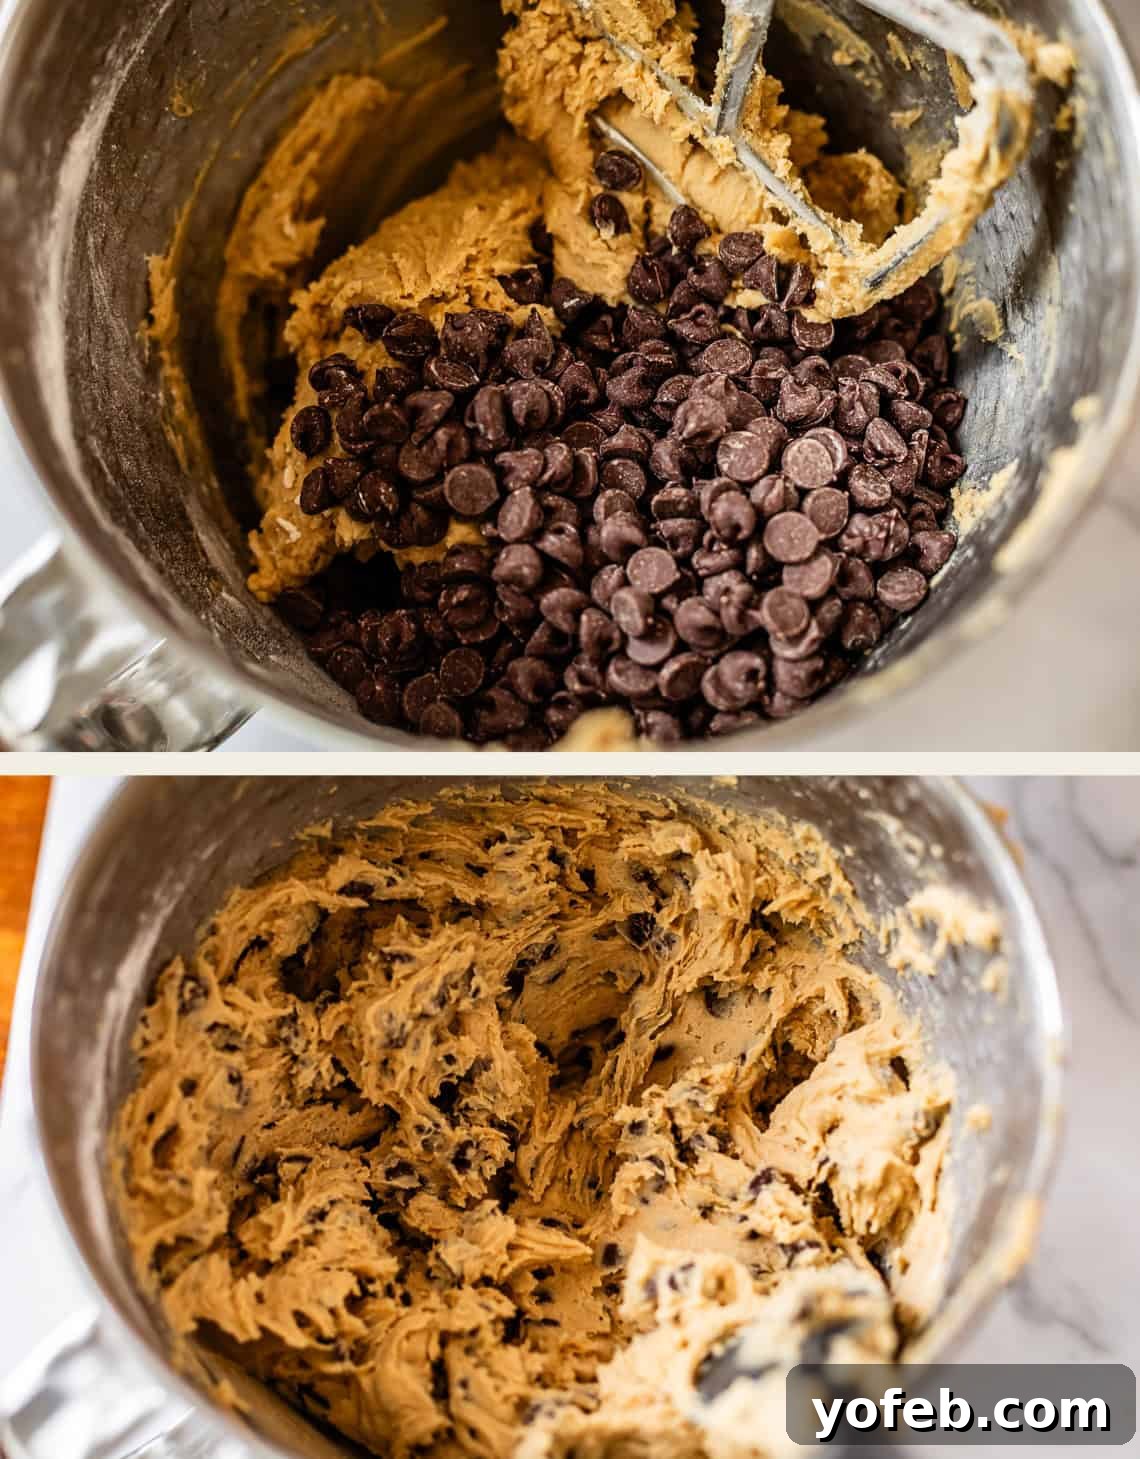
Finally, it’s time for the star of the show: the chocolate chips! Add the specified amount of semisweet chocolate chips to your dough. Mix on low speed until the chocolate chips are *just* barely combined throughout the dough. Again, be mindful not to overmix at this stage. A quick scrape of the bowl and a final gentle stir ensure everything is perfectly distributed without compromising the tenderness of the dough. Your rich, delicious cookie bar dough is now ready for the pan!
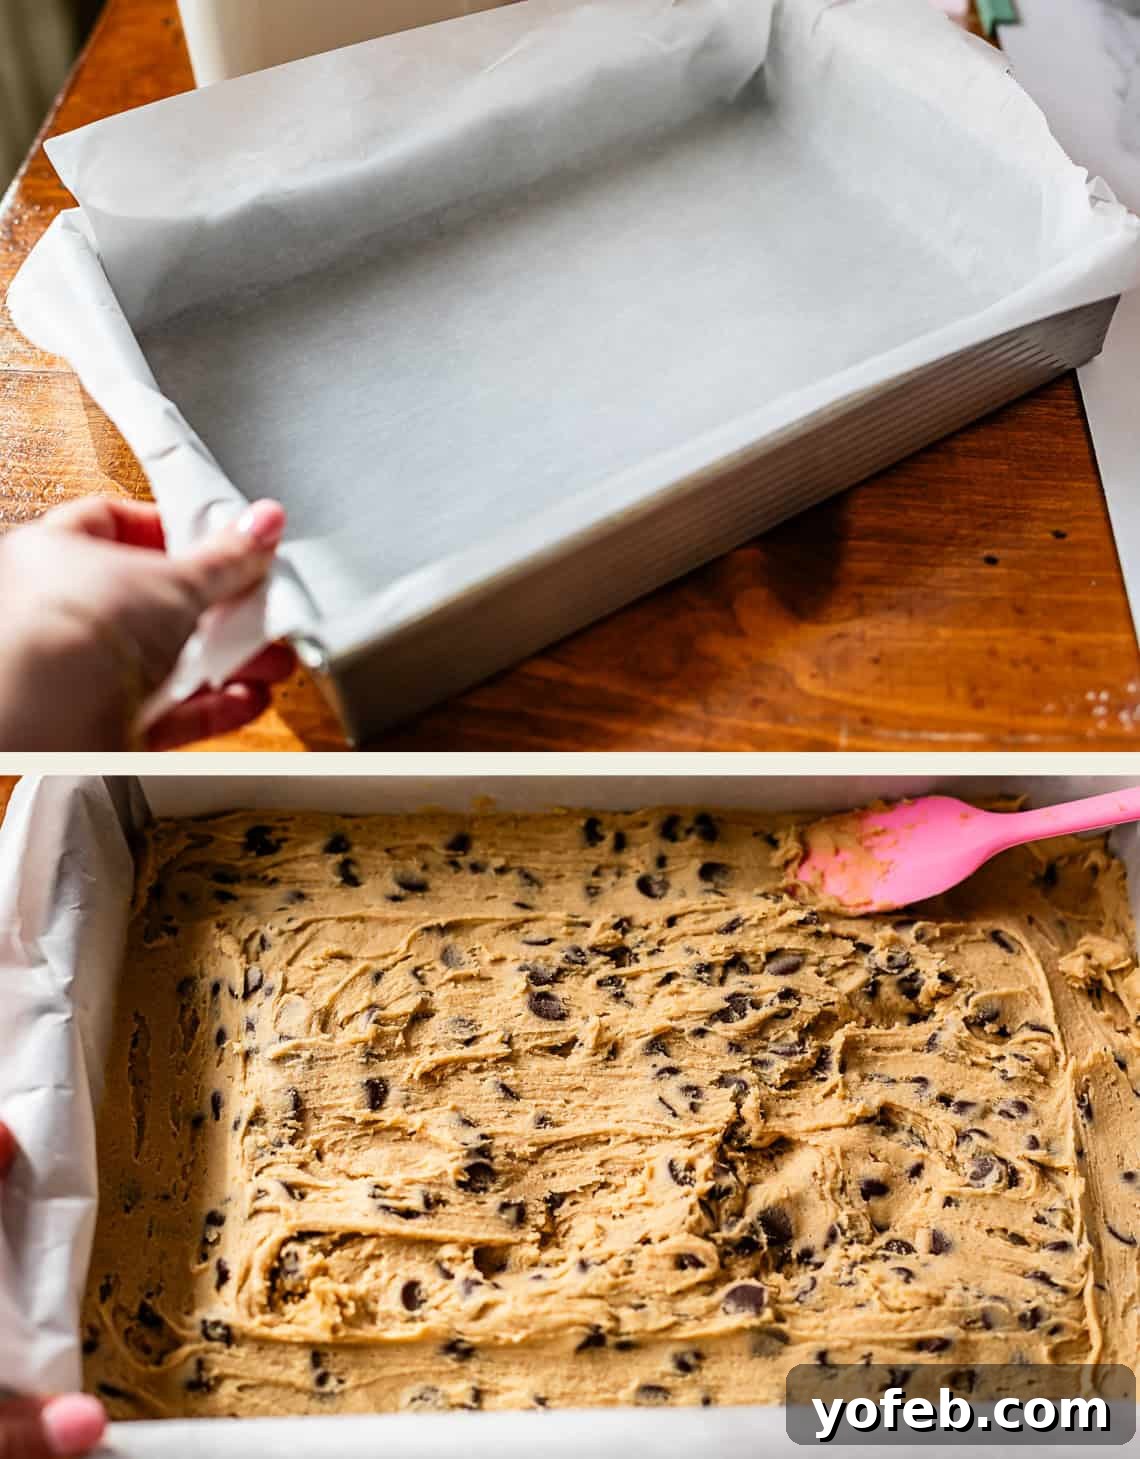
Prepare a 9×13 inch baking pan by lining it with parchment paper, leaving an overhang on the sides for easy lifting after baking. This step is a lifesaver for clean removal and slicing. Alternatively, you can generously grease your glass pan with butter or nonstick spray. Scrape the entire batch of cookie dough into your prepared pan. Using an offset spatula or the back of a spoon, gently press the dough evenly into all corners of the pan, ensuring a flat, uniform surface from edge to edge.
For an extra visual appeal and bursts of chocolate in every bite, scatter an additional 1/2 cup of semisweet chocolate chips generously over the flattened dough. Use your hands to lightly press these extra chocolate chips into the surface of the dough, ensuring they adhere well. This creates a beautiful, melted chocolate topping once baked.
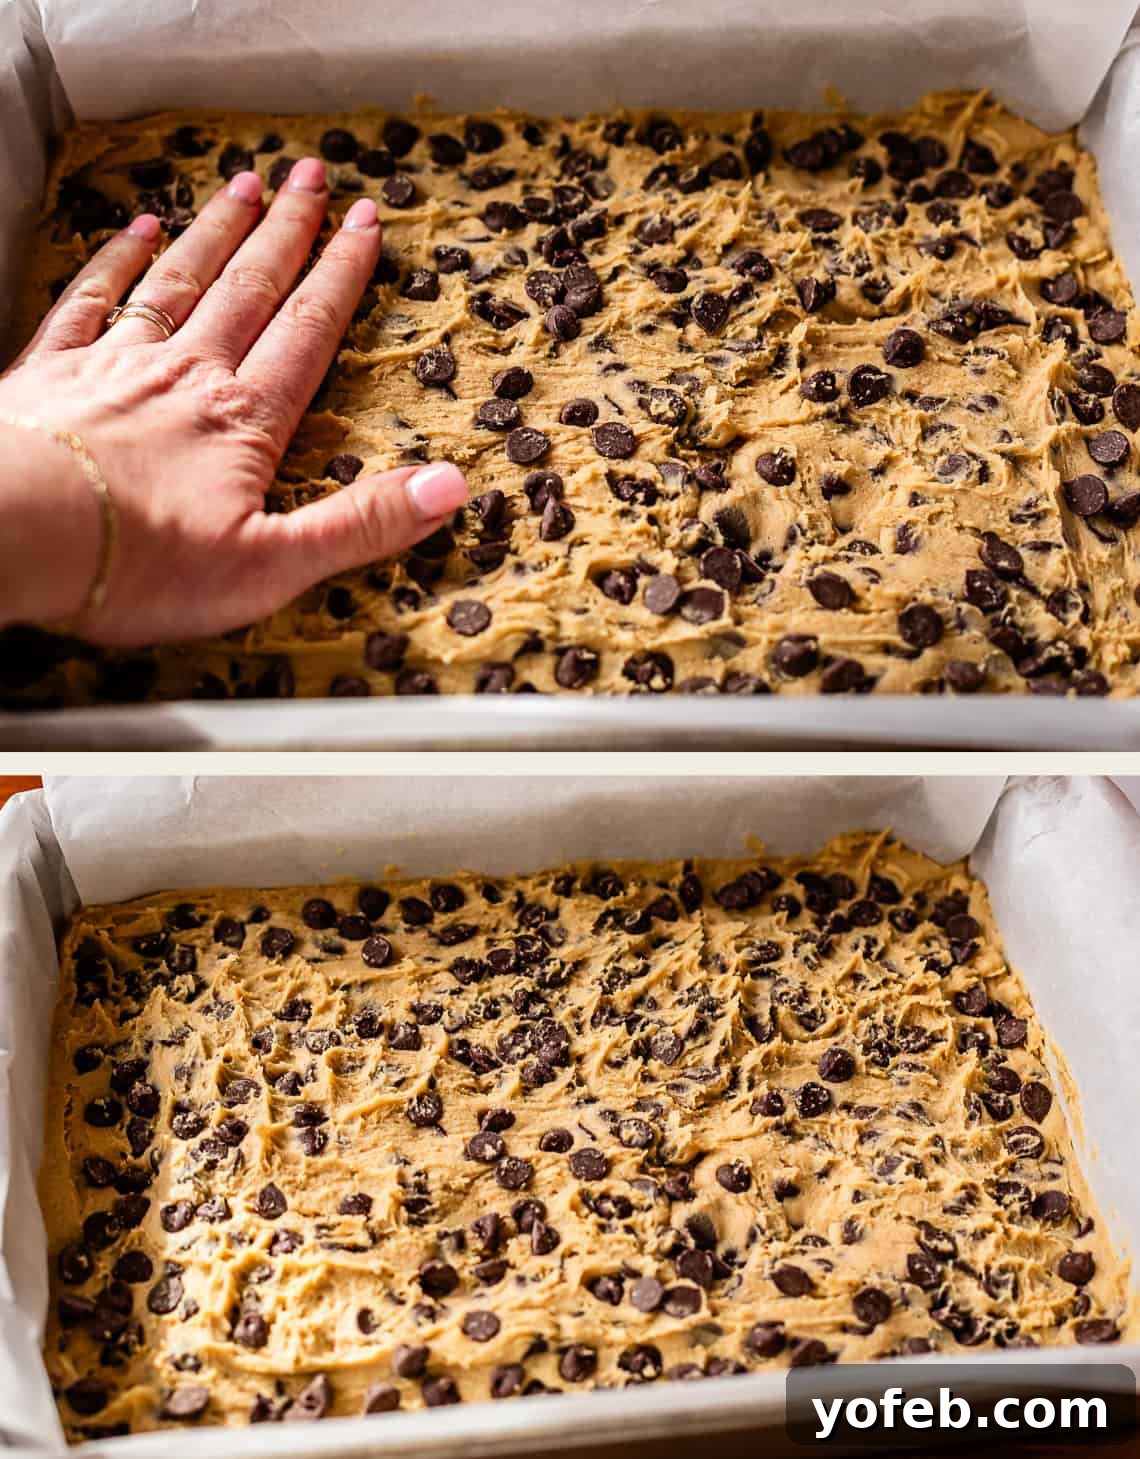
Your pan of soon-to-be-legendary chocolate chip cookie bars is now perfectly prepped and ready for the oven! Bake at 325 degrees F for approximately 25-27 minutes, or until the top is beautifully golden brown across the entire surface. A gentle shake of the pan should result in a slight, even wobble in the center – not a liquidy jiggle. A toothpick inserted into the center should come out with moist crumbs and melted chocolate, but absolutely no wet batter. It is crucial not to overbake these bars; slightly underbaked is better than overbaked for maximum gooeyness and softness. Once out of the oven, allow them to cool in the pan for a few minutes before slicing.
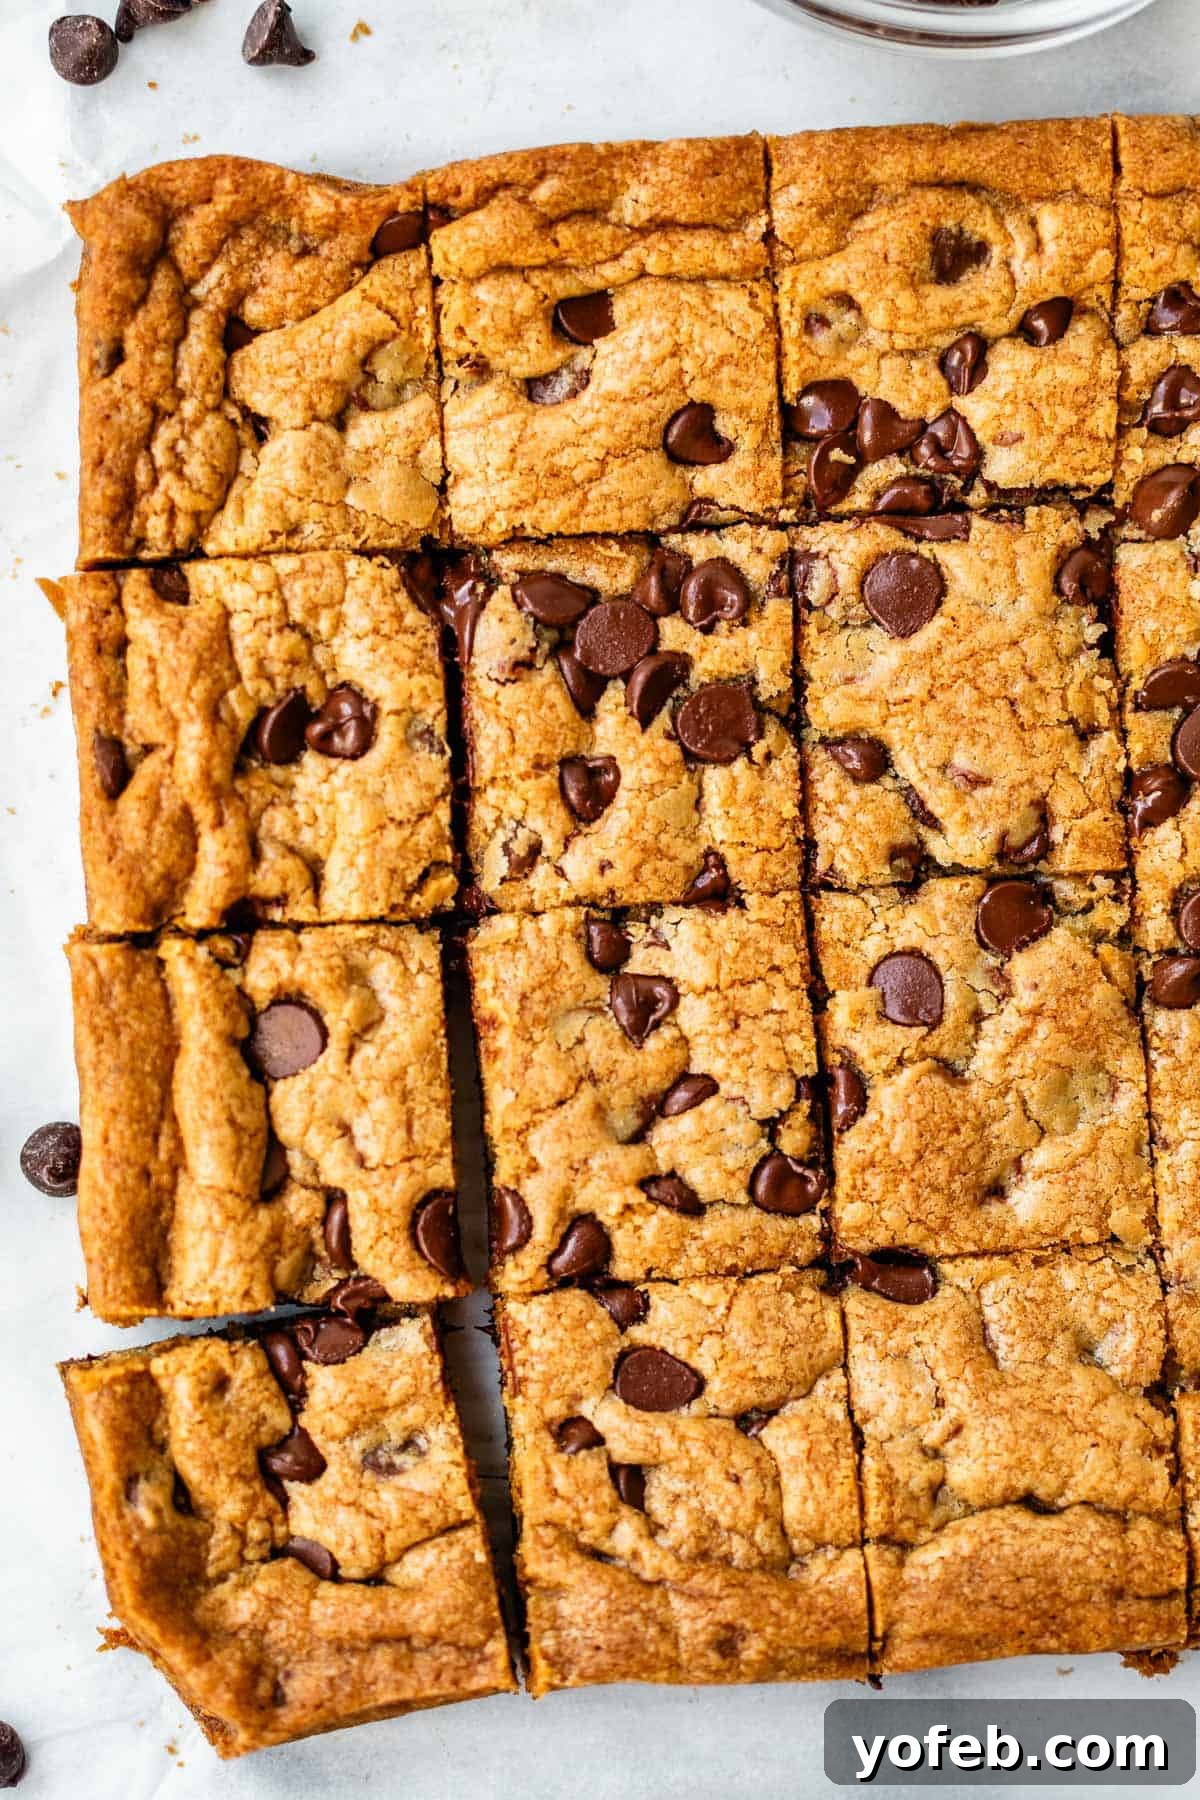
The wait will be agonizing, but it’s worth it! These bars are absolutely divine eaten warm, perhaps on a plate with a fork and a scoop of your favorite vanilla ice cream melting over the top. Or, if you can resist, allow them to cool completely, then cut them into squares and enjoy them with your hands, embracing the glorious melted chocolate that might just drip down your chin. These are moments to savor and enjoy life to its fullest!
Optimal Storage Tips for Your Leftover Chocolate Chip Cookie Bars
If you somehow manage to have any leftover chocolate chip cookie bars – a feat in itself! – proper storage is key to maintaining their delightful softness and freshness. The best method for preserving their texture and flavor is to keep them in the pan they were baked in, if possible. Simply cover the entire pan tightly with plastic wrap, ensuring a good seal to prevent air from drying them out. Alternatively, an airtight lid specifically designed for your baking pan will work wonders. This method helps to lock in moisture, keeping the bars soft and chewy for longer.
If you’ve already cut the bars into individual squares, or if you prefer not to store them in the pan, transfer the leftover pieces to an airtight container. A Ziploc bag is another excellent option; just be sure to press out as much air as possible before sealing it. Stored properly on the counter at room temperature, these chocolate chip cookie bars should remain fresh and delicious for approximately 4-5 days. However, with each passing day (and every sneaky bite!), they will gradually begin to dry out, so enjoy them while they’re at their peak! For maximum longevity, consider the freezing option described next.
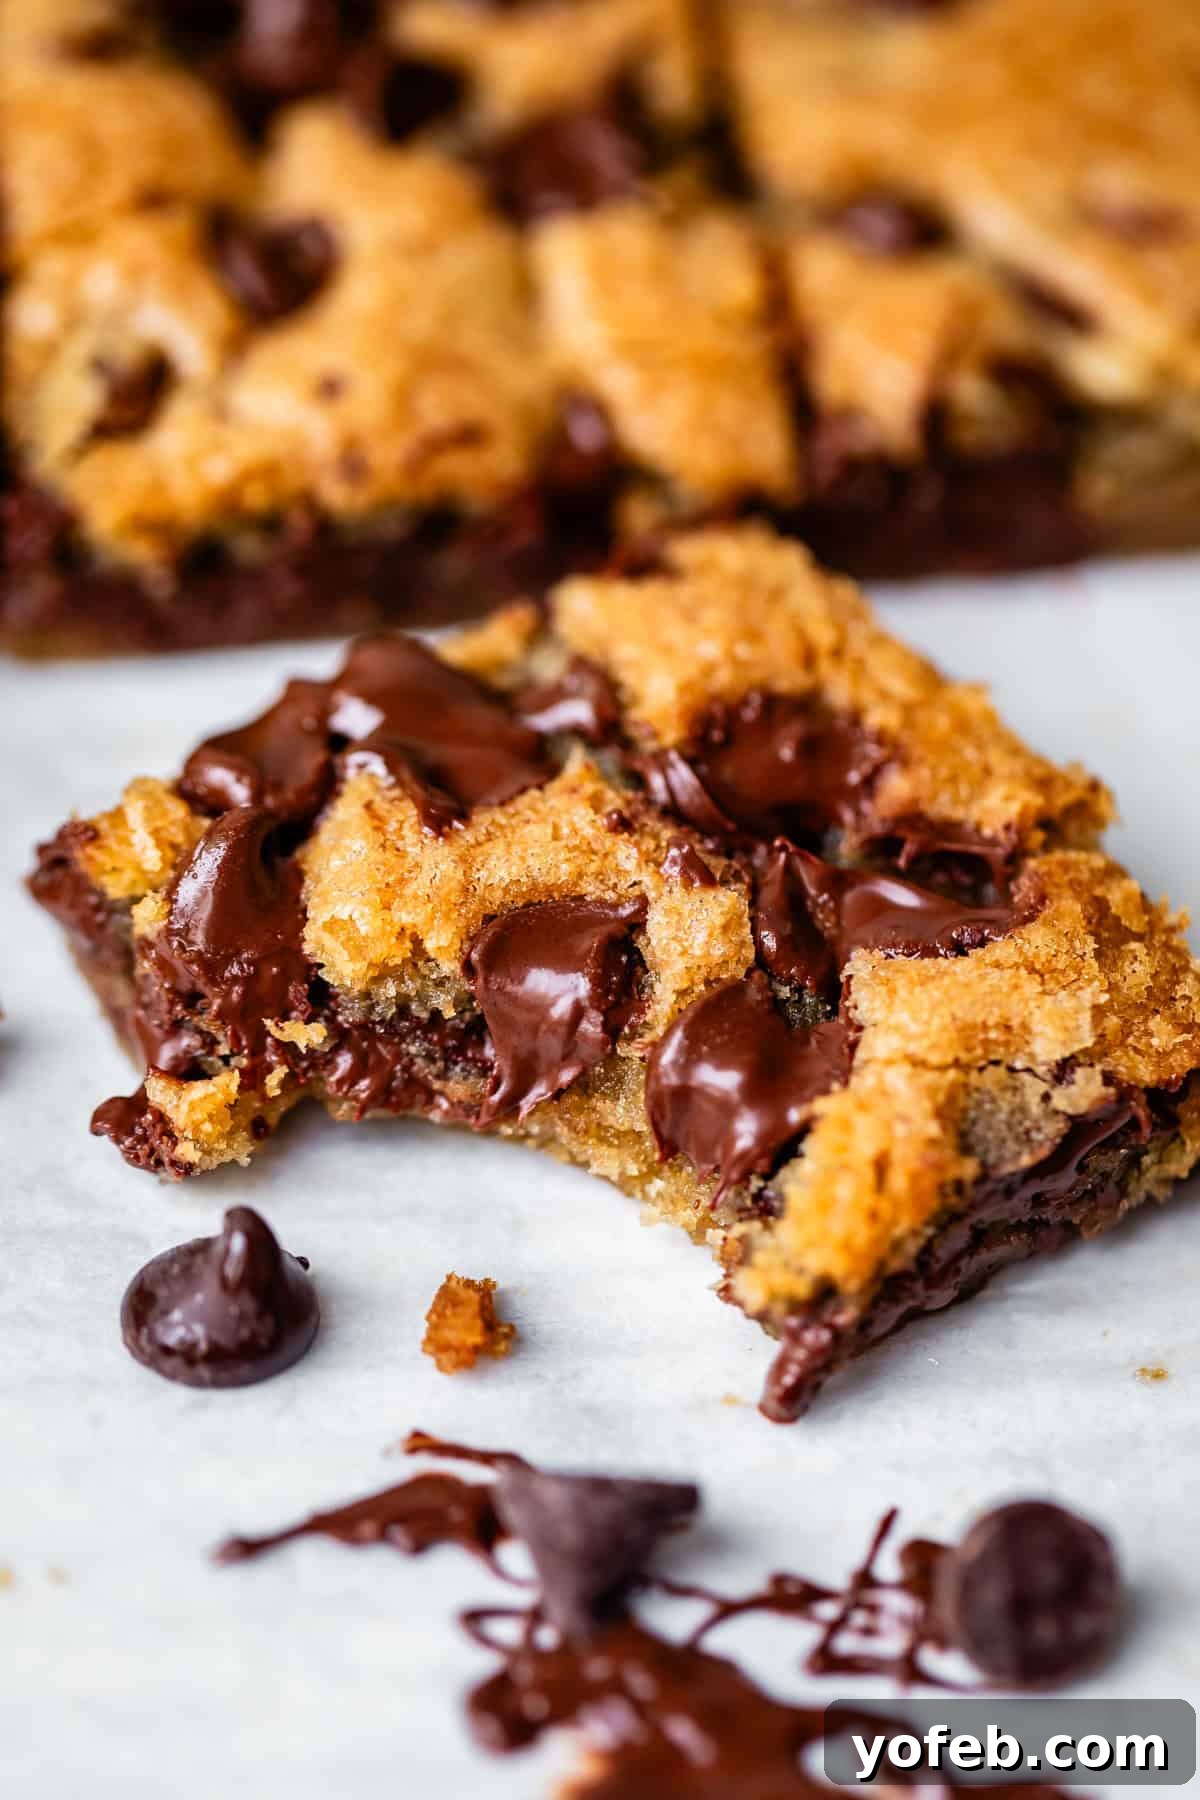
Can You Freeze Chocolate Chip Cookie Bars? Absolutely, Here’s How!
Yes, absolutely! Freezing these chocolate chip cookie bars is a fantastic way to extend their shelf life and ensure you always have a delightful treat on hand for unexpected cravings or guests. The process is incredibly easy and straightforward.
For freezing an entire batch, allow the bars to cool completely in the pan. Once thoroughly cooled, wrap the entire pan tightly, first with two layers of plastic wrap, making sure every surface is covered. Then, add a final layer of aluminum foil. This double-layer protection helps prevent freezer burn and keeps the bars fresh. You can simply place the wrapped pan directly into the freezer.
If you prefer to freeze individual servings, which offers greater convenience for grab-and-go treats, follow these steps: First, cut the cooled bars into your desired serving sizes. Then, arrange the cut bars in a single layer on a baking sheet lined with parchment paper. Place this baking sheet in the freezer for about 30 minutes. This “flash freezing” step prevents the bars from sticking together once they are stored. After flash freezing, transfer the hardened individual bars into a freezer-safe Ziploc bag or an airtight container, removing as much air as possible before sealing. Label the bag or container with the date for future reference.
When you’re ready to enjoy them, you can thaw the entire pan or individual bars on the counter. A whole frozen pan will take a few hours to soften sufficiently for cutting and serving. Individual bars will typically thaw much faster, usually within 15-30 minutes, especially if kept covered to retain moisture. You can even warm individual bars slightly in the microwave for a few seconds for that fresh-baked, gooey experience. Freezing these bars ensures that deliciousness is always just a short thaw away!
Discover More Irresistible Cookie Bar Recipes You’ll Adore
Once you fall in love with the ease and incredible flavor of these Chocolate Chip Cookie Bars, you’ll undoubtedly want to explore more delicious bar recipes. There’s something truly satisfying about a perfectly chewy cookie bar – they offer all the comfort of cookies or a homemade pie with significantly less effort and time. I have a special fondness for them! Dive into some of my absolute favorite bar creations that are sure to become staples in your baking repertoire:
Brownies & Bars
Lunch Lady Peanut Butter Bars
Dessert
Soft and Chewy Sugar Cookie Bars
Brownies & Bars
Almond Roca Bars
Dessert
My Favorite Lemon Bars are Ridiculously Tart

Perfectly Gooey Chocolate Chip Cookie Bars
★
★
★
★
Rate this Recipe
Print Recipe
Ingredients
- 1 cup unsalted butter, softened*
- 1 cup granulated sugar
- 1/2 cup light brown sugar, packed
- 2 large eggs
- 2 teaspoons pure vanilla extract
- 1 teaspoon baking soda
- 2 teaspoons hot water
- 2 and 1/4 cups all-purpose flour, spooned and leveled
- 1 tablespoon cornstarch
- 1 teaspoon kosher salt (or 1/2 tsp table salt)
- 1 and 3/4 cups semisweet chocolate chips
- 1/2 cup semisweet chocolate chips, for pressing on top
Instructions
-
Preheat your oven to 325 degrees F (160°C). Prepare your baking pan by lining a 9×13 inch pan with parchment paper, allowing some overhang on the sides for easy removal. Alternatively, grease the pan thoroughly with butter or nonstick spray.
-
In a small bowl, combine 1 teaspoon baking soda and 2 teaspoons hot water. Stir until the baking soda completely dissolves. Set this mixture aside for a few minutes to allow the pre-activation process to begin while you prepare the wet ingredients.
-
In a large mixing bowl or the bowl of a stand mixer, beat 1 cup softened butter until it is light and fluffy, which usually takes about 2 minutes. Remember to frequently scrape down the sides and bottom of the bowl to ensure even mixing.
-
Once the butter is creamy and smooth, add 1 cup granulated sugar and 1/2 cup packed brown sugar. Continue beating the mixture for another 2 minutes until it is pale, light, and fluffy. Scrape the sides of the bowl halfway through this step.
-
Add the first large egg and beat well until it’s fully incorporated into the mixture. Scrape down the sides of the bowl.
-
Then, add the second large egg and 2 teaspoons pure vanilla extract. Beat until just combined.
-
Pour in the pre-dissolved baking soda and hot water mixture. Beat everything together thoroughly for at least 1 minute, pausing to scrape the sides and bottom of the bowl to ensure all ingredients are well combined and uniform.
-
Into the wet mixture, add 2 and 1/4 cups all-purpose flour (remember to spoon and level the flour, do not pack it) along with 1 tablespoon cornstarch and 1 teaspoon kosher salt.
-
Turn your mixer to low speed and mix until there are only a few streaks of white flour remaining. It’s crucial not to overmix the flour, as this can lead to tough cookie bars. Scrape down the sides and bottom of the bowl, then give it a few more gentle stirs until almost fully combined.
-
Add 1 and 3/4 cups semisweet chocolate chips. Mix on low speed until the chocolate chips are *just* incorporated into the dough. Again, avoid overmixing to maintain the tender texture of the bars. Scrape the bowl once more for good measure.
-
Scrape all the cookie dough into your prepared 9×13 inch pan. Use an offset spatula or your hands to gently press the dough evenly into all the corners of the pan, creating a smooth and flat surface across the top.
-
Scatter an additional 1/2 cup chocolate chips over the top of the flattened dough. Lightly press these chocolate chips into the dough with your hands to help them adhere and melt beautifully during baking.
-
Bake at 325 degrees F (160°C) for 25-27 minutes. The cookie bars are done when the top is golden brown all the way across. When you gently shake the pan, the center should not appear wobbly or liquidy (a very slight, even wobble across the bars is acceptable). A toothpick inserted into the center should come out with moist crumbs and melted chocolate, but no wet batter. It is paramount not to overbake these bars to ensure their signature soft and gooey texture!
-
Allow the bars to cool in the pan for at least 15-20 minutes before lifting them out using the parchment paper overhang and slicing them into squares. Enjoy them warm with a glass of milk or a scoop of ice cream!
-
Store any leftover bars directly in the pan, covered tightly with plastic wrap or an airtight lid, for 4-5 days on the counter. They are best enjoyed fresh but will remain soft for several days.
-
Freeze cooled bars by wrapping the entire pan in several layers of plastic wrap and foil. For individual servings, flash freeze cut bars on a lined baking sheet for 30 minutes, then transfer to a freezer-safe bag, removing excess air. Thaw frozen bars on the counter until soft.
Notes
**Pan Sizes: This recipe is ideally suited for a 9×13 inch baking pan. You can also successfully make these cookie bars in a jelly-roll pan (10×15 inches with a short 1-inch lip). If you’re using a half-sheet baking pan (12×18 inches with a lip), the dough might not quite spread to the very edges, but it will still bake up wonderfully in a pinch. If using a larger pan, reduce the baking time to approximately 15-17 minutes, keeping a close eye on doneness.
Nutrition Information
Carbohydrates: 37g |
Protein: 3g |
Fat: 18g |
Saturated Fat: 10g |
Polyunsaturated Fat: 1g |
Monounsaturated Fat: 5g |
Trans Fat: 0.4g |
Cholesterol: 44mg |
Potassium: 148mg |
Fiber: 2g |
Sugar: 23g |
Vitamin A: 321IU |
Calcium: 25mg |
Iron: 2mg