
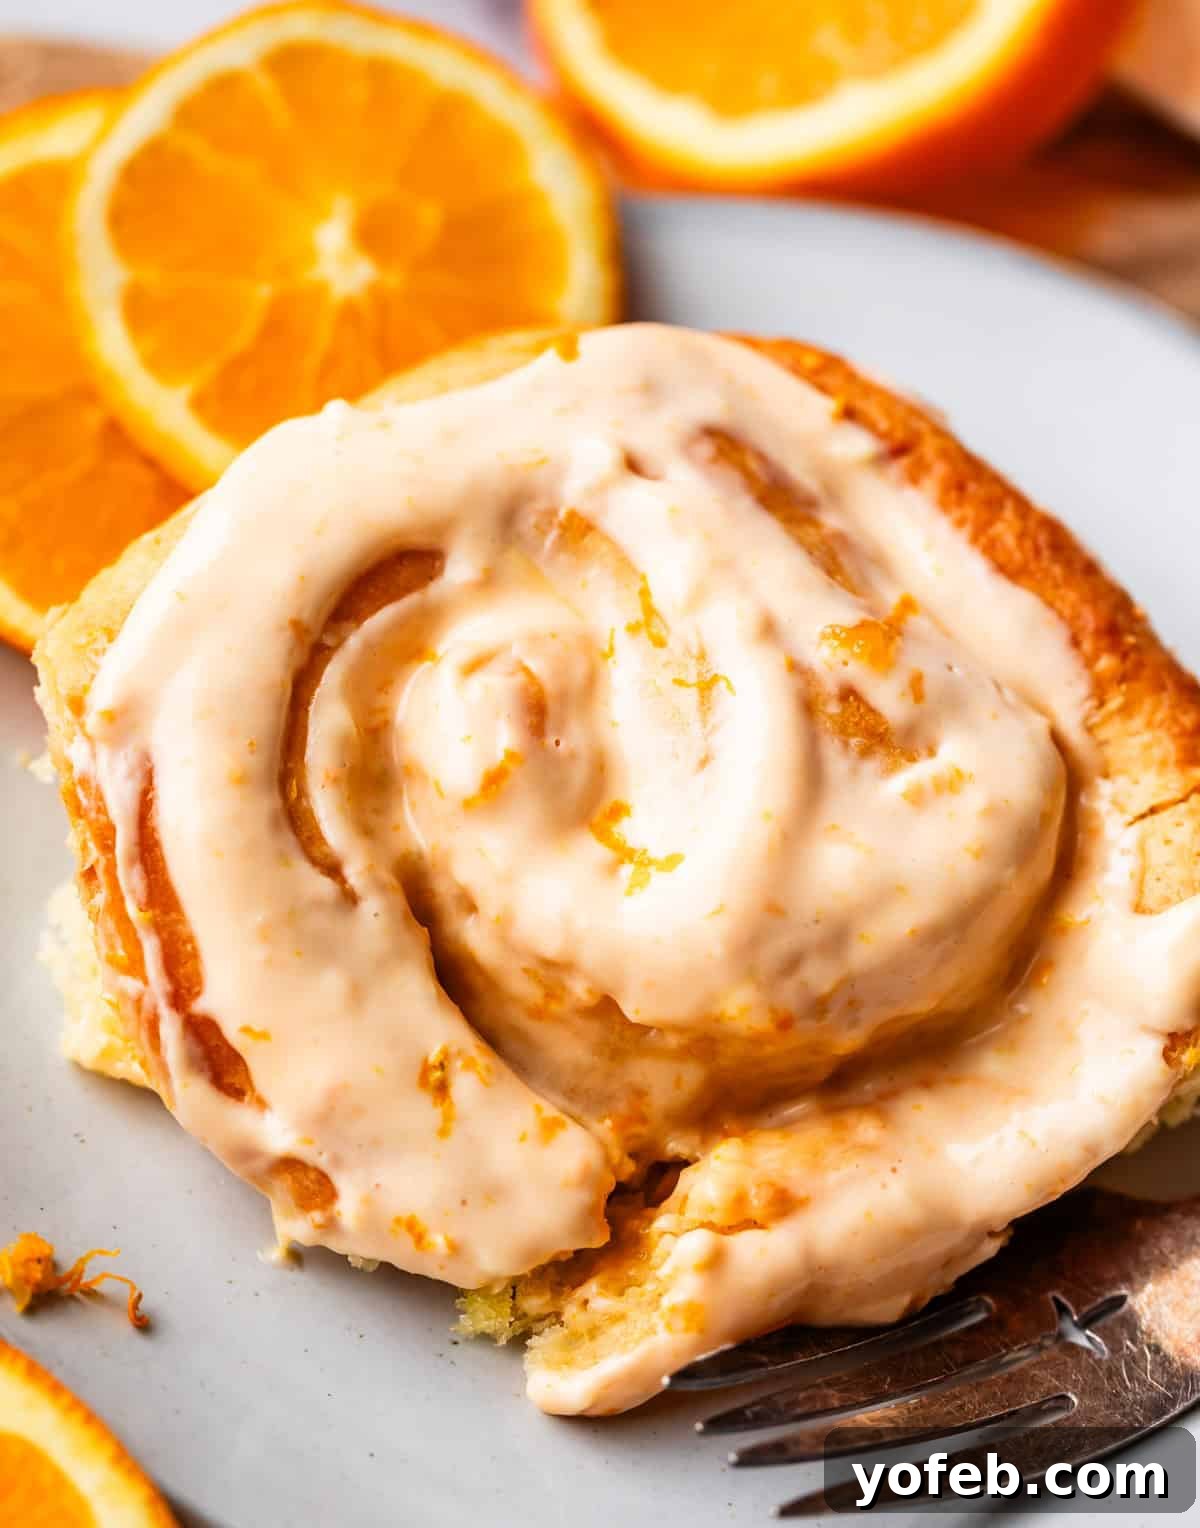
Forget everything you thought you knew about orange rolls. If you’ve always believed cinnamon rolls reign supreme, prepare for a delightful re-education. These aren’t just orange-infused pastries; they are a vibrant, full-bodied celebration of citrus that will utterly captivate your senses. My obsession with these zingy orange sweet rolls stems from their truly unique character, particularly the filling. It’s not just a ‘hint of orange’ sugar mixture; it’s essentially a luscious, cooked orange candy that melts into every crevice of the roll as it bakes, creating an unparalleled gooey texture and intense flavor. This distinctive approach sets my recipe apart from any other you’ll encounter. These orange sweet rolls don’t merely suggest citrus; they deliver a powerful, unforgettable orange punch. Best of all, they’re incredibly easy to prepare in advance, making them the perfect indulgence for a leisurely weekend breakfast or a festive Christmas morning feast. Get ready for an explosion of bright, tangy, and sweet orange goodness!
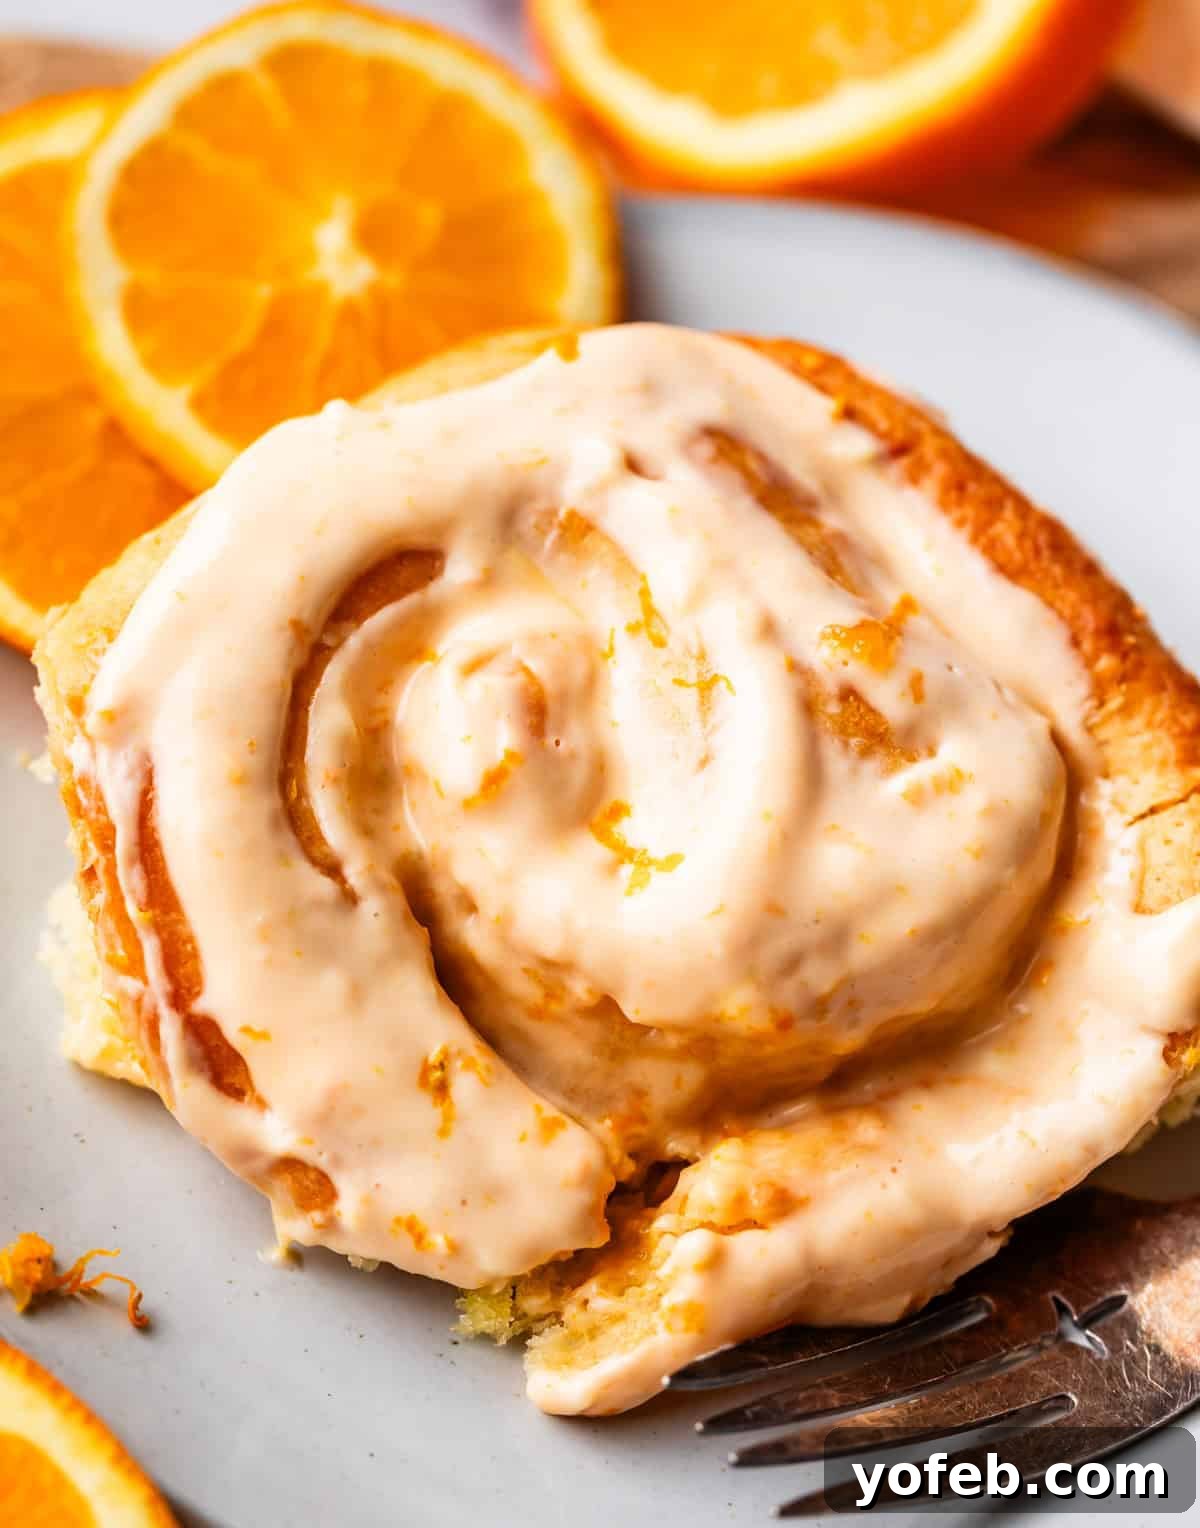
I am absolutely thrilled and beyond excited to finally unveil my perfected Orange Rolls recipe with you today! This culinary journey began way back in 2017—almost a decade ago, can you believe it? My husband Eric’s cousin, Alice, reached out to me, seeking assistance with her Great Grandma Maddelin’s treasured holiday recipe. Great Grandma Maddelin made these special rolls every Christmas, and Alice was eager to carry on the beloved family tradition. However, she was encountering a few challenges with the original recipe, so we embarked on a mission to refine it.
While our initial attempts yielded delicious results, I wasn’t entirely satisfied. Over the years, I continued to tinker, making small adjustments here and there. But this past spring, with the citrus season in full swing and an abundance of fresh, vibrant oranges, I knew it was the opportune moment to dedicate myself to achieving absolute perfection. The result is truly spectacular, a recipe that captures the essence of those cherished family memories while elevating the flavor profile to new heights.
My love for these orange rolls runs deep, and that’s a significant statement, considering oranges and I share a somewhat complicated history. Growing up, the mere thought of an orange could trigger a wave of childhood memories, not all of them pleasant. Every year, we’d endure a three-hour car ride to visit Great Aunt Pauline for Thanksgiving. For a seven-year-old prone to carsickness, this journey was already an ordeal. To add to my misery, I was always relegated to sitting backward in our vintage 1989 wood-paneled station wagon, affectionately dubbed “White Lightning.”
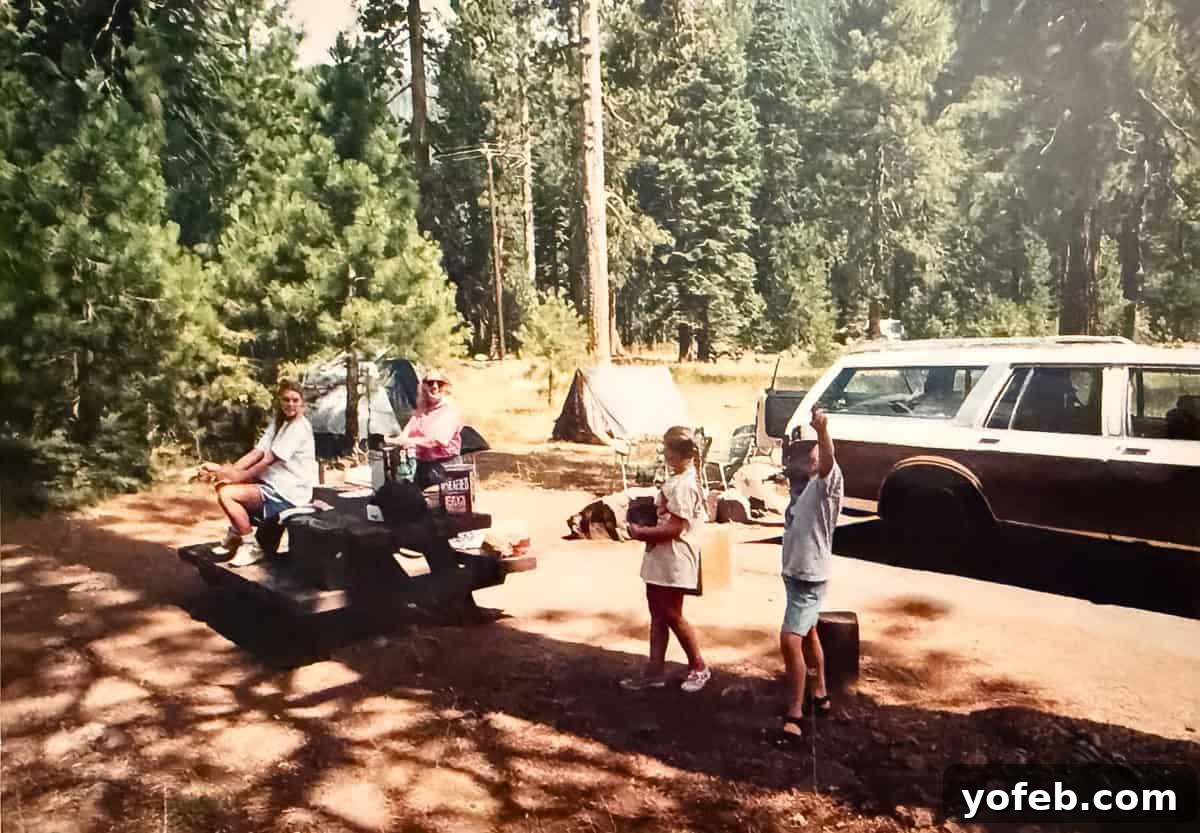
Do you recall those classic cars? Our “White Lightning” had an enormous rear door that swung open wide to receive my younger brother Nathan and me, who were always banished to the very back. We were positioned far enough from the “first-class” passengers that our nauseated groans wouldn’t disturb their peaceful journey. In a valiant effort to safeguard the car’s upholstery, my mom would consistently offer us orange-flavored chewable Dramamine tablets. If the car ride hadn’t already made you feel ill, those intensely artificial, chalky orange tablets certainly would. They were truly a nasty, yet memorable, part of our Thanksgiving tradition.
My aversion to oranges didn’t end with car rides. Another vivid childhood memory involves my brief and rather unsuccessful stint in soccer. I was the quintessential defense kid, more interested in picking daisies than the actual game. The ball would either whiz past my head, or I’d instinctively put my hand out to stop it, breaking one of soccer’s most fundamental rules. For halftime snacks, the parents invariably brought out orange slices, which I considered the most impractical and messiest offering imaginable. I’d suck out the juice, letting it cascade all the way down to my elbows, apparently having never learned the proper way to eat an orange. There I’d sit, under the scorching sun, a hot, sticky mess, somehow expected to return to the field and pretend I was going to kick a ball at some point. It’s no wonder I developed a deep-seated dislike for soccer.
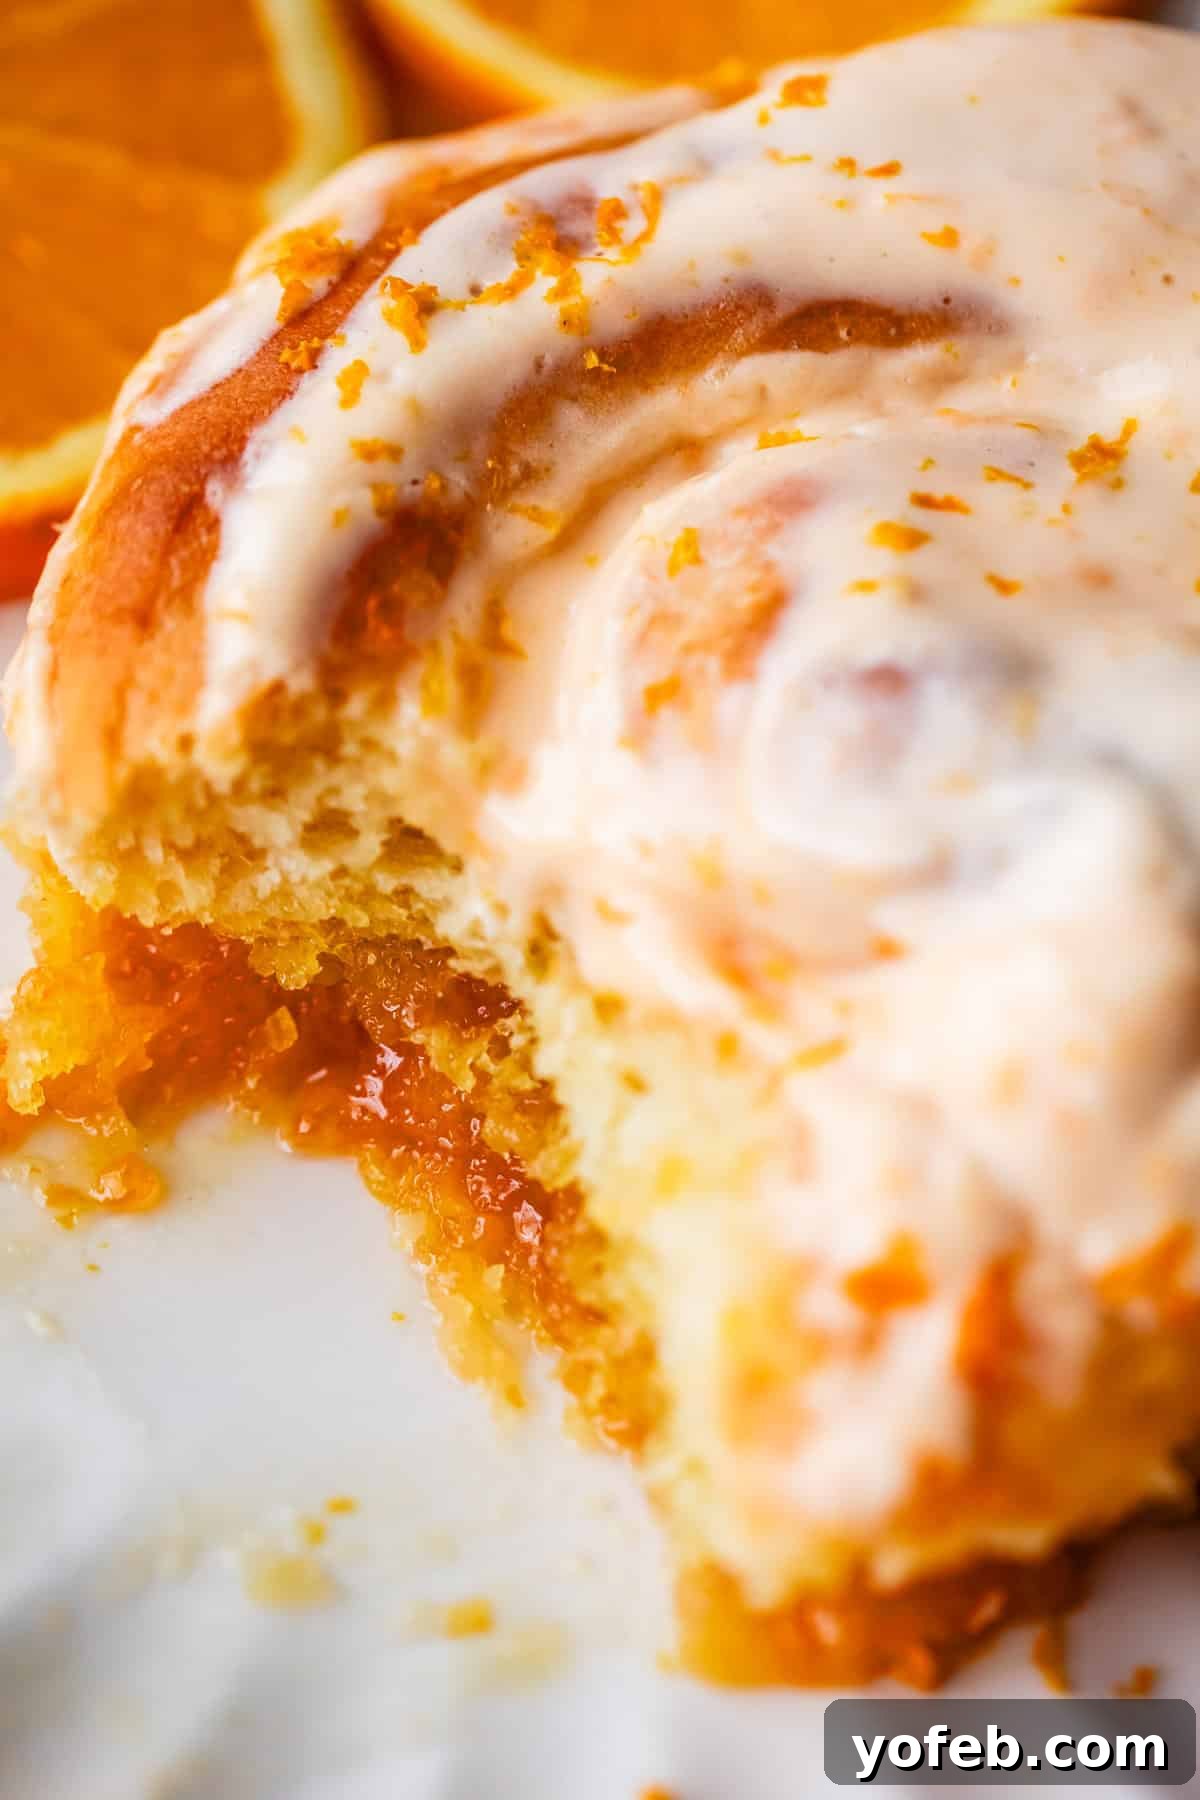
These early experiences formed my strong case against oranges in general, despite the irony that I grew up in California with an orange tree literally in my backyard. Oh, the bounty of fresh citrus wasted on the young and blissfully ignorant! However, a remarkable transformation has occurred over the years. I am now, unequivocally, an orange lover for life. And it’s not just because of these extraordinary orange rolls, though they certainly played a pivotal role. Oranges, with their bright color and cheerful aroma, simply exude happiness, don’t they? These days, I’ll happily peel and devour three in a row from my dad’s tree, managing to keep my elbows perfectly clean. (Although, fair warning: I still have my limits. If you peel an orange in my car, you’ll be asked to roll down the window immediately. Some things never change!)
Experience the True Essence of Orange: A Flavor Explosion in Every Bite
I anticipate your initial thought: “Orange rolls? They can’t possibly be as good as classic cinnamon rolls.” I understand that sentiment completely; it’s a common misconception. But I implore you, wait until you discover the secret behind this extraordinary orange filling. This isn’t your average, mildly flavored citrus pastry.
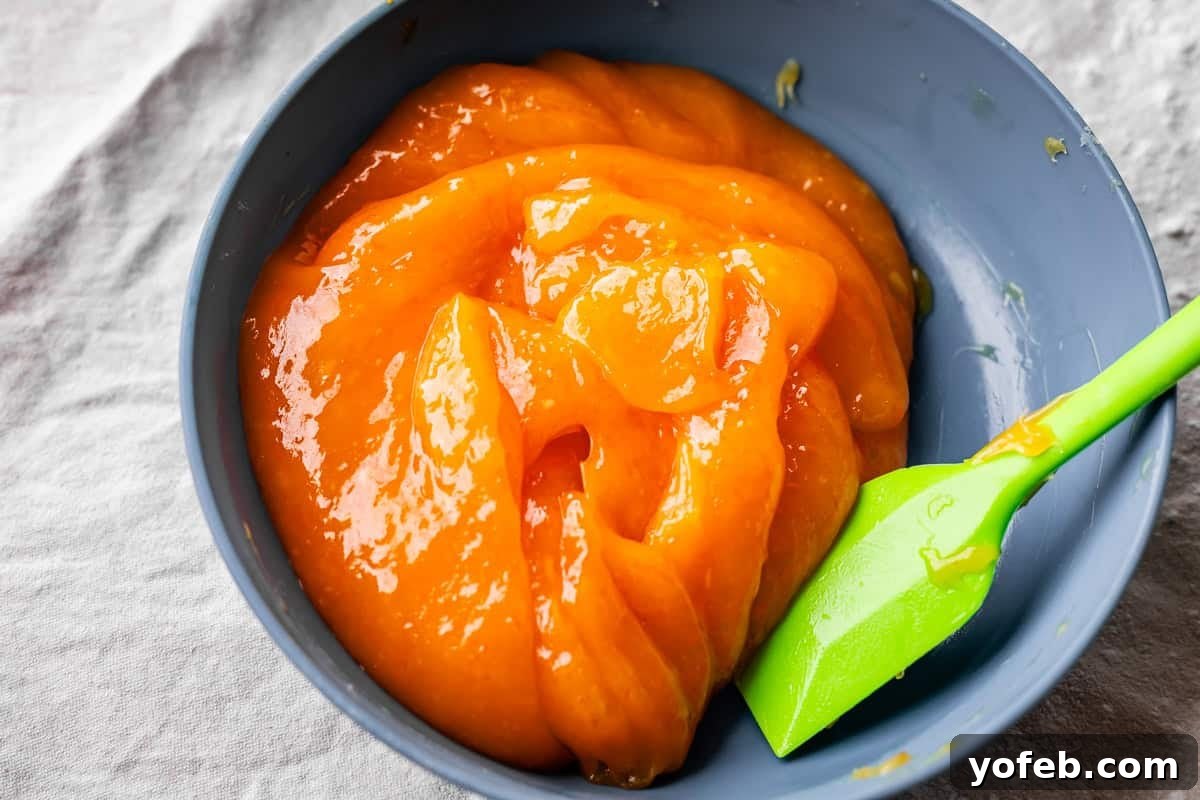
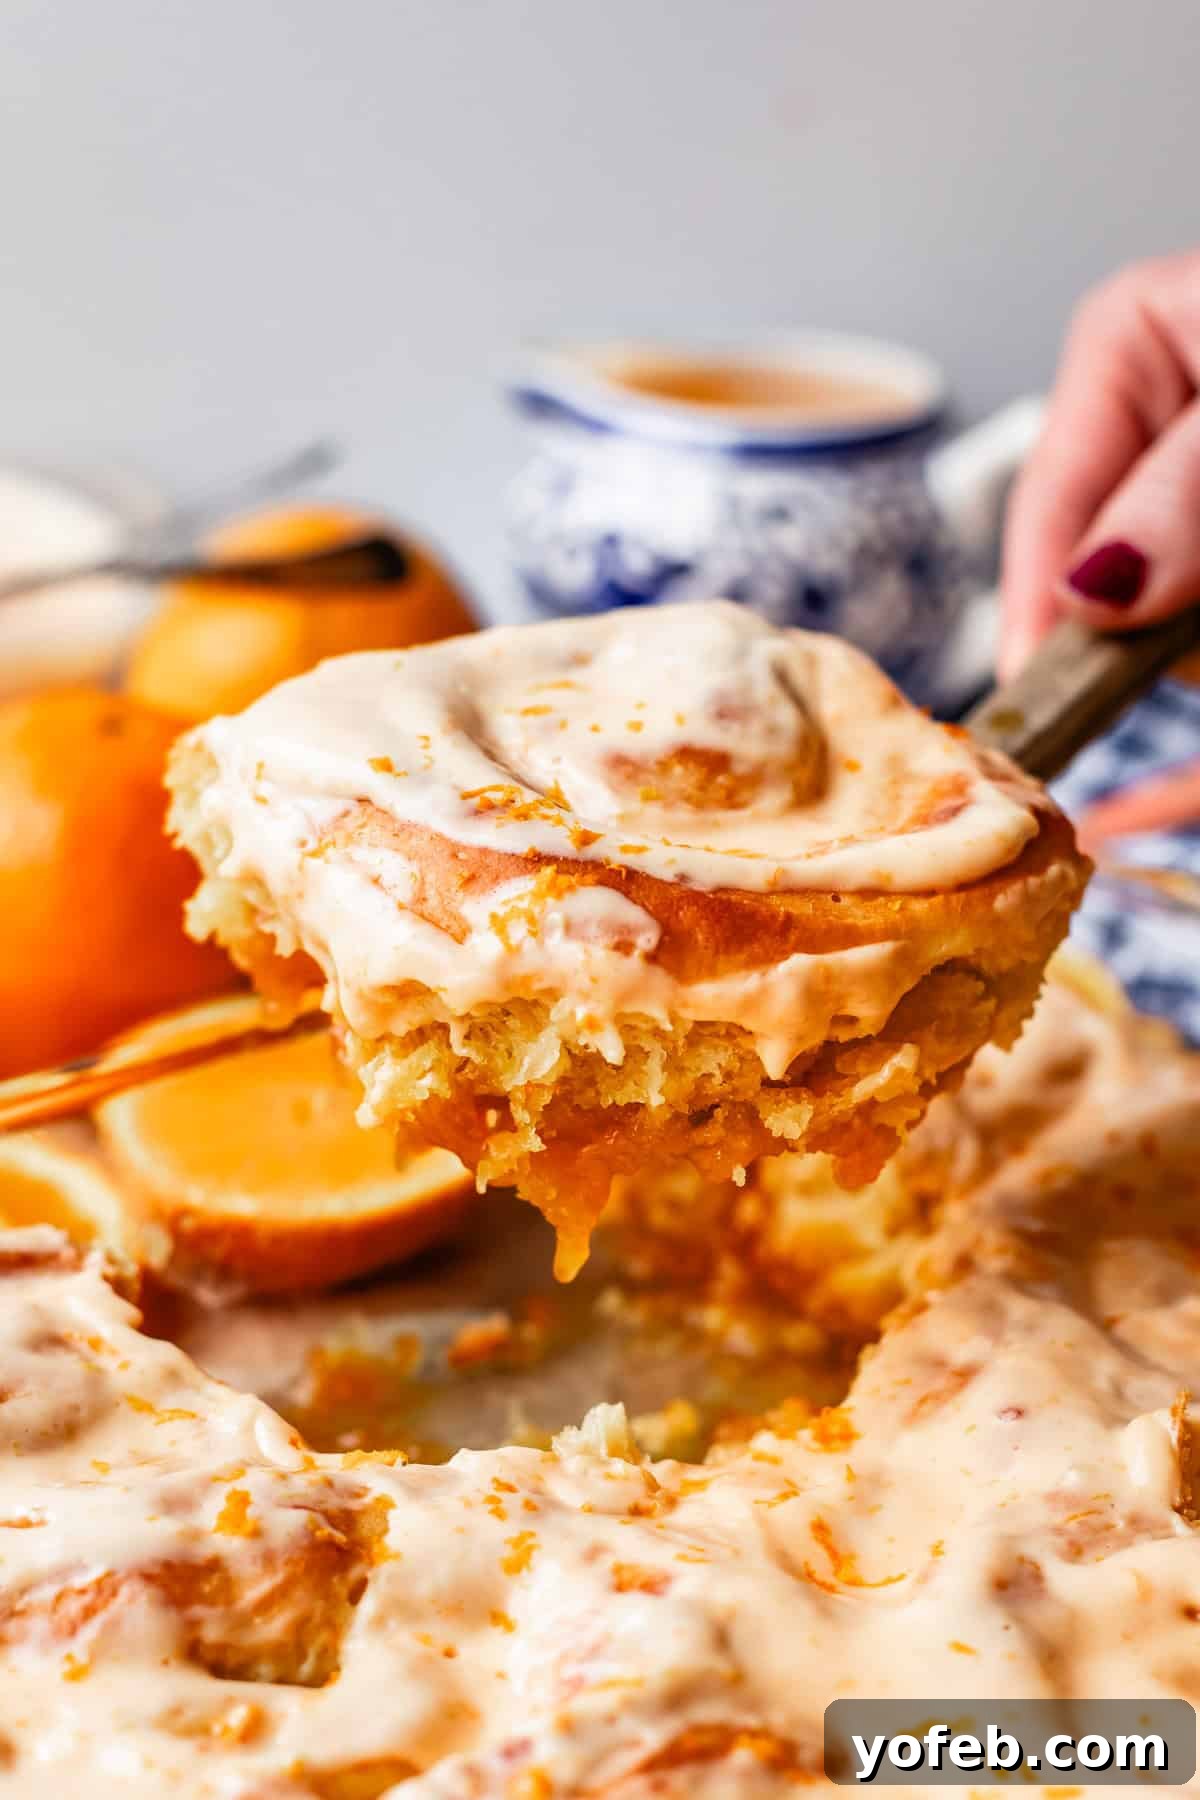
Just look at it—this filling is, quite literally, orange candy. Imagine the vibrant intensity of orange marmalade combined with the silky texture of a rich caramel. It’s absolutely divine! I could honestly eat this entire batch of filling, spoonful by spoonful, without even bothering to make the rolls. It’s that good. But then, picture this luscious, concentrated orange goodness enveloped within an orange-infused version of the softest, most buttery brioche-style sweet dough—the very same dough I use for my wildly popular Homemade Cinnamon Rolls. The combination is simply irresistible. As I often say, I could easily devour the entire pan of these zesty orange sweet rolls.
Typically, most orange roll recipes feature a mere suggestion of orange flavor, often using a basic sweetened dinner roll dough with a simple sugar and zest mixture for the filling. Not these beauties! My unique orange filling is cooked to the precise soft-ball stage, transforming it into a luxurious, candy-like confection. This innovative cooking method ensures that as the rolls bake, the rich, melted filling creates an incredibly soft and gooey bottom layer that practically melds into the brioche itself, offering a texture and flavor experience unlike any other orange bun you’ve ever tasted.
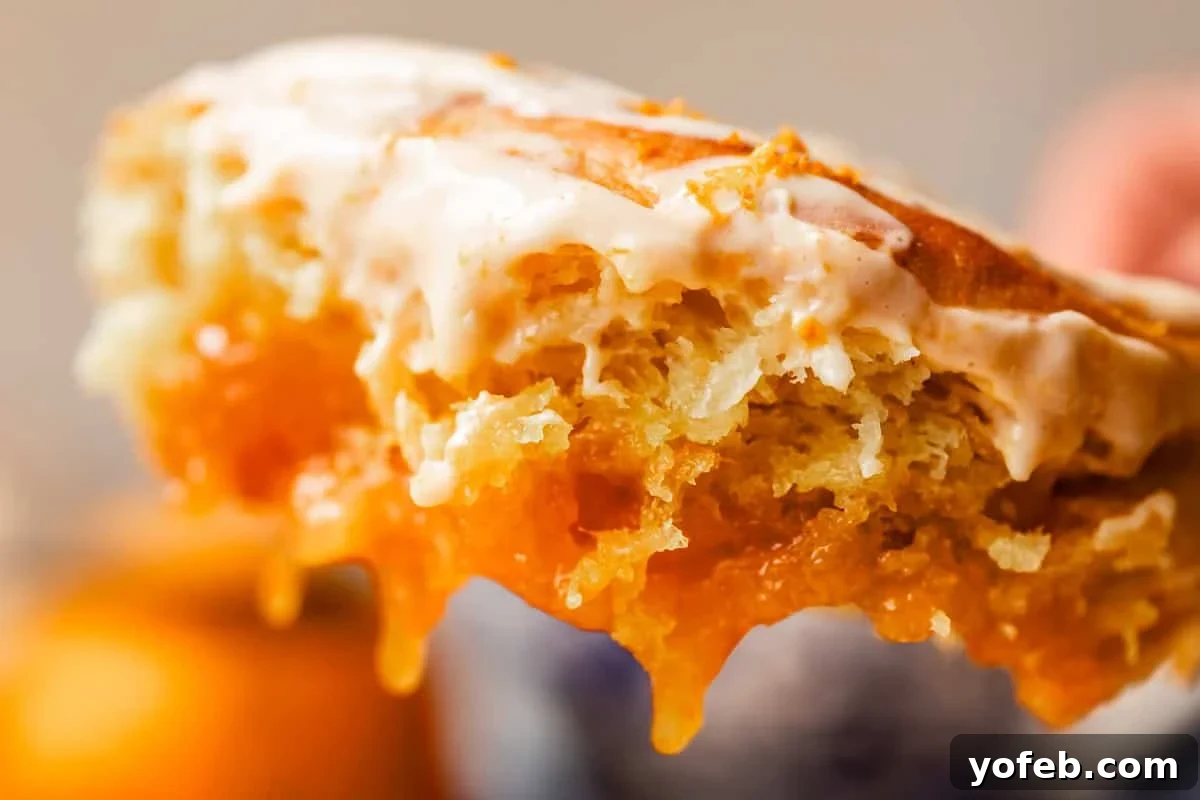
These homemade orange sweet rolls are truly in a league of their own, offering a triple threat of intense citrus flavor. We incorporate fresh orange zest and juice at three distinct stages: first, directly into the soft, enriched brioche dough; second, into the unbelievably rich and candied filling; and finally, into the bright, tangy glaze that crowns these magnificent pastries. This layered approach ensures a deep, authentic orange flavor that permeates every single bite, making them exceptionally good and truly unique. I sincerely hope you give this recipe for the best orange rolls a try soon. I’m absolutely smitten, and I have a feeling you will be too! Don’t forget to let me know if you experience the pure joy of these zesty breakfast treats!
Essential Ingredients for the Best Homemade Orange Rolls
Crafting these exceptional orange rolls relies on a combination of pantry staples and a few star ingredients that truly elevate the flavor. While many components are standard, paying close attention to these key elements will make all the difference in achieving that vibrant, authentic orange taste and luscious texture:
- Fresh Oranges, Always: This is non-negotiable for genuinely zesty orange rolls. We need both real, fragrant orange zest and freshly squeezed orange juice to deliver that authentic, bright citrus flavor. There’s simply no shortcut or substitute for the true essence of fresh oranges. While bottled high-quality orange juice might seem tempting for convenience, it lacks the essential oils found in the zest of real oranges, which are critical for the roll’s complex aroma and taste. So, grab those fresh oranges – you won’t regret it!
- A Hint of Lime: “Wait, I thought these were orange rolls!” I hear you, and yes, they are! But think of lime as the secret weapon in our glaze. Oranges, while delicious, are inherently very sweet. When combined with other sugary ingredients like milk and granulated sugar in the dough and filling, the final rolls can become almost overpoweringly sweet. That’s where a touch of fresh lime juice comes in. It provides a crucial sour kick, a bright counterpoint that balances the sweetness and makes the orange flavor pop even more. I promise, the finished glaze will still taste distinctly orange, but with an added depth and vibrancy that prevents it from being cloying.
- Active Dry Yeast: This humble ingredient is responsible for the magnificent, fluffy rise of our homemade orange sweet rolls. Good quality, active yeast ensures a light, airy texture that complements the rich filling beautifully.
- The Queen of Baking: Butter! Butter is undeniably the star in these rolls, contributing to their incredibly soft texture and rich flavor. We incorporate a whole stick of very soft butter into the brioche-style dough, which is key to its luxurious tenderness. And naturally, even more butter finds its way into the luscious, candy-like orange filling, ensuring maximum indulgence.
Are you ready to create these incredible, fluffy orange breakfast treats? Let’s get baking!
Mastering the Art of Homemade Orange Rolls: A Step-by-Step Guide
Creating these delightful orange rolls is a labor of love, but with clear steps and a few expert tips, you’ll achieve bakery-quality results right in your own kitchen. Here’s a detailed lineup to guide you through the process, from zesty prep to fluffy perfection!
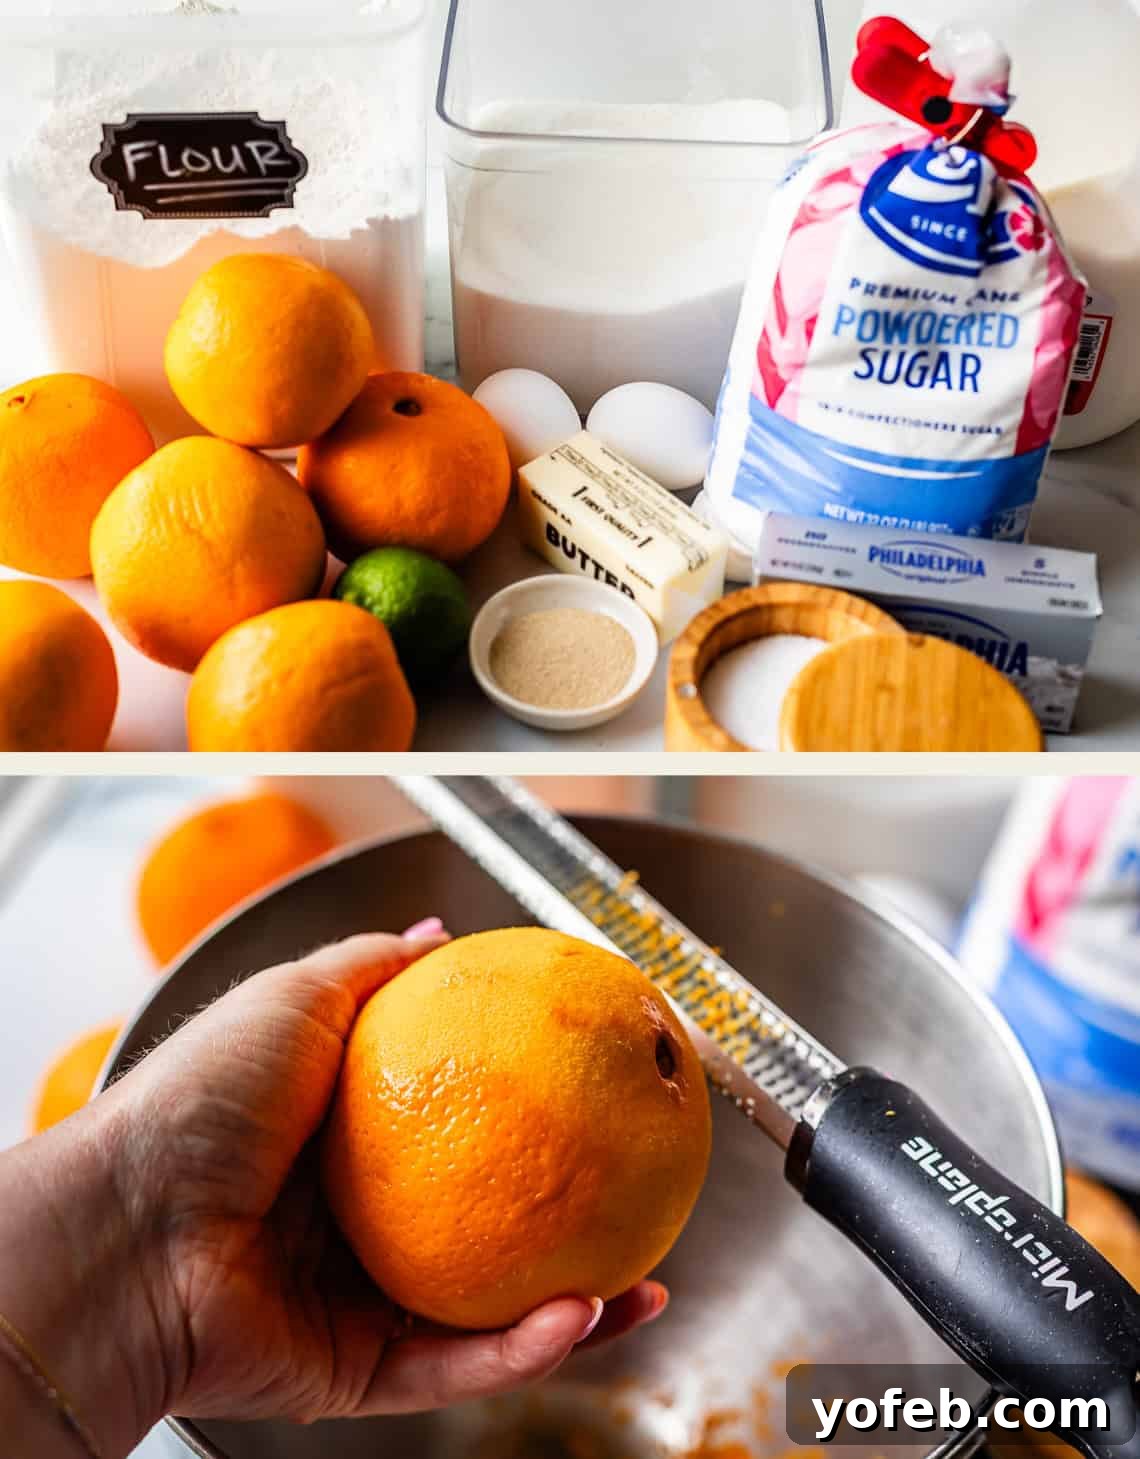
Start by extracting the bright, aromatic zest from your first orange. If you don’t yet own a microplane grater, consider it a game-changer for citrus! These incredibly sharp tools are the absolute best for zesting, producing incredibly tiny, ethereal pieces of zest and ensuring you get absolutely none of the bitter white pith beneath the peel. It’s all pure, concentrated orange flavor, without any unwanted bits. Then, proceed to juice the zested orange until you have a perfect half-cup for your brioche dough. Precision here ensures the optimal orange balance in your soft, fluffy rolls.
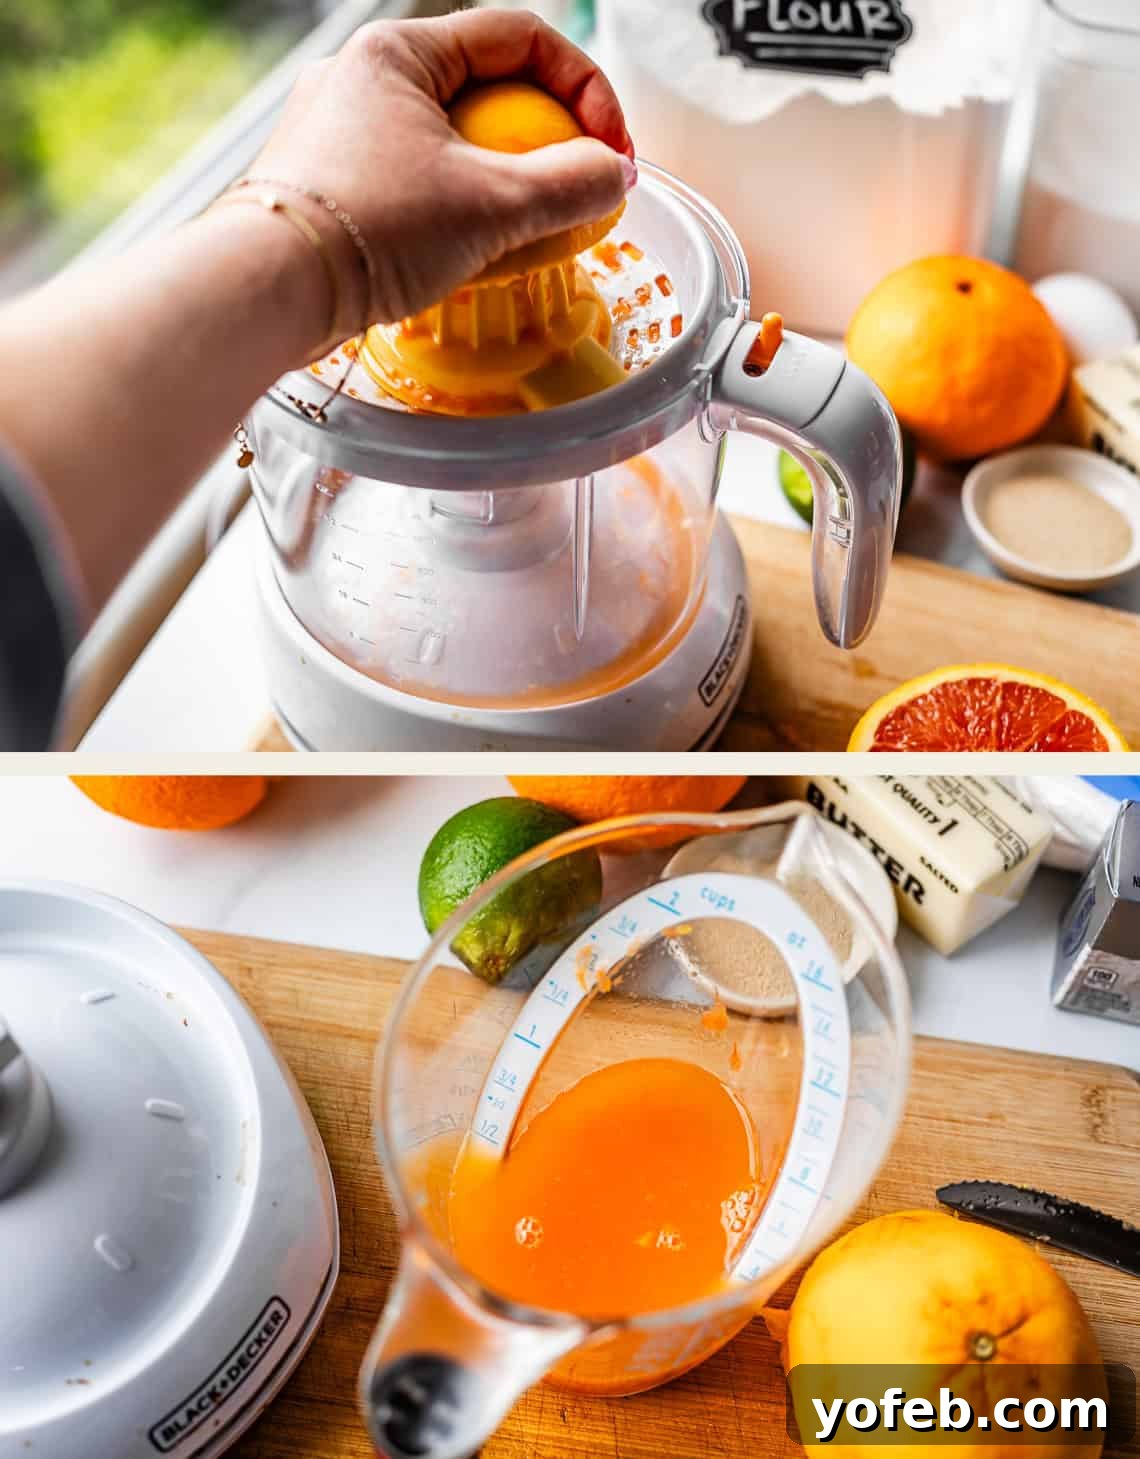
Combine your freshly squeezed orange juice with some whole milk, and gently warm the mixture. This step is crucial for activating the yeast and creating the perfect environment for your dough to rise beautifully. Ensure the liquid is just warm to the touch, like a comfortable bath, not hot enough to kill your yeast.
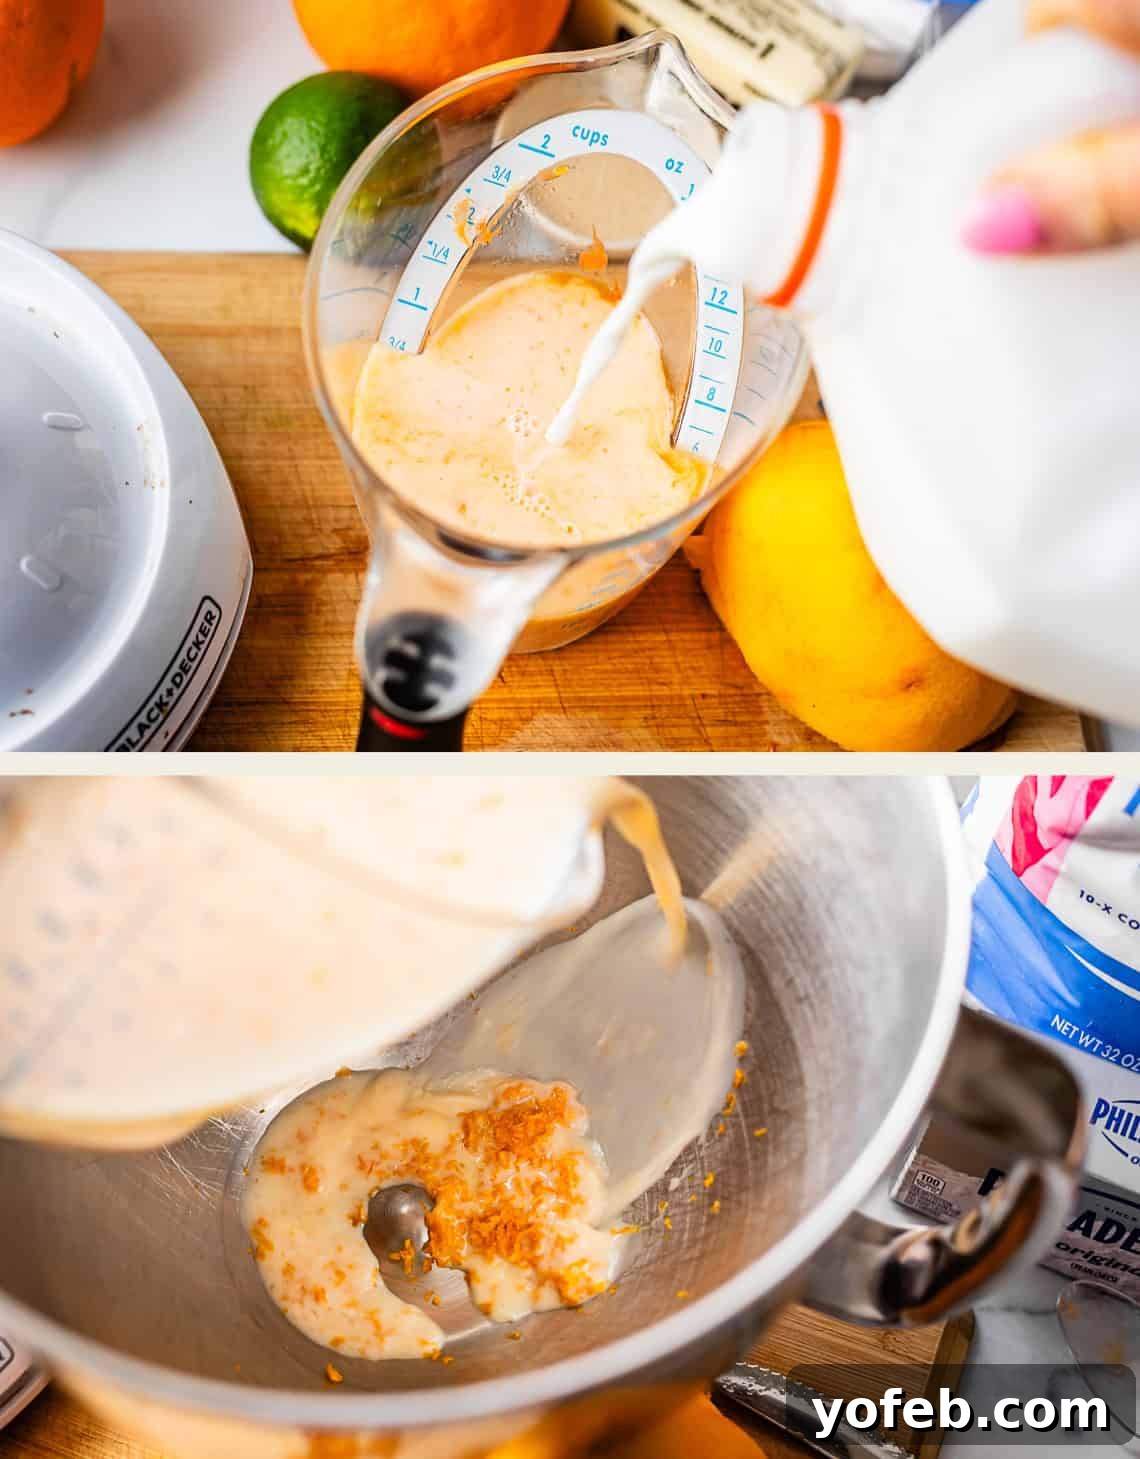
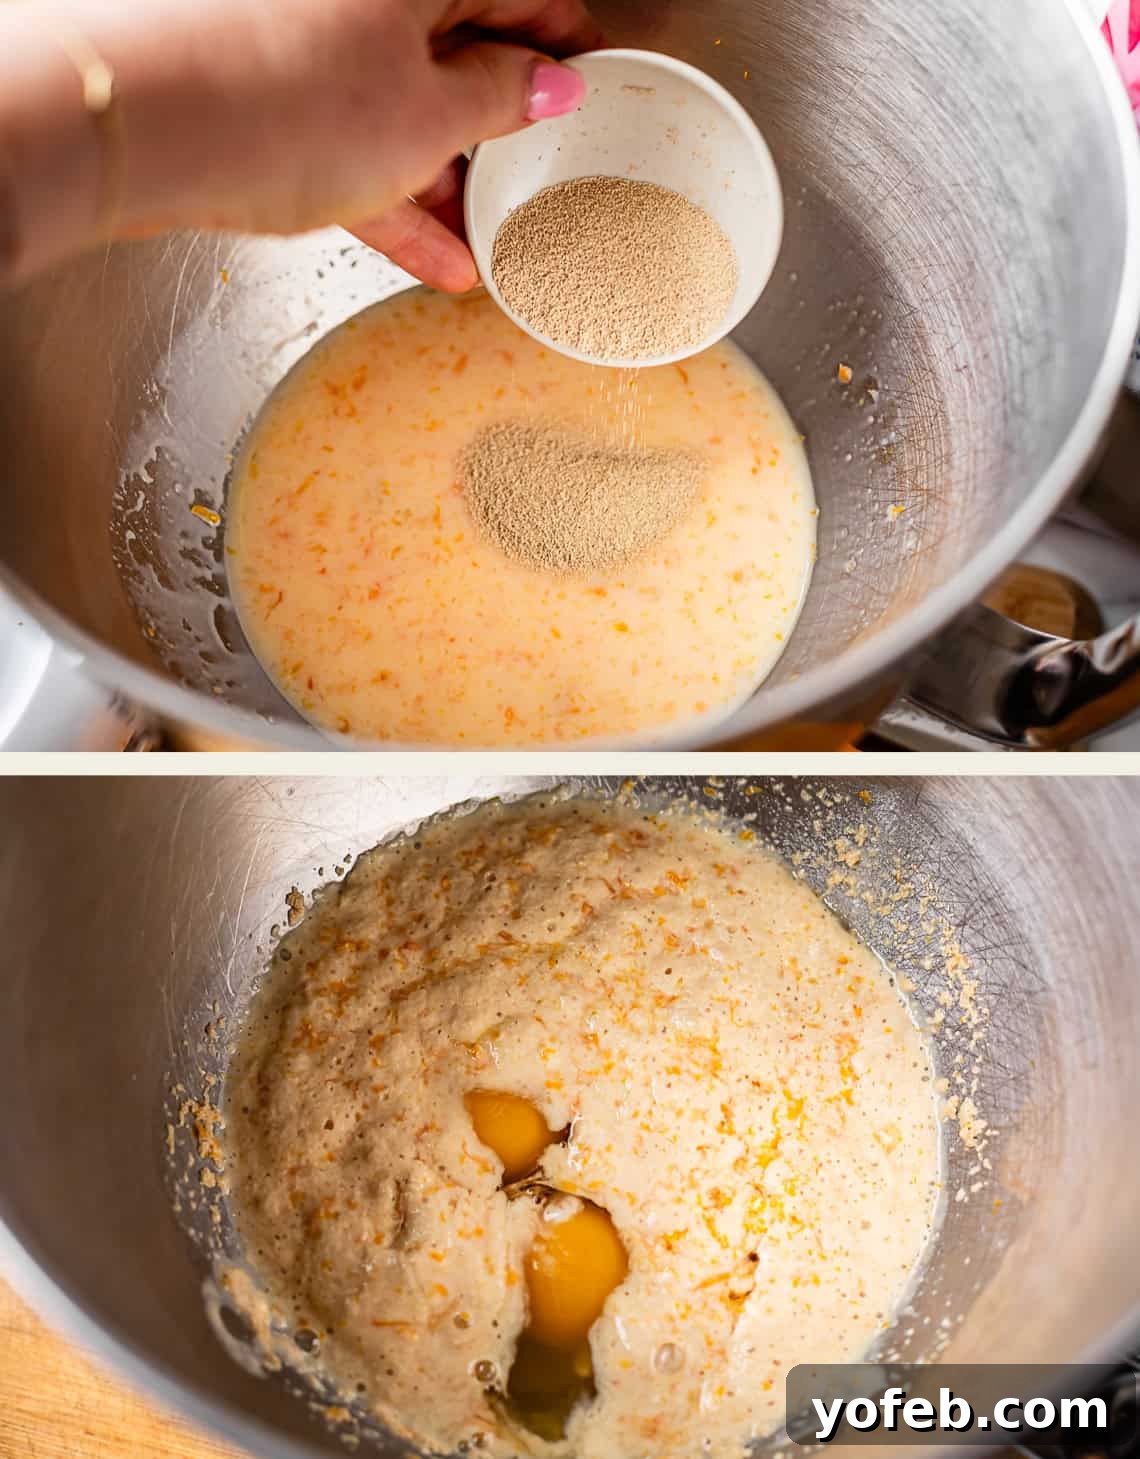
Once your orange juice and milk mixture is perfectly warmed, pour it into your mixing bowl, joining the fragrant orange zest you prepared earlier. Now, it’s time to introduce the active dry yeast to this citrusy warmth. Give it a gentle stir and allow it to sit for about five minutes. This brief pause is essential to ensure your yeast is active and thriving, ready to bring your dough to life. You’ll know it’s working when you see a lovely frothy layer forming on the surface – a clear sign that your yeast is alive and well! Following this, incorporate your eggs and granulated sugar, stirring until well combined.
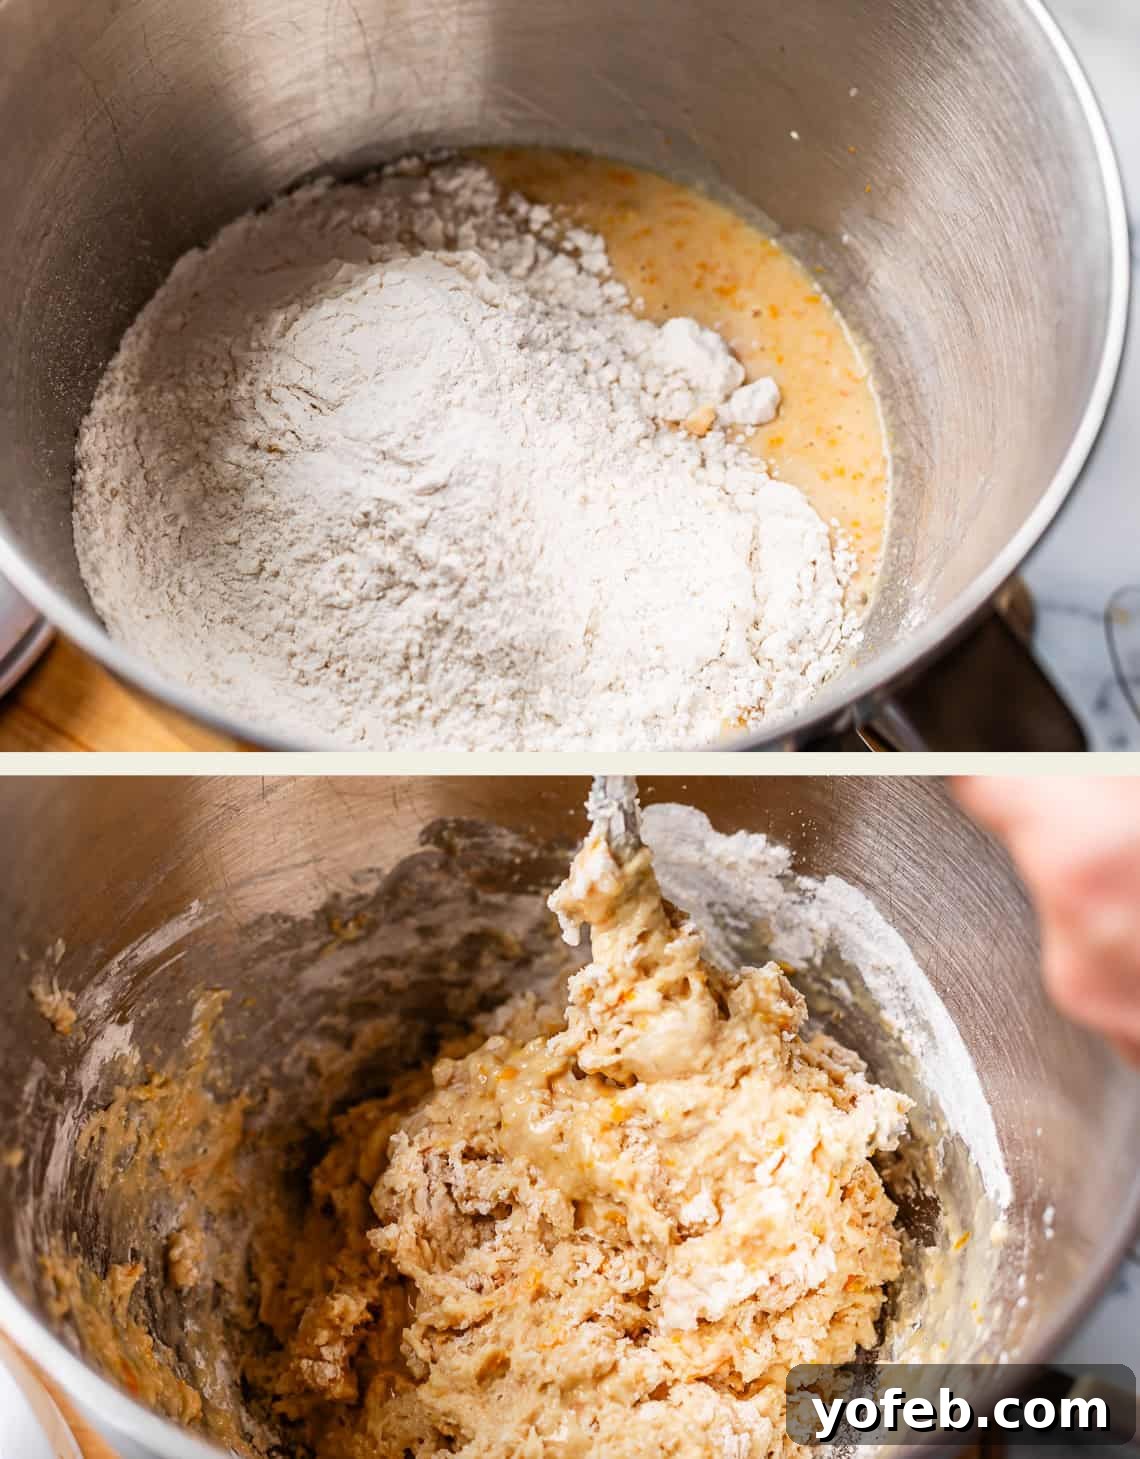
Unlike many bread recipes where you add flour gradually, for this enriched brioche dough, we add all of the flour at once after the wet ingredients, yeast, and sugar are combined. This technique helps develop the gluten structure effectively for a soft, chewy texture. Combine the flour and salt thoroughly, then begin to mix. The dough will start to come together, appearing thick and somewhat lumpy at first. This is normal and part of the process of building a strong yet tender dough for your homemade orange rolls.
Continue mixing the dough, allowing it to develop. Once it starts to become more cohesive, you’ll gradually incorporate the very soft butter, one tablespoon at a time. This slow addition of butter (known as the *beurrage* stage in brioche making) is what makes the dough incredibly rich, tender, and luxurious. Ensure each tablespoon is fully absorbed before adding the next, allowing the butter to emulsify into the dough seamlessly. This process, though it takes a few minutes, is essential for achieving the signature silky texture of these homemade orange sweet rolls.
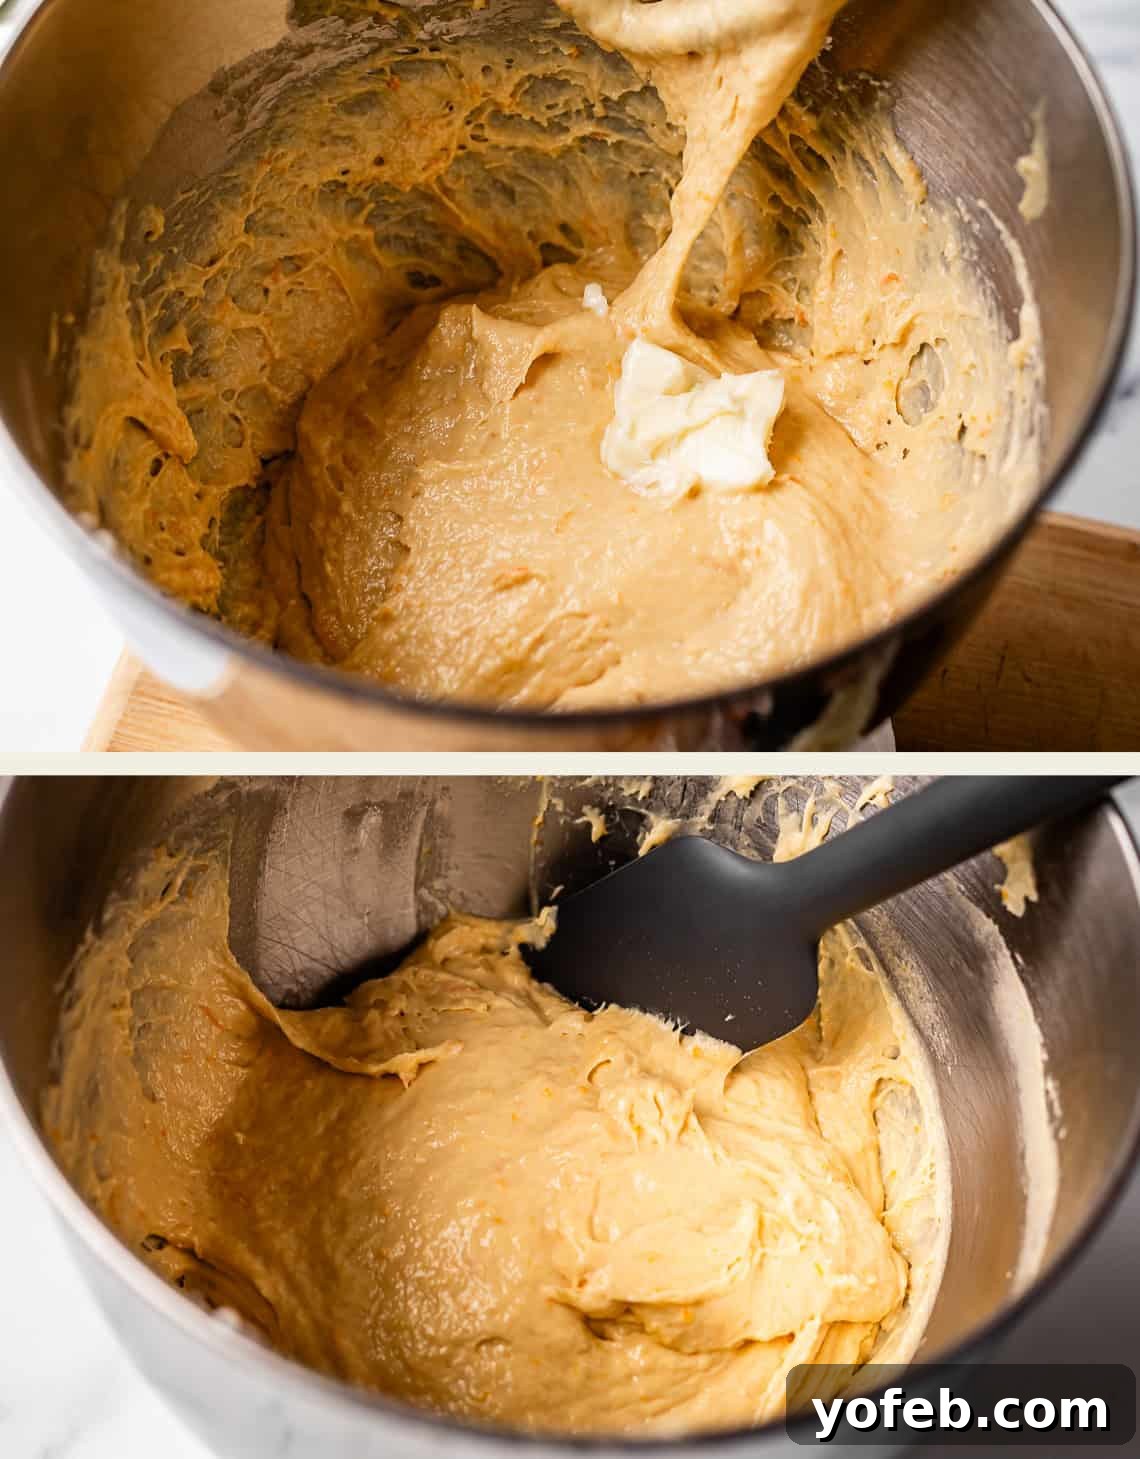
After all the butter has been fully incorporated, let the dough continue to mix for about five minutes. You’ll notice it transform into a silky, smooth, and beautifully shiny mass. While it might not completely clean the sides of the bowl, it should form a loose, cohesive ball. At this stage, the dough will be quite wet and sticky – don’t worry, this is exactly how it should be! It’s far too soft to work with immediately. If you’re feeling particularly lazy (and who isn’t, sometimes?), you can simply spray the top of the dough liberally with cooking spray in the same mixing bowl. Otherwise, transfer it to a generously greased clean bowl. The crucial next step is to cover it tightly and place it in the fridge for a couple of hours. Yes, the fridge! Chilling this dough is not optional; it’s essential to make it workable and achieve the perfect texture for your fluffy orange rolls.
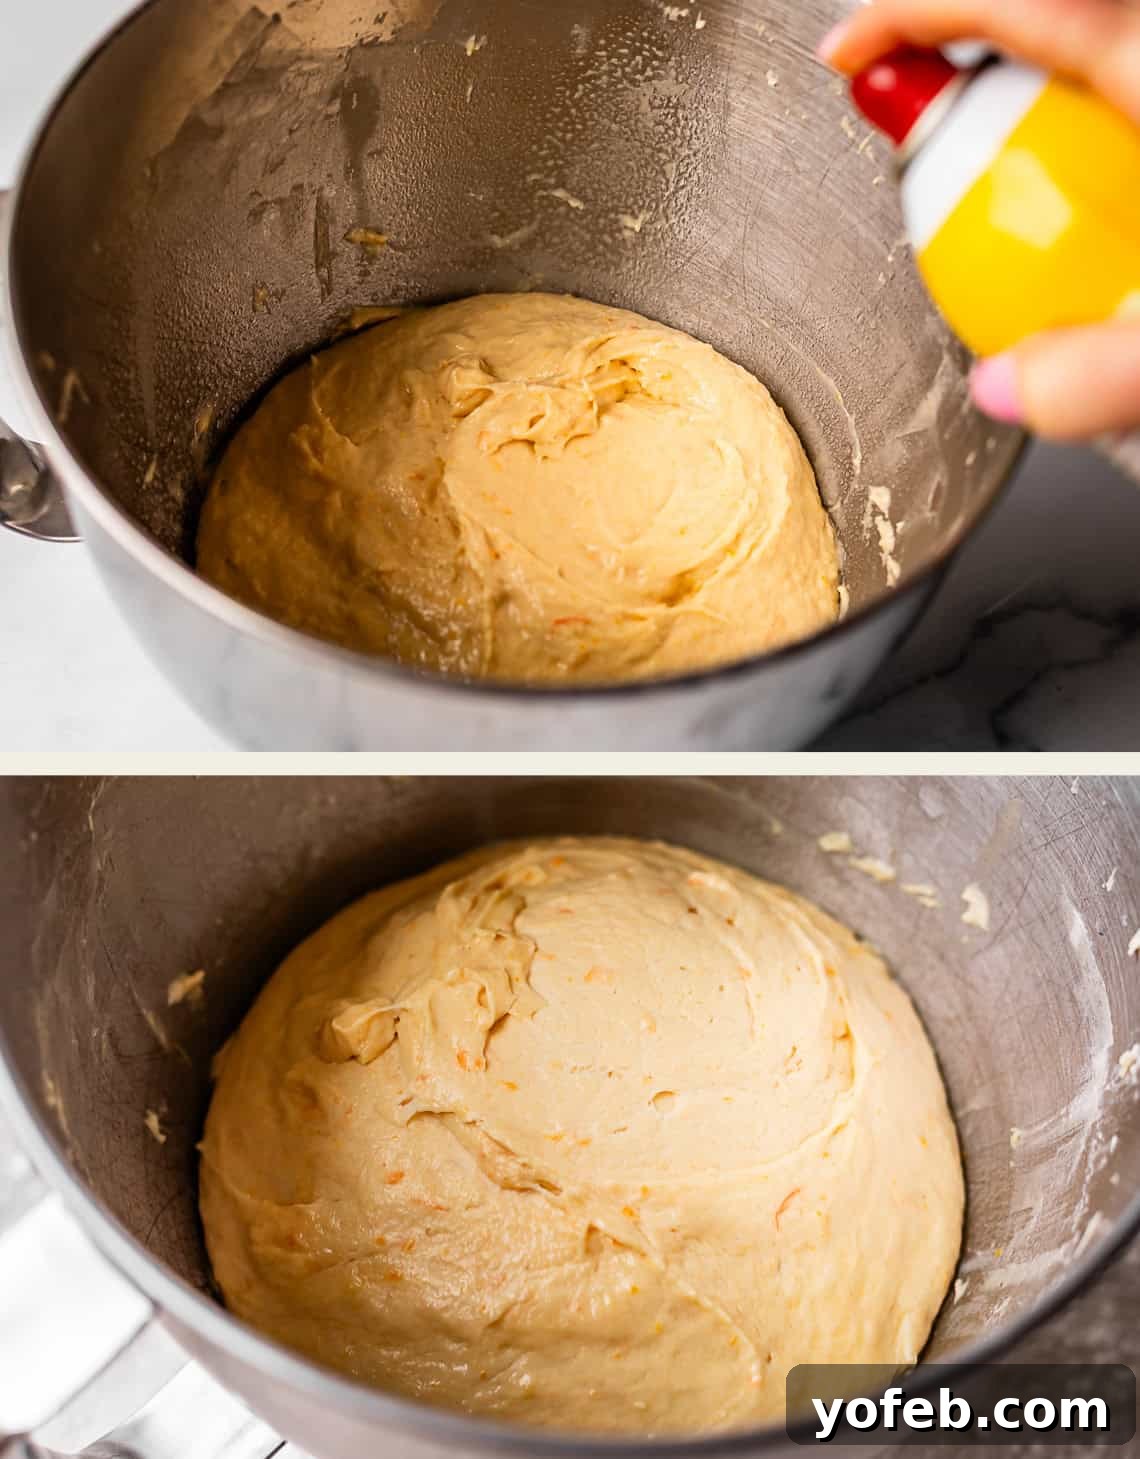
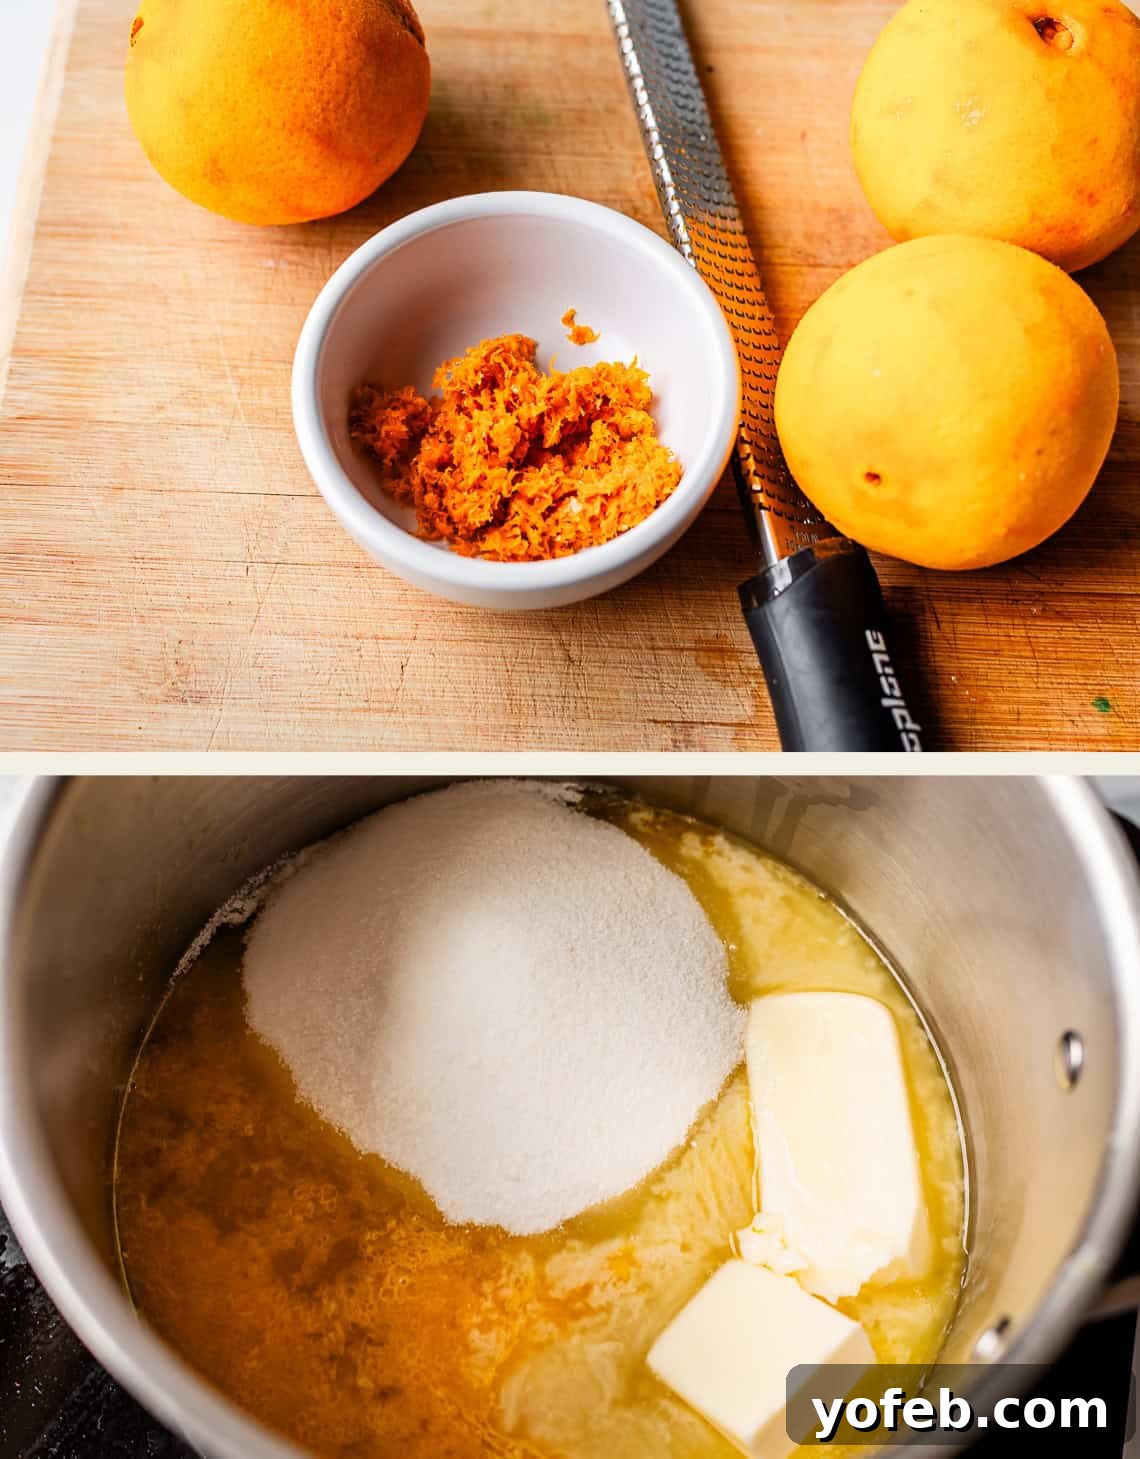
After its chilly rest, your dough will have risen beautifully, though not as dramatically as a room-temperature proof. This is perfectly normal when chilling. The key is that the dough will be completely chilled and firm, making it much easier to handle and roll out. But, I’m getting ahead of myself! While the dough is happily chilling, it’s the perfect time to prepare the star of these rolls: the unparalleled orange filling. This isn’t just any filling; it’s a unique cooked orange candy that sets these rolls apart from any other recipe you’ll find. Start by zesting a generous amount of oranges—specifically, three large ones—to get that incredible, intense citrus aroma and flavor.
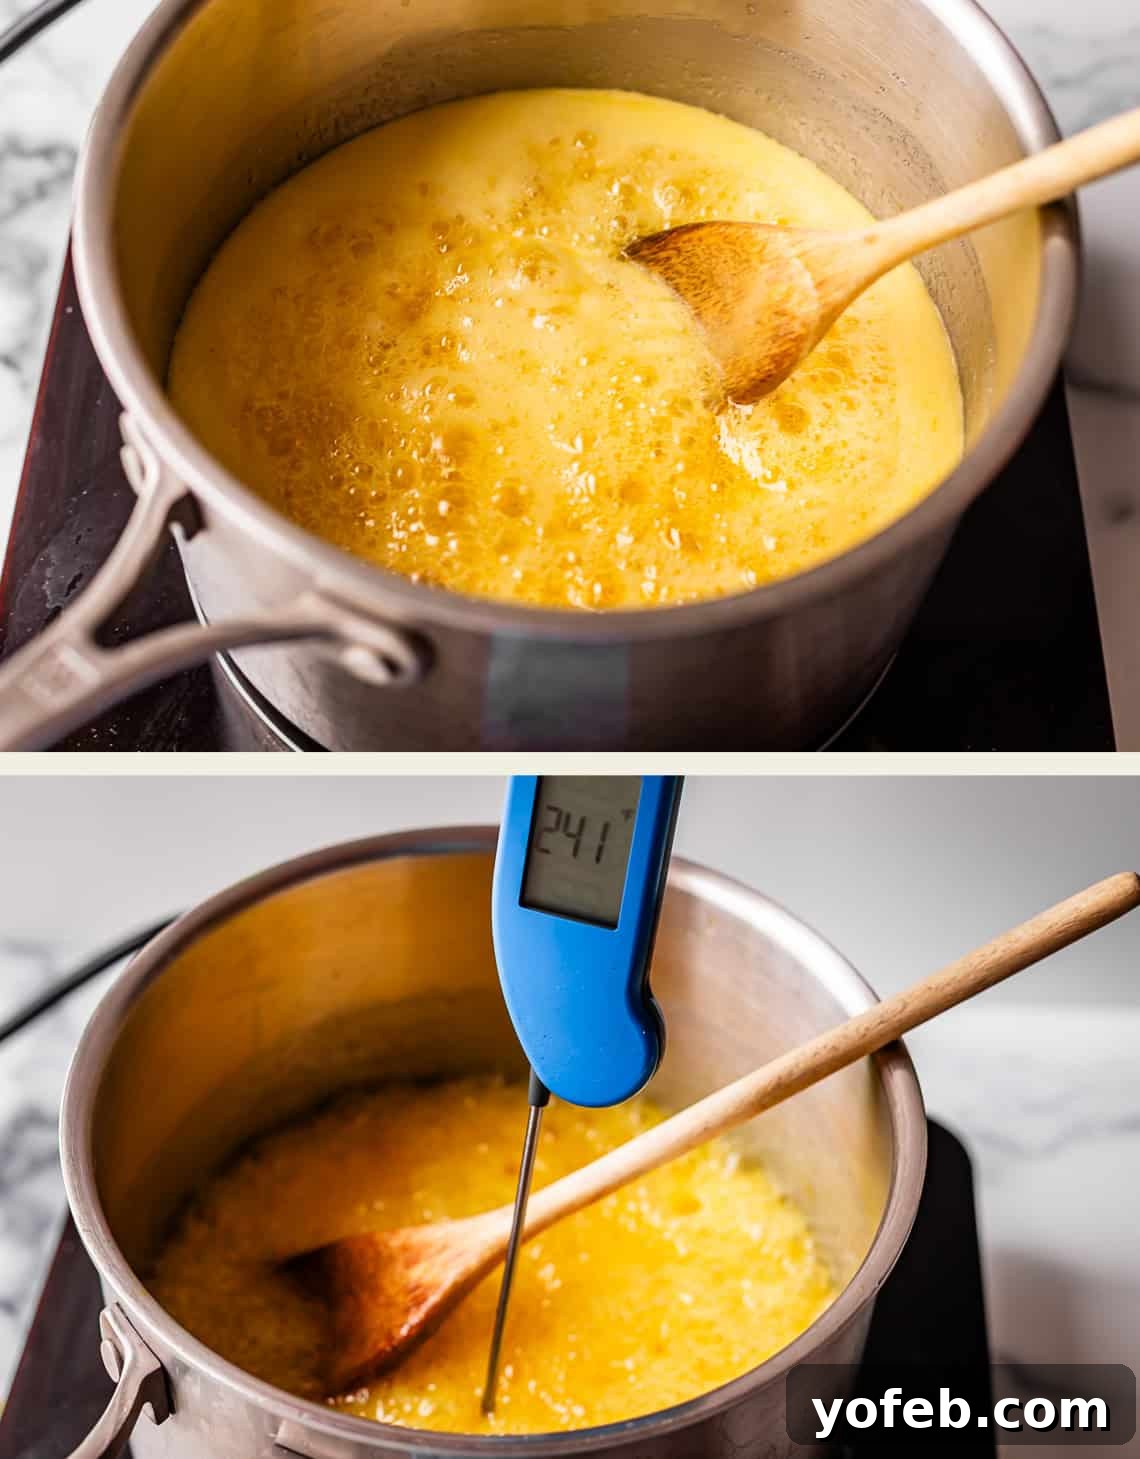
Years ago, when Alice first sought my help with her great-grandma’s recipe, her main challenge was a runny filling that would seep out, creating a sticky mess when she tried to roll the dough. Through our troubleshooting, we discovered the secret: the filling needed to be cooked longer, reaching the precise soft-ball stage, just like a classic candy. This crucial step transforms the liquid mixture into a thick, spreadable, and intensely flavored orange confection. It will need to cook until it reaches 240 degrees Fahrenheit (about 8-9 minutes of boiling). Using a candy thermometer is highly recommended here to ensure accuracy; overcooking can make the filling too hard to spread, while undercooking results in the dreaded runny mess.
You’ll notice that the cooked orange filling, despite its name, is naturally yellow. Why? Because orange juice itself is yellow! Only the peel of an orange is, well, orange. If you’re feeling a little playful and want to enhance that vibrant citrus hue, you can add a tiny drop of red food coloring. Remember your color wheel from school? Yellow plus red equals orange! Just one small drop is usually all it takes to achieve a lovely, warm orange shade without altering the exquisite flavor.
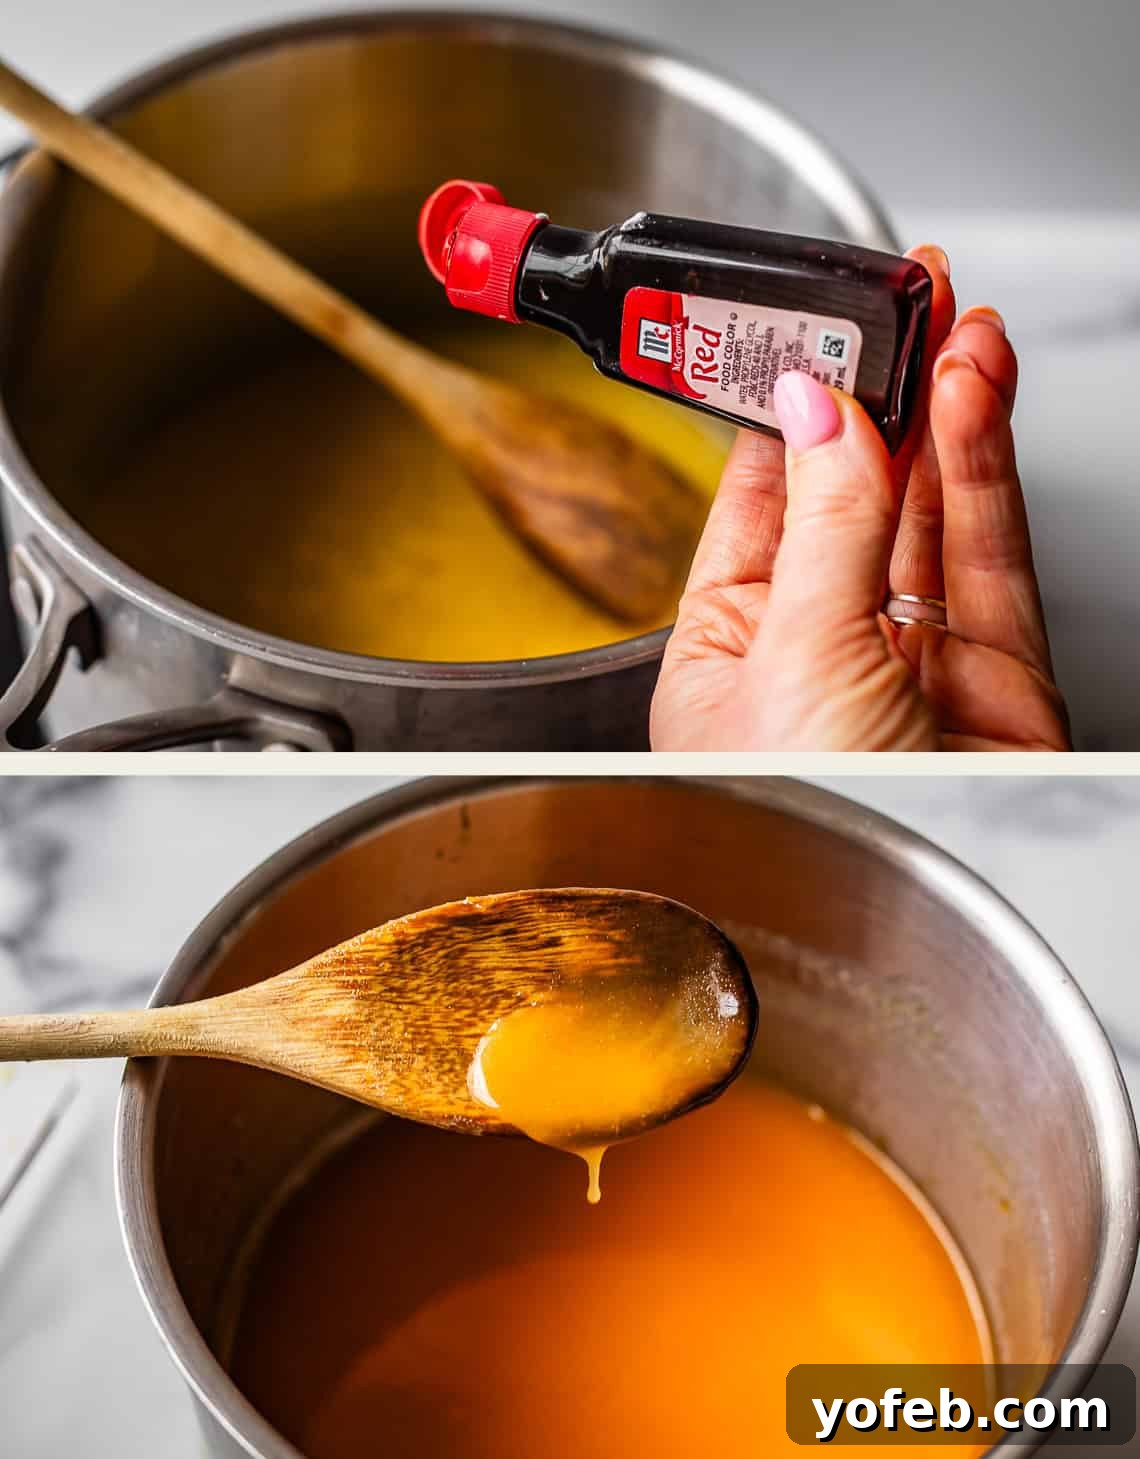
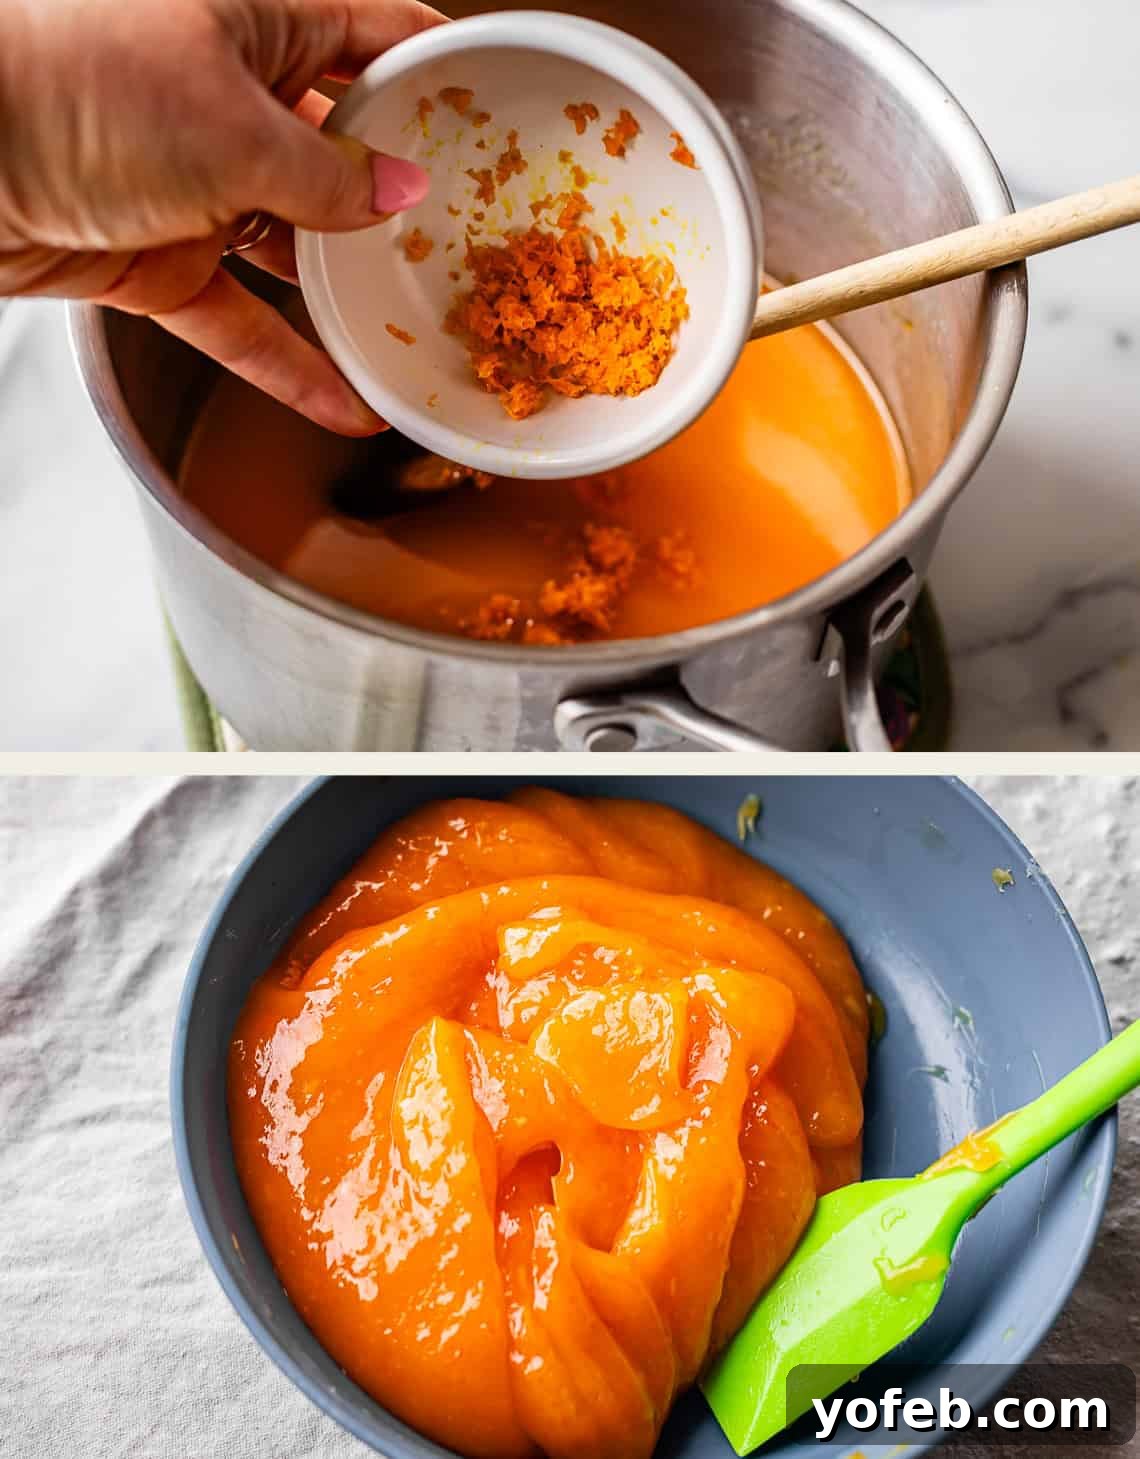
Once your filling reaches the desired candy stage and is removed from the heat, that’s when you incorporate the precious orange zest you meticulously prepared earlier. This timing is crucial; adding the zest after cooking ensures its fresh, bright, and volatile oils are preserved, providing maximum aromatic impact. If you were to boil the zest with the other ingredients, the prolonged heat would diminish its vibrant flavor. Stir it in at the very end to capture its full, intoxicating fragrance. After adding the zest, the filling needs to cool completely to room temperature before it can be spread onto the dough. To speed things up, you can transfer it to the fridge, stirring occasionally to prevent it from solidifying too much around the edges. This ensures a perfectly spreadable, luscious orange candy filling that will be the heart of your incredible orange rolls.
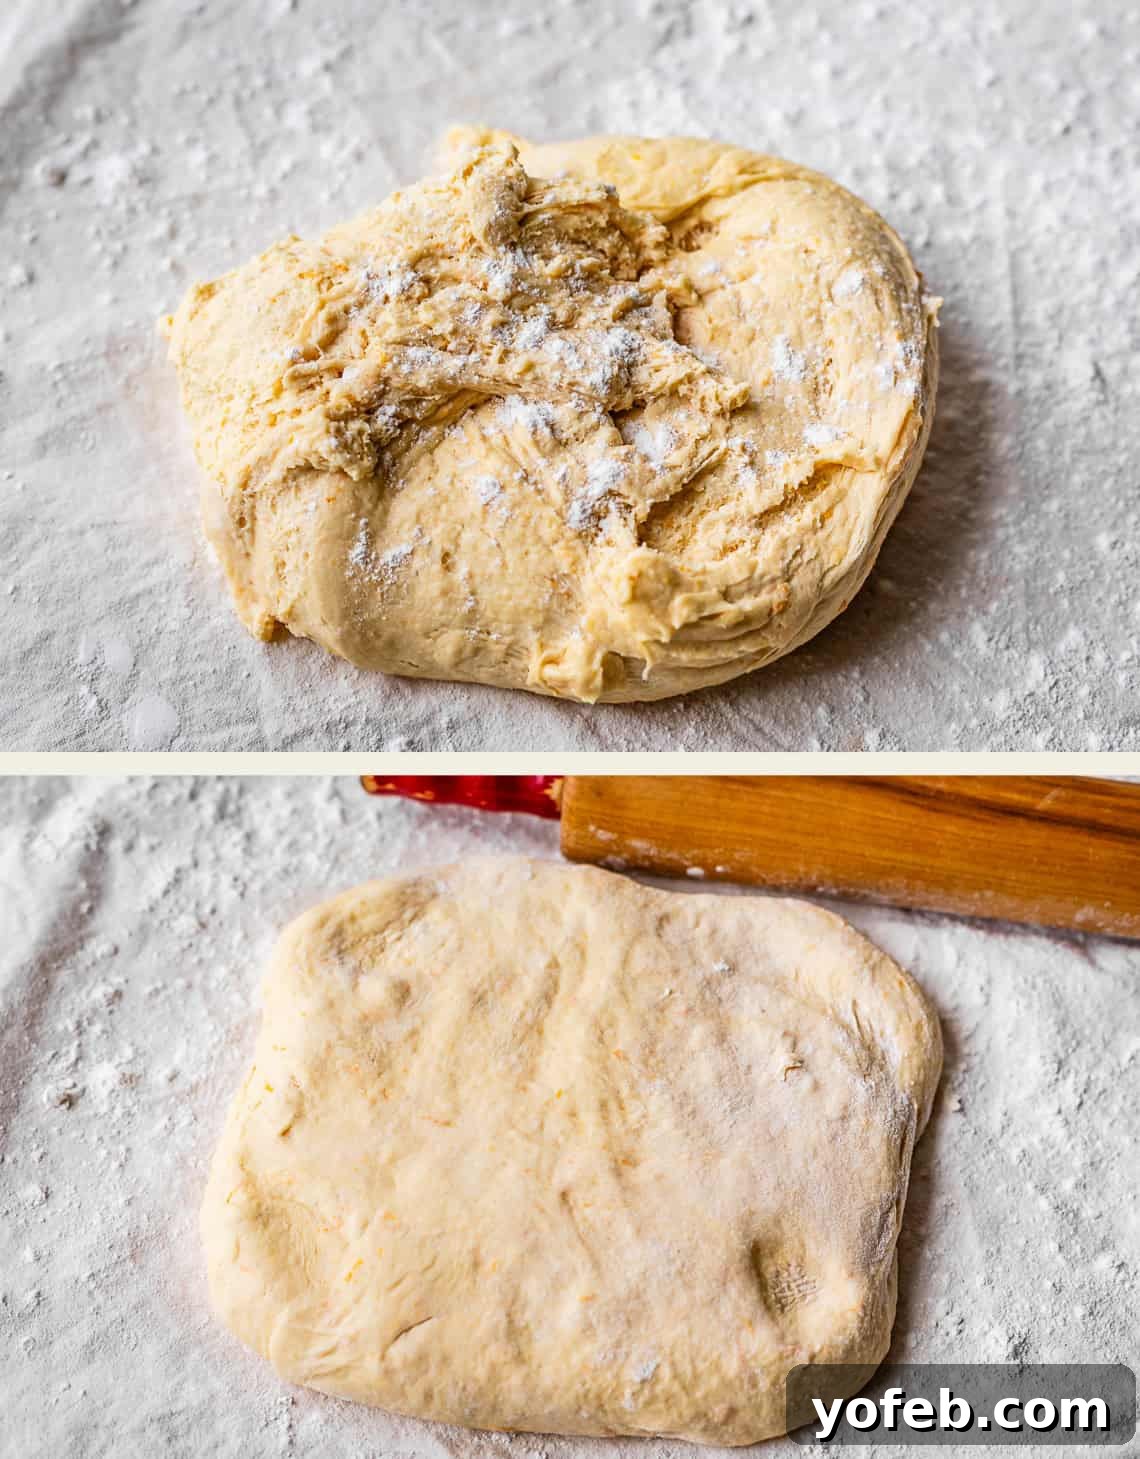
Now, let’s revisit our star: the perfectly chilled brioche dough! After its rest in the refrigerator, it will be firm, beautiful, and ready to be transformed into fluffy orange rolls. Prepare a clean work surface with a generous dusting of flour. I highly recommend using a pastry cloth for this step; it makes handling this soft dough incredibly easy and prevents sticking. Quickly scrape the dough onto the floured surface and knead it gently a couple of times to bring it together. Then, using your hands, press it into a rough rectangle before grabbing your rolling pin. Roll the dough into a large rectangle, aiming for about 1/4 inch thickness, or slightly more. The precise dimensions aren’t critical, but generally, a rectangle around 12 by 16-18 inches works perfectly. Remember, work efficiently to keep the dough as cold as possible.
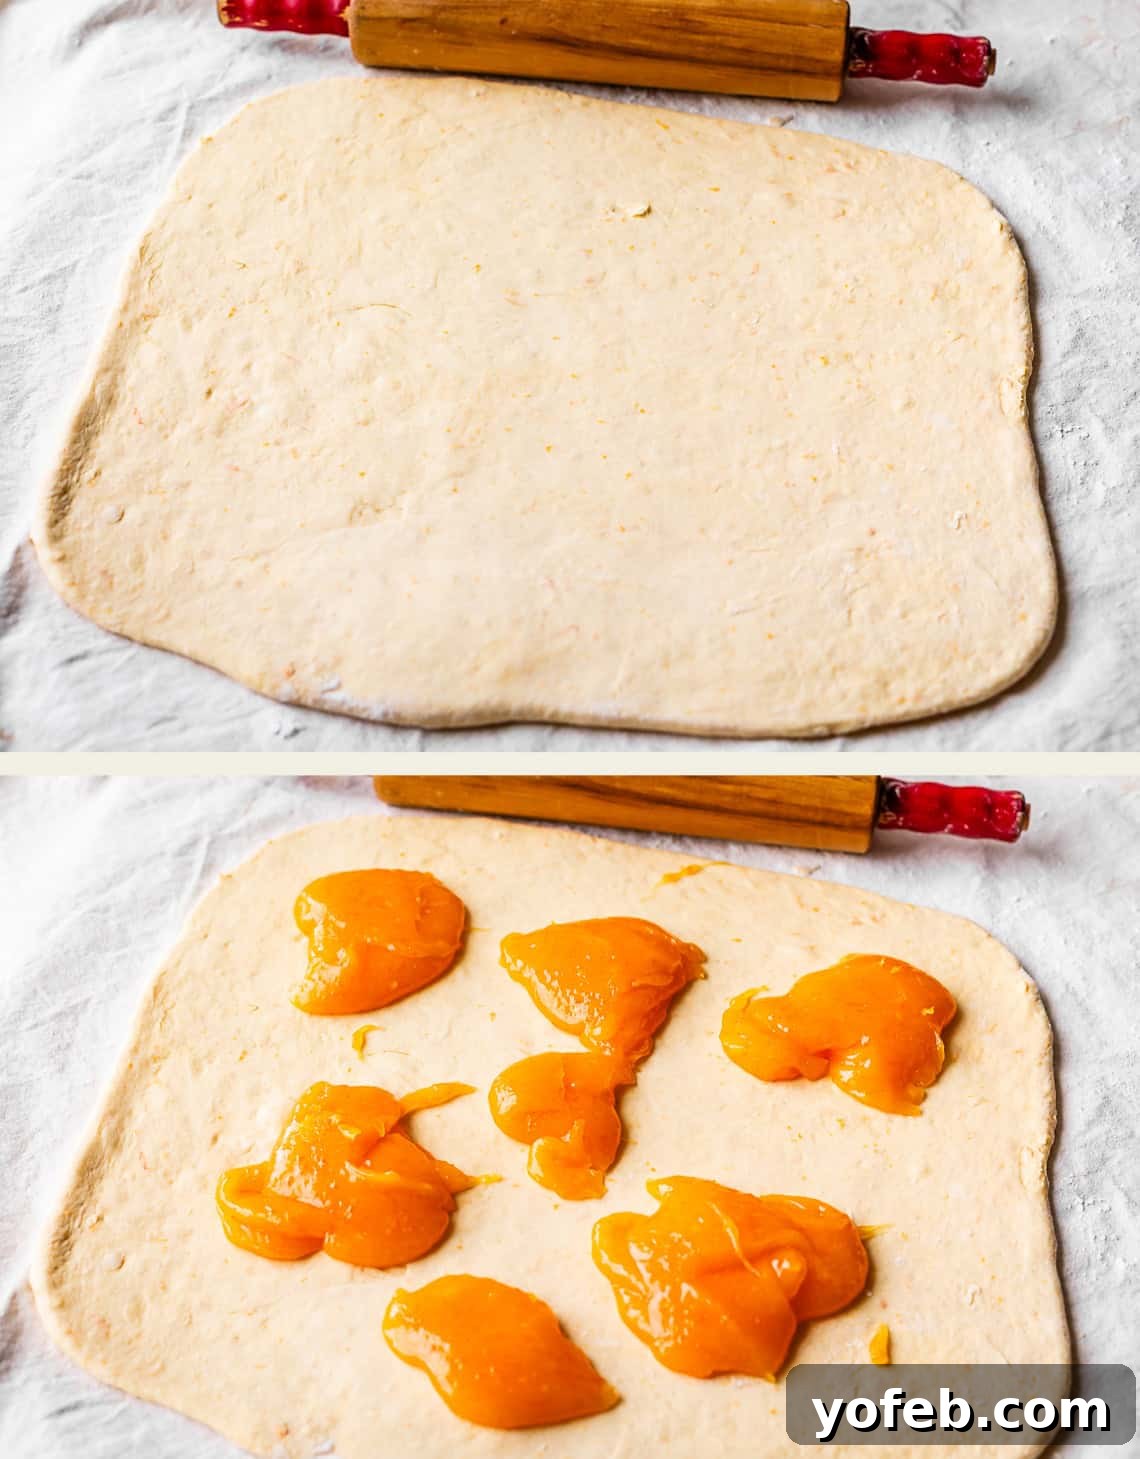
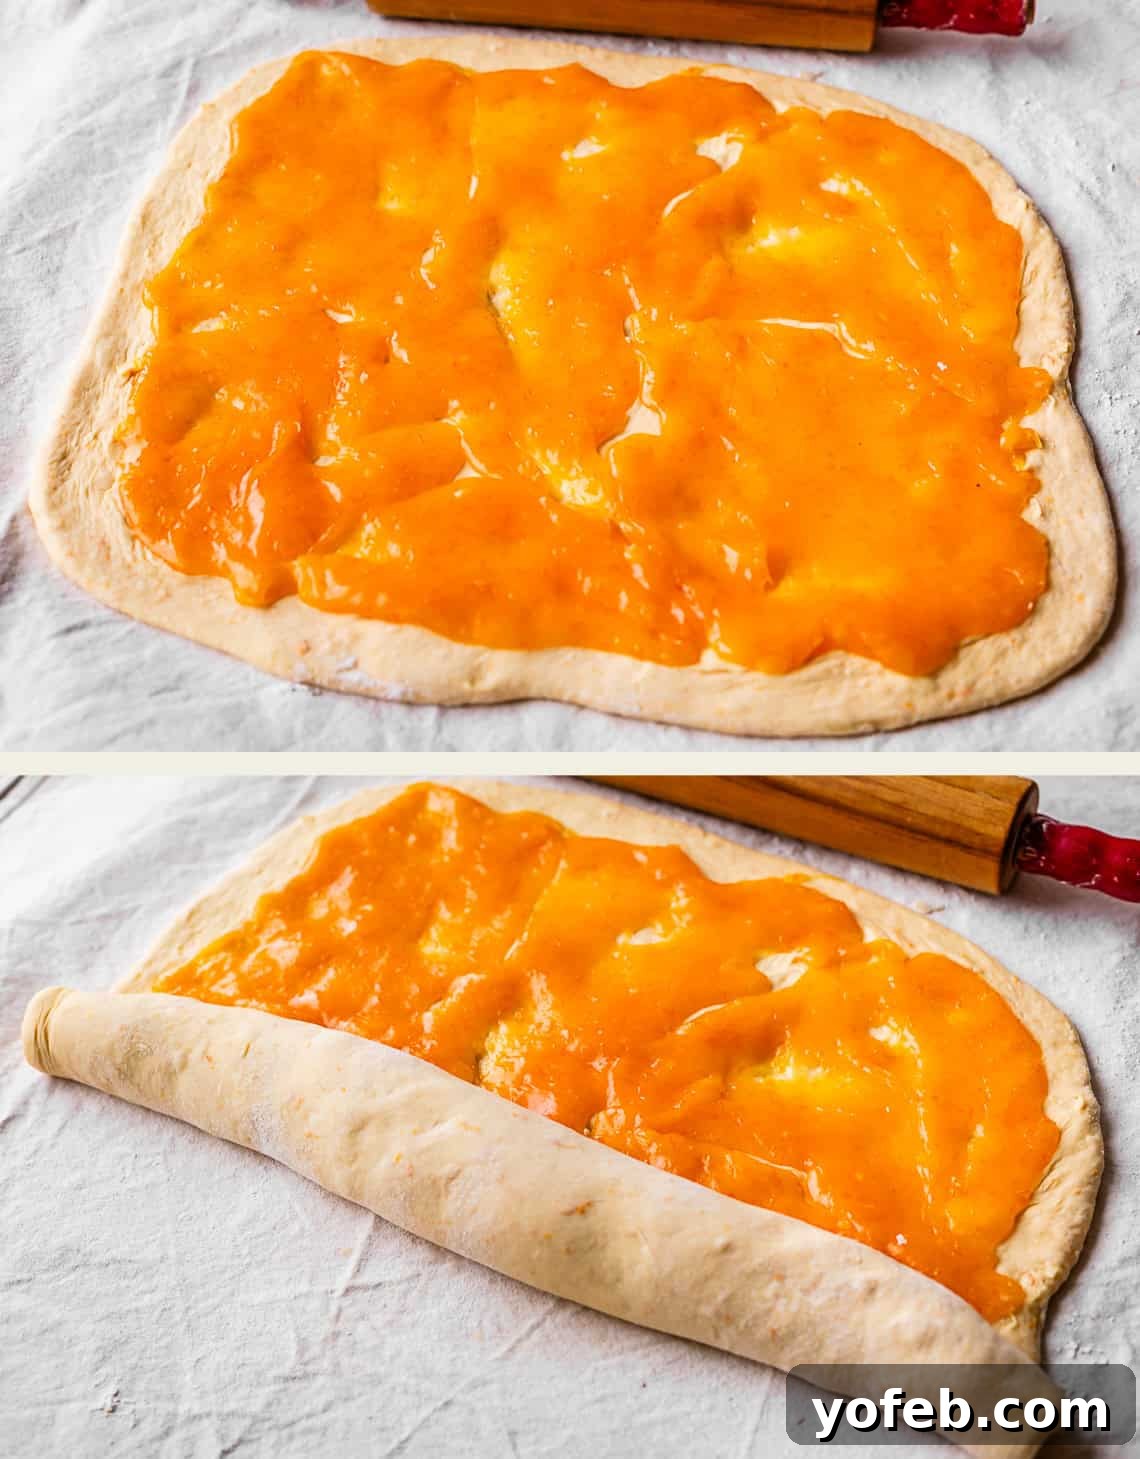
Next, comes the glorious union of dough and filling. This is where your perfectly prepared orange candy filling meets the soft, chilled brioche. It’s crucial that your orange filling is at room temperature – not too warm, or it will melt into the soft dough and seep out during rolling; and not too cold, or it will be too firm to spread, tearing the delicate dough. If your filling is a touch too cold, a quick 5-10 second burst in the microwave, with thorough stirring, can help. Last time, my filling was just a smidge too firm, and I resorted to using my hands to gently spread it, which worked beautifully in the end. Distribute the filling evenly over the rolled-out dough, leaving about a half-inch border around the edges. Work quickly and confidently to maintain the dough’s chill.
Now for the fun part: rollin’, rollin’, rollin’ the dough! Start from one of the long edges and roll the dough into a tight log. As you roll, use your hands to gently smooth out the dough from the center outwards, ensuring an even thickness throughout the log. This prevents the middle of your orange roll from being disproportionately thick compared to the ends. Once you’ve achieved a beautifully tight log, use your fingers to securely seal the seam along the bottom. This ensures all that delicious orange candy filling stays perfectly contained within each roll. My six-year-old son, Edison, thinks the song “Rollin’, Rollin’, Rollin'” is the greatest of all time, and I bet you’ll be humming it too as you assemble these sweet treats!
Okay, now for the moment of truth: slicing the dough! This is where things can get a little tricky, especially if your dough has warmed up too much. This brioche dough is wonderfully soft, which can make it a challenge to slice cleanly if it loses its chill. If you find your dough becoming too pliable, don’t despair! Quickly clear some space in your fridge or freezer and place the entire rolled log inside to firm up for 10-15 minutes. This is precisely why I adore rolling dough on a pastry cloth; you can simply pick up the whole thing and transfer it without disturbing the dough. It’s a lifesaver for those unexpected kitchen crises (like when I used to abandon my pie crusts to rescue a child attempting to shove a PB&J into the VCR—though my 15-year-old daughter Charlotte tells me her friends don’t even know the difference between CDs and DVDs these days! Crazy, right?)
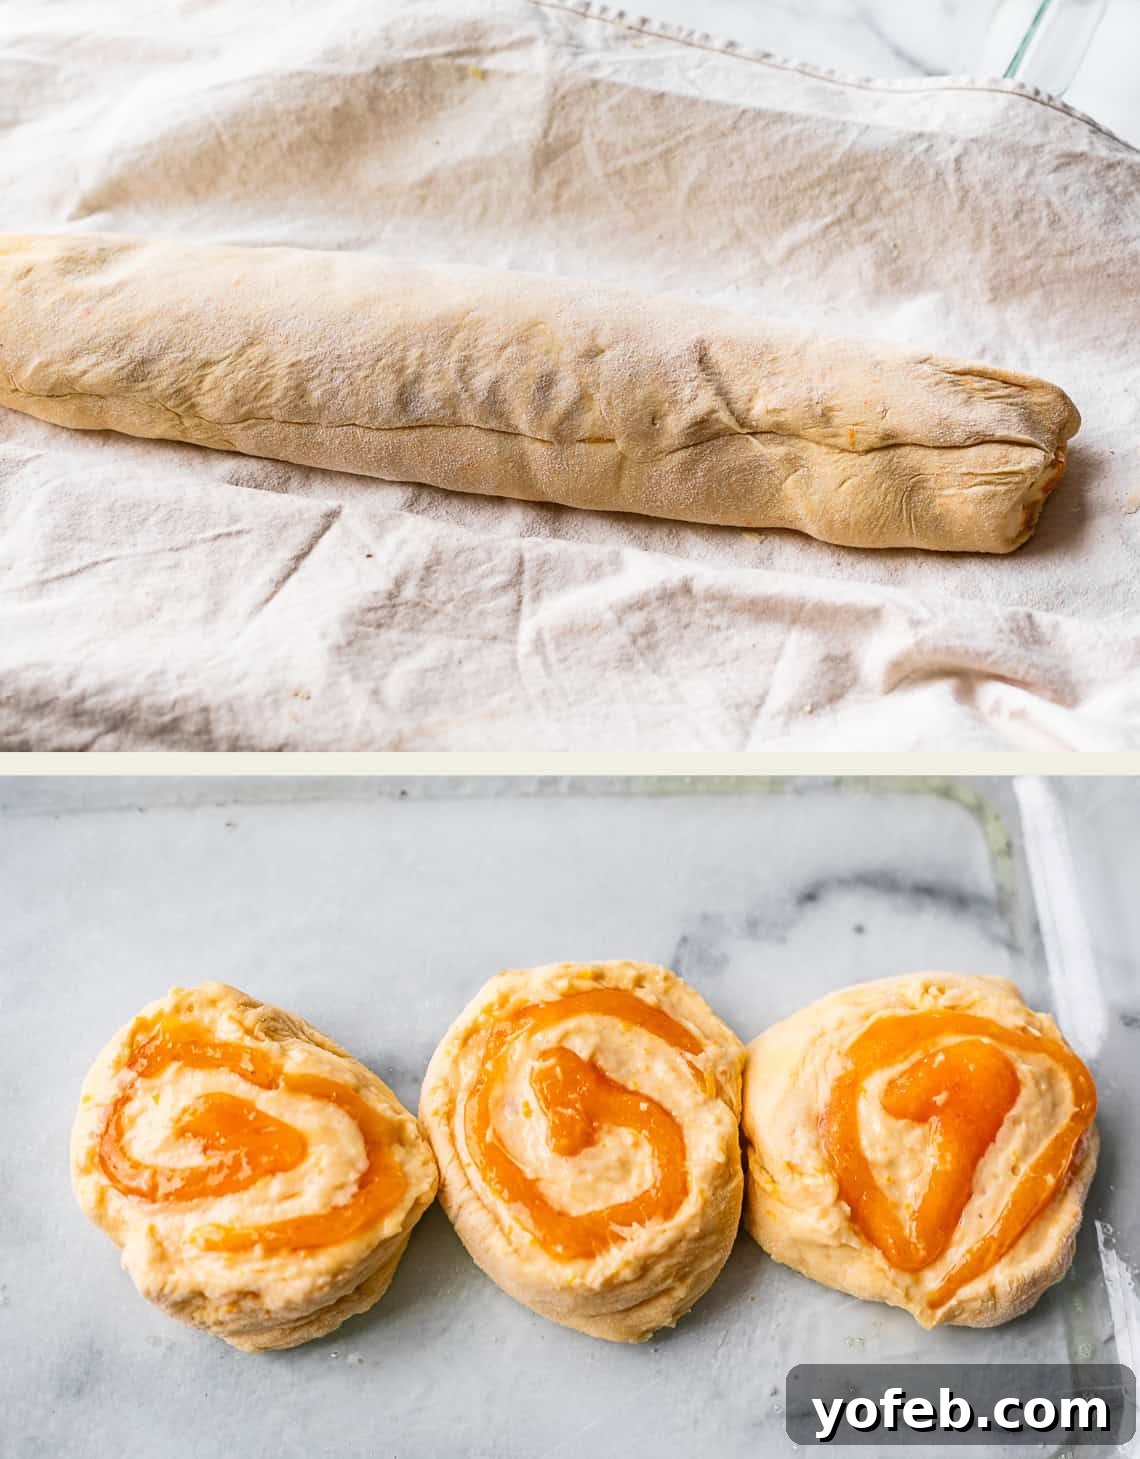
Once your dough log is perfectly chilled and ready, it’s time to slice quickly and decisively. You can use a very long, sharp serrated knife, employing a gentle sawing motion, or even unflavored dental floss for a super clean cut. Remember to dip your knife (or floss) in flour between cuts to prevent sticking, as the filling is quite gooey. Move swiftly, and don’t hate me if it’s a little messy—it’s all worth it for these incredible orange rolls! While they might not look perfectly uniform right after slicing (my “Quasimodo rolls,” as I sometimes affectionately call them!), I promise they will plump up beautifully during the rise, transforming into magnificent, fluffy swirls of citrus goodness. Now, arrange each slice in your greased 9×13 inch baking pan, leaving a little space between them to allow for expansion.
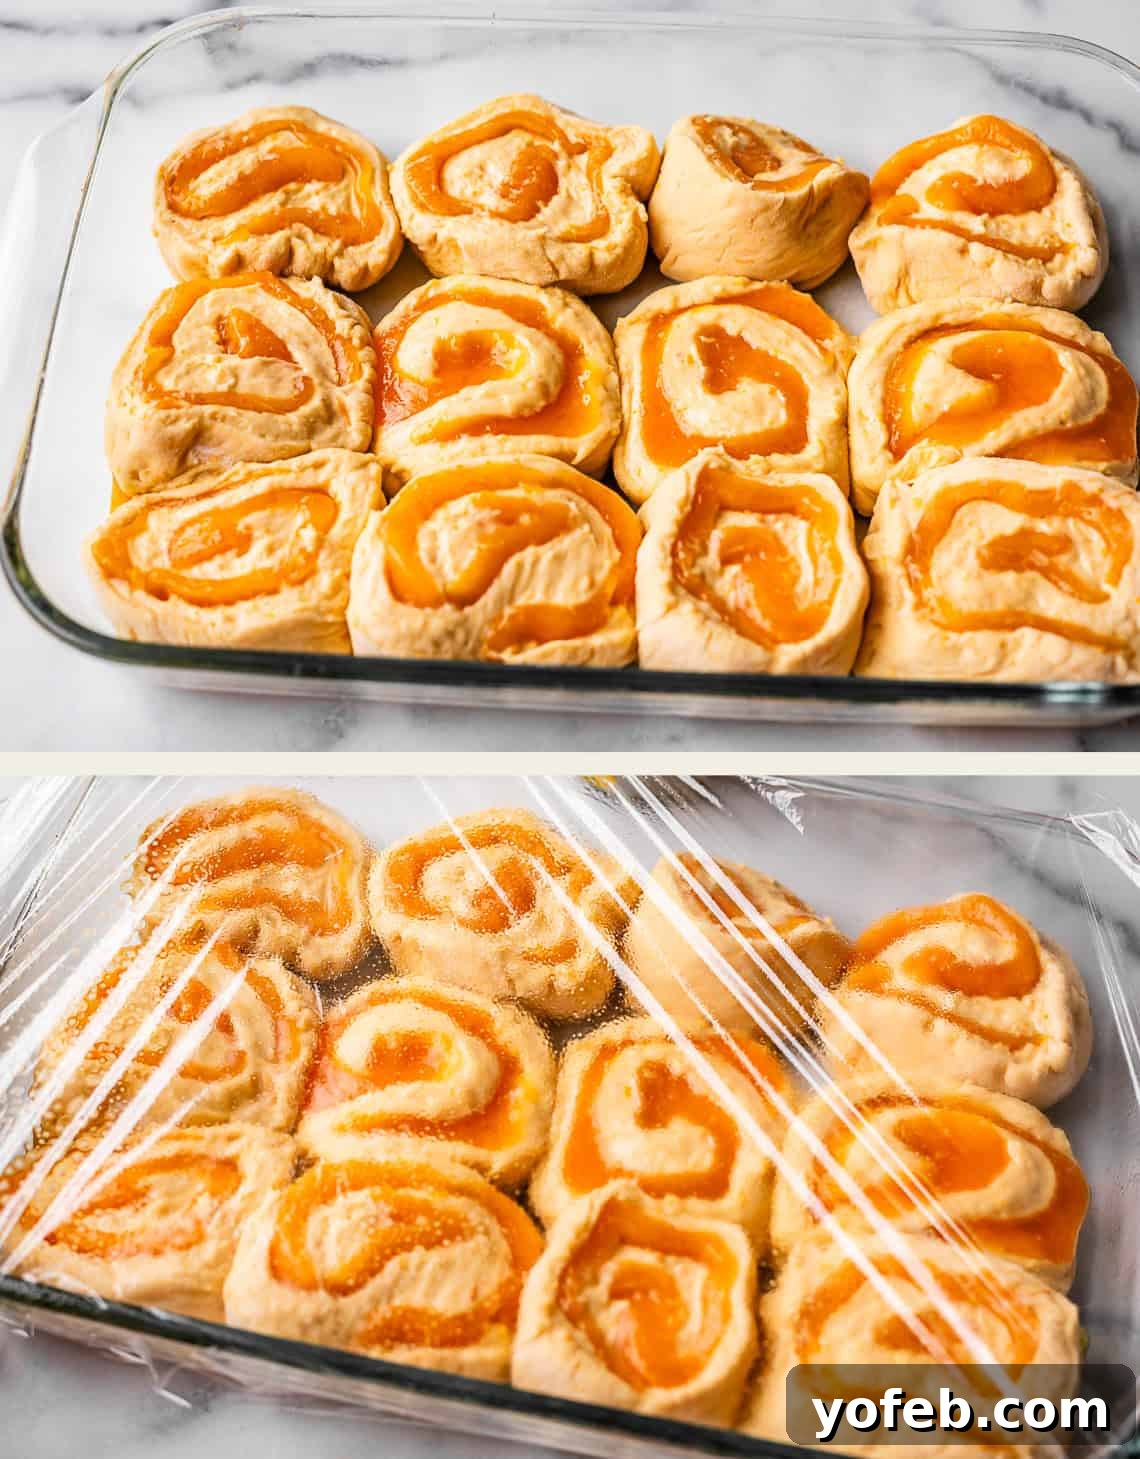
Now, cover the pan tightly with plastic wrap that has been generously sprayed with nonstick spray. This prevents the sticky dough from adhering to the wrap, which can ruin your beautiful rise when you try to remove it later (trust me, I speak from bitter experience!). Place your covered rolls in a warm, draft-free spot for about 45-60 minutes for their second rise, or for an even easier morning, pop them in the fridge overnight. Look at how wonderfully puffy they become after rising! Don’t worry if they’re not perfectly uniform; what they might lack in symmetry, they more than make up for in unparalleled flavor and tender texture. After their rise, remove them from the warm environment and preheat your oven. Bake these beauties until they are golden brown and thoroughly cooked through.
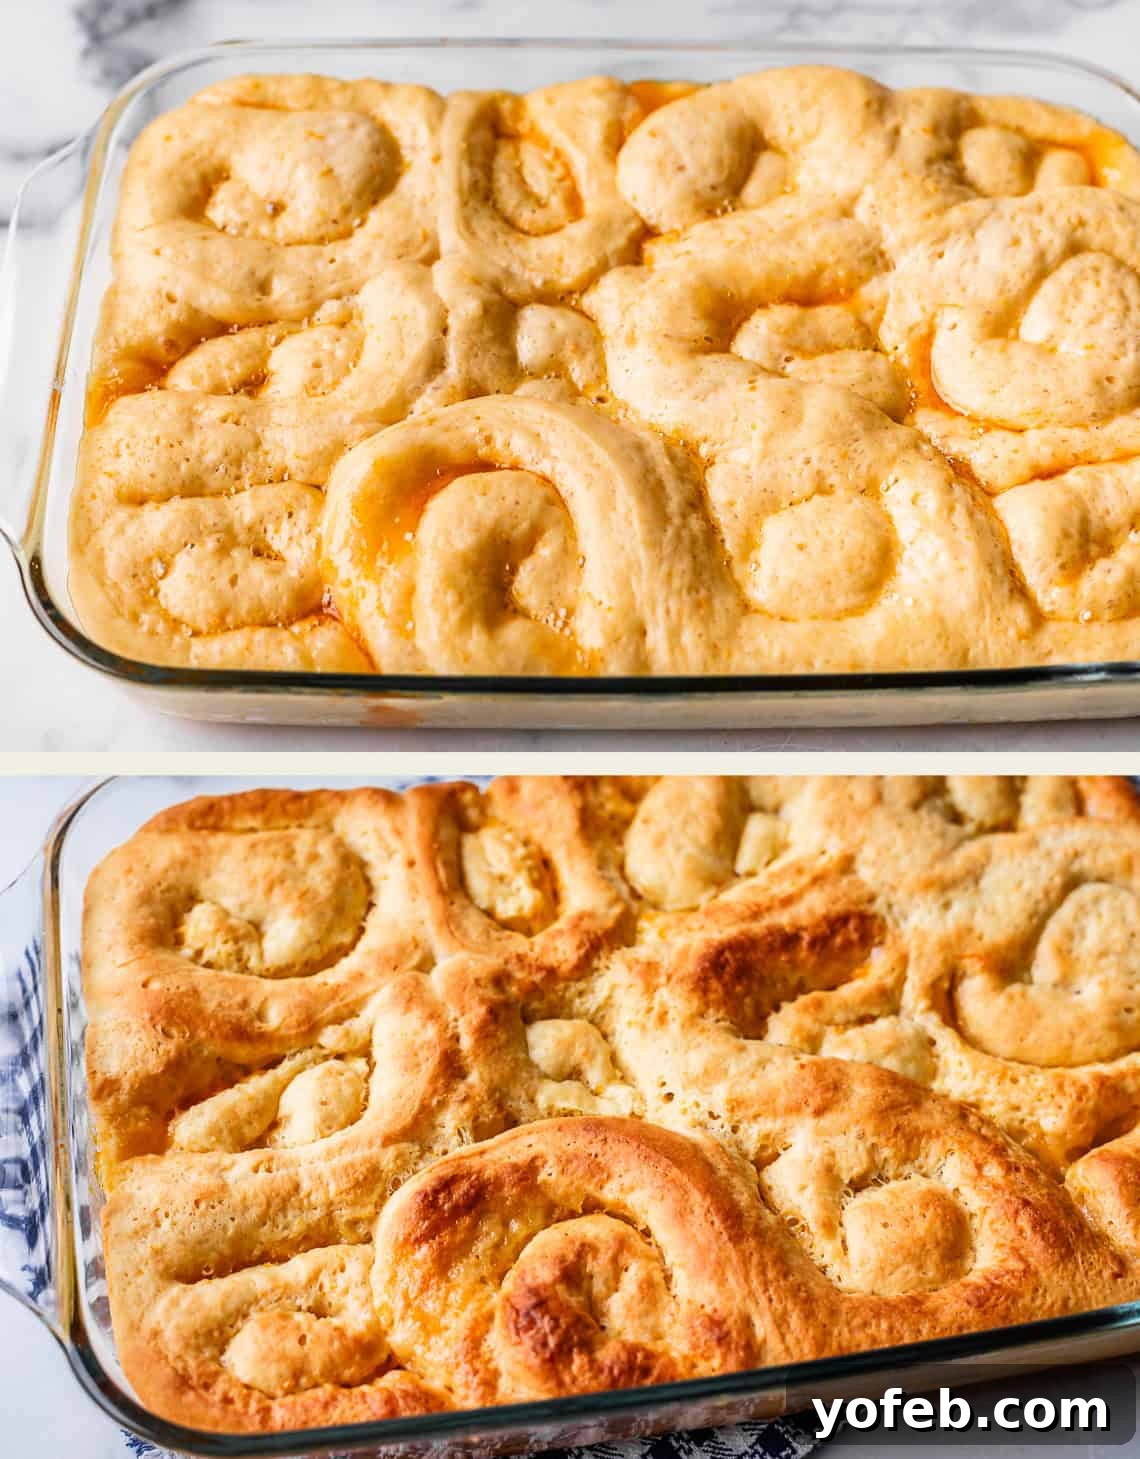
And here they are, fresh out of the oven, golden and fragrant! A critical tip: ensure these rolls are completely baked before removing them. Given the rich, candy-like filling mingling with the soft dough, it’s surprisingly easy to underbake them. While typical cinnamon rolls might bake in about 15 minutes, these substantial orange rolls usually require at least 30 minutes. To be certain they’re perfectly cooked, insert a thermometer into the bread part of a roll (not the gooey filling) in the center of the pan. It should register between 180-190°F (82-88°C). Once perfectly baked, let them cool slightly on a wire rack while you prepare the final flourish – the luscious orange glaze!
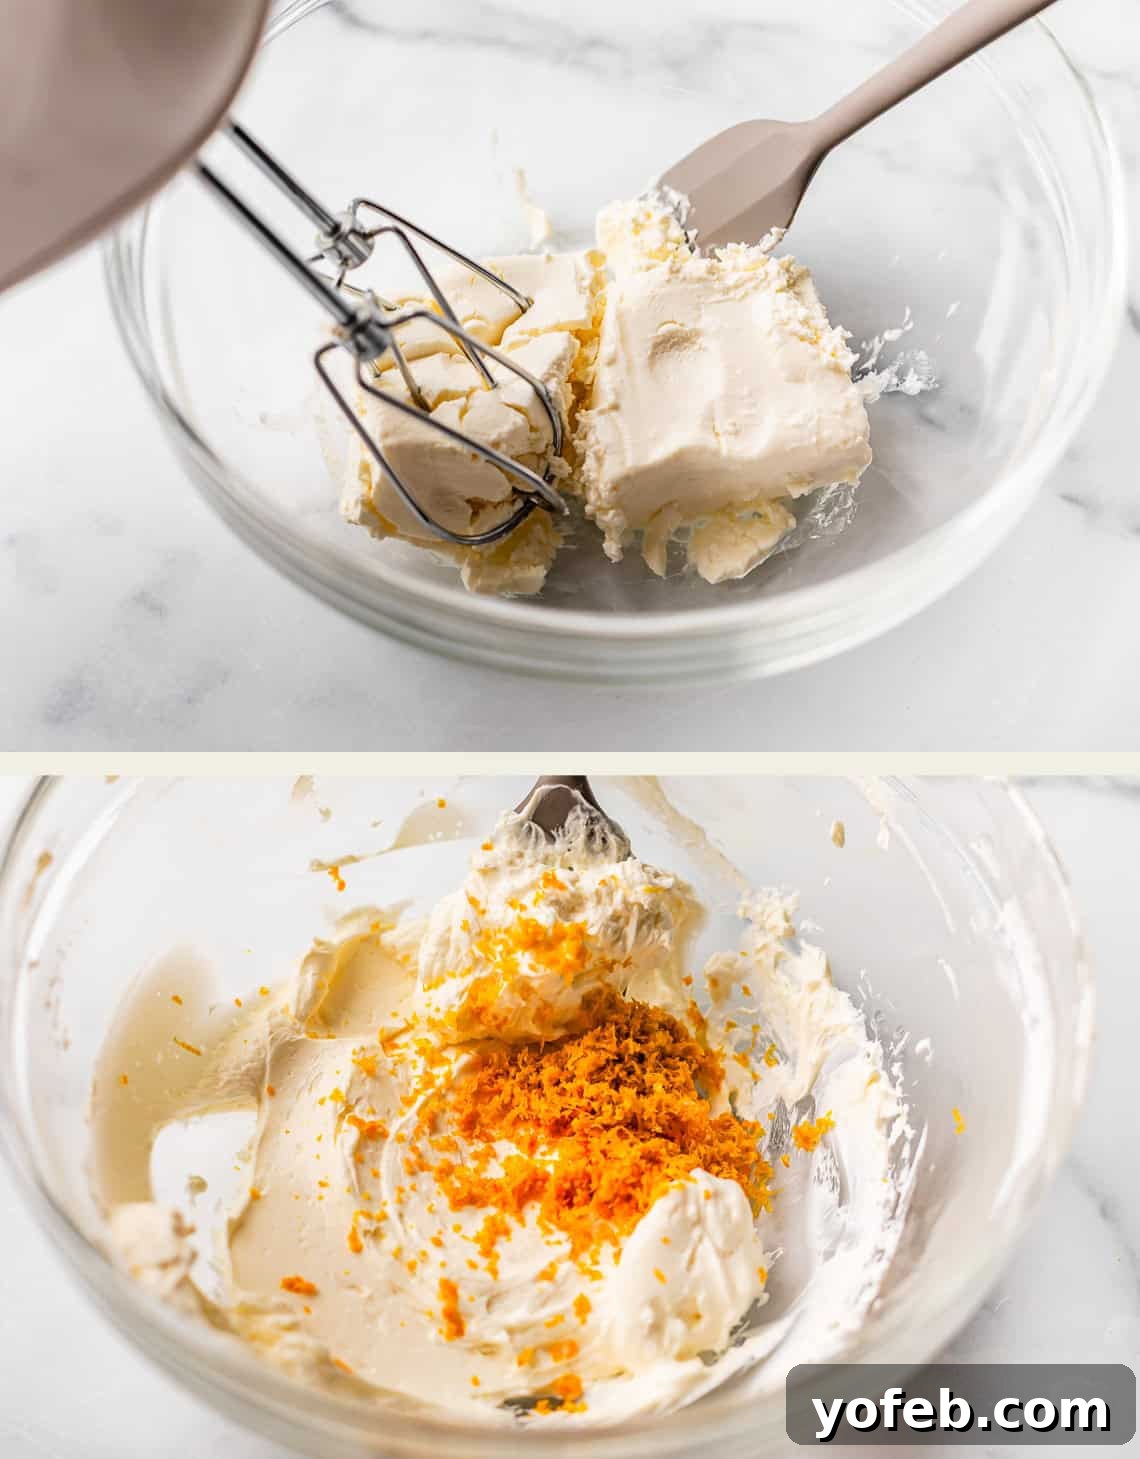
Now it’s time to crown these magnificent orange sweet rolls with a vibrant, tangy glaze! In a large bowl or stand mixer, beat softened full-fat cream cheese until it’s incredibly smooth and free of any lumps. This step is crucial for a perfectly velvety glaze. Next, add the bright, aromatic zest from two oranges. You won’t need the juice from both these oranges for the glaze, so consider enjoying one as a refreshing halftime snack – juice to the elbows, completely optional this time! The orange zest infuses the glaze with an intense, fresh citrus aroma that complements the rolls beautifully.
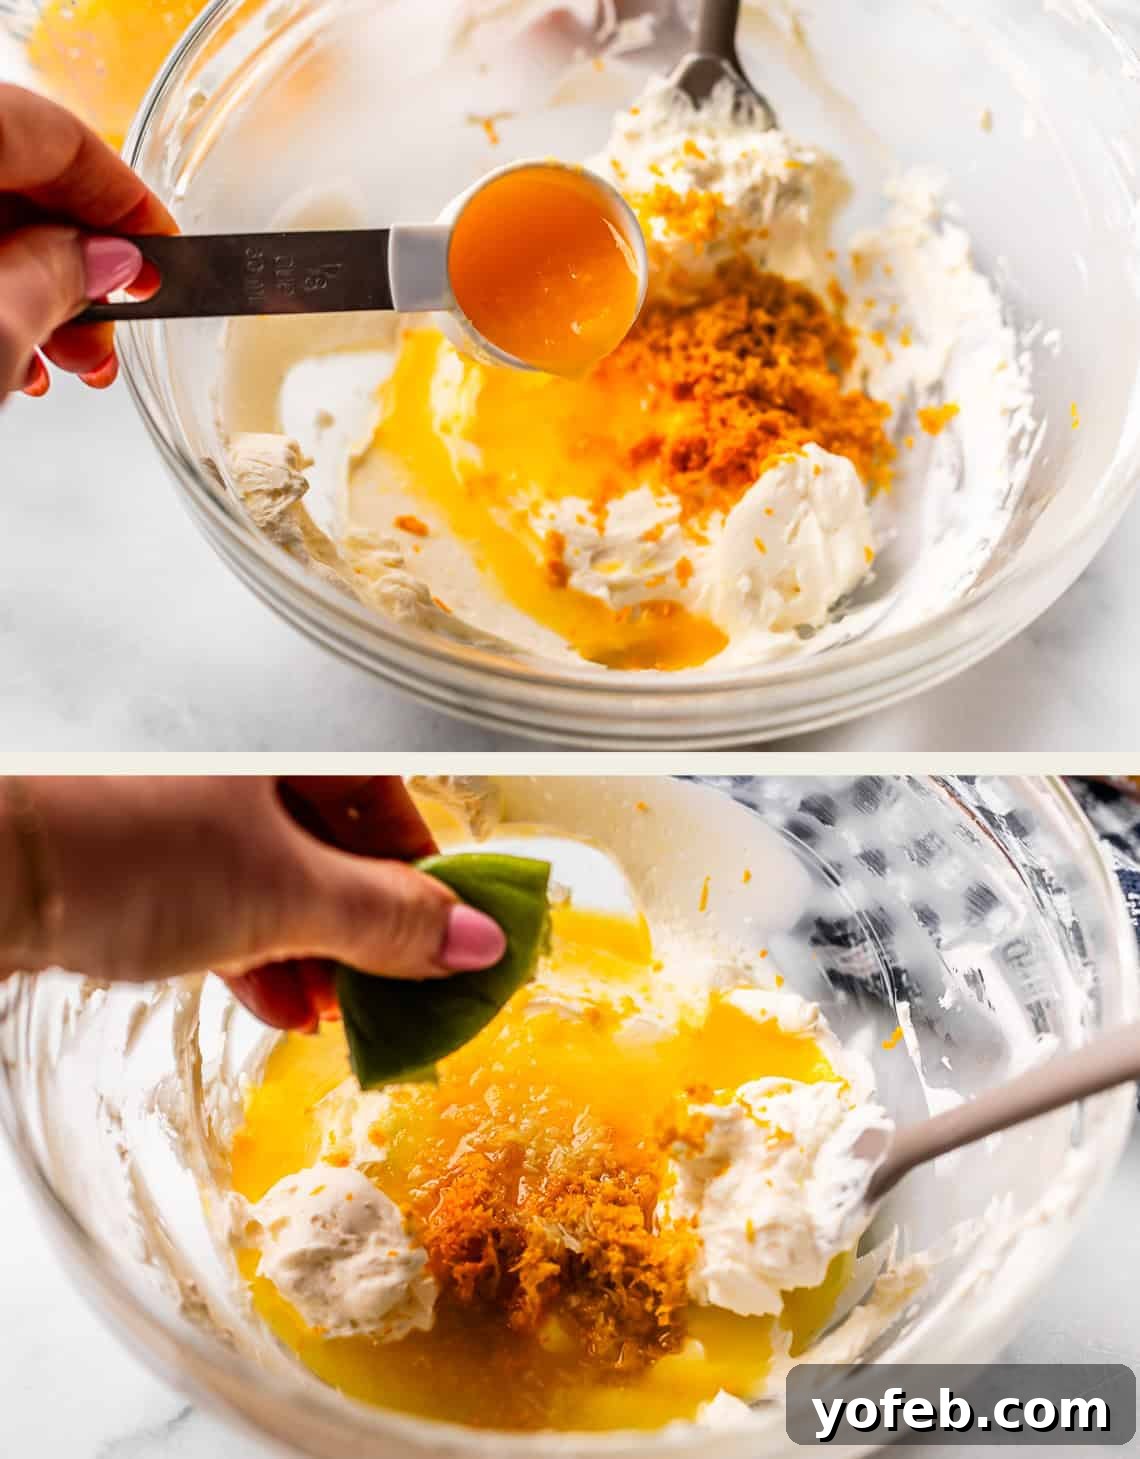
After incorporating the orange zest, add the fresh orange juice and, here’s my secret ingredient for truly exceptional orange rolls, a generous squeeze of fresh lime juice. I adore a tart glaze because it provides a crucial counterpoint to the sweetness of the rolls, preventing them from becoming cloyingly rich. The cream cheese also contributes to this delightful tang, creating a perfect balance of sweet, rich, and vibrant citrus notes. This tartness cuts through the sweetness, making each bite even more satisfying and ensuring the orange flavor shines through brilliantly.
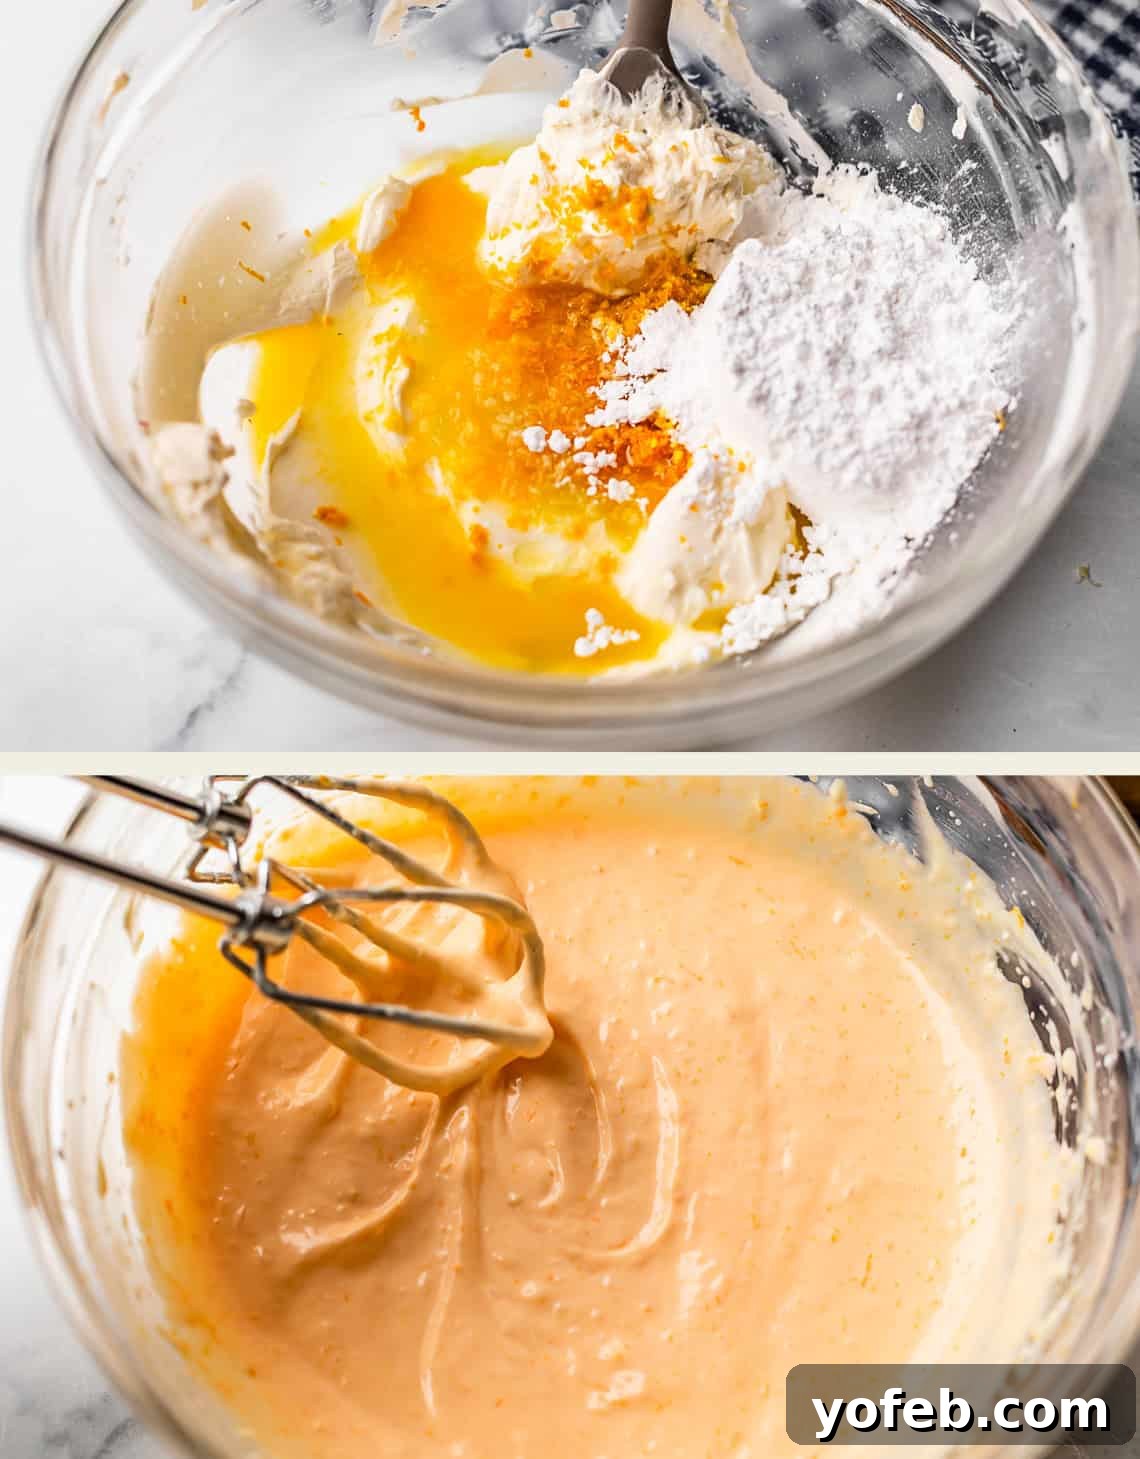
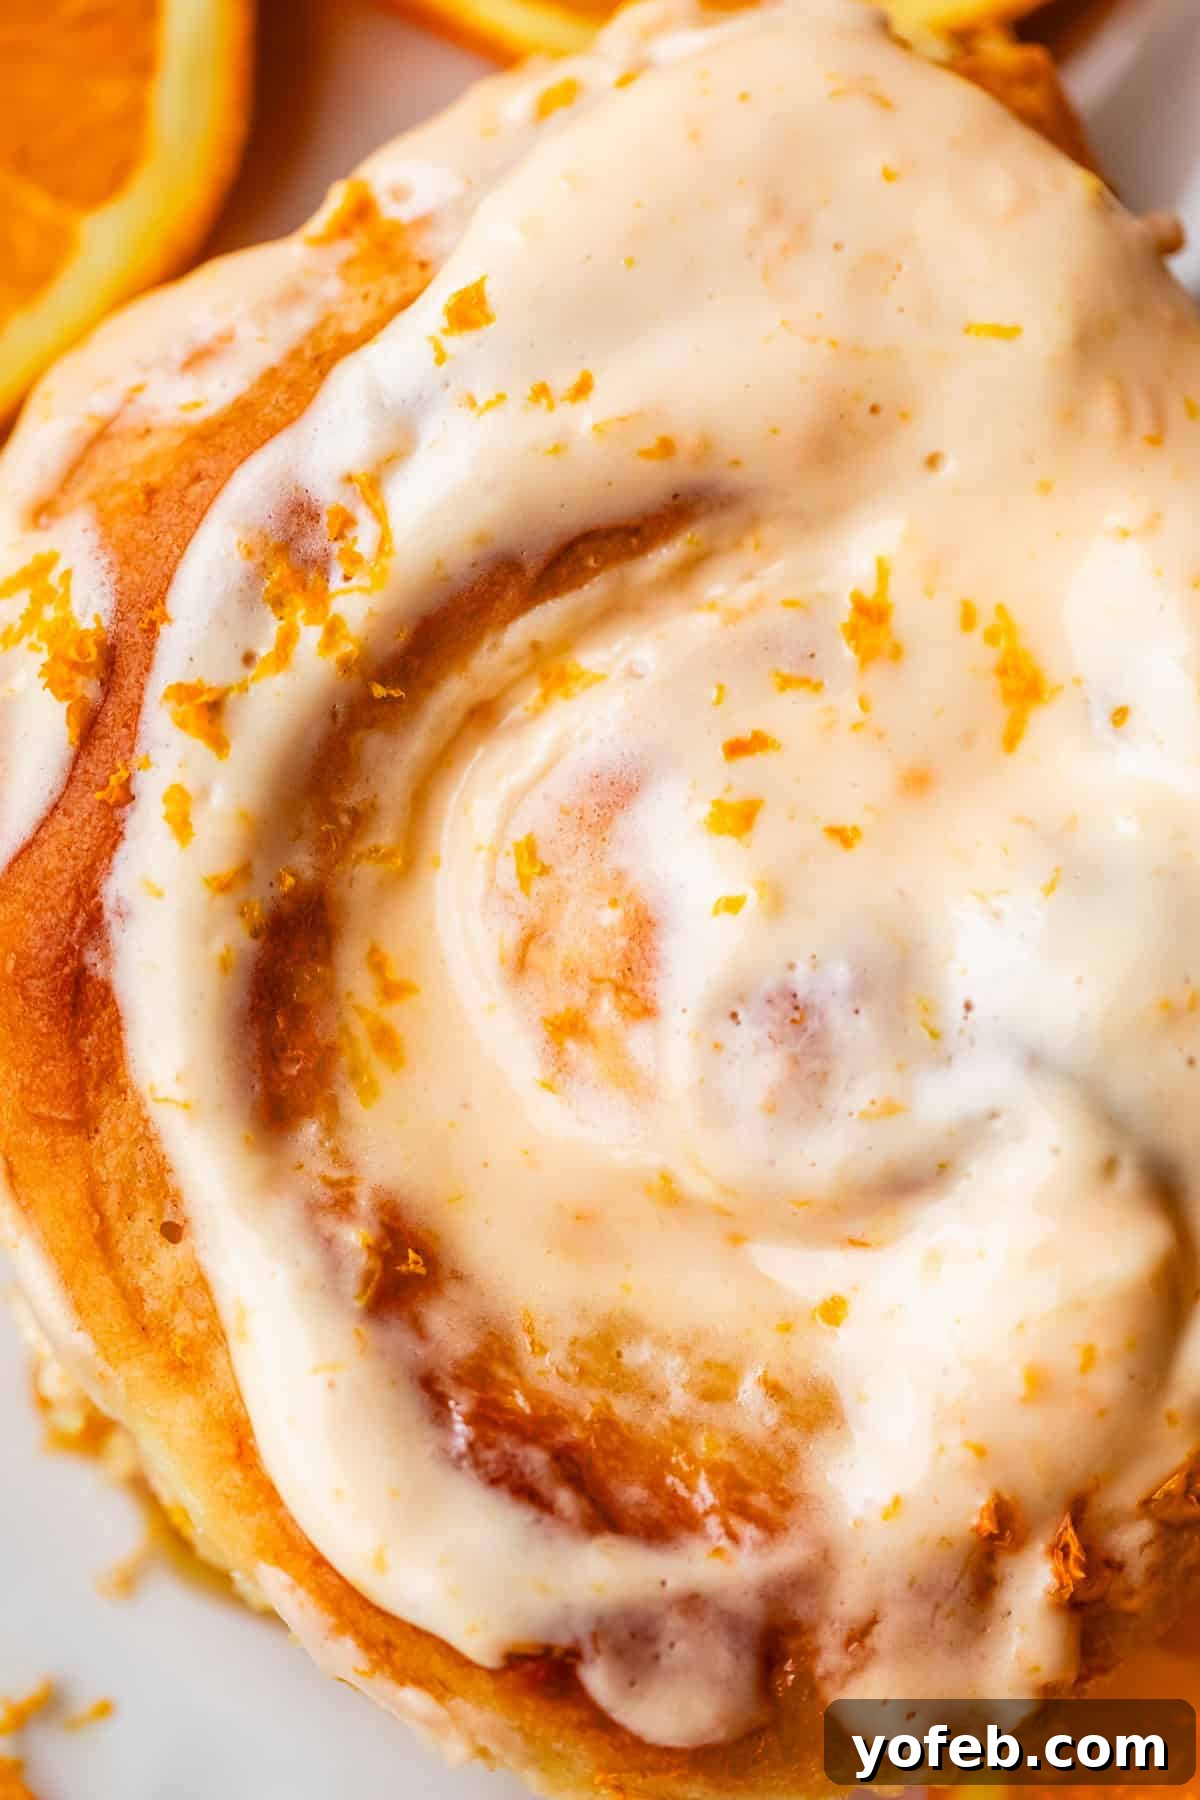
If you wish to amplify the visual appeal of your orange rolls, a single drop of orange food coloring can transform the glaze from a light yellow to a beautiful, warm orange hue. This is entirely optional, as the flavor will be equally sensational either way, but it does add a lovely pop of color that hints at the vibrant citrus within. Once your glaze is perfectly mixed, drizzle it generously over the still-warm, freshly baked orange rolls. The warmth of the rolls will allow the glaze to melt slightly, creating an irresistible, glossy finish that coats every delicious curve.
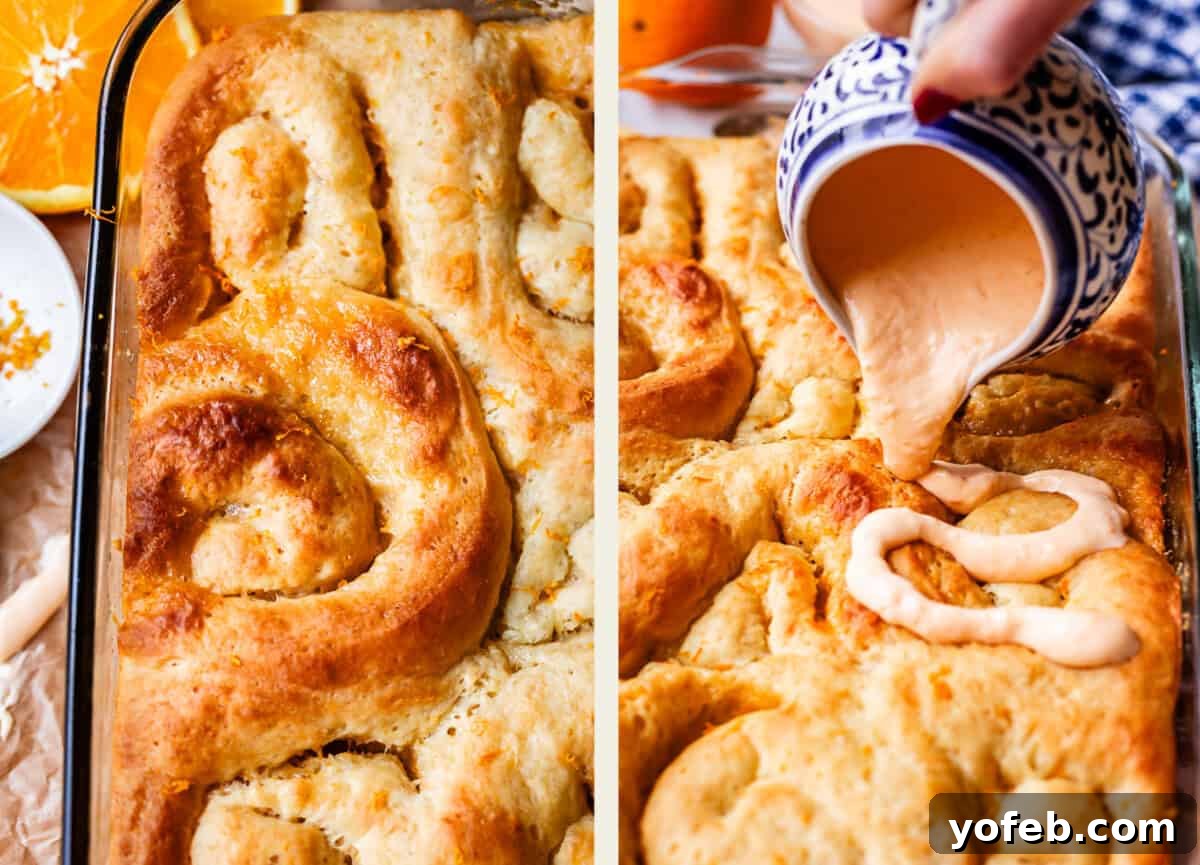
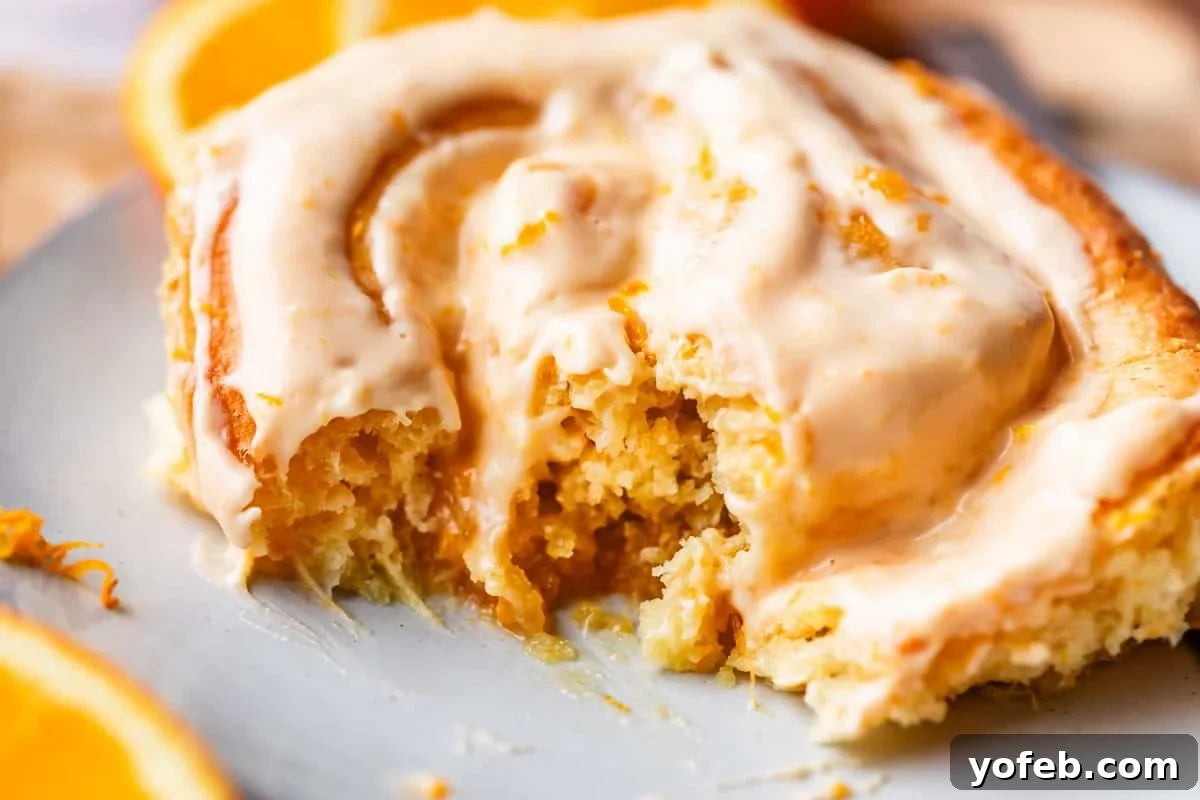
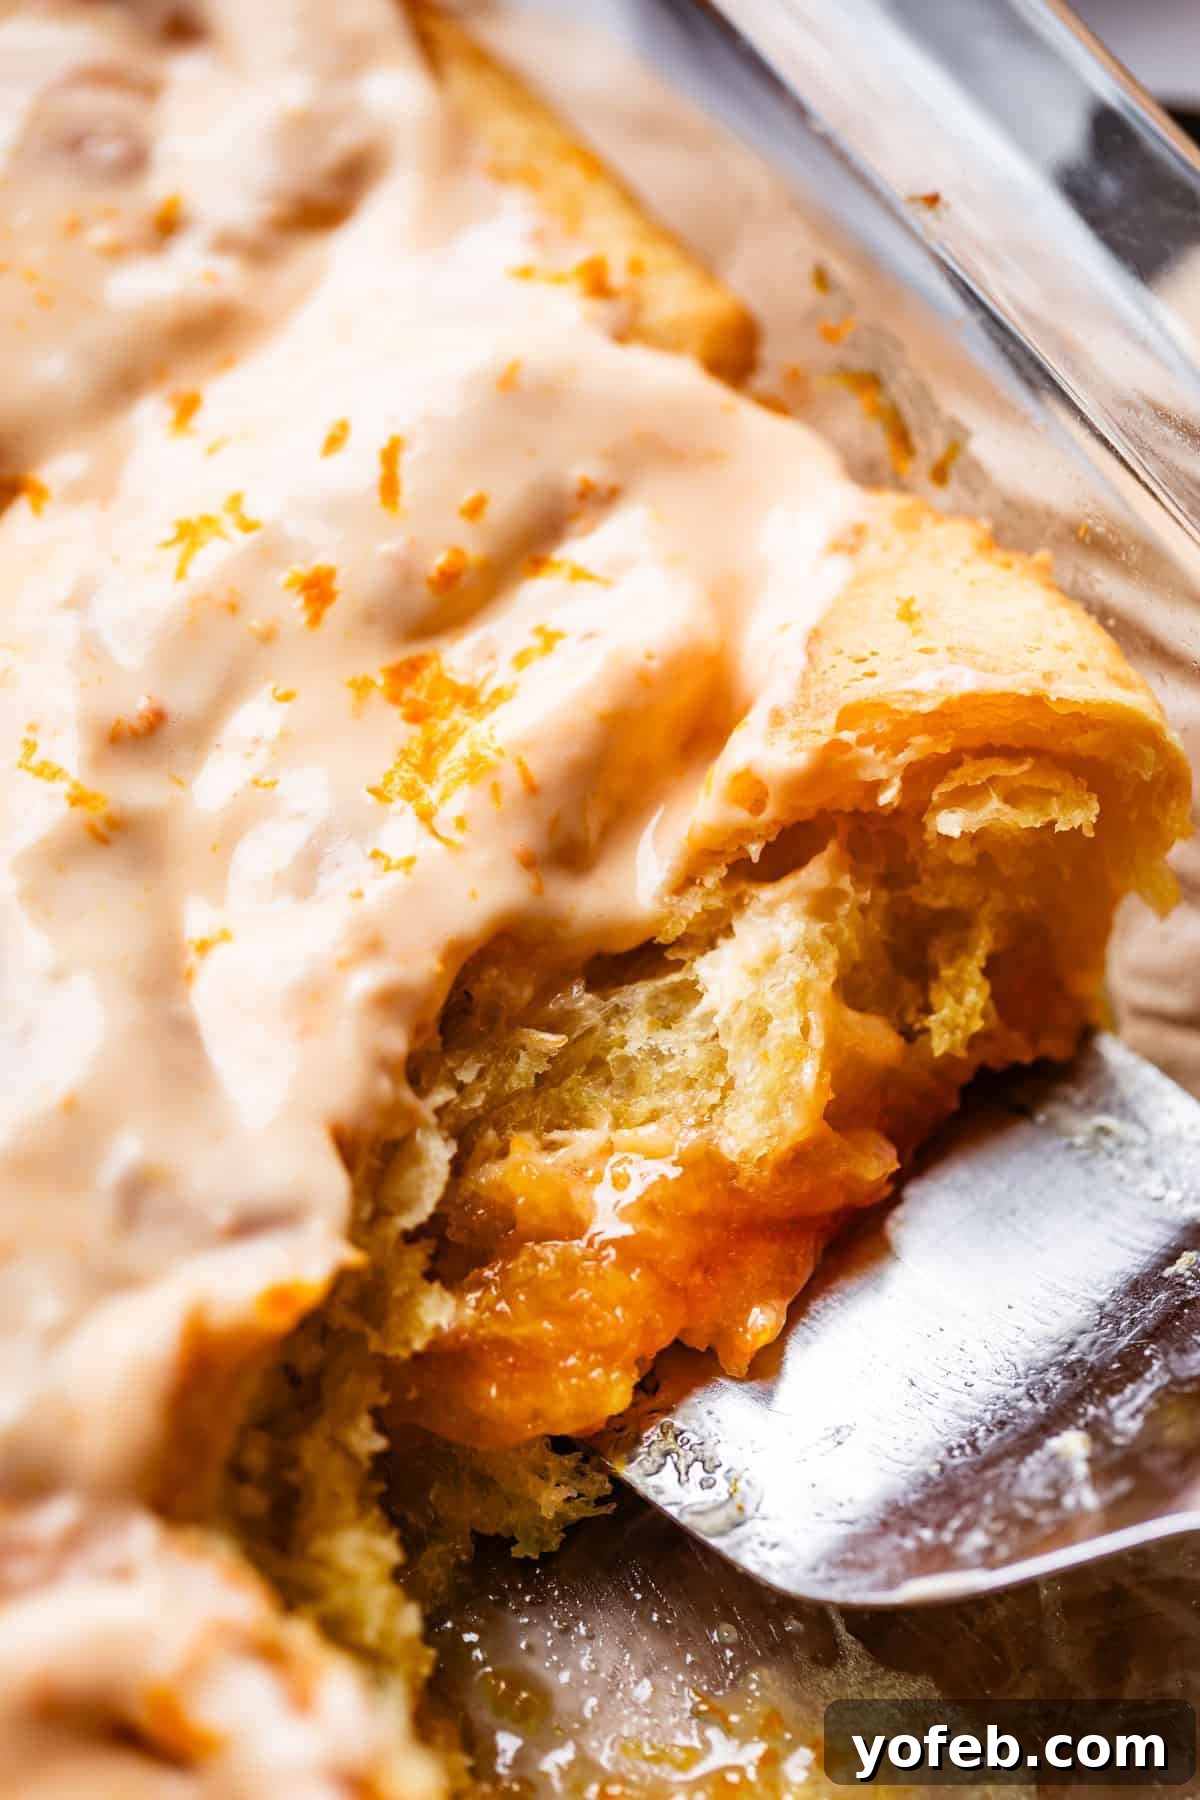
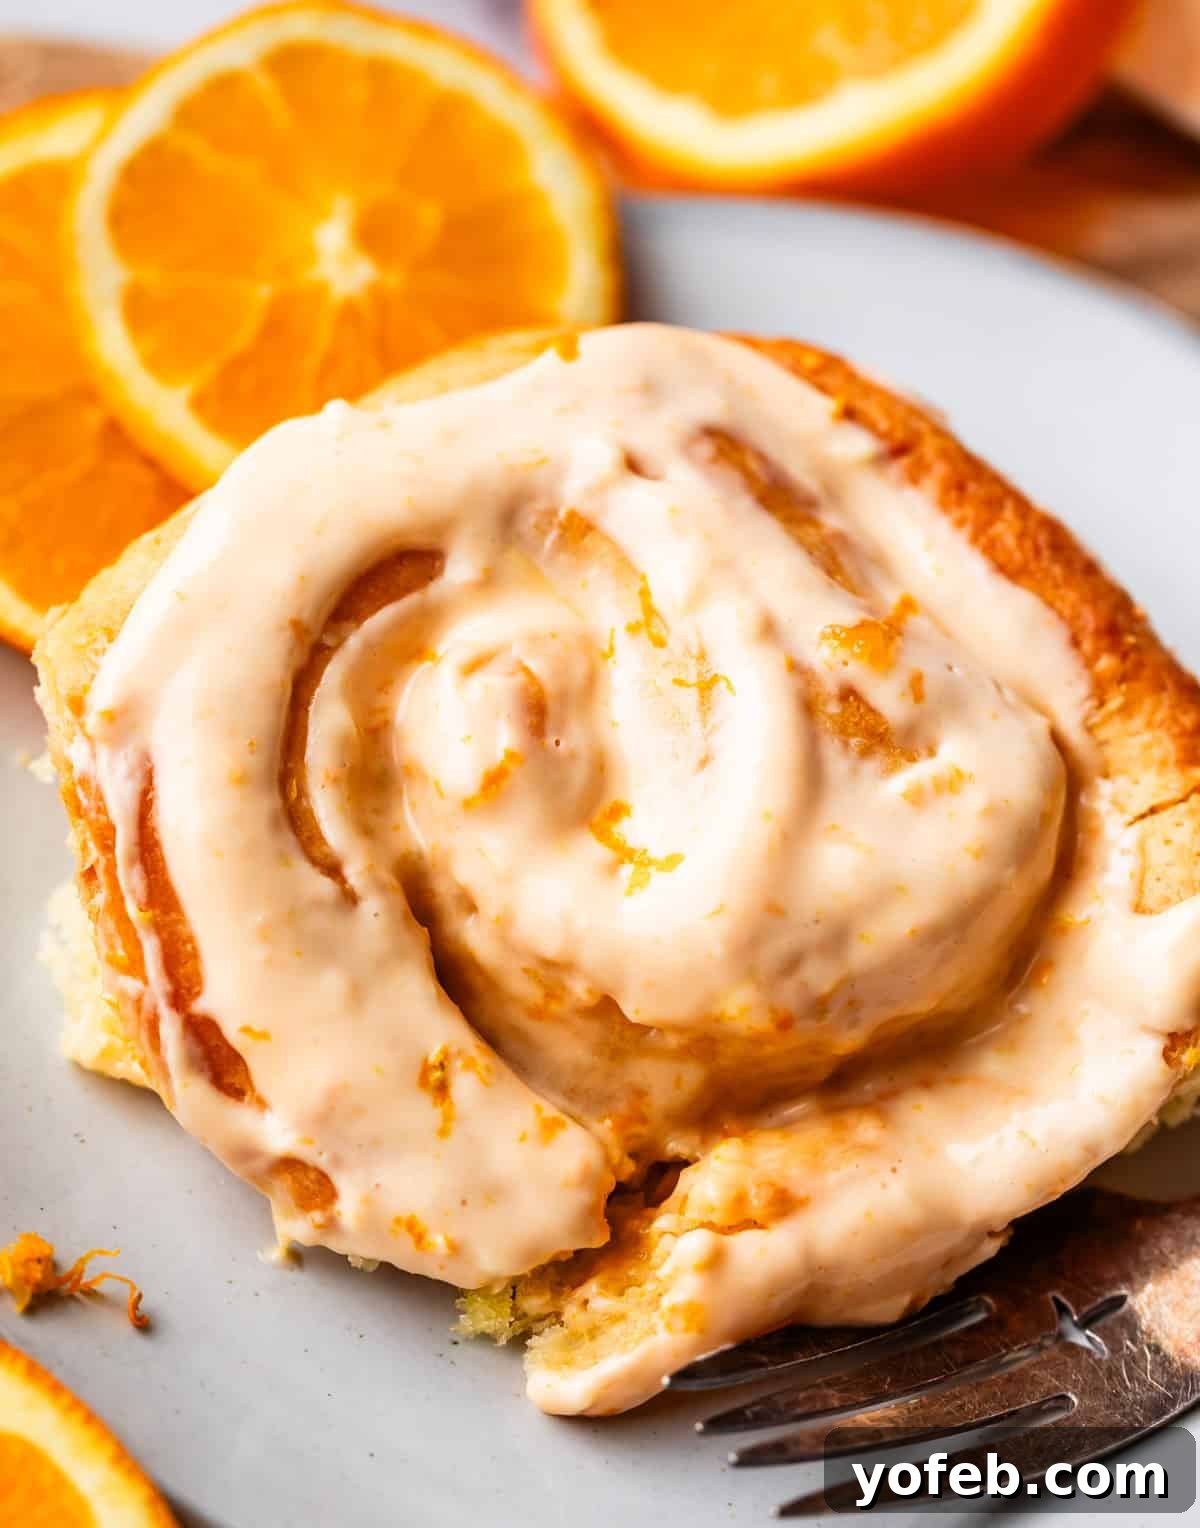
The moment they’re glazed, grab a fork and snag a bite right away. Just look at this incredible creation – the fluffy dough, the gooey candied orange filling, and the tangy cream cheese glaze combining into pure perfection. You guys, I honestly love these orange rolls so much! I’m truly overjoyed to have finally perfected this recipe and to share it with you. I hope you try it very soon and fall in love just as much as I have. A very special thank you to Alice and her Great Grandma Maddelin for the inspiration and the original foundation of this phenomenal recipe!
Perfect Pairings: What to Serve with Your Zesty Orange Rolls
Honestly, when I make these incredible homemade orange rolls (or my beloved cinnamon rolls, or any sweet roll for that matter), I often find myself eating *just* them. They are so satisfying and decadent, they could easily be a meal on their own! However, if you’re a healthier human than I am, or if you’re looking to stretch this delicious treat into a more substantial spread, here are some of my favorite breakfast accompaniments that would be absolutely perfect alongside these vibrant citrus buns:
- Bake Bacon in the Oven in 10 Minutes: Crispy, savory bacon is the ultimate breakfast companion. Its salty crunch provides a wonderful contrast to the sweet, soft orange rolls, creating a truly balanced and irresistible morning meal.
- Creamy Scrambled Eggs for a Crowd: These super creamy and delicious scrambled eggs are not only fantastic but also perfect for busy holiday mornings because they can be prepared ahead of time. They offer a light, savory protein boost that pairs wonderfully with the sweetness of the rolls.
- Best Breakfast Casserole Recipe with Sausage: For a hearty, all-in-one breakfast, this casserole is a winner. It combines all your savory favorites – cheesy eggs, flavorful sausage, crispy hash browns, and tender peppers and onions – making it a robust counterpoint to the bright, sweet orange rolls.
Storage Solutions: Keeping Your Orange Rolls Fresh
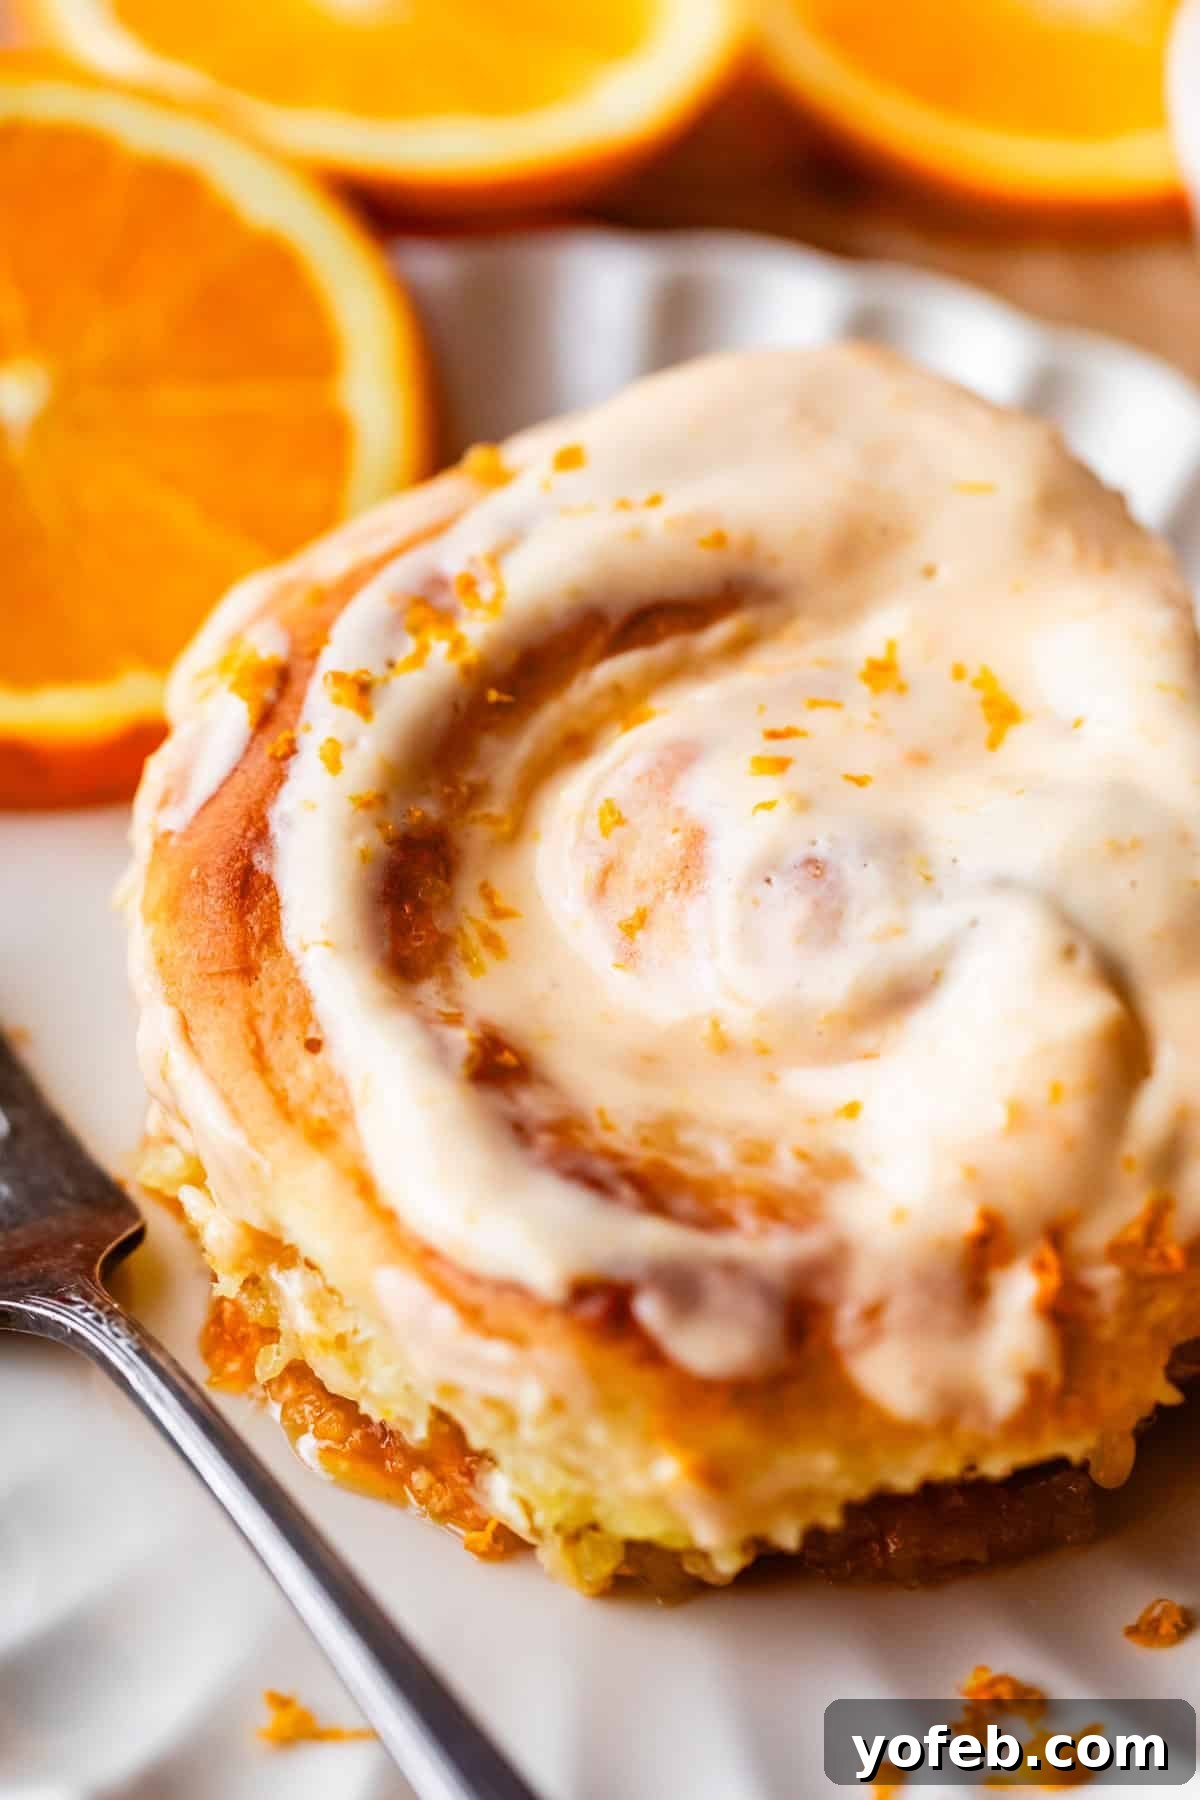
These homemade orange rolls are truly at their peak when served fresh on day one. However, if you find yourself with irresistible leftovers (a rare but possible occurrence!), proper storage can help maintain their deliciousness. They will keep well in an airtight container on your kitchen counter for 2-3 days. Be aware that over time, the rolls may begin to lose a bit of their initial freshness and become slightly soggy from the gooey filling, so it’s always best to enjoy them as quickly as possible. If you absolutely can’t finish them all, your friends or neighbors would undoubtedly be thrilled to receive a delicious share!
For longer storage, you can freeze leftover baked rolls. While I personally prefer them freshly baked or made ahead (see instructions below for unbaked freezing), freezing baked rolls is a viable option. Just note that they can sometimes taste a bit drier after thawing and reheating compared to their fresh state. If you choose to freeze them, transfer the baked and cooled rolls to a disposable aluminum pan (or one of your own that you don’t mind dedicating for a while). Wrap the pan meticulously in two layers of plastic wrap, followed by an additional layer of aluminum foil. This triple-layer protection is key to preventing freezer burn and maintaining quality. The rolls will remain good in the freezer for 2-3 months, but their texture and flavor are best preserved if consumed within that timeframe. To reheat, remove the foil and plastic, then place the foil back loosely over the pan. Bake in a 350°F (175°C) oven for 10-15 minutes, or until thoroughly warmed through and soft.
Effortless Planning: Make-Ahead Directions for Orange Rolls
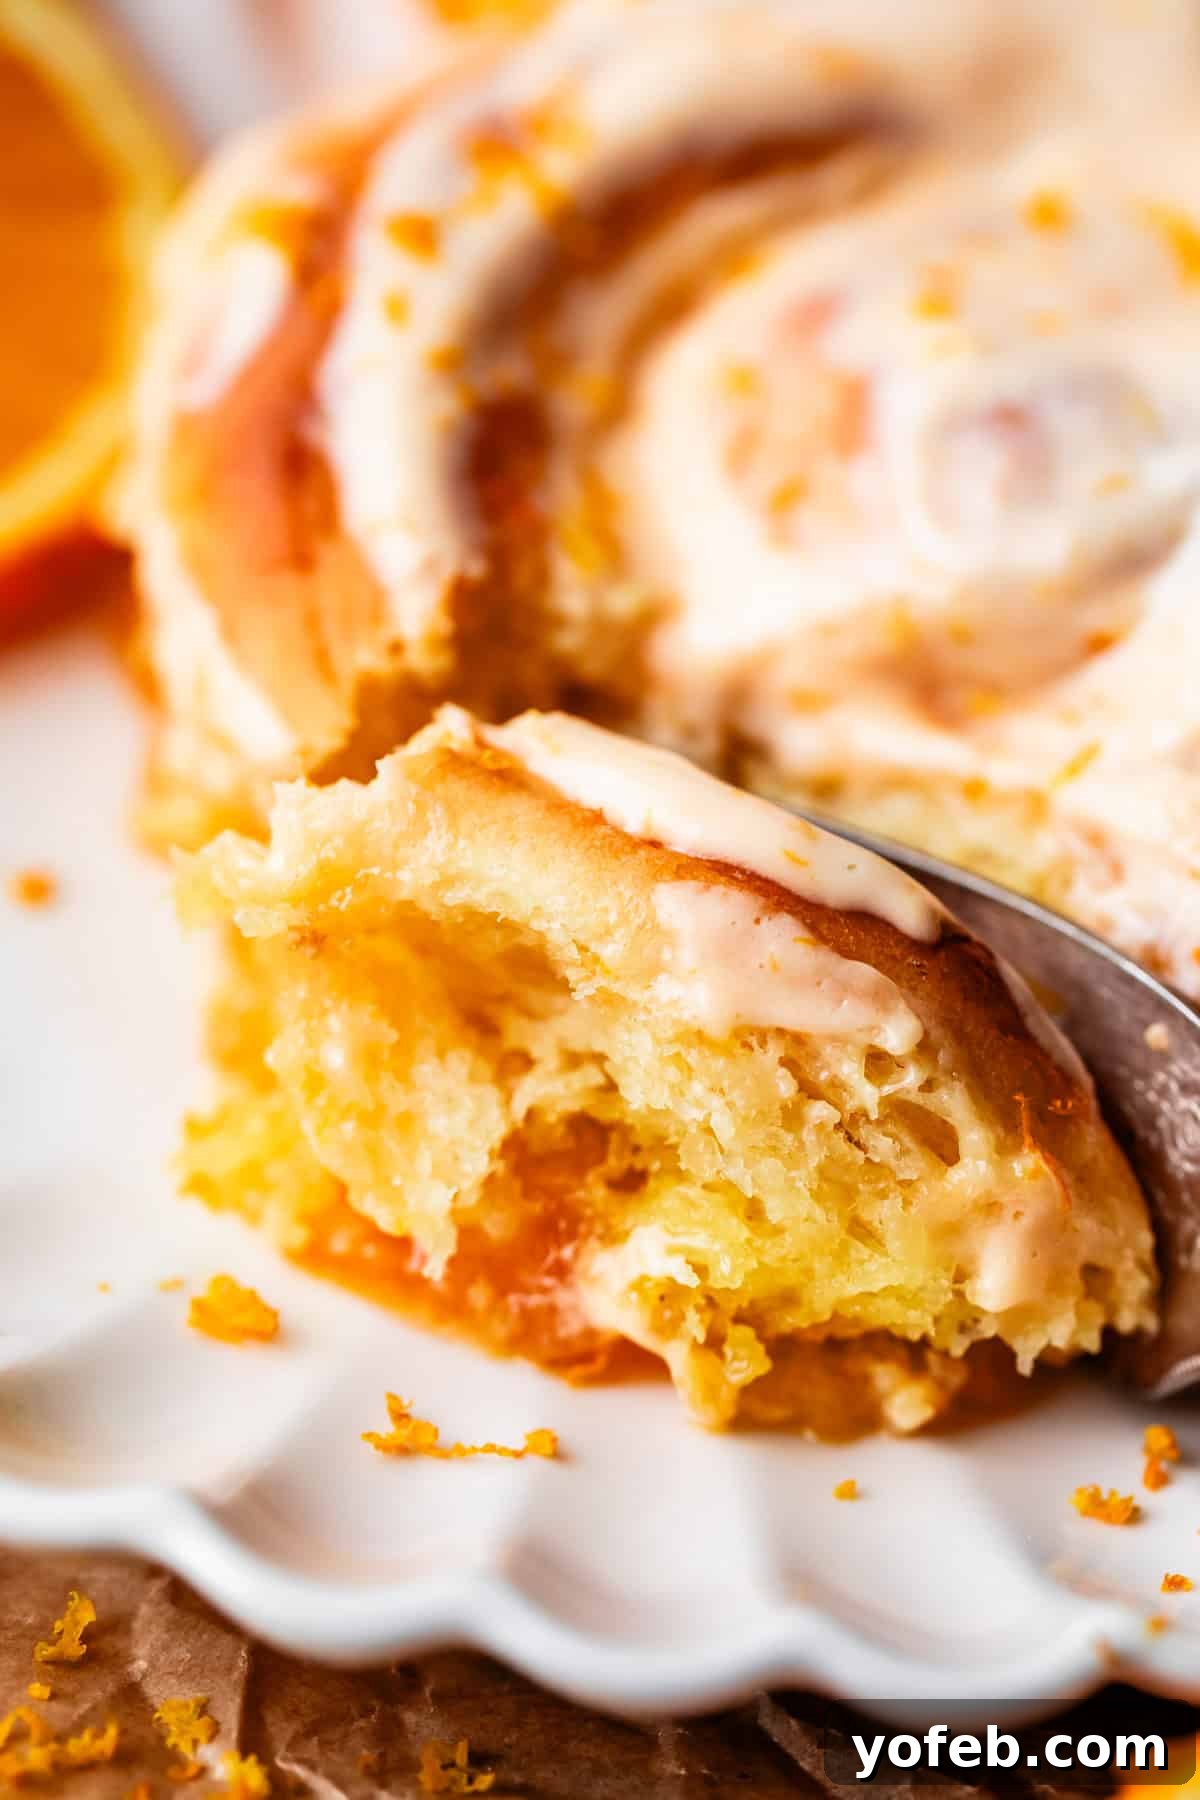
One of the fantastic advantages of these delicious orange rolls is their versatility as a make-ahead recipe, perfect for stress-free entertaining or a relaxed holiday morning. You can prepare the rolls up to the point of shaping them after the first rise. Once they are shaped and placed in their baking pan, spray one side of plastic wrap with cooking spray and cover the rolls tightly, ensuring an airtight seal. Then, simply place them in the refrigerator, where they can happily rest for up to 24 hours.
When you’re ready to bake, remove the rolls from the refrigerator and let them sit at room temperature for about 1-2 hours to allow for their second rise. Alternatively, for a quicker proof, you can utilize the warm water bath method described in the recipe card. Once the rolls have sufficiently risen, preheat your oven to the specified temperature, then bake and frost them as directed. This method ensures you wake up to fresh, warm, homemade orange sweet rolls with minimal effort on the day of serving.
The process is quite similar if you prefer to freeze the unbaked rolls for an even longer make-ahead option. After the first rise and shaping, wrap the baking pan containing the rolls exceptionally well. Use two layers of plastic wrap, making sure it’s super tight to prevent any drying out or freezer burn, followed by a final protective layer of aluminum foil. Store the rolls in the freezer for 2-4 weeks. To bake from frozen, simply set the pan on your counter and allow the rolls to thaw and rise for a longer period, typically 4-5 hours. Once they are fully risen and puffy, bake and frost according to the instructions in the recipe card. This method is a game-changer for holiday breakfasts or unexpected guests, allowing you to have freshly baked, fluffy orange rolls whenever the craving strikes!
Delicious Breakfast Rolls for Every Occasion
If these vibrant orange rolls have sparked your love for sweet morning treats, you’re in for a delightful journey! There are so many incredible options when it comes to breakfast rolls, and I genuinely adore every single one. Whether you’re looking for something decadent for a special occasion or a comforting bake for a slow morning, be sure to explore the vast array of recipes on my Sweet Breakfast page on the blog. You’ll find everything from classic cinnamon rolls to unique fruit-filled variations, all designed to bring joy to your breakfast table.
Breads, Muffins & Rolls
Caramel Pecan Cinnamon Rolls
Breakfast
Homemade Cinnamon Roll Recipe
Christmas Recipes
One Hour Almond Rolls
Breakfast
Meyer Lemon Sweet Rolls

Orange Rolls Recipe
Save to Slickstream
Rate this Recipe
Print Recipe
Ingredients
For the roll dough:
- 1 teaspoon orange zest , from 1 large orange*
- 1/2 cup orange juice, fresh squeezed
- 1/2 cup whole milk, or half and half, don’t use skim milk
- 1 tablespoon active dry yeast
- 5 tablespoons granulated sugar
- 2 large eggs
- 3 and 1/4 cups all purpose flour, spooned and leveled
- 1 teaspoon kosher salt
- 1/2 cup butter, very soft (divided)
For the orange filling
- 3/4 cup butter, (1 and 1/2 sticks)
- 1 and 1/2 cups granulated sugar
- 3/4 cup orange juice, fresh squeezed
- 1 tablespoon orange zest, from at least 3 oranges
For the orange glaze
- 1 (8-ounce package) cream cheese, full fat, softened
- 1/2 cup powdered sugar
- 2 teaspoons orange zest, from at least 2 oranges
- 2 tablespoons orange juice, fresh squeezed
- 3 tablespoons lime juice, fresh squeezed
Instructions
-
Prep the oranges: Begin by zesting 1 large orange. Add the zest to the bowl of your stand mixer, or to a large bowl if you are making these by hand.
-
Use a citrus reamer to juice the orange into a liquid measuring cup. Keep going until you have 1/2 cup fresh orange juice.
-
Make the sweet dough: Add 1/2 cup whole milk (or half and half) to the measuring cup with the orange juice. There should be 1 cup liquid.
-
Warm the oj/milk in the microwave in 20 second increments until it is nice and warm. Stir it with a small spoon and feel it with your finger. It should be about 105-110 degrees F, or about the temperature of nice bath water. If it feels at all HOT, stick it in the fridge until is cools down.
-
Add 1 tablespoon of yeast and 5 tablespoons granulated sugar and stir. Wait 5 minutes and check to make sure your yeast is getting bubbly. If not, you have killed your yeast; dump it and start over. Better to start over now than after hours or rising!
-
Once you are certain that your yeast is alive and well, add add the yeast mixture to the bowl with the orange zest.
-
Add two eggs to the bowl.
-
Add 3 and 1/4 cups all purpose flour to the mixture. Use a spoon to add flour to the measuring cup, then level off the top.
-
Add 1 teaspoon kosher salt to the bowl. (Use 3/4 teaspoon salt if you are using table salt.)
-
Use a rubber spatula to beat the dough together by hand until it is starting to come together. Then switch to the dough hook, if you have one. (If not, keep beating but switch to a wooden spoon).
-
Using the dough hook, beat the dough on medium speed for about 2 minutes, stopping to scrape the sides as necessary if it’s not getting incorporated.
-
With the mixer running on low, add 1 tablespoon of very soft butter at a time, until the entire 1/2 cup has been added in. Make sure each tablespoon of butter is fully incorporated before adding more butter. The process of adding in the butter should take a couple minutes at least.
-
Once all the butter is incorporated, beat on medium low speed for 5 minutes. The dough should be silky, smooth, and shiny. After 5 minutes, it will not have cleaned the sides of the bowl, but it should be formed together in a loose ball. It is VERY wet and not workable at all.
-
Grease a large bowl with butter or oil.** Don’t be stingy now.
-
Use a spatula to scrape the sweet dough into the greased bowl. Cover and refrigerate for 2 hours, or up to 2 days. (Chilling is not optional. You won’t be able to work with this dough until it is completely chilled!)
-
Make the orange filling about 90 minutes before you are ready to roll out the dough.
-
Use a microplane grater to zest 3 large oranges onto a plate or bowl (at least 1 tablespoon zest, or more); set aside, we are adding it later. Juice the oranges until you have 3/4 cup.
-
Add 3/4 cup butter (1 and 1/2 sticks), 1 and 1/2 cups granulated sugar, and 3/4 cup orange juice to a 3 quart saucepan.
-
Bring the mixture to a boil over medium heat, stirring occasionally. Once it reaches a boil, let the mixture cook and bubble for about 6-8 minutes, until it reaches 240 degrees F.*** Stir occasionally.
-
Remove from the heat when it reaches 240, and add the zest that you prepared before.
-
Let the orange filling cool completely. It needs to be room temperature when you spread it on the rolls. Too warm, and it will just seep out when you try to roll up the dough. This will take up to 2-3 hours, so I like to put it in the fridge to speed this up, where it should cool down in more like 30-60 minutes. Check in on it to stir occasionally, so it doesn’t get too hardened on the edges. Don’t let it get TOO cold, or it won’t be spreadable when you put it on the dough.
-
Prepare the water bath: When you are ready to roll out the dough, bring a pot of water to a boil on the stove. Place a 9×13 inch pan on a bottom rack in your oven. Place another rack above it. Turn your oven on to 350 for about 2 minutes, then turn it off. Your rolls are going to rise in the oven with a water bath.
-
Prepare a 9×13 inch glass pan**** with nonstick spray or grease with butter.
-
Roll out the dough: Prepare a work surface with a generous dusting of flour. I love to roll out dough on my pastry cloth, it makes it so easy.
-
Scrape the chilled dough onto the flour and knead it together a couple times with your hands. Press it out into a rectangle with your hands, then use a rolling pin to roll the dough into a large rectangle. It should be about 1/4 inch thick if not a little thicker. It should measure about 12 inches by 16-18 inches. It doesn’t have to be exact.
-
Add the orange filling: After 90 minutes, your orange filling should be quite thickened and moldable. If it has hardened too much to be spreadable, put it in a bowl in the microwave for just 5-10 seconds at a time, stirring thoroughly. We don’t want it to get too hot or it will melt into the very soft dough instead of spreading on top.
-
Use a spatula to drop the orange filling in segments on top of the dough. Use a spatula to spread it to within a 1/2 inch of the edges. Work quickly so that your dough stays cold.
-
Roll up the dough, starting from the long edge. As you roll, use your hands to smooth out the dough from the center to make the roll even (so that the center of your roll is not way thicker than the edge of your roll.)
-
Use your fingers to seal the roll.
-
Use a very long and sharp serrated knife to cut the dough into 12 even rolls. Use a sawing motion. Dip your knife in flour in between cuts. The dough is pretty sticky on the inside.
-
Place each roll in the greased 9×13 inch pan.
-
Cover the rolls. Once all the rolls are on the pan, generously spray some plastic wrap with nonstick spray, and cover the rolls. Do NOT forget to spray the plastic wrap. Do NOT use a tea towel. The dough is pretty sticky, and if your cover sticks to them, it will ruin your beautiful rise when you try to take it off. No, I’m not at all bitter that this happened to me on one of my test runs, why do you ask??
-
Pour the boiling water that you have on the stove into the 9×13 inch pan that’s on the lower rack in your oven. Make sure that you have not left the oven on. It should be nice and warm but NOT HOT. You want the rolls to rise, not cook. If you accidentally left your oven on too long, leave the door open and let it cool down. If the racks are too hot to touch with your fingers, don’t put the rolls in the oven. Let them start rising elsewhere, and put the rolls in when the oven has cooled a bit.
-
Rise. Let the covered rolls rise for about 45 minutes. They should be nice and puffy.
-
About 15 minutes before the rolls are finished rising, remove the rolls and the pan of water from the oven.
-
Preheat the oven to 325 degrees F.
-
Once the rolls are quite puffy and have doubled in size, bake at 325 for 30 minutes. After 14-15 minutes when you see that the tops of the rolls have started to turn golden, cover the rolls loosely with tin foil. This prevents the tops from becoming overly browned and hard.
-
The rolls should be golden on top when fully baked. The best way to know if the rolls are done in the middle is to use a thermometer: the center of the rolls should be 180 to 190 degrees F. (Insert the thermometer into the bread at the center of the pan, not into the orange filling.)
-
Set the rolls on a wire rack to cool for a few minutes.
-
Make the orange glaze while the rolls are in the oven. In a large bowl or stand mixer, beat 8 ounces softened cream cheese with a hand mixer until there are no lumps.
-
Add 1/2 cup powdered sugar and beat well. Scrape the sides and bottom and beat for a couple minutes until it’s nice and fluffy.
-
Zest 2 oranges into the cream cheese mixture.
-
Add 2 tablespoons fresh orange juice and 3 tablespoons fresh lime juice to the mixture. Beat until incorporated. (This is meant to be a thin glaze; you can add more powdered sugar to thicken it if you like, but it will mute the tartness of the glaze.)
-
Drizzle the orange glaze over the orange rolls. Sprinkle with additional orange zest, if you like. Serve immediately.
-
Storage: The rolls are really best served on day 1. Keep covered on the counter. After 1 day, transfer tightly sealed to the fridge. Be sure to heat up leftovers individually in the microwave for 10-20 seconds! They are best served warm!
-
Freezing: Transfer the rolls to a disposable aluminum pan and wrap in two layers of plastic wrap, and a layer of foil. They’ll keep in the freezer for 2-3 months. To serve, remove the foil and plastic and put the foil back on the pan. Place in a 350 degree oven for 10-15 minutes or until warm.
Notes
**TRANSFER DOUGH TO A NEW BOWL? Sometimes I am super lazy and just scrape down the dough into a ball, cleaning the sides as much as I can, then spray the heck out of the top of the dough and the sides of the mixing bowl so it’s all greased. Then I cover and refrigerate.
***ORANGE FILLING: The orange filling needs to reach at least 238-240 degrees or it will be too liquid-y to roll with the dough (it will just seep out and make a mess). You don’t need a fancy thermometer, any candy thermometer will do. If you don’t have a thermometer, shoot for about 8-9 minutes of cooking after it reaches a rolling boil. The mixture will have thickened. I highly recommend the thermometer! If you cook too long, the mixture will harden like candy and you won’t be able to spread it at all.
****GLASS PAN IS BEST! You can use a metal pan if you like, but the rolls will brown a lot quicker on the edges. You get softer rolls in a glass pan.
Source: this recipe is adapted from my husband Eric’s cousin Alice’s Great Grandma Maddelin! (not Eric’s great grandma—the other side of the family). Thank you dear Maddelin, for the phenomenal recipe for the cooked orange filling recipe!