
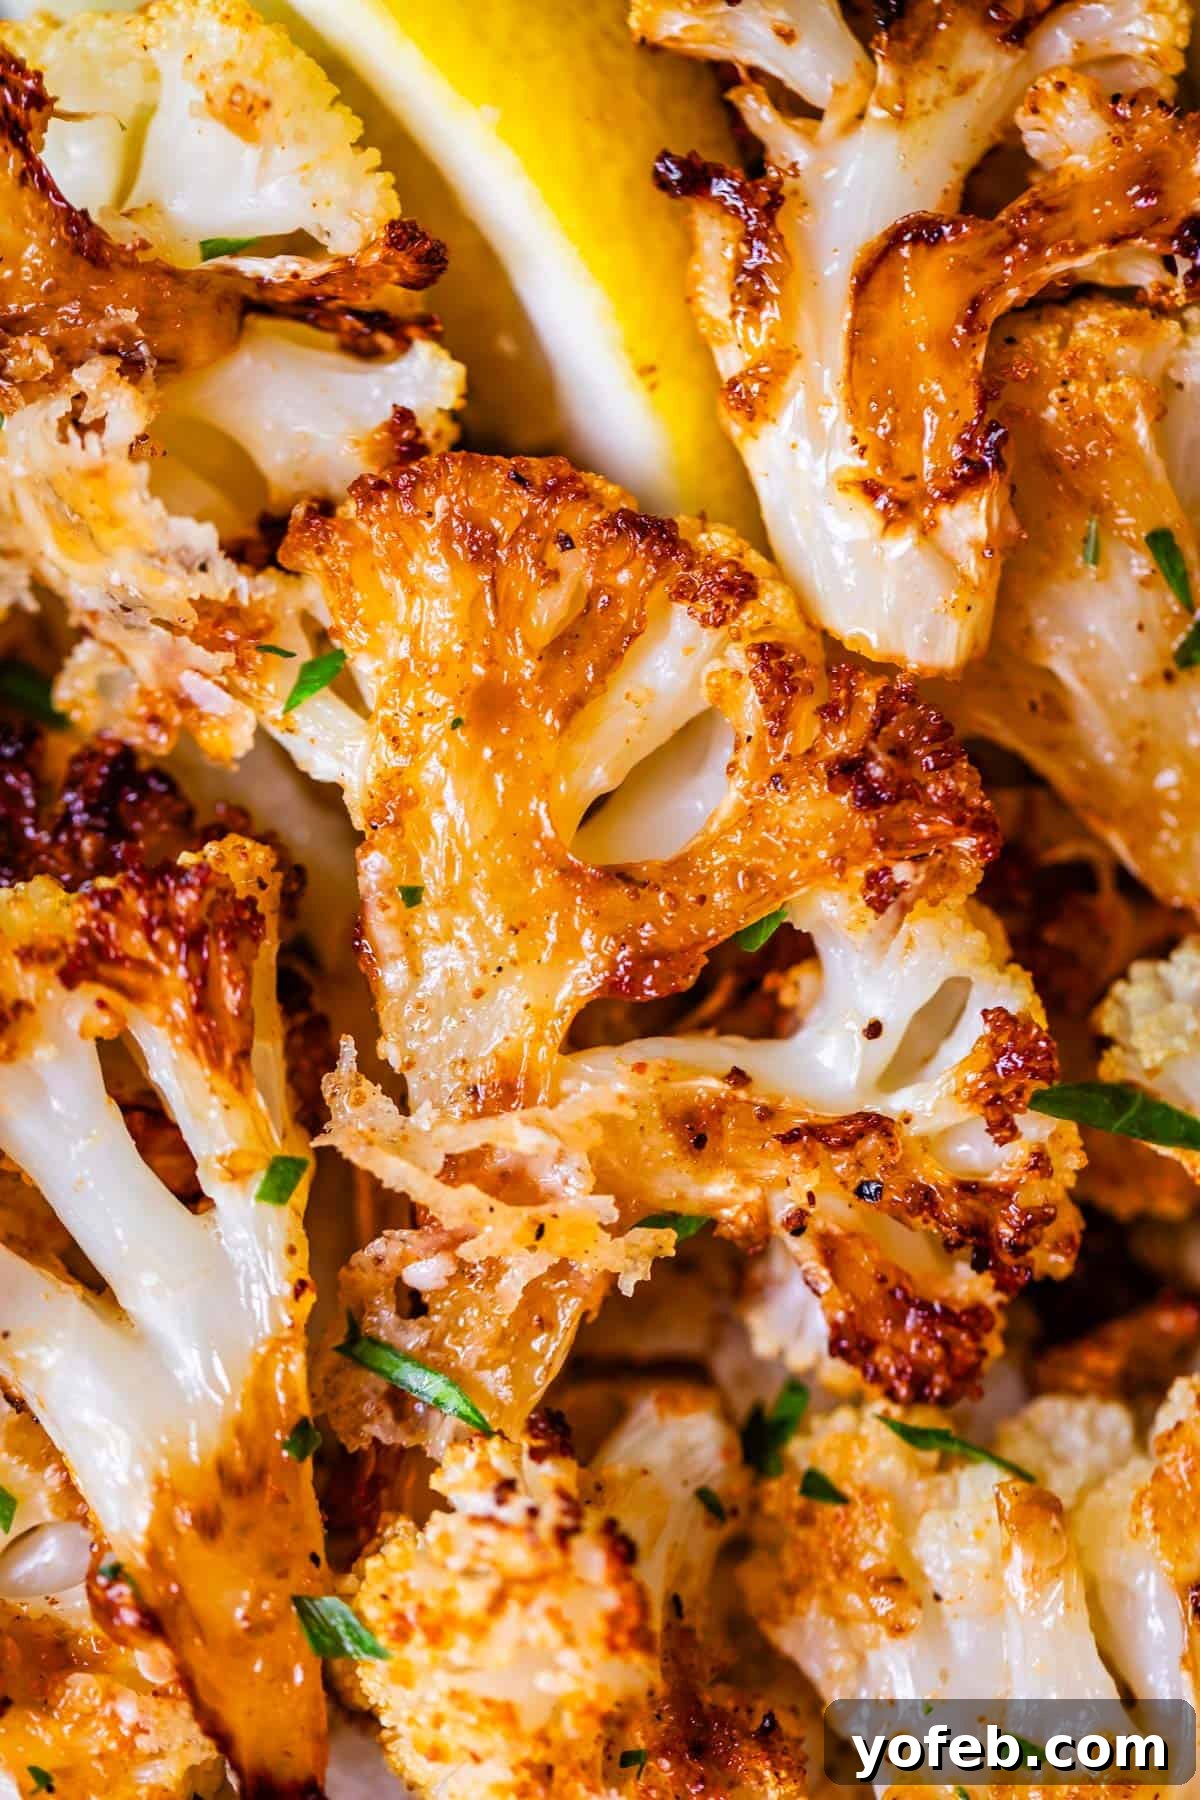
Forget everything you thought you knew about cauliflower! It doesn’t need to be drowned in cheese sauce to be incredibly delicious. For years, I believed cauliflower was just a bland, pale imitation of broccoli. Oh, how wrong I was! These days, I’m completely obsessed with perfectly crisp, golden-brown, and garlicky oven-roasted cauliflower. But here’s the secret: you have to roast it just right. No more bland or soggy florets! I’m here to show you the foolproof method to achieve those irresistible crispy, caramelized edges. This versatile veggie side dish is so good, you’ll want to enjoy it alongside almost any meal, any time of the year!
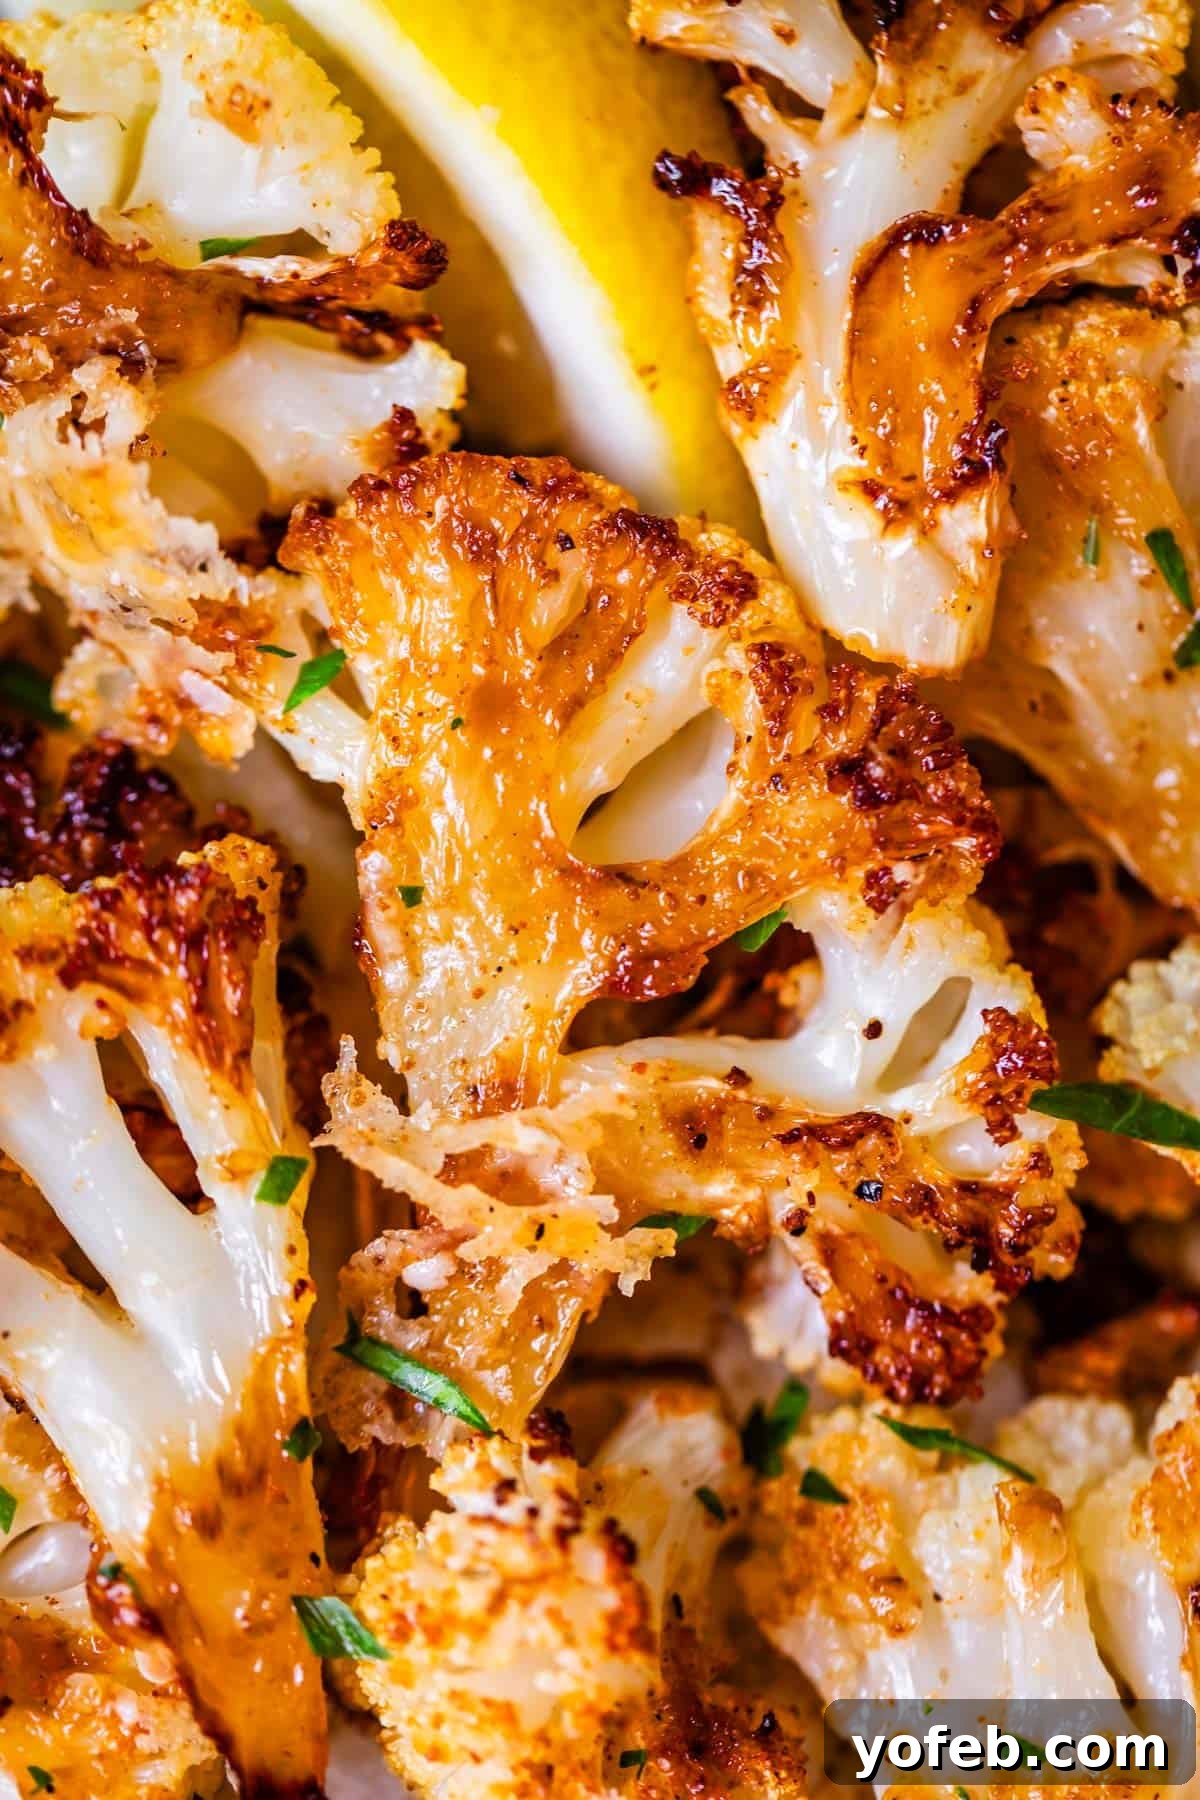
Table of Contents
- The Cauliflower Revelation: From Bland to Brilliant
- Why This is The Best Oven Roasted Cauliflower Recipe
- Essential Tips for Perfectly Roasting Cauliflower (and Any Veggie!)
- Roasted Cauliflower Recipe Ingredients: Simple & Flavorful
- How to Roast Cauliflower: Step-by-Step for Crispy Perfection
- What to Serve with Roasted Cauliflower: Versatile Pairings
- Creative Ways to Enjoy Cauliflower Leftovers
- How to Store and Reheat Leftover Cauliflower
- Can You Freeze Roasted Cauliflower?
- Roasted Cauliflower Frequently Asked Questions
- More Incredible Vegetable Sides to Make
- The Best Roasted Cauliflower is Crispy Recipe Card
As I navigate the beautiful chaos of adulthood with a husband, a house, and four amazing children, I often find myself wondering how I got here. Simple things, like applying eyeliner, can still feel like a monumental task! It’s a constant reminder that while some things remain a challenge, others, like creating incredible food, can be surprisingly straightforward and incredibly rewarding.
Just last weekend, my daughter Valentine and I took a trip to Utah for General Conference. Valentine, at just eight years old, impressively read the entire 531-page Book of Mormon on her own! Her dedication filled me with immense pride. Despite a few comical “adulting fails” on my part during the trip – like leaving a borrowed push-start car running for three hours or misplacing my own car in a massive airport parking lot – the experience underscored a valuable lesson: some things are complicated, and some things just require a good system. Luckily, creating delicious, perfectly roasted vegetables falls into the latter category, and it’s a skill I’m absolutely cut out for!

The Cauliflower Revelation: From Bland to Brilliant
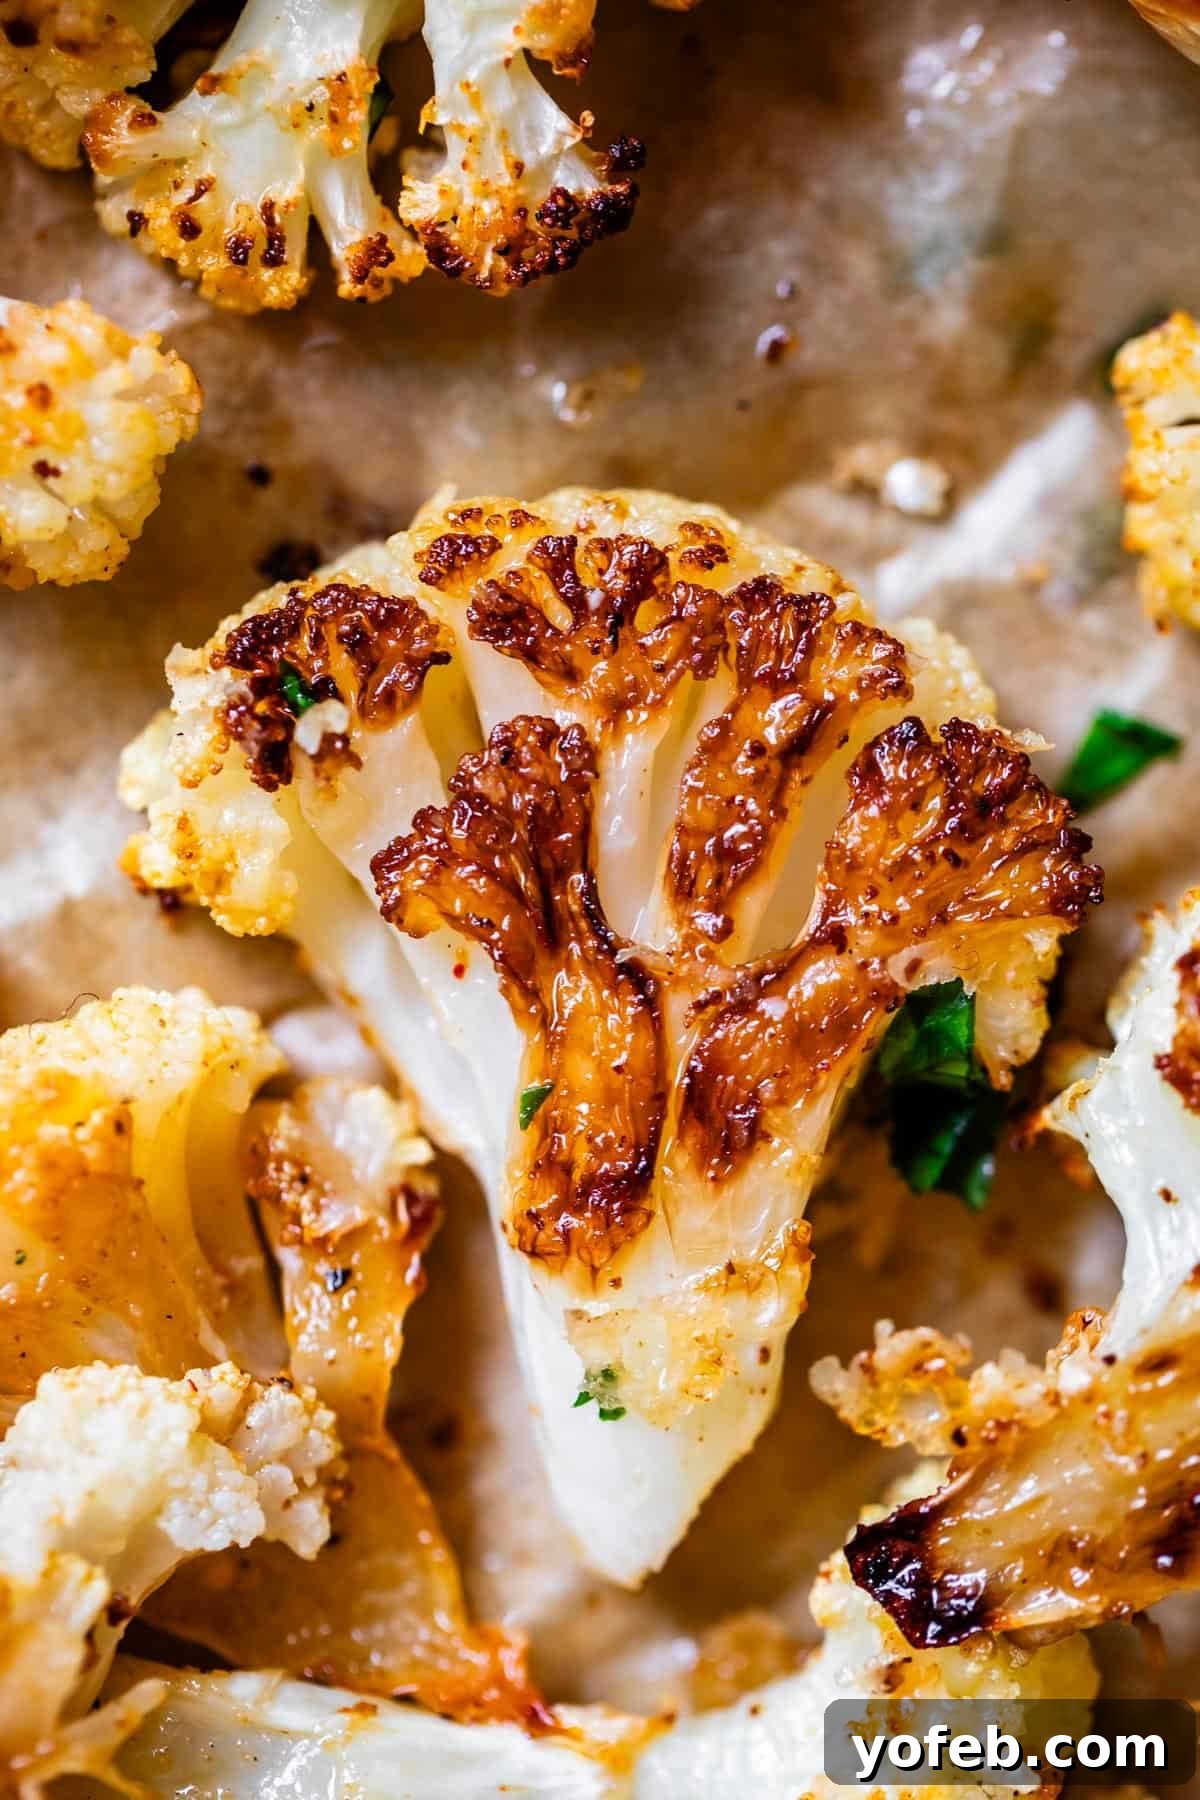
For too long, cauliflower suffered from a misguided reputation as a “ghostly broccoli wanna-be” – often overlooked or relegated to being smothered in heavy sauces. And let’s be honest, the old adage “white food is useless” certainly didn’t help its cause! However, cauliflower stands as a magnificent exception to that rule. This humble cruciferous vegetable is not only incredibly good for you, packed with essential nutrients like Vitamin C and Vitamin K, but it’s also incredibly delicious – especially when prepared correctly.
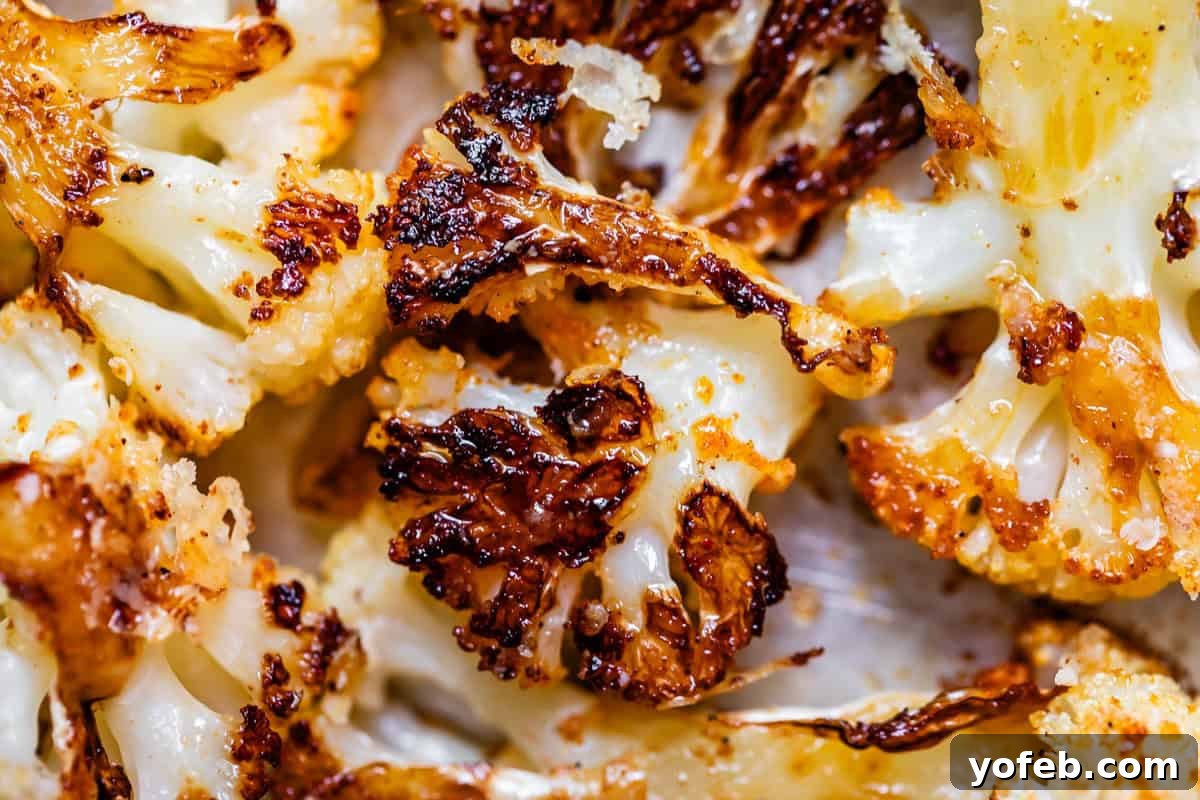
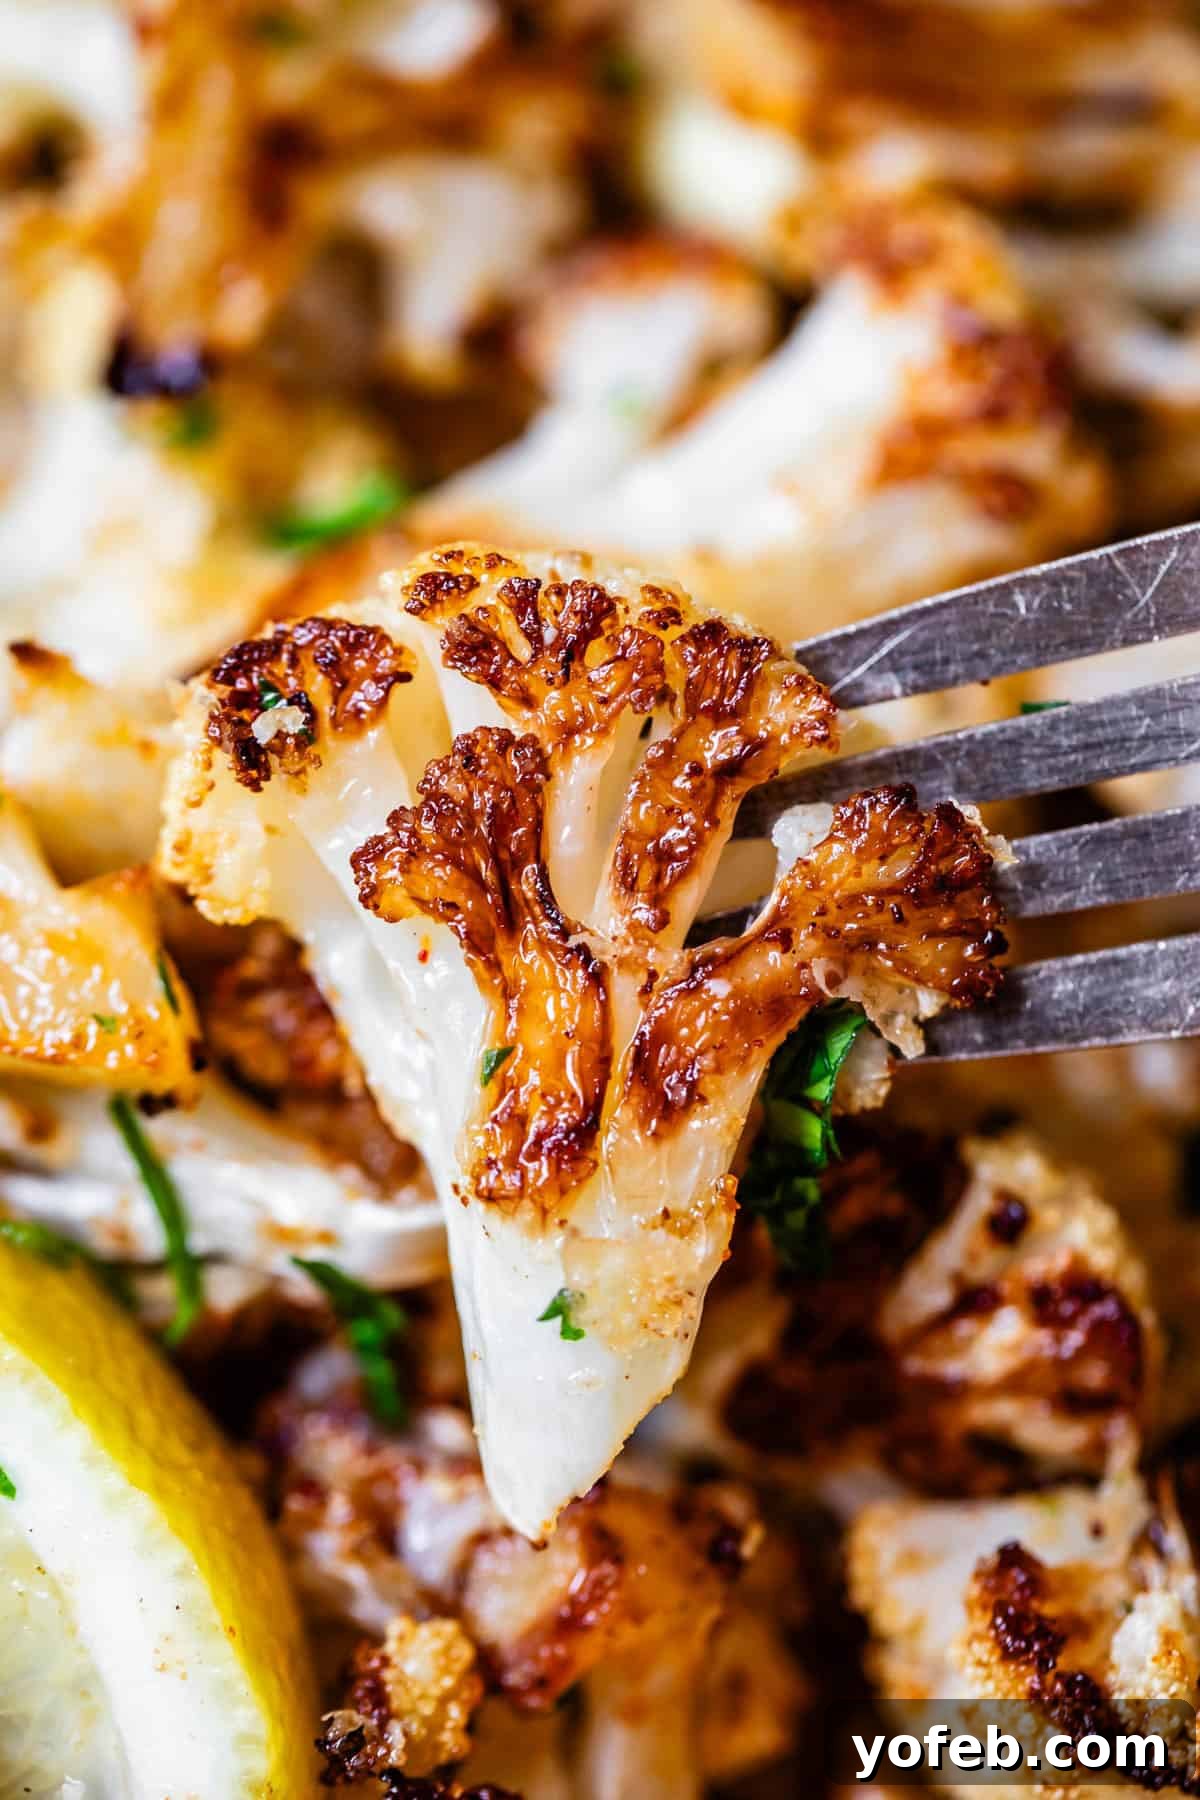
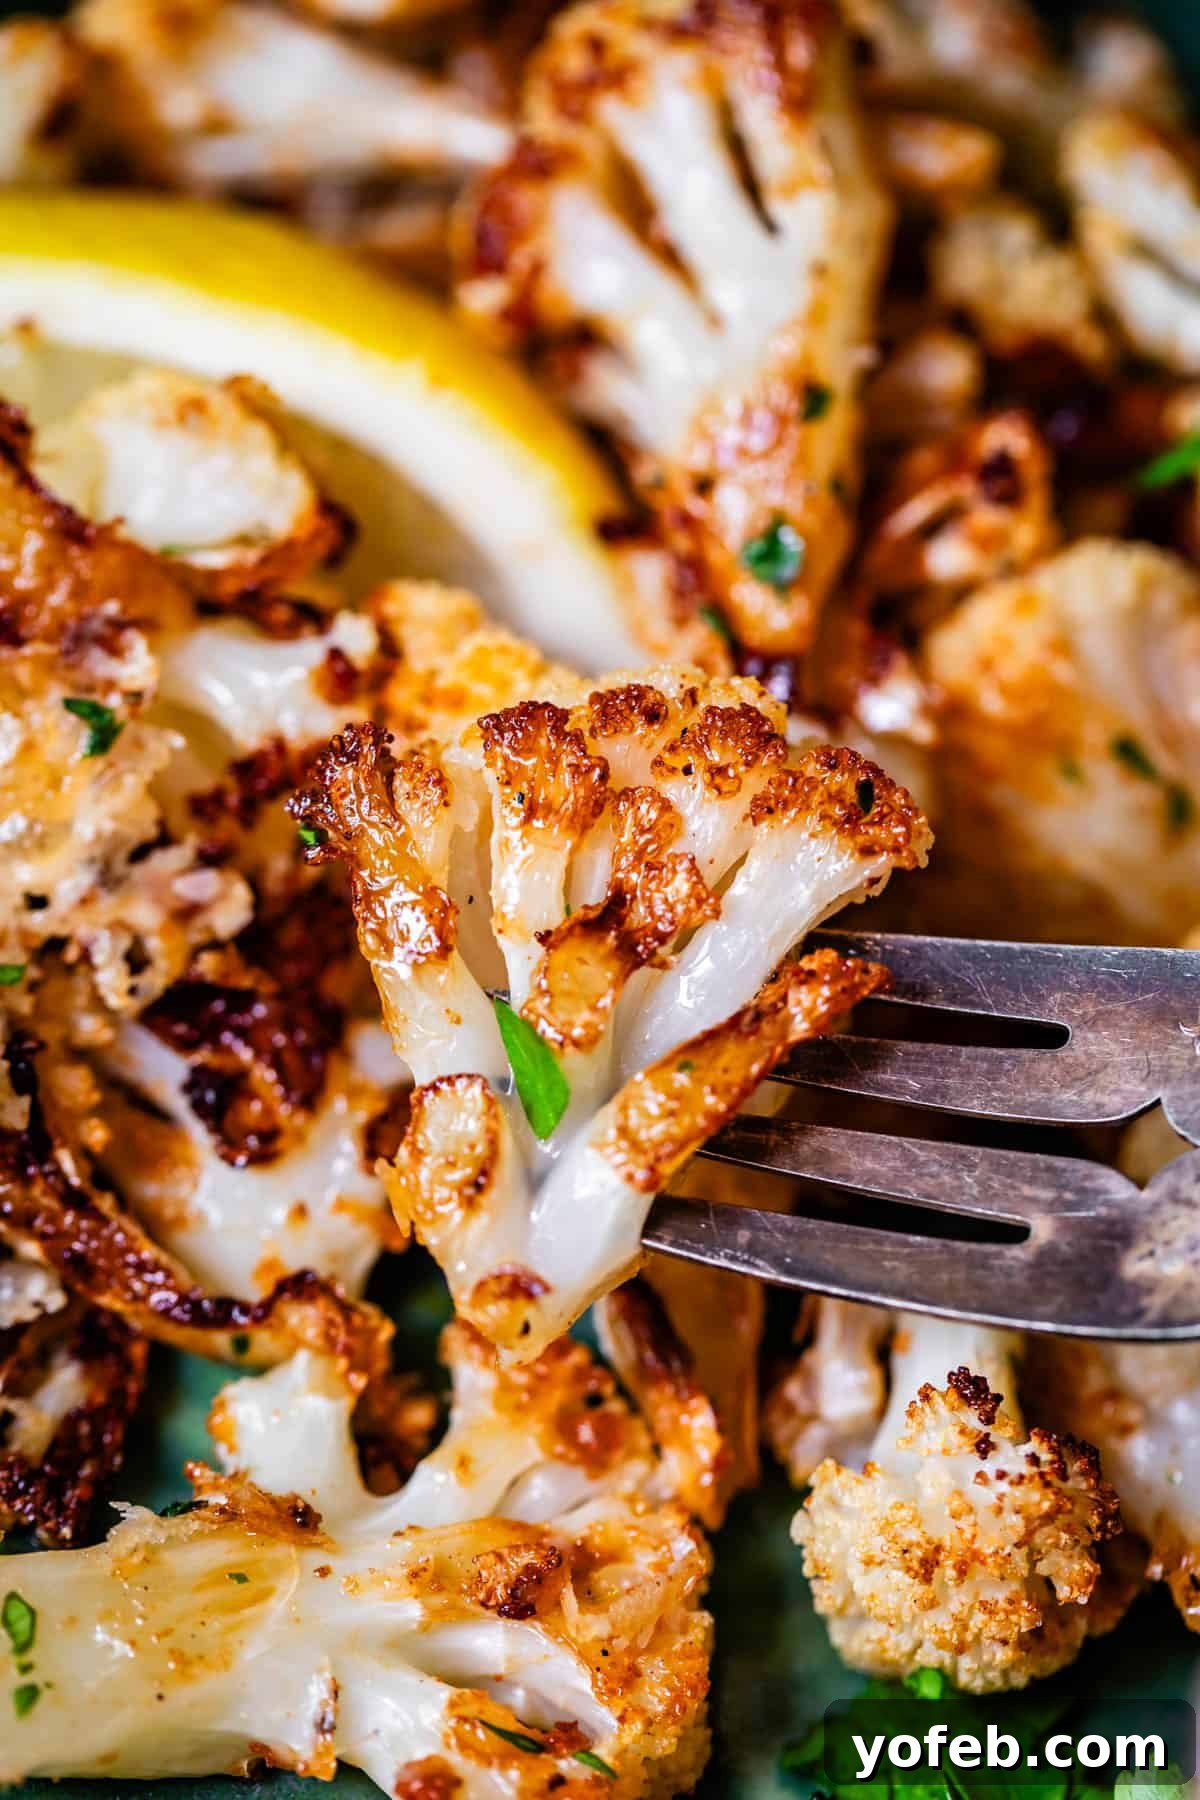
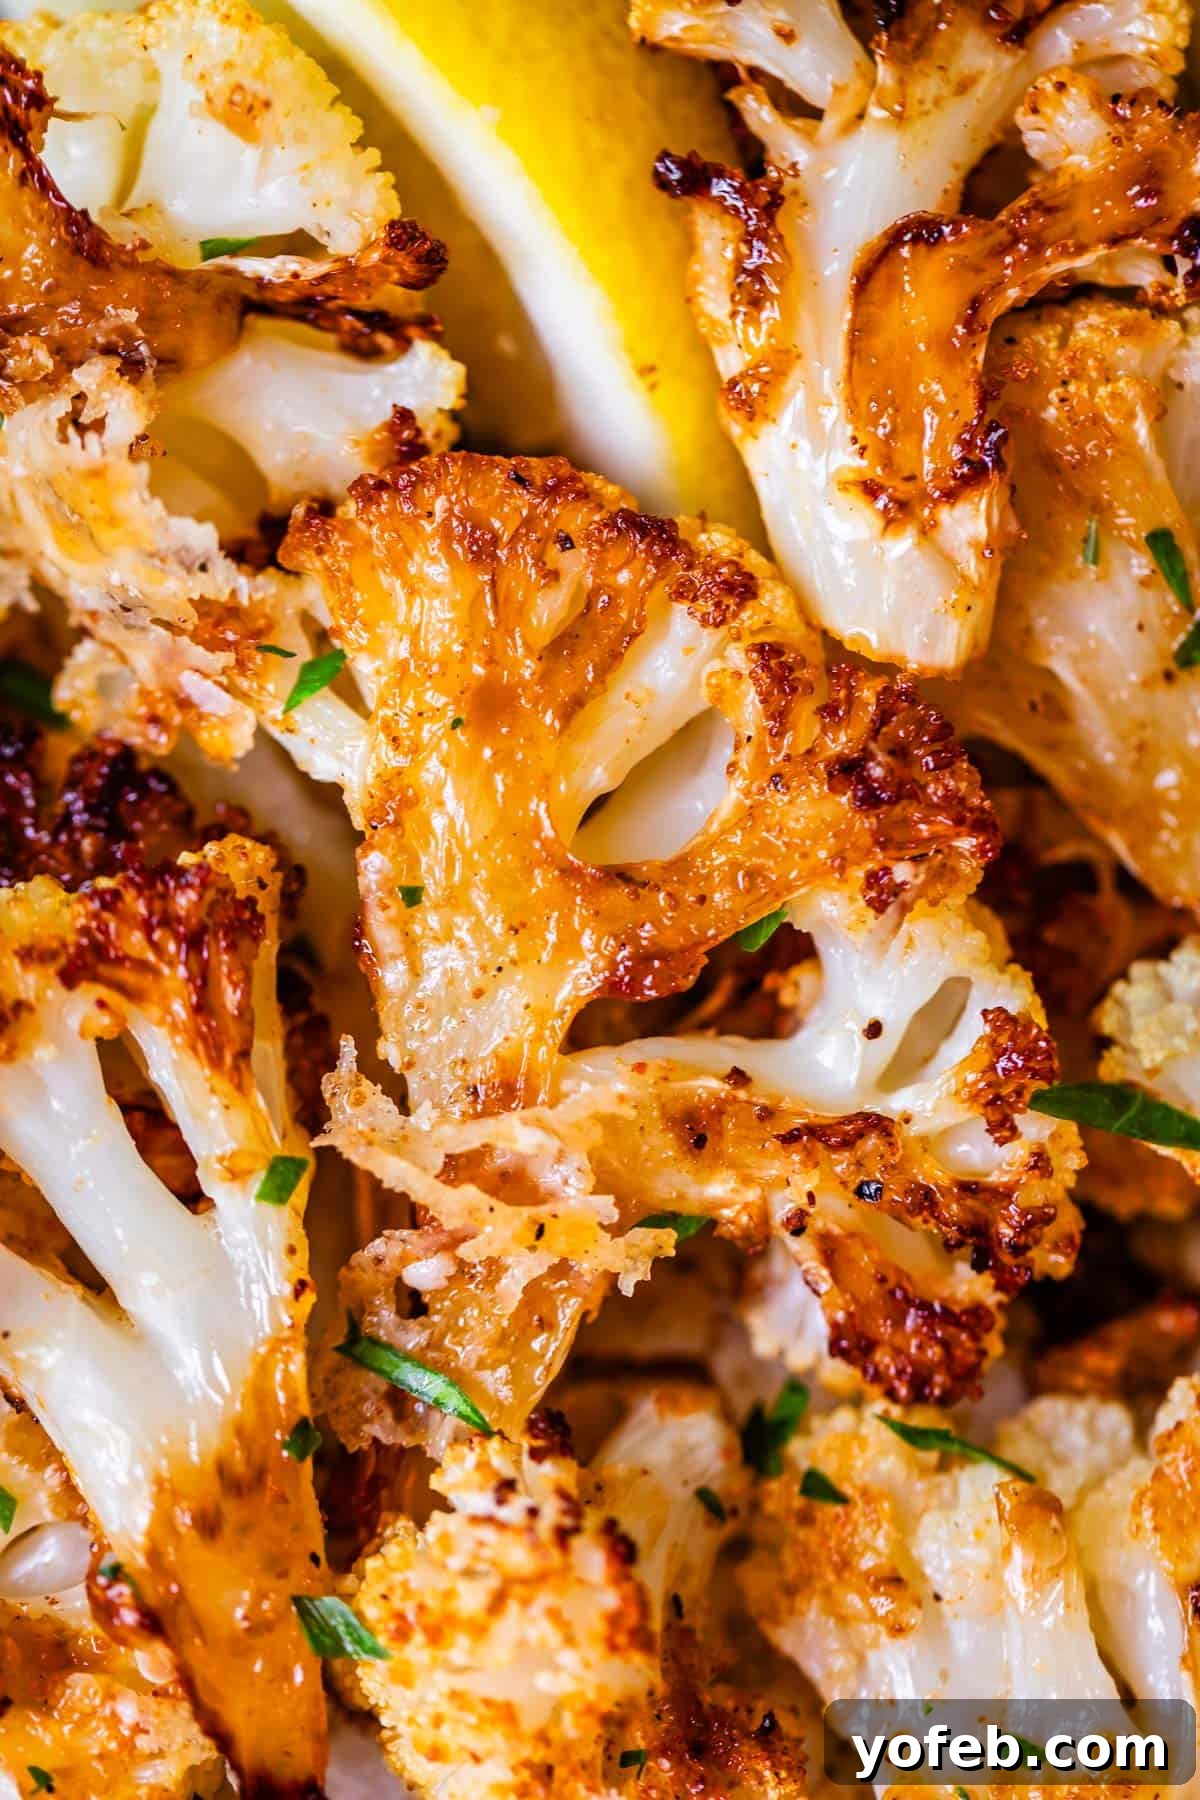
The secret to transforming cauliflower from mundane to magnificent lies in achieving those irresistible, crispy, browned edges. And, of course, generously infusing it with garlic! This recipe is specifically designed to unlock cauliflower’s full flavor potential, using a special slicing technique that maximizes its surface area for optimal caramelization and crispness in the oven. You’ll find yourself reaching for these savory florets straight from the baking sheet before they even make it to the dinner table. It’s truly a game-changer for any vegetable skeptic, proving that roasted veggies are always a good idea.
Why This is The Best Oven Roasted Cauliflower Recipe
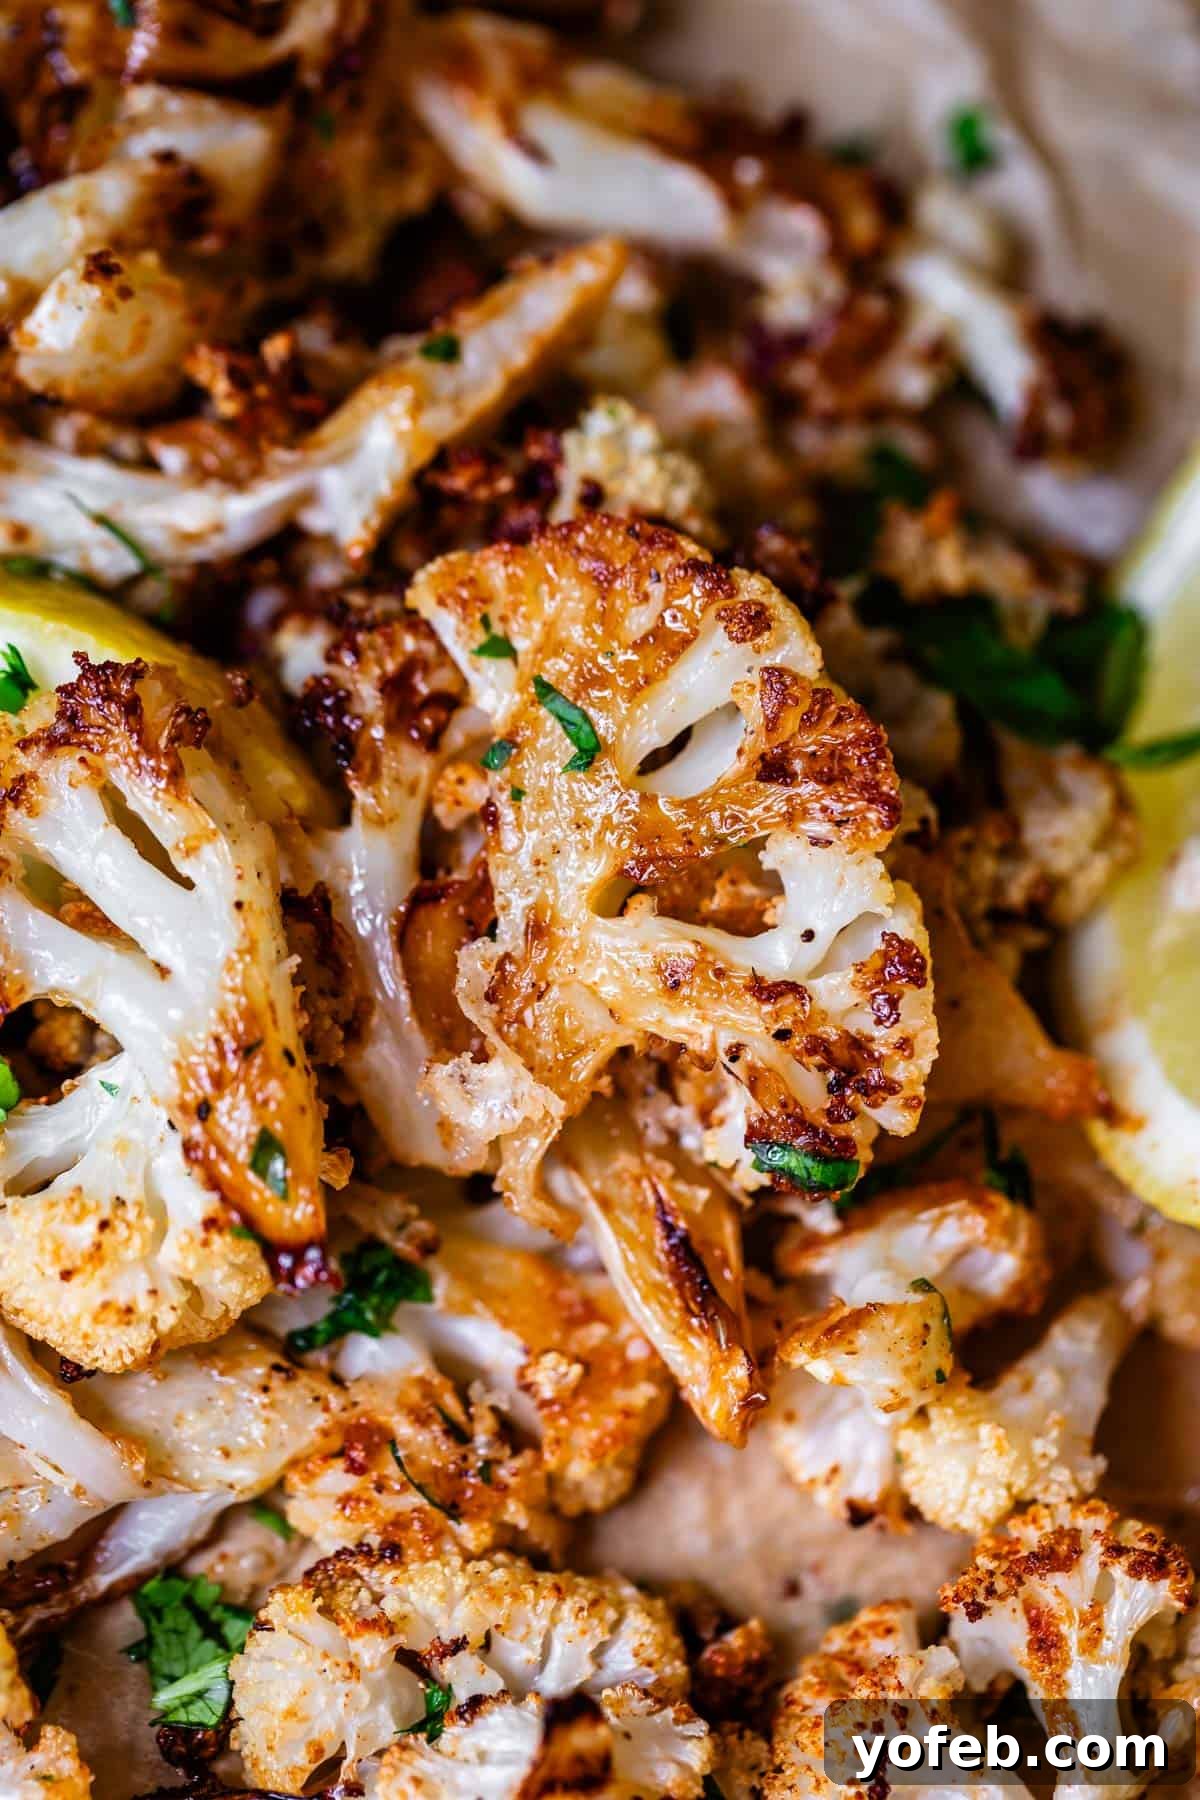
Think of cauliflower as a blank canvas, perfectly designed by nature to absorb and enhance any flavors you introduce. Once you master the fundamental techniques of roasting, you can experiment with endless spice combinations and culinary directions. However, for a truly stellar starting point, this recipe for garlic, lemon, and parmesan roasted cauliflower is my absolute favorite. It’s a foundational dish that consistently delivers exceptional results.
Here’s what makes this recipe stand out and why you’ll absolutely love it:
- Achieves PERFECT Crispy Brown Edges: This is the ultimate goal when roasting cauliflower, and this recipe guarantees it. The caramelization created by the high heat brings out a deep, nutty flavor that makes cauliflower truly irresistible.
- Optimal Oil Distribution: We use just the right amount of a high smoke point oil (like light olive oil or ghee) to coat every floret, ensuring a beautiful crisp without any greasiness. The fat is crucial for both flavor and texture.
- Garlic Infusion, Two Ways: We don’t just add garlic; we layer its flavor! Garlic powder ensures every piece is evenly seasoned, while fresh smashed garlic cloves on the roasting pan deeply infuse the cauliflower with robust, aromatic goodness.
- Balanced Seasoning: The precise amount of salt enhances the cauliflower’s natural sweetness and toasted notes, creating a perfectly savory bite.
- Bright Lemon Zing: A squeeze of fresh lemon juice adds a wonderful brightness and cuts through the richness, elevating the overall flavor profile.
- Nutty Parmesan Finish: Freshly grated Parmesan cheese melts and crisps beautifully, complementing the slightly nutty flavor of the roasted cauliflower.
- Fresh Herb Garnish: A sprinkle of fresh parsley not only adds a pop of color but also a fresh, aromatic finish that takes this side dish over the top.
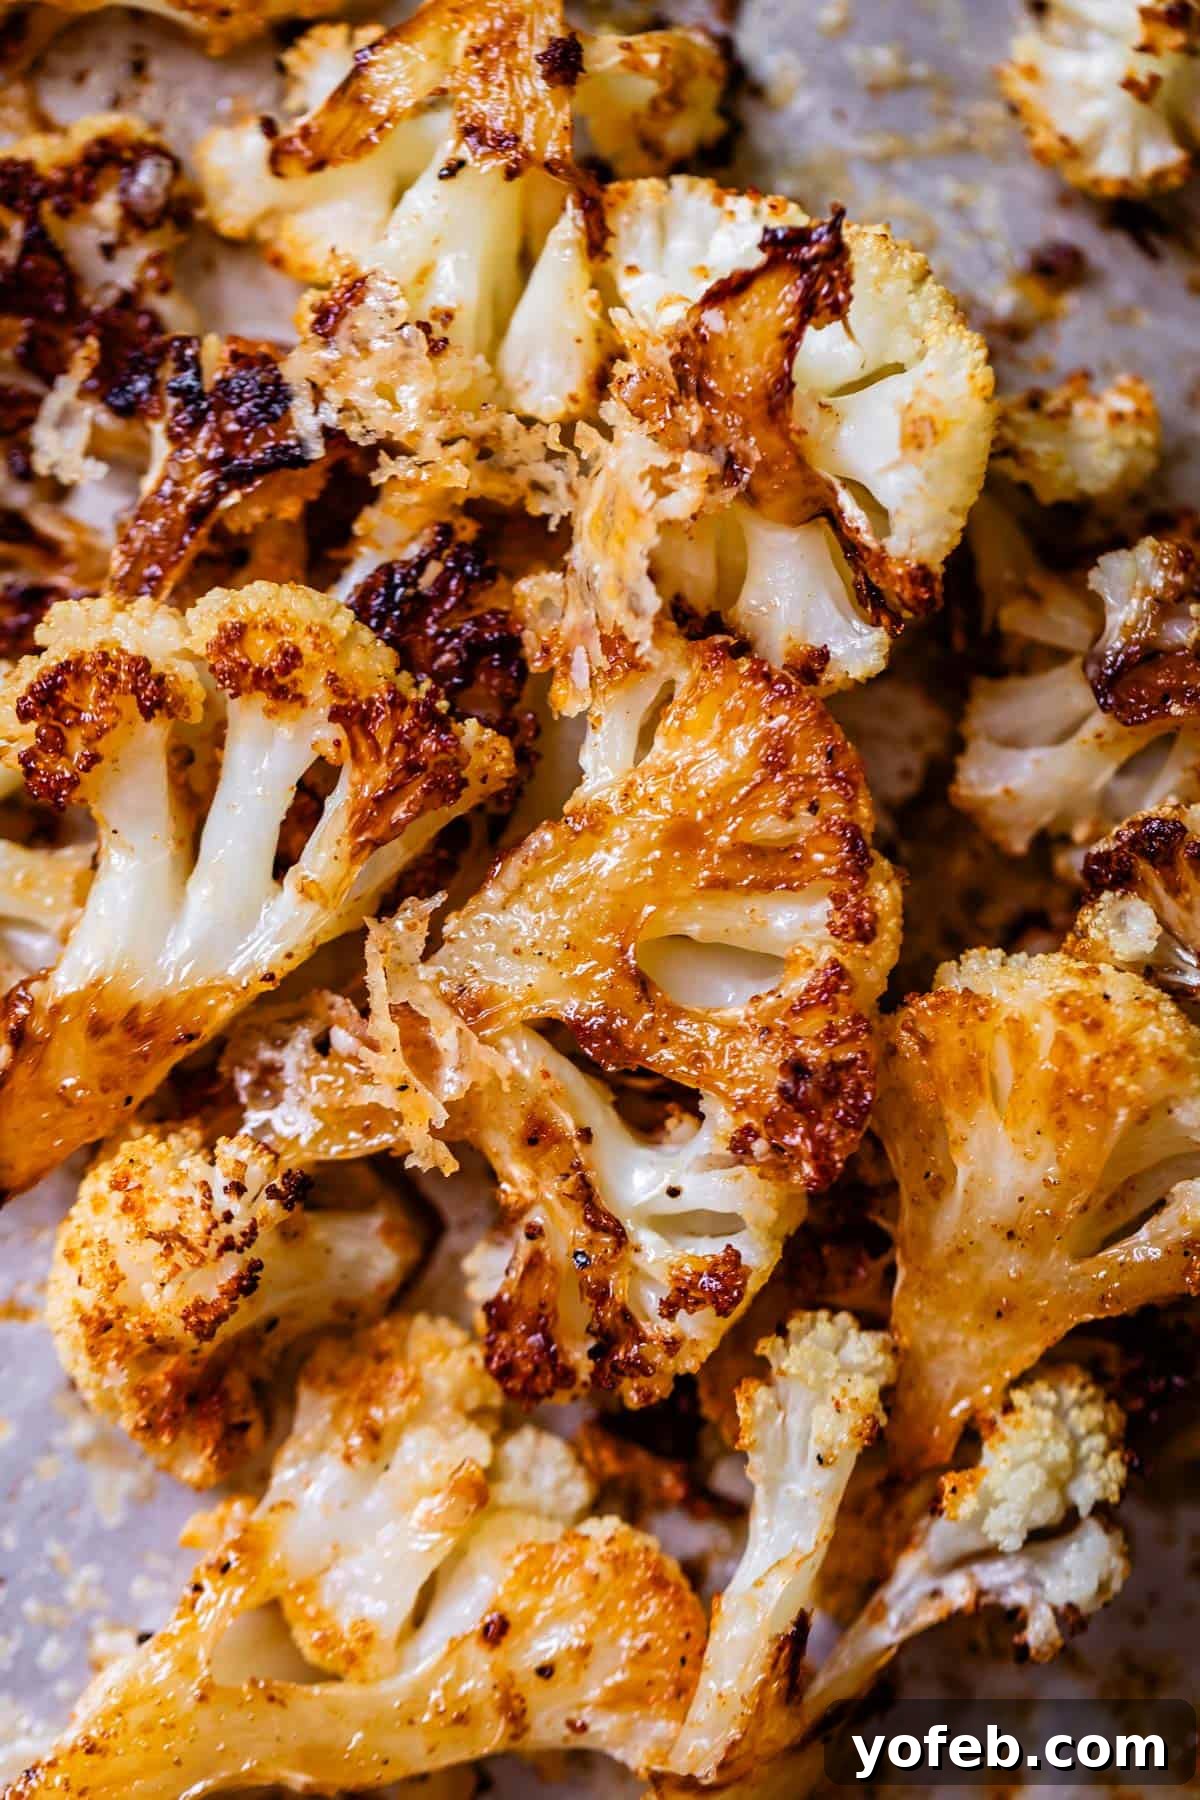
Essential Tips for Perfectly Roasting Cauliflower (and Any Veggie!)
Achieving truly crispy, caramelized roasted vegetables isn’t magic; it’s science! By following these critical tips, you can guarantee perfectly cooked cauliflower and elevate any roasted vegetable dish:
- Don’t Skip the Fat (and Use the Right Amount!): Fat equals flavor and crispiness. A good quality olive oil or ghee works wonderfully, or a combination of both for an extra flavor boost. The key is balance: too little fat will result in dry, bland cauliflower, while too much will make it greasy and prevent a proper sear. Each floret should be lightly coated, not swimming in oil.
- Ensure Even Sizing: For uniform cooking, it’s essential to cut your cauliflower (or any vegetable) into roughly similar-sized pieces. This ensures that every floret finishes cooking at the same time, preventing some pieces from burning while others remain undercooked.
- CRUCIAL: Optimal Spacing on the Pan: This is arguably the most vital tip for crispy roasted vegetables! Give each cauliflower floret ample personal space on the baking sheet – think at least 1-2 inches between pieces. You might feel like you’re being overly generous, but crowding the pan is a recipe for soggy failure. As vegetables roast, they release moisture in the form of steam. If there’s enough space, this steam escapes and evaporates into the oven. However, if florets are packed tightly, the steam gets trapped, essentially steaming the vegetables instead of roasting them. For most large heads of cauliflower, this means you’ll need two half-sheet pans to achieve true crispness. Using parchment paper also helps prevent sticking and promotes better browning.
- High Heat is Your Friend: Roasting requires a high temperature to encourage caramelization and the Maillard reaction – the chemical process responsible for those delicious browned flavors. The ideal temperature range is typically between 400-450°F (200-230°C). This high heat breaks down the starches, developing a sweet, nutty flavor and a beautifully crispy exterior. Don’t be shy with the heat!
- Preheat Your Pan: For an extra boost of crispiness, especially for the side of the florets touching the pan, try preheating your empty baking sheet in the oven while it comes to temperature. Then, carefully add the seasoned cauliflower to the hot pan. This immediate sizzle helps create a fantastic sear.
- Dry Your Cauliflower Thoroughly: Moisture is the enemy of crispiness. After washing your cauliflower, make sure to pat it thoroughly dry with paper towels before tossing it with oil and seasonings. Any excess water will create steam and prevent b crispy results.
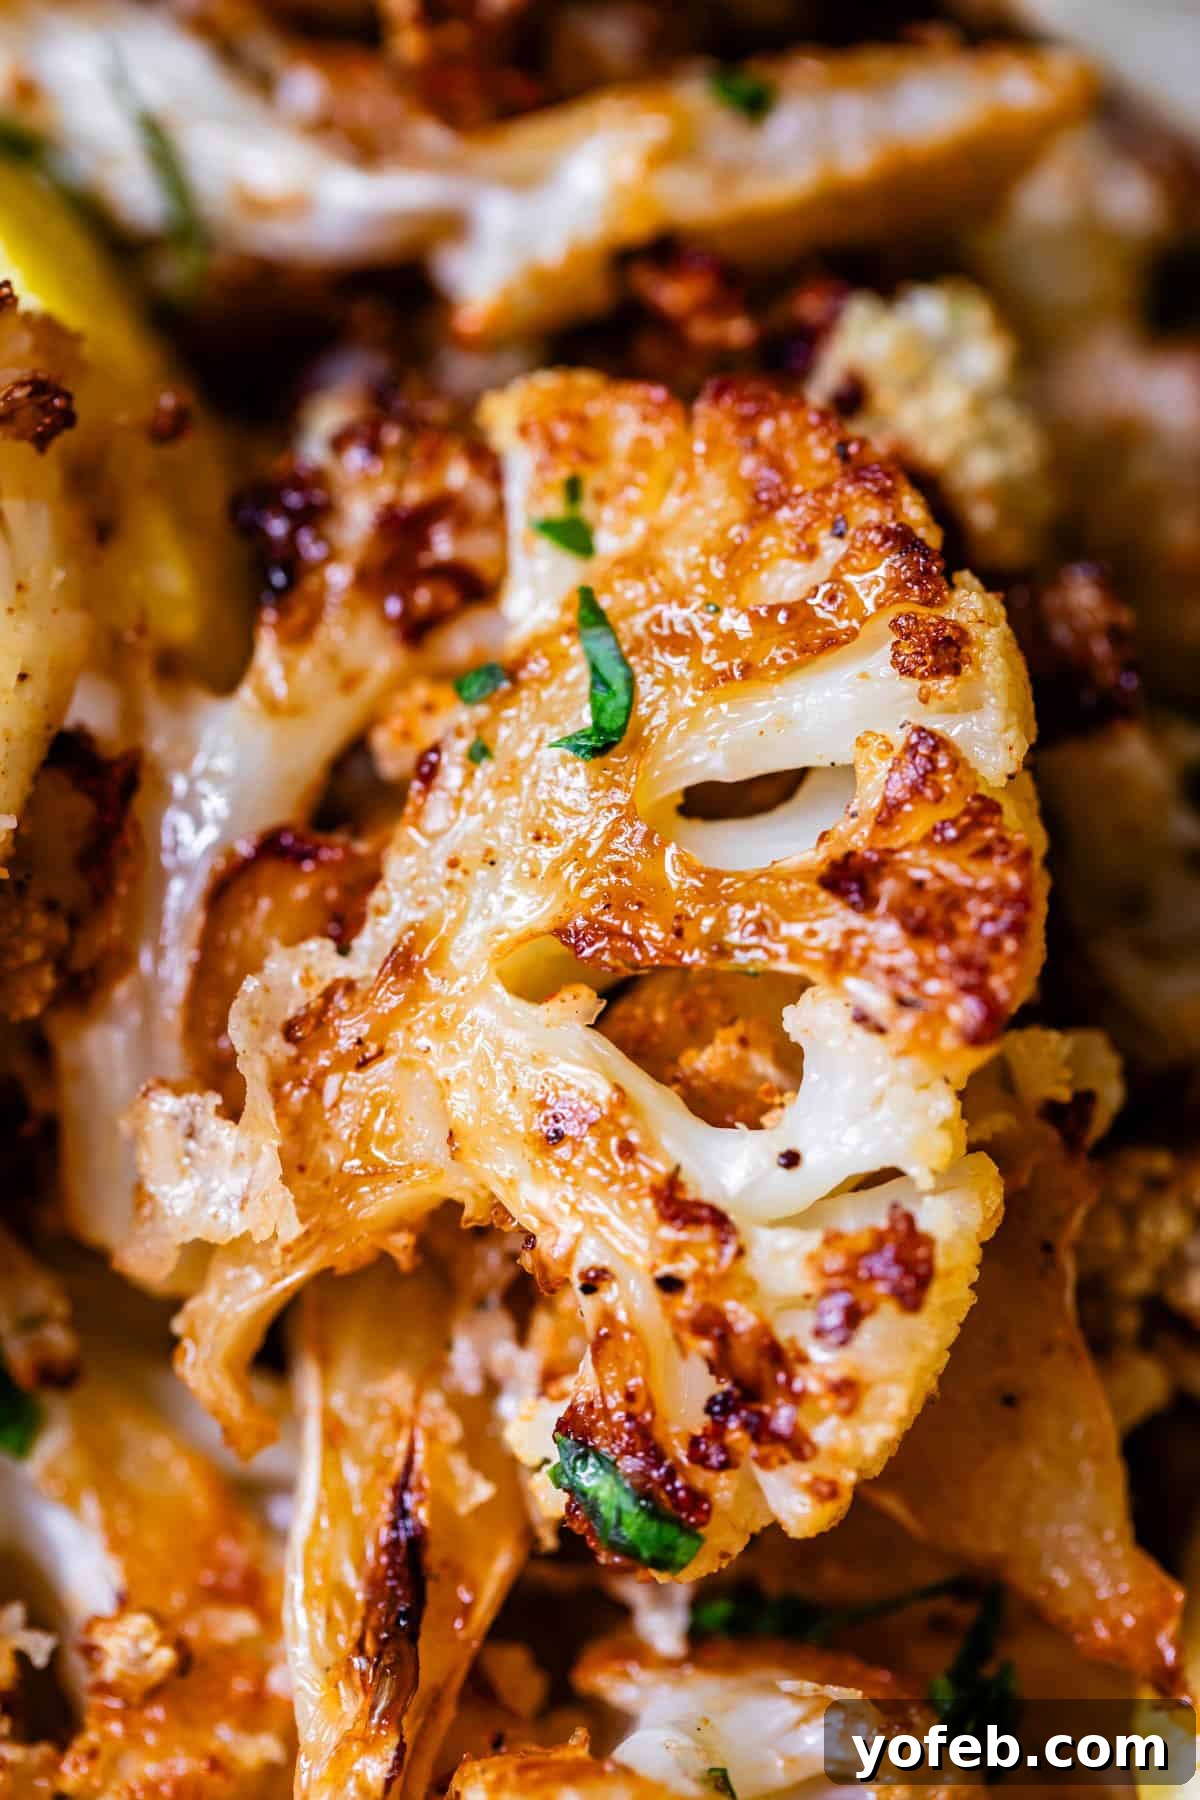
Roasted Cauliflower Recipe Ingredients: Simple & Flavorful
You’ll be amazed at how a few simple, fresh ingredients can transform a humble head of cauliflower into something truly extraordinary. This is a quick overview; full instructions and ingredient measurements are provided in the detailed recipe card below.
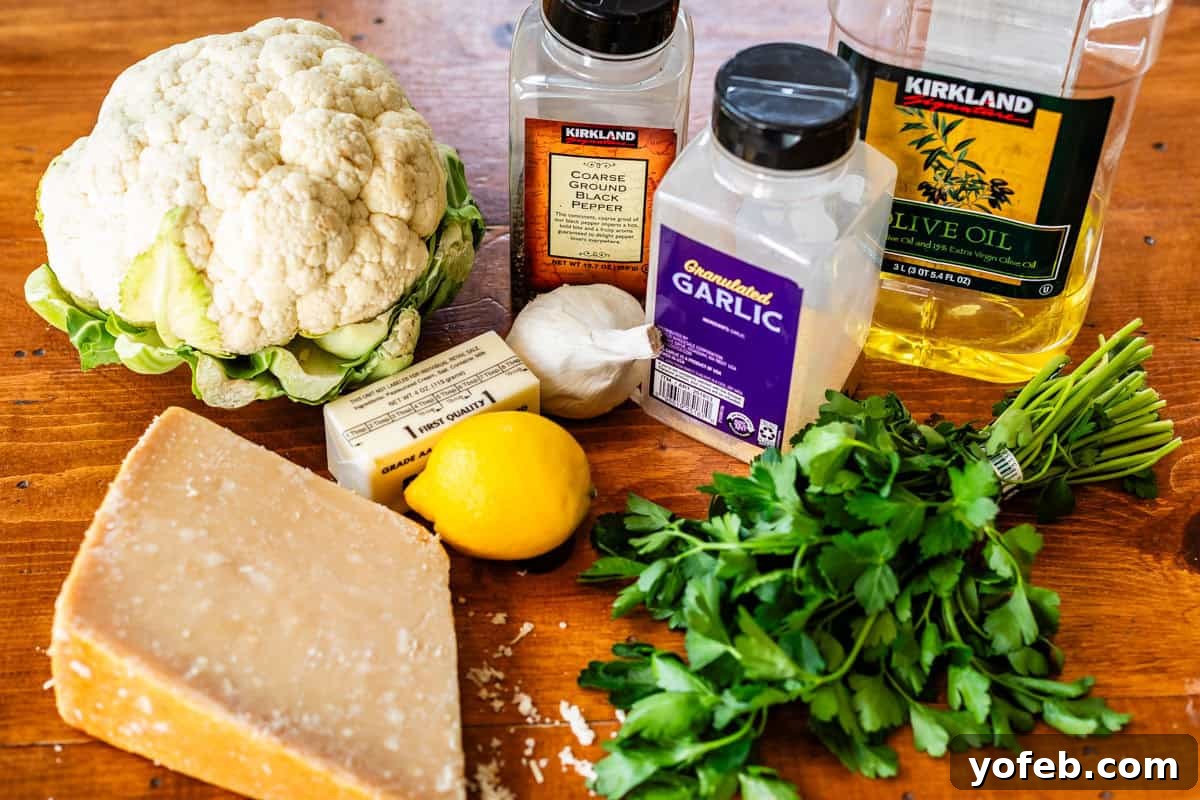
- One large head of fresh cauliflower
- Light olive oil (or other high smoke point oil like avocado oil)
- Fresh garlic cloves (smashed for roasting and butter sauce)
- Garlic powder (or granules)
- Kosher salt
- Freshly cracked black pepper
- Unsalted butter
- Fresh lemon (for juicing)
- Fresh parsley (finely chopped, for garnish)
- Real Parmesan cheese (freshly grated for best results)
- Optional: A touch of smoked paprika for color and depth
How to Roast Cauliflower: Step-by-Step for Crispy Perfection
Achieving perfectly roasted cauliflower is all about technique. Follow these steps closely for the best, crispiest results every time:
- Preheat Your Oven and Prepare Pans: Start by preheating your oven to a hot 425°F (220°C). Position two oven racks near the center of your oven. This high heat is crucial for achieving that desirable crispy texture. If you have a large head of cauliflower, consider preheating two half-sheet pans (or one extra-large baking sheet) in the oven as it heats up – this helps create an immediate sear when the cauliflower is added.
- Prepare and Dry the Cauliflower: Carefully rinse your head of cauliflower under cold water if it appears dirty. The most important step here is to thoroughly dry it with paper towels. Any residual moisture will steam the cauliflower instead of roasting it, making it soft and soggy.
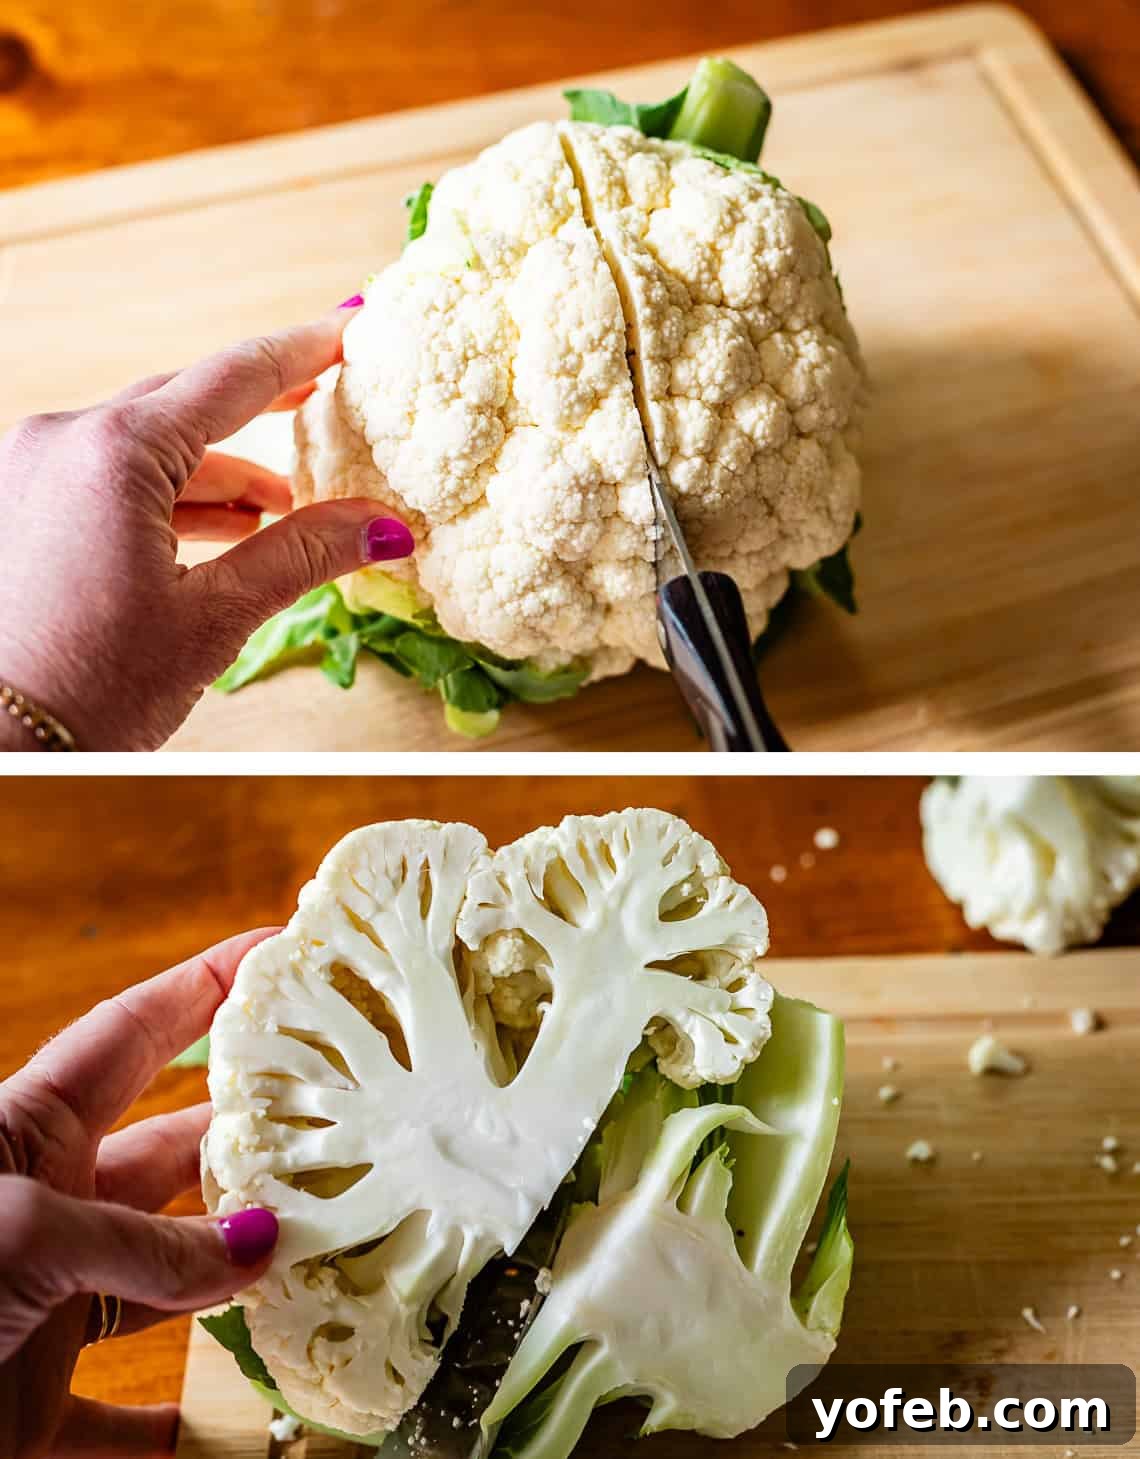
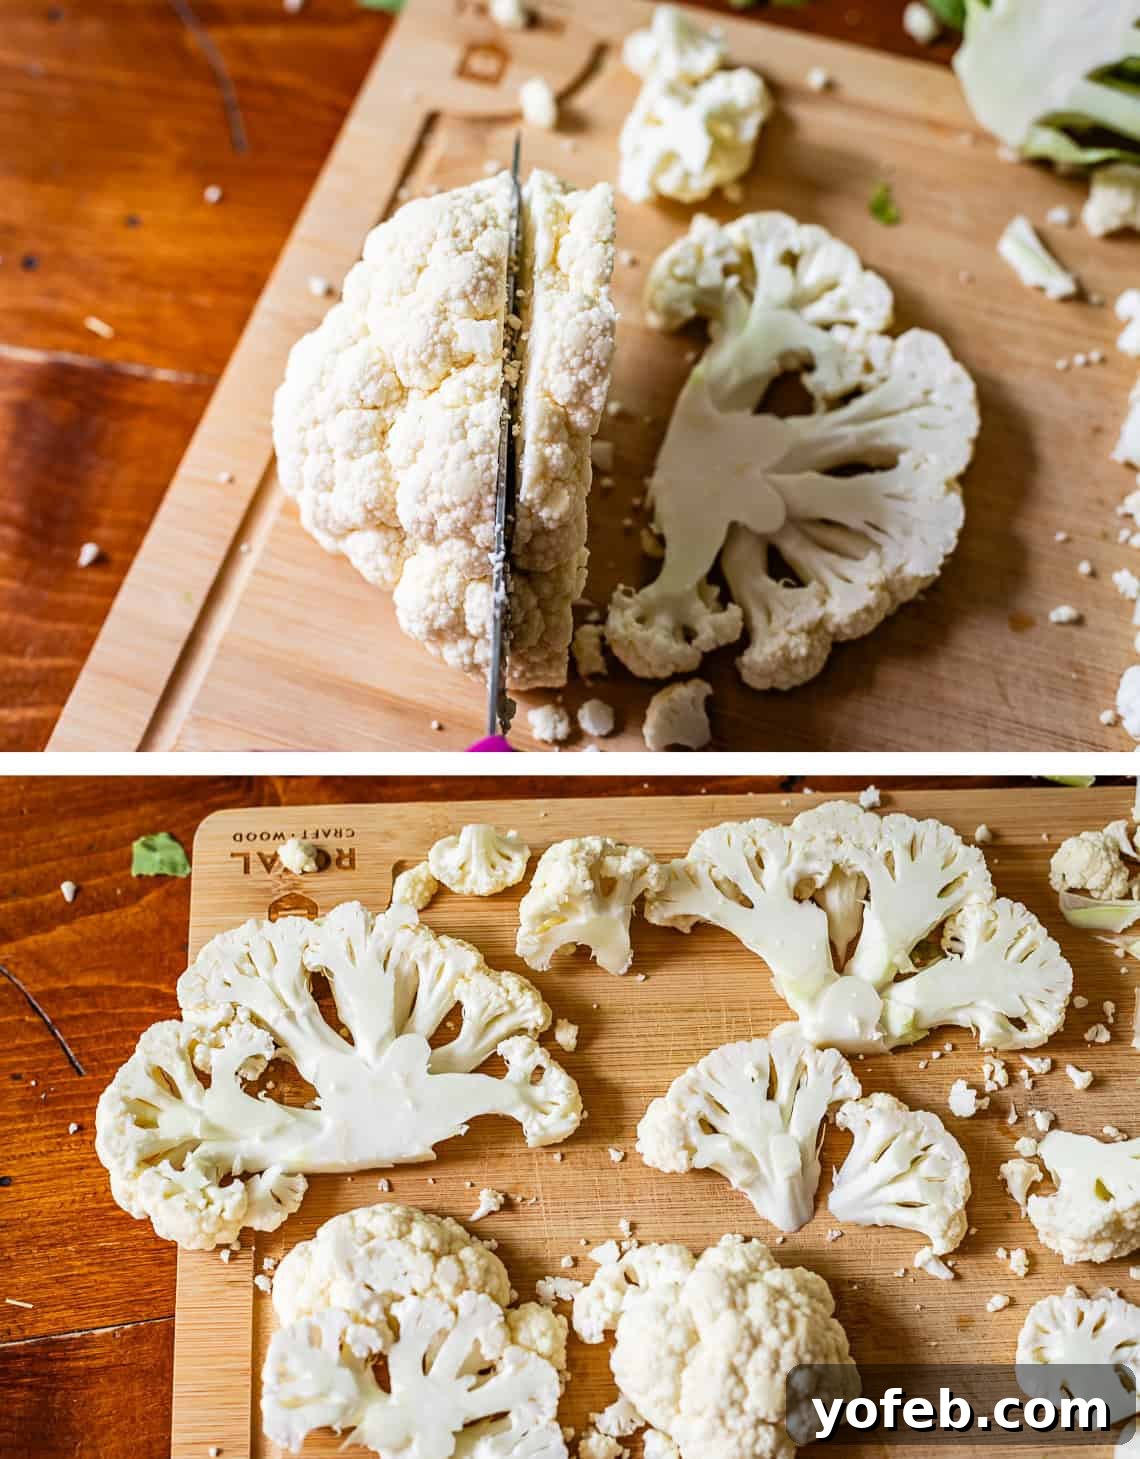
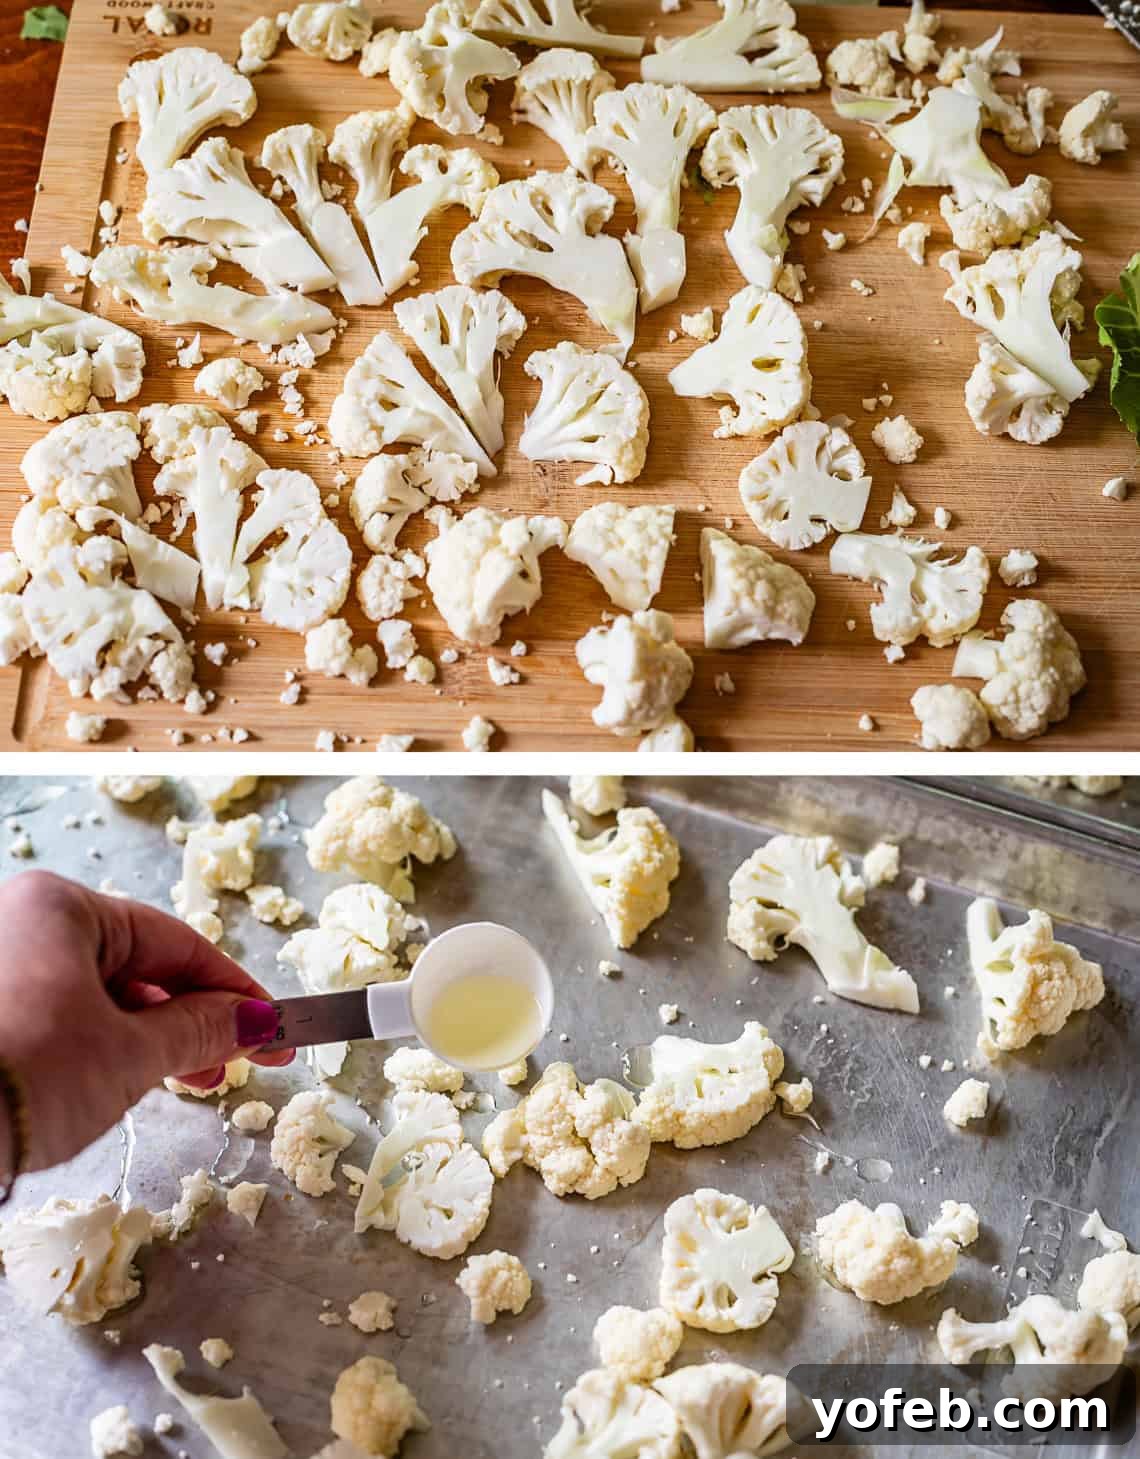
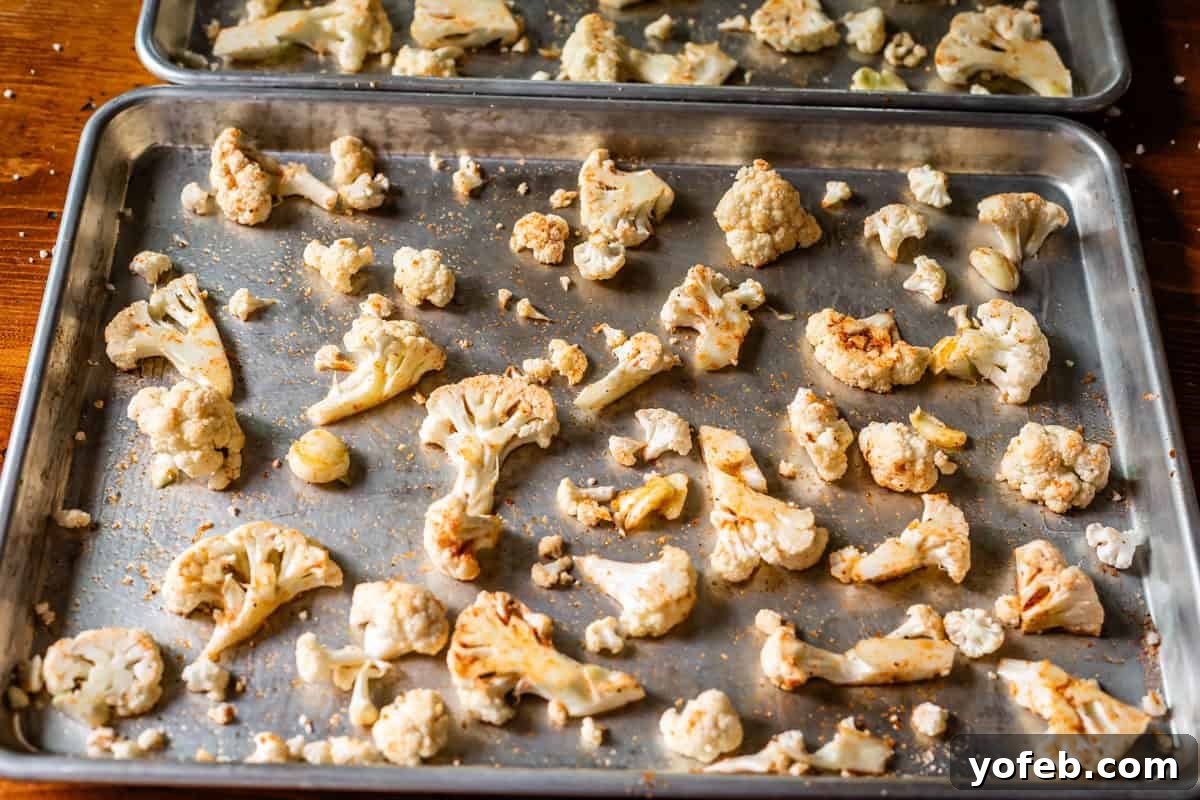
- The Special Slicing Technique: Instead of breaking the cauliflower into traditional florets, we’re going for maximum flat surface area. First, slice the entire head of cauliflower in half vertically. Then, carefully lop off the core or stem from each half. Now, slice each cauliflower half into approximately half-inch thick “steaks.” From these steaks, you can gently break them apart into florets, ensuring each piece has at least one flat side. This flat surface will have direct contact with the hot baking sheet, promoting superior browning and crispiness.
- Divide and Conquer (Use Two Pans!): This step is non-negotiable for crispy cauliflower. Divide your prepared cauliflower pieces between two half-sheet pans. Resist the urge to crowd them onto a single pan! If the cauliflower is packed too tightly, the steam released during cooking will become trapped, resulting in a steamed, soggy texture instead of a beautifully roasted, crispy one. Aim for at least 1-2 inches of space around each floret. Trust me, the extra pan is worth the wash!
- Add Aromatics and Oil: Smash and peel about 4 cloves of garlic. Add two smashed cloves to each baking pan, scattering them among the cauliflower. Drizzle one pan with 1.5 tablespoons of light olive oil and the other with another 1.5 tablespoons. The oil helps conduct heat and creates a flavorful crust.
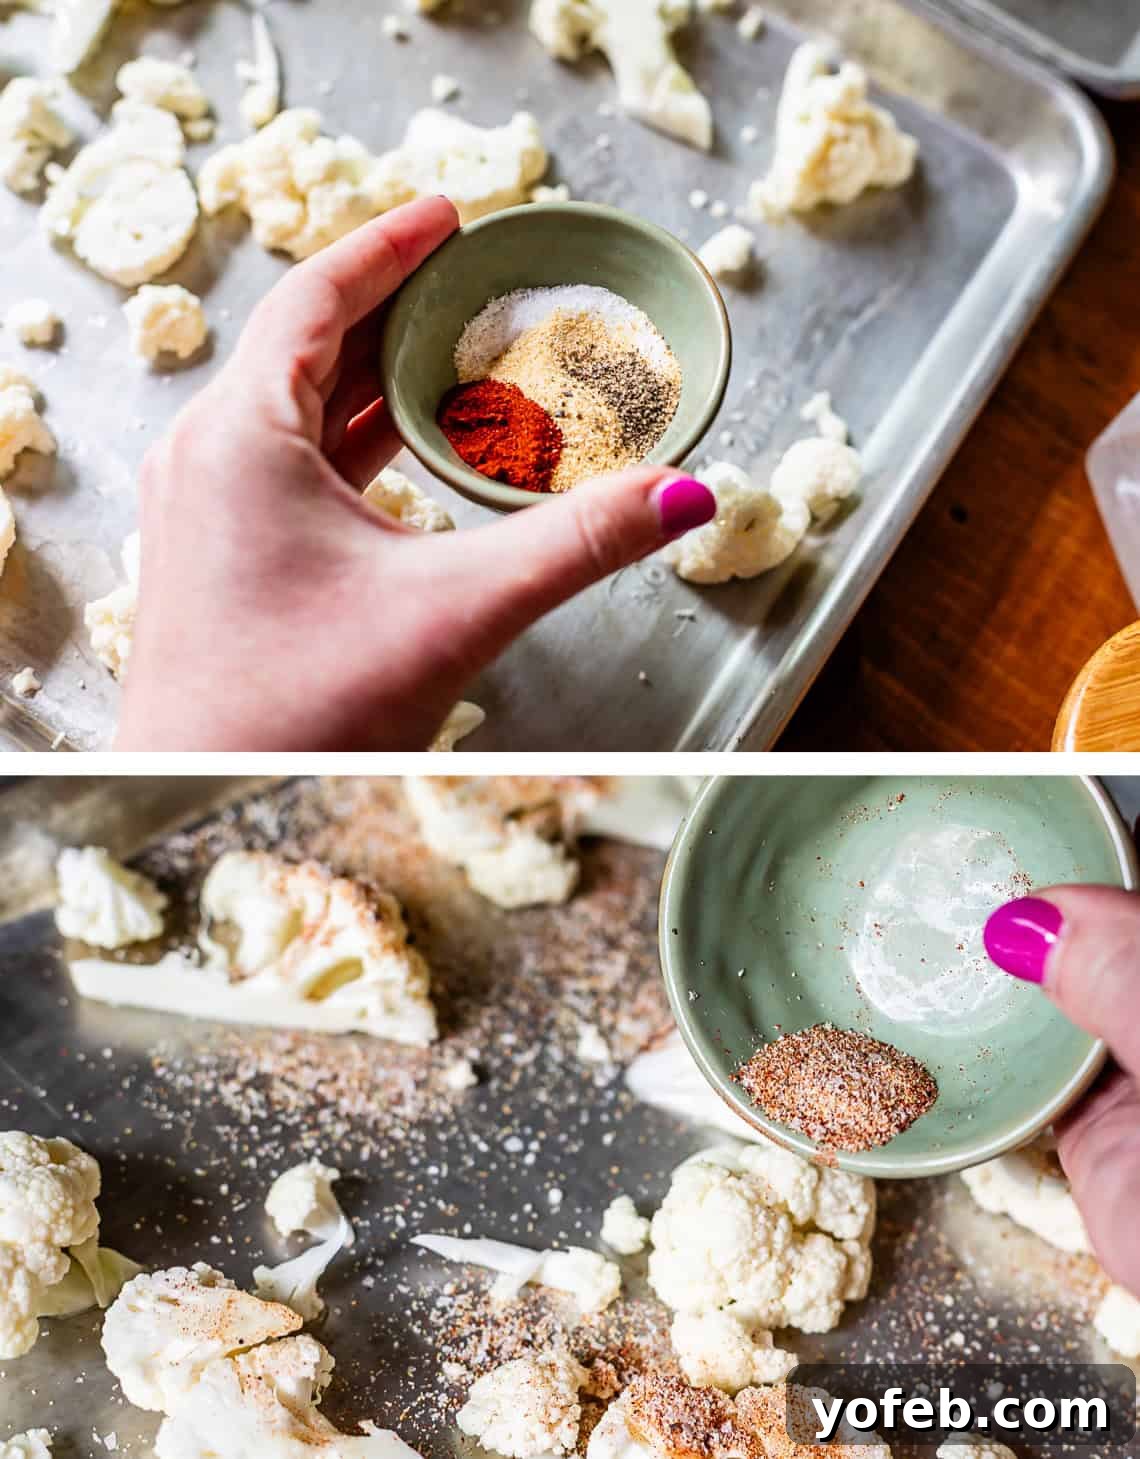
- Season Evenly: In a small bowl, combine 1 teaspoon kosher salt, 1 teaspoon garlic granules (or powder), 1/4 teaspoon smoked paprika, and 1/4 teaspoon freshly cracked black pepper. Sprinkle this seasoning mixture evenly over both pans of cauliflower.
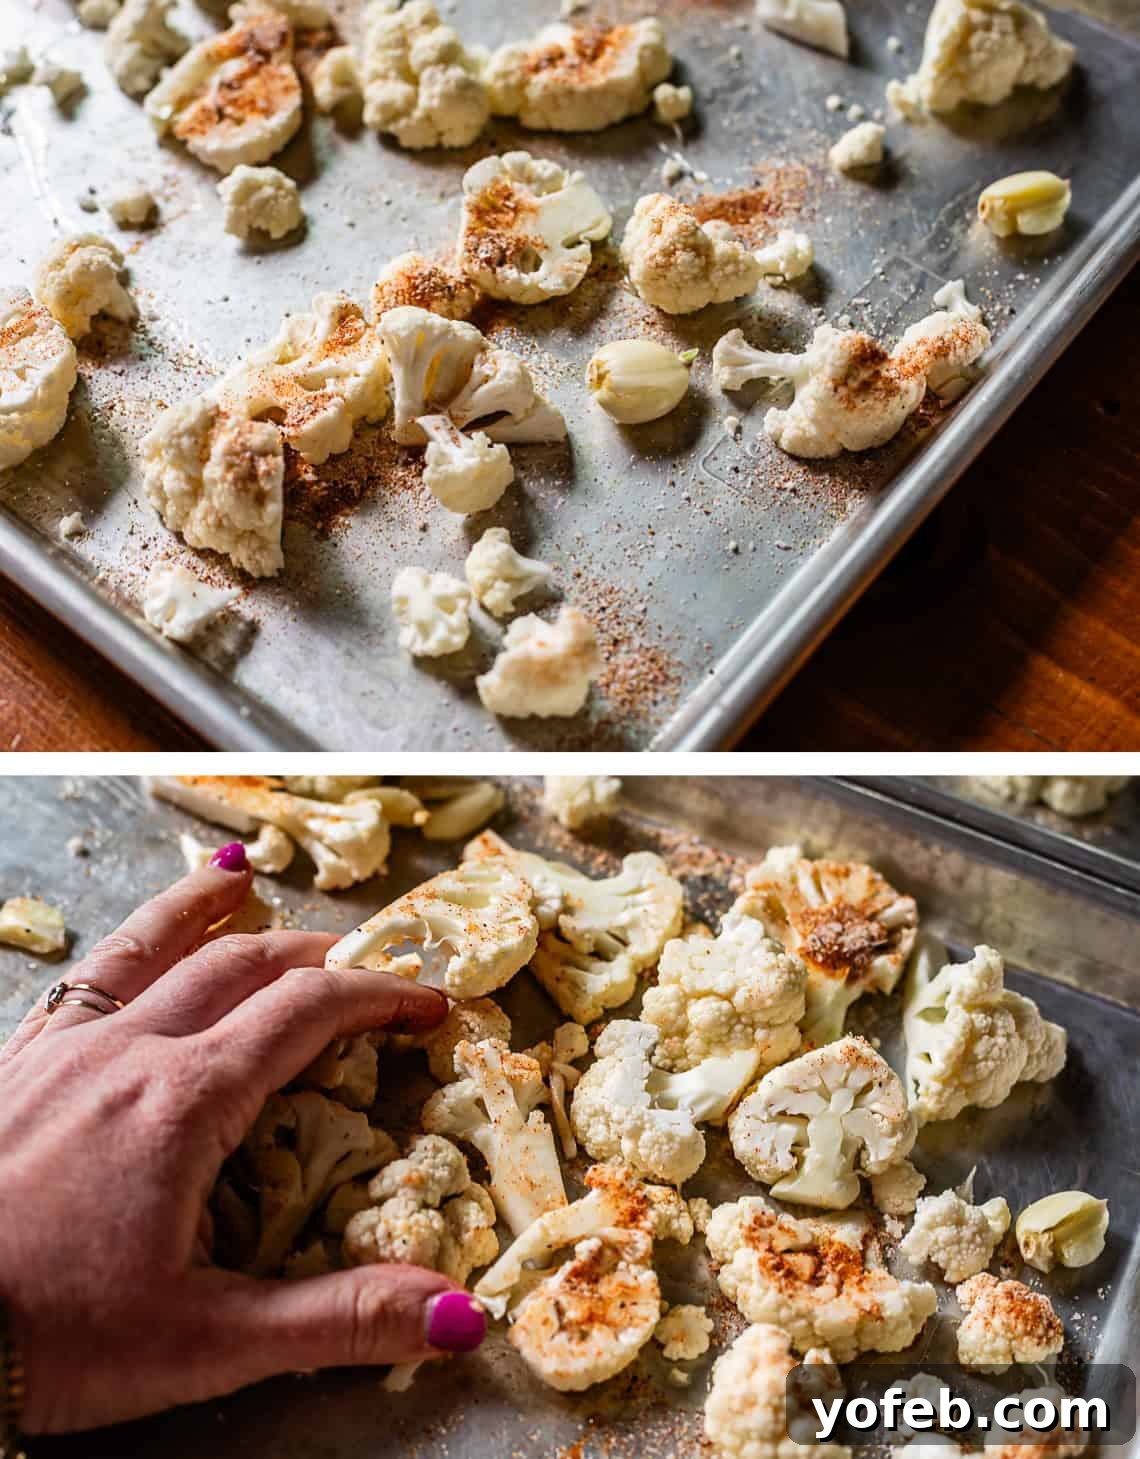
- Toss and Distribute: Use your clean hands to thoroughly toss the cauliflower, oil, spices, and smashed garlic cloves directly on each baking pan. Ensure every piece is evenly coated. This is also a good time to check for excess oil; if you see a significant pool of oil at the bottom of the pan, gently blot some away with a paper towel. Too much oil can prevent crisping. Arrange the cauliflower in a single layer with plenty of space between each piece.
- First Roast: Place one pan on the top oven rack and the other on the bottom rack. Roast for 10 minutes.
- Second Roast (and Switch): After 10 minutes, carefully switch the positions of the pans in the oven (move the top to the bottom and vice versa). This ensures even cooking. Do not disturb or flip the cauliflower during this stage; we want those flat sides to develop a deep golden-brown crust. Roast for another 10 minutes.
- Check for Crispness: After a total of about 20 minutes of roasting, your cauliflower should be beautifully browned and crispy. If it needs more color or tenderness, continue roasting for another 5-10 minutes, keeping a close eye on it.
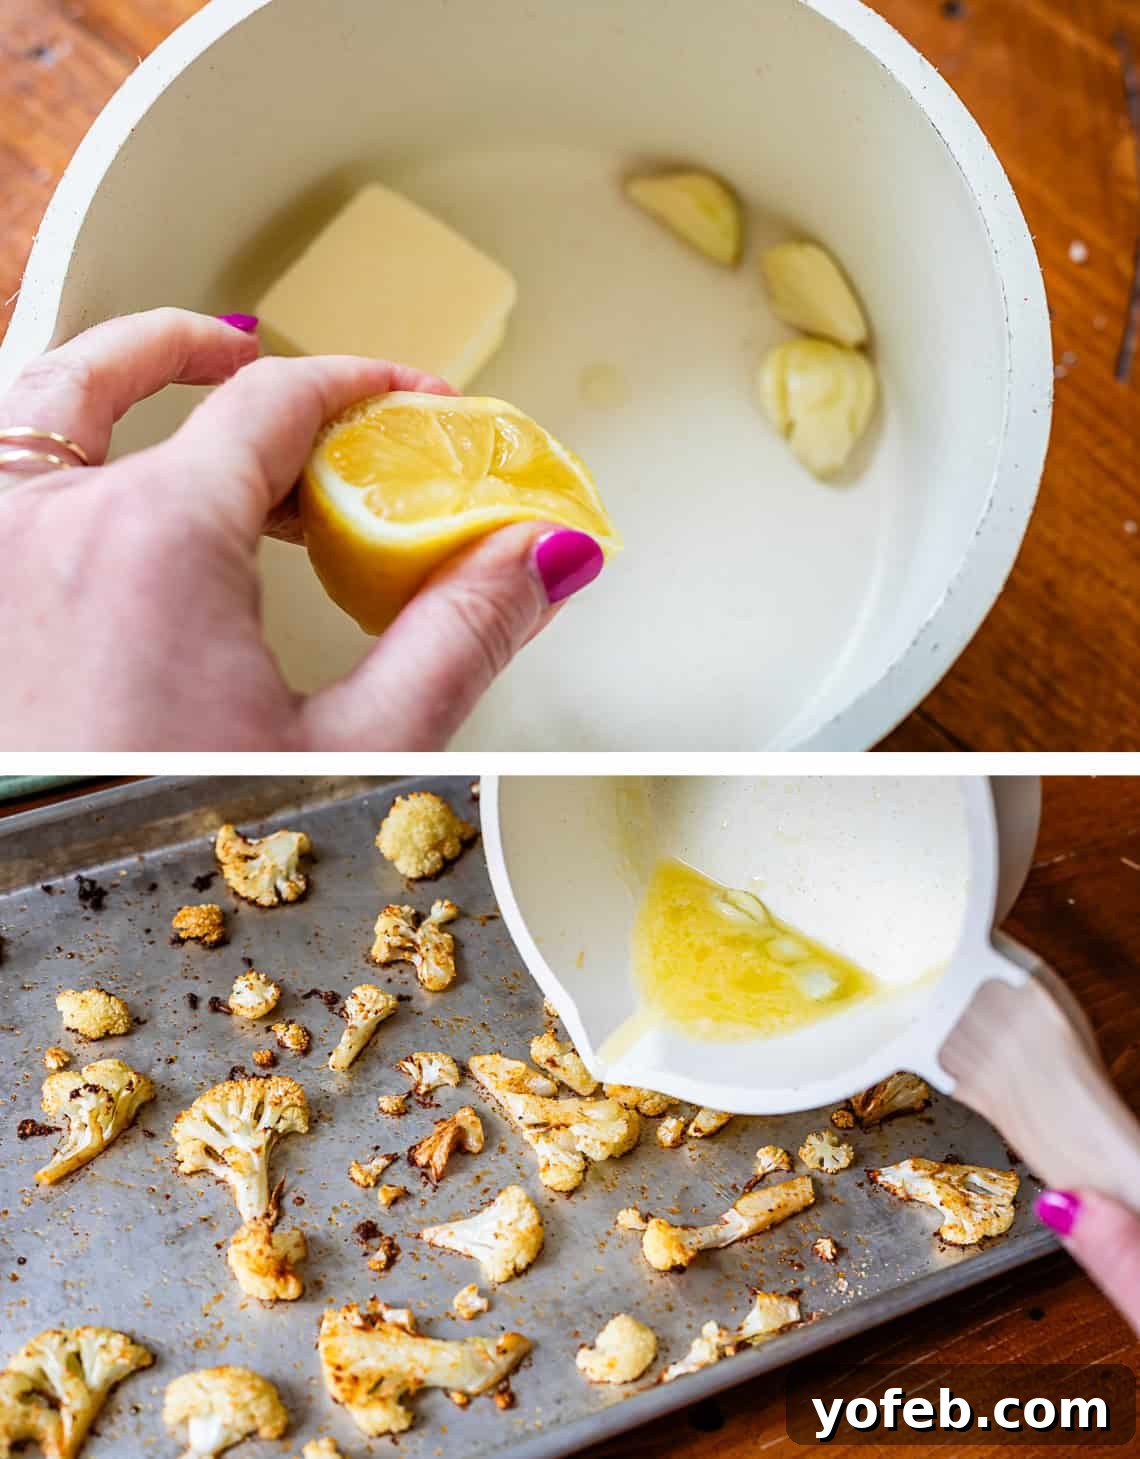
- Prepare the Lemon Garlic Butter: While the cauliflower roasts, melt 2 tablespoons of butter in a small pot over medium heat. Add the juice from half a lemon and 2-3 smashed garlic cloves (adjust to your garlic preference). Stir until the butter is fully melted, then immediately reduce the heat to low. Let it gently simmer for 5-10 minutes, allowing the garlic flavor to infuse into the butter. Be careful not to let the garlic burn; remove from heat if it starts to brown too quickly.
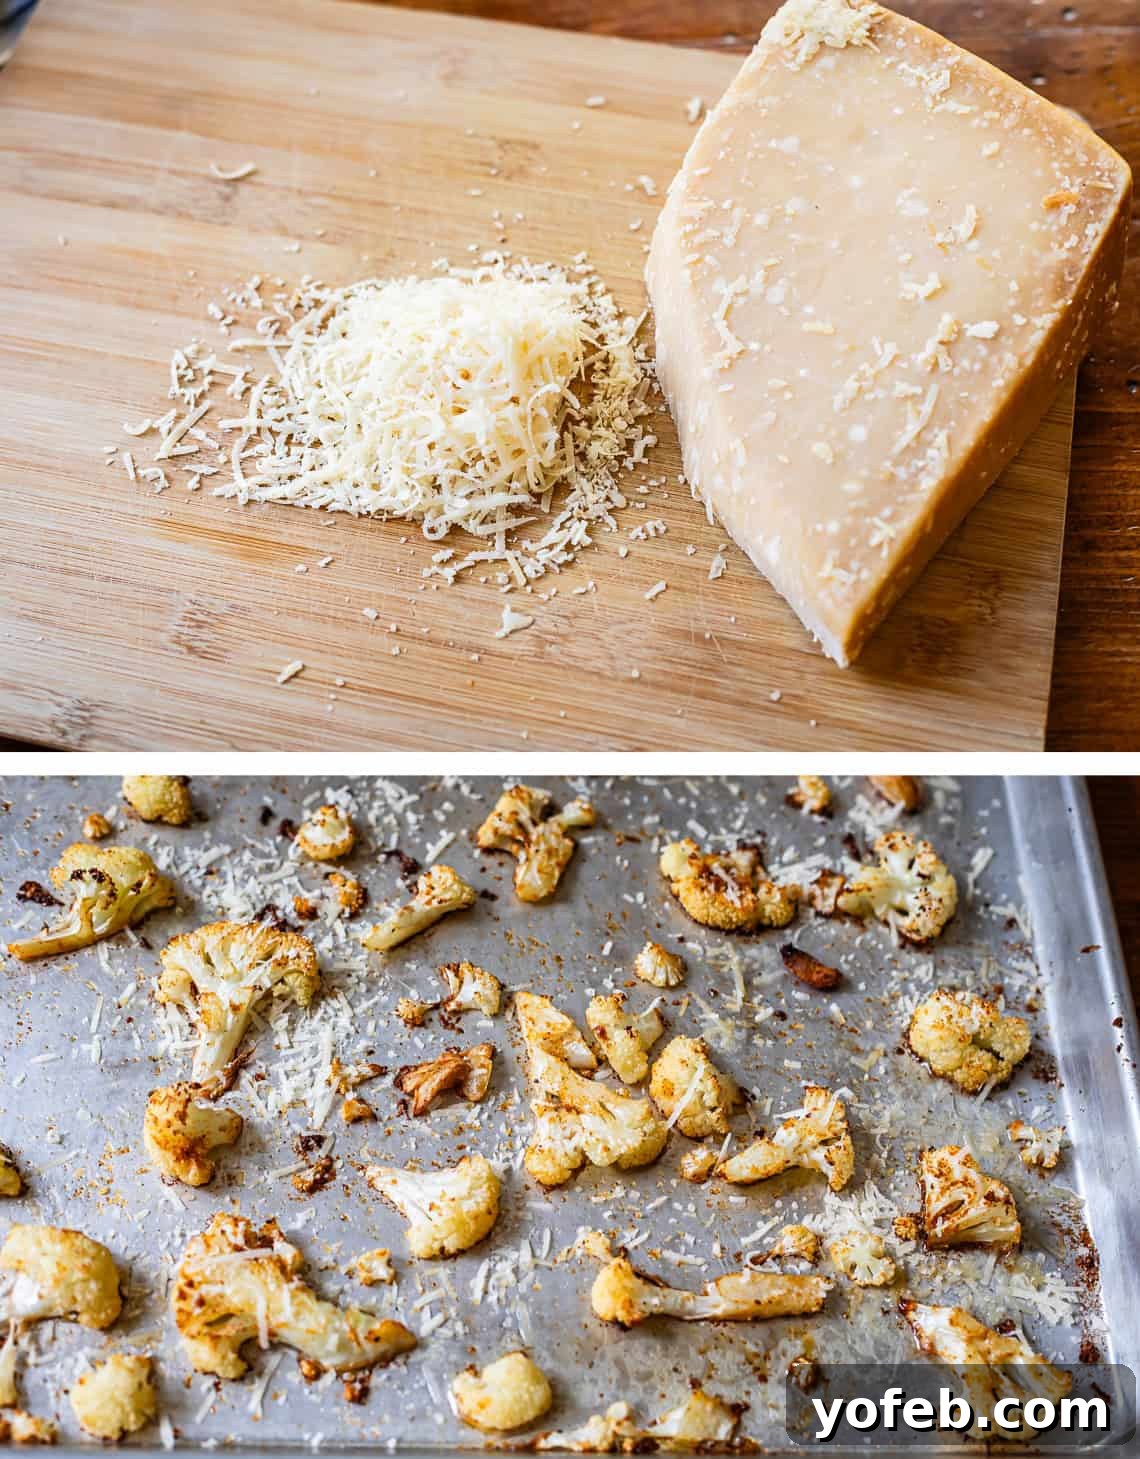
- Add Finishing Touches: Once the cauliflower is done roasting, remove the pans from the oven. Carefully pour the lemon garlic butter evenly over both pans of cauliflower. Sprinkle each pan generously with 1/4 cup of freshly grated Parmesan cheese.
- Broil for Extra Crispness (Optional but Recommended!): For an extra layer of golden-brown crispiness and melted cheese, turn your oven broiler to high. Move one oven rack to the highest position. Broil one pan of cauliflower at a time for about 1 minute, or until the cheese is bubbly and lightly golden. Watch it continuously, as cauliflower can go from perfectly roasted to burnt very quickly under the broiler. You might not even need to close the oven door. Repeat with the second pan.
- Garnish and Serve: Finish by sprinkling with 2 tablespoons of finely chopped fresh parsley for a burst of color and fresh flavor. Serve immediately and enjoy the incredible transformation of this humble vegetable! You might just find yourself eating an entire head of cauliflower in one sitting!
What to Serve with Roasted Cauliflower: Versatile Pairings
This garlic parmesan roasted cauliflower is so flavorful yet versatile, it truly complements almost any main course. Its crisp texture and savory notes make it a welcome addition to a wide range of meals, from hearty comfort food to lighter protein-based dishes. Here are some of my favorite pairings:
- Slow Cooker Pot Roast: The tender, savory pot roast is perfectly balanced by the crisp, bright cauliflower. Don’t forget the creamy Mashed Potatoes for a complete comfort meal.
- Easy Slow Cooker Chicken Stroganoff: This creamy, satisfying dish, a personal family favorite, would be beautifully complemented by the garlicky roasted cauliflower.
- Best Crispy Chicken Parmesan: The cauliflower adds a healthy, crispy vegetable counterpoint to the rich, cheesy chicken parmesan.
- Grandma Prudy’s Swedish Meatballs: A classic comfort food with a homemade gravy that pairs wonderfully with a fresh, vibrant side like roasted cauliflower.
- Creamy Tuscan Salmon (30 Minute Dinner!): Elevate this restaurant-quality salmon dish with the simple elegance of roasted cauliflower.
- Ultimate Lasagna Soup: A hearty bowl of lasagna in soup form, made even better with a side of wholesome, flavorful cauliflower.
- To Die For Crockpot Mac & Cheese: Cut through the richness of this cheesy, creamy family favorite with a serving of crisp roasted veggies.
- Mediterranean Chicken from Dinner at the Zoo: The bright flavors of the chicken would marry well with the lemon-garlic notes of the cauliflower.
- Healthy One Pot Pasta Recipe from The Big Man’s World: A simple and healthy pasta dish finds a perfect partner in this flavorful vegetable side.
Creative Ways to Enjoy Cauliflower Leftovers
While freshly roasted cauliflower is best, don’t let any leftovers go to waste! Day-old roasted cauliflower can be creatively repurposed into new and exciting meals, adding flavor and nutrition. Here are some ideas to transform your side dish into a main event:
- Cheesy Quesadilla Filler: Chop up leftover cauliflower and fold it into cheese quesadillas for a delightful texture and added veggie goodness.
- Breakfast Boost: Dice the florets small and mix them into your morning omelette or scrambled eggs for a savory start to your day.
- Taco & Burrito Enhancer: Finely chop the roasted cauliflower and stir it into your taco filling or burrito bowls for extra flavor and fiber.
- Shakshuka Addition: Toss the cauliflower into your simmering Shakshuka during the last few minutes of cooking for a unique twist.
- Savory Sandwich Layer: Don’t knock it till you try it! Add cold, sliced roasted cauliflower to a Veggie Sandwich for a surprisingly delicious and hearty element.
- Pasta Sauce Secret Ingredient: Chop it small and stir into your Spaghetti Sauce to subtly boost vegetable intake and flavor.
- Pasta Salad Upgrade: Add chopped roasted cauliflower to a pasta salad for texture and a savory kick.
- “Bowl Style” Recipe Ingredient: Incorporate it as a hearty component in grain bowls or protein bowls, like these delicious Korean Beef Bowls.
How to Store and Reheat Leftover Cauliflower
Proper storage and reheating can help preserve the deliciousness of your roasted cauliflower, though it’s important to note that freshly made is always best. The texture will change slightly upon reheating, but you can still achieve satisfying results.
Storage: Place any cooled leftover roasted cauliflower in an airtight container (Tupperware or glass) and refrigerate promptly. It will remain good for about 3-5 days. However, for the best flavor and texture, I highly recommend consuming it within the first day or two, as its crispness and vibrant flavor diminish over time.
Reheating for Crispness: To bring back some of that coveted crispiness, avoid the microwave. The best methods for reheating are:
- Toaster Oven or Air Fryer: Arrange the cauliflower in a single layer in your toaster oven or air fryer basket. Heat at a high temperature (around 400-425°F or the highest setting on your air fryer) for 5-10 minutes, or until warmed through and the edges are slightly re-crisped. Shake or toss halfway through for even heating.
- Conventional Oven: Spread the cauliflower evenly on a baking sheet. Reheat in a preheated oven at 400°F (200°C) for 10-15 minutes, or until heated through and lightly re-crisped. You can also finish it under the broiler for 1-2 minutes (watching carefully!) for extra browning.
Microwave Reheating (No Crisp): If crispness isn’t a priority, you can reheat roasted cauliflower in the microwave. Place it in a microwave-safe dish and heat on 50% power for a couple of minutes, stirring occasionally, until warmed through. Be aware that the microwave will steam the cauliflower, making it soft and removing any crisp texture.
Can You Freeze Roasted Cauliflower?
Yes, you can freeze roasted cauliflower, but there are a few considerations to keep in mind regarding texture. Because vegetables contain a high water content, the freezing and thawing process can sometimes alter the texture of cauliflower, making it softer. For some, this isn’t an issue, especially if it’s going into a soup or a blended dish. However, if you’re hoping to retain maximum crispness, manage your expectations.
Before committing to freezing a large batch, I recommend roasting a single portion and freezing just that amount to see if you enjoy the thawed texture. This helps avoid disappointment!
How to Freeze Roasted Cauliflower:
- Cool Completely: Ensure your roasted cauliflower has cooled down to room temperature before freezing. This prevents ice crystals from forming excessively.
- Flash Freeze: Spread the cooled cauliflower in a single layer on a baking sheet. Place the baking sheet in the freezer for 20-30 minutes, or until the florets are solid. This “flash freezing” prevents them from clumping together in the freezer bag.
- Store in an Airtight Container: Transfer the flash-frozen florets to a freezer-safe ziplock bag or an airtight container. Press out as much air as possible before sealing to minimize freezer burn. Label with the date.
Frozen roasted cauliflower will keep well in the freezer for 1-2 months.
How to Reheat Frozen Roasted Cauliflower:
When you’re ready to enjoy, spread the frozen cauliflower florets directly onto a baking sheet. Place them under the broiler for about 5-7 minutes. Since they are already cooked, the goal is to simply bring them back to temperature and, hopefully, re-crisp them as much as possible. Keep a close watch to prevent burning!
Roasted Cauliflower Frequently Asked Questions
Absolutely! You can roast frozen cauliflower directly from the freezer – there’s no need to thaw it first. The most crucial tip is to ensure there is plenty of space around each floret on the baking sheet. Frozen cauliflower contains more moisture than fresh, so crowding the pan will definitely lead to soggy results. Use an extra-large sheet pan or two standard baking sheets to give them room to breathe and crisp up. The cooking time will be similar, perhaps just a minute or two longer, until they are golden and tender-crisp.
Several factors can prevent your roasted cauliflower from getting crispy. The most common culprit is overcrowding the pan. When florets are too close together, the steam they release gets trapped, causing them to steam-cook rather than roast and crisp. Always ensure ample space (1-2 inches) between each piece. Other reasons include insufficient oven temperature (it needs to be hot!), not enough oil (or too much, making it greasy), or unevenly sized florets. Make sure your cauliflower is thoroughly dry before roasting, as excess moisture is the enemy of crispiness!
Roasted cauliflower is incredibly healthy! Cauliflower is a nutrient powerhouse, rich in Vitamin C, Vitamin K, fiber, and various antioxidants. While we add oil for flavor and crispness, using a healthy fat like olive oil in moderation can actually enhance the absorption of fat-soluble vitamins found in the cauliflower. When prepared with minimal added ingredients, it’s a fantastic low-calorie, low-carb, and nutrient-dense addition to any diet.
For optimal crispiness and caramelization, roasting cauliflower at a high temperature between 400-425°F (200-220°C) is ideal. This intense heat promotes the Maillard reaction, which is responsible for the delicious browning and savory flavor development.
Absolutely! Cauliflower is a versatile canvas. While garlic, lemon, and parmesan are a classic and delicious combination, feel free to experiment. Other great seasoning ideas include curry powder, smoked paprika, cumin, chili powder, thyme, rosemary, or even a simple salt and pepper blend. You can also finish it with a drizzle of balsamic glaze or a sprinkle of nutritional yeast for a cheesy, dairy-free alternative.
More Incredible Vegetable Sides to Make
A well-prepared vegetable side dish can transform any meal into a culinary delight. These recipes make eating your greens (or whites, or purples!) an enjoyable experience rather than a chore. Explore some of my absolute favorite veggie sides that frequently grace my dinner table:
- Easy Roasted Broccoli Recipe: The green counterpart to this cauliflower recipe! My kids adore its tender-crisp florets and savory flavor.
- Best Roasted Brussel Sprouts and Roasted Sweet Potatoes Recipe: A vibrant, flavorful duo that’s perfect for any meal, any season. Sweet and savory perfection!
- Roasted Red Potatoes in Oven: While debated as a “vegetable,” these irresistible roasted potatoes are always a crowd-pleaser with their crispy skins and fluffy interiors.
- Oven Roasted Asparagus with Balsamic Browned Butter: The combination of tender asparagus with nutty browned butter and tangy balsamic is simply divine.
- Lemon Almond Green Beans: A quick and easy side dish bursting with bright lemon flavor and a satisfying crunch from toasted almonds.
- Mexican Cucumber Salad with Cilantro and Lime: A refreshing and light salad that offers a zesty kick, perfect for warmer days or as a counterpoint to rich dishes.
- Fresh Coleslaw (with Lemon and Herbs!): My all-time favorite coleslaw recipe, offering a crisp, tangy, and herbaceous twist on a classic.
- Balsamic Grilled Vegetables Recipe from Sweet Phi: Embrace the smoky flavors of grilled veggies tossed in a sweet and tangy balsamic glaze.
- Special Occasion Side Dish from Proud Italian Cook: A sophisticated vegetable side that’s perfect for holidays or dinner parties.
Facebook | Pinterest | Instagram

The Best Roasted Cauliflower is Crispy
Rate this Recipe
Print Recipe
Equipment
-
Microplane grater
-
half sheet pan
-
Extra large 21×15 baking sheet or use two half sheet pans
Ingredients
- 1 large head cauliflower, about 7-8 cups
- 3 tablespoons light olive oil*, or any oil with a high smoke point
- 2-3 cloves garlic, smashed, for the roasting pan
- 1 teaspoon kosher salt, use HALF the amount if using table salt
- 1 teaspoon garlic granules, or powder
- 1/4 teaspoon smoked paprika
- 1/4 teaspoon freshly cracked pepper
- 2 tablespoons butter
- 2 cloves garlic, smashed, for the butter
- 1/2 lemon, juiced
- 1/4 cup parmesan cheese**, to taste
- 2 tablespoons parsley, finely chopped, optional
Instructions
-
Preheat your oven to 425 degrees F (220°C). Arrange two oven racks near the center of the oven.
-
Dry the cauliflower. Rinse as necessary, then pat thoroughly dry with paper towels.
-
Slice your cauliflower. Instead of chopping into florets, slice the cauliflower in half, then lop off the stem. Then slice into half-inch thick “steaks.” Carefully separate these into flat florets to maximize surface area for crisping. See photos for visual guidance.
-
Divide the cauliflower pieces between TWO half-sheet pans. This is crucial for crispy edges; crowding the pan will lead to steaming and soggy cauliflower. Ensure generous space (1-2 inches) between each piece.
-
Add garlic. Smash and peel 4 cloves of garlic and add two to each pan, distributing them among the cauliflower.
-
Drizzle oil. Drizzle one pan with 1.5 tablespoons of oil and the other pan with another 1.5 tablespoons of oil.
-
Add spices. In a small bowl, mix together 1 teaspoon kosher salt, 1 teaspoon garlic granules (or powder), 1/4 teaspoon smoked paprika, and 1/4 teaspoon black pepper. Sprinkle these spices evenly over both pans.
-
Mix thoroughly. Use your hands to mix all the cauliflower, garlic, oil, and spices together directly on the pans. Ensure each piece is coated. If oil pools at the center, blot excess with a paper towel; too much oil will prevent crisping. Arrange in a single layer with space.
-
Roast the cauliflower at 425 degrees F (220°C) for 10 minutes, with one pan on the top rack and one on the bottom.
-
After 10 minutes, switch the pans in the oven (top to bottom, bottom to top). Do not disturb or flip the cauliflower. Roast for another 10 minutes.
-
After about 20 minutes total in the oven, the cauliflower should be looking nicely browned and crispy. Continue roasting for an additional 5-10 minutes if needed for desired crispness.
-
Make the garlic butter. While the cauliflower roasts, add 2 tablespoons of butter, juice from 1/2 lemon, and 2-3 smashed garlic cloves to a small pot. Turn the burner to medium until butter melts, then immediately reduce to low. Simmer for 5-10 minutes, stirring occasionally, to infuse garlic flavor. Remove from heat if garlic starts to brown.
-
Grate 1/4 cup Parmesan cheese.
-
Pour on the lemon butter sauce. When the cauliflower is done roasting, carefully pour the lemon garlic butter over the cauliflower on both pans. Sprinkle each pan with the grated Parmesan cheese.
-
Broil for an extra crisp finish (optional). Turn your broiler on to high heat. Move one oven rack to the highest position. Broil one pan at a time for about 1 minute, watching constantly, until cheese is bubbly and golden. Repeat with the second pan.
-
Garnish with 2 tablespoons finely chopped parsley! Serve immediately.
-
Storage: Store leftovers covered in the fridge for 2-3 days.
Notes
**PARMESAN CHEESE: For the best flavor and melting, freshly grated real Parmesan cheese is highly recommended. Pre-shredded cheese may not adhere as well and can create a delightful crispy layer on the pan, which you might enjoy scraping off and eating separately!
FROZEN CAULIFLOWER: This recipe works with frozen cauliflower as well! The key is to ensure the frozen cauliflower florets are well-spaced on the pan to prevent steaming; crowding will lead to sogginess. Use the same cooking times, possibly adding a minute or two, and do not thaw the cauliflower beforehand.
Nutrition