
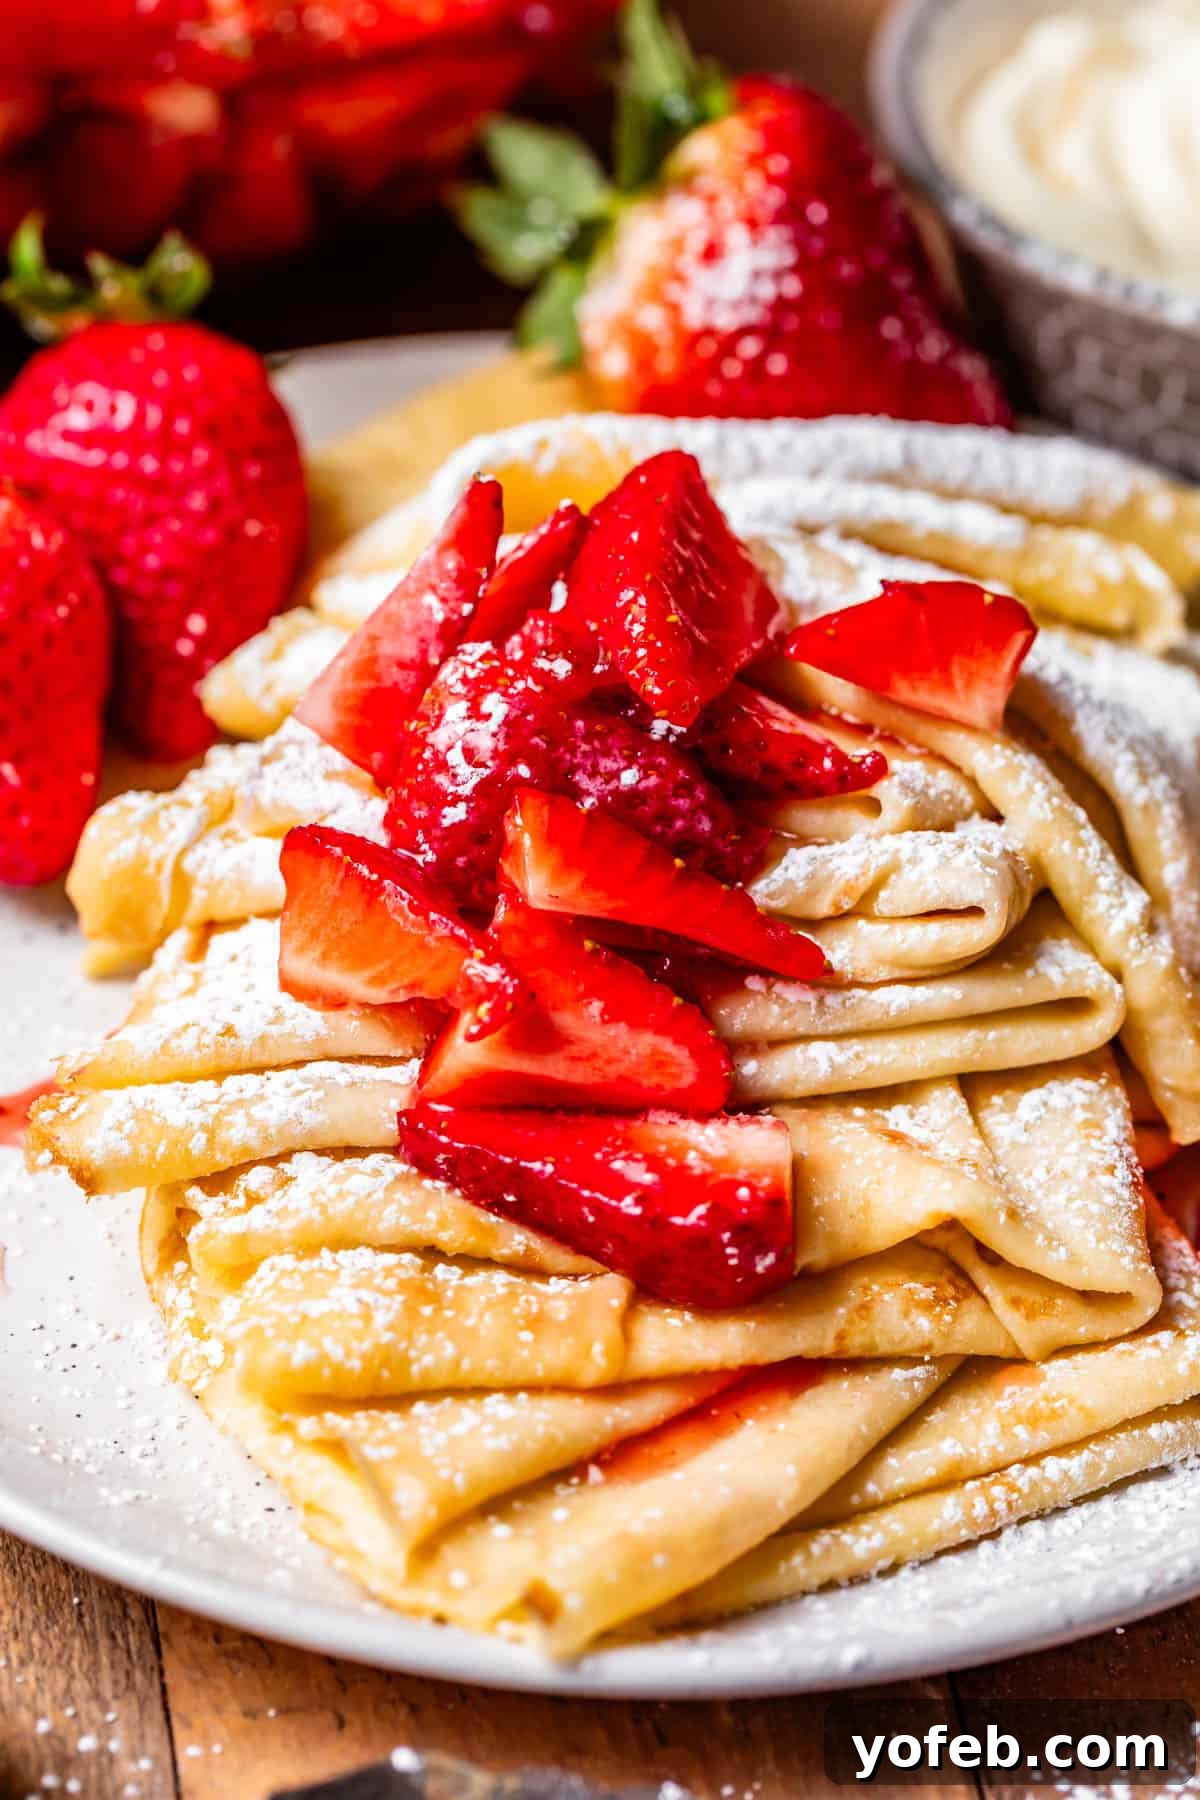
Welcome to the ultimate guide for crafting the most incredible crepes you’ll ever taste! Forget what you think you know about crepes from fancy cafés or even your travels abroad – truly, the best crepes are homemade. This recipe isn’t just my favorite; it’s a game-changer. While crepes might resemble pancakes in their flat, round form and the delightful array of toppings they invite, their similarities end there. Crepes are a world apart, boasting an impossibly thin yet incredibly flexible, velvety texture. They achieve a buttery, golden perfection that will have you savoring every bite, perhaps even shedding a tear of joy into your strawberries and cream. I’m thrilled to share my step-by-step method for mastering these easy, delicious crepes. Perfect for any meal, whether you’re seeking a sweet breakfast, a brunch delight, or even a savory dinner option!
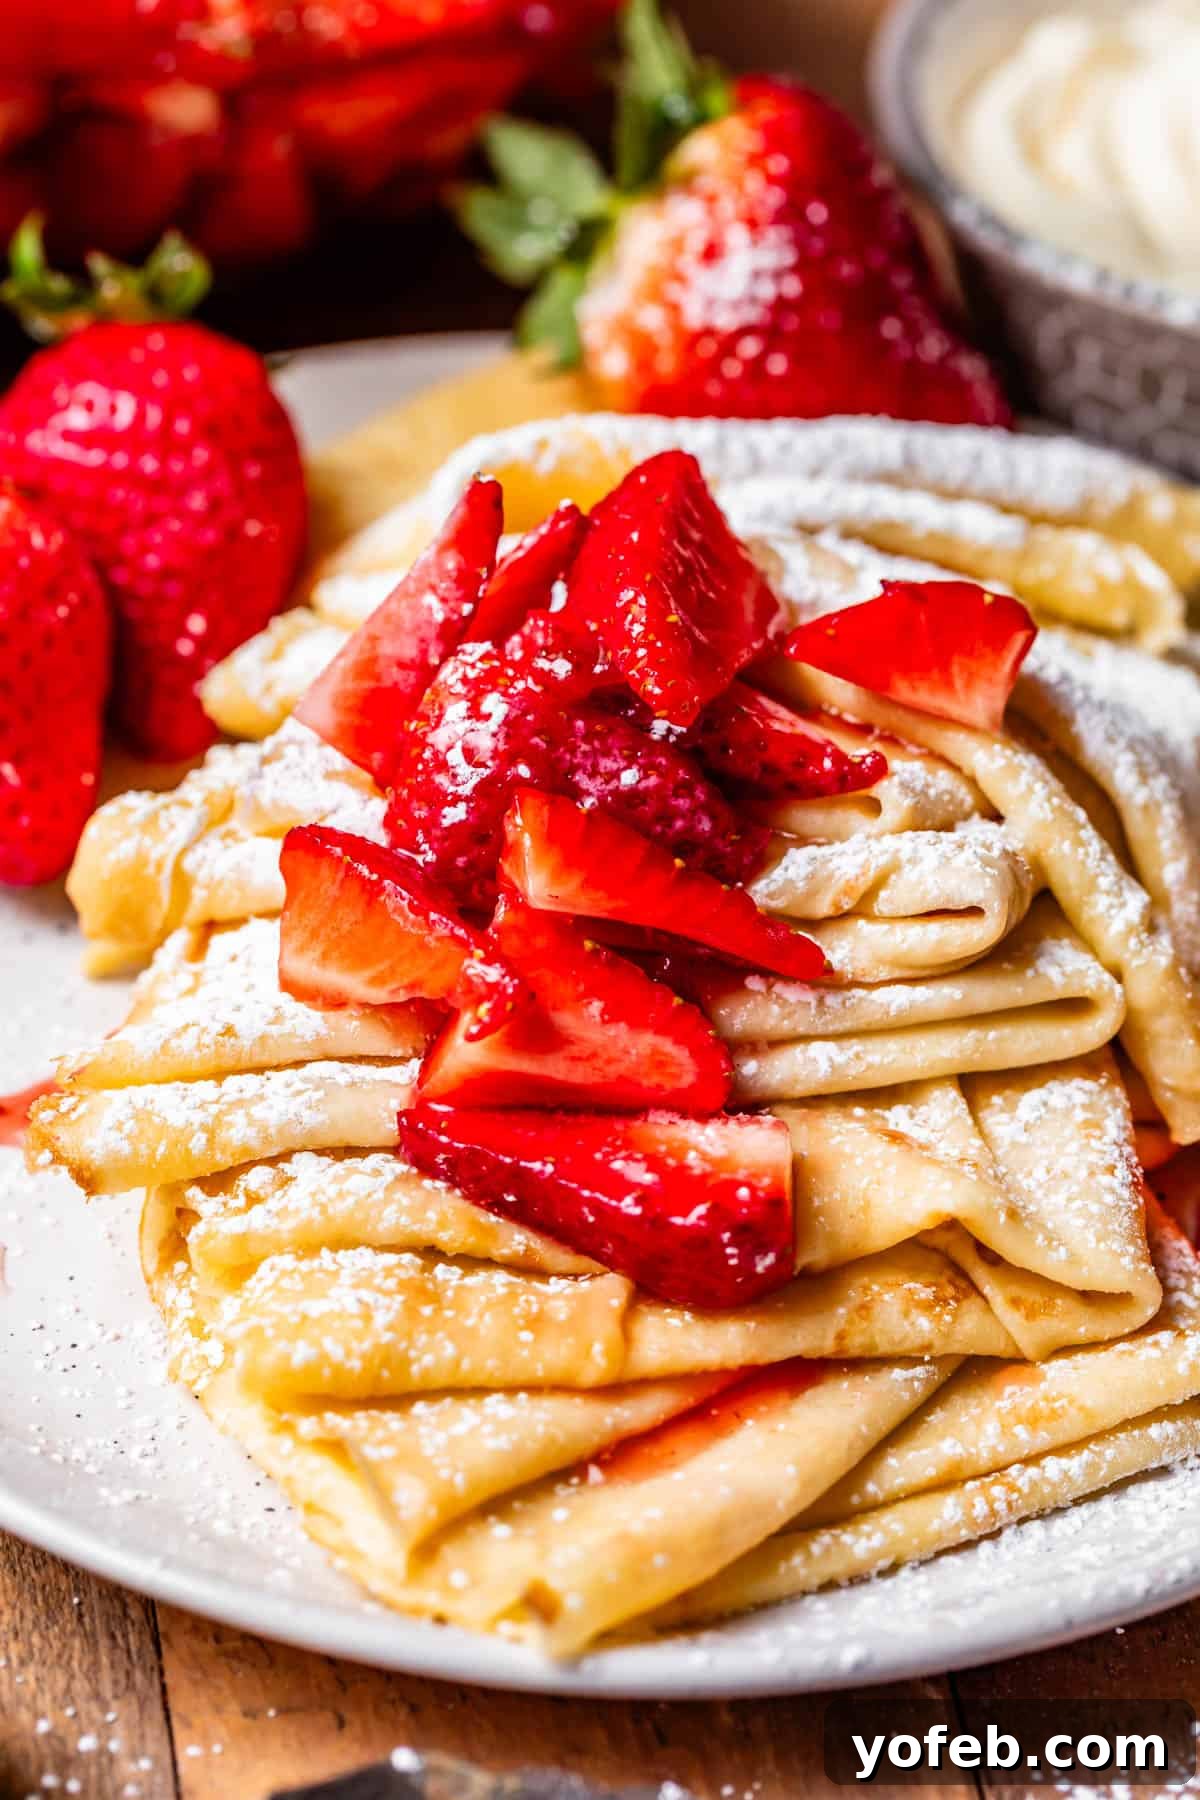
Table of Contents
- Discover the Best Crepes of Your Life
- The Secret to Perfect Crepes
- Crêpes au Citron (A Taste of Lemon Sugar Perfection)
- Do You Need a Special Crepe Pan?
- What Are Crepes Made Of?
- Simple Crepe Recipe Ingredients
- How to Make Homemade Crepes: Step-by-Step Guide
- Delicious Filling Ideas for Crepes
- Savory Crepe Fillings to Tempt Your Palate
- What to Serve with Crepes for a Complete Meal
- How to Store Leftover Crepes for Later
- Can You Store Crepe Batter?
- Can You Freeze Crepes?
- Frequently Asked Questions About Crepes
- More Irresistible Breakfast and Brunch Ideas
- Truly The Best Crepes I’ve Ever Had Recipe
There are some memories from childhood that simply stick with you, not just in your mind but on your taste buds. For me, it was a summer when I was 15, and my older brother, 17, found ourselves in charge while our parents explored Italy. We were busy with our lifeguard duties, and perhaps a little too young to be invited on an Italian adventure (no hard feelings, I promise!).
Our parents left us with a generous sum, designated as “Emergency Money.” The exact definition of an “emergency” was left somewhat ambiguous, a delightful loophole for two responsible, but undeniably hungry, teenagers. We weren’t the type to throw wild parties, but we certainly weren’t immune to temptation, especially when it came in a vibrant, crimson hue.
One scorching afternoon, cycling home from the pool, our eyes landed on a sight that sent our teenage pulses racing: the legendary California strawberry man. If you’ve ever experienced a summer in California, you understand this phenomenon. These roadside vendors appear almost magically each spring, their trucks overflowing with the most succulent, ruby-red strawberries imaginable. The thrill lies in their elusive nature – you never know where they’ll pop up or how long they’ll stay, demanding swift, decisive action.
I recall countless times when my mom, driving peacefully along, would suddenly slam on the brakes, swerving to the roadside, captivated by the sight of these glorious berries. It was a kind of strawberry-induced trance, a blissful haze that demanded immediate acquisition of an entire flat of the biggest, juiciest strawberries one could ever behold.
My brother Nathan and I experienced this exact, potent allure. Our pupils momentarily transformed into tiny strawberries, and we raced home, our mission clear: retrieve the “Emergency Money.” This, we firmly declared, was a genuine emergency. We returned with a staggering $40 worth of strawberries, convinced we each needed an entire 10-pound flat of these crimson jewels.
What followed was an epic crepe-making session. So many crepes! We stuffed them with strawberries, piled strawberries on top, served strawberries on the side, and even added a dollop of strawberry jam and soft cream cheese for good measure. It was a strawberry-crepe feast of monumental proportions, a memory that still makes my mouth water years later.
I’ve strived to recreate that magical day’s flavor, but I don’t know if anything can truly capture the essence of a carefree teenage summer, sharing laughter and an abundance of crepes with a best friend, unburdened by responsibilities or schedules, fueled by “Emergency Money” and an endless supply of fresh strawberries. This recipe, however, comes incredibly close.
Discover the Best Crepes of Your Life
My mother, a lifelong crepe-making virtuoso, passed down her expertise to me. I took her cherished recipe as a foundation, then meticulously compared it against dozens of others, including the legendary Julia Child’s versions. While Julia’s recipes are iconic, I found some of her crepe instructions a tad fussy for everyday enjoyment (does the batter *really* need to rest overnight? My answer: absolutely not!).
Through extensive testing, I’ve perfected my go-to crepe recipe, suitable for any occasion. These crepes are:
- Incredibly Easy and Fast to Make: No lengthy resting periods or complicated techniques needed.
- Bursting with Incredible Flavor: A generous touch of butter is our secret weapon for that irresistible richness and golden hue.
- Delicately Sturdy, Not Fragile: They’re thin and tender but won’t constantly tear, making them a joy to work with.
- Wonderfully Versatile: Easily adaptable for both sweet and savory fillings, opening up a world of culinary possibilities.
When you hear “crepes,” your mind might immediately drift to sweet desserts. But please, do not underestimate the sheer amazingness of a savory crepe! I practically grew up on my mother’s legendary Chicken Crepes, which are essentially a comforting, cheesy, and creamy twist on enchiladas. Picture this: tender crepes generously filled, then drenched in rich cream and melted Pepper Jack cheese. It’s a dish so decadently delicious, it might just send you straight to heaven (possibly via an artery-clogging detour, but oh, you’ll depart with a happy heart!).

The Secret to Perfect Crepes
Achieving crepe perfection isn’t difficult, but it does involve a few key secrets that elevate them from good to truly extraordinary:
- Embrace Butter in the Batter: Many traditional crepe recipes skip butter in the batter itself, but this is a mistake! Adding melted butter directly to your crepe batter infuses it with unparalleled richness and flavor. It also contributes to that gorgeous golden color and creates a wonderfully tender, non-sticky texture that makes all the difference.
- Utilize Your Blender for a Smooth Batter: For a silky-smooth, lump-free batter in mere seconds, a blender is your best friend. It quickly combines all ingredients, ensuring an even consistency without overmixing the gluten, which can lead to tough crepes.
- Choose the Right Pan Size: Resist the urge to use an oversized skillet. An 8-inch nonstick frying pan is the ideal choice for home cooks. Its smaller surface area makes swirling the batter thinly and flipping the delicate crepes much more manageable, resulting in perfectly round, consistent crepes.
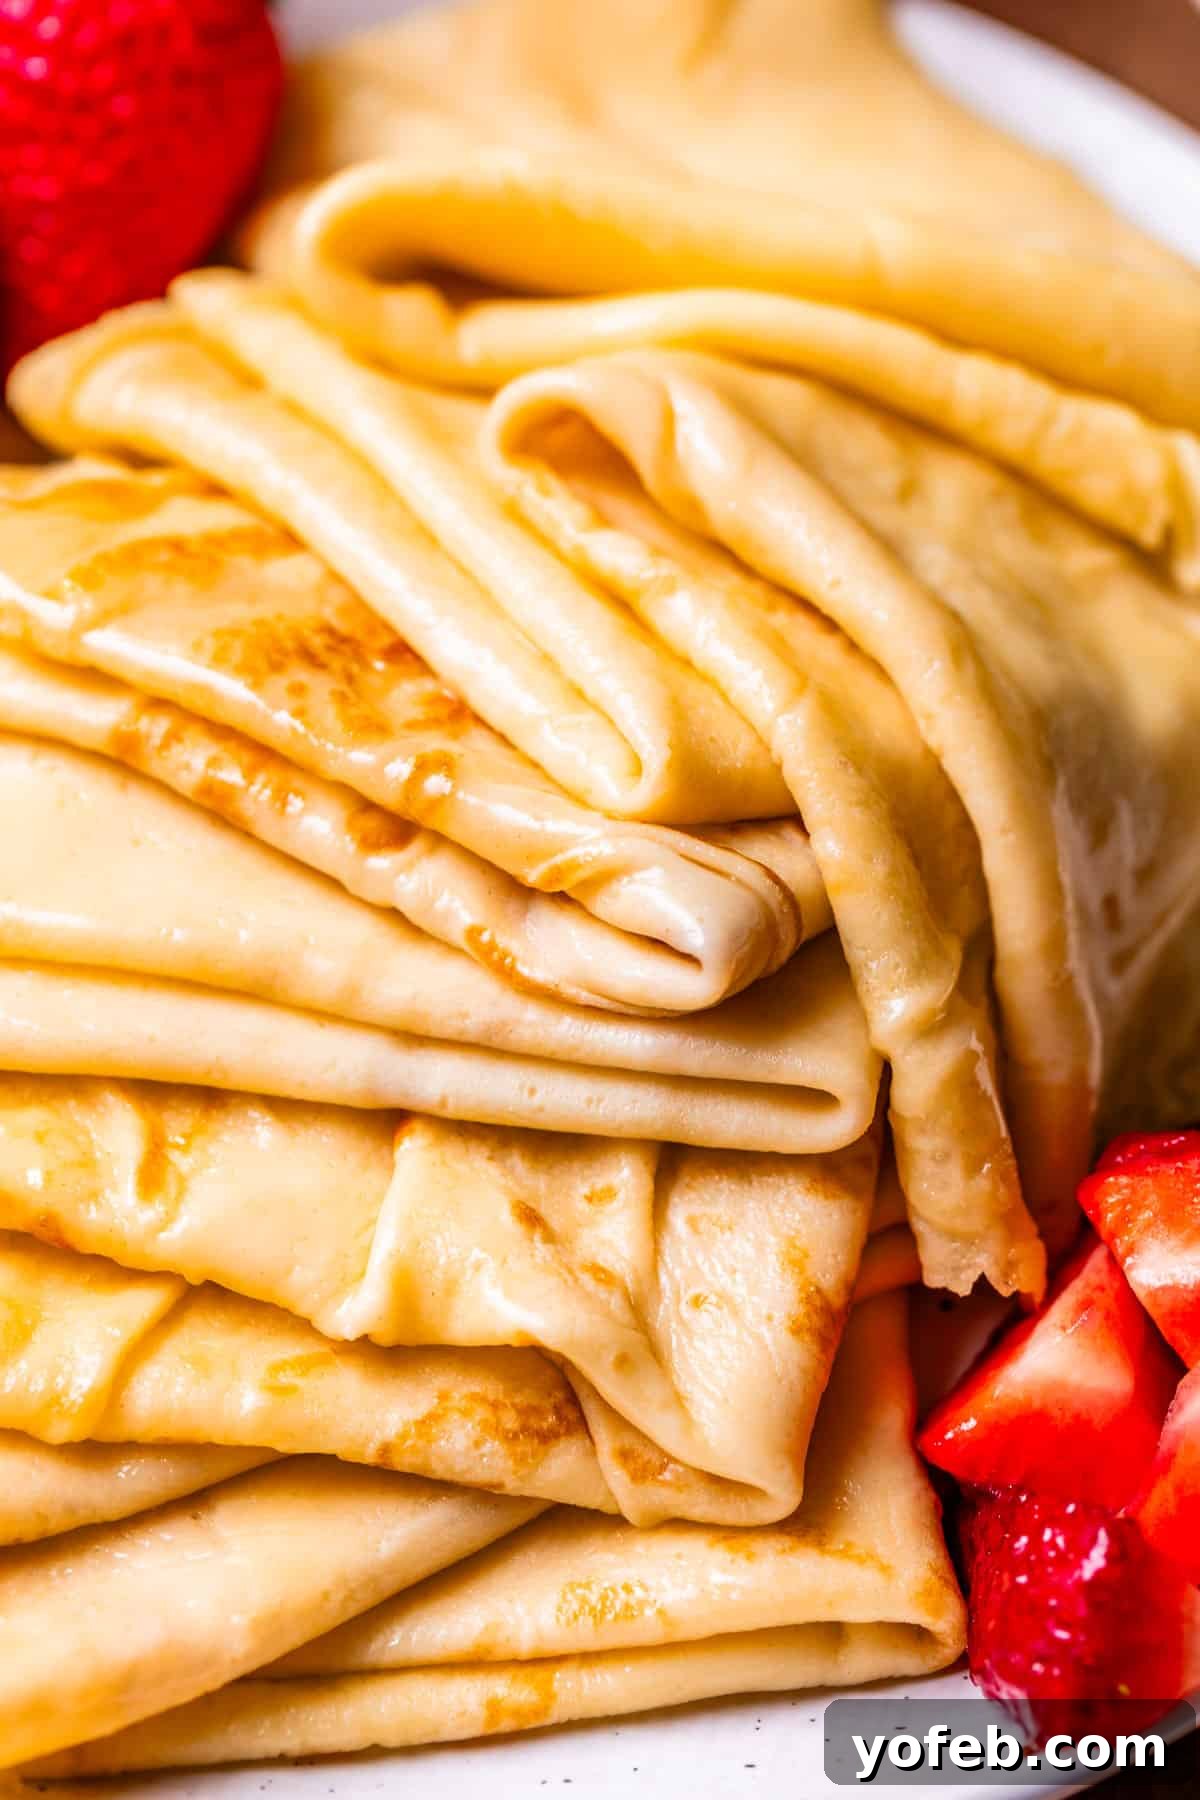
- Master the Art of Under-Cooking: This is perhaps the most crucial secret. Crepes should be cooked just enough to set, remaining incredibly soft, pliable, and flexible, not crispy or excessively browned. When you lift them, they should be floppy and delicate, sometimes even a little challenging to flip due to their tenderness. Overcooking turns them into brittle discs, losing that signature velvety mouthfeel.

These crepes are so dangerously delicious that once you taste one, freshly cooked straight from the pan, you might never even make it to the filling stage. They are simply sublime on their own, especially when hot and fresh.
While making crepes isn’t inherently difficult, perfecting the pouring, swirling, and flipping technique does require a bit of practice. The goal is to pour the batter as thinly as humanly possible. If you use too much batter, your crepes will turn out thick and cakey, losing their delicate charm. Achieving that ultra-thin layer and then flipping it just 30 seconds later can be a delicate dance.
Don’t be disheartened if your first few crepes aren’t perfect; rips and tears are a common rite of passage for new crepe makers. The trick? Discreetly eat any “mistakes” right out of the pan before anyone else notices! Then, confidently present your family or guests with the flawlessly golden ones, and they’ll be none the wiser. Consider this my top kitchen tip for aspiring crepe chefs! 😉
Crêpes au Citron (A Taste of Lemon Sugar Perfection)
During my college years, I had the pleasure of befriending Robert, who had spent two years living in France, serving a mission for our church. He would often regale me with tales of the exquisite crepes he encountered there. Naturally, we decided to try making them ourselves. That day, Robert forever transformed my crepe-eating experience by introducing me to the simple yet utterly divine combination of sugar sprinkled directly onto a warm crepe, followed by a generous squeeze of fresh lemon, then folded. This delightful treat, known as Crêpes Citron Sucre, quickly became my absolute favorite – so bright, tangy, and invigorating!
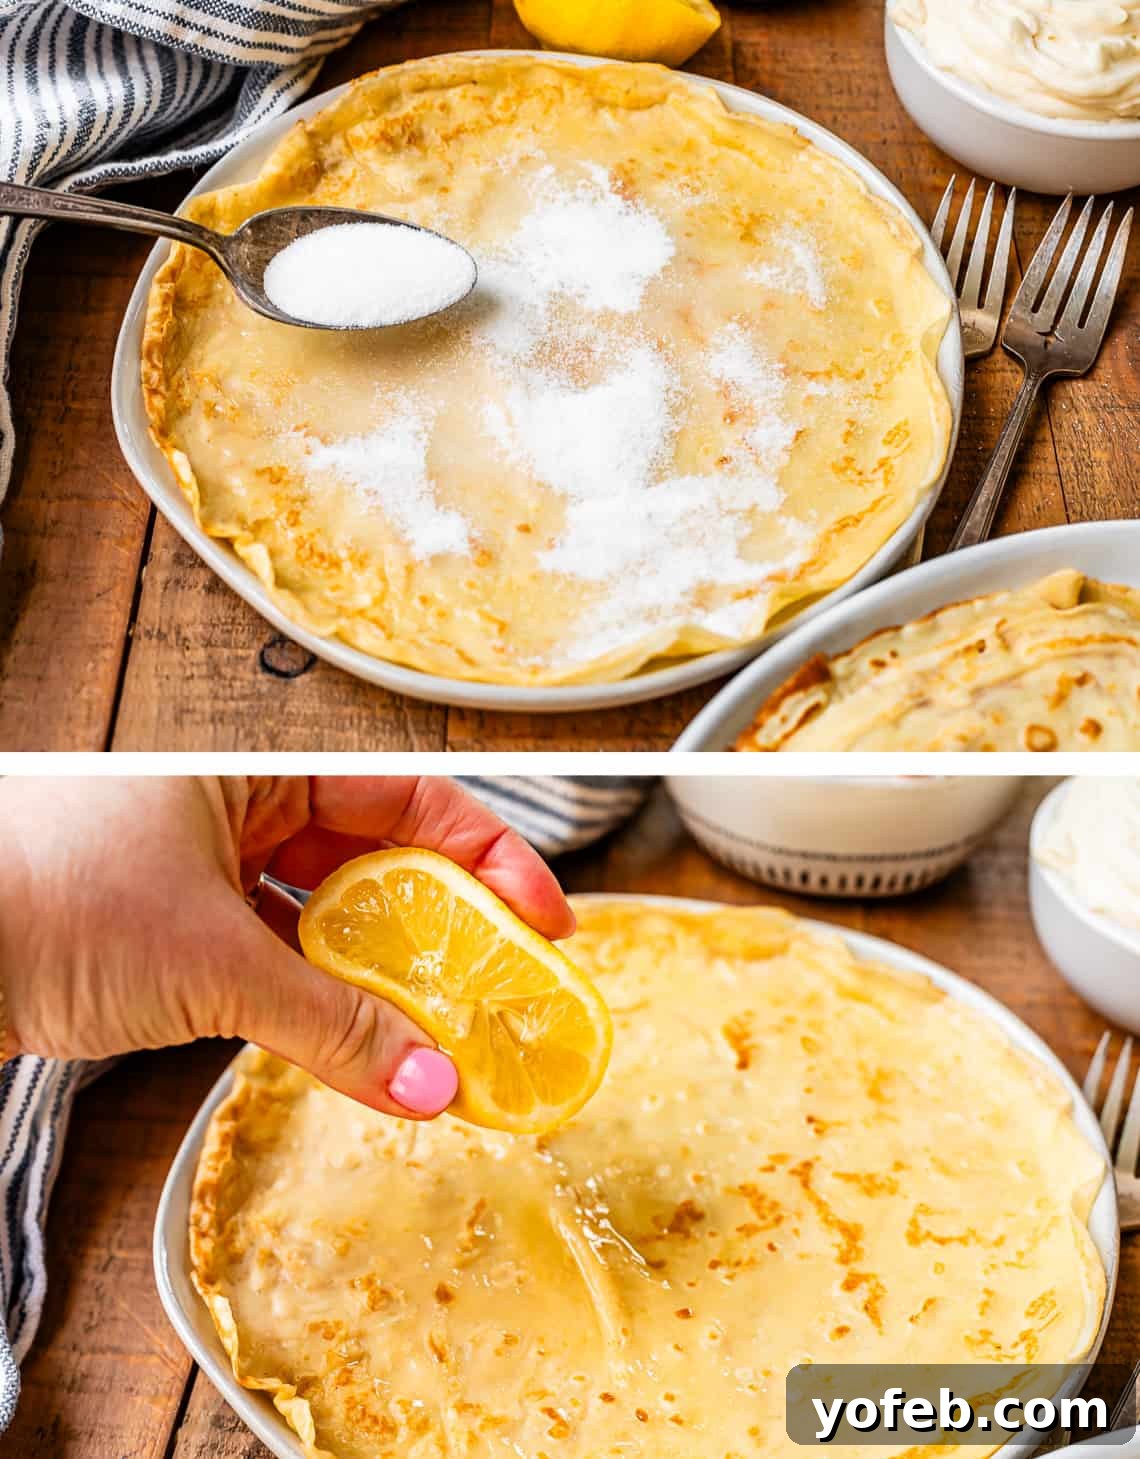
More than a decade later, when I finally traveled to France, my vivid memory of Robert’s lemon sugar crepes fueled my determination to try them from a true Parisian vendor. On our first evening in Paris, near the majestic Eiffel Tower, we spotted a bustling food truck selling crepes. French street food – what could be more authentic and wonderful?
We rushed over and eagerly ordered lemon crepes. The vendor, a true professional, poured the batter onto his specialized flat crepe griddle, expertly spread it with his fancy T-tool, and within moments, a fresh, authentic French crepe was laid before us. He sprinkled it with sugar, just as Robert had shown me. My anticipation soared! But then, to my utter dismay, he reached for a yellow squeeze bottle and squirted what was unmistakably FAKE LEMON JUICE all over my precious, eagerly awaited crepe.

Now, I’m not suggesting that I didn’t enjoy *any* decent crepes during my time in France. Paris has countless culinary delights. However, that particular experience was a valuable lesson: sometimes, if you want something done absolutely perfectly, especially when it comes to a seemingly simple pleasure like a lemon sugar crepe, you truly have to make it yourself. I can confidently promise you that today’s recipe will yield crepes that rival, and perhaps even surpass, the best you can find on the charming streets of France!
Do You Need a Special Crepe Pan?
No, ma’am, absolutely not! While there are specialized crepe makers and flat griddles available, you certainly don’t need one to make fantastic crepes at home. My preferred tool is a simple 8-inch nonstick frying pan. It’s the perfect size for managing individual crepes with ease and achieving that desirable thinness.
Regarding that “fancy T-tool” the French vendor used: you also don’t need one of those. I admit, I bought one as a charming souvenir in France, and it now makes for a cute display in my kitchen! However, that tool is specifically designed for professional, enormous crepe pans that are completely flat, lacking any raised edge. The chef uses the T-tool to expertly spread the batter evenly and ultra-thin across the vast surface. For a standard frying pan with a slight lip – which is what most of us are using – it’s not particularly effective.
So, don’t fret about special equipment. I promise you can achieve incredibly thin, delicate crepes without a dedicated crepe pan or a T-tool. It’s all about practice and developing a feel for the technique. The magic, as they say, is all in the wrist! 😉

What Are Crepes Made Of?
At their heart, crepes are a testament to the beauty of simplicity, crafted from a handful of very basic, readily available ingredients: flour, sugar, salt, milk, eggs, vanilla, and butter. The true artistry, however, lies in striking the perfect balance of these components, ensuring each element contributes to the crepe’s signature delicate texture and rich flavor.
I dedicated considerable time to experimenting with various ratios and methods, all to fine-tune this recipe to buttery, velvety perfection (so you don’t have to!). While the ingredients are straightforward, the technique for cooking crepes is where the magic truly happens. It’s about achieving an ultra-thin, flexible sheet rather than a brittle, crispy mess. I’ll walk you through every essential step and technique in the comprehensive “How to Make Crepes” section below, ensuring your crepes are consistently soft, golden, and utterly delightful.
Simple Crepe Recipe Ingredients
One of the many joys of making homemade crepes is that you likely already have most, if not all, the necessary ingredients in your pantry and refrigerator! This recipe relies on humble, everyday staples to create something truly special. For precise measurements and detailed instructions, always refer to the complete recipe card below.
For the Crepes:
- Whole Milk: Crucial for richness and texture. Avoid low-fat milk for the best results.
- Large Eggs: Provide structure and richness.
- Vanilla Extract: For that sweet, aromatic depth.
- All-Purpose Flour: The foundation of our delicate crepe.
- Granulated Sugar: A touch of sweetness for balance.
- Kosher Salt: Enhances all the flavors.
- Melted Butter: Integrated into the batter for moisture, flavor, and that beautiful golden color.
For the Classic Strawberry Cream Cheese Filling:
- Cream Cheese: Softened for a smooth, luscious texture.
- Powdered Sugar: To sweeten the cream cheese filling.
- Fresh Strawberries: Sliced and macerated for a vibrant, juicy topping.
How to Make Homemade Crepes: Step-by-Step Guide
Let’s dive into the simple yet rewarding process of making these exquisite homemade crepes. You’ll be surprised at how quickly this batter comes together and how satisfying it is to cook these delicate delights.
1. Prepare the Batter in a Blender:
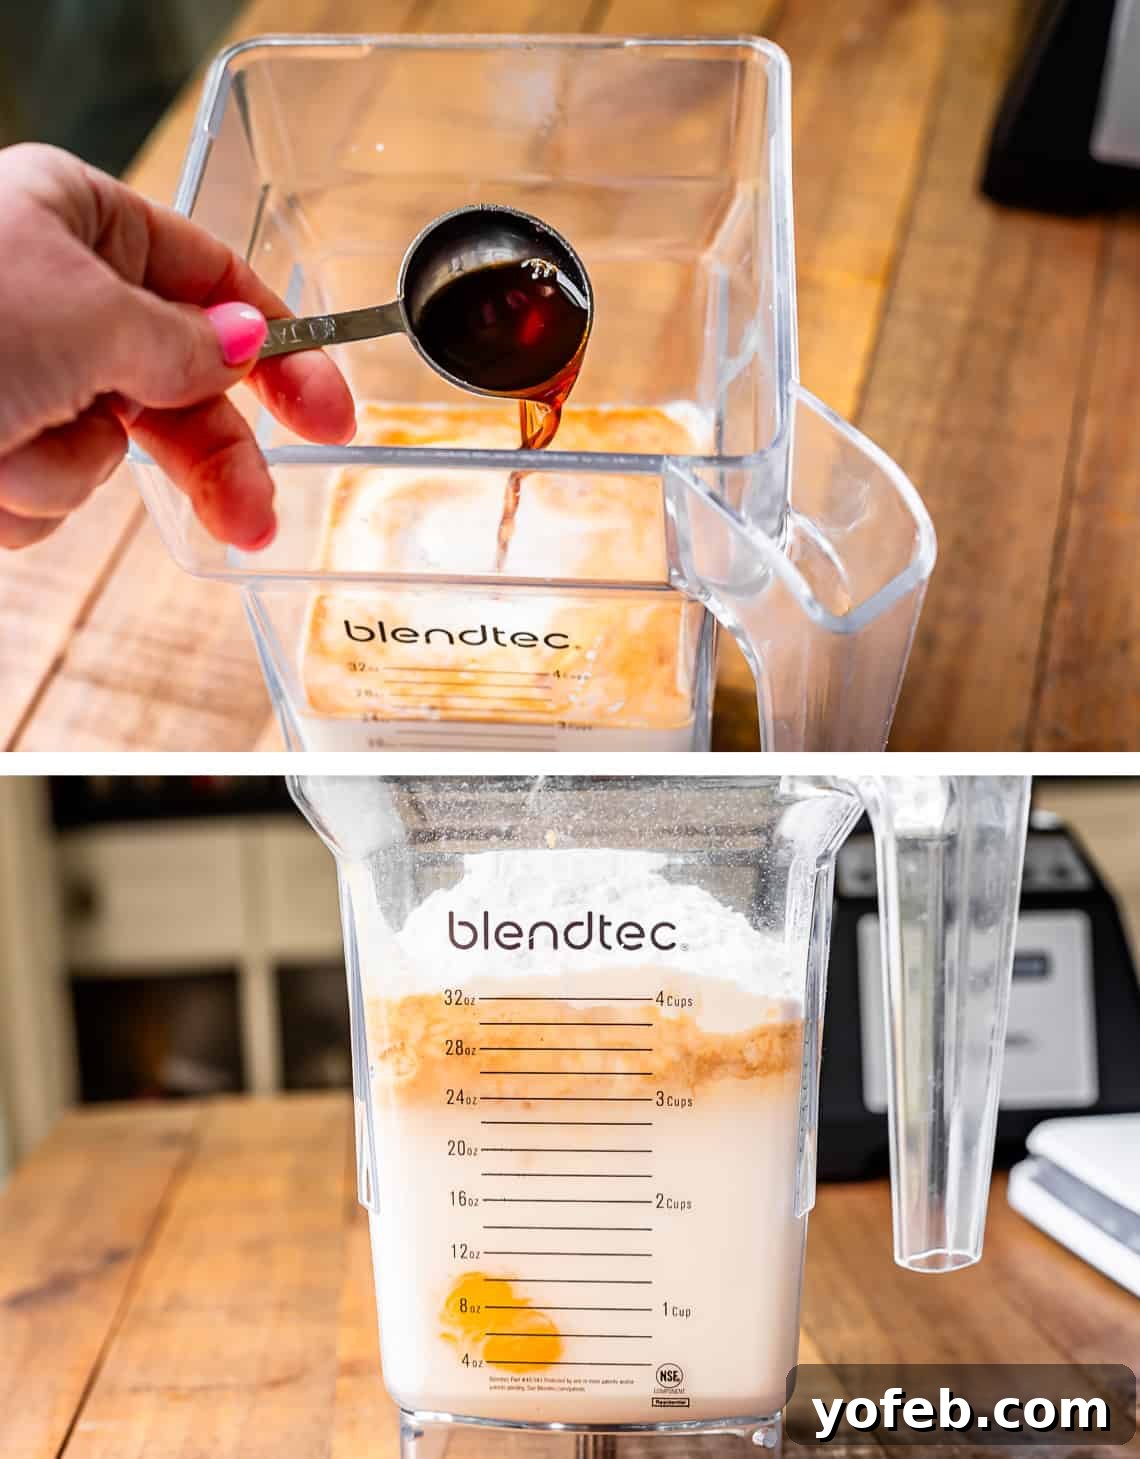
Begin by adding all your crepe ingredients (except the melted butter) into a blender. It’s best to start with the liquids – the milk and eggs – as this helps the blender blades move more freely and ensures a smoother blend. We’re using a whole tablespoon of vanilla in this recipe, which infuses the crepes with an incredible depth of flavor!
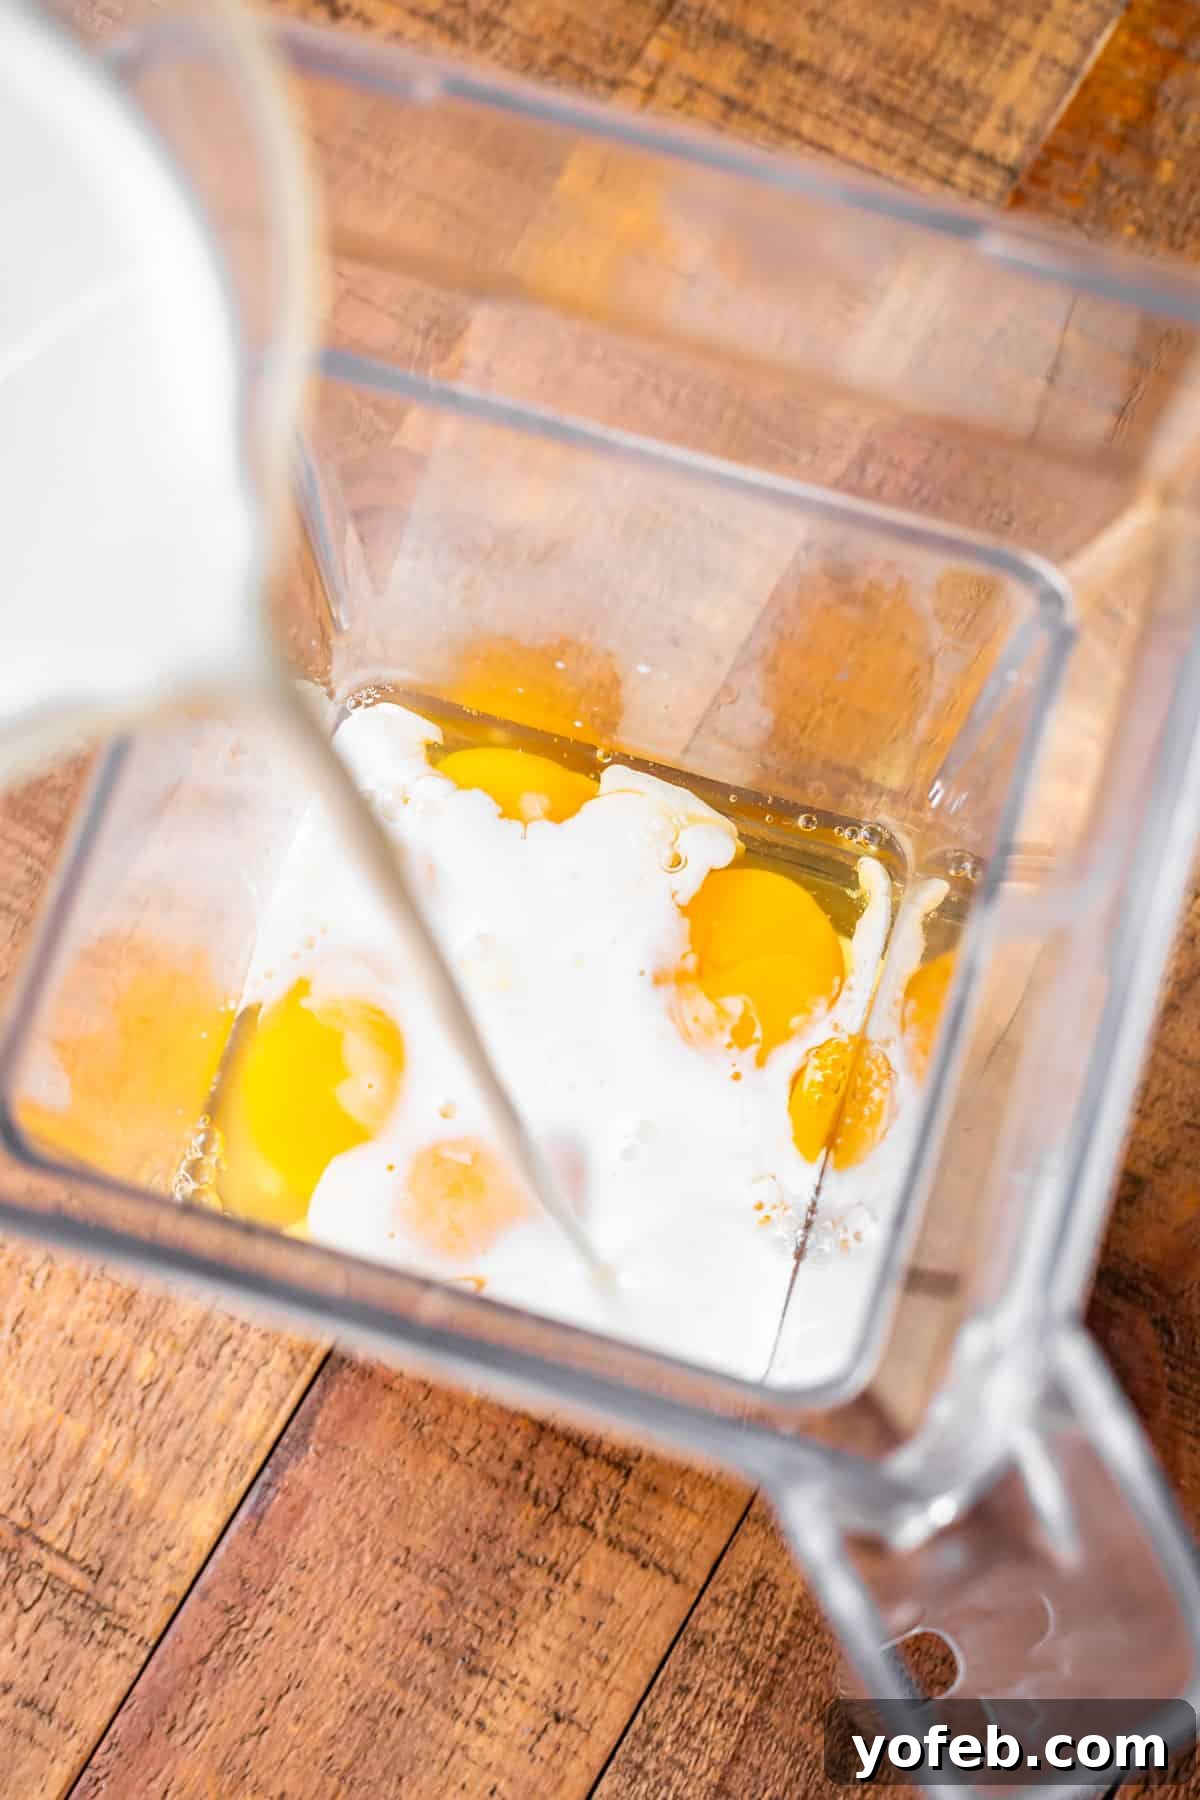
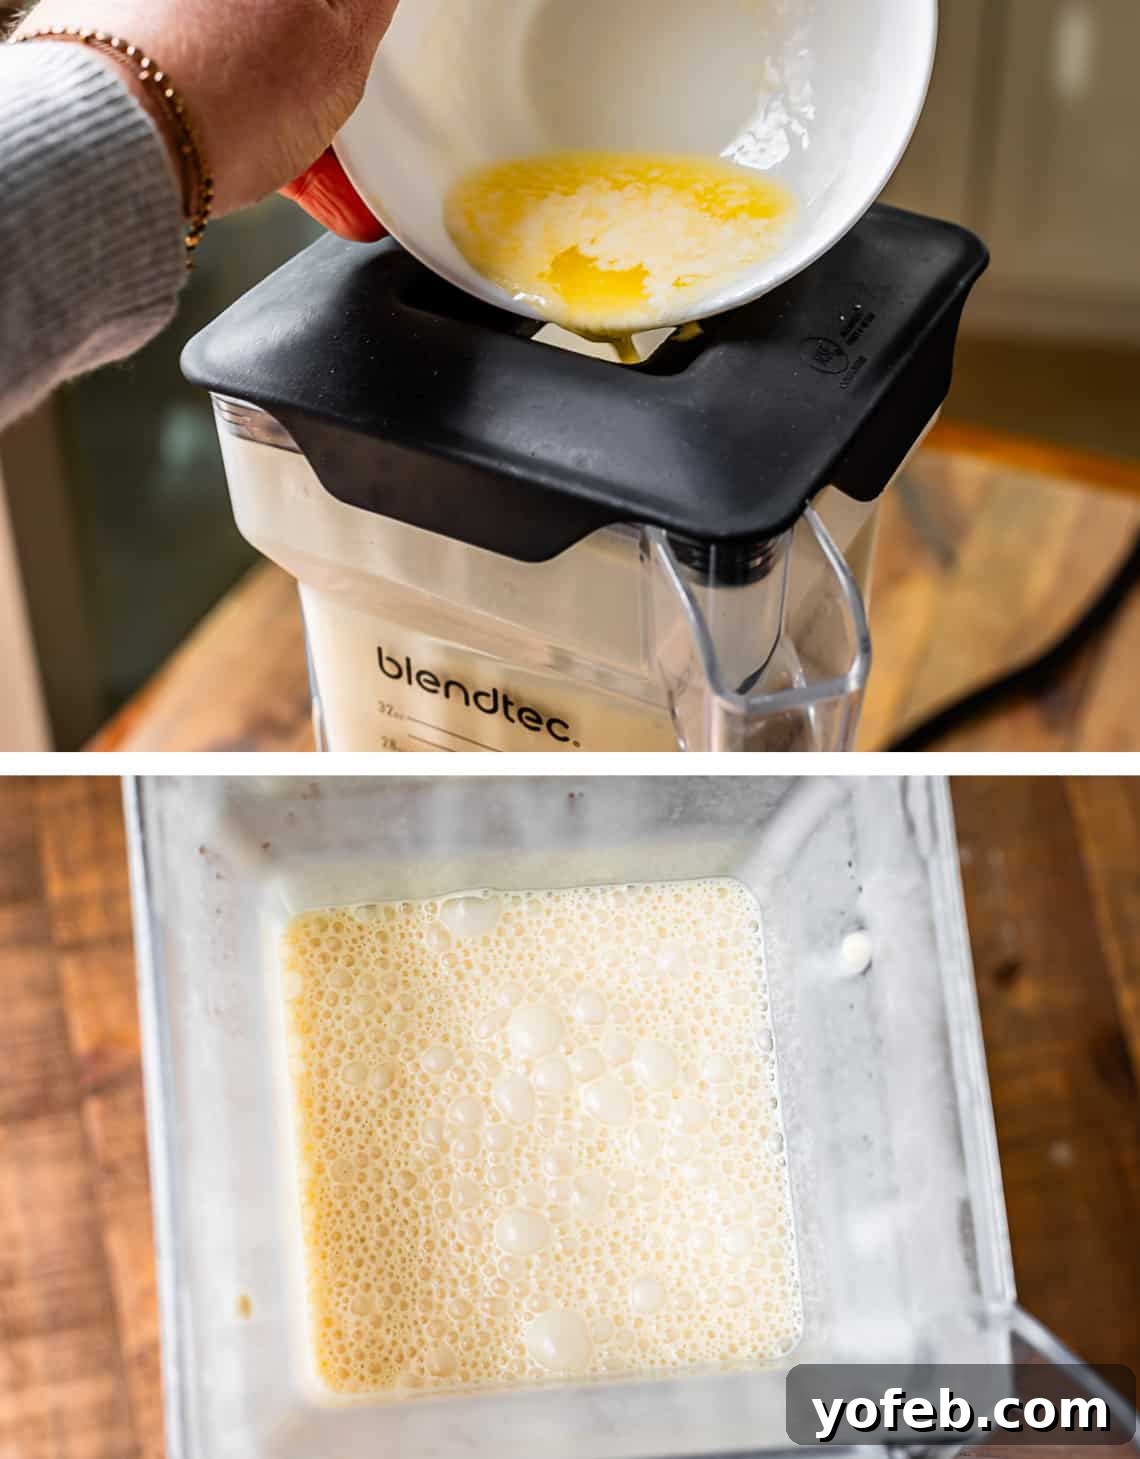
Next, add the flour, sugar, and kosher salt on top of the wet ingredients. Secure the lid and blend until the mixture is completely smooth and free of any lumps. Once everything is well combined, open the top spout of the blender (while it’s still running on low speed) and slowly pour in the melted butter. Continue blending for a few more seconds to fully incorporate the butter into the batter. This step takes literally 5 minutes – seriously!
And voilà! Your crepe batter is ready. You can use it immediately, as this recipe doesn’t require the batter to rest. If you prefer, cover the blender container or transfer the batter to an airtight container and refrigerate for up to a few days. Just give it a good whisk or a quick re-blend before using, adding a touch more milk if it appears too thick.
2. Prepare Your Pan for Cooking:
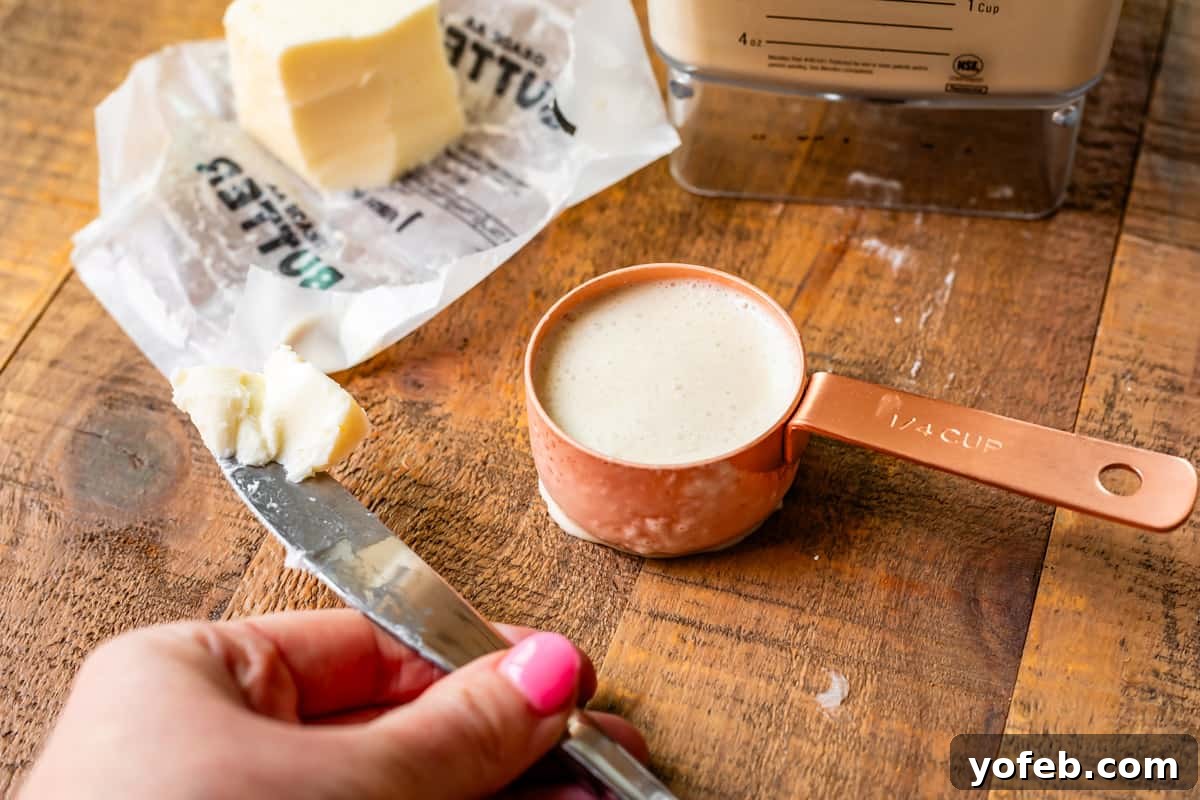
Place an 8-inch nonstick frying pan over medium heat and allow it to heat up thoroughly for at least 60-90 seconds. Keep a stick of butter nearby the stove for lubricating the pan between crepes. For measuring the batter, a 1/4 cup measuring cup works perfectly; you won’t need to fill it completely.
3. Cook the Crepes – The Art of Swirling and Flipping:
Once your pan is hot, add about 1-2 teaspoons of butter. Swirl the pan to melt the butter and evenly coat the entire bottom and a bit up the sides. It’s okay if the butter browns slightly – some even prefer that nutty flavor! If you don’t, just reduce the heat a bit.
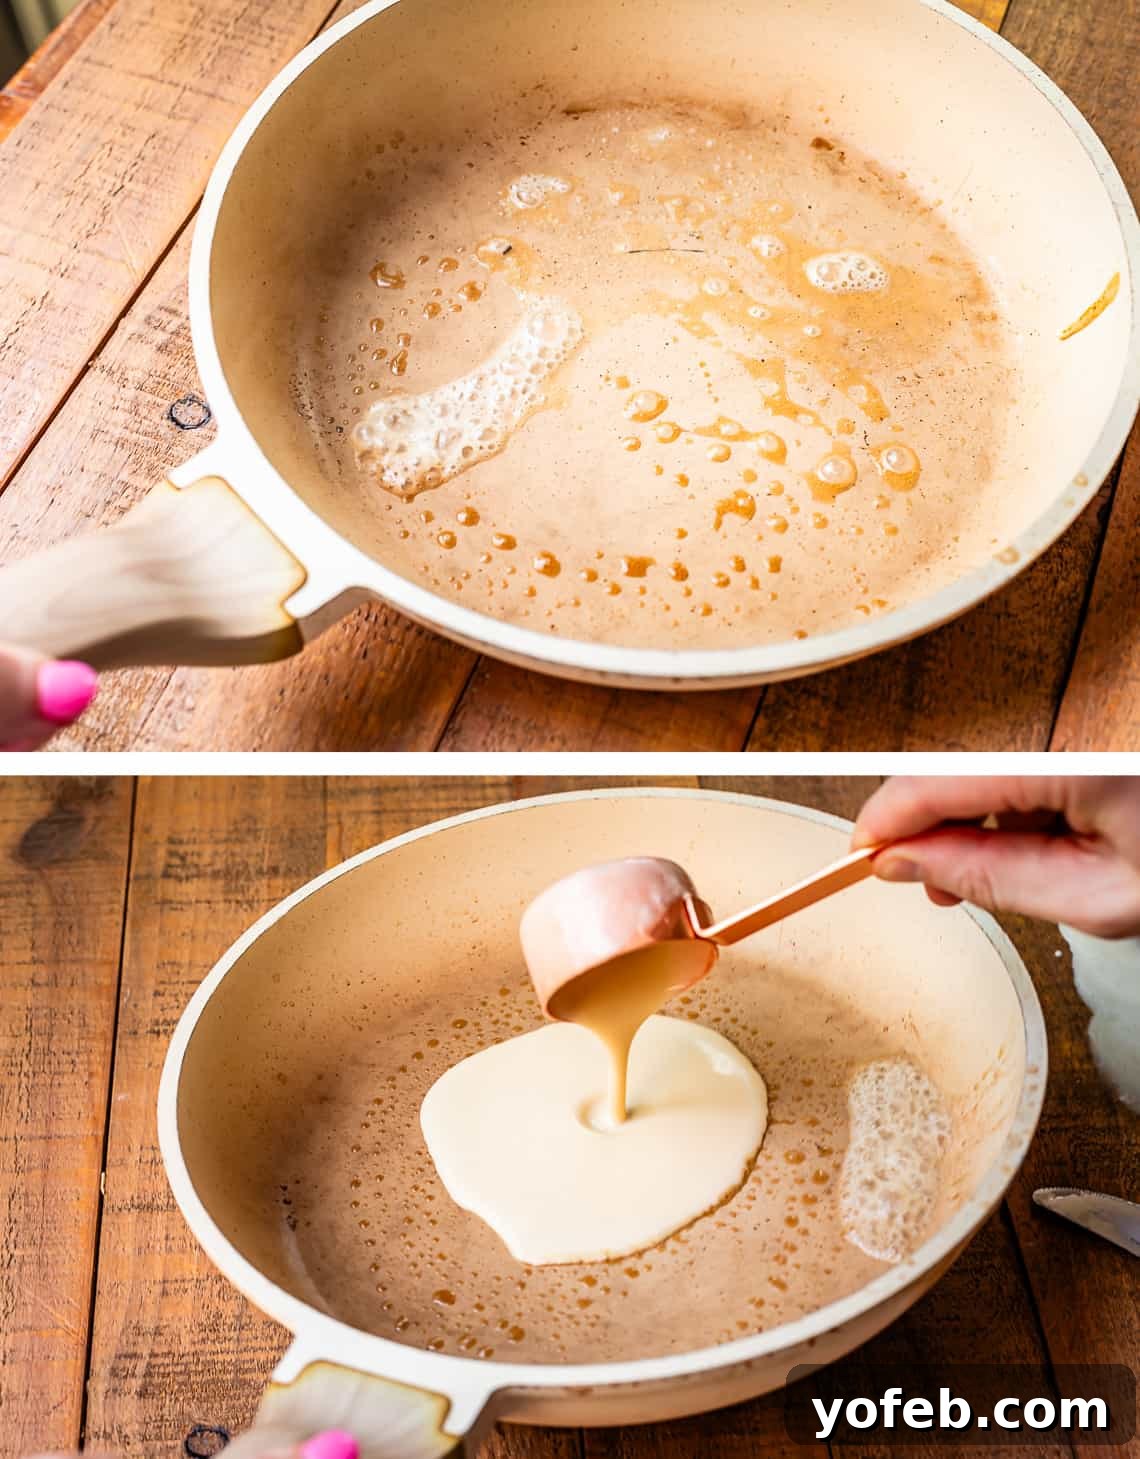
Now, pour about 3-4 tablespoons of batter (roughly 1/4 cup, not necessarily filled to the brim) into the center of the hot pan all at once. Immediately lift the pan with your other hand and begin tilting and swirling it. Work quickly and continuously to spread the batter into an impossibly thin layer across the entire bottom of the pan, aiming for as close to a perfect circle as possible.
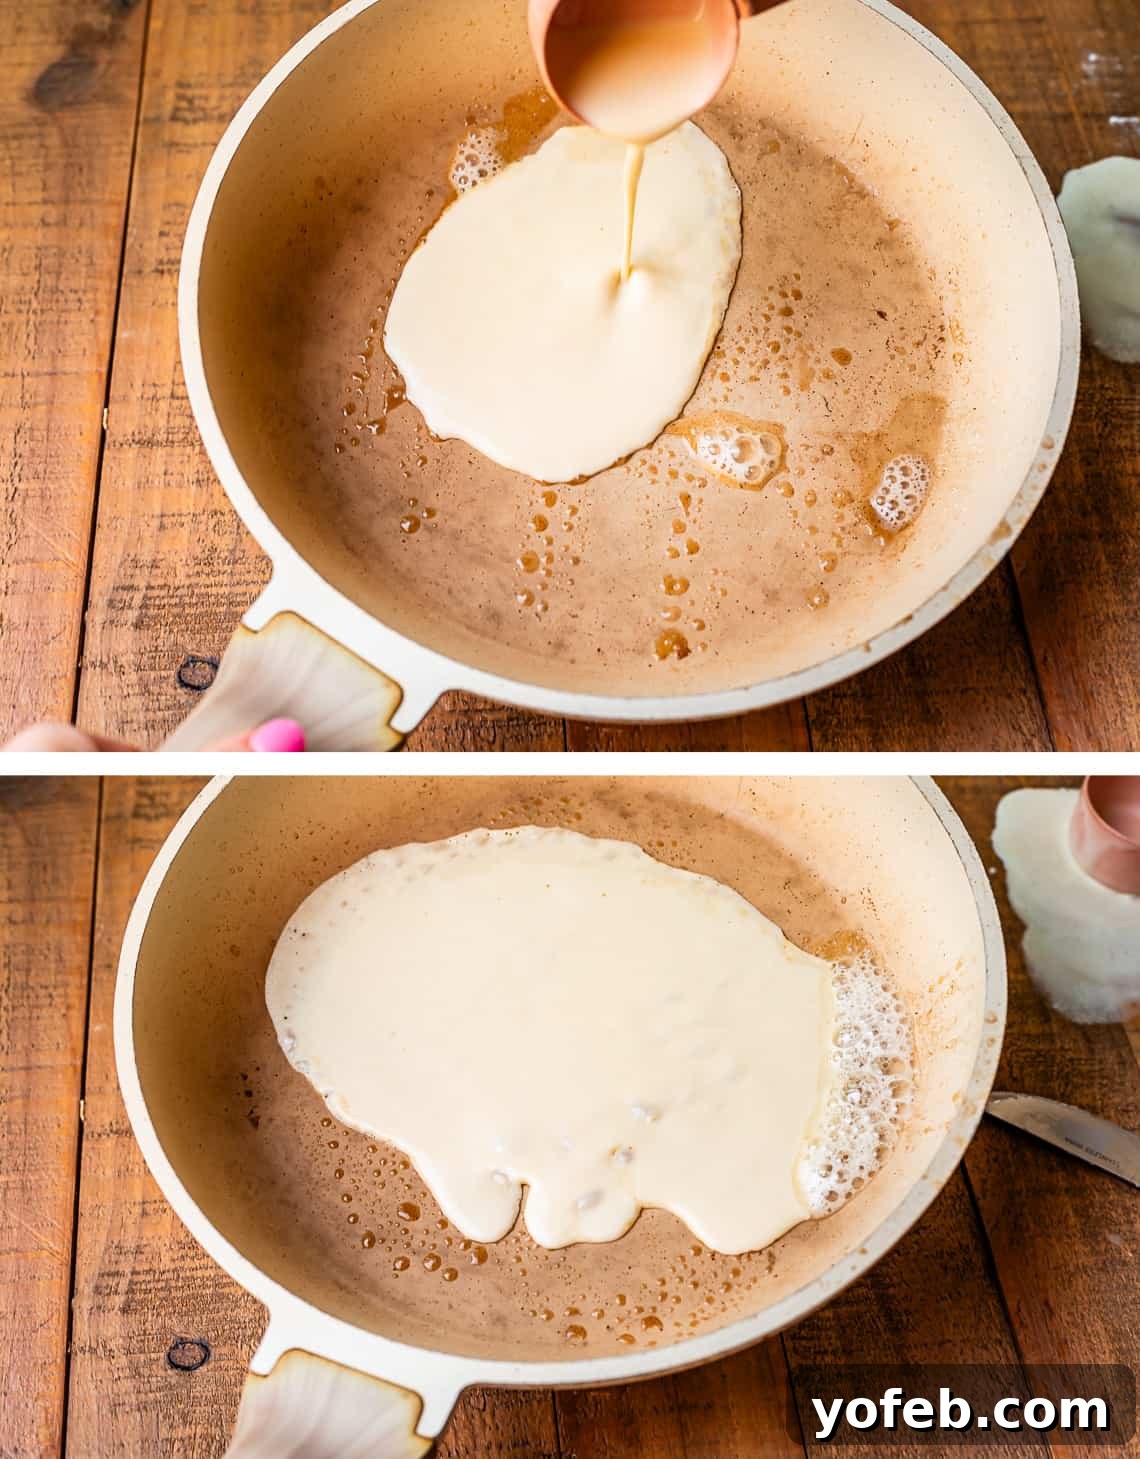
Don’t stop tilting the pan until the batter is no longer liquid and completely sets. This ensures an ultra-thin crepe. It might mean your crepe isn’t a perfect circle, and that’s absolutely fine! You can always add a tiny drop of batter to fill in any small holes or uneven spots, or gently scrape off excess edges with a spatula.
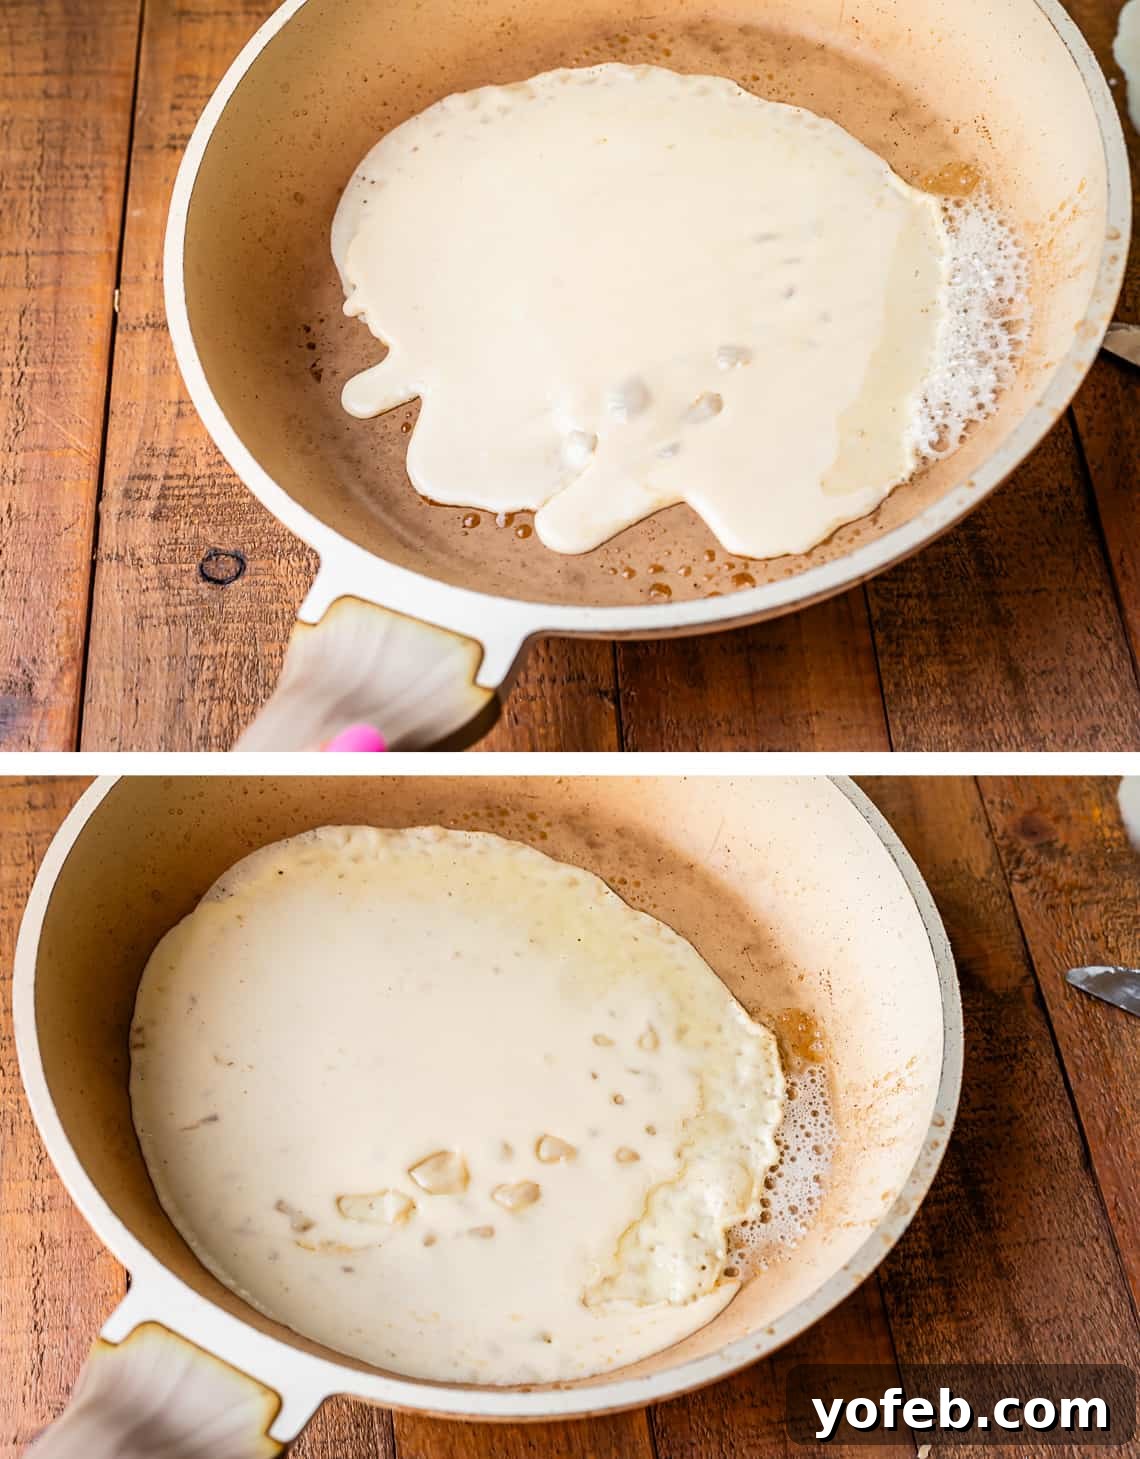
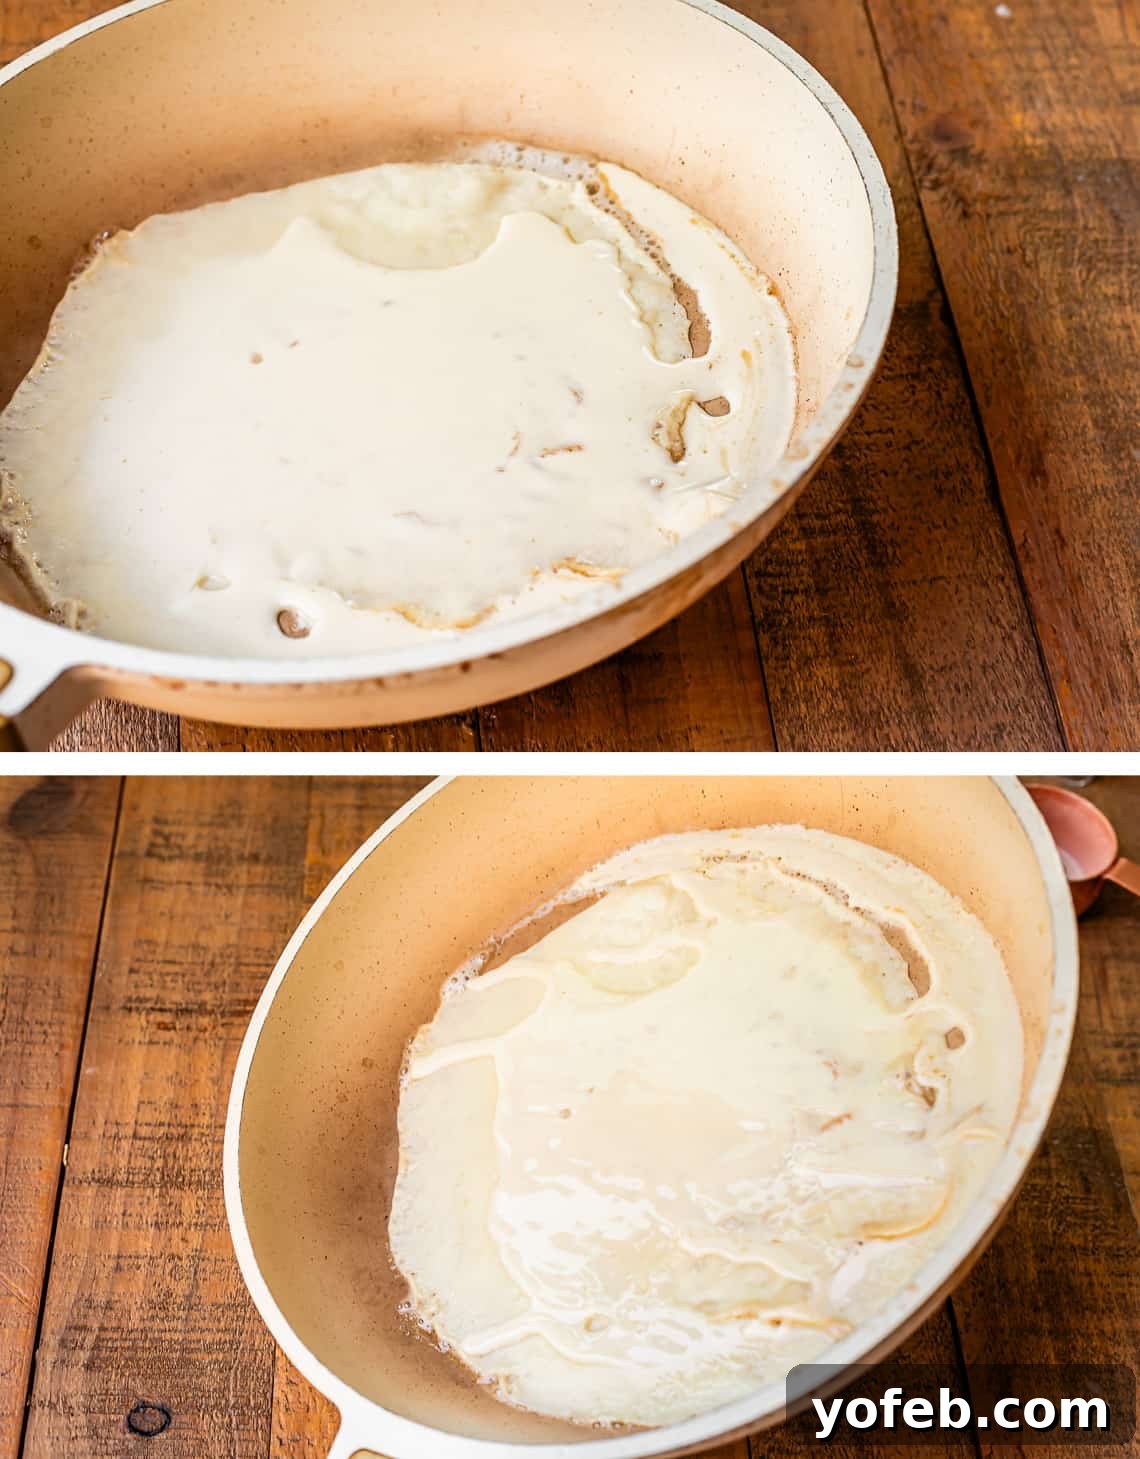
Cook the crepe for about 60 seconds on the first side. The surface should transform from shiny and wet to a matte, slightly dried appearance. As soon as it loses its wet sheen, it’s time to flip. Can you spot the subtle change in texture in the photo below? The bottom should just be starting to turn a pale golden color.
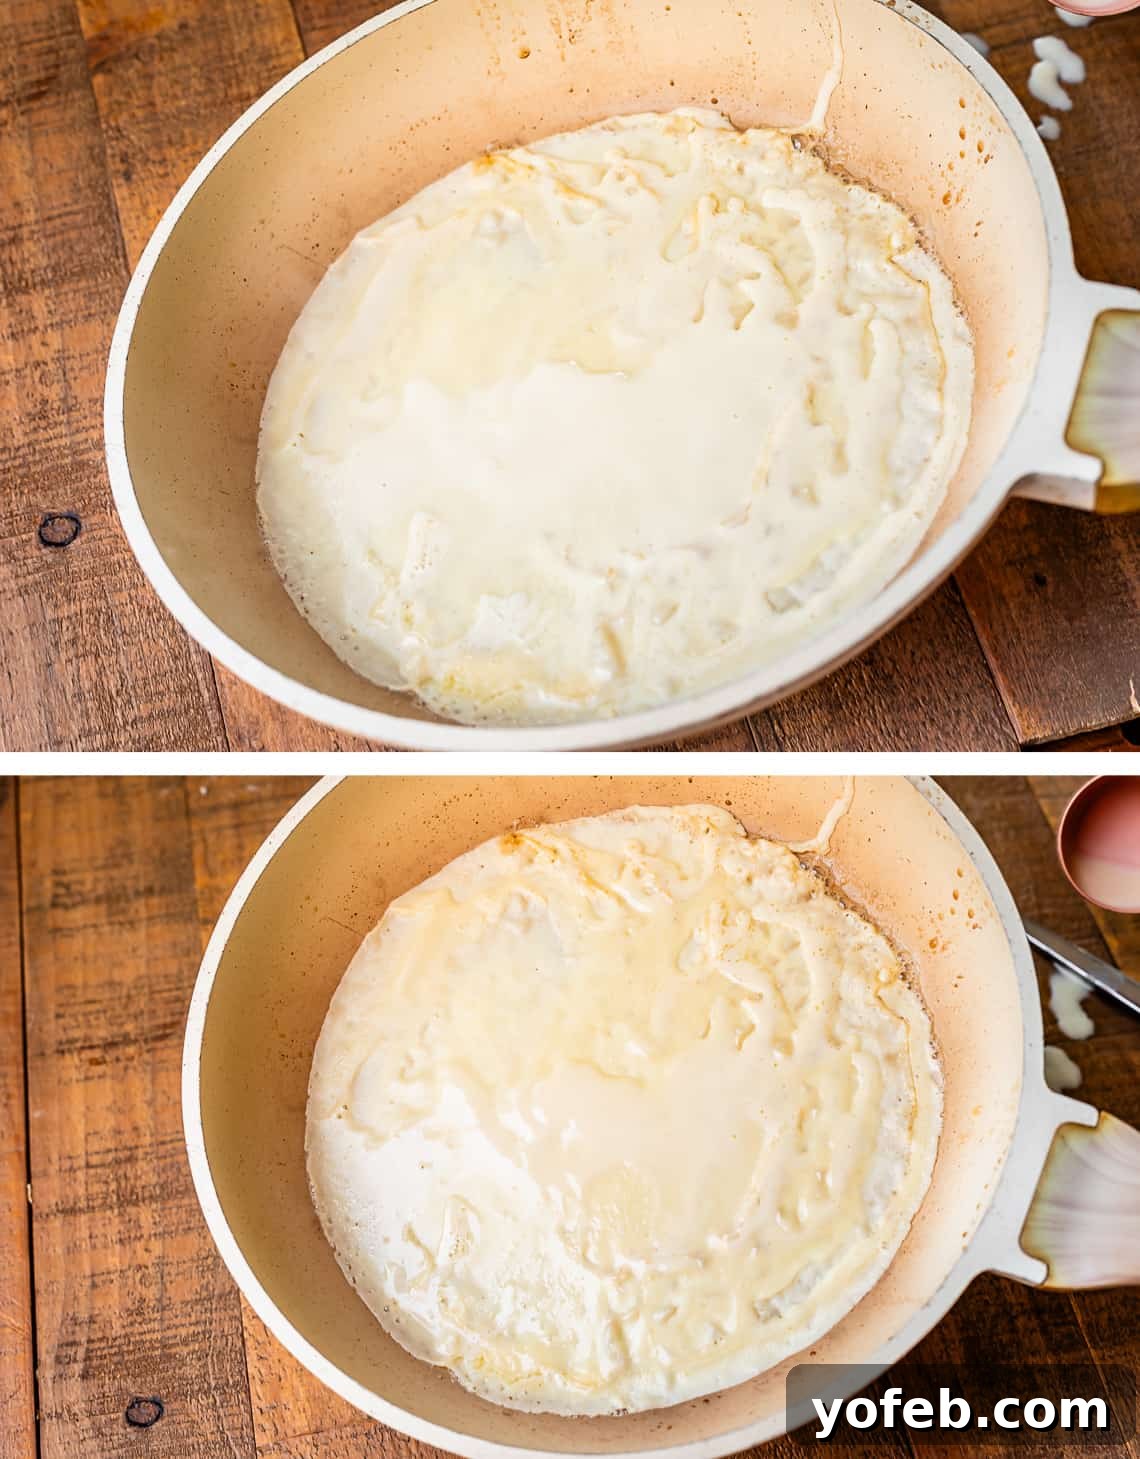
Carefully slide a thin spatula as far underneath the crepe as possible, then swiftly flip it over. This step requires a bit of finesse and practice, so don’t be discouraged if your first few aren’t perfect! Remember my earlier tip: eat your practice crepes so no one ever knows! 😉
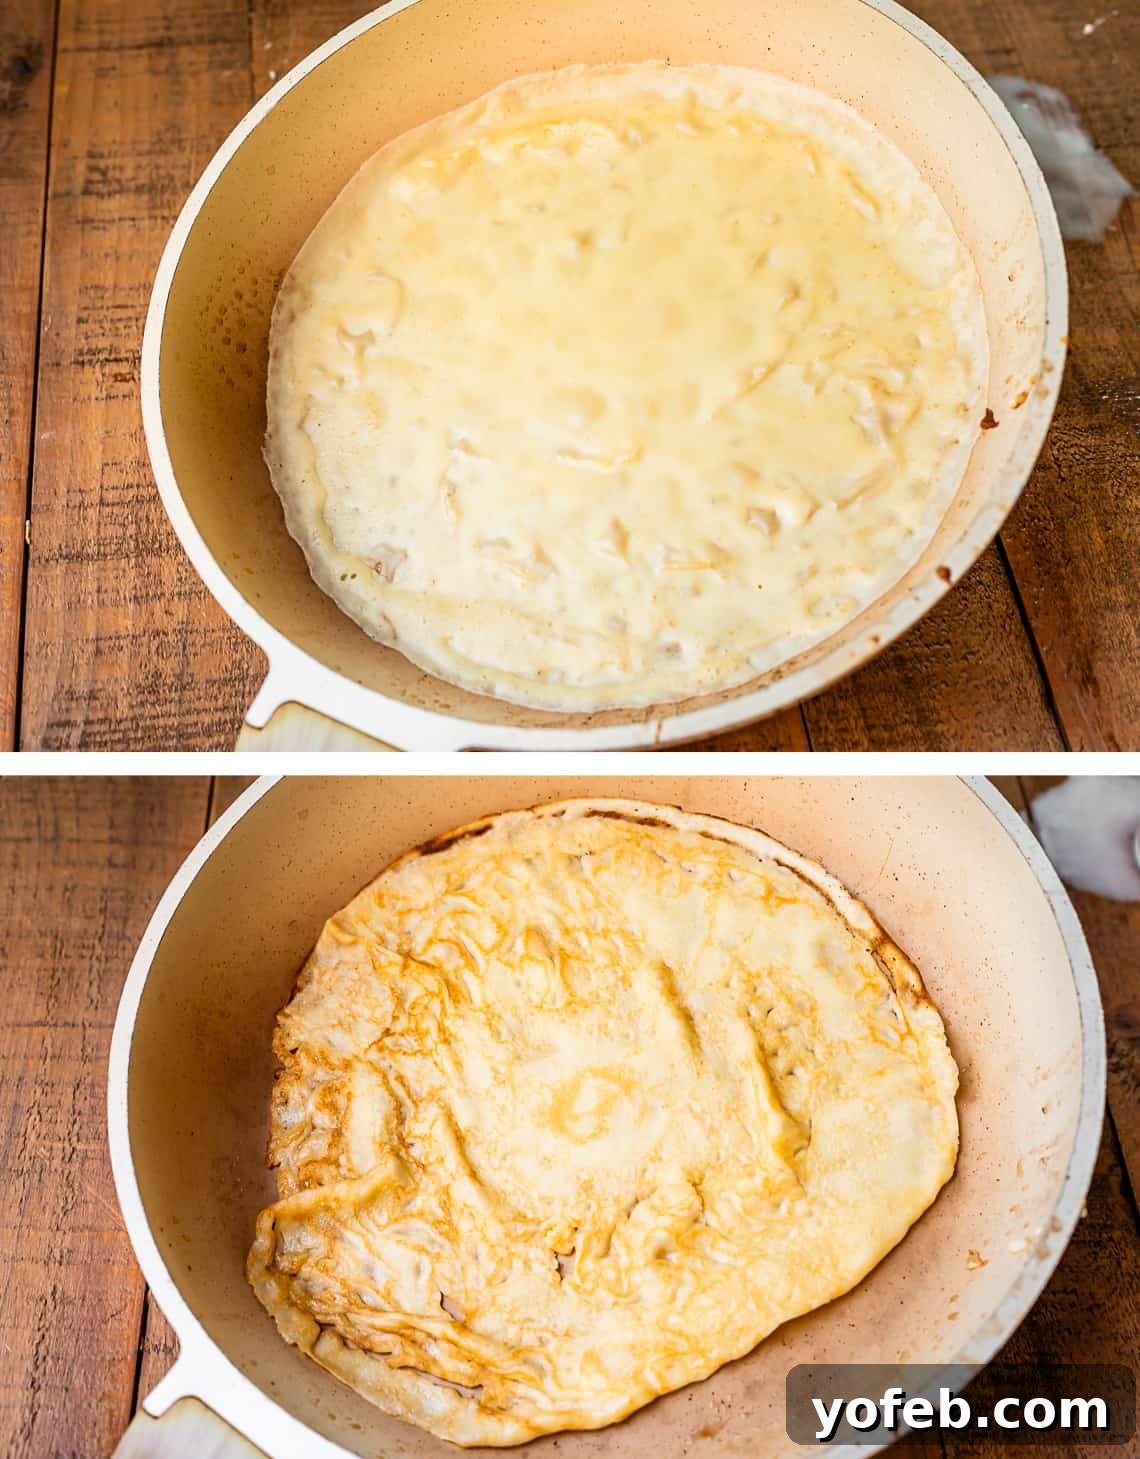
When flipped, a perfectly cooked crepe should be incredibly flexible and soft, not stiff or flat. This floppy nature is precisely what makes them delicate to flip but results in that coveted velvety texture. If your crepe holds its shape rigidly when lifted, it’s either too thick (too much batter) or has been overcooked. Aim for minimal browning on both sides.
Cook the second side for a mere 10-20 seconds, just until the batter is fully cooked through but before it has a chance to crisp up significantly. A light golden blush is acceptable, but avoid deep browning.
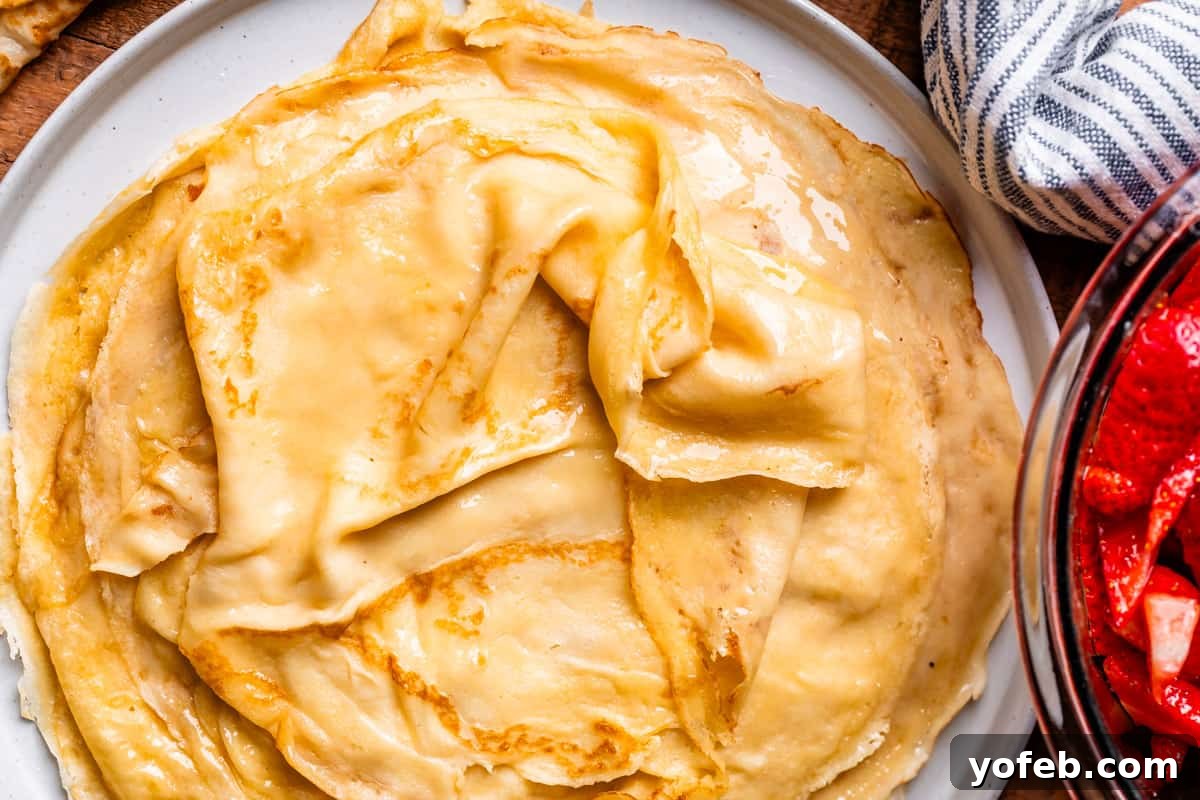
Gently transfer the cooked crepe to a plate. You can either use your spatula or simply invert the pan to let the crepe slide off. Stack the finished crepes one on top of the other as you cook; they won’t stick together. As you progress, you’ll intuitively adjust the heat of your stove. If small bubbles quickly form and pop all over your crepe before you’re ready to flip, your pan is too hot; reduce the heat slightly.

My earnest plea: do NOT overcook your crepes! The goal is for them to be just barely kissed with brown, or even not at all, depending on your preference. If they’ve developed enough structure to remain perfectly flat when you lift them, they’ve been cooked too long. True crepes are delightfully floppy and flexible. Of course, even a slightly darker, crispier crepe is still delicious – you better believe I devour every single one, regardless of minor imperfections!
4. Prepare Your Fillings and Serve!
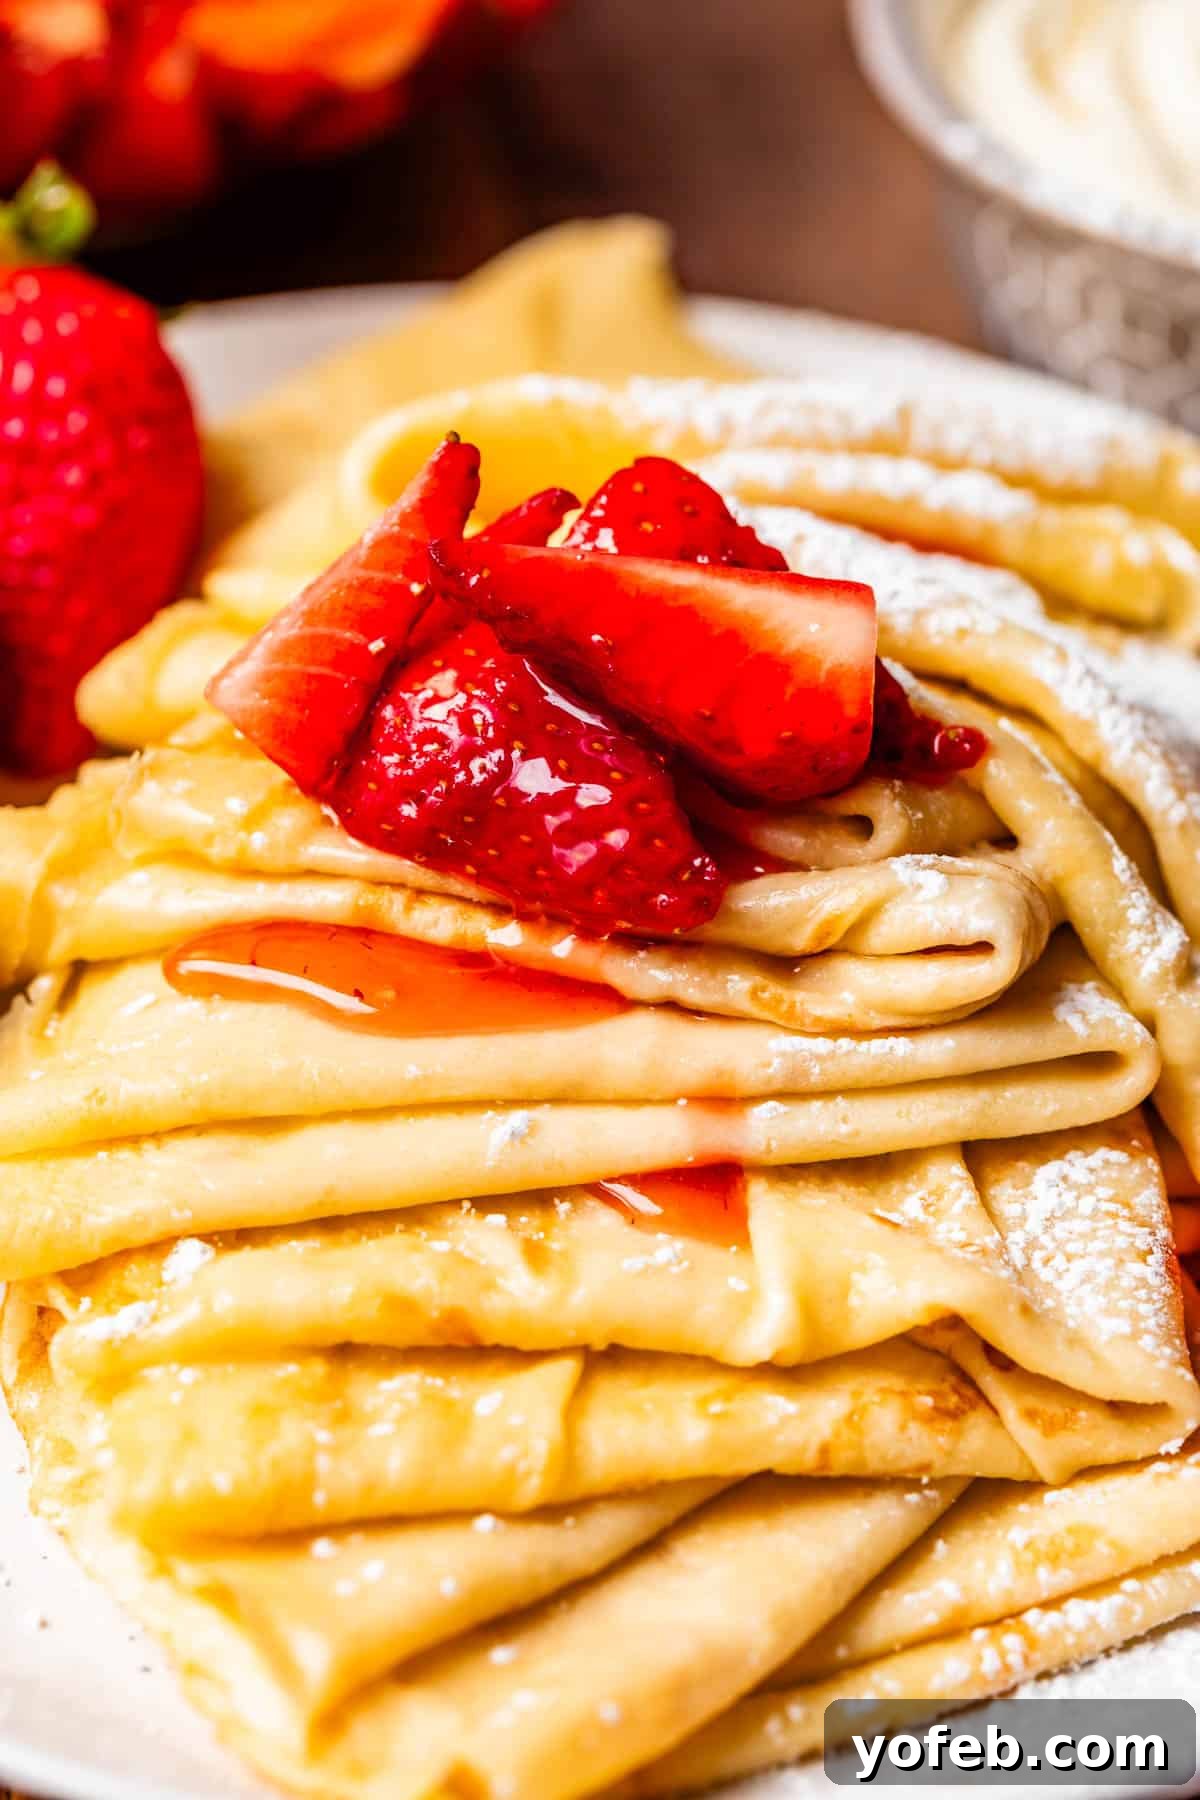
Now for the most exciting part: filling your beautiful crepes! If you’re making the classic strawberry cream cheese crepes, let’s get that filling ready. In a mixing bowl, combine softened cream cheese and powdered sugar. Beat them together until the mixture is wonderfully smooth and creamy.
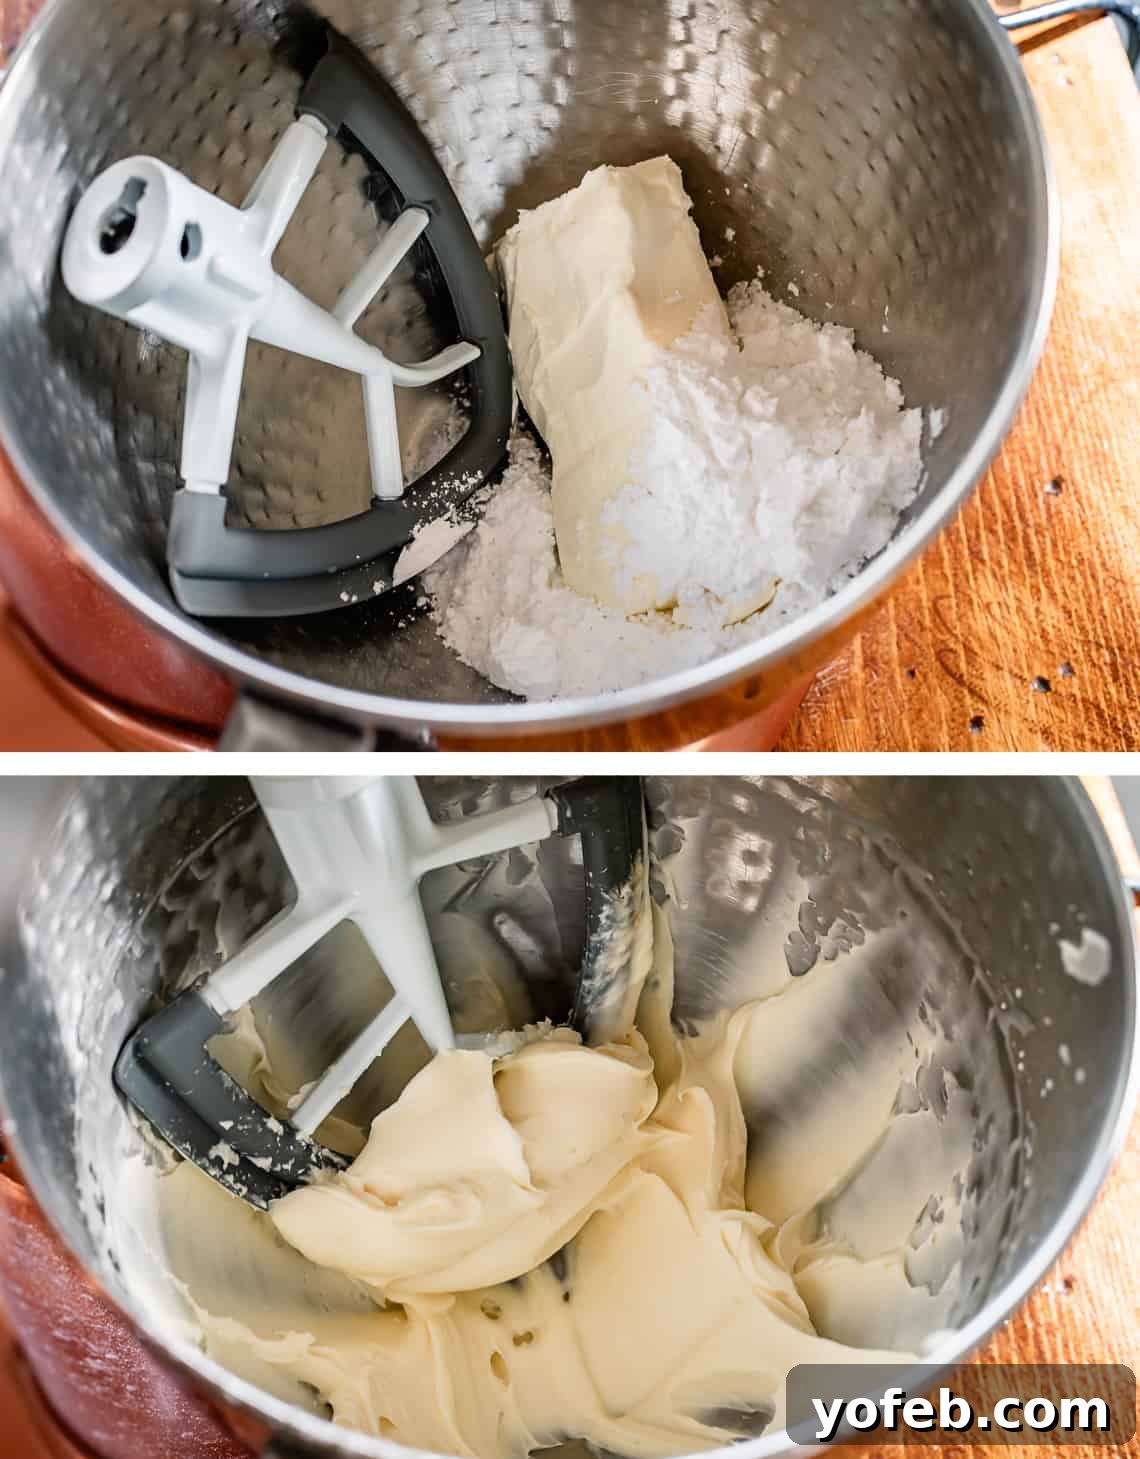
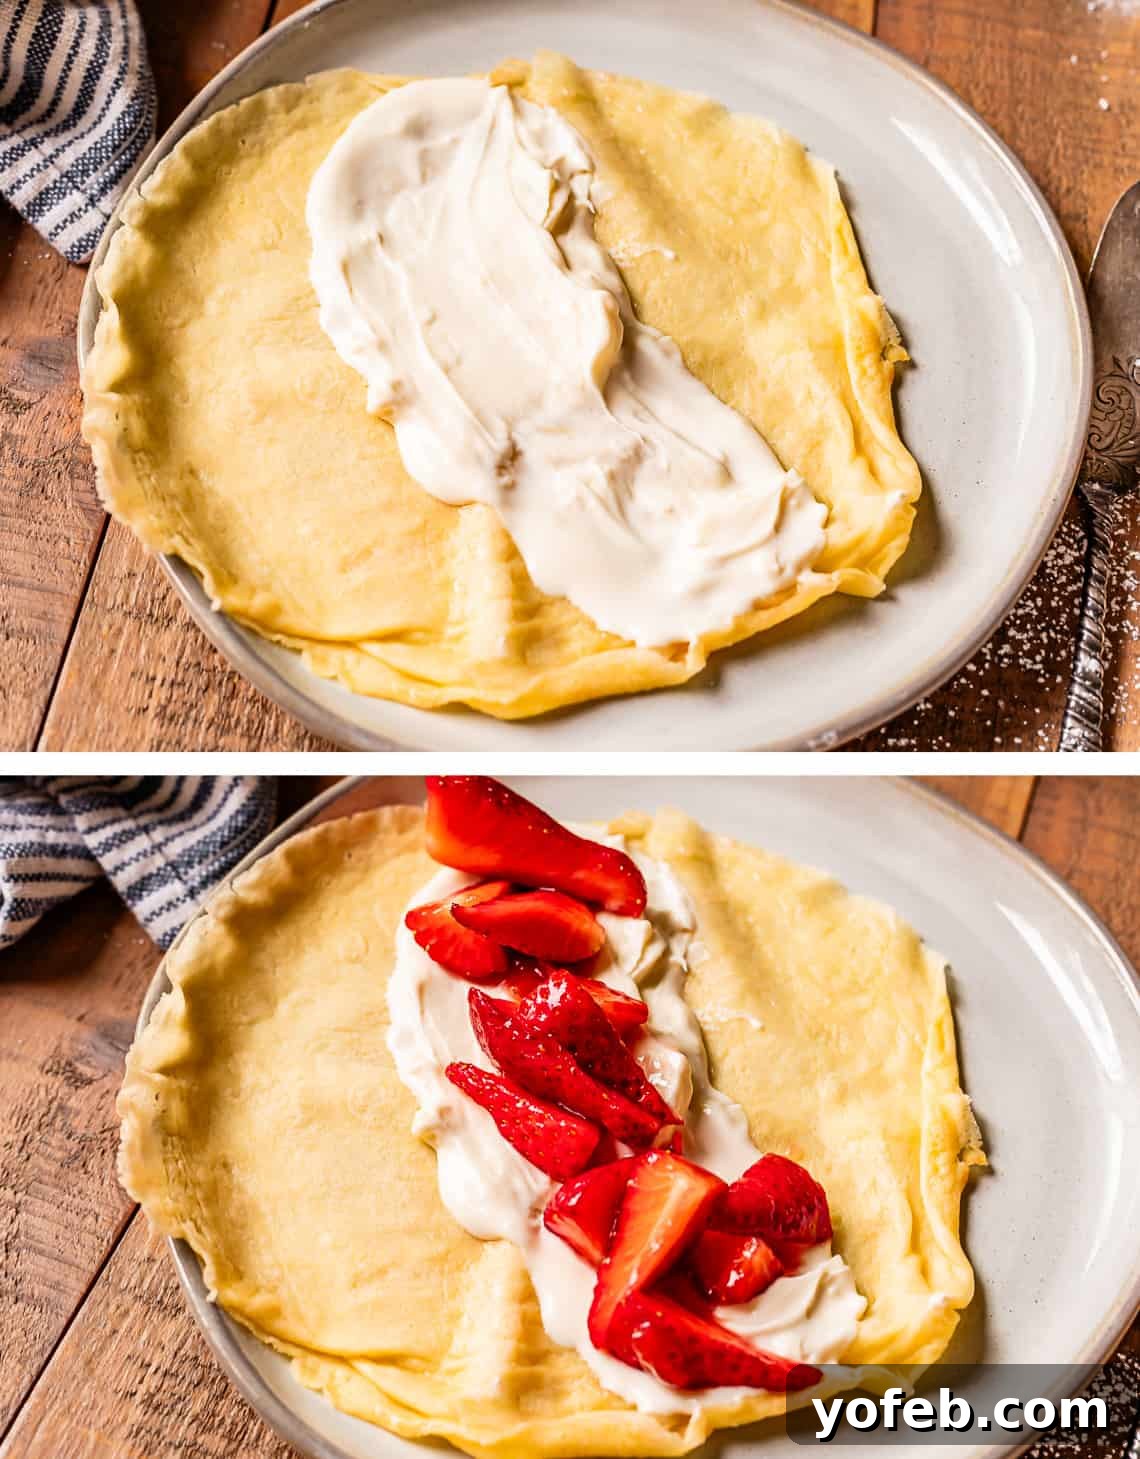
Stir in a touch of vanilla and a pinch of salt to enhance the flavors. Then, spread a generous spoonful of this luscious cream cheese mixture down the center of your warm crepe. Top it generously with your prepared strawberry filling. I’ve included a simple recipe for macerated strawberries in the recipe card, but for an elevated experience, try my Fresh Strawberry Topping. It’s the same vibrant, juicy recipe I use for my Strawberry Shortcakes, and it’s absolutely divine!
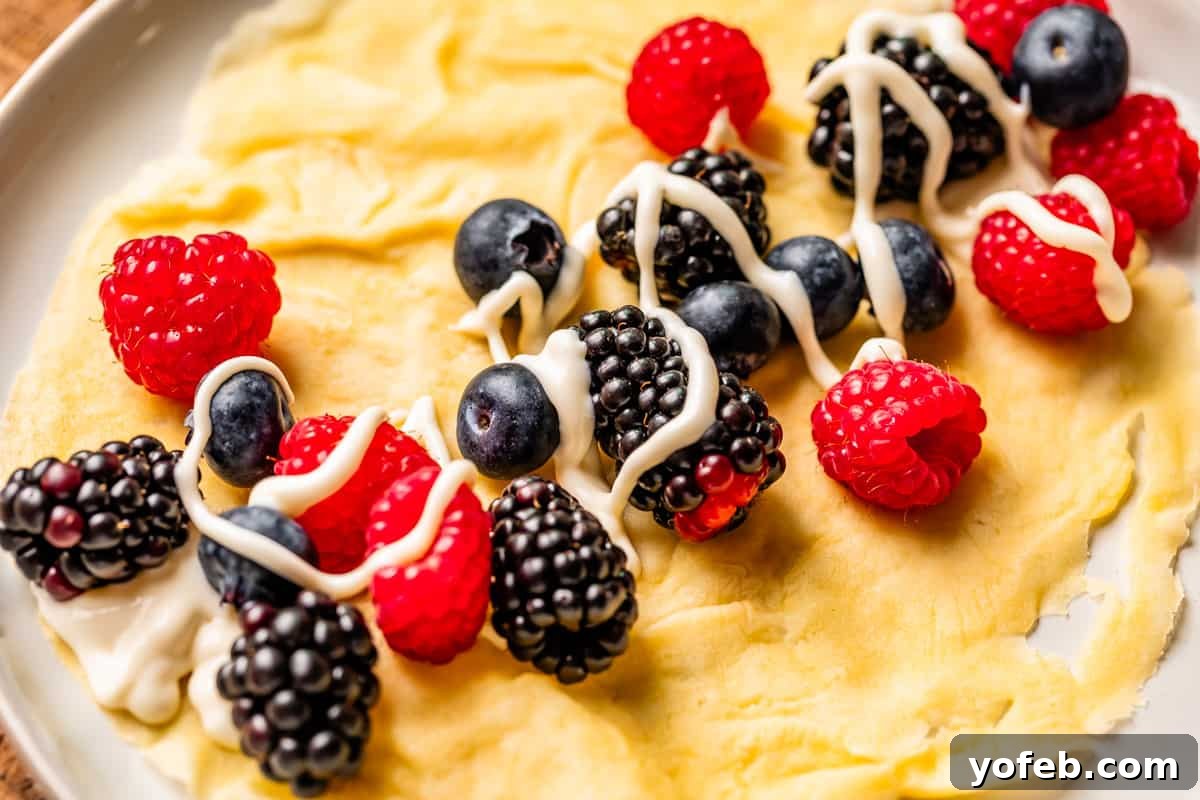
Alternatively, you could opt for a simple mixed berry and cream cheese combination – it’s truly hard to go wrong at this point! Just peek around your kitchen, and you’ll undoubtedly find something delicious to fill your crepes with. For a quick breakfast using leftovers, I often spread them with peanut butter and a sprinkle of sugar – my kids love this protein-packed twist! Read on for even more creative filling ideas.
Delicious Filling Ideas for Crepes
The beauty of crepes lies in their incredible versatility; the possibilities for fillings are virtually limitless! Imagine almost any food you love, nestled within a delicate, buttery wrap – and just like that, a new, delightful crepe creation is born. My family particularly enjoys setting up a buffet-style spread of various fillings, allowing everyone to mix and match to create their own unique concoctions. Here’s an expanded list of sweet options to inspire your next crepe feast:
Sweet Crepe Fillings
- Homemade Whipped Cream: A classic, light, and airy topping that complements any sweet crepe.
- Fresh Fruit Medley: Simple sliced fresh fruit like bananas, peaches, berries, or kiwi.
- Butter and Cinnamon Sugar: For a comforting Snickerdoodle-like flavor, simply brush with melted butter and sprinkle generously.
- Peanut Butter and Granulated Sugar: A surprisingly delicious and satisfying combination, especially for breakfast.
- Rich Homemade Chocolate Sauce: Easy to make and absolutely decadent over fresh fruit-filled crepes.
- The Best Homemade Caramel Sauce: A light drizzle with whipped cream creates pure perfection.
- Creamy Dulce de Leche from Condensed Milk: Pair this sweet, caramelized delight with bananas or strawberries for an unforgettable treat.
- Flavored Butters: A quick dab of 2-Minute Maple Butter or Honey Cinnamon Butter makes for a simple yet incredibly flavorful crepe.
- Strawberry Shortcake Crepe: Transform your favorite dessert by adding Strawberry Shortcake toppings directly as a crepe filling.
- Silky Pastry Cream: Typically found in pastries like Bavarian Cream Donuts, this would be an amazing, elegant crepe filling.
- Zesty Easy Lemon Curd Recipe: Perfectly tart and sweet, especially delightful with a dollop of whipped cream.
- Breakfast Banana Split Crepe: Recreate the joy of a Breakfast Banana Split by stuffing all its components into a crepe.
- Nutella and Banana: Skip the crescent roll from the Nutella and Banana Stuffed Crescent Roll recipe and simply enjoy this classic pairing in a crepe.
- Pie Fillings: Many pie fillings work beautifully – it’s like enjoying a pie without all the extra effort! Try fillings from Coconut Cream Pie, Banana Cream Pie, Chocolate Cream Pie, or a warm, cooked Apple Pie filling with whipped cream for an indulgent treat!
Savory Crepe Fillings to Tempt Your Palate
Don’t limit the magic of crepes to just sweet applications. Savory crepes are a revelation, offering a sophisticated and incredibly satisfying meal option that’s often overlooked. Here are some fantastic ideas to explore the savory side of crepes, transforming them into a delightful lunch or dinner:
- Sautéed Vegetables: Any cooked vegetable you enjoy – think spinach, mushrooms, bell peppers, or asparagus – makes a wonderful filling.
- Breakfast Meats: Fill your crepes with classic breakfast meats like crumbled cooked sausage, diced ham, or crispy baked bacon.
- Eggs, Any Way You Like: Poached or fried eggs, nestled within a crepe, are a delightful addition to a savory breakfast or brunch.
- Smoked Salmon and Cream Cheese: A sophisticated and popular combination, perfect for a light and elegant meal.
- Assorted Cheeses: Any kind of cheese you fancy, but a soft, melty cheese like brie, goat cheese, or a creamy cheddar, would be especially delicious.
- Fluffy Creamy Scrambled Eggs for a Crowd: These make an excellent, hassle-free filling, especially since they can be kept warm in a slow cooker while you cook your crepes.
- Velvety 5-Minute Hollandaise Sauce: Elevate your breakfast game by creating an Eggs Benedict crepe, complete with ham, a poached egg, and a luscious drizzle of this quick sauce.
- Mom’s Famous Chicken Crepes with Jalapeño Cheese: This baked crepe dish was a constant in my childhood. A rich, creamy, and cheesy experience – don’t let the retro photos scare you!
- Whimsical Real Green Eggs and Ham (Dye-Free): How fun would this be as a playful filling for a St. Patrick’s Day breakfast or a whimsical dinner?
- Hearty Dinner Fillings: Go beyond breakfast! Try filling crepes with savory options like Swedish Meatballs with gravy or tender chicken mixed with Alfredo sauce for an unexpectedly elegant meal.
What to Serve with Crepes for a Complete Meal
Crepes, with their endless filling possibilities, can easily be the star of your meal. However, you can also round out the experience with a few complementary side dishes. Since making crepes and their fillings can be a labor of love, I usually opt for simple sides. The general rule of thumb is to pair savory sides with sweet crepes and sweeter sides with savory crepes. Here are some ideas to complete your crepe feast:
- Crispy Hashbrowns: A classic breakfast staple that adds a satisfying crunch.
- Breakfast Meats: Serve alongside crispy bacon, savory sausage links, or slices of ham.
- Fluffy Creamy Scrambled Eggs: A perfect protein-rich accompaniment.
- Fresh Fruit Tray or Fruit Salad: A light and refreshing option that balances the richness of the crepes.
- Vibrant Strawberry Spinach Salad: A sweet and tangy salad that pairs wonderfully with sweet or savory crepes.
- Classic Ambrosia Salad: A delightful, retro fruit salad that adds a touch of sweetness.
- Elegant Classic Waldorf Salad from Foodie Crush: A fresh and crunchy salad with a creamy dressing.
How to Store Leftover Crepes for Later
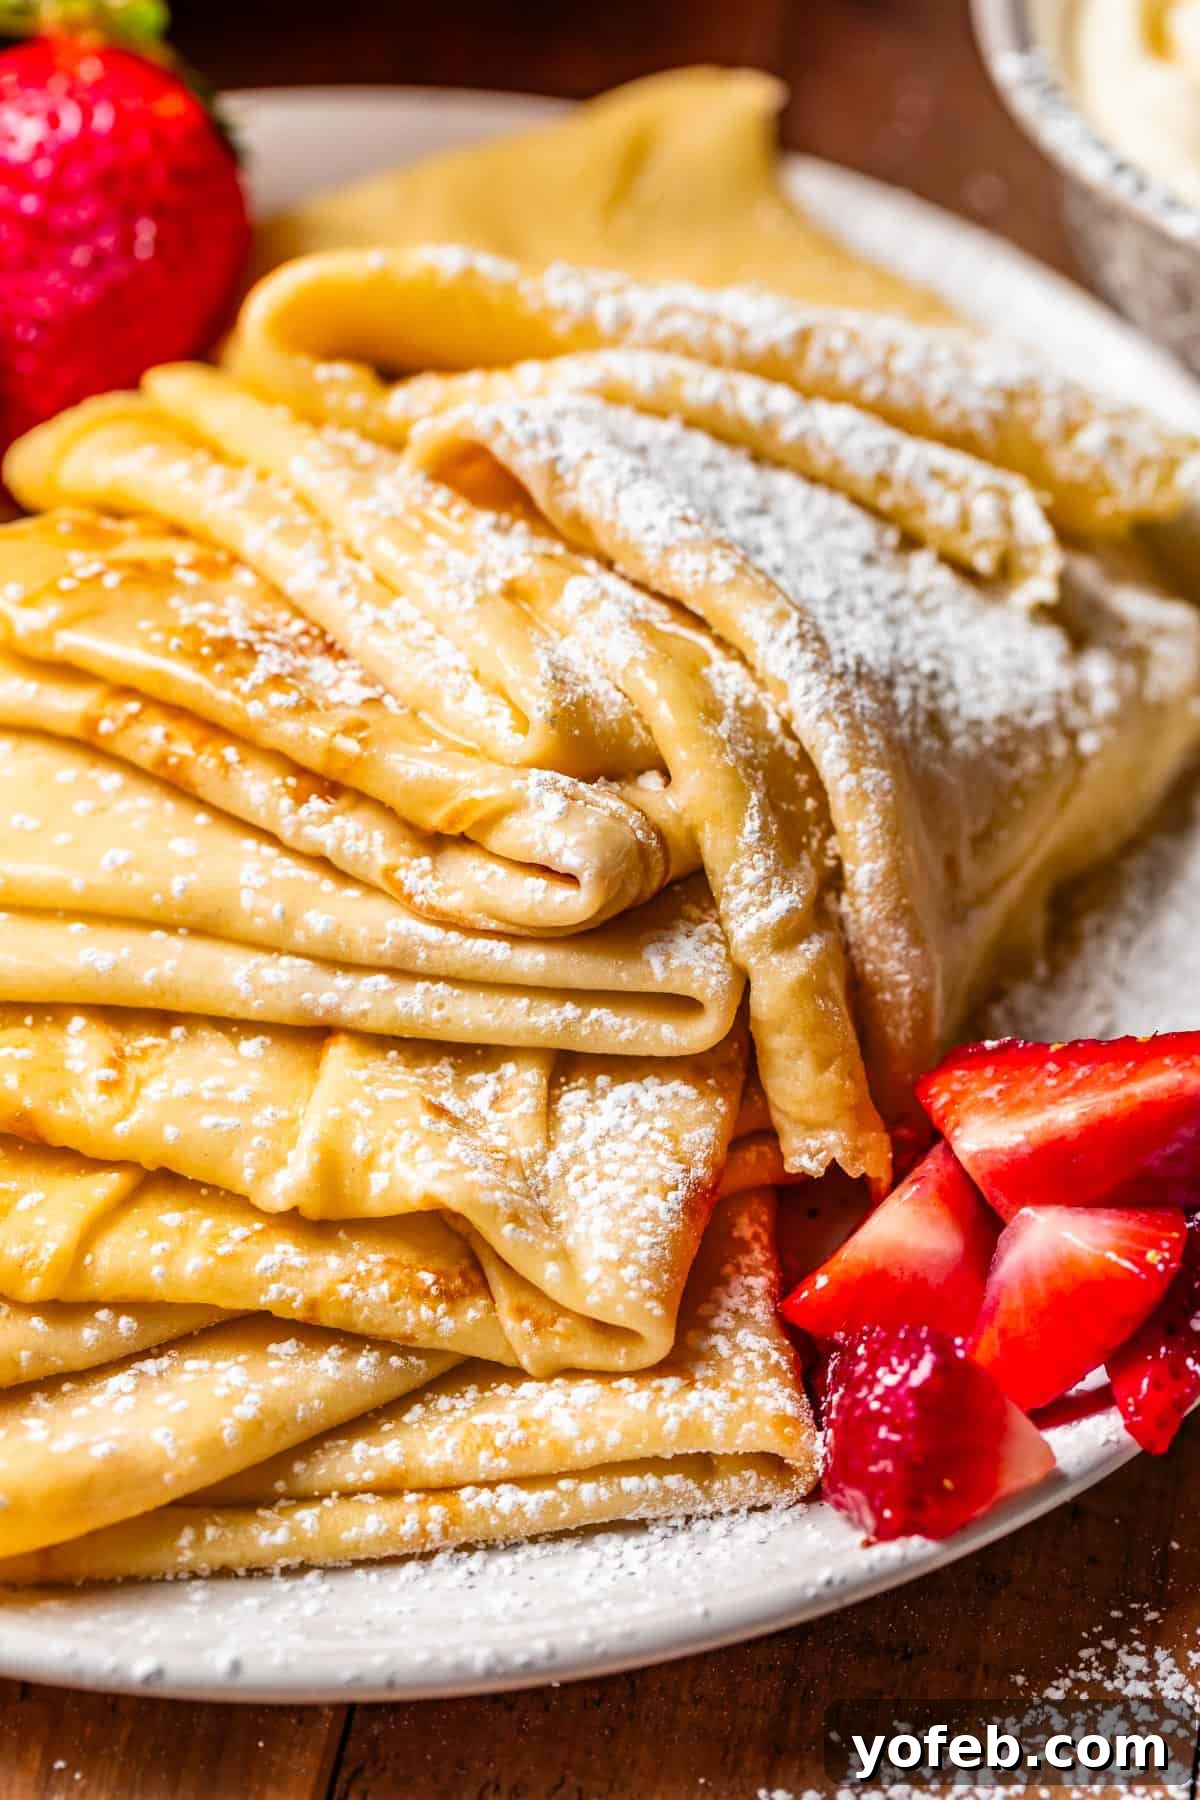
Crepes are surprisingly easy to store, making them an excellent candidate for meal prep or enjoying delicious leftovers! The key to successful storage is ensuring they cool completely before stacking. Any residual heat will create condensation, leading to soggy crepes, which is something we definitely want to avoid.
While some people prefer to separate each crepe in a stack with wax or parchment paper, I honestly find it unnecessary for short-term storage; they rarely stick for me. Simply stack your cooled crepes neatly on a plate and cover them tightly with plastic wrap. This method works well for immediate consumption or storing for a day.
For slightly longer storage, up to 2-3 days in the refrigerator, transfer the stack of crepes into a gallon-sized ziplock bag. Press out as much air as possible before sealing to help retain moisture and freshness. You could also use an airtight container, but I often find them not large enough to keep the crepes flat, which is my preference.
To reheat, place a nonstick skillet over medium heat. Once hot, add individual crepes to the pan and warm them for about 30-60 seconds on each side until heated through and pliable again. Transfer them to a plate, add your desired fillings (warming savory fillings separately in the microwave first), and enjoy!
Can You Store Crepe Batter?
Absolutely! Crepe batter is wonderfully accommodating for making ahead of time, which makes preparing a large batch of crepes much more convenient. Simply pour your freshly made batter into a sealed container and store it in the refrigerator for up to 2-3 days.
Before you’re ready to cook, give the batter a thorough stir or a quick re-blend to ensure all ingredients are well combined and the consistency is even. If, after cooking your first crepe, you find the batter seems a little too thick (which can happen as it rests), simply add milk, one tablespoon at a time, and stir until you achieve the desired thin, flowing consistency. This flexibility makes crepes a perfect choice for planned breakfasts or spontaneous dessert cravings!
Can You Freeze Crepes?
Yes, crepes are an excellent candidate for freezing, allowing you to prepare a large batch and enjoy them much later! This is a fantastic time-saver for busy mornings or unexpected guests. To freeze, ensure your cooked crepes are completely cooled to prevent ice crystals from forming.
You can optionally place a piece of parchment paper between each crepe in the stack, though honestly, I’ve found they rarely stick for me even without it. Once stacked, transfer the entire pile into a gallon-sized ziplock freezer bag. Press out as much air as possible before sealing the bag tightly; this helps prevent freezer burn and preserves their delicate texture. Store them flat in your freezer.
When you’re ready to enjoy them, remove the bag from the freezer and let it sit on the counter for about an hour or two, or place it in the refrigerator overnight. This allows the crepes to thaw enough to become pliable and easily separated. Once thawed, heat each crepe individually in a skillet over medium heat for approximately 30 seconds to a minute per side, until they are thoroughly warmed through. Fill with your favorite sweet or savory additions and savor the convenience of pre-made crepes!

Frequently Asked Questions About Crepes
A crepe is a delicate, thin pancake originating from French cuisine. While sharing similar basic ingredients like milk, eggs, flour, and butter with traditional pancakes, crepes distinguish themselves by having a much higher liquid content and typically no leavening agent (like baking powder or soda). This results in an incredibly thin, flat, and remarkably pliable disc that is soft and often slightly elastic, perfect for wrapping around various fillings.
The core ingredients for most crepe recipes are quite simple and foundational. This particular recipe calls for whole milk (for richness and better binding), large eggs, a touch of vanilla for flavor, all-purpose flour for structure, granulated sugar for sweetness, a pinch of kosher salt to balance the flavors, and melted butter integrated into the batter for moisture and a beautiful golden finish.
No, crepe batter and pancake batter are distinctly different, despite their shared culinary family. Pancake batter is typically much thicker and contains leavening agents that cause the pancakes to rise, resulting in a fluffy, airy texture. In contrast, crepe batter is intentionally thin and runny, with little to no leavening. This difference in consistency and leavening is what creates the crepe’s signature ultra-thin, delicate, and flexible texture, perfect for folding or rolling with fillings.
Crepes, by their very nature, tend to be lighter than pancakes because they are significantly thinner. This means there’s less batter volume per serving. However, the overall healthiness really depends on the fillings and toppings you choose. While a plain crepe might have fewer calories than a plain pancake, if you load your crepe with rich cream, chocolate, and sugary fruits, the calorie count could easily surpass that of a simple pancake. If you’re mindful of calories (something I personally set aside when indulging in crepes! 😂), focusing on lighter fillings like fresh berries, a sprinkle of cinnamon, or a modest amount of savory vegetables will make the biggest difference.
More Irresistible Breakfast and Brunch Ideas
For me, delicious breakfast foods are truly a love language. Forget whispered sweet nothings; give me a stack of warm, sweet crepes or a comforting breakfast casserole any day! If you adore starting your day (or enjoying brunch) with something truly special, you’ll love these other fantastic breakfast and brunch recipes from my kitchen:
- Best Pancake Recipe EVER: Prepare for the fluffiest, most tender, and perfectly stackable pancakes of your entire life.
- The Only Breakfast Burrito Recipe You Need (Freezer Friendly!): Much like crepes, the filling possibilities for these burritos are endless. A fantastic make-ahead option that saves busy mornings.
- Easy French Toast Recipe (Caramelized): This is legitimately the only French toast recipe I truly love – it’s rich, custardy, and perfectly caramelized.
- Best Breakfast Casserole Recipe with Sausage: All your favorite breakfast elements, conveniently baked into one delicious casserole dish.
- Best Waffle Recipe from Scratch: I’ve been making this tried-and-true waffle recipe for over 16 years, and it consistently delivers the best, crispy-on-the-outside, fluffy-on-the-inside waffles!
- Easy Quiche Recipe with Bacon and Spinach: The more delicate, sophisticated cousin to a breakfast casserole, perfect for a special brunch.
- Best Recipe for Sour Cream Coffee Cake: My absolute favorite coffee cake, incredibly moist with a delightful cinnamon swirl.
- Shakshuka from Downshiftology: A flavorful and vibrant Middle Eastern and North African dish with poached eggs in a rich tomato sauce.
- Breakfast Pizza from Small Town Woman: A fun and customizable way to enjoy all your breakfast favorites on a crispy crust.
Facebook |
Pinterest |
Instagram

Truly The Best Crepes I’ve Ever Had
5 minutes
20 minutes
25 minutes
18
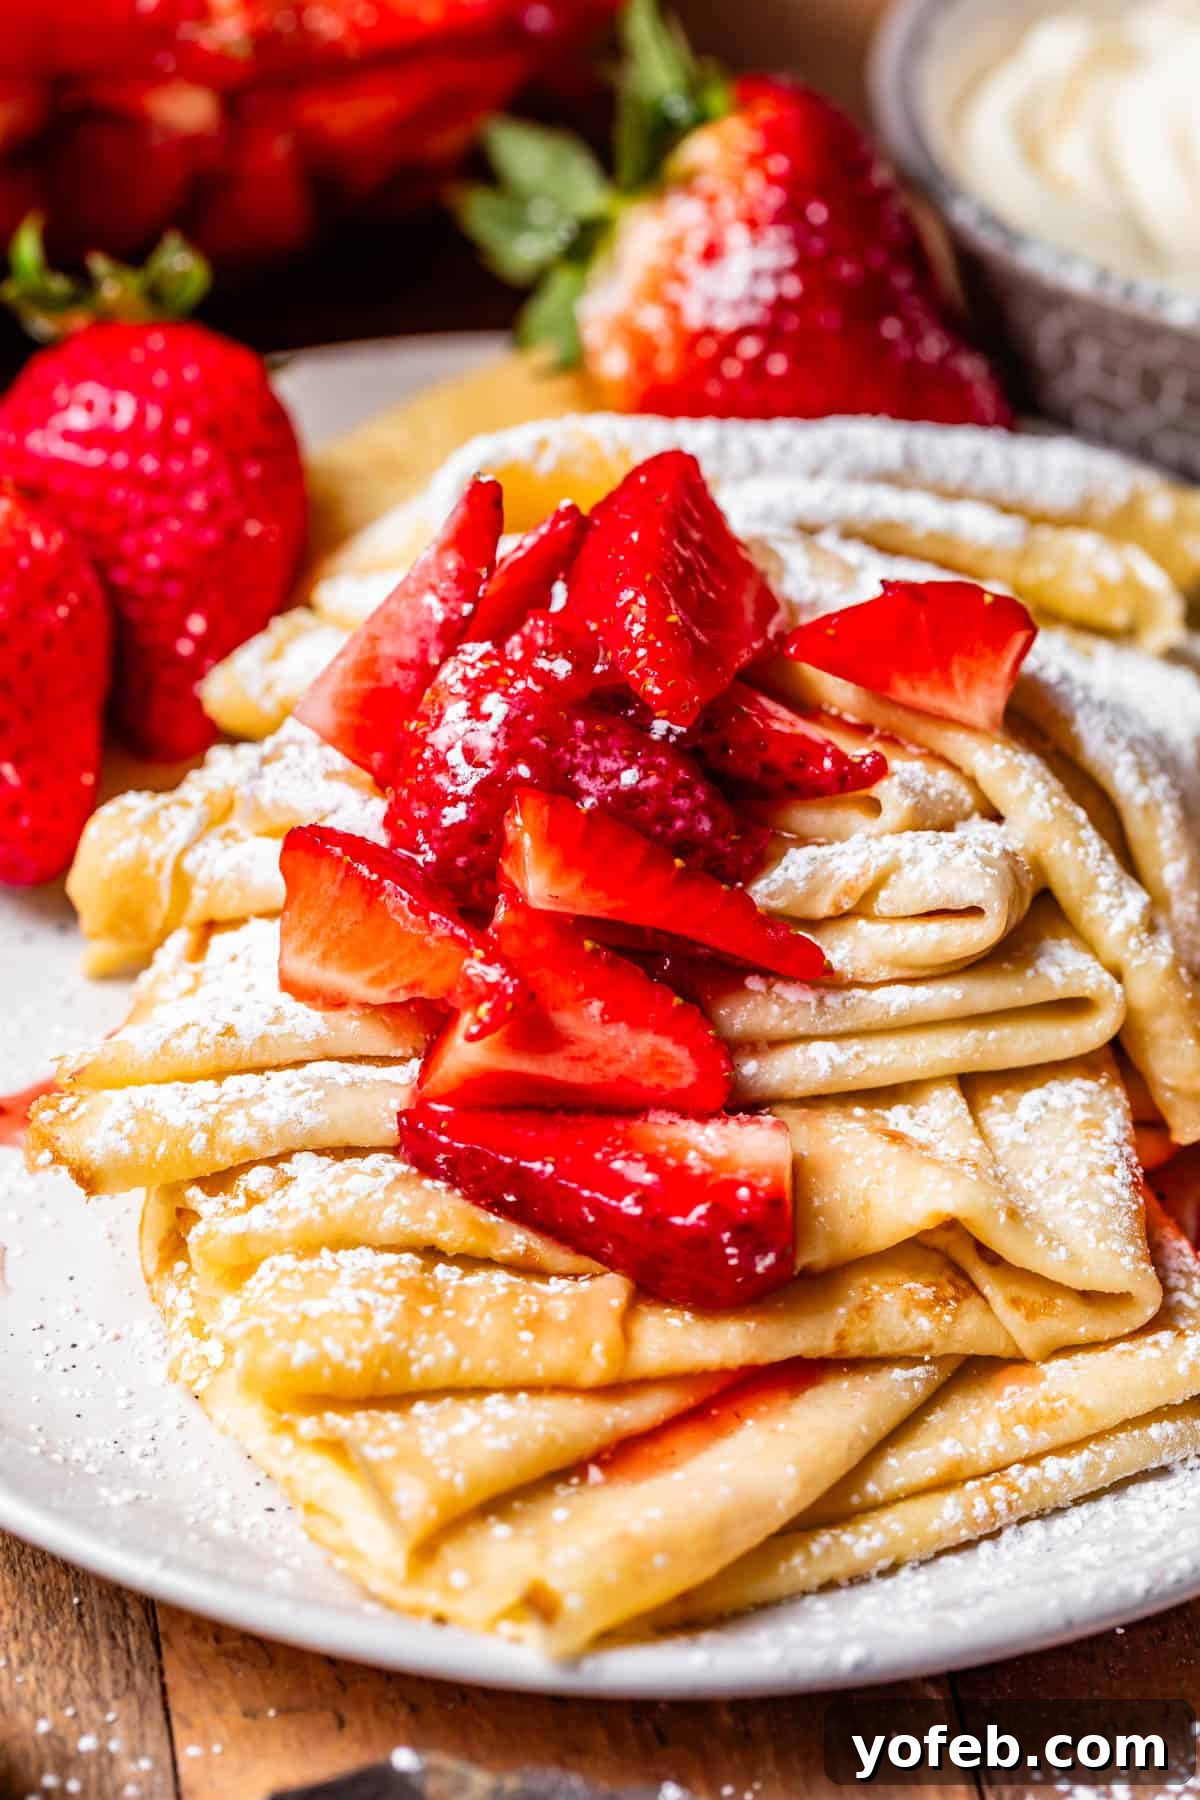
Experience the best crepes of your life with this incredibly easy homemade recipe! Having traveled to France, I can confidently say homemade crepes are superior. Forget thick pancakes; these crepes are impossibly thin, flexible, and velvety, with a rich, buttery, golden hue that will bring tears of joy to your eyes, especially when paired with strawberries and cream. Follow my step-by-step guide to effortlessly create these delicious crepes, perfect for any sweet or savory occasion.
Equipment
-
8-inch nonstick frying pan
-
Blender
Ingredients
For the Crepes:
- 2 cups whole milk, do not use low-fat milk for best texture*
- 4 large eggs
- 3 tablespoons granulated sugar, see notes for savory crepes adjustment
- 1 tablespoon vanilla extract, omit for savory crepes
- 1 and 1/2 cups all-purpose flour, spooned and leveled
- 3/4 teaspoon kosher salt
- 1/4 cup butter, melted (for the batter)
- 1/2 cup butter, for cooking the crepes (approx. 2 tsp per crepe)
For the Cream Cheese Filling:
- 8 ounces cream cheese, 1 block, softened
- 1/2 cup powdered sugar
- 2 tablespoons whole milk, more or less to taste for desired consistency
- 1/2 teaspoon vanilla extract
- 1/8 teaspoon kosher salt
For the Strawberry Filling:
- 1 and 1/2 pounds fresh strawberries, sliced or quartered
- 1/4 cup granulated sugar
- 2 tablespoons strawberry jam
Other Popular Filling Ideas:
- Fresh lemon juice, with powdered or granulated sugar for classic Lemon Sugar Crepes
- Nutella, especially delicious with bananas
- Mixed fresh berries, such as raspberries, blueberries, and blackberries
- Cinnamon sugar, tossed with a little melted butter
- Homemade whipped cream, a perfect light topping
Instructions
-
1. Prepare the Strawberries: Wash and hull your fresh strawberries. Slice or quarter them to your preferred size and place them in a serving bowl. Sprinkle with 1/4 cup granulated sugar and add 2 tablespoons of strawberry jam. Gently stir everything together and set aside for about 20 minutes to allow the strawberries to macerate, releasing their natural juices. For an even more decadent topping, consider making this Fresh Strawberry Topping, which involves a preliminary step of condensing the jam.
-
2. Make the Cream Cheese Filling (Optional, but highly recommended!): In a large mixing bowl or the bowl of a stand mixer, add 8 ounces of softened cream cheese. Beat for 1 minute until it’s wonderfully smooth and creamy, making sure to scrape down the sides of the bowl. Add 1/2 cup powdered sugar, 2 tablespoons whole milk, 1/2 teaspoon vanilla extract, and 1/8 teaspoon kosher salt. Beat well again until all ingredients are thoroughly combined and there are no lumps. Transfer this luscious filling to a serving bowl.
-
3. Prepare the Crepe Batter: Begin by adding 2 cups of whole milk and 4 large eggs to your blender. (If you don’t have a blender, you can use a large bowl and beat with a hand mixer until smooth.) Add 3 tablespoons granulated sugar and 1 tablespoon vanilla extract. (Refer to the notes section for adjustments if you plan to make savory crepes.)
-
4. Add Dry Ingredients: Carefully spoon 1 and 1/2 cups of all-purpose flour into your measuring cups and level it off. Add this flour, along with 3/4 teaspoon kosher salt, to the blender with the wet ingredients.
-
5. Blend and Incorporate Butter: Blend the mixture until it is completely smooth and all ingredients are fully combined. In a separate small bowl, melt 1/4 cup of butter. With the blender running on low speed, remove the center spout from the blender lid and slowly pour in the melted butter. Continue blending for a few more seconds to fully incorporate the butter into the batter. Scrape down the sides of the blender bowl to ensure no flour remains unmixed.
-
6. Prepare Your Pan: Place an 8-inch nonstick frying pan on the stove over medium heat. Allow it to heat thoroughly for at least 60-90 seconds until it’s nice and hot. Keep a stick of butter and your prepared batter conveniently near the stove. When the pan is hot, add about 1-2 teaspoons of butter to it. Swirl the pan to melt the butter and evenly coat the entire bottom and a bit up the sides.
-
7. Measure the Batter: Use a 1/4 cup measuring cup to scoop out batter. You’ll need approximately 3-4 tablespoons of batter for each crepe (so the 1/4 cup measuring cup doesn’t need to be entirely full).
-
8. Pour and Swirl: Quickly pour the measured batter into the center of the hot pan. Immediately lift the pan with your free hand and begin tilting and swirling it. Work rapidly to spread the batter out from the center, creating a very thin and even layer across the bottom of the pan, aiming for as round a shape as you can manage. Continue swirling the pan until there’s no more liquid batter dripping around. This requires practice! If you inadvertently create small holes, quickly dab a tiny bit more batter to fill them in.
-
9. Cook the First Side: Cook the crepe for approximately 60 seconds. The top surface of the crepe should transition from shiny and wet to a dry, matte appearance. The bottom of the crepe should just begin to show a light golden hue. Using a thin spatula, chopsticks, or an offset spatula, carefully lift the edge of the crepe, then slide the tool underneath as far as possible, and quickly flip the crepe. This step takes practice, so don’t get discouraged if your first few aren’t perfect! (Remember to eat the evidence!)
-
10. Check for Flexibility: When you flip the crepe, it should be very flexible and pliable, not flat and stiff. If it holds its shape rigidly when lifted, it likely means you used too much batter or cooked it for too long. The edges should be soft, with minimal or no crispness.
-
11. Cook the Second Side: Cook the second side of the crepe for only 10-20 seconds. The goal is to cook the batter through without allowing it to become crispy or overly browned. A hint of golden color is fine, but avoid excessive browning.
-
12. Remove and Stack: Carefully remove the cooked crepe to a plate. You can either use your spatula or, with practice, lift the pan entirely and invert it to let the crepe gently fall onto the plate. Stack the finished crepes one by one on top of each other.
-
13. Adjust Heat as Needed: Pay attention to how your crepes are cooking. If you notice small bubbles rapidly forming and popping all over the crepe’s surface almost immediately after pouring the batter, your pan is too hot. Reduce the heat slightly to prevent overcooking and achieve a smoother surface.
-
14. Continue Cooking: Keep cooking crepes until all the batter is used. For efficiency, I sometimes use a second frying pan to cook two crepes simultaneously.
-
15. Serve Immediately: Crepes are best enjoyed hot and fresh from the pan! See below for detailed storage options if you have leftovers.
-
16. Strawberry Cream Cheese Crepes: Spread a few spoonfuls of the prepared cream cheese filling down the center of a warm crepe. Top generously with the macerated strawberries. You can roll it up like a burrito or spread a thin layer of cream cheese all over the crepe, add strawberries, and then fold it into quarters. Optionally, crown with a dollop of whipped cream.
-
17. Strawberry Nutella Crepes: Spoon a few generous spoonfuls of Nutella down the center of a crepe. Top with fresh strawberries and roll up like a burrito. Alternatively, spread a thin layer of Nutella over the entire crepe, add strawberries, and fold into quarters. Add whipped cream if desired.
-
18. Lemon Sugar Crepes: Liberally sprinkle 1-2 tablespoons of granulated sugar all over the top of a warm crepe. Squeeze fresh lemon juice directly over the sugar. Fold or roll the crepe and serve immediately. For an extra citrusy kick, garnish with a sprinkle of fresh lemon zest.
-
19. Mixed Berry Cream Cheese Crepes: Fill a crepe with a few spoonfuls of the cream cheese filling down the center. Top with an assortment of fresh raspberries, blueberries, and blackberries. Roll up like a burrito, or spread the cream cheese thinly, add berries, and fold into quarters. A dollop of whipped cream makes a lovely addition.
-
20. Cinnamon Sugar Crepes: Lightly brush a warm crepe with melted butter. Sprinkle generously with cinnamon sugar (about 2-3 teaspoons of cinnamon combined with 1/3 cup sugar). Roll or fold the crepe and, for an extra treat, top with whipped cream.
-
21. How to Store Cooked Crepes: As you cook, stack the finished crepes on a large plate. If you aren’t serving them immediately, ensure they cool completely, then cover the plate tightly with plastic wrap. Store in the fridge for up to 3 days. There’s no need to separate individual crepes with wax or parchment paper, as they typically don’t stick.
-
22. How to Store Crepe Batter: This batter can be made ahead of time. Store any leftover batter in a sealed container in the fridge for 2-3 days. Stir well before cooking. If the batter seems too thick after resting, add milk one tablespoon at a time until the desired consistency is achieved.
Video
You can find a detailed video demonstration of this crepe recipe on my website or YouTube channel, guiding you through each step for perfect results.
Notes
Savory Crepes Adjustment:
To adapt this recipe for savory dishes, such as my mother’s beloved Chicken Crepes, you’ll need to make a slight adjustment to the sugar and vanilla content in the batter. Reduce the granulated sugar to 1 tablespoon and completely omit the vanilla extract. The ingredients for savory crepes will be:
- 2 cups + 1 tablespoon whole milk
- 4 large eggs
- 1 tablespoon granulated sugar
- 1 and 1/2 cups all-purpose flour, spooned and leveled
- 3/4 teaspoon kosher salt
- 1/4 cup butter, melted