
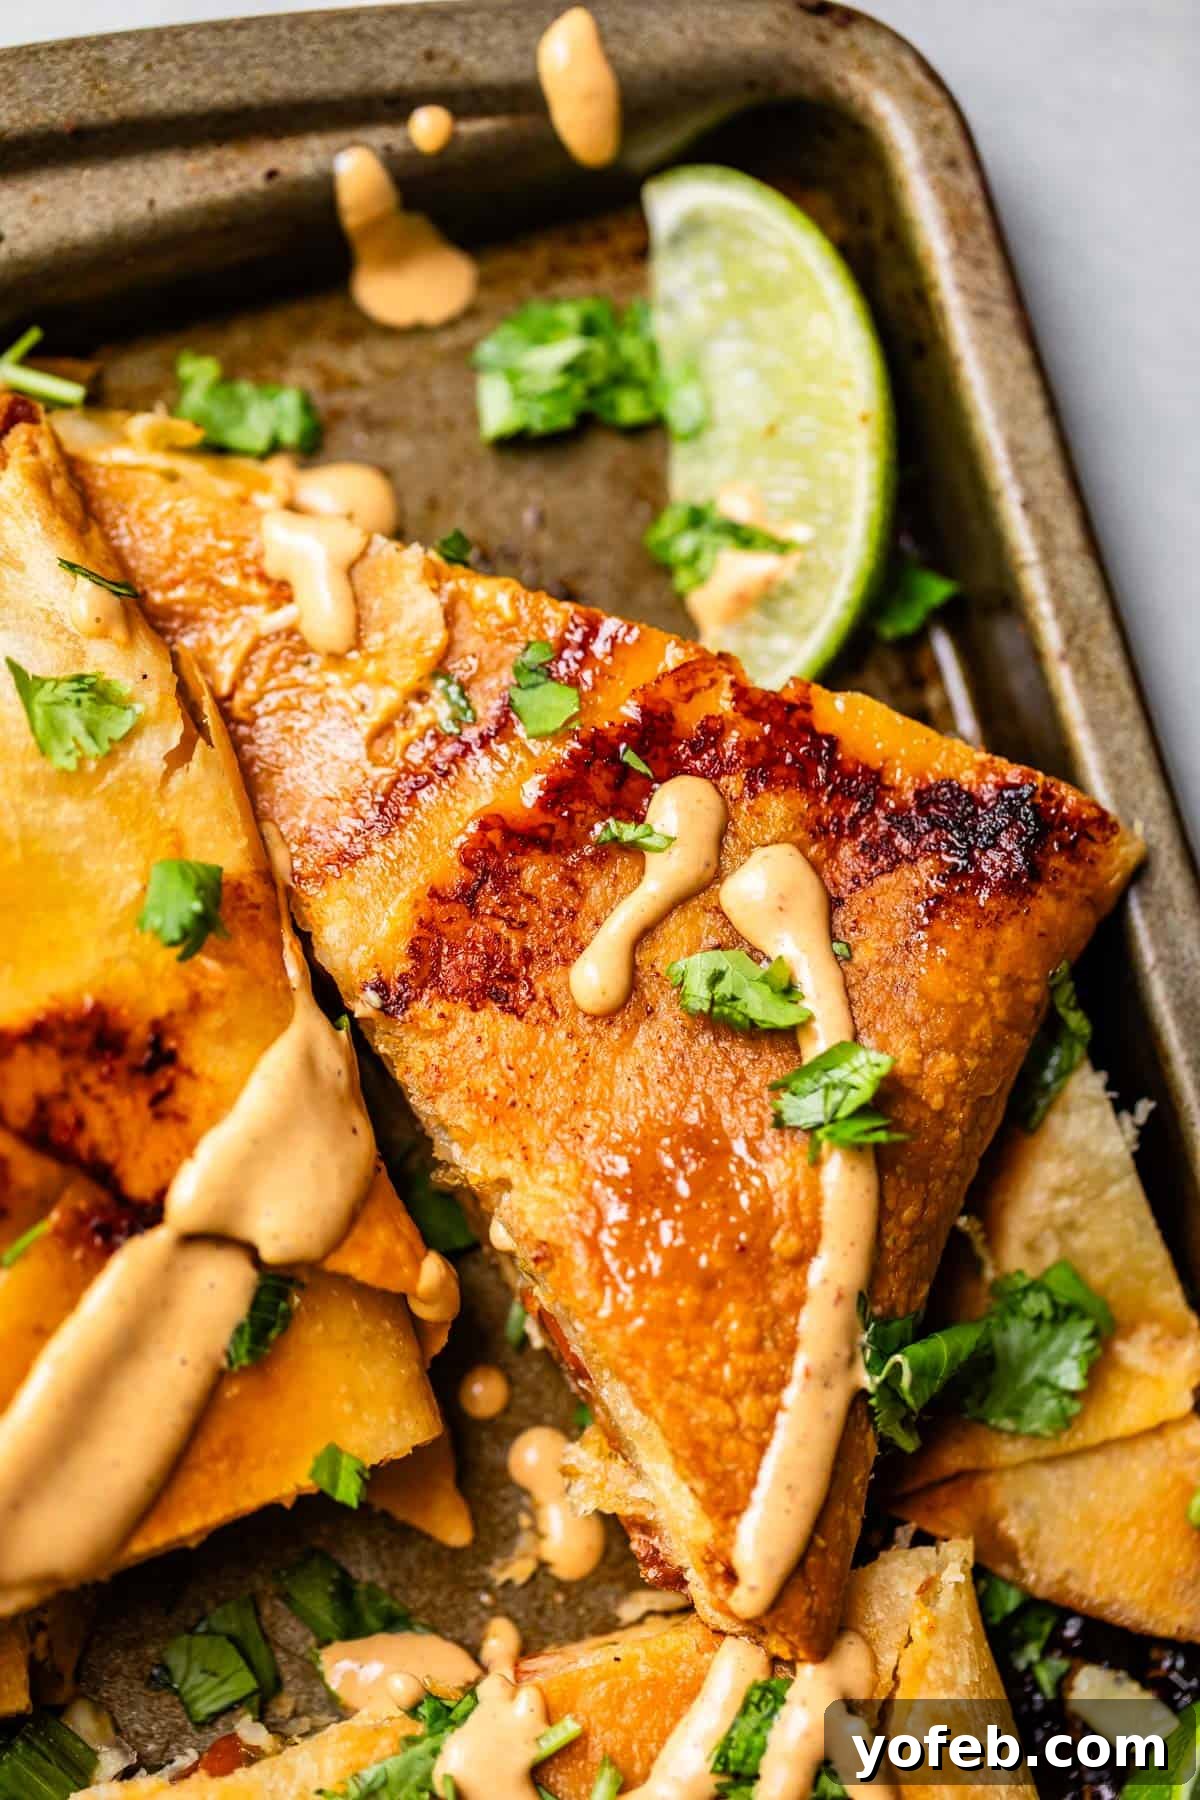
Effortless Family Feasts: The Ultimate Sheet Pan Chicken Quesadillas Recipe
Imagine feeding your entire family a delicious, satisfying meal without being tethered to the stove, flipping quesadillas one by one. Our Sheet Pan Chicken Quesadillas recipe makes that dream a reality, transforming the classic quesadilla into an incredibly easy, oven-baked wonder. This isn’t just a meal; it’s a smart solution for busy weeknights, offering maximum flavor with minimal effort.
These generous quesadillas are packed with tender shredded chicken, hearty pinto beans, fresh diced tomatoes, vibrant green onions, and, of course, an abundance of perfectly melted cheese. The secret to their irresistible crispiness? A clever technique involving stacking a second pan on top during baking, ensuring every edge is wonderfully golden and crunchy. Serve them with our Chipotle Mayo for an extra kick, alongside Stovetop Rice, Mexican Rice, or even Brown Rice and savory Tejano Beans for a truly complete and unforgettable meal. Get ready to revolutionize your dinner routine!
From Rainy Day Adventures to Crispy Quesadilla Comfort
Just last week, we had grand plans for a family adventure—a two-hour drive to the coast for a scenic hike, perfectly timed with the kids’ day off from school. Three days out, the forecast delivered unwelcome news: a 90% chance of heavy rain. Undeterred (and perhaps a little too optimistic about California weather), we decided to go anyway.
As you can see from Edison’s eloquent thumbs-down, the weather gods had other plans for our coastal outing.

I know what you’re thinking – “Why would anyone drag their family out in that weather when a cozy day at home with hot chocolate and a good book sounds far more appealing?” And you’re right! But in my region, “rain” often means a light drizzle that vanishes in minutes. This time, however, it was a full-on deluge. Despite being soaked to the bone, we actually had a blast. My kids are excellent sports, especially when a few lollipops are involved – it’s amazing how effective a little candy can be!
After a somewhat chaotic but memorable family outing, there’s nothing quite as comforting and necessary as a quick, cheesy dinner that comes together in mere minutes. That’s precisely when these Sheet Pan Chicken Quesadillas shine – a perfect remedy for any day, rain or shine, that demands ease and deliciousness.
The Enduring Appeal of This Recipe
I first developed these Sheet Pan Quesadillas in 2020 for a partnership with Kraft, even going live on Instagram to demonstrate them. You can still watch the original reel here – a fun blast from the past, complete with my little ones and some questionable fashion choices! While the original recipe was a Kraft creation, it’s no longer easily found on their site. Recognizing its enduring appeal and incredible utility, I knew it was time to give it a permanent home on my blog. This recipe truly is a keeper, a consistent hit that simplifies mealtime without sacrificing flavor.
At its core, this recipe is brilliantly simple, requiring just seven key ingredients: soft tortillas, plenty of cheese, diced tomatoes, savory pinto beans, fresh green onions, sweet corn, and shredded chicken. Many of these are staples I always have stocked in my pantry and fridge. I often keep shredded chicken in the freezer, a simple act of self-kindness that makes quick dinners even quicker. The total time from start to delicious finish is about 35 minutes, with active prep taking a mere 10 to 15 minutes – depending, of course, on how many impromptu sword fights are happening in the background. Just another average day in a busy household!
Why Sheet Pan Quesadillas Are a Game-Changer for Busy Families
If you’ve ever attempted to make quesadillas for a large family, you know the struggle: by the time the last quesadilla is cooked, the first one is long gone, and the chef (you!) hasn’t even had a bite. That’s precisely why these Sheet Pan Chicken Quesadillas are an absolute must-have in your recipe repertoire. This method allows you to prepare a whole batch of crispy, cheesy quesadillas simultaneously, eliminating the need to stand over the stove and dirty multiple frying pans. It’s an ideal solution for feeding a family of six, a hungry crowd during game day, or even for efficient meal prepping throughout the week.
Beyond the sheer volume, the beauty of sheet pan cooking lies in its efficiency. Group prep means less time spent on individual servings and more time for yourself – or, more realistically, more time to ensure everyone makes it to soccer practice on time! This recipe streamlines the entire dinner process, turning what could be a laborious task into a stress-free, enjoyable cooking experience.
Essential Ingredients for Your Sheet Pan Quesadillas
You’ll be amazed at how quickly these delicious chicken quesadillas come together with just a handful of ingredients. The preparation is straightforward – no stirring or complex steps required! Below is a snapshot of what you’ll need. For precise measurements and detailed instructions, be sure to refer to the comprehensive recipe card at the end of this post.
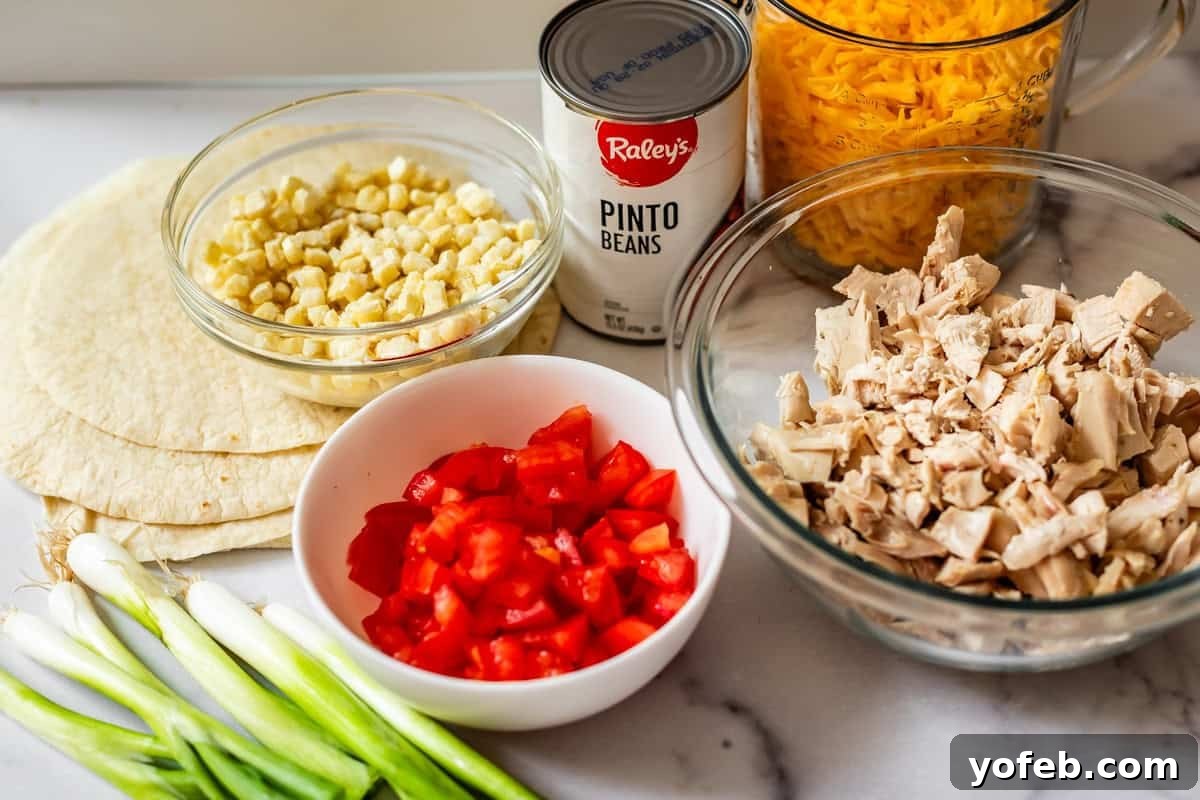
Core Fillings:
- Flour Tortillas: The foundation of our crispy quesadillas. Use 8-inch “soft taco” sized tortillas for easy layering.
- Shredded Cheese: Cheddar is a classic, but any good melting cheese like Monterey Jack or a Mexican blend works beautifully. It forms the gooey glue that holds everything together and creates those crispy edges.
- Diced Tomatoes: Adds a burst of fresh, juicy flavor and a touch of acidity.
- Pinto Beans: Contributes a creamy texture and earthy, satisfying protein. Black beans are also an excellent alternative.
- Green Onions: Provides a mild, fresh oniony kick that brightens the overall flavor.
- Frozen Corn: Adds a sweet pop of flavor and vibrant color. No need to thaw – straight from the freezer!
- Shredded Chicken: Pre-cooked chicken, like rotisserie chicken, makes this recipe incredibly fast. It’s a fantastic source of lean protein.
Optional Enhancements & Toppings:
- Fresh Cilantro: For a vibrant, aromatic finish and authentic Mexican flavor.
- Lime Slices: A squeeze of fresh lime juice at the end cuts through the richness and adds brightness.
- Sour Cream: A dollop of cool, tangy sour cream is always a welcome topping.
- Chipotle Sauce: Our homemade version is highly recommended for dipping; it elevates the flavor profile significantly.
How to Master Sheet Pan Chicken Quesadillas: Step-by-Step Guide
Creating these glorious sheet pan quesadillas is simpler than you might think. Follow these easy steps for a perfectly crispy and delicious result every time.
Step 1: Lay the Tortilla Foundation
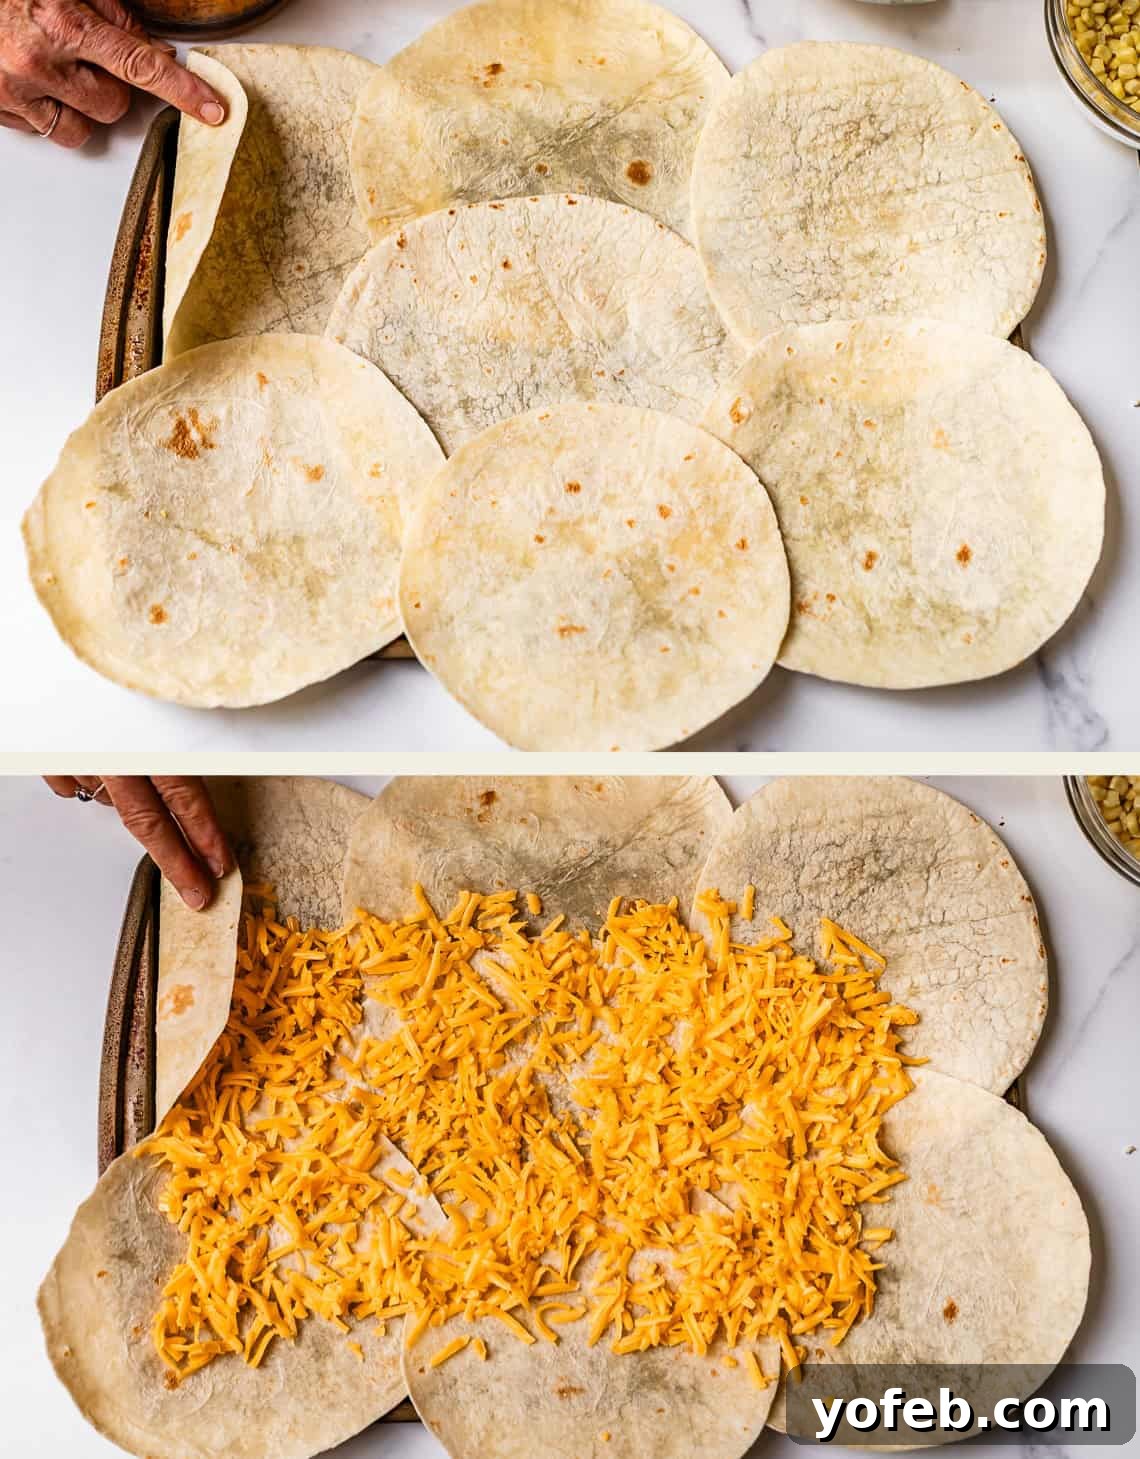
Begin by grabbing a standard sheet pan (a 10×15 inch jelly roll pan works perfectly, but a half sheet pan is also fine). Arrange your tortillas on the pan in an overlapping pattern, similar to how shingles on a roof are laid. You’ll want to ensure that every inch of the pan’s surface is covered, with the edges of the tortillas extending over the sides. These overhangs are crucial as they will be folded in later to encase the delicious filling. If using a larger half sheet pan, focus your ingredients towards the center of the tortillas, allowing for that essential overhang.
Step 2: Layer with Love (Starting with Cheese!)
The order of your fillings doesn’t strictly matter, with one vital exception: cheese. Cheese acts as a delicious glue and a protective layer, so it should be the first and last ingredient directly touching the tortillas. This ensures optimal melting and a beautiful golden crust. I recommend using about 4 cups (or 1 pound) of cheese in total. Sprinkle about half of it – roughly 2 cups – evenly over the bottom layer of tortillas. Don’t be shy; these are quesadillas, meant to be generously cheesy!
Step 3: Add Your Flavorful Fillings
Now, it’s time to build the layers of flavor. First, scatter the diced tomatoes over the cheese. Their juicy freshness will perfectly complement the other ingredients.
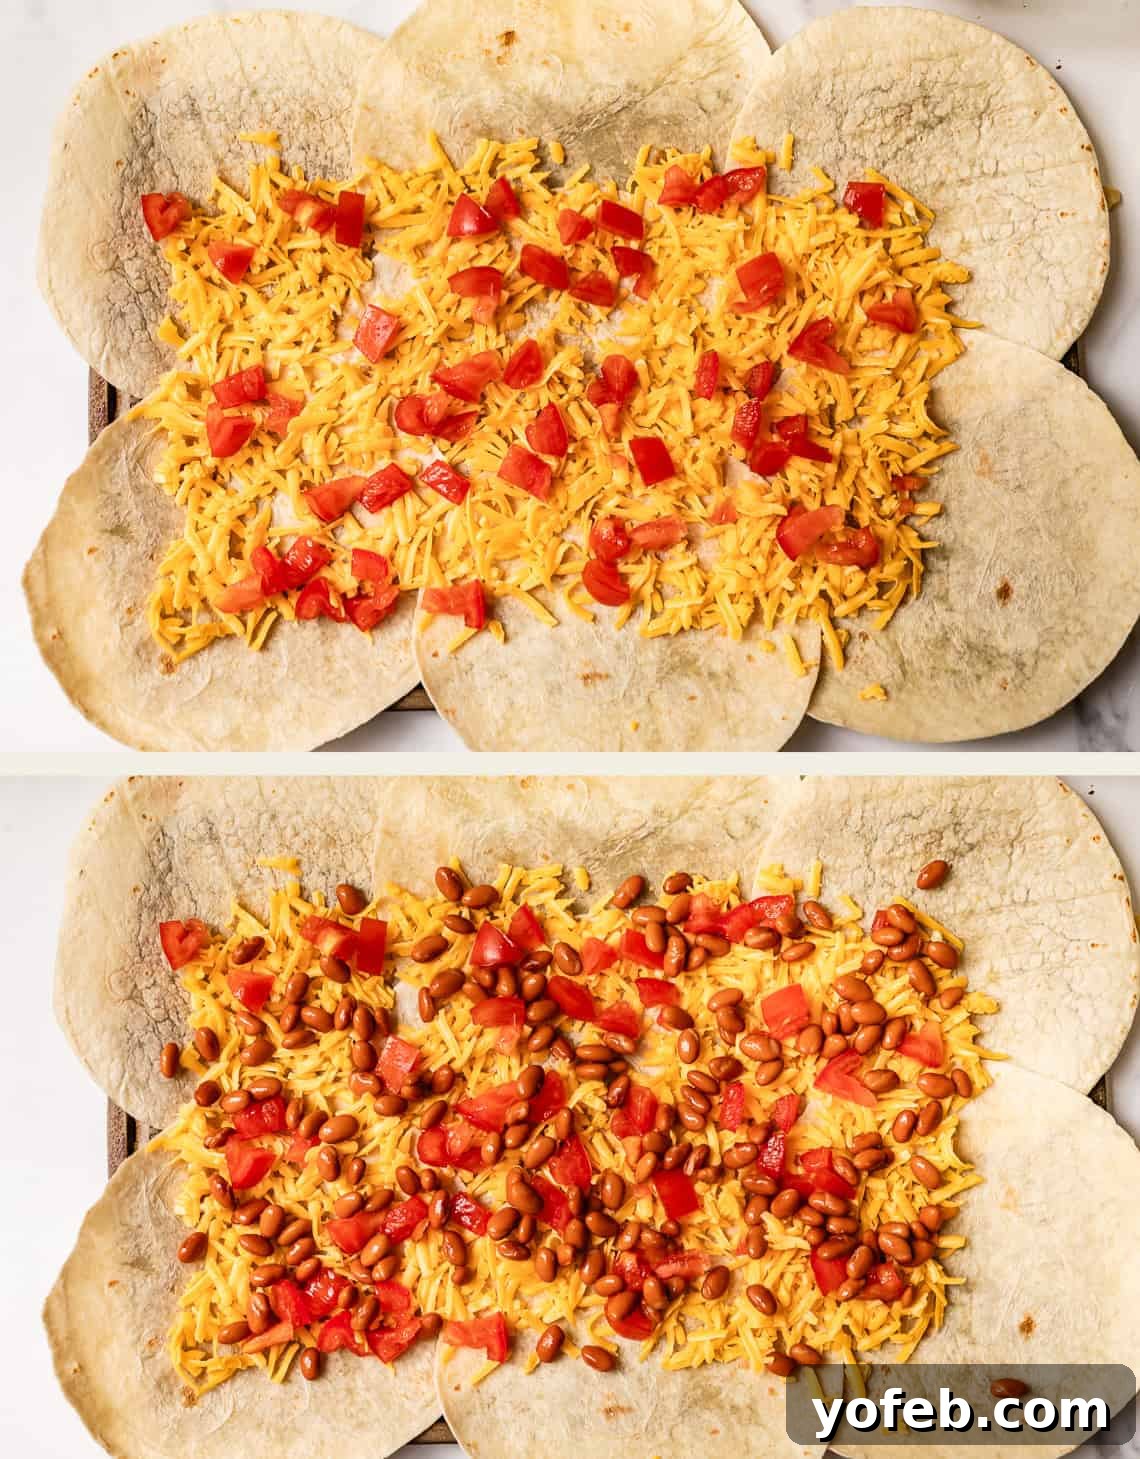
Next, evenly spread the drained pinto beans. While pinto beans are excellent, feel free to use any bean you prefer, like black beans. It’s crucial to drain them well to prevent sogginess. While the liquid from canned beans can add flavor, too much moisture will hinder that desired crispy texture. A quick pat dry or squeeze will do the trick.
Then, sprinkle the frozen corn directly over the beans. No need to thaw it; the oven will take care of it, making this recipe even easier!
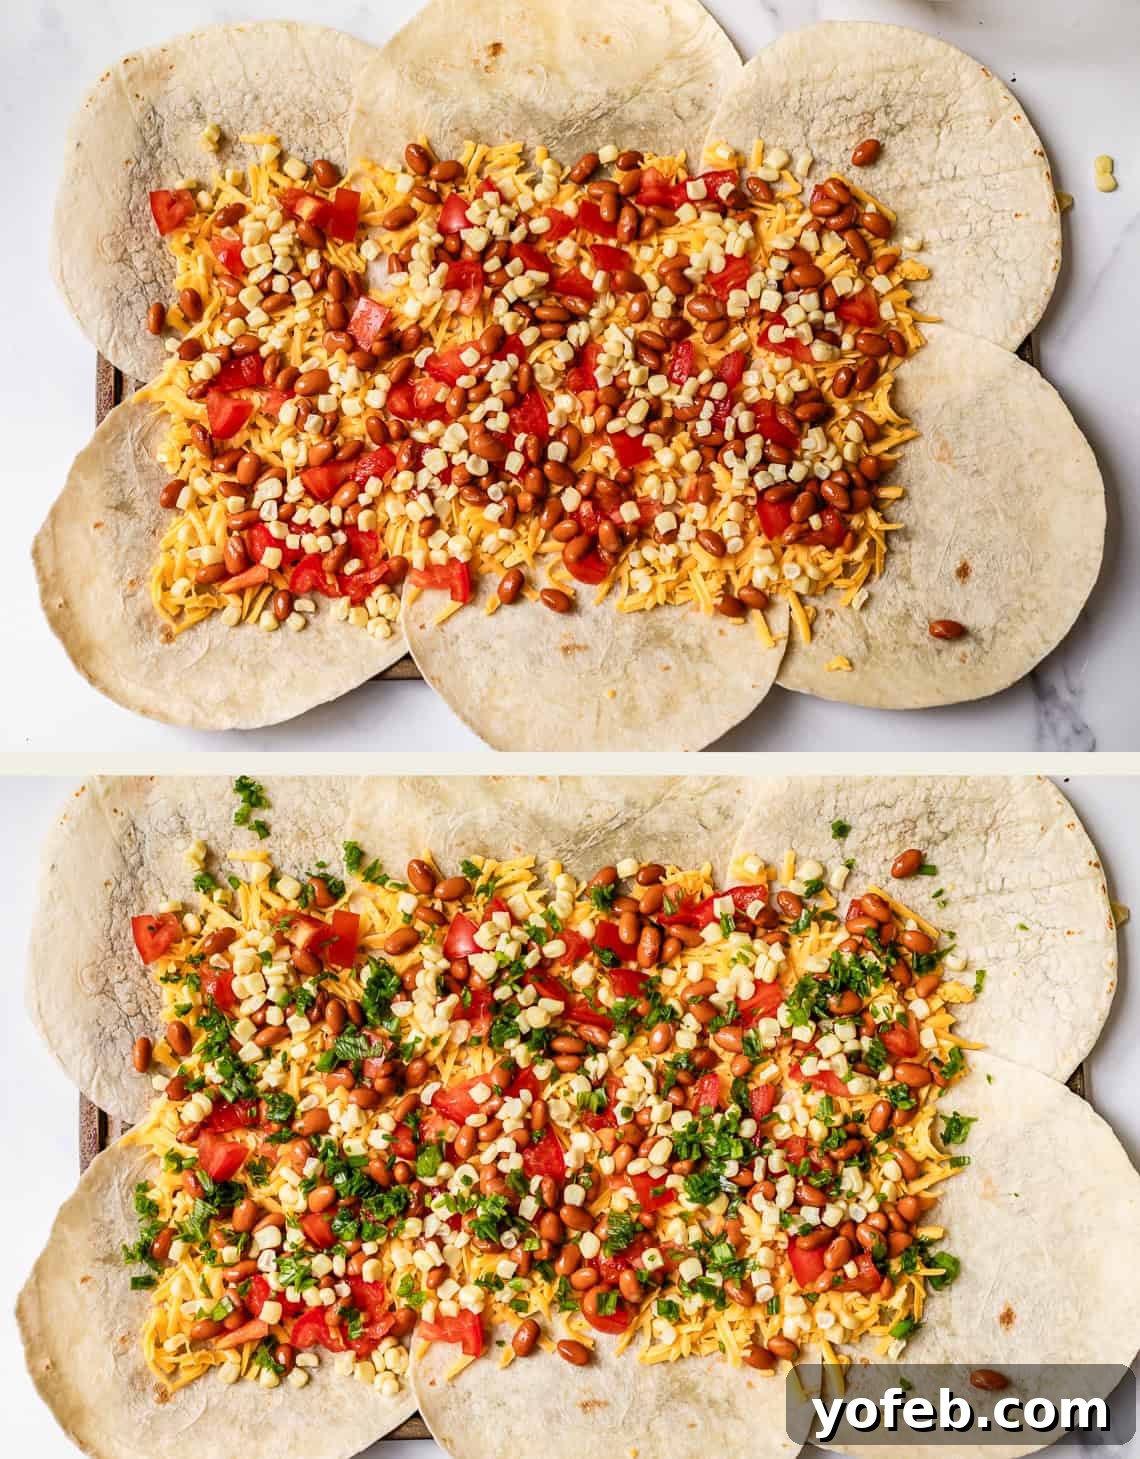
Add the chopped green onions, and if you’re a cilantro lover, now’s the time to add a generous sprinkle for extra freshness.
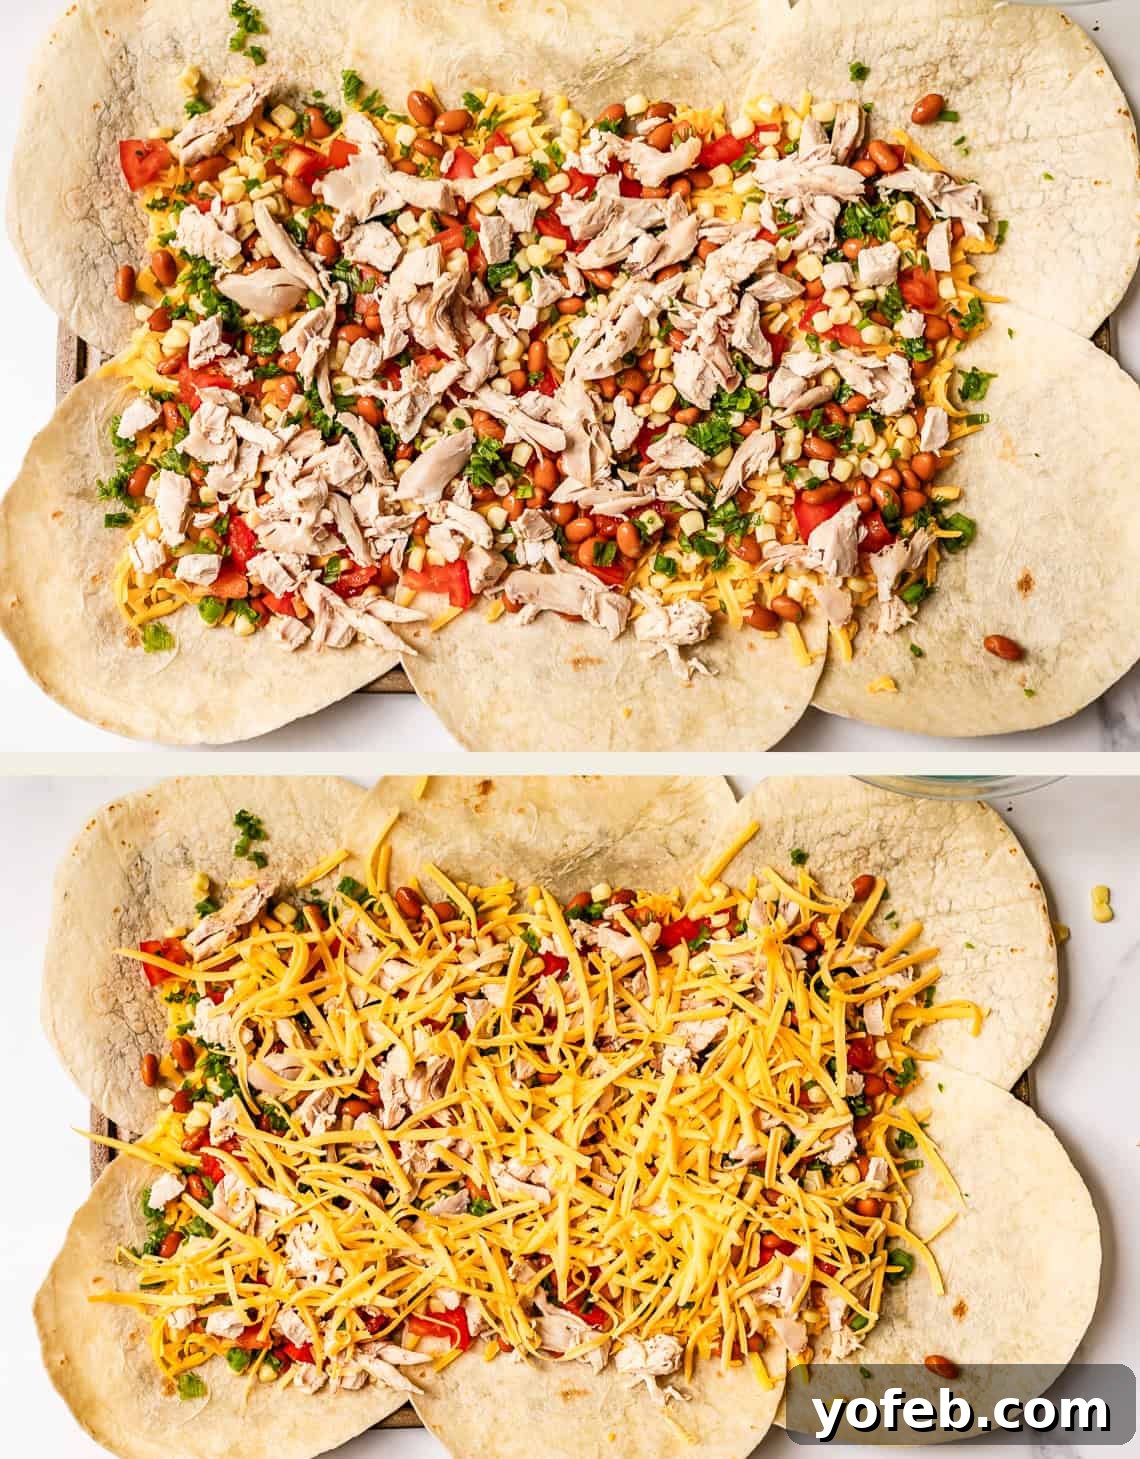
Finally, distribute the shredded chicken evenly across the pan. Rotisserie chickens from Costco are my go-to for this – quick, flavorful, and incredibly convenient!
Step 4: The Final Cheese Layer & Folding
Crown your masterpiece with the remaining cheese, ensuring a good, even layer. Now for the fun part: adding a couple more tortillas to the center of the pan, directly on top of all the fillings. These will form the inner top layer. Then, carefully fold the overhanging edges of the bottom tortillas inwards, overlapping them towards the center to fully enclose the filling. This creates a giant, seamless quesadilla package.
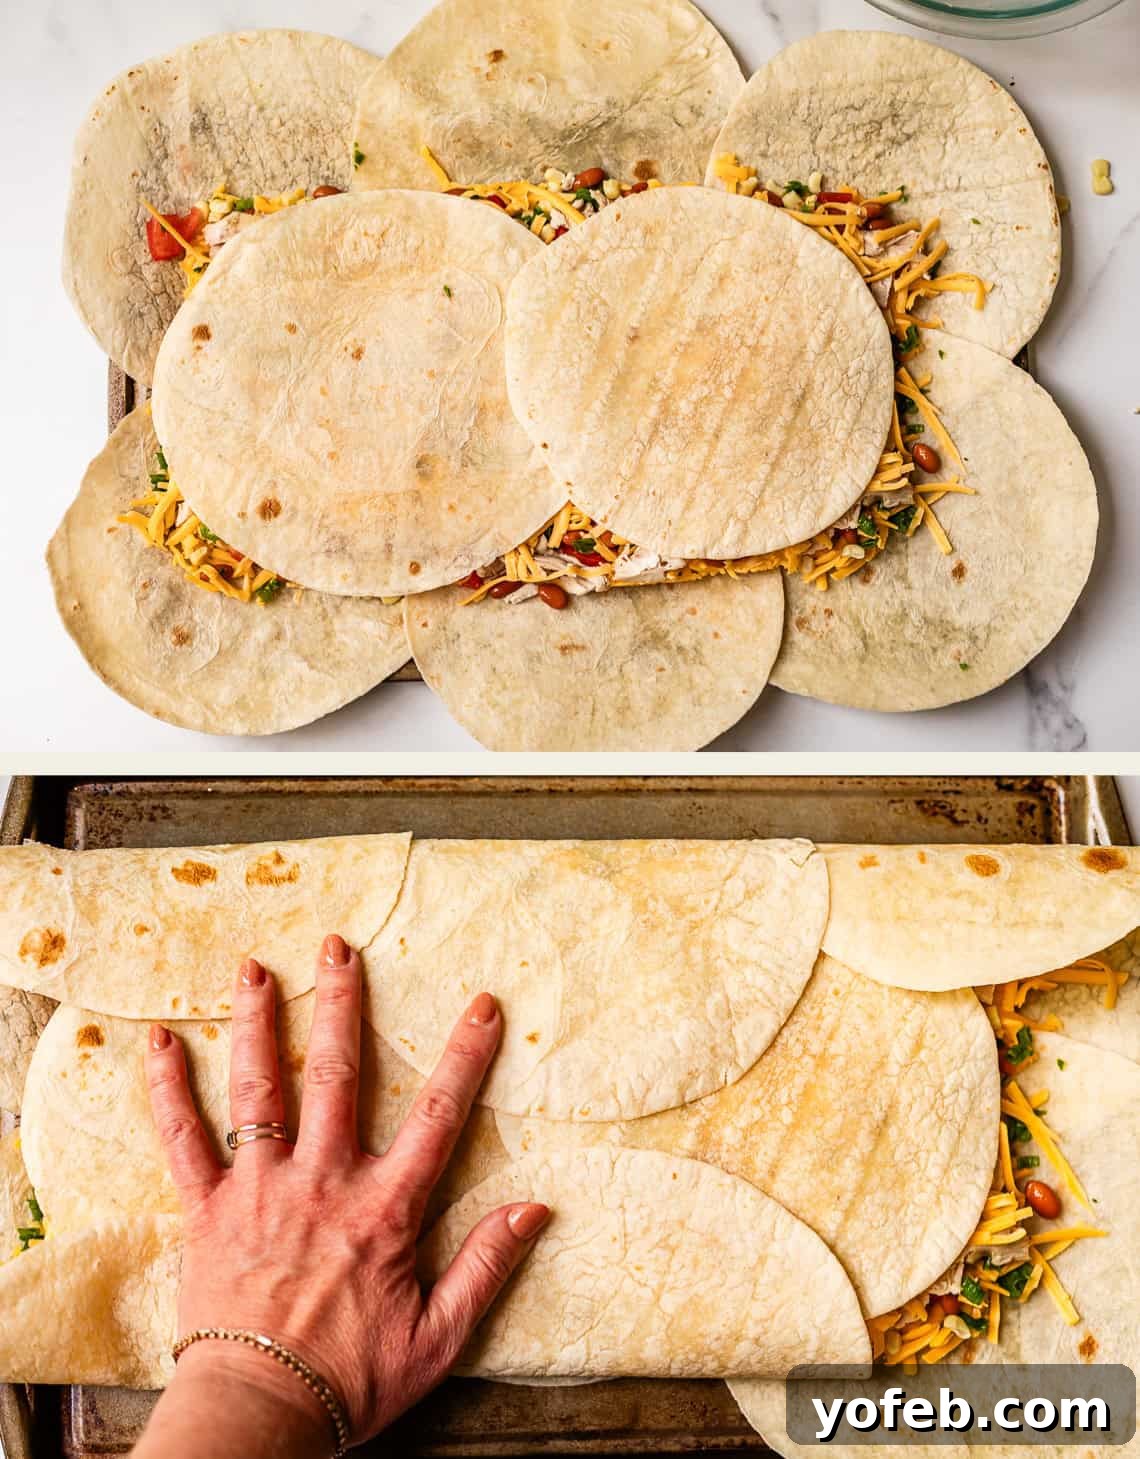
If you’re like me, juggling a camera and cooking solo, you might need to get creative! I often use empty bowls to temporarily hold down the folded tortilla edges on one side while I work on the other.
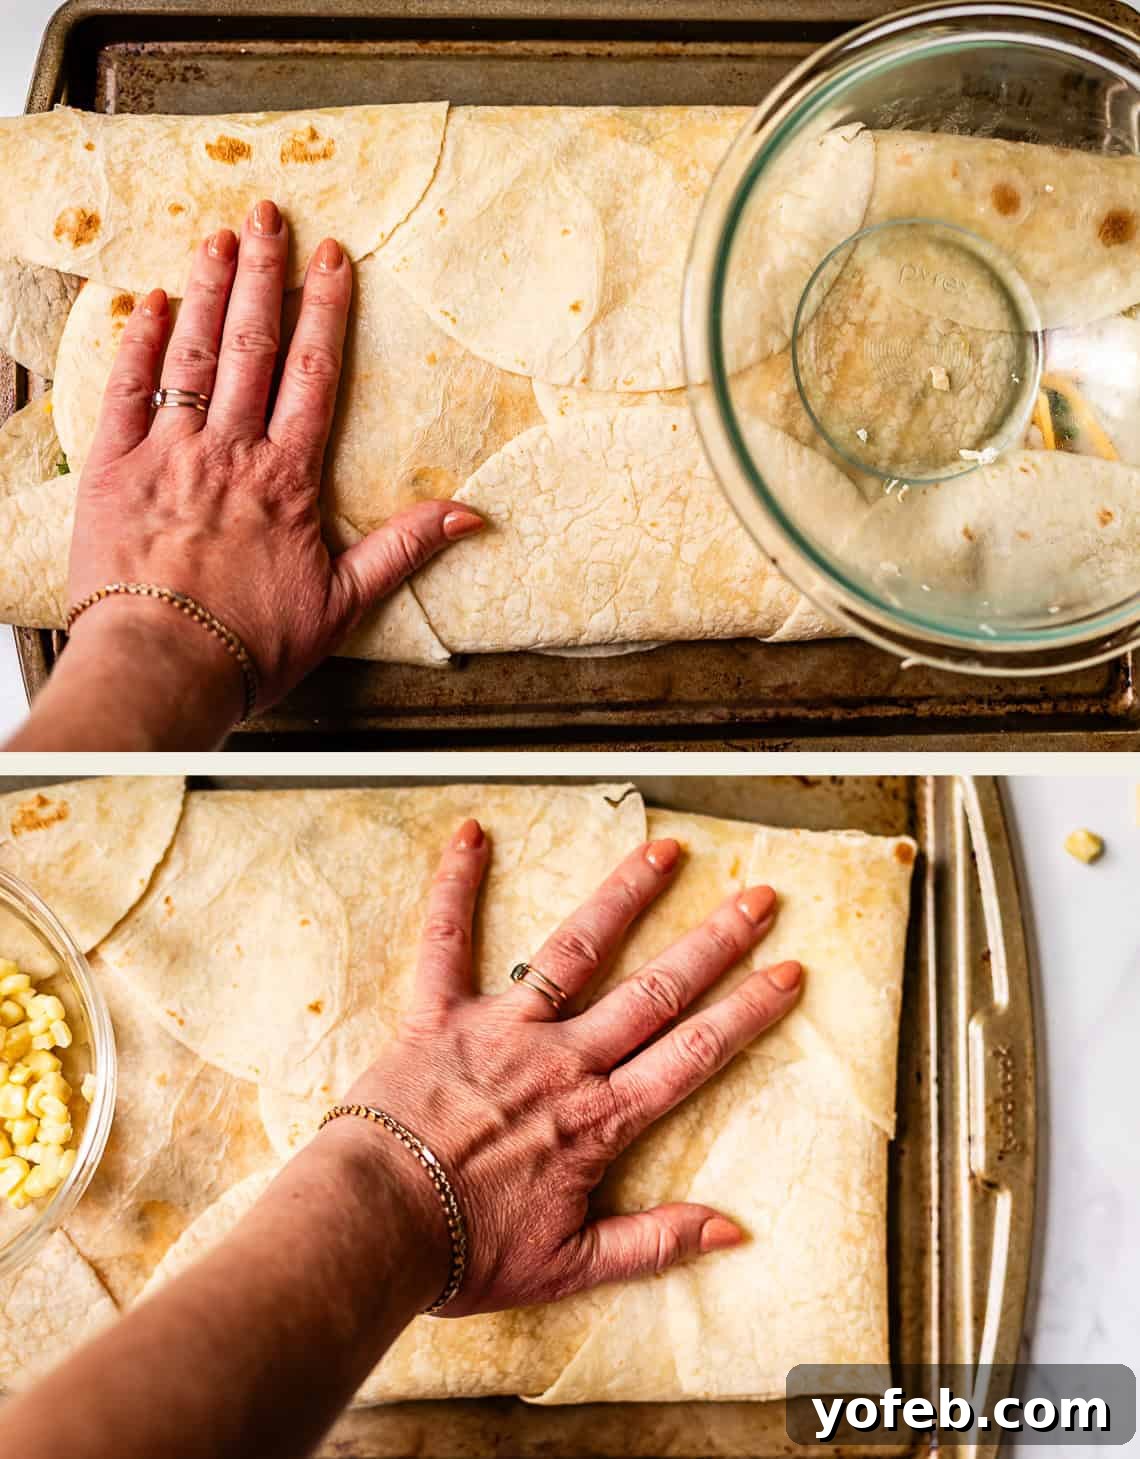
Once all the sides are folded in, retrieve your second baking sheet. Using your “lightning Ninja skillz” (or a helpful assistant!), carefully place the second sheet pan directly on top of your giant quesadilla, with its bottom facing down. This clever pressing technique is key to achieving those incredibly crispy, golden tortilla edges that make this recipe so special. No need for heavy weights; the pan’s own weight is perfect and prevents the filling from spilling out, as I learned from previous experiments!
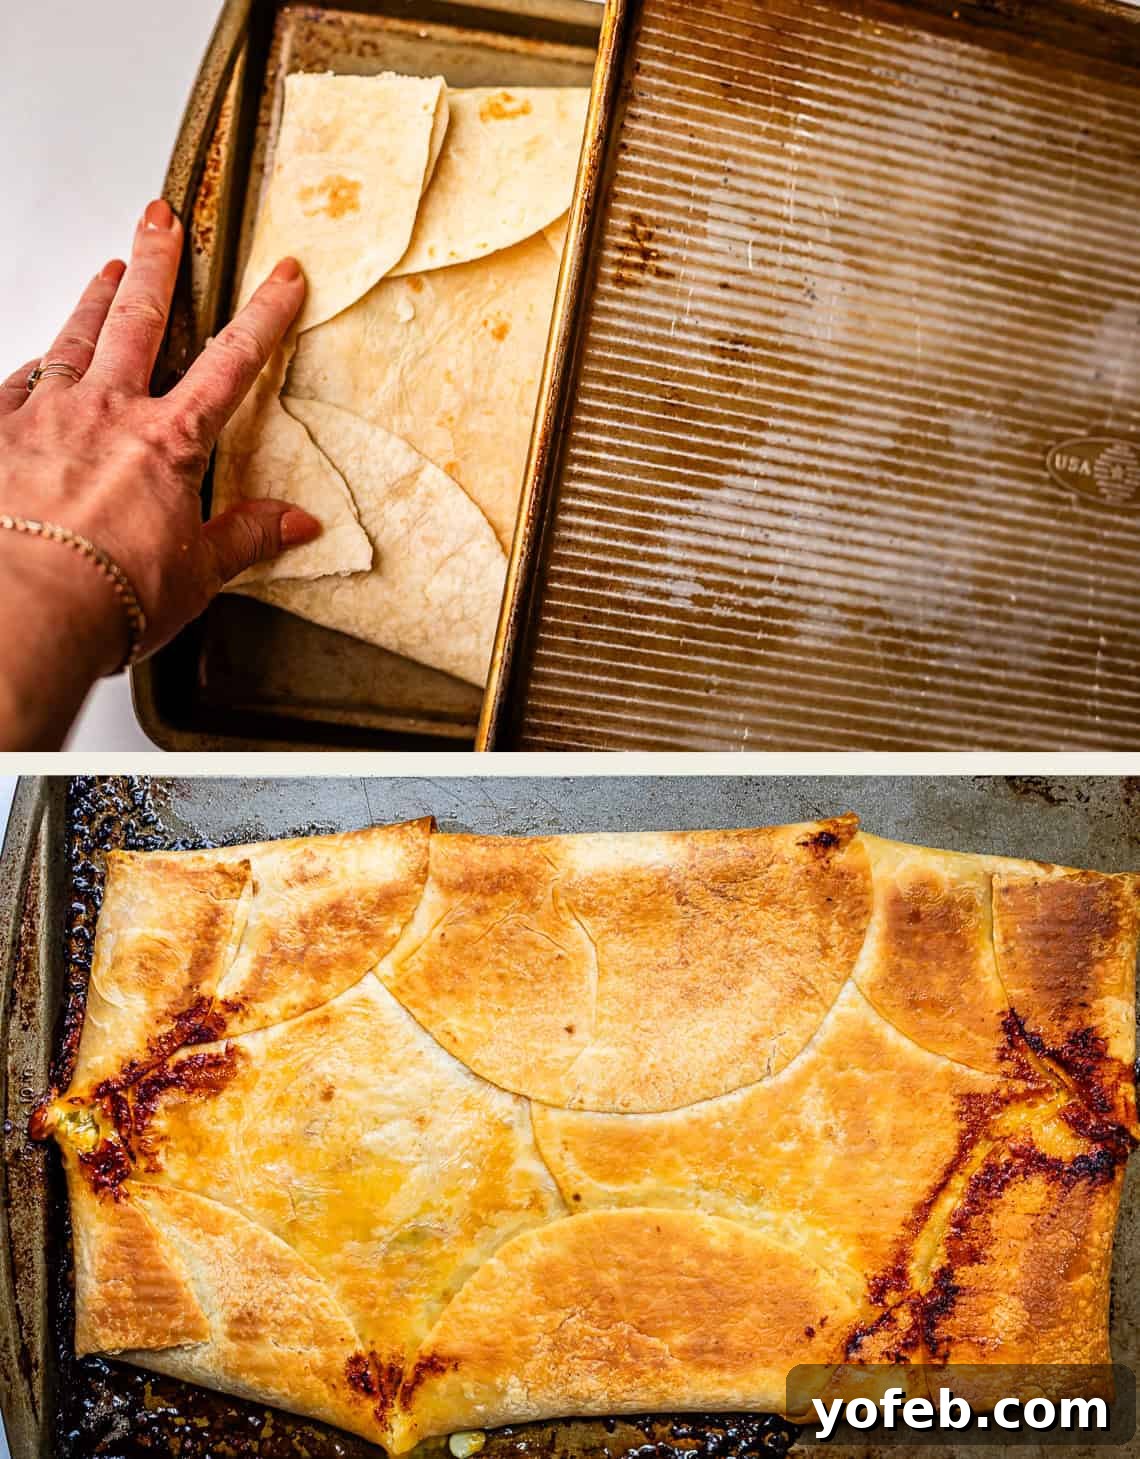
Step 5: Bake to Golden Perfection
Preheat your oven to 425 degrees F and bake for about 20-25 minutes, or until your quesadilla looks beautifully golden brown and irresistibly crispy. The cheese will be perfectly melted, and the tortillas will have developed an incredible crunch. Once baked, let it rest for about 5 minutes. This crucial resting time allows the cheese to set slightly, making it much easier to slice without the filling oozing out.
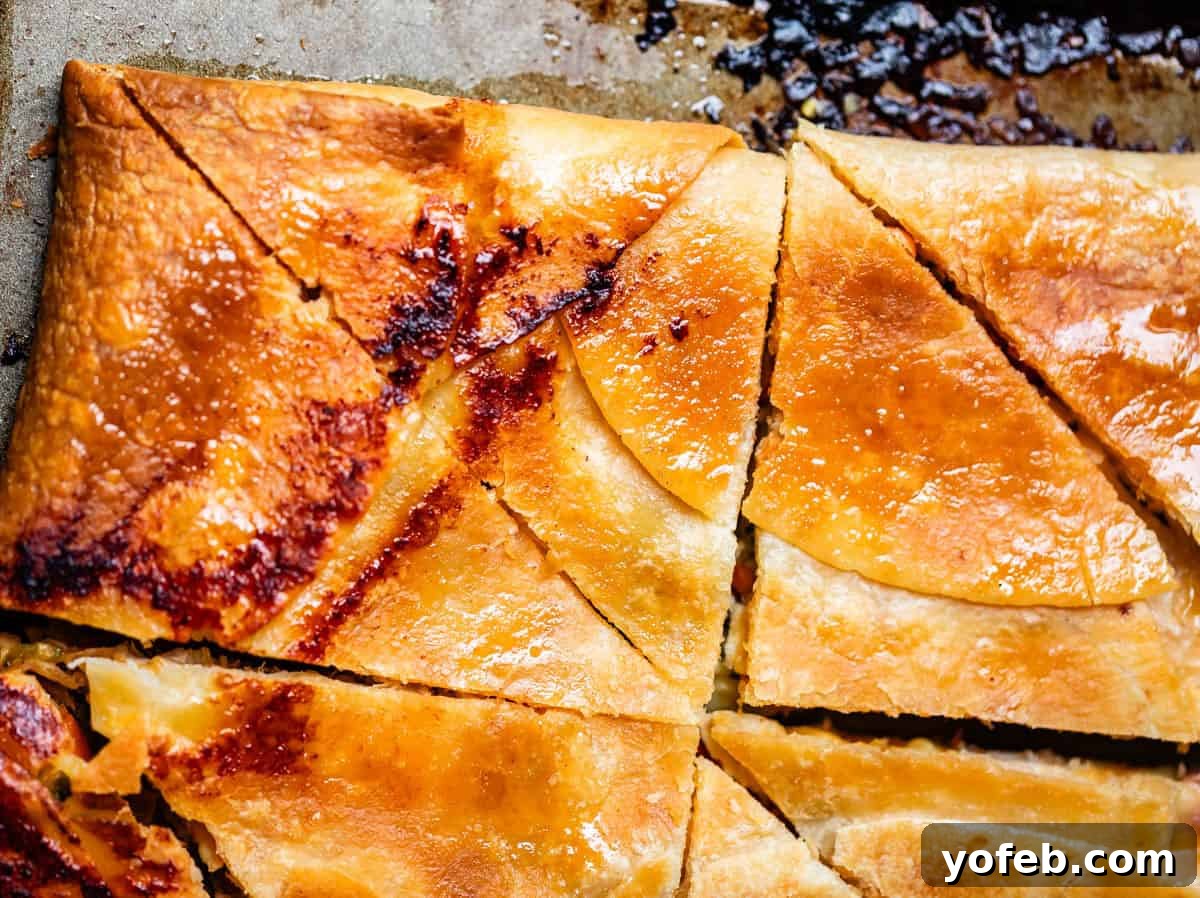
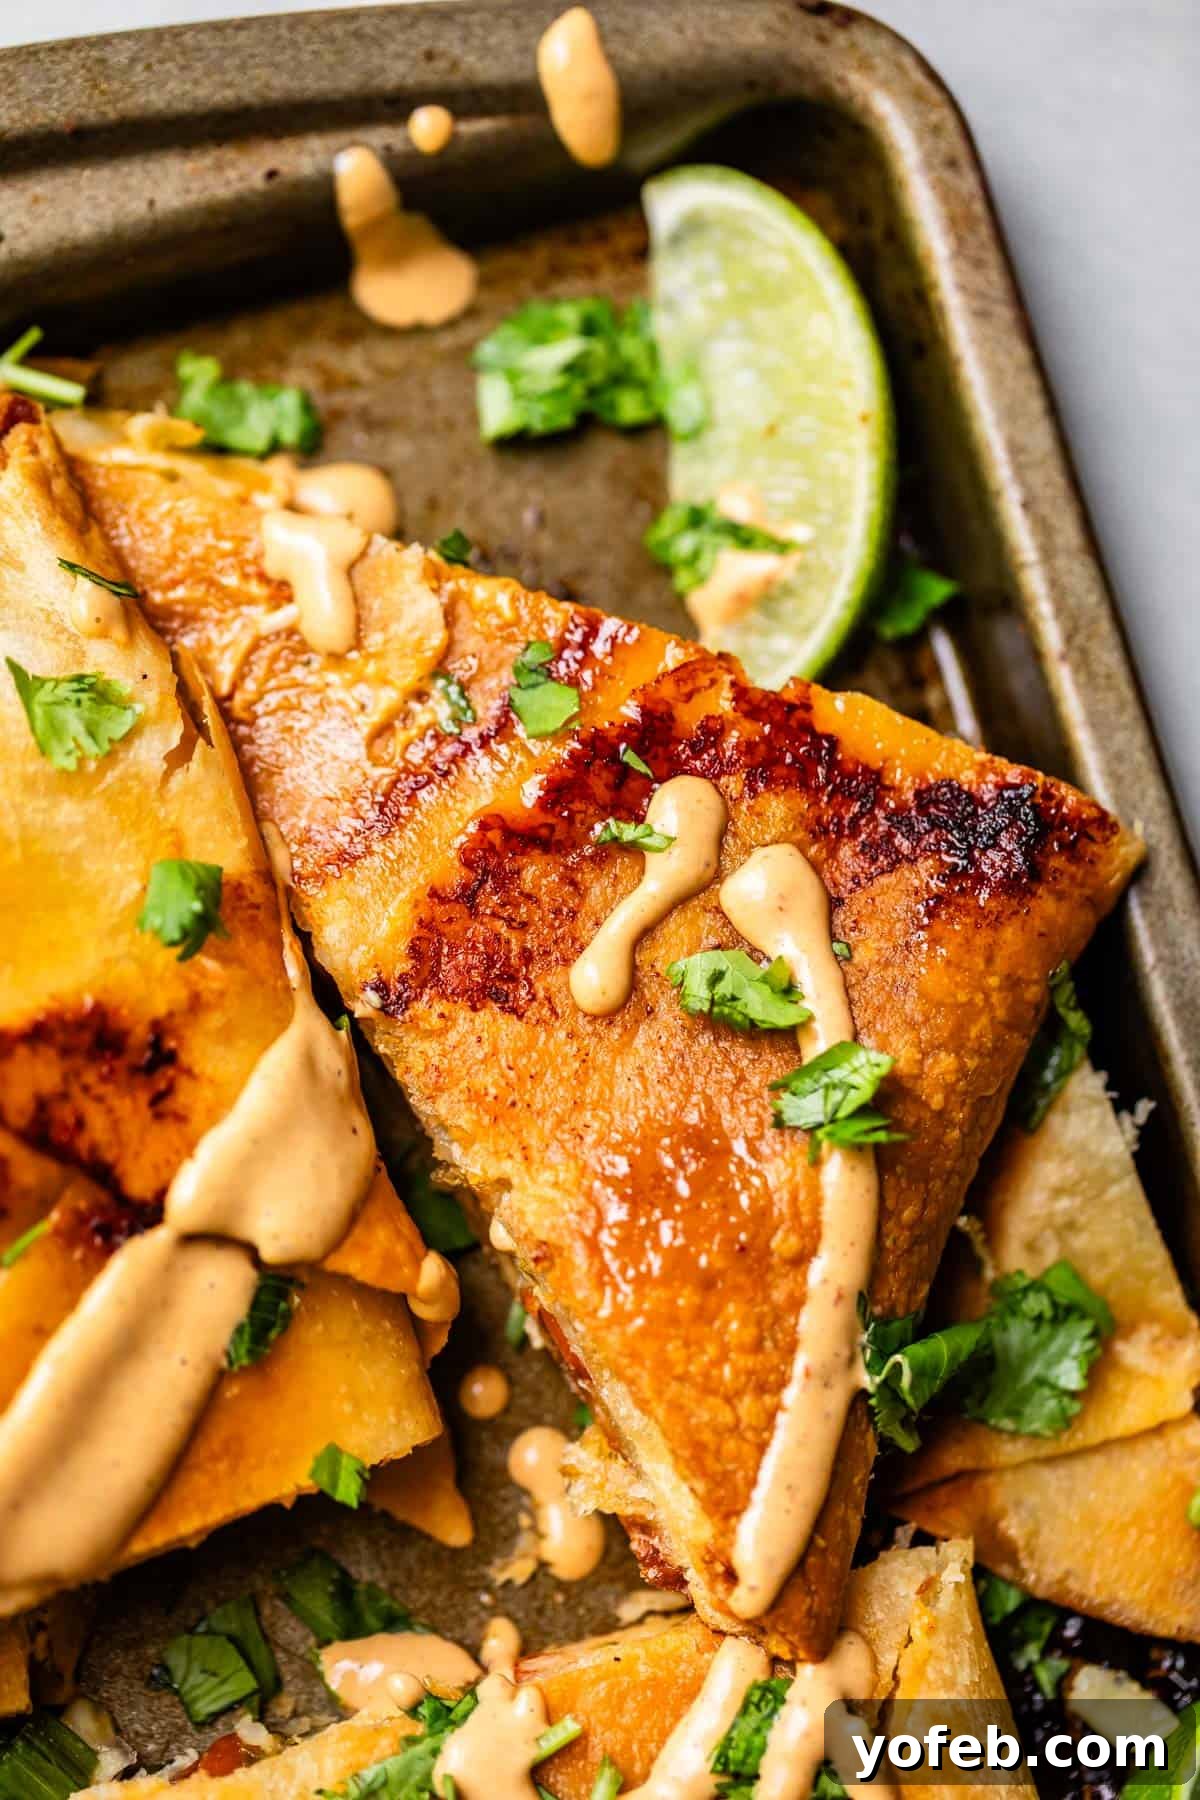
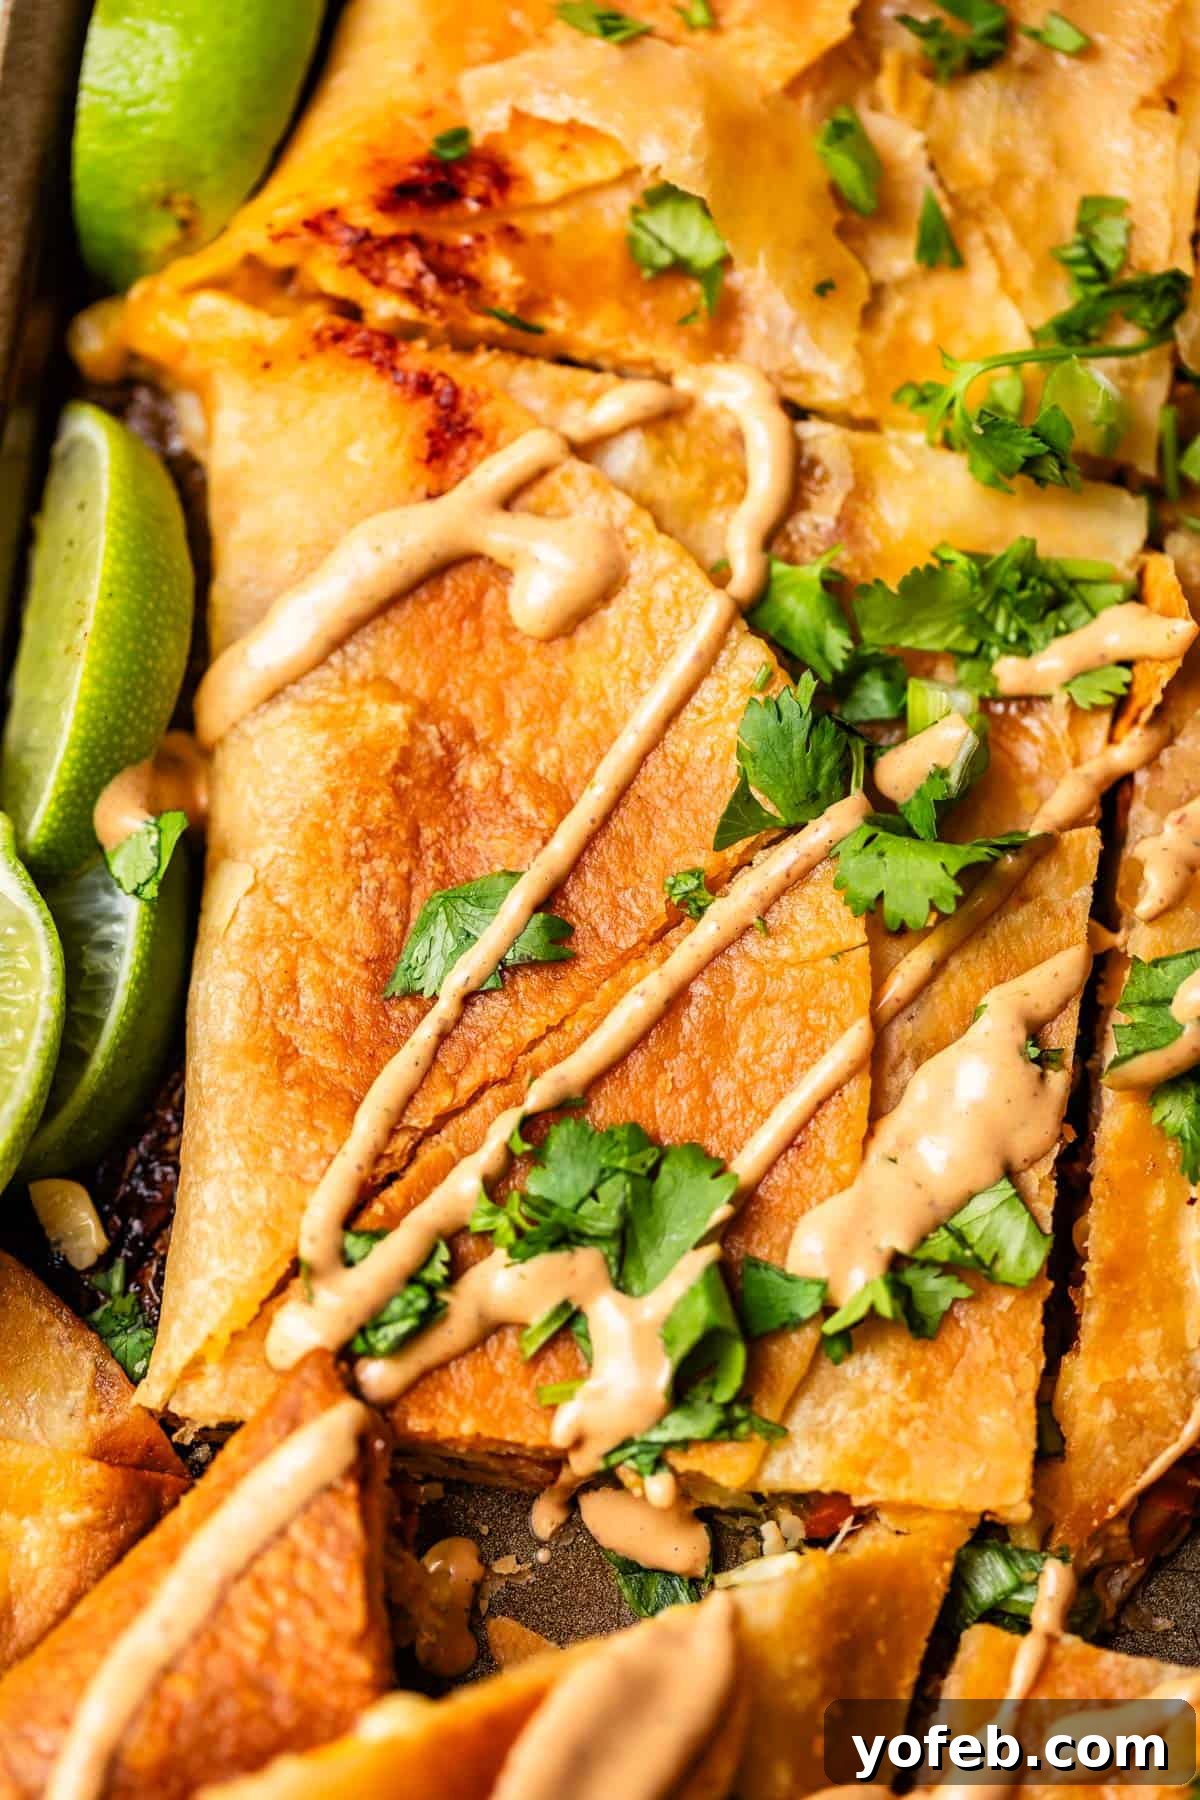
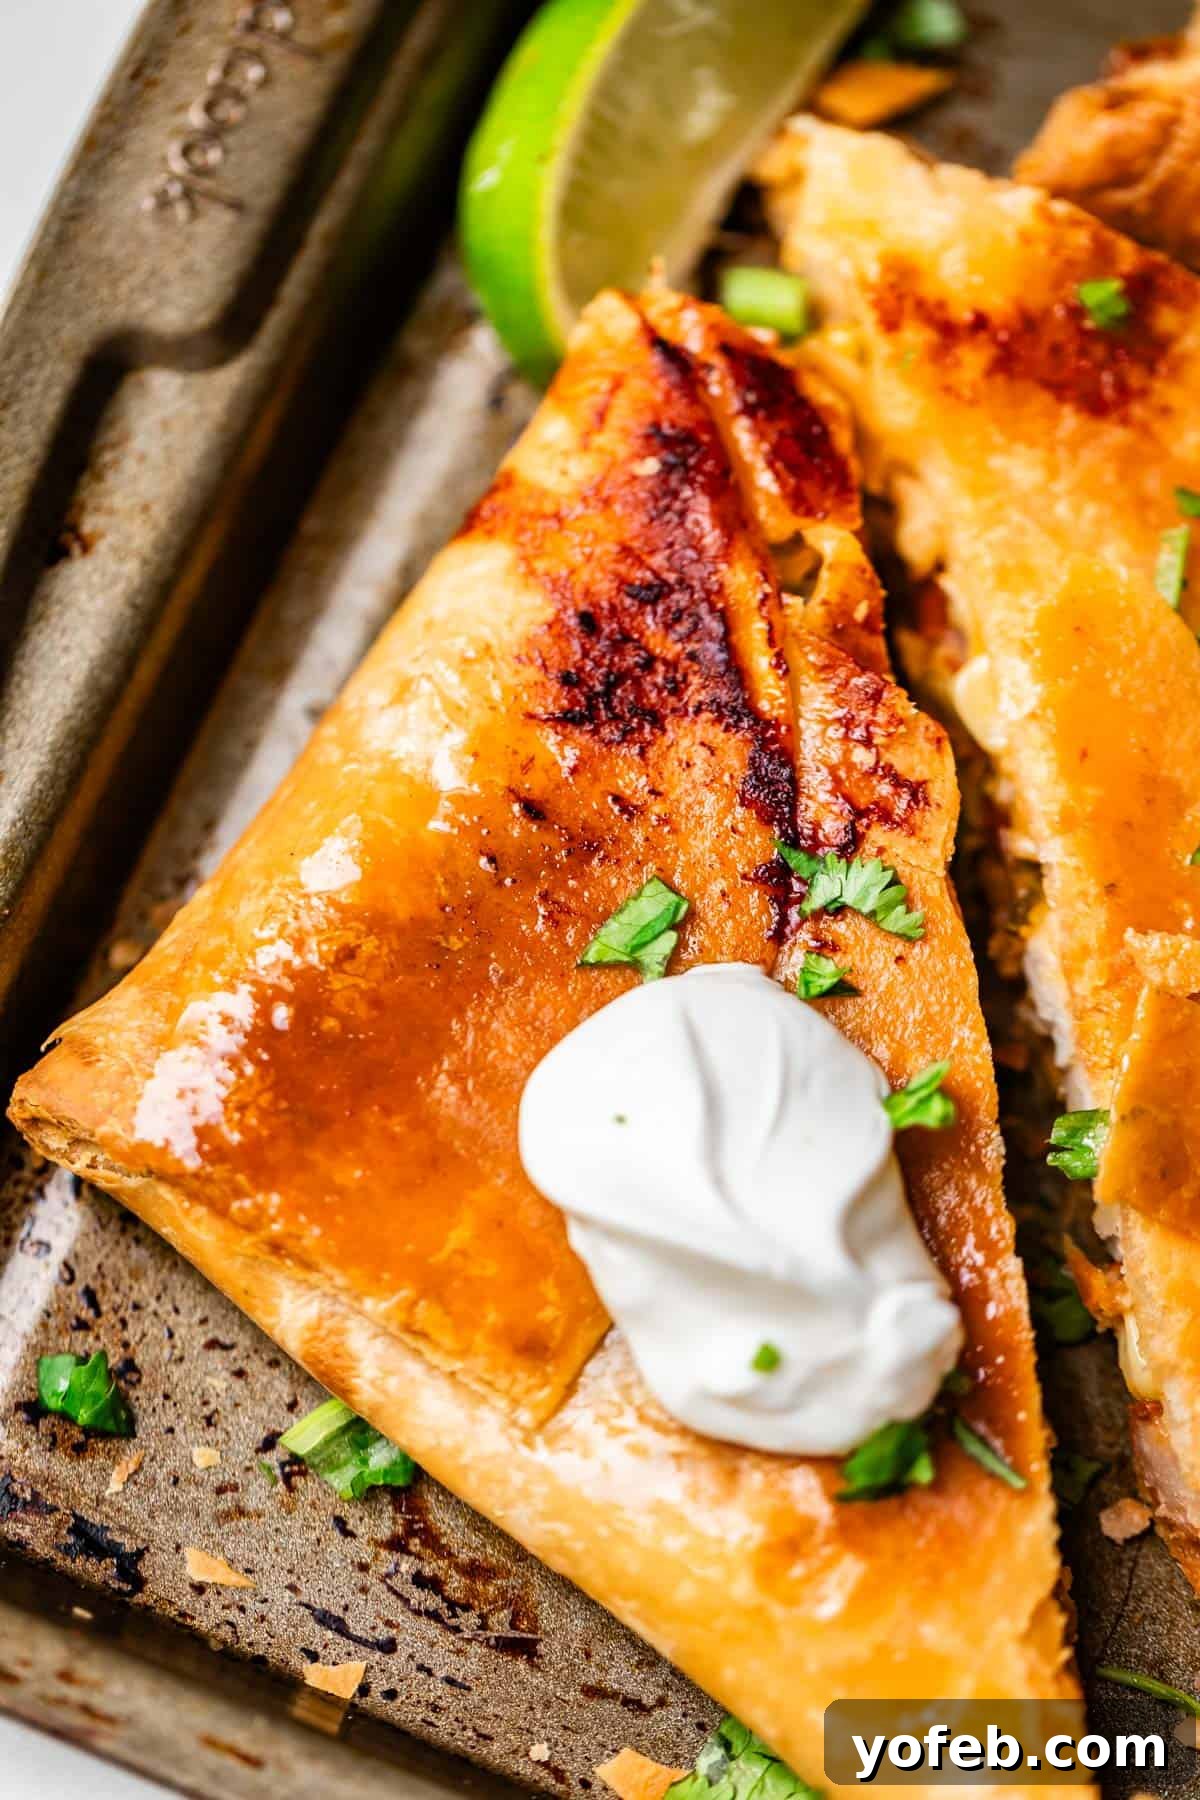
Just look at that golden, crispy goodness! Cut the entire quesadilla into large rectangles or, for smaller, more dippable portions, cut those rectangles into triangles. Then, get ready to dive in!
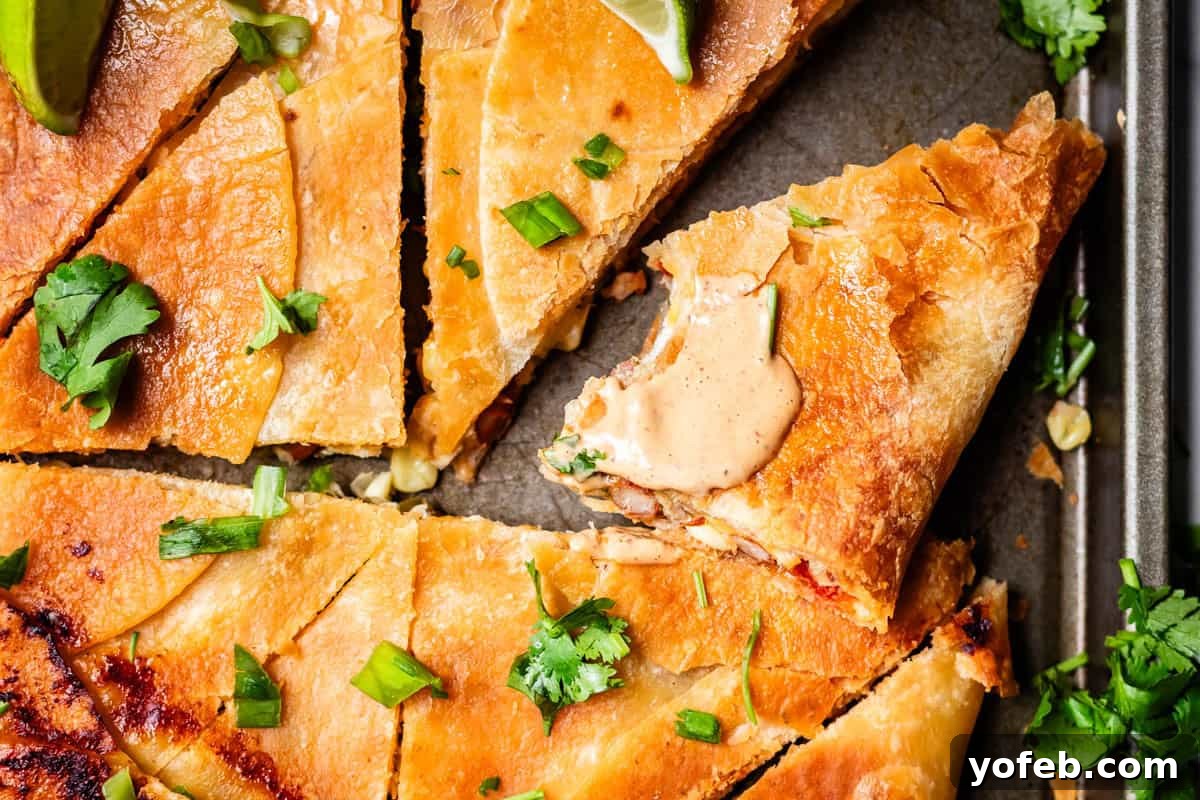
Step 6: Don’t Forget the Dip!
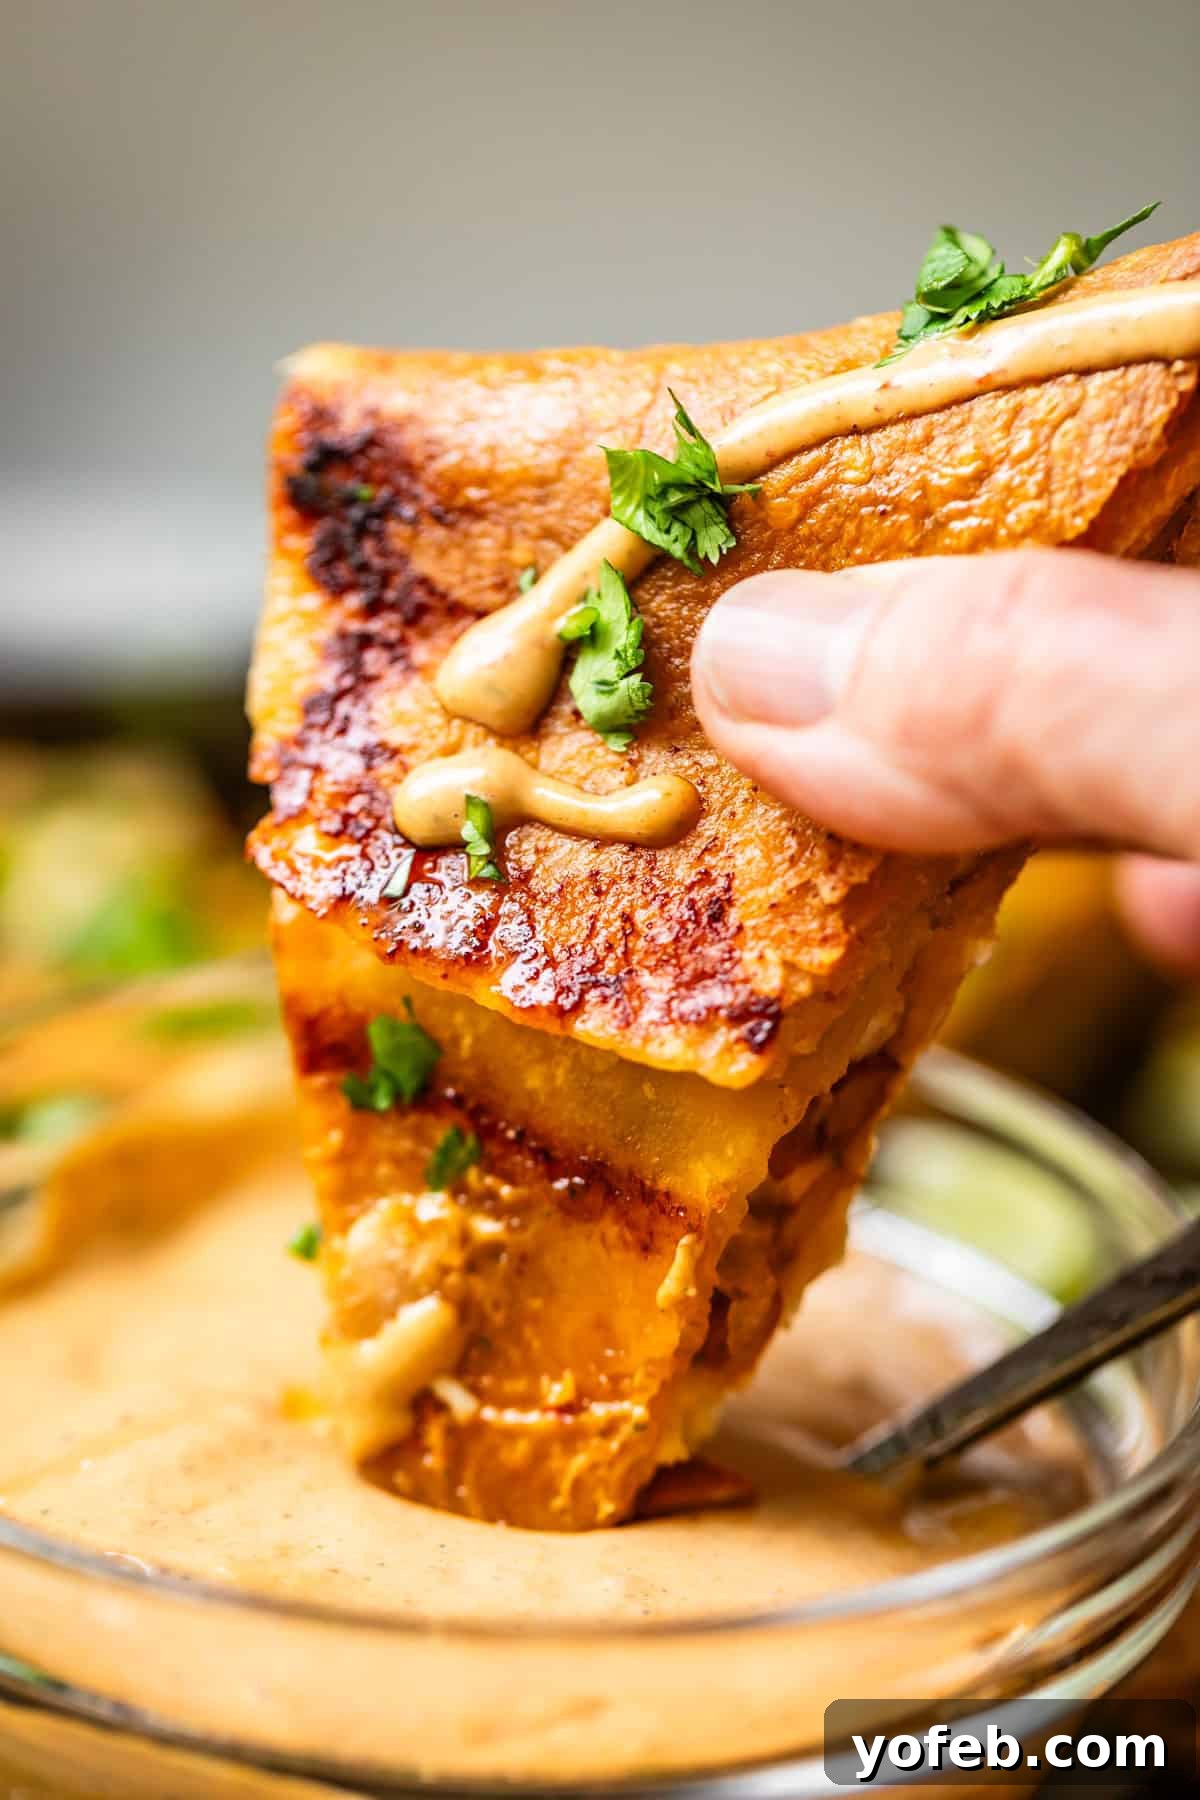
Whatever you do, do NOT forget the Chipotle Mayo! This creamy, smoky dip is the perfect partner for these quesadillas, creating a truly unforgettable flavor combination. While the quesadilla bakes, take a moment to whip up this incredible sauce. You’ll thank me later!
Unleash Your Creativity: Quesadilla Variations for Every Palate
The beauty of this sheet pan quesadilla recipe lies in its incredible versatility. While the chicken and pinto bean filling is a family favorite, don’t hesitate to experiment with different ingredients to suit your taste or whatever you have on hand. Just a note of caution: on one occasion, I used leftover chopped turkey burgers, and the excess grease prevented the tortillas from crisping up properly. So, remember to always ensure your meat fillings are well-drained to avoid a soggy outcome!
- Veggies Galore: Beyond corn and tomatoes, introduce a spectrum of vegetables. Most firmer veggies will benefit from a quick sauté before adding them to the quesadilla to ensure they cook through and don’t release too much moisture. Consider adding sautéed onions (red or yellow), colorful bell peppers (red, green, or yellow), zucchini, yellow squash, or earthy mushrooms. For a bit of heat, finely diced jalapeños or poblanos would be fantastic!
- Meat Lover’s Dream: The shredded chicken is easily swapped or enhanced. Try seasoning your chicken with fajita seasoning, taco seasoning, or even a simple blend of cumin and chili powder before layering. Ground beef, chicken, or turkey are excellent choices, just be sure they are thoroughly cooked and, importantly, well-drained of any grease. This is also a brilliant way to use up leftover cooked meats from previous dinners – think pulled pork, steak strips, or even seasoned ground sausage!
- Cheese, Please!: While cheddar is a crowd-pleaser, explore other melty cheese options. Monterey Jack offers a mild, buttery flavor, while Pepper Jack adds a delightful spicy kick. A pre-shredded Mexican cheese blend is always convenient, and for an authentic touch, seek out Oaxaca cheese, traditionally used in Mexican quesadillas for its incredible melt and stretch.
- Dipping Delights: If Chipotle Mayo isn’t quite your style, the dipping possibilities are endless! Whip up a fresh batch of homemade Guacamole for creamy indulgence, or opt for a vibrant 5-Minute Restaurant Style Salsa or a chunky Pico de Gallo. For a unique twist, try the creamy Avocado Sauce from my flautas recipe. My culinary motto remains: always have a good dip to elevate any meal!
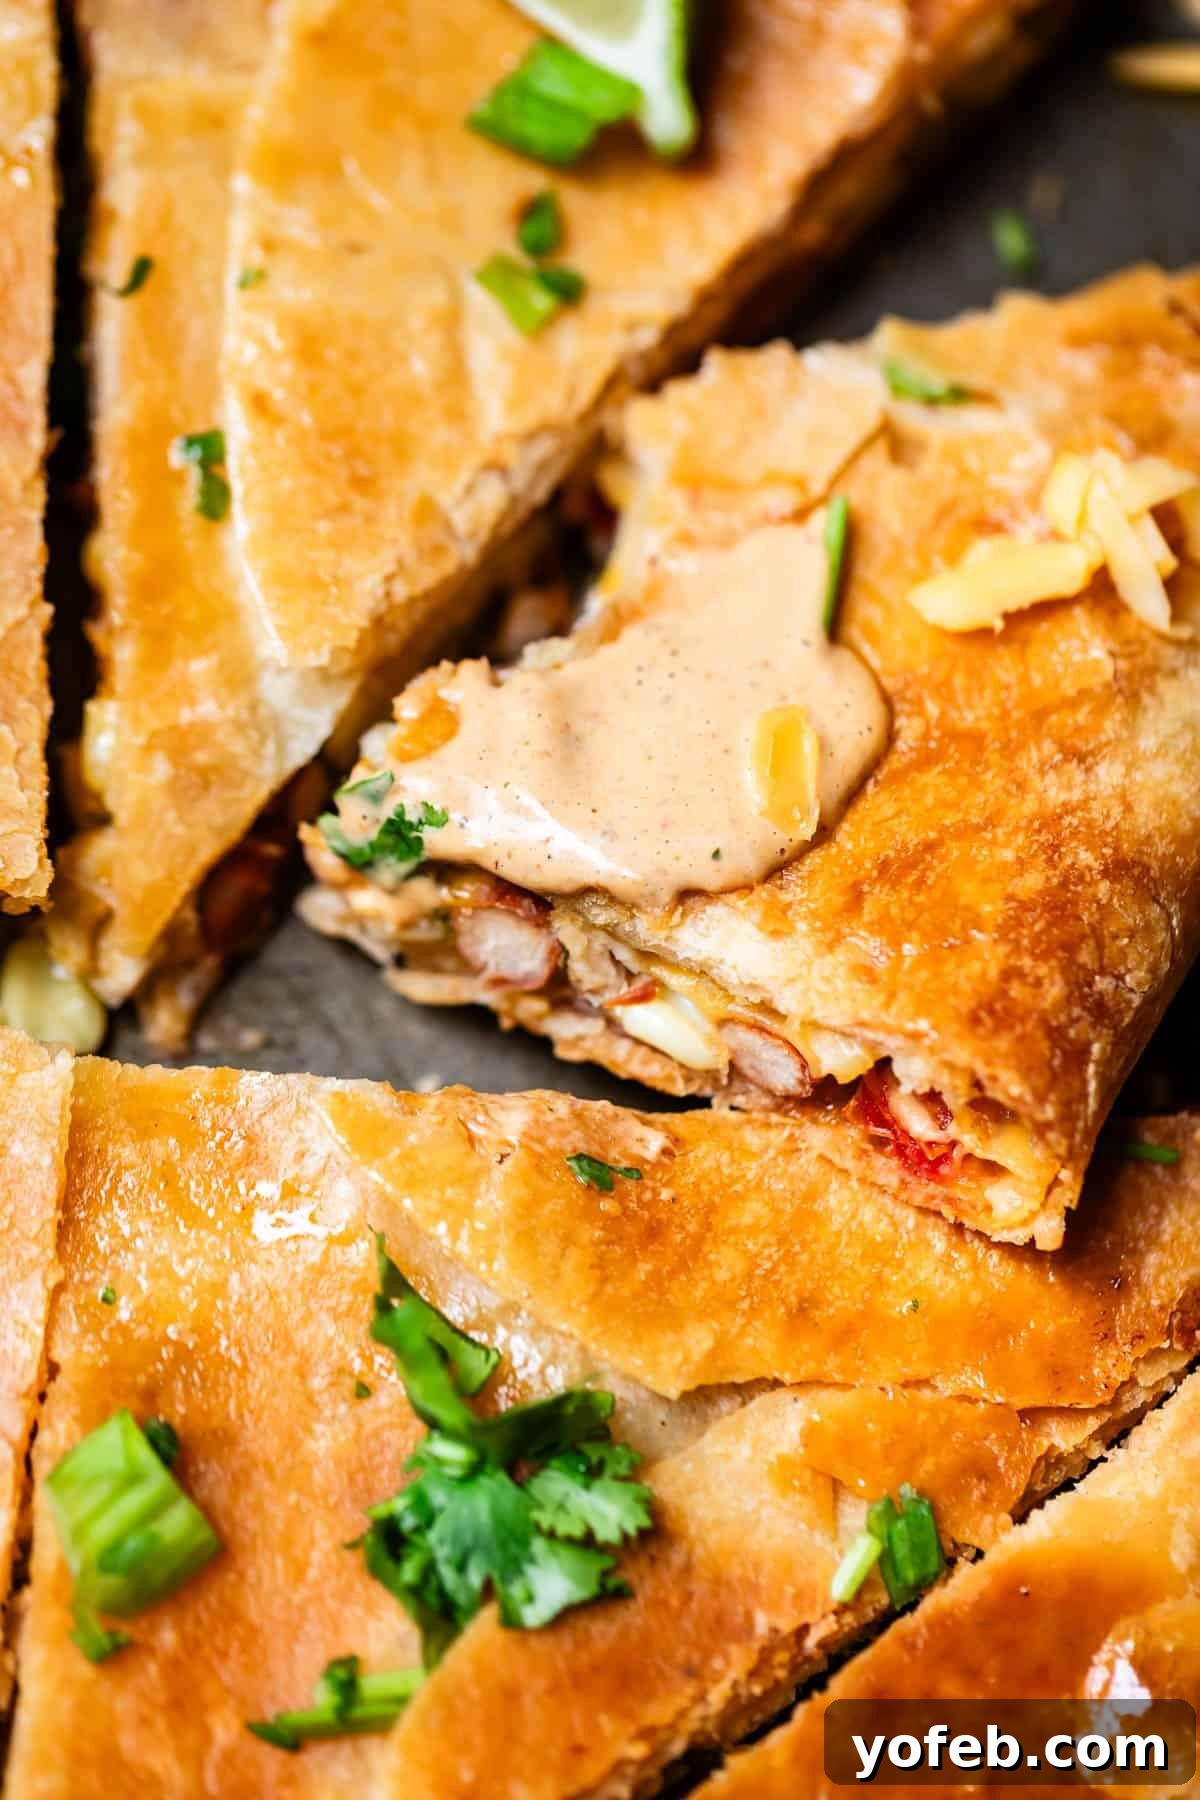
What to Serve Alongside Your Sheet Pan Chicken Quesadillas
These quesadillas are so satisfying, they could easily be a meal all on their own! However, if you’re looking to create a more substantial spread, add extra vegetables, or simply round out the meal with complementary flavors, here are some fantastic side dish options that pair perfectly:
- Mexican Rice Better than a Restaurant: Your quest for the perfect restaurant-style Mexican rice ends here. Start this rice (or any of the rice recipes below) before you begin the quesadillas, and everything will be ready to serve at the same time! It’s flavorful, fluffy, and truly authentic.
- Better Than Chipotle Cilantro Lime Rice: Bursting with fresh lime and cilantro, this rice offers an incredible zest that perfectly complements the rich, cheesy quesadillas.
- Spanish Cauliflower Rice (to eat with Mexican Food): For a delicious low-carb alternative, this Spanish cauliflower rice is a brilliant choice. It’s a sneaky way to add extra veggies while enjoying all the classic Mexican flavors.
- Mexican Cucumber Salad with Cilantro and Lime: A quick, refreshing, and healthy side that provides a crisp, cool contrast to the warm quesadillas. The vibrant cilantro and tangy lime dressing are simply irresistible.
- Traditional Tejano Pinto Beans (Slow Cooker Mexican Beans): While these beans require a longer cooking time, they are incredibly flavorful and worth the effort. If you choose to make them, you can omit the pinto beans from your quesadilla filling and serve these as a hearty, authentic side dish. They’re utterly delicious!
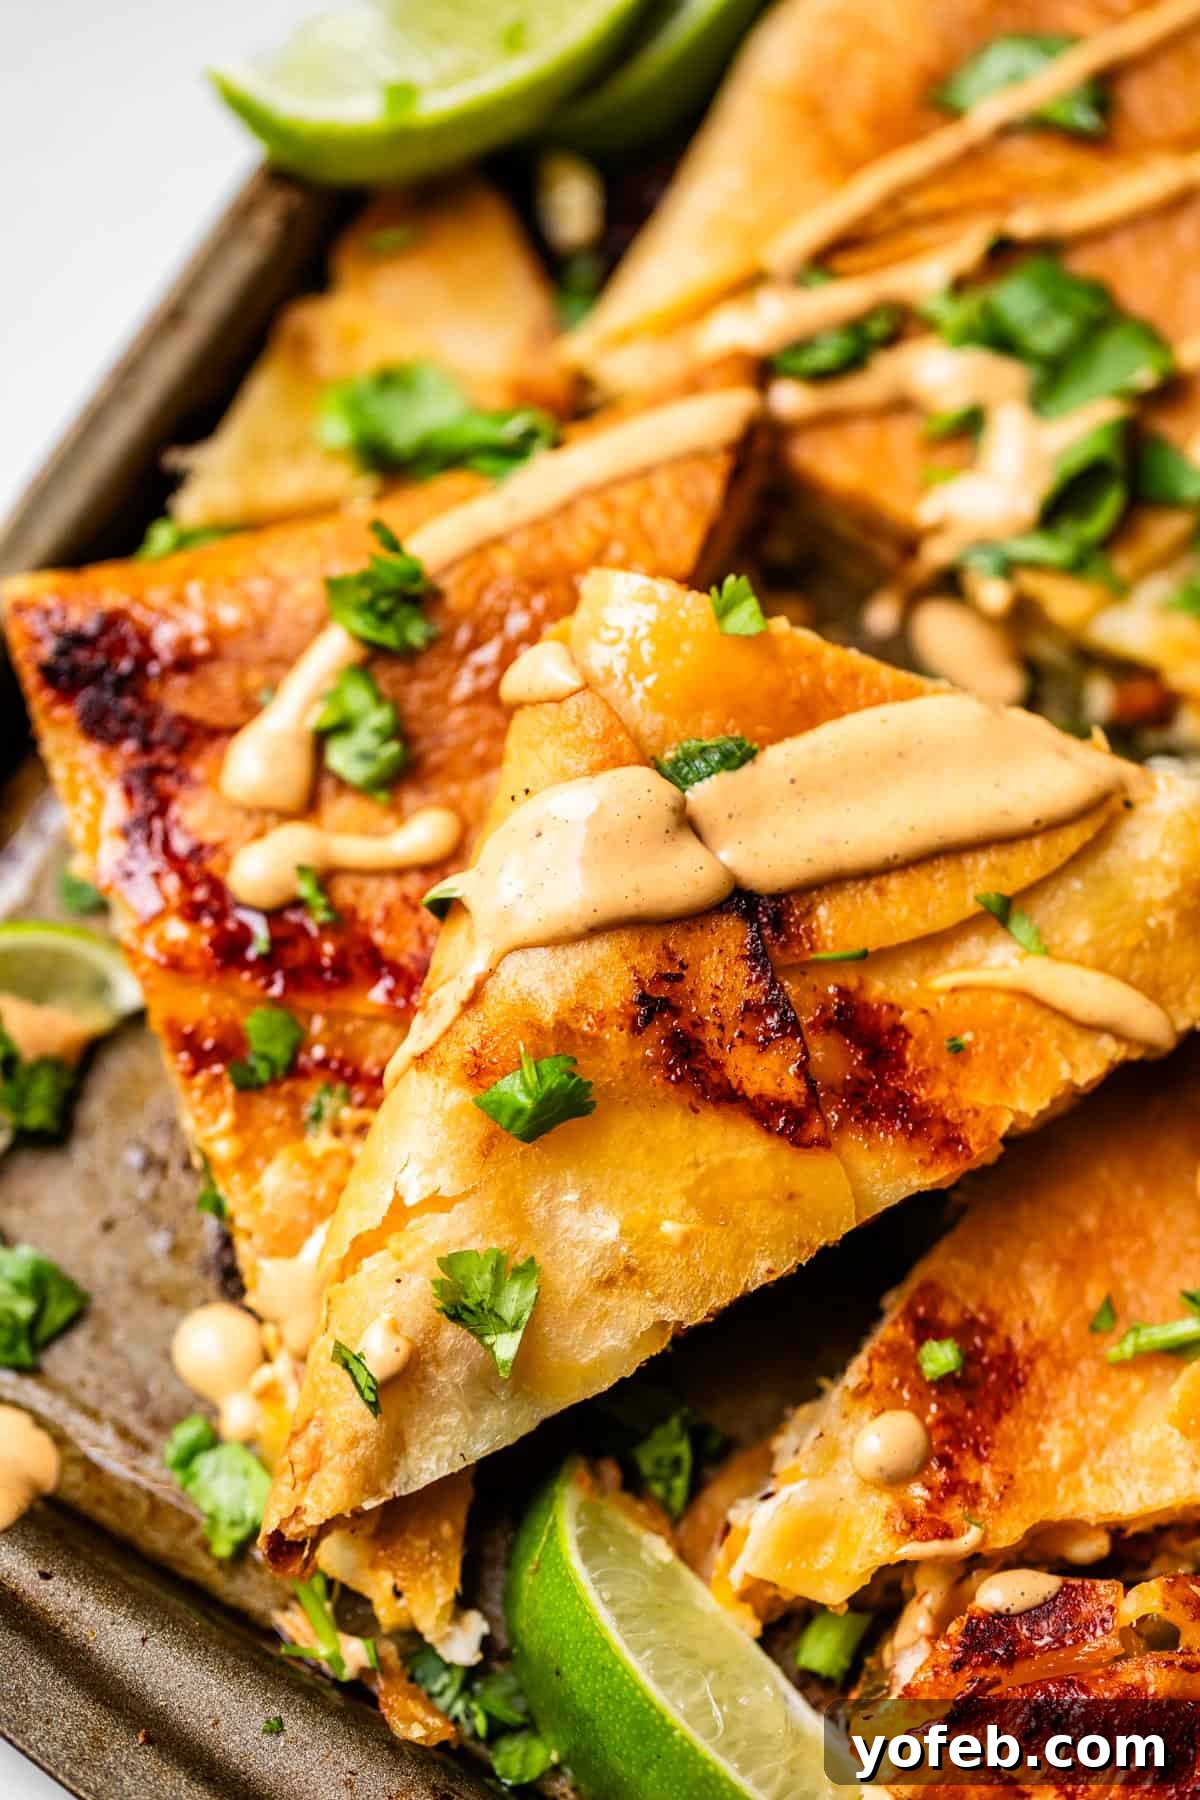
Storing and Reheating Leftover Chicken Quesadillas
These sheet pan chicken quesadillas are so delicious, you might not have many leftovers! But if you do, they store beautifully and make for excellent quick meals later in the week.
Storage: Allow any leftover quesadilla pieces to cool completely to room temperature. Then, transfer them to an airtight container or a resealable freezer bag. Properly stored, they will remain fresh and delicious in the refrigerator for 4-5 days.
Reheating:
- Oven Method (for multiple pieces): To restore their original crispiness, place several quesadilla pieces back onto a sheet pan. Top them with a second sheet pan, just as you did during the initial baking process, to ensure even heating and crisp edges. Bake at 425 degrees F for approximately 15-20 minutes, or until thoroughly heated and crispy.
- Stovetop Method (for individual pieces): For one or two pieces, a frying pan on the stovetop works wonderfully. Heat them over medium heat for a few minutes on each side until warmed through and the tortillas are crisp again.
- Alternative Appliances: An air fryer or toaster oven can also be used for reheating, providing a quick way to achieve crispy results for smaller portions.
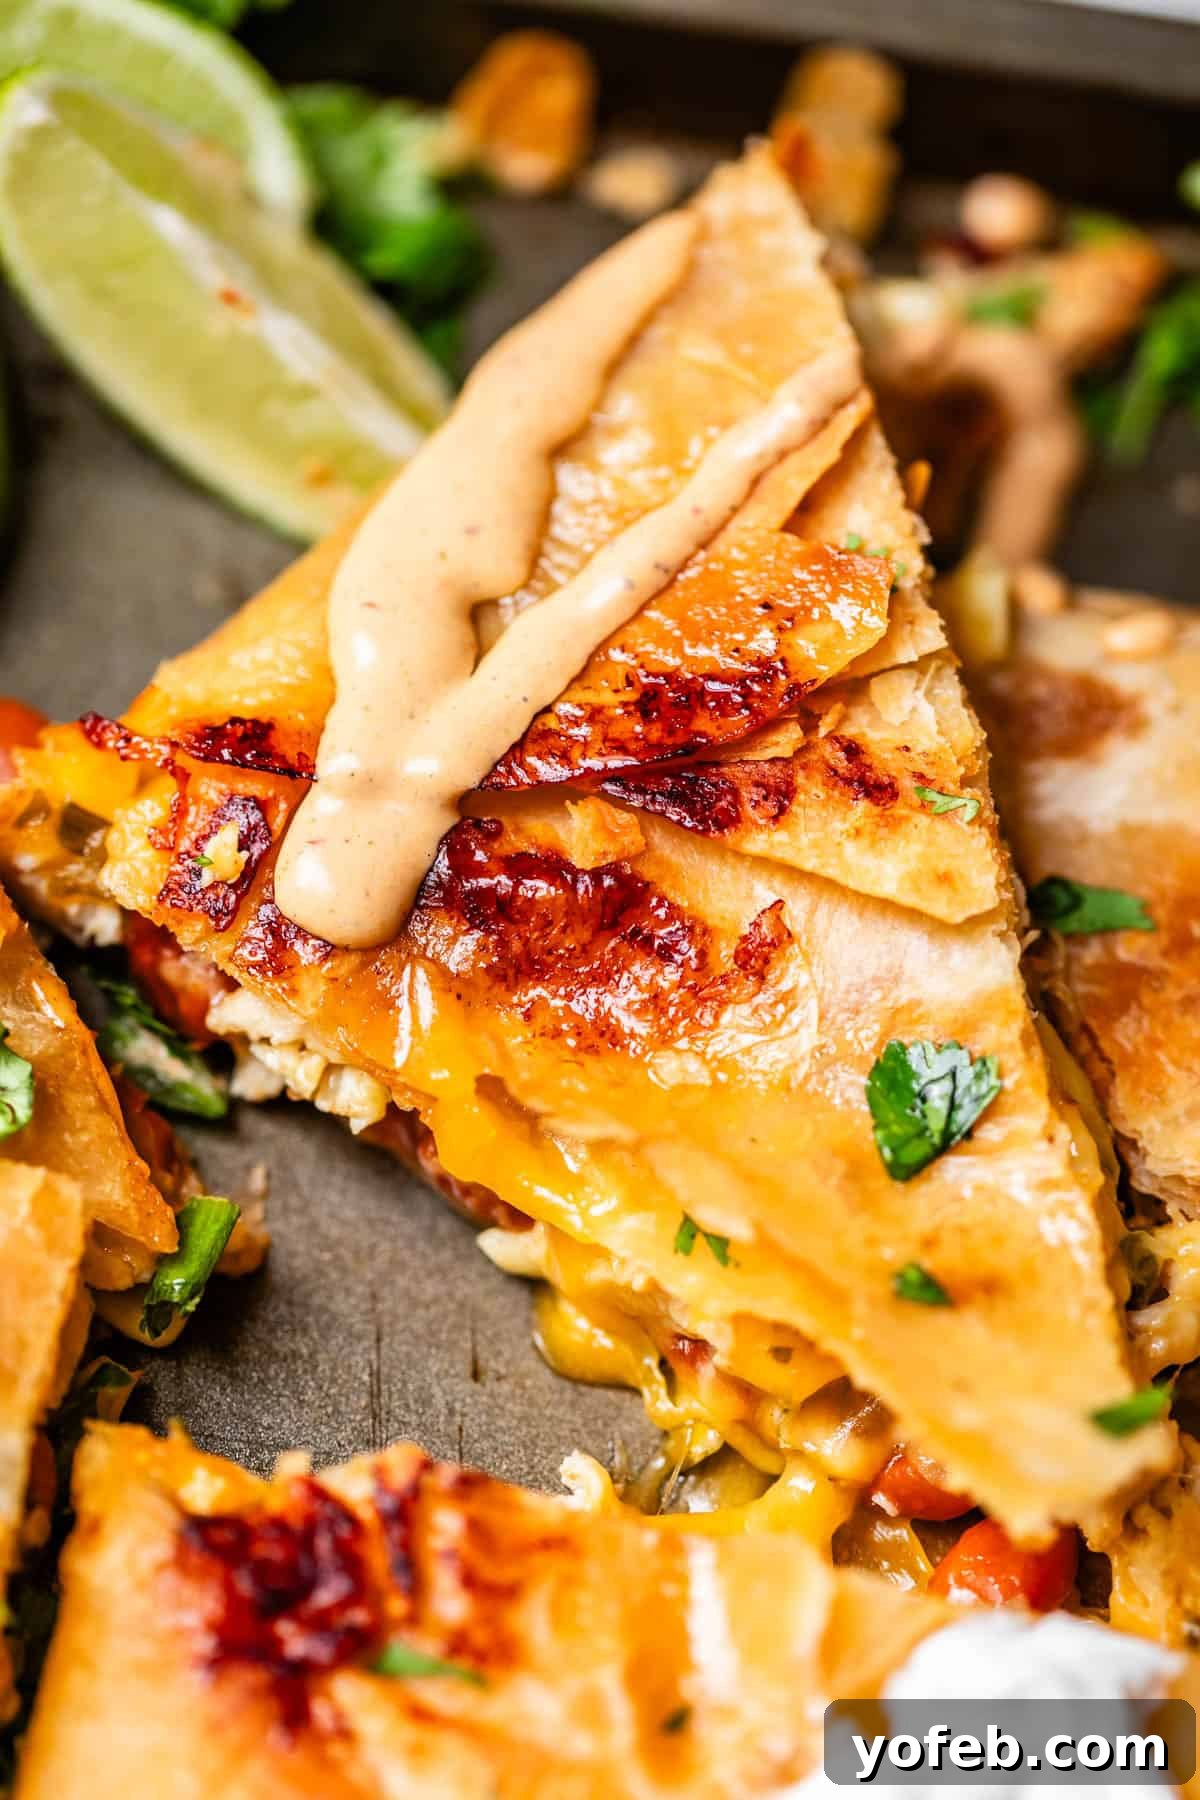
Can You Freeze Sheet Pan Quesadillas?
Yes, absolutely! Freezing these quesadillas is a fantastic way to prepare future quick meals and snacks. Here’s how to do it effectively:
Freezing Instructions: After baking and cutting the quesadillas, allow the pieces to cool completely. Arrange the cooled quesadilla slices in a single layer back onto a sheet pan. Place the pan in the freezer and “flash freeze” the pieces for about 30 minutes. This prevents them from sticking together when stored. Once individually firm, transfer the frozen pieces to a freezer-safe ziplock bag or airtight container. Squeeze out as much air as possible before sealing. Frozen quesadillas will maintain their quality for approximately 2-3 months.
Reheating from Frozen: Use the same reheating instructions as described above (oven, stovetop, air fryer, or toaster oven). Just remember to add extra cooking time, as you’ll be reheating them directly from a frozen state. The key is to ensure they are heated through and the tortillas regain their crispness.
A Note on Texture: It’s worth noting that freezing and reheating can sometimes lead to a slight change in the texture of the tortillas and fillings. While this doesn’t bother me, personal preferences vary. Before freezing a large batch for future convenience, I recommend testing the freezing and reheating process with just one or two pieces to see if the texture meets your personal standard.
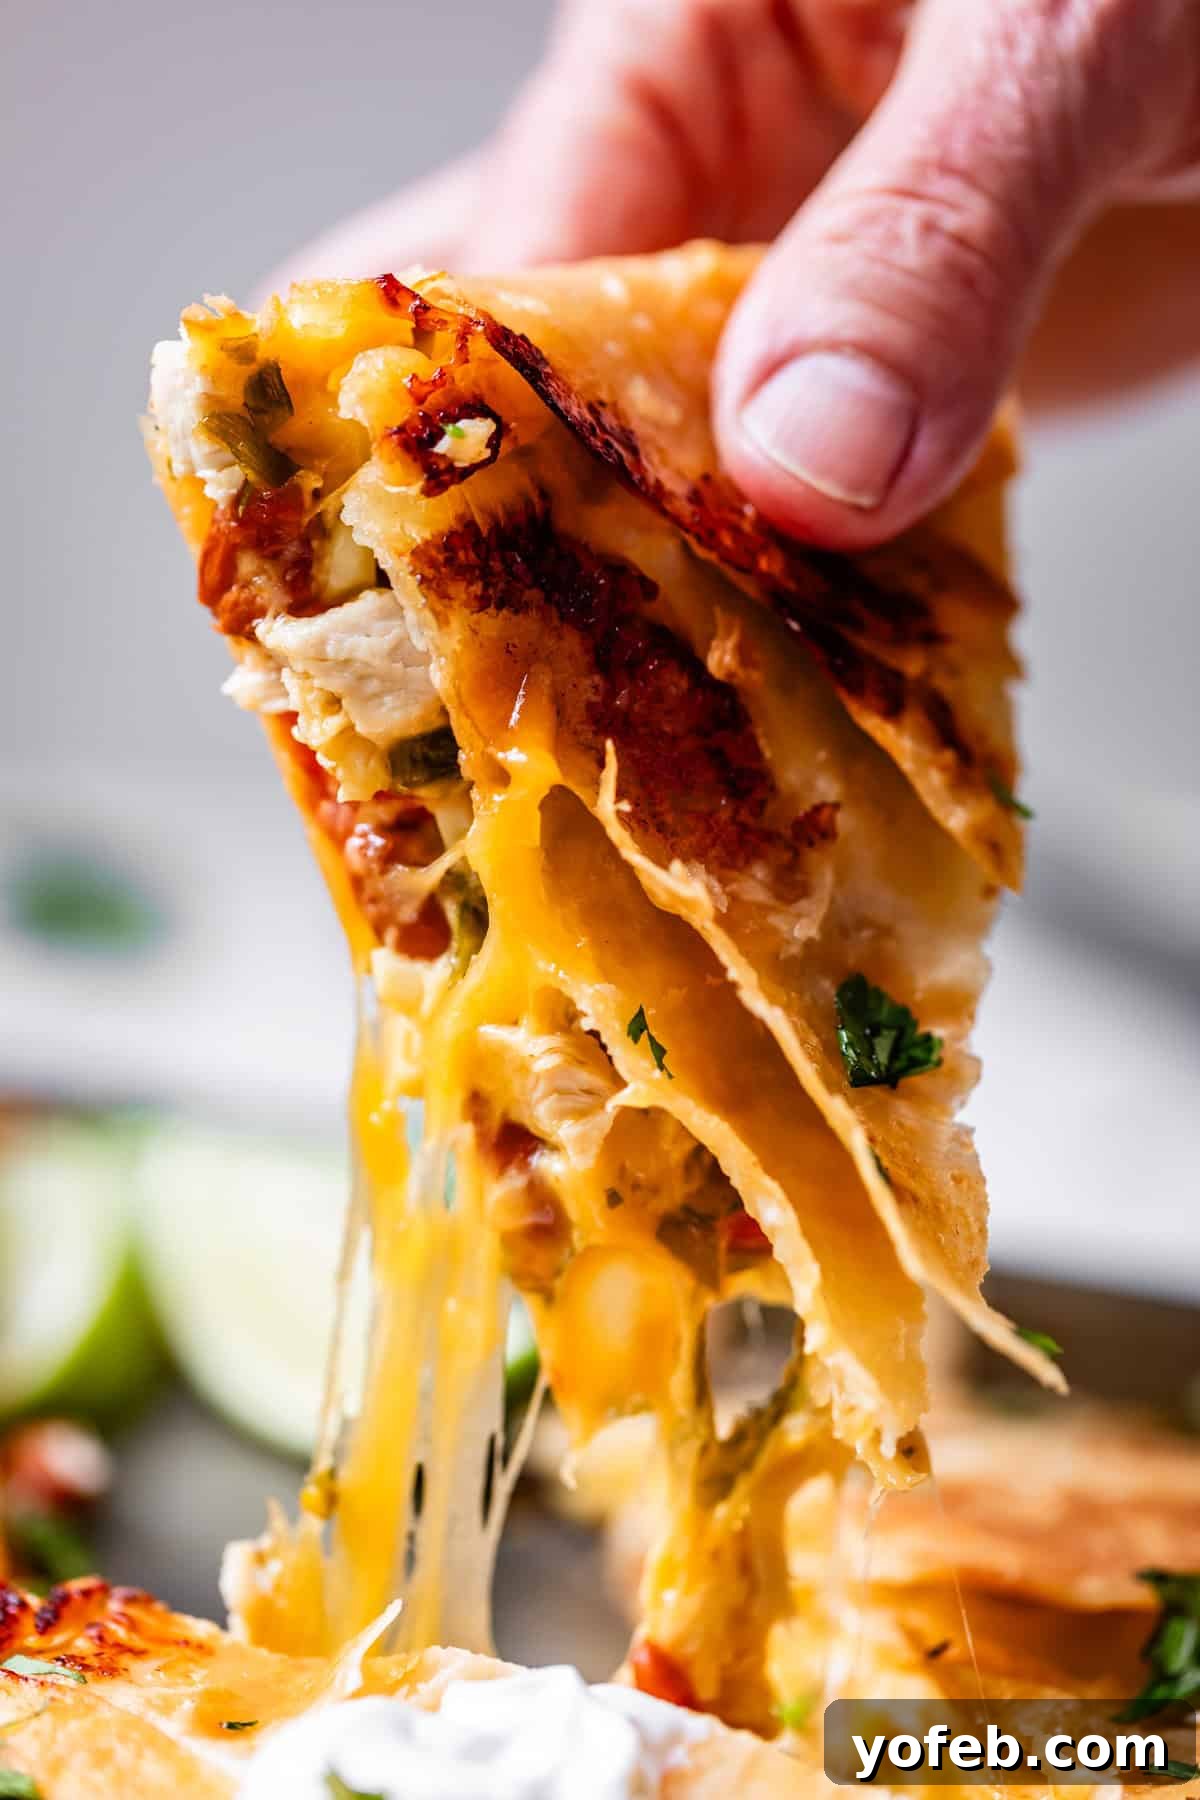
More Easy Weeknight Dinner Ideas for Busy Schedules
Weeknights can be a whirlwind, with activities often monopolizing the precious hours between 4 PM and 8 PM. Having a repertoire of easy, reliable recipes is essential to make homemade dinners a priority over takeout. While you can browse over 150 options on my dedicated Quick and Easy Dinners page, here are some personal favorites that consistently deliver deliciousness with minimal fuss:
- Cheesy White Bean Tomato Bake: This delightful dish is ready in just 20 minutes and is bursting with rich, cheesy flavor. It’s a comforting vegetarian option that’s surprisingly satisfying.
- Best Sliders Recipe: I recently made these again and was reminded of what a total hit they are! My kids absolutely adore them, and they’re perfect for a fun, customizable weeknight meal.
- Laura’s Fresh Veggie Sandwich: Don’t let the simplicity fool you – this veggie-packed sandwich is incredibly fresh, flavorful, and surprisingly filling. It’s a fantastic light dinner or hearty lunch option you shouldn’t skip.
- Easy Wonton Soup Recipe with Frozen Wontons: A warm, comforting soup that comes together in about 15 minutes? Yes, please! It’s an ideal choice when you need something quick and soothing.
- 20-Minute Cherry Tomato Pasta from A Simple Palate: A vibrant and speedy pasta dish that makes the most of fresh cherry tomatoes.
Explore More Simple Mexican Food Dinners
My love for Mexican food runs deep; its vibrant flavors and diverse dishes never get old. If you’re looking for more inspiration beyond these amazing quesadillas, I’ve compiled some of the most beloved recipes by my readers below. For an even wider selection, always check out the dedicated Mexican/Tex Mex Recipes page on my blog!
- The Chicken Fajitas Recipe That Changed My Mind: These fajitas are incredibly popular, and you’ll quickly understand why. Enjoy restaurant-quality flavor and tenderness at a fraction of the cost, right in your own kitchen.
- Best Chicken Tacos Recipe (Stovetop or Crockpot): Say goodbye to dry chicken tacos! This recipe delivers flavorful, juicy chicken that can be prepared on the stovetop in 25 minutes or less, or effortlessly in your crockpot.
- Seriously the Best Taco Salad: With the right presentation and fresh ingredients, this taco salad transforms into an easy yet impressive show-stopper dinner that’s both healthy and hearty.
- Traditional Carne Guisada Tacos: While this stewed beef recipe requires a longer simmer, it boasts a minimal 10 minutes of active prep time. It’s a fantastic option for those who work from home and can let it simmer away, filling your kitchen with incredible aromas.
- Mexican Green Spaghetti from Maricruz Avalos Kitchen: A unique and delicious twist on spaghetti, infused with vibrant green Mexican flavors.
Facebook | Pinterest | Instagram

Sheet Pan Chicken Quesadillas
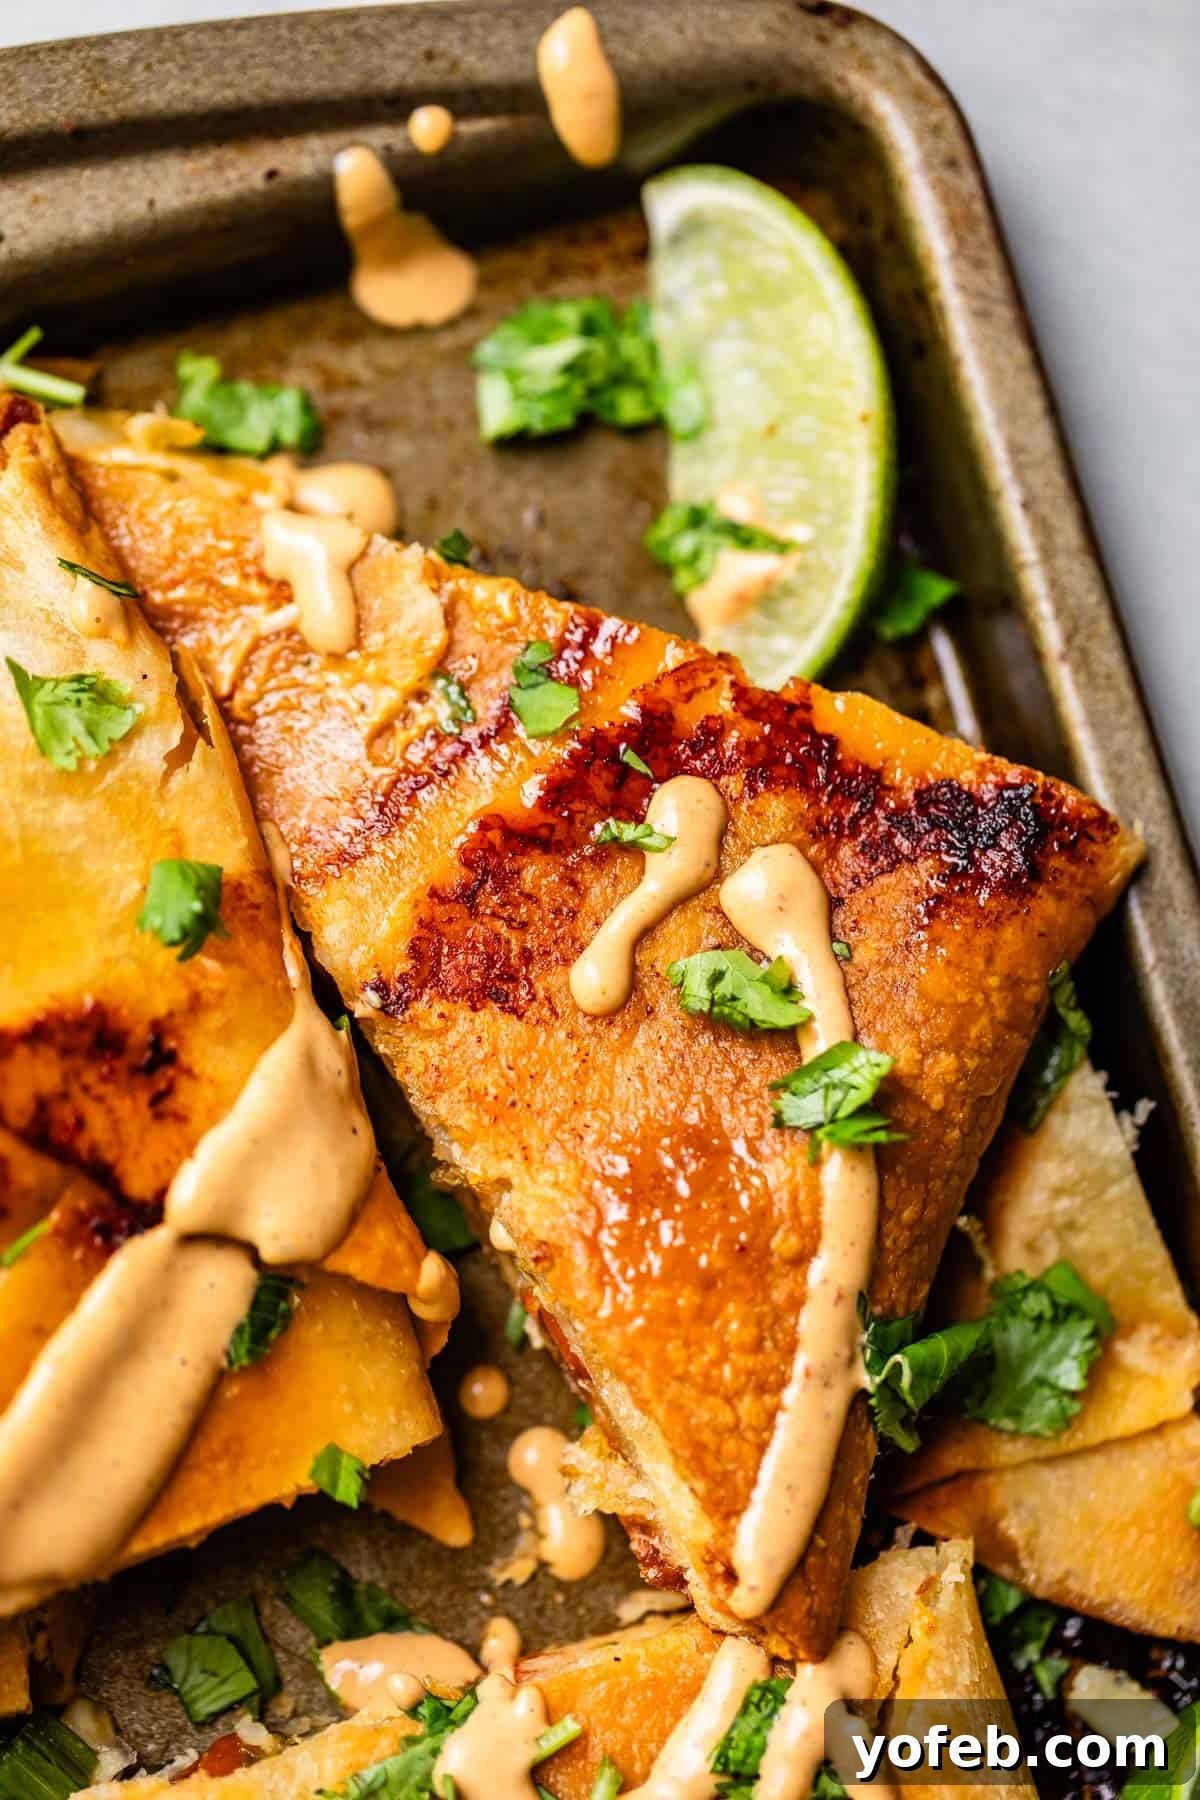
Equipment
-
2 sheet pans (cookie sheets)
Ingredients
- 9 (8-inch) flour tortillas*, often called medium or soft taco size
- 16 ounces shredded cheddar cheese**, about 4 cups, divided
- 1 cup tomatoes, chopped, about 1 large tomato (or 2 small)
- 1/2 cup green onions, chopped
- 1/2 cup cilantro, chopped, optional
- 2 cups shredded chicken, I used rotisserie chicken
- 1 (15-ounce) can pinto beans, drained
- 1 cup frozen corn
Optional Toppings or Garnishes
- Homemade Chipotle Sauce
- sour cream
- lime slices
Instructions
-
Preheat your oven to 425 degrees F.
-
Prep your ingredients: Shred the cheese if you didn’t buy it pre-shredded. Chop your tomato into a small dice. Chop the green onions. Chop the cilantro if you’re using it. Chop your chicken if necessary.
-
Make the quesadilla: Layer 9 (8 inch, or soft taco size*) tortillas on a sheet pan***, with two in the center and the other 7 overlapping around all sides. The tortillas should be hanging off the edges of the pan. See photos. Make sure they overlap well and cover the entire bottom of the pan!
-
Add cheese: Start by sprinkling 2 cups of cheese (about half the cheese, if you bought a 16 ounce package) all over the tortillas. Make sure to leave a big border around the edges; the tortillas should be able to fold in and almost (but not quite) reach the center.
-
Add chopped toppings: Next, sprinkle over the top of the cheese 1 cup diced tomato, 1/2 cup of chopped green onions, 1/2 cup cilantro (optional!), and 2 cups of cooked chicken.
-
Add beans. Open a 15-ounce can of pinto beans and drain it. Rinse the beans if you want, but I’m usually too lazy!! Just make sure they are not dripping with liquid when you add it to your quesadilla, or you will get soggy tortillas.
-
Add corn. Finally, sprinkle with 1 cup of frozen corn (no need to thaw, hallelujah).
-
Add more cheese: Top the whole thing with the remaining 2 cups of cheese, or whatever looks like a good amount to you. Let your heart guide you.
-
Assemble and fold: Place 2 more tortillas (or more, depending on how much of the center you need to cover) on top of the ingredients in the center of the pan. Carefully fold over the edges of the tortillas that have been hanging off the pan toward that center tortilla. Use a bowl or another sheet pan to hold the folded edges in place while you keep folding the remaining sides. See photos!
-
Top the entire giant quesadilla with a second sheet pan as if to nest it in the first (so bottom side down) and press it down. No need to add weights of any kind; I tried it once and the ingredients spilled out while cooking. The weight of the pan is perfect.
-
Bake at 425 degrees for 20-25 minutes, or until the tortillas are golden brown and crispy. Let it sit for about 5 minutes to set, then slice the whole thing into 6 squares. If you want smaller pieces you can then cut those squares into triangles for a total of 12.
-
Prepare sauce: Take time while the quesadilla bakes to make the best ever Chipotle Mayo for dipping! This really is the BEST dip for these quesadillas, they are so perfect for each other. You could also try either of the two dressing options on my Taco Salad recipe, quesadillas would be amazing dipped in either of those. Or just bust out the sour cream and salsa.
-
Store leftovers in an airtight container in the fridge for up to 5 days. To freeze, flash freeze the pieces for 30 minutes, then transfer to a freezer ziplock bag. Leftovers (chilled or completely frozen) can be reheated in the oven using the 2 sheet pan method just like in the initial bake, or heat individual pieces on a frying pan. The frozen pieces will take longer to reheat.
Notes
**CHEESE: You can use any type of melting cheese that you want in this recipe! Monterey Jack, Pepper jack to make it spicy, a Mexican blend from the store, Mozzarella, Oaxaca would be amazing (that’s the kind of cheese they make quesadillas with in Mexico, it’s so good.)
***SHEET PAN SIZE: I use a 10×15 inch pan when I make this recipe. It’s smaller than a regular half sheet pan. It doesn’t matter at all what size you use. As you are layering ingredients, make sure you leave enough room around the edges so that the tortillas can fold about in half.