
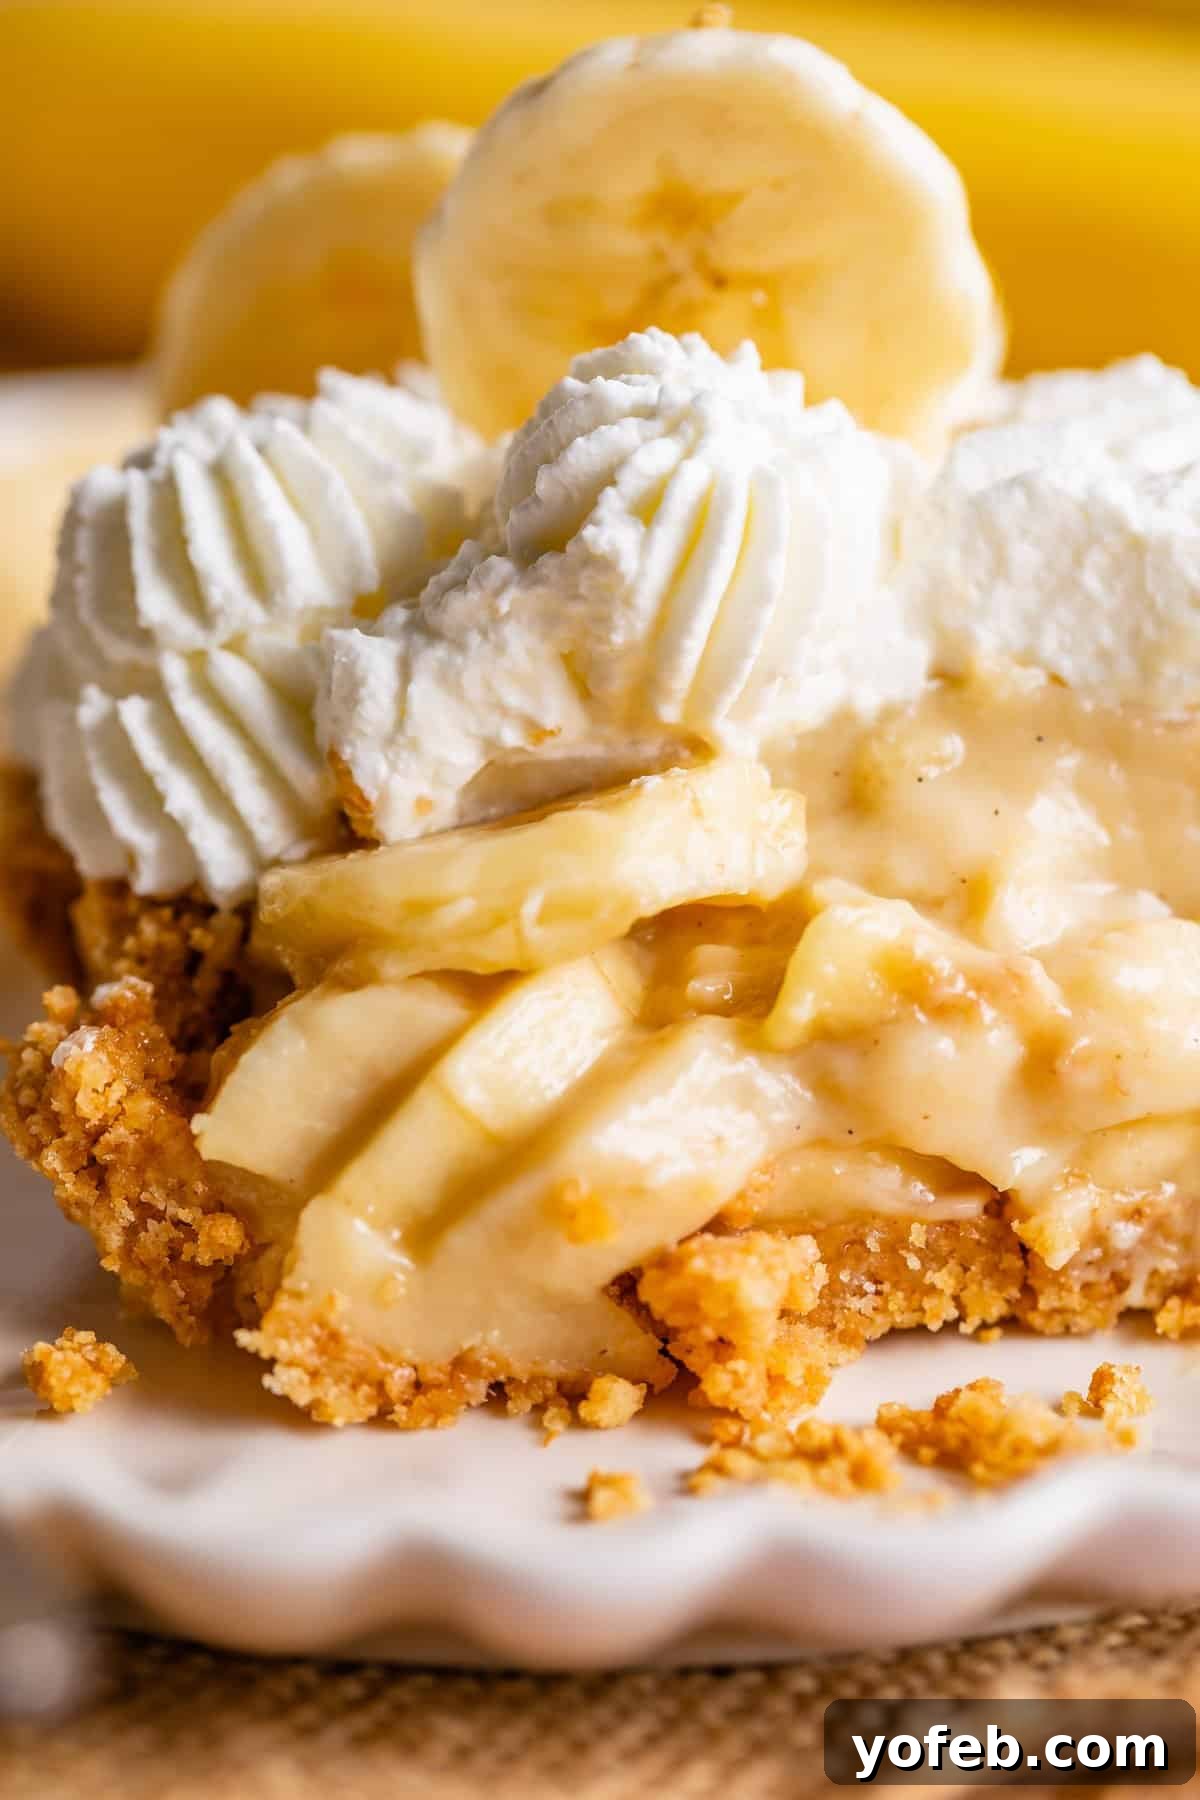
Welcome to the ultimate guide for crafting the **Best Homemade Banana Cream Pie** you’ll ever taste! Forget those disappointing, overly sweet, and mushy versions made with instant pudding. This recipe is a game-changer, featuring a rich, velvety vanilla custard, a perfectly crunchy graham cracker crust, generous layers of ripe banana slices, and a lofty crown of freshly whipped cream. Prepare to be amazed by a pie that’s truly epic, not just another dessert on the table.
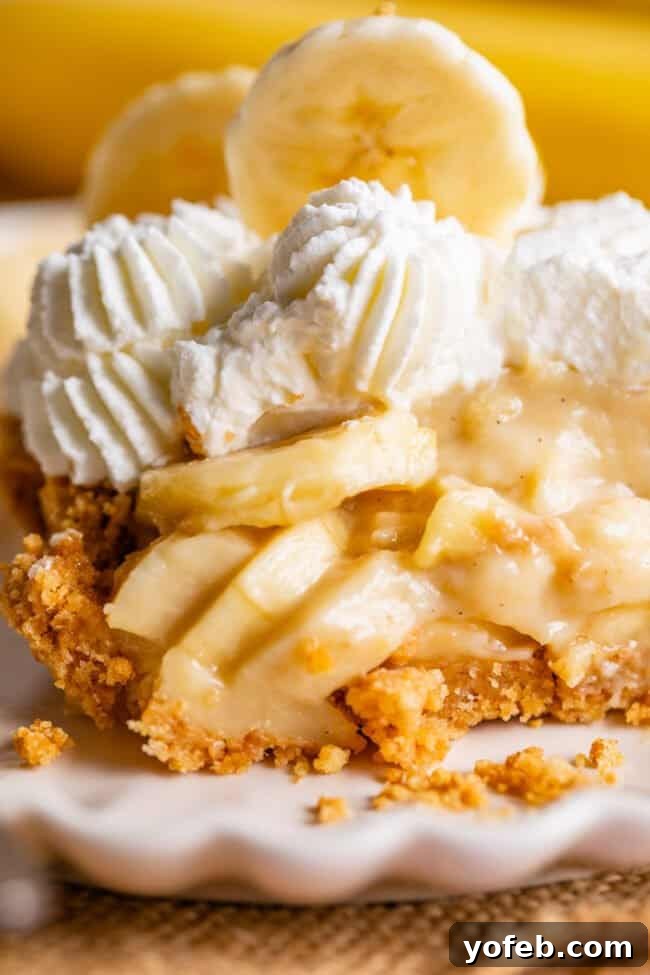
Table of Contents
- Discover the Magic of This Banana Cream Pie
- What Makes a True Banana Cream Pie Extraordinary?
- Essential Ingredients for Your Perfect Banana Cream Pie
- Crafting an Unforgettable Banana Cream Pie: Step-by-Step
- Creative Variations and Delicious Substitutions
- Banana Cream Pie FAQs: Your Questions Answered
- Optimal Storage for Your Banana Cream Pie
- Crave More Banana Delights? Try These Recipes!
- Explore More Irresistible Pie Recipes!
- The Easy Banana Cream Pie Recipe Card
Before we dive into the delicious details, let me share a little confession. I have strong opinions on many things – from the absorbency of towels (new fluffy ones are surprisingly bad at drying!) to the art of pie making. While my towel preferences might be unconventional, my dessert philosophy is steadfast: good food demands quality ingredients and attention to detail. This philosophy is perfectly embodied in my favorite Banana Cream Pie. It’s a dessert that transcends expectations, proving that a little effort goes a long way in creating something truly spectacular.
Just as an old towel gets the job done better than a plush new one, sometimes the most satisfying things in life come from tried-and-true methods, not shortcuts. This homemade Banana Cream Pie is a prime example. It’s the kind of dessert that makes you reconsider all your past choices, a true revelation for anyone who thought they knew what banana cream pie was. Get ready to fall in love!
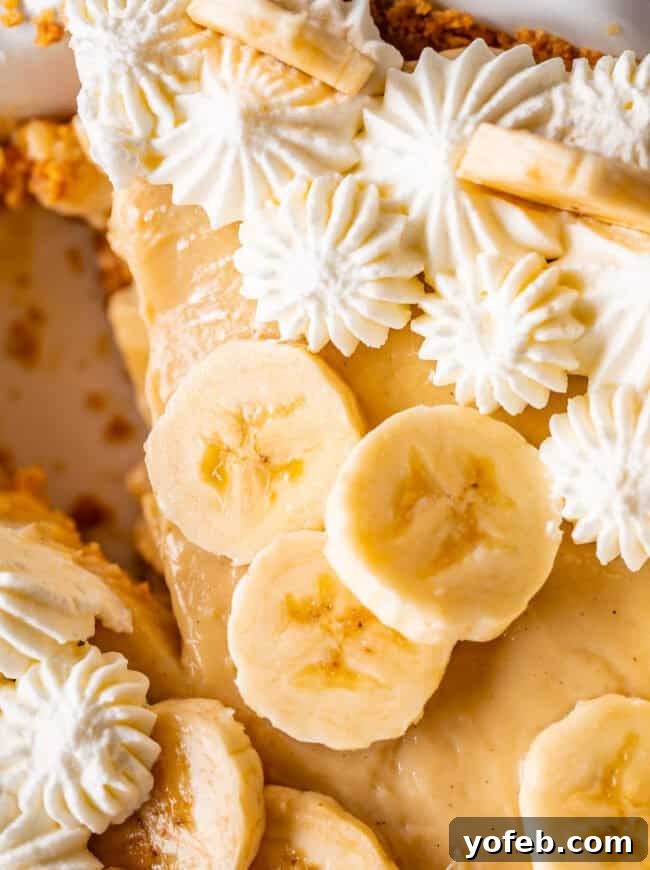
Discover the Magic of This Banana Cream Pie
To be completely honest, for years, Banana Cream Pie was never my first choice at a dessert buffet. When faced with an array of tempting pies—like my beloved Key Lime Pie or the elegant Chocolate Honey Chiffon—Banana Cream Pie typically lingered at the bottom of my list. Why? Because it often falls short of its potential, easily veering into a realm of disappointment.
Far too many banana cream pies suffer from a common affliction: a scarcity of bananas. A truly great banana cream pie should be bursting with its namesake fruit in every single bite. Don’t be shy with the bananas; they are the undeniable stars of this show!
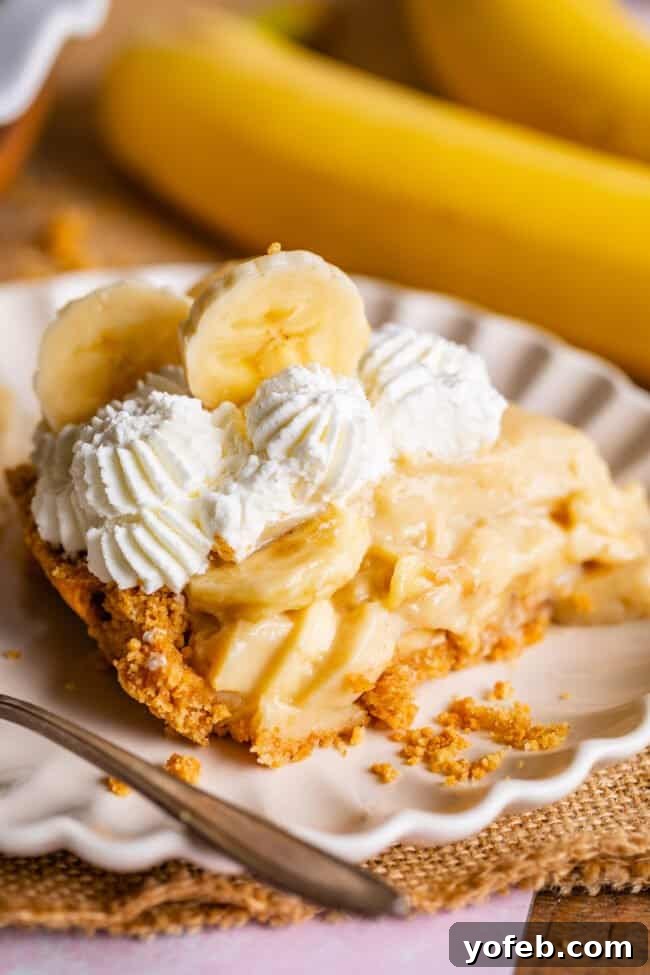
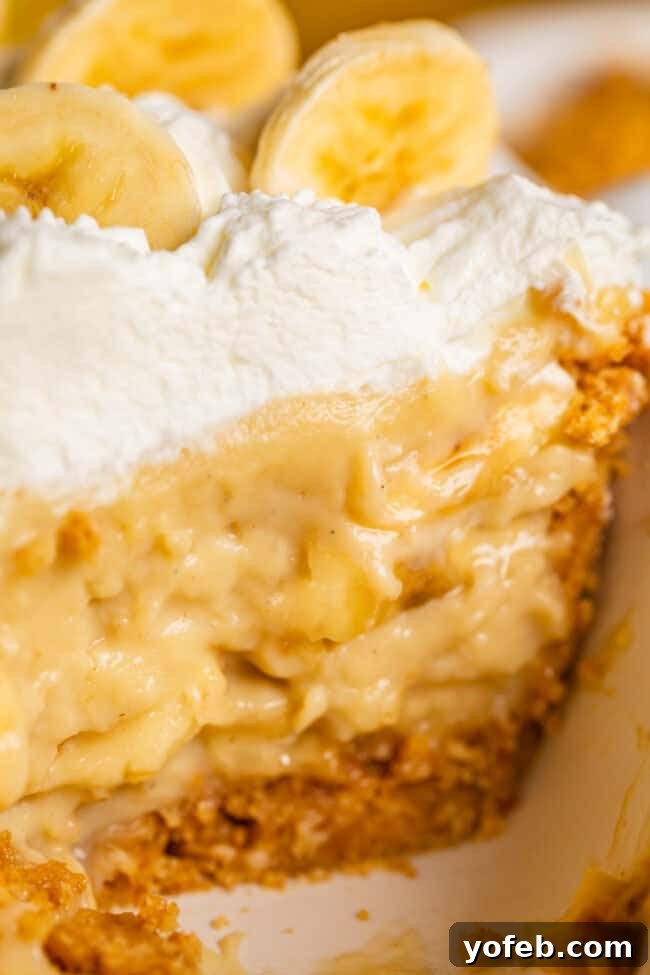
Another common pitfall is the reliance on instant pudding and artificial whipped toppings. While convenient, these ingredients simply cannot deliver the rich, luxurious texture and depth of flavor that a truly exceptional Banana Cream Pie demands. Instant pudding often results in a wobbly, runny filling that collapses into a puddle on the plate, rather than holding its elegant slice. Banana Cream Pie, by its very definition, calls for a homemade custard—a thick, silky, and deeply satisfying filling that elevates the entire experience.
But after much experimentation, I’ve finally discovered “The One.” This recipe transformed my entire perspective on Banana Cream Pie. It’s rich, balanced, and perfectly structured, a dessert that truly deserves its place among the pie-day champions. If you, like me, have been wary of this classic, prepare to become a convert!
What Makes a True Banana Cream Pie Extraordinary?
Let’s define what a truly authentic, old-fashioned, made-from-scratch Banana Cream Pie, the kind your grandma would boast about, should be:
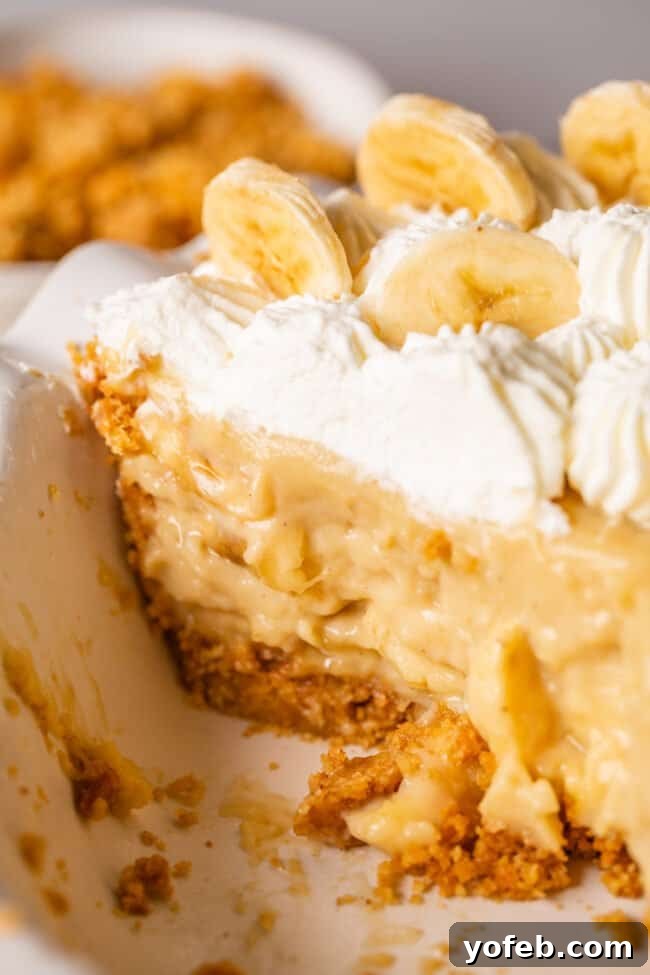
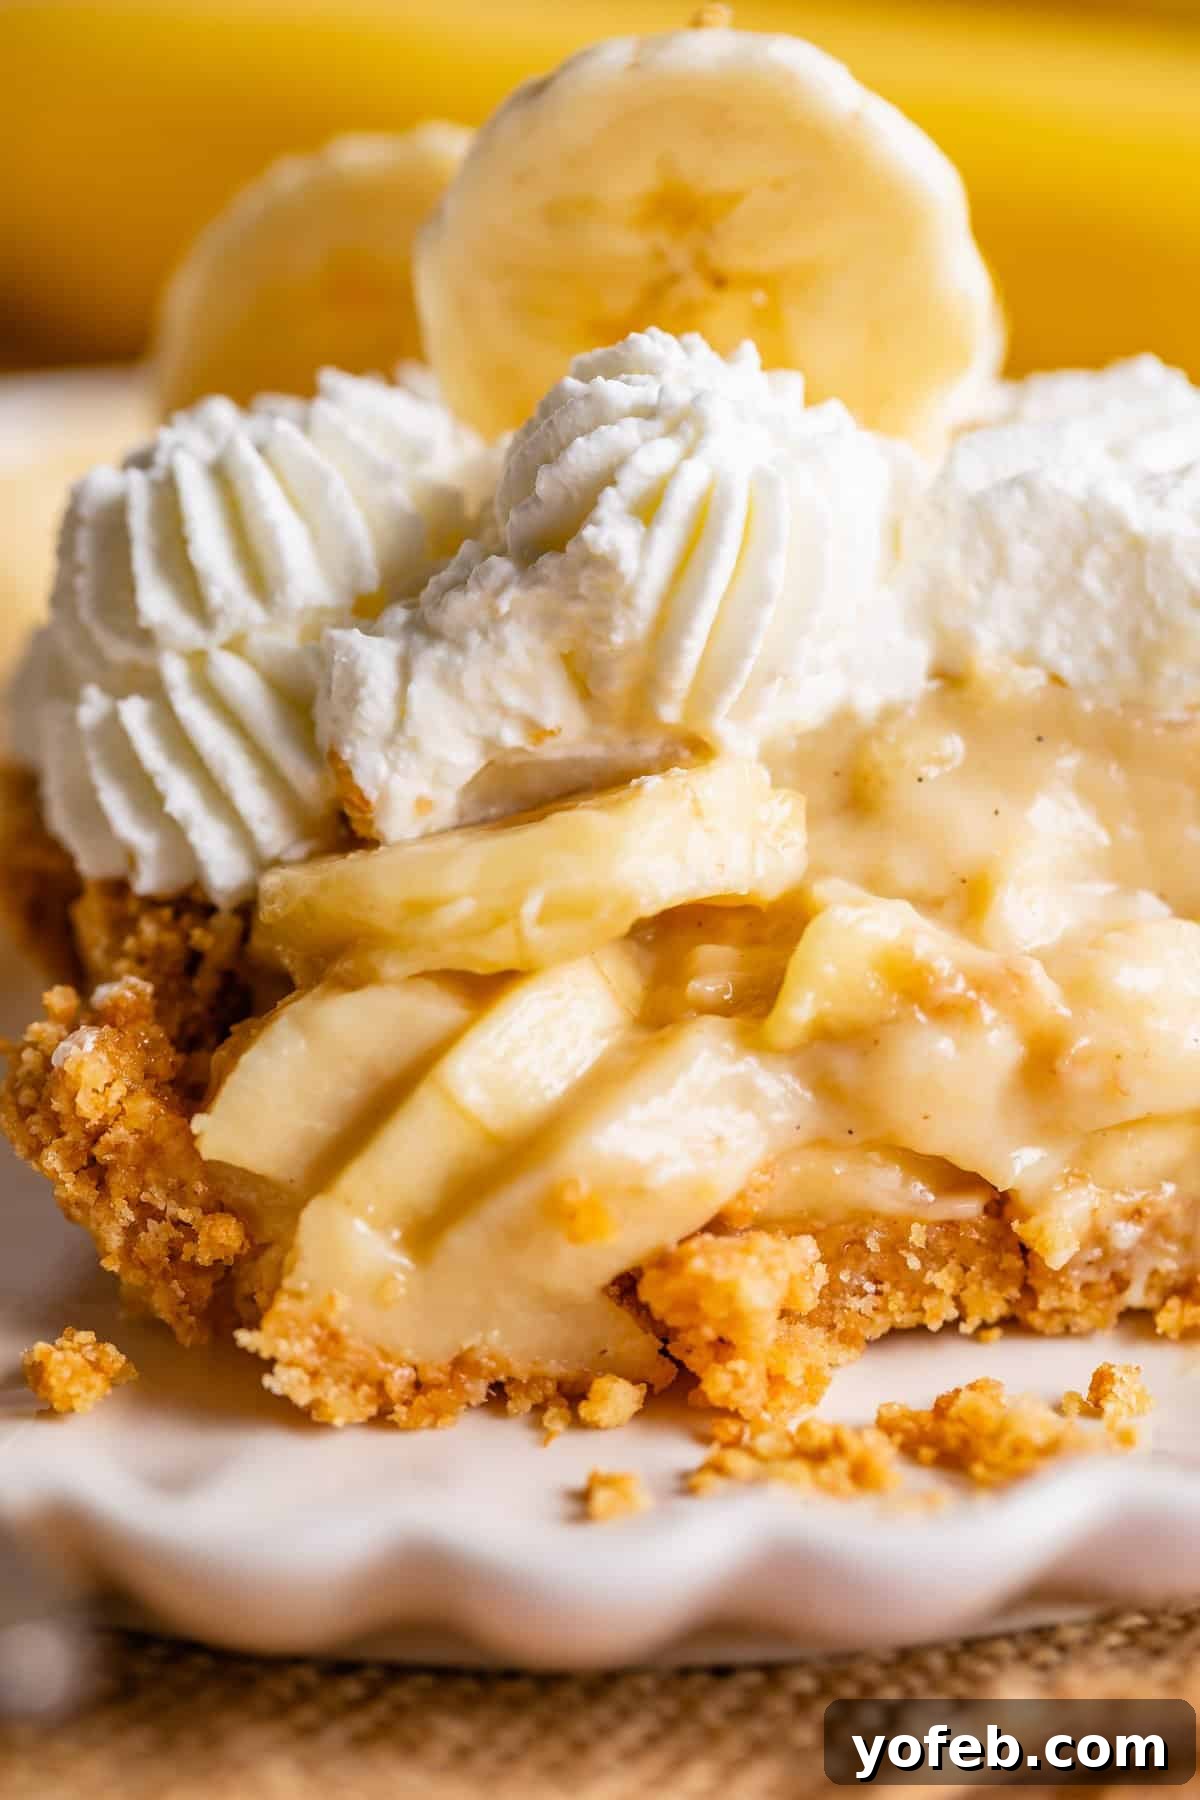
- **The Perfect Crust:** We begin with a homemade crust. While a traditional flaky pastry crust is an option, I strongly advocate for a **graham cracker crust**. Its buttery, slightly spiced sweetness and satisfying crunch offer a superior textural and flavor contrast to the creamy filling.
- **Abundant, Ripe Bananas:** The key is to use a generous amount of perfectly ripe banana slices. If you wouldn’t peel and enjoy that banana immediately, save it for banana bread! For maximum banana impact, layer at least 3 to 4 bananas directly with the custard, ensuring every forkful delivers that delightful banana flavor. No hunting for the star ingredient here!
- **The Velvety Custard:** This is where our pie truly distinguishes itself. We’re crafting a luxurious **homemade vanilla custard**, rich and incredibly creamy, thanks to the incorporation of several egg yolks. It’s surprisingly simple to make, taking less than 10 minutes on the stovetop. We also subtly enhance its depth with a touch of brown sugar, which imparts a wonderful, almost butterscotch-like flavor. Purists can opt for all white sugar, but I highly recommend trying the brown sugar for an extra dimension.
- **A Cloud of Whipped Cream:** Crown your masterpiece with a towering layer of sweetened, homemade whipped cream. Ditch the artificial stuff; this is a *cream* pie, and it deserves the real deal.
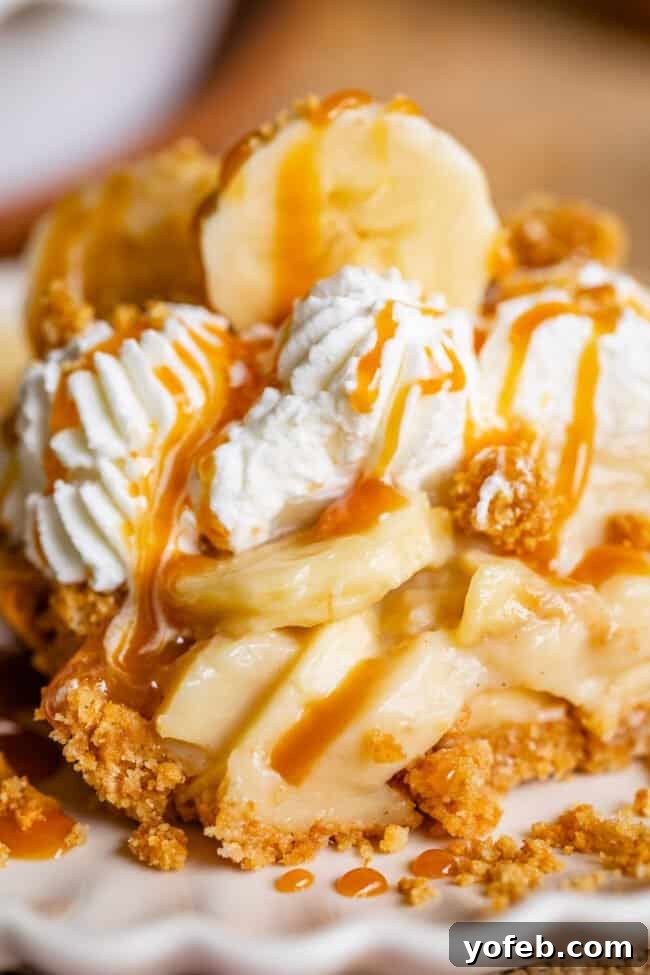
- **An Unconventional Finishing Touch:** For an extra touch of gourmet flair, try a drizzle of rich Caramel Sauce and a sprinkle of extra graham cracker crumble on top. While not strictly traditional, this addition beautifully complements the brown sugar in the custard and adds an irresistible crunch. Trust me, it’s a revelation!
Essential Ingredients for Your Perfect Banana Cream Pie
Here’s a convenient shopping list to help you gather everything you need for this incredible pie. For the full, detailed instructions, please refer to the complete recipe card below!
- Graham cracker crumbs (approx. 2 ¼ cups or 13.5 full sheets)
- Granulated sugar
- Unsalted butter
- Light brown sugar (packed)
- All-purpose flour
- Cornstarch
- Whole milk
- Heavy whipping cream (2 ½ cups total)
- Large eggs (4 yolks only)
- Pure vanilla extract or vanilla bean paste
- Ripe bananas (3-4 large)
- Powdered sugar
- Caramel sauce (optional, for garnish)
Choosing the Best Crust for Banana Cream Pie
For me, the ideal accompaniment to a creamy banana filling is undeniably a graham cracker crust. I stand by this assertion wholeheartedly!
While traditional Banana Cream Pie often features a classic flaky pastry crust made from flour and butter, I find it, quite frankly, a bit uninspired for this particular dessert. I’ve experimented with both, and here’s why the graham cracker crust wins every time:
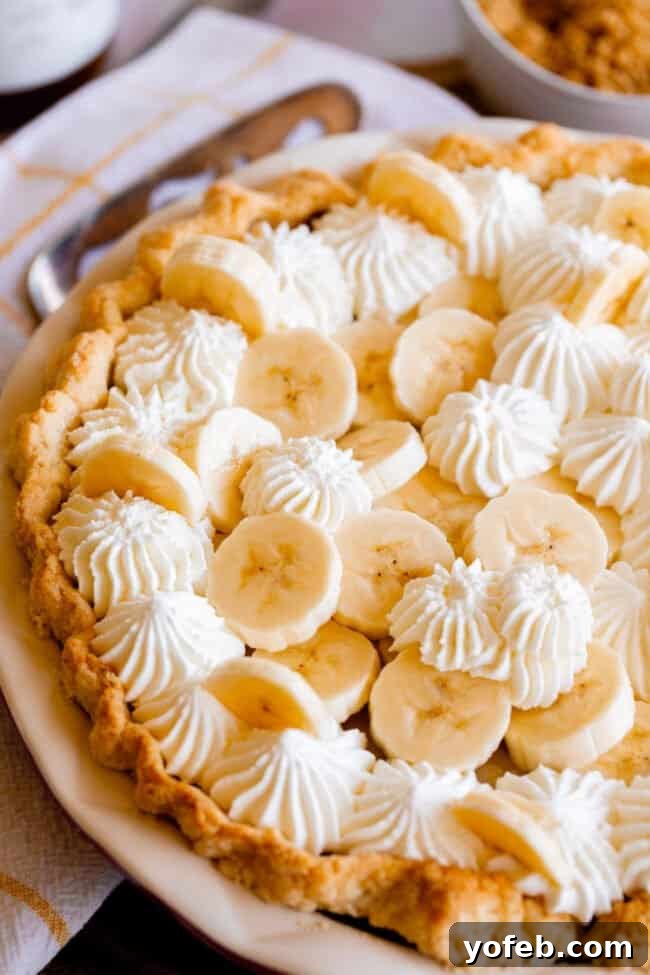
First, it’s all about the **crunch factor**. A flaky pastry crust, while delicious, lacks the pronounced crispness needed to perfectly counterbalance the soft, smooth textures of the custard and bananas. A graham cracker crust provides that essential crispy texture, adding an exciting dimension to every bite.
Second, consider the **flavor profile**. A traditional pastry crust is designed to be a subtle, buttery vessel that lets the pie filling shine. However, vanilla custard, while rich, has a delicate flavor. Bananas, too, are mellow and sweet, lacking the tart punch of berries or apples. They are the calm, collected members of the fruit family, contributing sweetness rather than vibrant acidity. This is precisely why a strong crust flavor is so important.
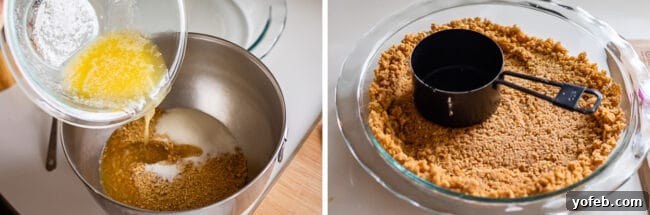
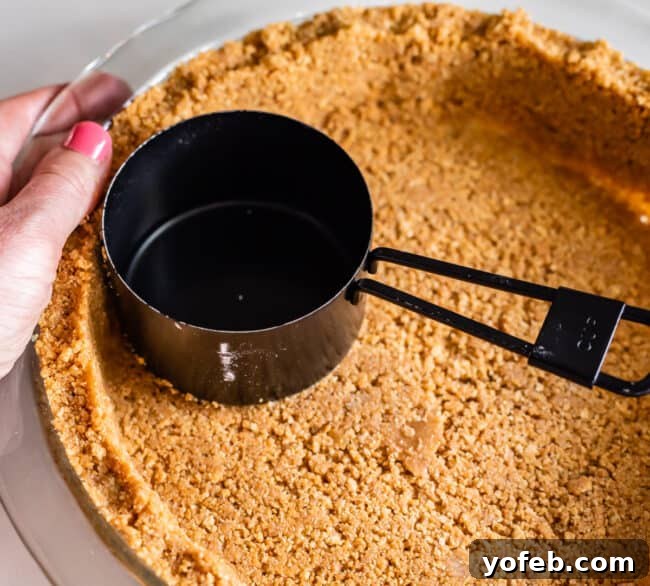
A graham cracker crust brings a much-needed depth and intrigue to Banana Cream Pie. Its inherent caramel-molasses notes complement the subtle sweetness of the bananas and the rich vanilla custard beautifully, creating a more cohesive and interesting flavor experience. This recipe calls for a thick, substantial crust that truly delivers on texture and taste. Be sure to press it firmly into the pie pan, using the bottom of a measuring cup to achieve an even, compact layer. Baking it for about 10 minutes ensures maximum crispiness and a wonderfully fragrant aroma.
Crafting an Unforgettable Banana Cream Pie: Step-by-Step
Once your chosen crust is baked and cooled (or blind-baked if using a traditional pastry shell), it’s time for the star of the show: the incredibly decadent vanilla custard. This custard is so good, you’ll be tempted to eat it with a spoon straight from the pot!
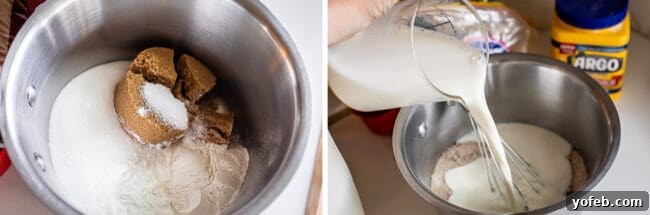
Begin by adding your dry ingredients directly into a medium saucepan:
- **Granulated and Brown Sugar:** While many recipes use only white sugar, our secret touch of brown sugar introduces a delightful butterscotch note that deepens the flavor profile, making it far more interesting. If you prefer a purer vanilla taste, feel free to use all granulated sugar.
- **Flour and Cornstarch:** This dynamic duo works together to achieve the perfect custard consistency. Cornstarch is a powerful thickener, but too much can lead to a gelatinous texture. Combining it with flour helps create a rich, creamy mouthfeel without any strange aftertaste.
- **Kosher Salt:** A crucial ingredient! A small amount of salt balances the sweetness and enhances all the other flavors, making them truly sing.
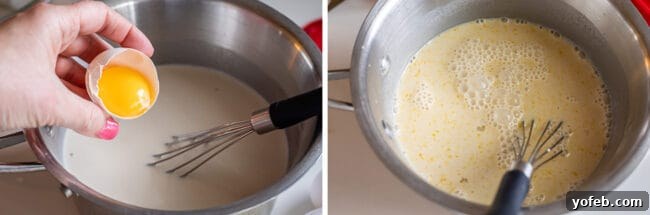
Next, incorporate your wet ingredients. It’s important to do all this initial mixing off the stove:
- **Whole Milk and Heavy Cream:** These form the luxurious liquid base of our custard, contributing to its incredible richness and smoothness. Using full-fat dairy is essential for the correct texture and flavor.
- **Egg Yolks:** These are the magic touch that transforms a simple pudding into a luscious custard. Egg yolks not only add significant richness and a beautiful golden hue but also contribute to the custard’s thickening, thanks to their high protein content. They are vital for that undeniably creamy texture.
**Whisk, Whisk, Whisk!** Thoroughly whisk your wet ingredients until absolutely smooth. The hallmark of an exceptional Banana Cream Pie is its perfectly silky, lump-free texture. Any un-whisked egg bits will curdle once heat is applied, so a vigorous whisking for at least 2 minutes (or until no visible yellow streaks remain) is crucial. If you spot any stubborn egg proteins on your whisk, pinch them off and discard them before cooking.
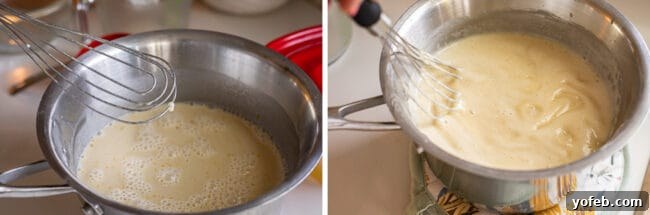
Once whisked, place your saucepan over medium heat and **stir constantly**. This is not the time to walk away! Continuous stirring is key to preventing lumps and ensuring even cooking. I highly recommend using a flat whisk, as it effectively reaches into the corners of the pot, preventing any custard from sticking and burning. If using a traditional whisk, pay extra attention to scraping the corners frequently.
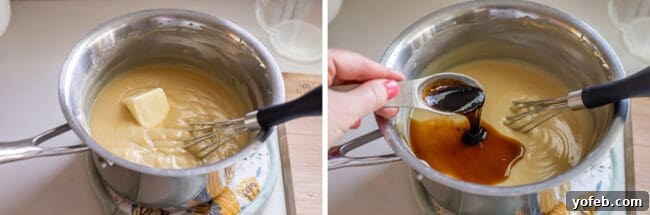
Continue stirring until the custard reaches a boil. Once it starts bubbling, reduce the heat slightly to maintain a low simmer and continue whisking vigorously for **exactly one minute**. This critical minute ensures the starches fully activate and thicken the custard properly. Remove from heat and stir occasionally as it cools to prevent a skin from forming on top. Once slightly cooled, stir in a generous amount of butter and vanilla. I love using a mix of vanilla extract and vanilla bean paste for an intense vanilla flavor, but pure vanilla extract works beautifully on its own.
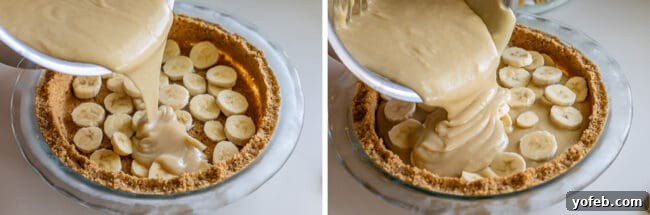
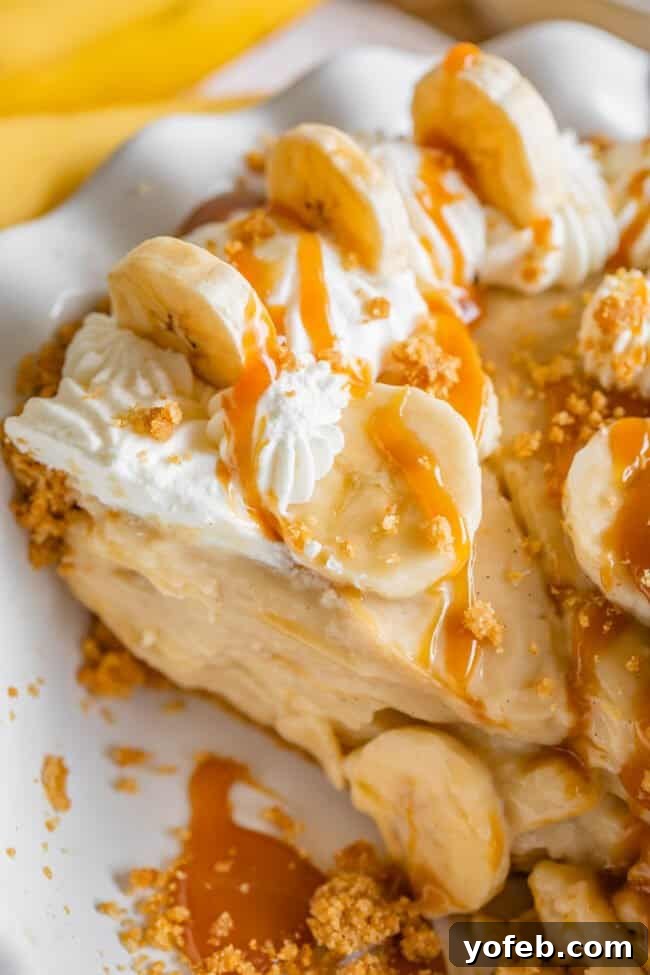
Now, for assembly! Slice your ripe bananas immediately before use to prevent browning. Arrange a layer of banana slices on the bottom of your cooled crust, then pour about one-third of the warm custard over them. Repeat this process, creating two more layers of bananas and custard. Finishing with a custard layer on top helps protect the bananas from oxidizing. Cover the pie with plastic wrap, pressing it directly onto the surface of the custard to prevent a film from forming, and refrigerate for at least 3-4 hours, or ideally, overnight, to allow it to set completely.
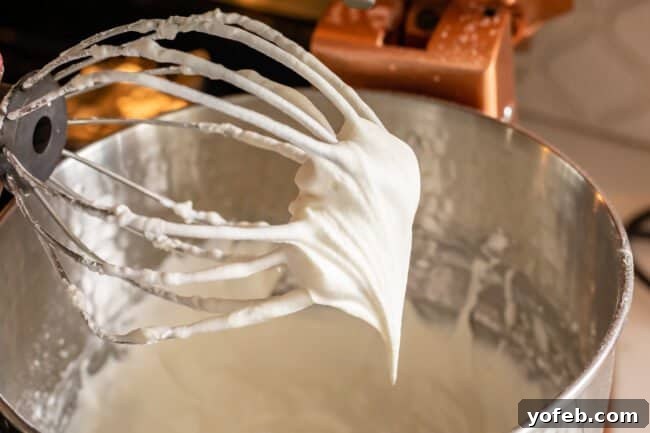
Finally, the crowning glory: **fluffy whipped cream**! Ensure your heavy cream is very cold—this is key for achieving maximum volume. Beat the cold cream with powdered sugar, a touch of salt, and vanilla extract until it forms soft, stable peaks. Be careful not to overbeat, as this can lead to a grainy texture or even butter. Stop when the cream is smooth and holds its shape beautifully. For more tips on perfect whipped cream, check out my dedicated whipped cream guide.
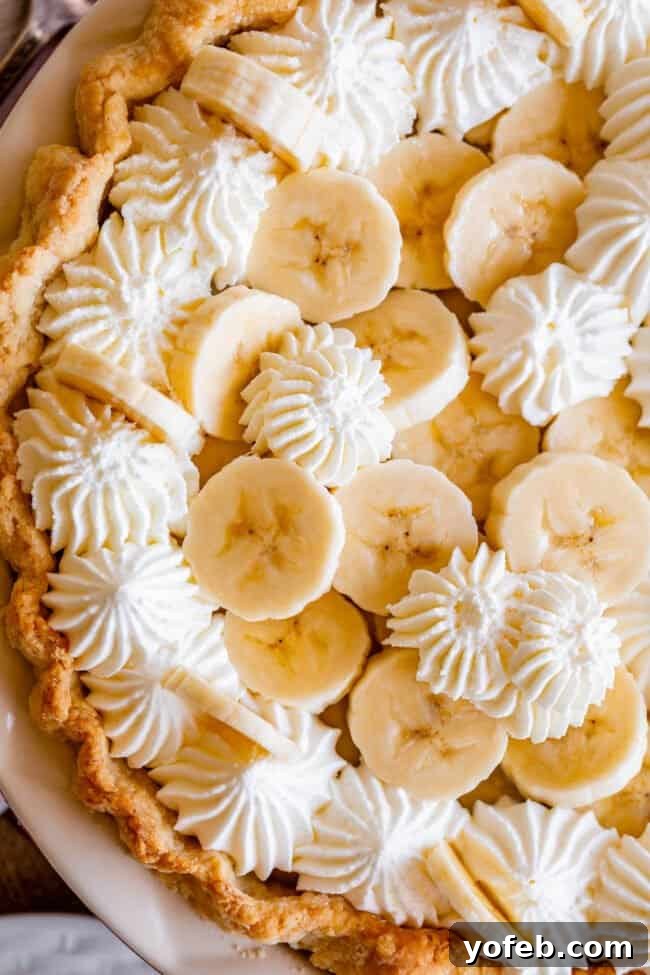
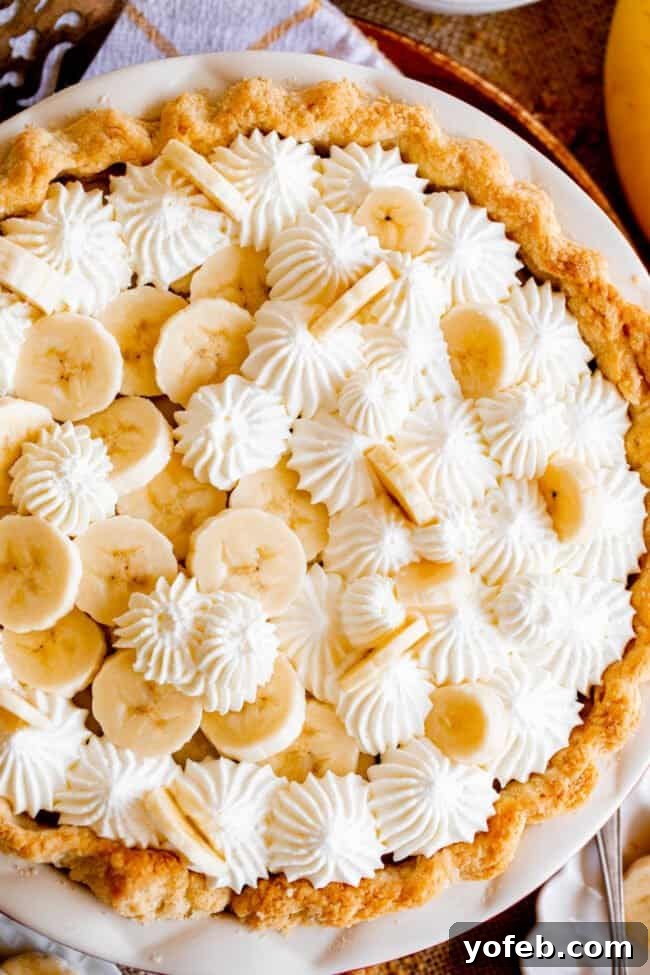
Spread the whipped cream generously over the chilled pie, or pipe it for an elegant finish. Add a few more fresh banana slices on top just before serving for visual appeal and an extra burst of fresh banana flavor.
Creative Variations and Delicious Substitutions
This Banana Cream Pie is a masterpiece in its original form—a true classic for a reason. However, for those eager to experiment and personalize their pie, there are many delightful ways to add a twist.
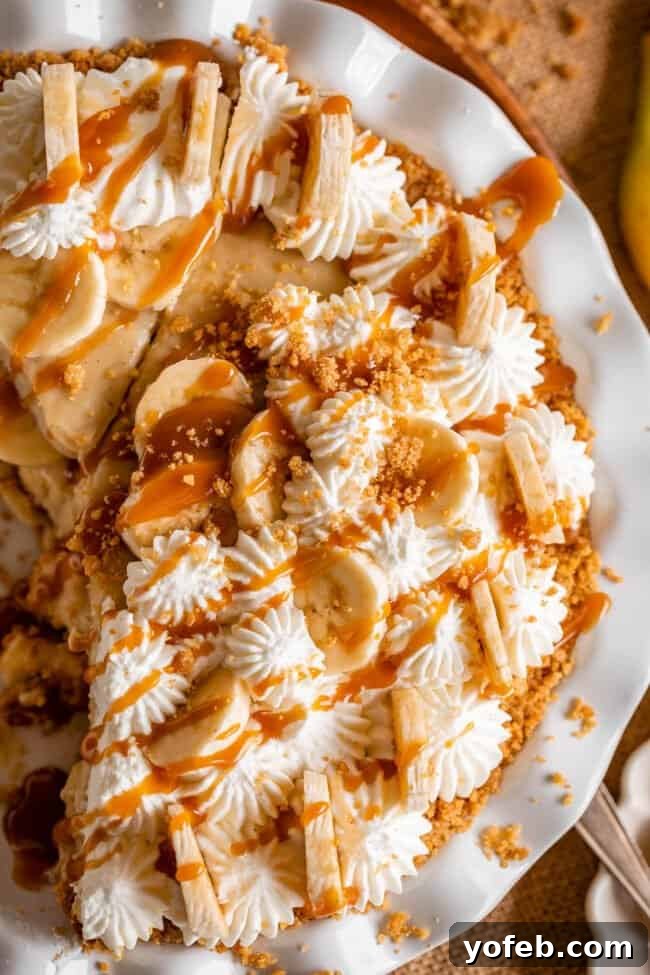
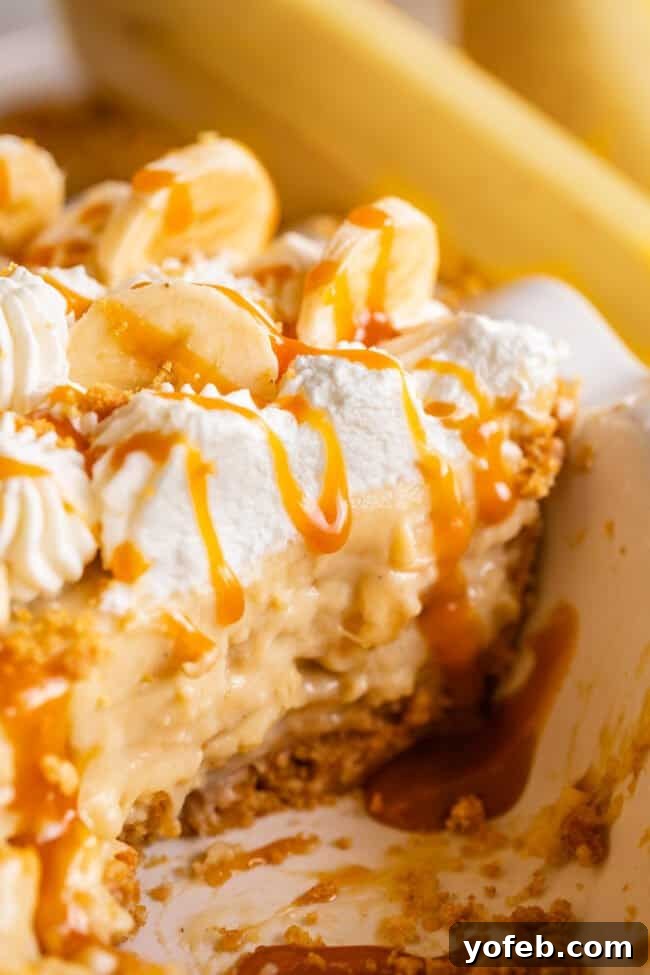
As you can see, a simple addition can elevate this already gorgeous pie! I particularly adore drizzling my pie with a luscious Caramel Sauce and sprinkling on even more graham cracker crumble. As a self-proclaimed crust fanatic, I find this combination irresistible. The caramel’s sweet depth perfectly enhances the subtle butterscotch notes from the brown sugar in the custard. It’s a match made in dessert heaven!
If you’re looking for other exciting flavor twists, consider these ideas:
- **Spiced Bananas:** Lightly sprinkle cinnamon or nutmeg between the banana layers for a warm, aromatic kick.
- **Nutty Delight:** Add a thin layer of creamy peanut butter or the irresistible Biscoff spread onto the bottom crust before adding bananas and custard. This creates an amazing flavor combination!
- **Alternative Crusts:** Experiment with Nutter Butters or Nilla Wafers instead of graham crackers for a unique crust foundation.
- **Dulce de Leche Dream:** For an incredibly rich twist, spread a layer of homemade Dulce de Leche over the bottom crust. This might just be my ultimate favorite variation!
While I adore flavors that lean into the molasses, caramel, and butterscotch spectrum for this pie, I personally tend to avoid adding chocolate to Banana Cream Pie. Much like pairing salted caramel and chocolate ice cream, chocolate can easily overpower the delicate and subtle notes of banana and vanilla custard. However, if you are a fan of this classic combination, here are some chocolate-infused ideas:
- **Elegant Chocolate Curls:** Garnish the top of your pie with delicate chocolate curls, as detailed in my French Silk Pie recipe.
- **Cocoa Dusting:** Lightly dust cocoa powder between the layers of bananas or over the finished whipped cream.
- **Nutella Base:** Spread a thin layer of creamy Nutella on the bottom crust for a hazelnut-chocolate twist.
- **Hot Fudge Layer:** Mimic the decadence of my Peanut Butter Pie by adding a layer of hot fudge to the bottom crust.
- **Chocolate Drizzle:** Finish with a drizzle of homemade Chocolate Sauce over the whipped cream.
For those who opt for a traditional flaky pastry crust, here’s an extra tip: blind bake your pie crust as usual, but also bake a second sheet of pie dough separately. Roll it flat, cut it into 1-inch squares with a pizza cutter, sprinkle with sugar, and bake until golden and crispy. Use these delightful pastry squares to decorate the top of your finished pie, adding both beauty and a fantastic textural crunch.
Banana Pie FAQs: Your Questions Answered
The luscious, thick texture of this pie comes from a combination of ingredients. Crucially, we use egg yolks, which provide a significant thickening boost and rich flavor—a key difference from simpler puddings that rely solely on starches. Additionally, a blend of cornstarch and flour works together to create a perfectly creamy consistency. Cornstarch is a powerful thickener, while flour ensures the custard remains smooth and avoids a gelatinous texture.
A runny, “sloppy” pie is usually a sign that your custard was not fully cooked. For the starches and fats to properly bond and set, the mixture needs to reach a sustained boil for a full minute, with constant stirring. If it’s not cooked long enough at the right temperature, it won’t set. Always perform the “spoon test” described in the instructions to ensure proper thickness. Another factor can be using overripe bananas; they can release too much moisture and cause the custard to become watery and gummy where they meet.
Bananas brown when exposed to oxygen. The best way to prevent this in your pie is to slice the bananas immediately before you layer them with the custard. Once the pie is assembled and chilled, the custard acts as a protective barrier. When you cut a slice, the newly exposed banana edges might start to brown, so it’s always best to slice the pie just before serving. I generally advise against dipping bananas in lemon or orange juice, as the acidic flavor can subtly alter the taste of your pie.
Ensuring your custard cooks long enough to properly thicken is paramount. When performing the spoon test, the custard should thickly coat the back of a spoon, and a finger run down the center should leave a clear trail. Beyond cooking time, using the correct ingredients is vital. This recipe specifically calls for whole milk and heavy whipping cream. Substituting with lower-fat alternatives like skim milk or half-and-half will significantly impact the custard’s ability to set and achieve its desired creamy consistency. While it might be tempting to reduce calories, the fat content is essential for a delicious, well-structured pie.
Cream pies get their rich, thick texture from a combination of ingredients. Primarily, egg yolks contribute significant thickening power and a luxurious richness that sets custard apart from simple puddings. Additionally, starches like cornstarch and/or flour are incorporated. In this particular recipe, both cornstarch and flour are used to achieve a balanced thickening and a wonderfully creamy, smooth mouthfeel.
I prefer using a combination of both! While cornstarch is a more potent thickener, using it exclusively in large quantities can sometimes result in a pie filling that has a slightly odd, almost gelatinous or Jell-O-like texture. Flour, on the other hand, contributes a smoother, more natural creaminess. By using both, we leverage the best qualities of each: the strong thickening power of cornstarch for structure, and the smooth, pleasant mouthfeel that flour provides.

Optimal Storage for Your Banana Cream Pie
Due to the high oxidation rate of bananas, this pie is truly at its best within the first 2-3 days. After that, the banana slices may start to brown and become a bit soggy, which can detract from the overall experience. If you absolutely need to extend its shelf life, you *could* dip each banana slice in a little lemon juice before layering, but be aware that this might slightly alter the pie’s flavor. For entertaining, I recommend making the crust and custard a day or two in advance (store both well-sealed), then slicing the bananas, whipping the cream, and assembling the pie on the day you plan to serve it. This strategy ensures peak freshness and presentation!
Does banana cream pie need to be refrigerated?
Absolutely, yes. Given its dairy-based custard filling, banana cream pie is highly perishable and must be stored in the refrigerator. Beyond food safety, this pie is designed to be served chilled, offering a refreshing and delightful dessert experience.
How long does a banana cream pie last?
For optimal flavor and texture, enjoy your banana cream pie on day one. It remains delicious on day two, but by day three, the bananas will inevitably start to decline in quality, even with the protective custard. This pie is perfect for gatherings, potlucks, or family dinners where it will be savored quickly.
Can banana cream pie be frozen?
Yes, happily! You can freeze this pie for up to two months. To prevent freezer burn, wrap the pie thoroughly in several layers of plastic wrap, followed by a layer of aluminum foil. Alternatively, a 2-gallon freezer bag works wonderfully for whole pies. When you’re ready to indulge, simply thaw the pie overnight in the refrigerator. Slice and serve as usual once fully defrosted.
I genuinely hope you get the chance to bake this magnificent pie soon! Whether for a holiday like Easter or simply a delightful weekend treat, is there ever truly a wrong time for pie?
Crave More Banana Delights? Try These Recipes!
- Nutella Banana Stuffed Crescent Rolls: Effortlessly delicious, you can make these in your sleep!
- Salted Caramel Cheesecake with Caramelized Bananas: Elevate your bananas by toasting them in sugar—pure bliss!
- Banana Cobbler from The Country Cook: An intriguing recipe! Let me know if you give it a try!
- No Bake Banana Split Dessert from Brown Eyed Baker: A nostalgic treat with a modern twist.
Explore More Irresistible Pie Recipes!
Is it always pie o’clock in your kitchen? Discover more beloved pie recipes to master:
- How to Make the Best Homemade Apple Pie: All the essential tips for creating a classic. Don’t miss the Dutch Apple Pie version too!
- Rhubarb Custard Pie: Don’t let rhubarb intimidate you—it’s incredibly delicious in this creamy pie!
- Dreamy Coconut Cream Pie with Caramel Layer: Arguably the finest coconut pie you’ll ever encounter, featuring a decadent caramel layer.
- Chocolate Chess Pie from Southern Bite: A rich, classic Southern comfort dessert.
- Pear Ginger Crumble Pie from Flavor the Moments: A fragrant and comforting crumble pie.
Facebook | Pinterest | Instagram
If you try this recipe, be sure to leave a rating below—your feedback helps me out so much! 🖤

Easy Banana Cream Pie Recipe
Ingredients
For the Graham Cracker Crust
- 2 & 1/4 cups graham cracker crumbs, (from 1 & 1/2 packages, or 13.5 full graham sheets)
- 2 tablespoons granulated sugar
- 1/4 teaspoon kosher salt
- 7 tablespoons butter, melted
For the Vanilla Custard
- 3/4 cup granulated sugar
- 1/2 cup brown sugar*, packed, see note
- 3 tablespoons all-purpose flour
- 2 tablespoons corn starch
- 1/2 teaspoon kosher salt
- 2 & 1/4 cups whole milk
- 1/2 cup heavy whipping cream**
- 4 large egg yolks
- 3 tablespoons butter
- 1 tablespoon vanilla extract, or vanilla bean paste
For Assembly and Whipped Cream
- 3-4 large bananas, (more or less to taste, perfectly ripe)
- 2 cups heavy whipping cream
- 1/3 cup powdered sugar, (or less, to taste)
- 1 teaspoon vanilla extract
- 1/4 teaspoon kosher salt
- Caramel Sauce, optional, for garnish
- extra graham crumble, optional, for garnish
Instructions
-
First things first, decide on your crust. If you prefer a traditional pastry pie crust, consult my How to Make Flaky Pie Crust guide, then follow the instructions for How to Blind Bake a Pie Crust. You’ll need one baked pie crust. If you prefer the recommended graham cracker crust, proceed with the following steps.
-
Prepare the graham cracker crust: Preheat your oven to 350°F (175°C). Crush 13.5 full-size graham cracker sheets in a large food processor until you have fine crumbs, yielding about 2 ¼ cups. Alternatively, place graham crackers in a zip-top bag and crush them with a rolling pin.
-
Add 2 tablespoons of granulated sugar and ¼ teaspoon of kosher salt to the food processor (or to a bowl with the crumbs). Pour in 7 tablespoons of melted butter and pulse (or mix) thoroughly, scraping down the sides to ensure everything is well combined.
-
Press the graham cracker mixture firmly into the bottom and up the sides of a 9-inch pie pan. Use the bottom of a glass or measuring cup to press the mixture tightly into the corners and up to the top edge of the pan.
Bake the crust at 350°F (175°C) for 10 minutes. Set aside to cool while you prepare the custard. (For a slightly softer crust, you can skip baking and chill it in the fridge/freezer for 30 minutes, but baking yields a crispier, more flavorful result.)
-
Prepare the vanilla custard: In a medium saucepan, combine the dry ingredients first: ¾ cup granulated sugar, ½ cup packed brown sugar, 3 tablespoons all-purpose flour, 2 tablespoons cornstarch, and ½ teaspoon kosher salt. Whisk everything together thoroughly, breaking up any lumps in the brown sugar.
-
Add 2 ¼ cups whole milk and ½ cup heavy cream. Next, add the 4 large egg yolks.
Using a flat whisk***, vigorously whisk the mixture for at least 1 minute. Pause for 10 seconds to check for any visible yellow egg yolk streaks floating on top; if present, whisk for another minute until the mixture is as smooth as possible. If any small, stubborn egg proteins cling to the whisk, pinch them off and discard them. This pre-cooking whisking is crucial for a silky-smooth custard.
-
Once your mixture is well-beaten, place the saucepan over medium heat. You’ll need to remain at the stove for the next 5-10 minutes.
Stir the mixture constantly with your flat whisk until it reaches a low simmer, which typically takes 6-10 minutes depending on your burner. Once the pudding begins bubbling and popping, reduce the heat to medium-low (just enough to maintain a gentle simmer) and continue to **cook for 1 minute**, stirring constantly and scraping the sides and corners of the pan thoroughly. (If you don’t have a flat whisk, see the note below for advice.) The custard should be noticeably thick at this point and should coat the back of a spoon, leaving a distinct trail when you run your finger across it.
-
Remove the pudding from the heat and continue whisking for a minute or two until it has slightly cooled and calmed down. Stir in 3 tablespoons of butter and 1 tablespoon of vanilla extract (or vanilla bean paste for a more intense flavor). Continue stirring until the butter is fully melted and incorporated. Set the custard aside, whisking it every 1-2 minutes to prevent a skin from forming on the surface.
-
Assemble the pie: Meanwhile, slice 3-4 large bananas. The quantity is adjustable to your preference, but ensure they are perfectly ripe and firm, without any brown spots. You want bananas that are ideal for immediate eating.
-
Layer about one-third of the sliced bananas evenly on the bottom of the cooled pie crust. Whisk your prepared custard one last time until smooth, then pour about one-third of it over the bananas. Add another layer of bananas, followed by another layer of custard, and then a final layer of bananas and the remaining custard. (For maximum banana in every bite, I prefer layering. Alternatively, you can place all bananas on the bottom and cover with all the custard.) Ensure the top layer is custard to prevent bananas from browning.
-
Chill: Press a sheet of plastic wrap directly onto the surface of the custard, smoothing out any air bubbles, and extending it over the edges of the pie. Chill the pie in the refrigerator for a minimum of 3-4 hours, though 8 hours or overnight is even better for optimal setting. (This pie can be made up to 24 hours in advance and chilled.)
-
Prepare the whipped cream: When you’re ready to serve, make the whipped cream. If time allows, chill your mixing bowl and whisk attachment (or beaters) in the refrigerator for a few minutes; colder equipment helps cream whip higher and faster.
-
Pour 2 cups of very cold heavy whipping cream into the chilled bowl. Beat on high speed. Add ⅓ cup powdered sugar, 1 teaspoon vanilla extract, and ¼ teaspoon kosher salt. You can start with less powdered sugar (e.g., 2 tablespoons) if you prefer a less sweet whipped cream.
Beat for 1-3 minutes, depending on your mixer’s power. Watch it carefully and avoid overbeating, which can result in a textured, stiff cream or even butter. Stop beating when the whipped cream is still incredibly smooth and holds its shape beautifully when you lift the whisk horizontally. It should not appear bubbly or grainy.
-
Spread the luscious whipped cream over the chilled banana pie. For a more decorative touch, save some to pipe onto the top. Garnish with a few more freshly sliced bananas for presentation. Serve immediately!
-
Optional Serving Suggestions: For an indulgent, non-traditional twist, drizzle slices of Banana Cream Pie with Caramel Sauce (a good quality store-bought ice cream topping works well).
Extra Graham Crumble: Crush 4 full sheets of graham crackers and mix with 1 tablespoon of melted butter. Sprinkle this extra crumble over the entire pie or individual servings for an added layer of flavor and crunch.
-
Store any leftover pie in the refrigerator. It is truly best on day 1, still excellent on day 2, and should be enjoyed by day 3 as the bananas will start to soften and brown. This pie is ideal for occasions where it will be promptly devoured!
Notes
**Cream is the rich, fatty part of milk. It is typically found in the dairy section and may be labeled “heavy cream,” “whipping cream,” or “ultra-heavy whipping cream.” All these terms refer to products suitable for this recipe, differing primarily in their fat content. A higher fat content will yield a richer, thicker custard.
***I highly recommend a flat whisk for this recipe. Its design allows it to scrape the corners and bottom of your saucepan much more effectively than a traditional balloon whisk, which helps prevent lumps. If you are using a normal whisk: once your pudding comes to a boil, remove it from the heat and use a rubber spatula to carefully scrape the bottom corners of your saucepan. Whisk in any lumps you find, then immediately return the pot to the heat and continue to boil for the specified 1 minute, even if you had to interrupt stirring. Repeat this corner-scraping process if necessary to ensure a lump-free custard. The pudding needs to simmer on heat for a total of 1 minute, regardless of any brief interruptions.